

Hey There,
My garden is in full swing and it’s CANNING TIME! I love putting up beautiful jars of home grown food.
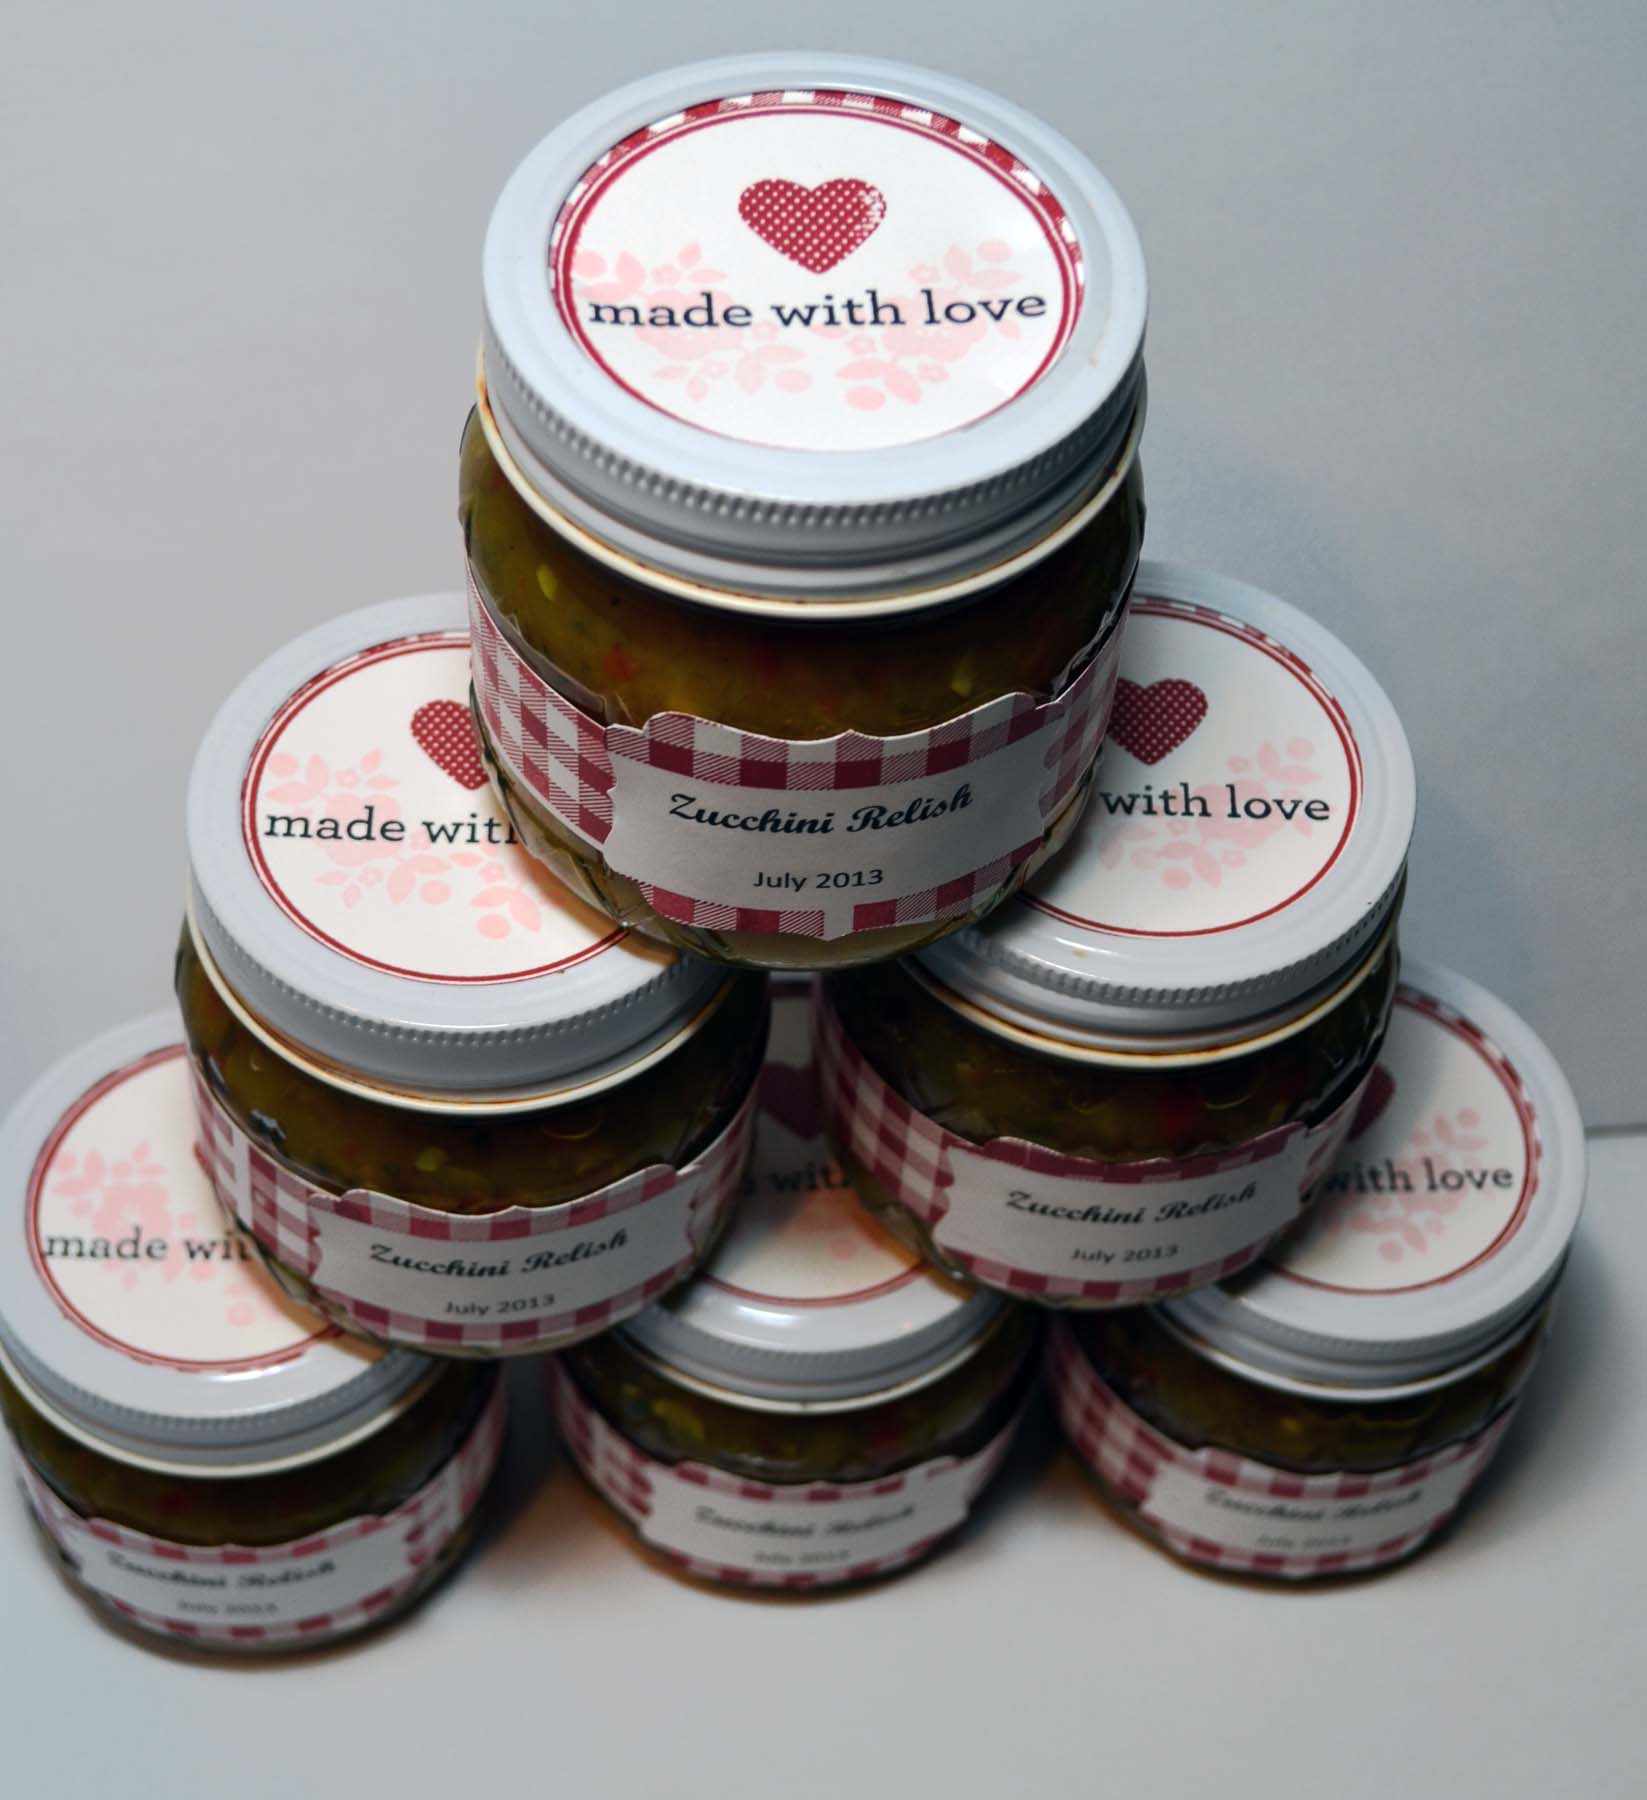
Yesterday, I canned 8 jars of zucchini relish, 12 jars of bread and Butter pickles and started my sauerkraut (which has to ferment for a few weeks).
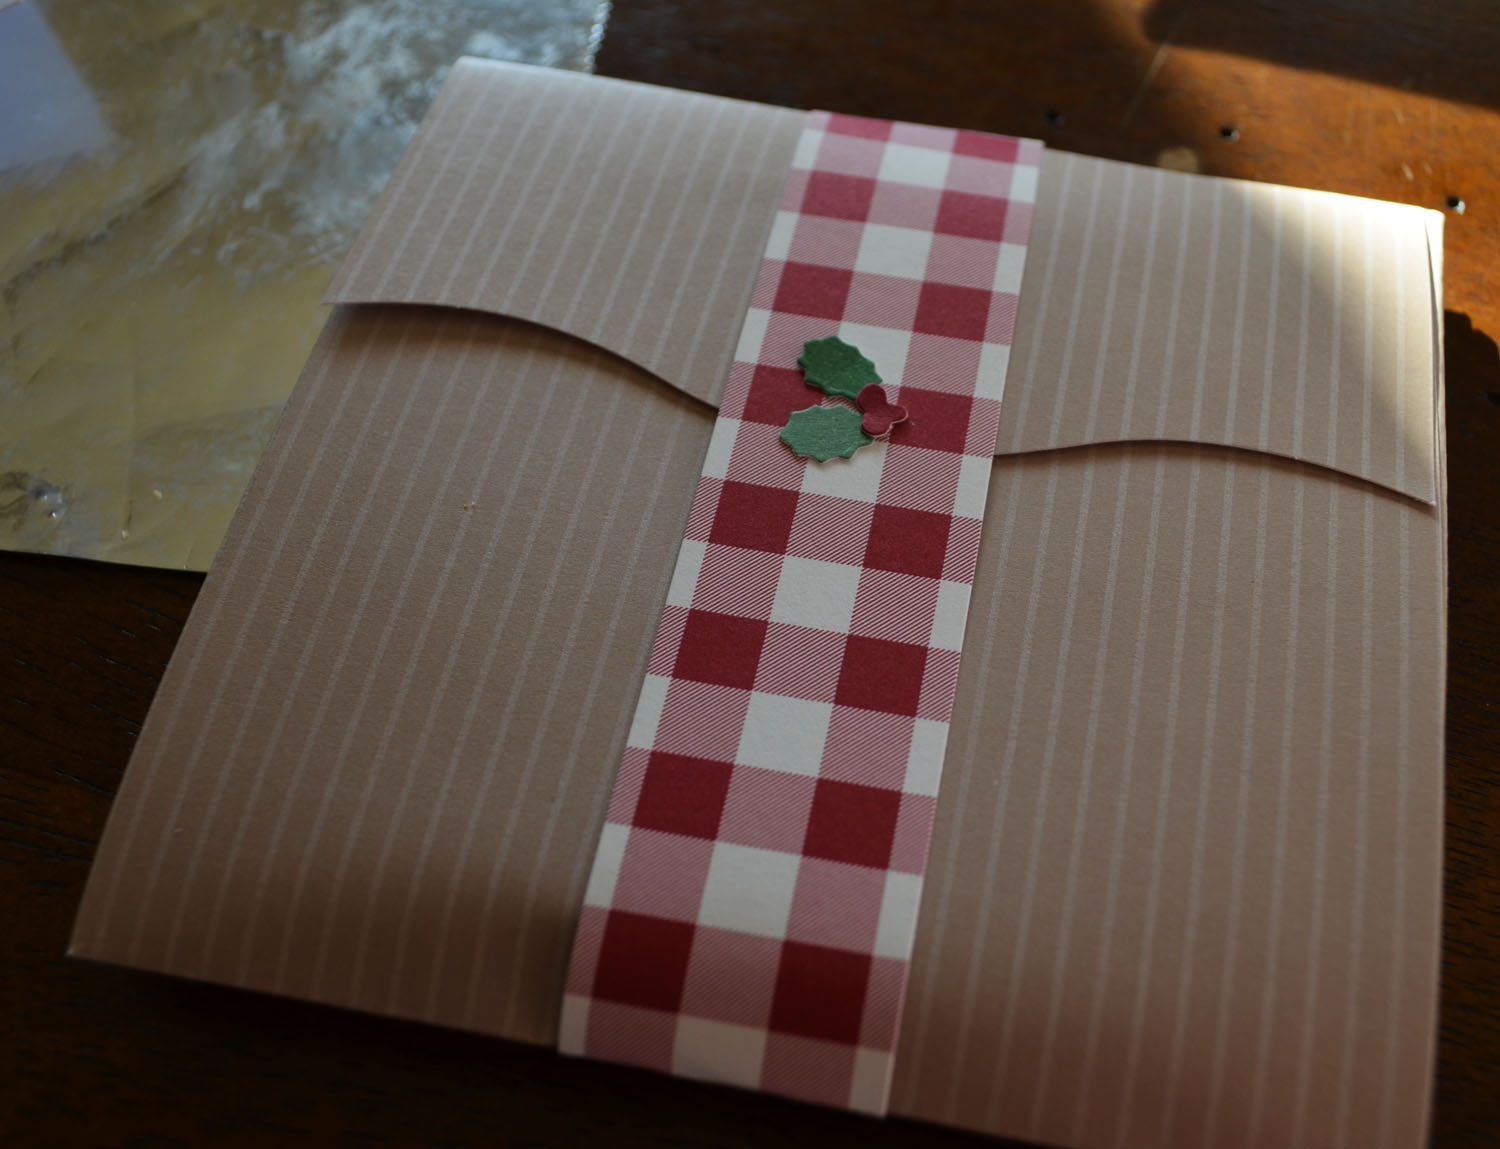
The new Stampin’ Up! stamp set, Kind and Cozy and matching Gingham wheel will make my finishing touches on my canned goods super simple to do and they will look oh so cute. Check out below just how simple it is to make cute labels and belly bands for your jars. Keep in mind the jars can hold whatever you want, even stamping supplies!
**************************************************
Now on with today’s tutorial. . . . . . .
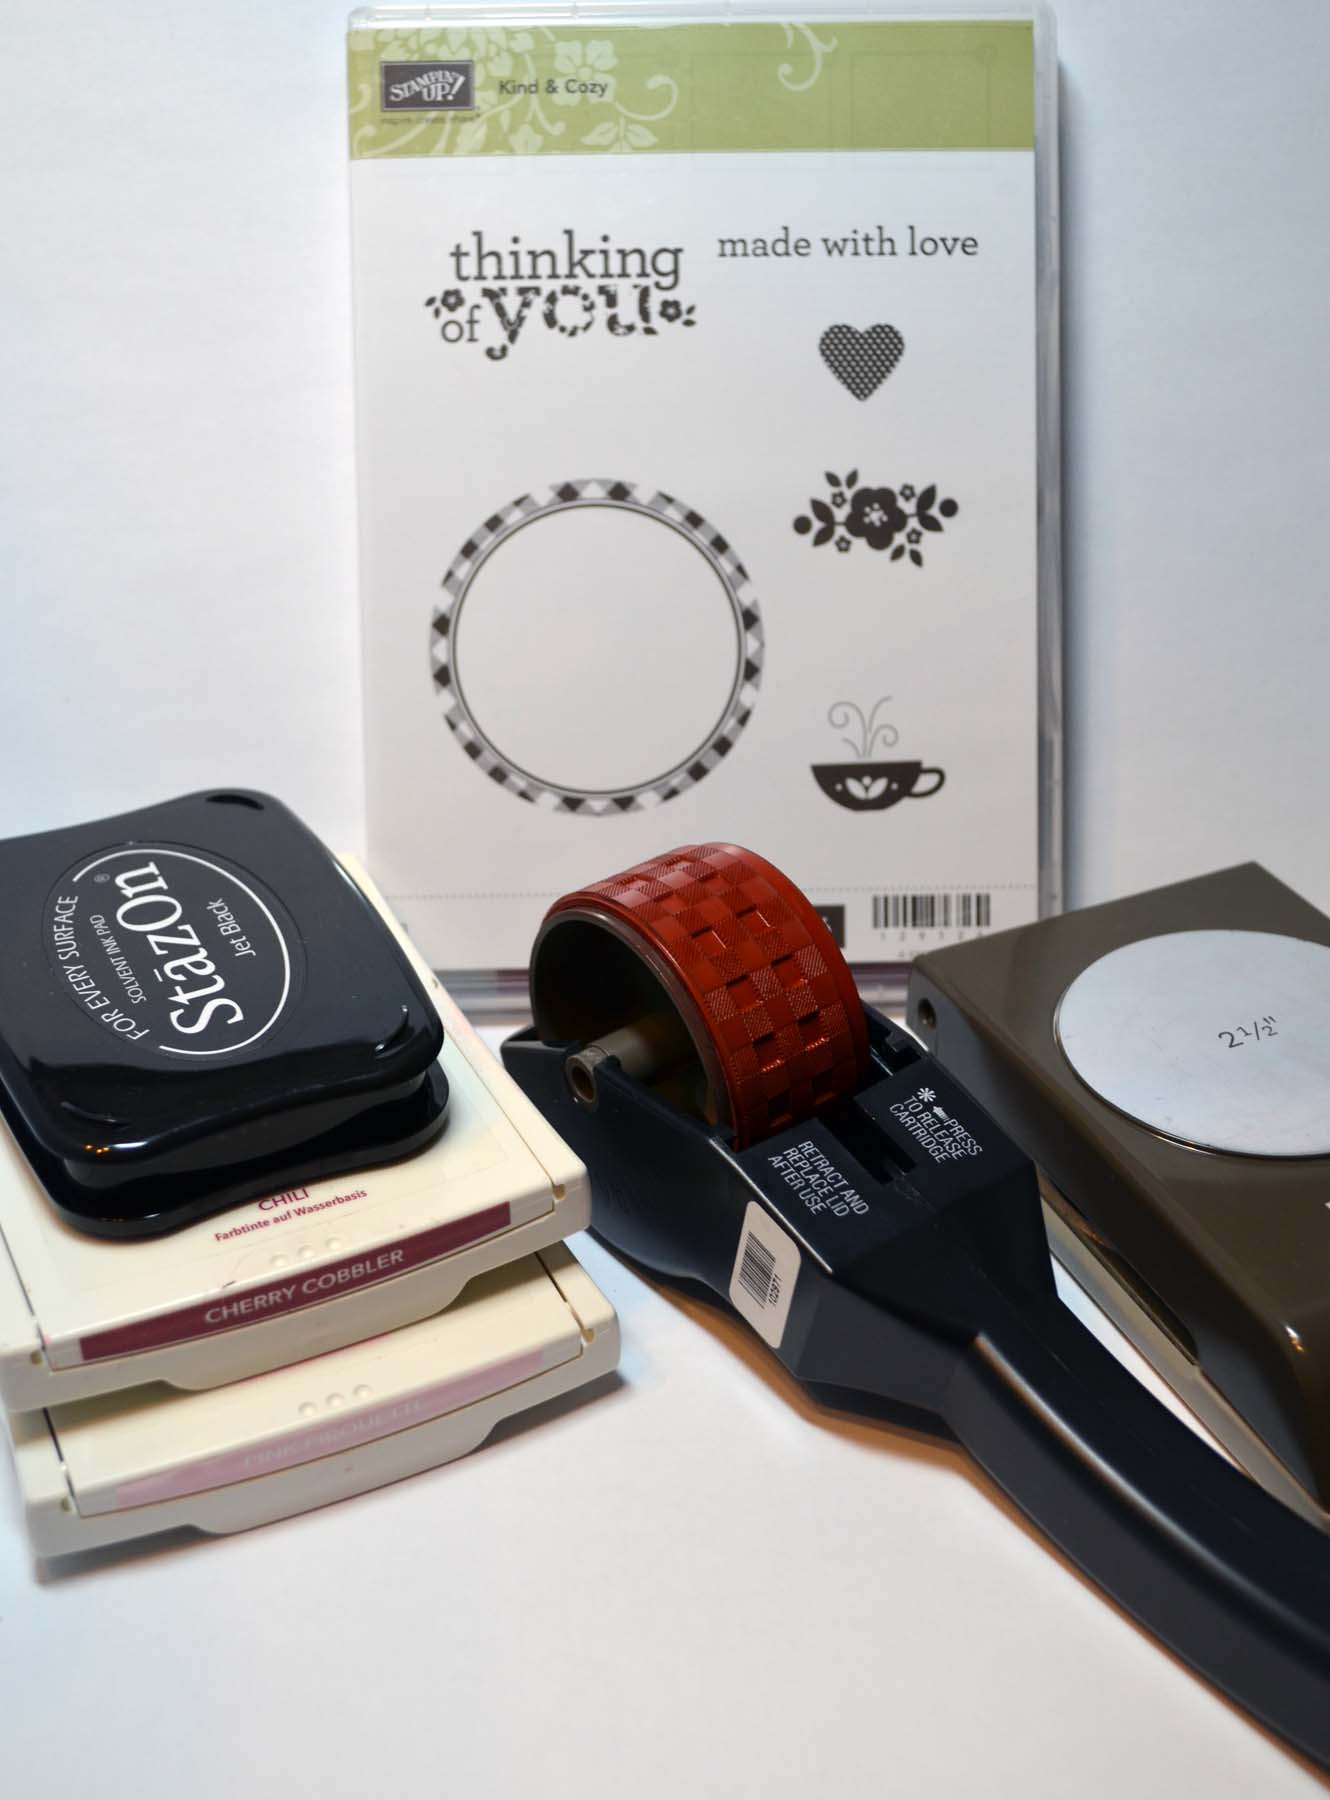
Project Supplies:
Stamps: Stampin’ Up! Kind & Cozy (item #129126) and Gingham Wheel (item #130110)
Card Stock: Stampin’ Up! Whisper White
Ink: Stampin’ Up! Cherry Cobbler, Pink Pirouette and Stazon Jet Black
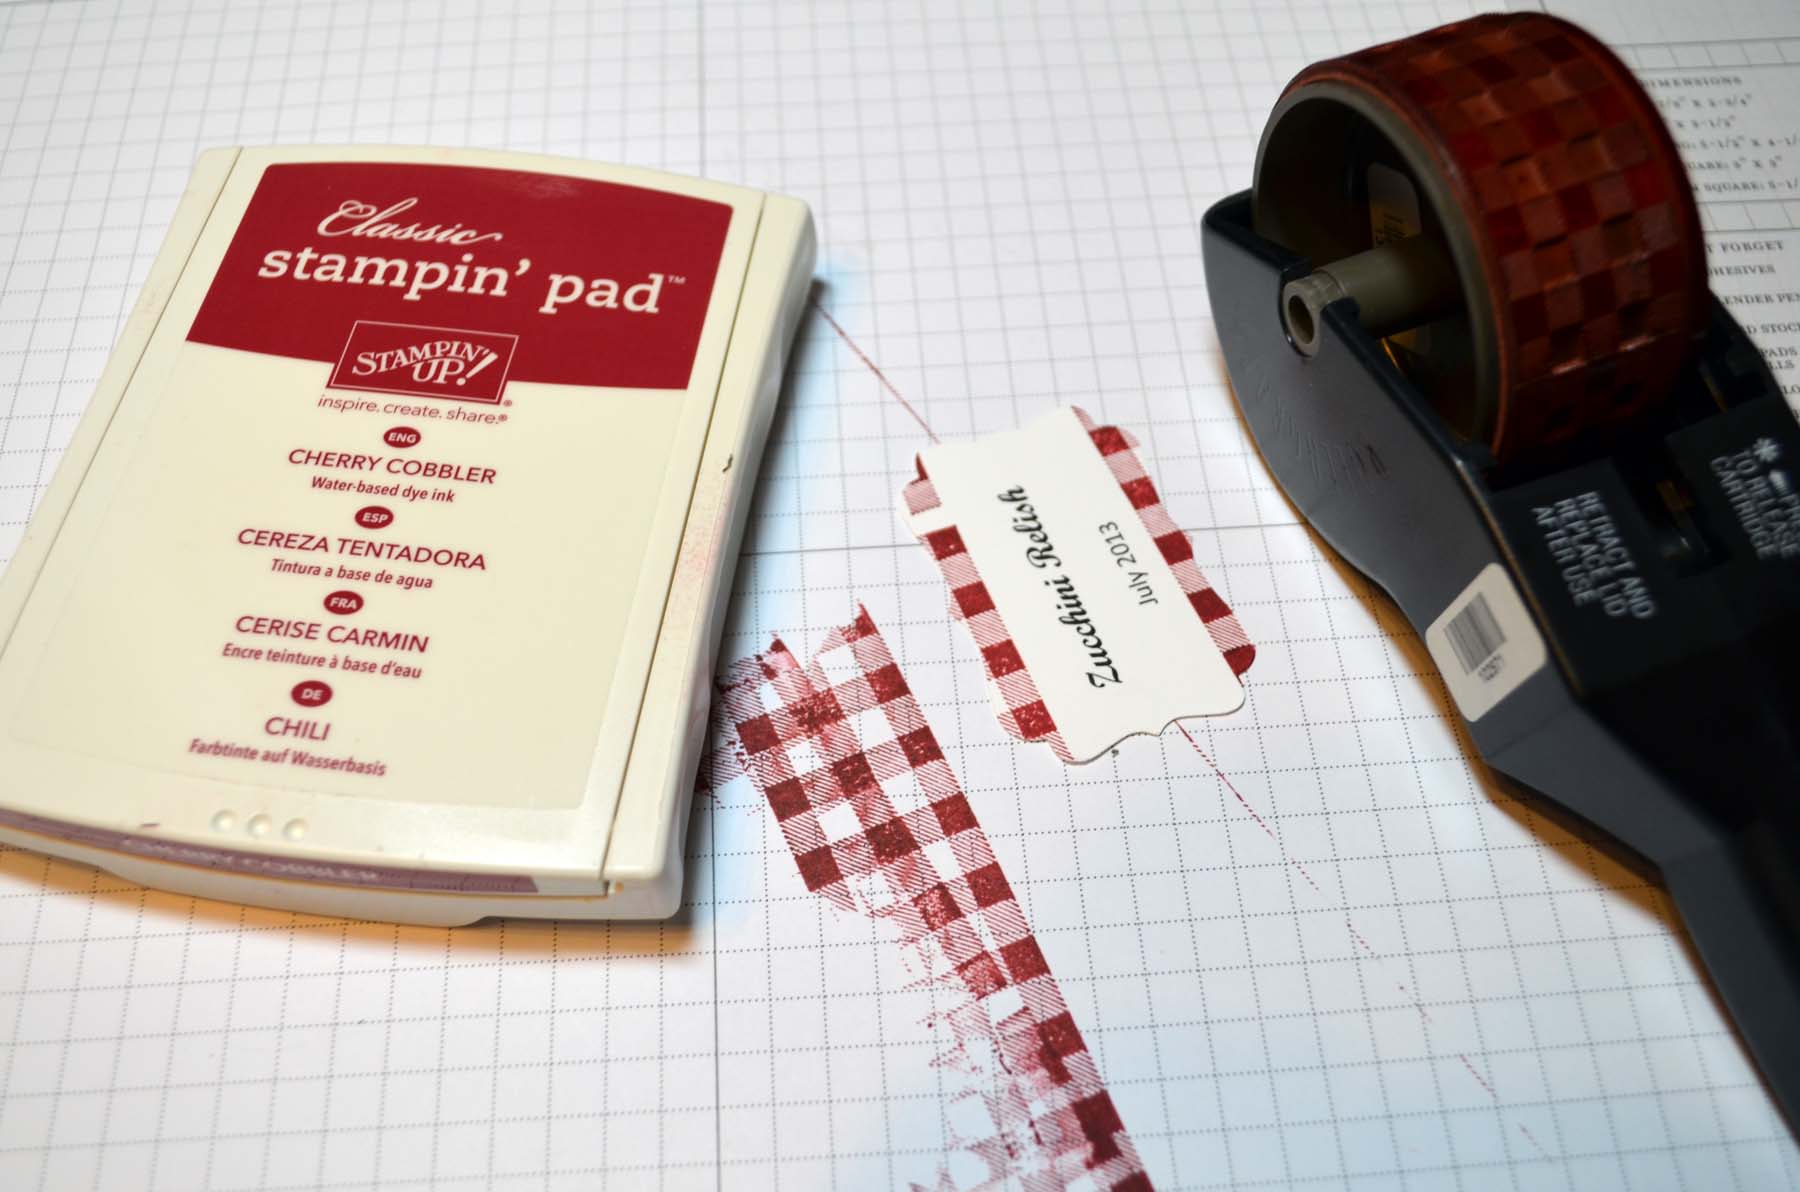
Accessories: Stampin’ Up! 2 1/2″ Circle Punch (item 120906), Decorative Label (item 120907) and Sticky Strip ( item 124294), printer for label title
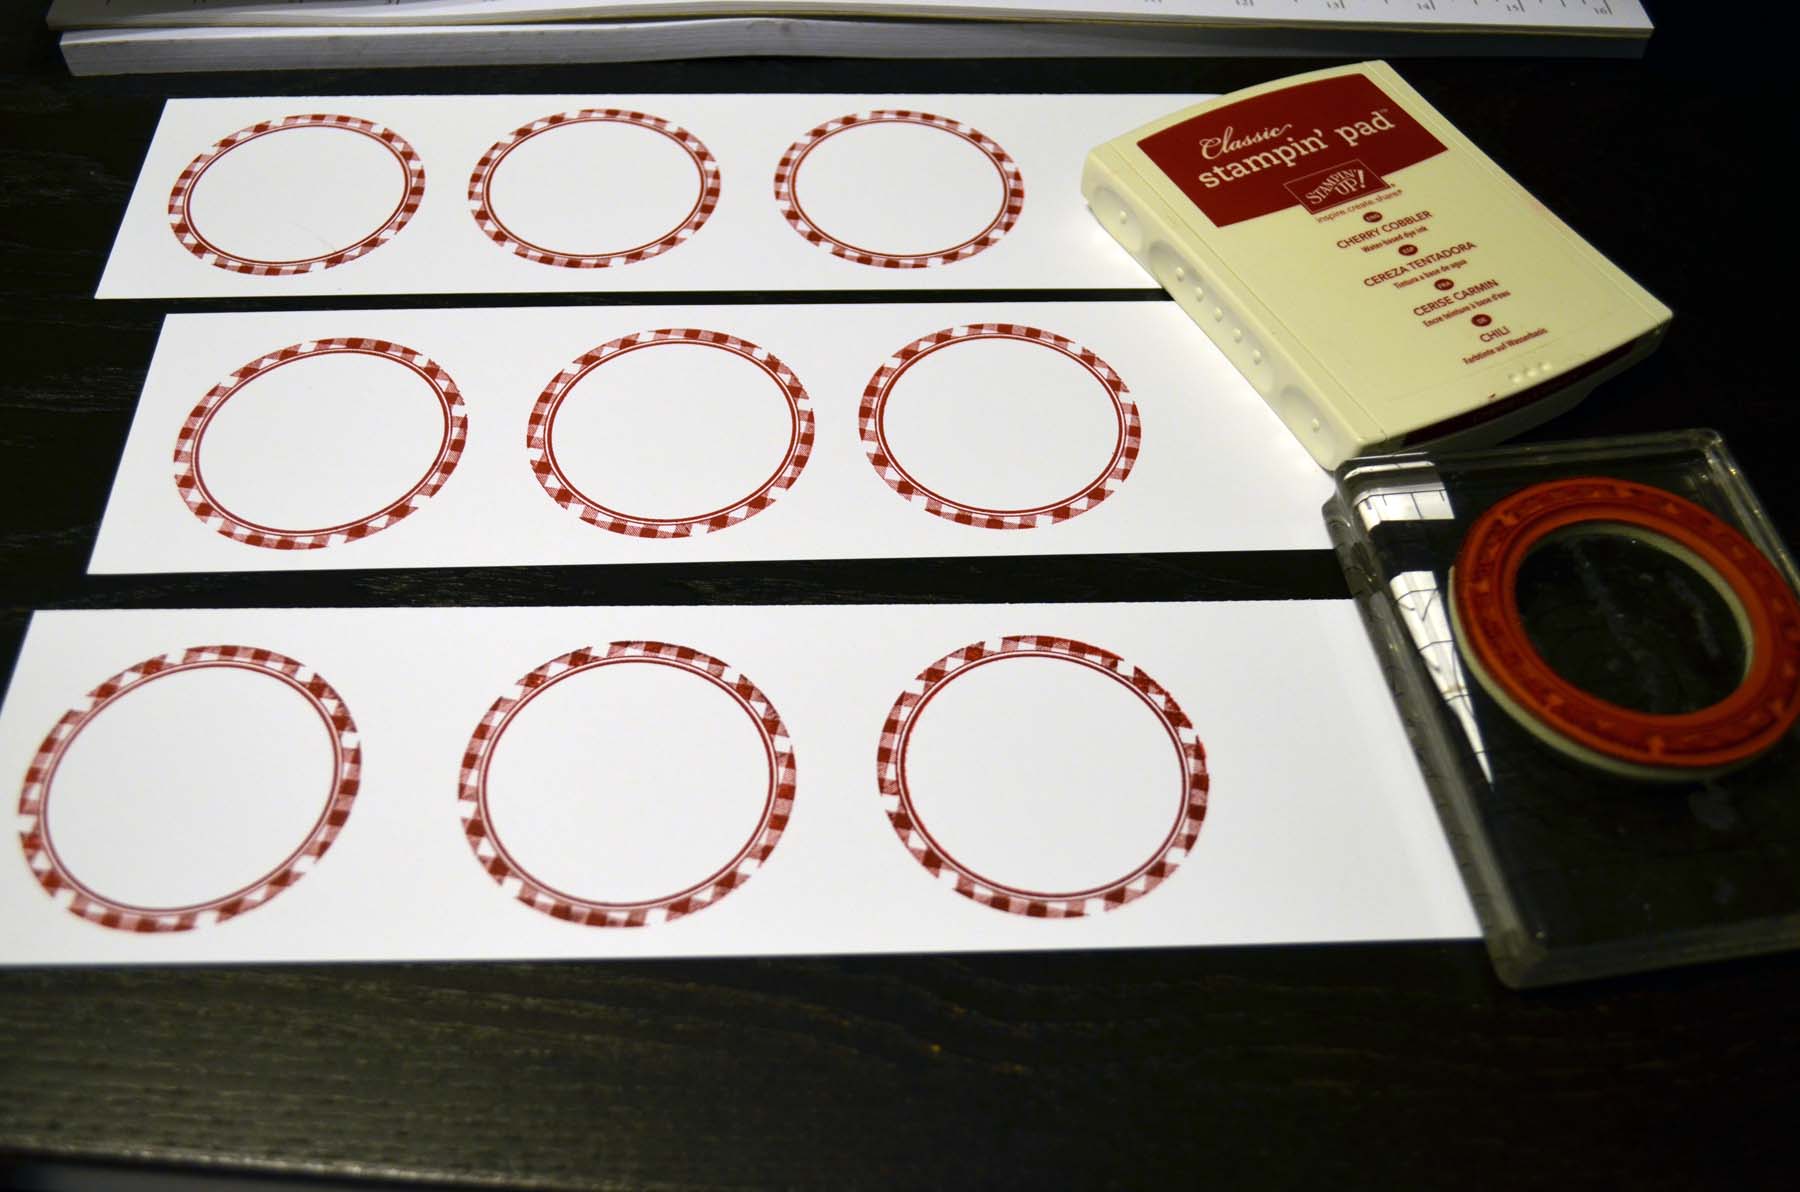
Stamped the Gingham circle on Whisper White card stock using Cherry Cobbler ink.
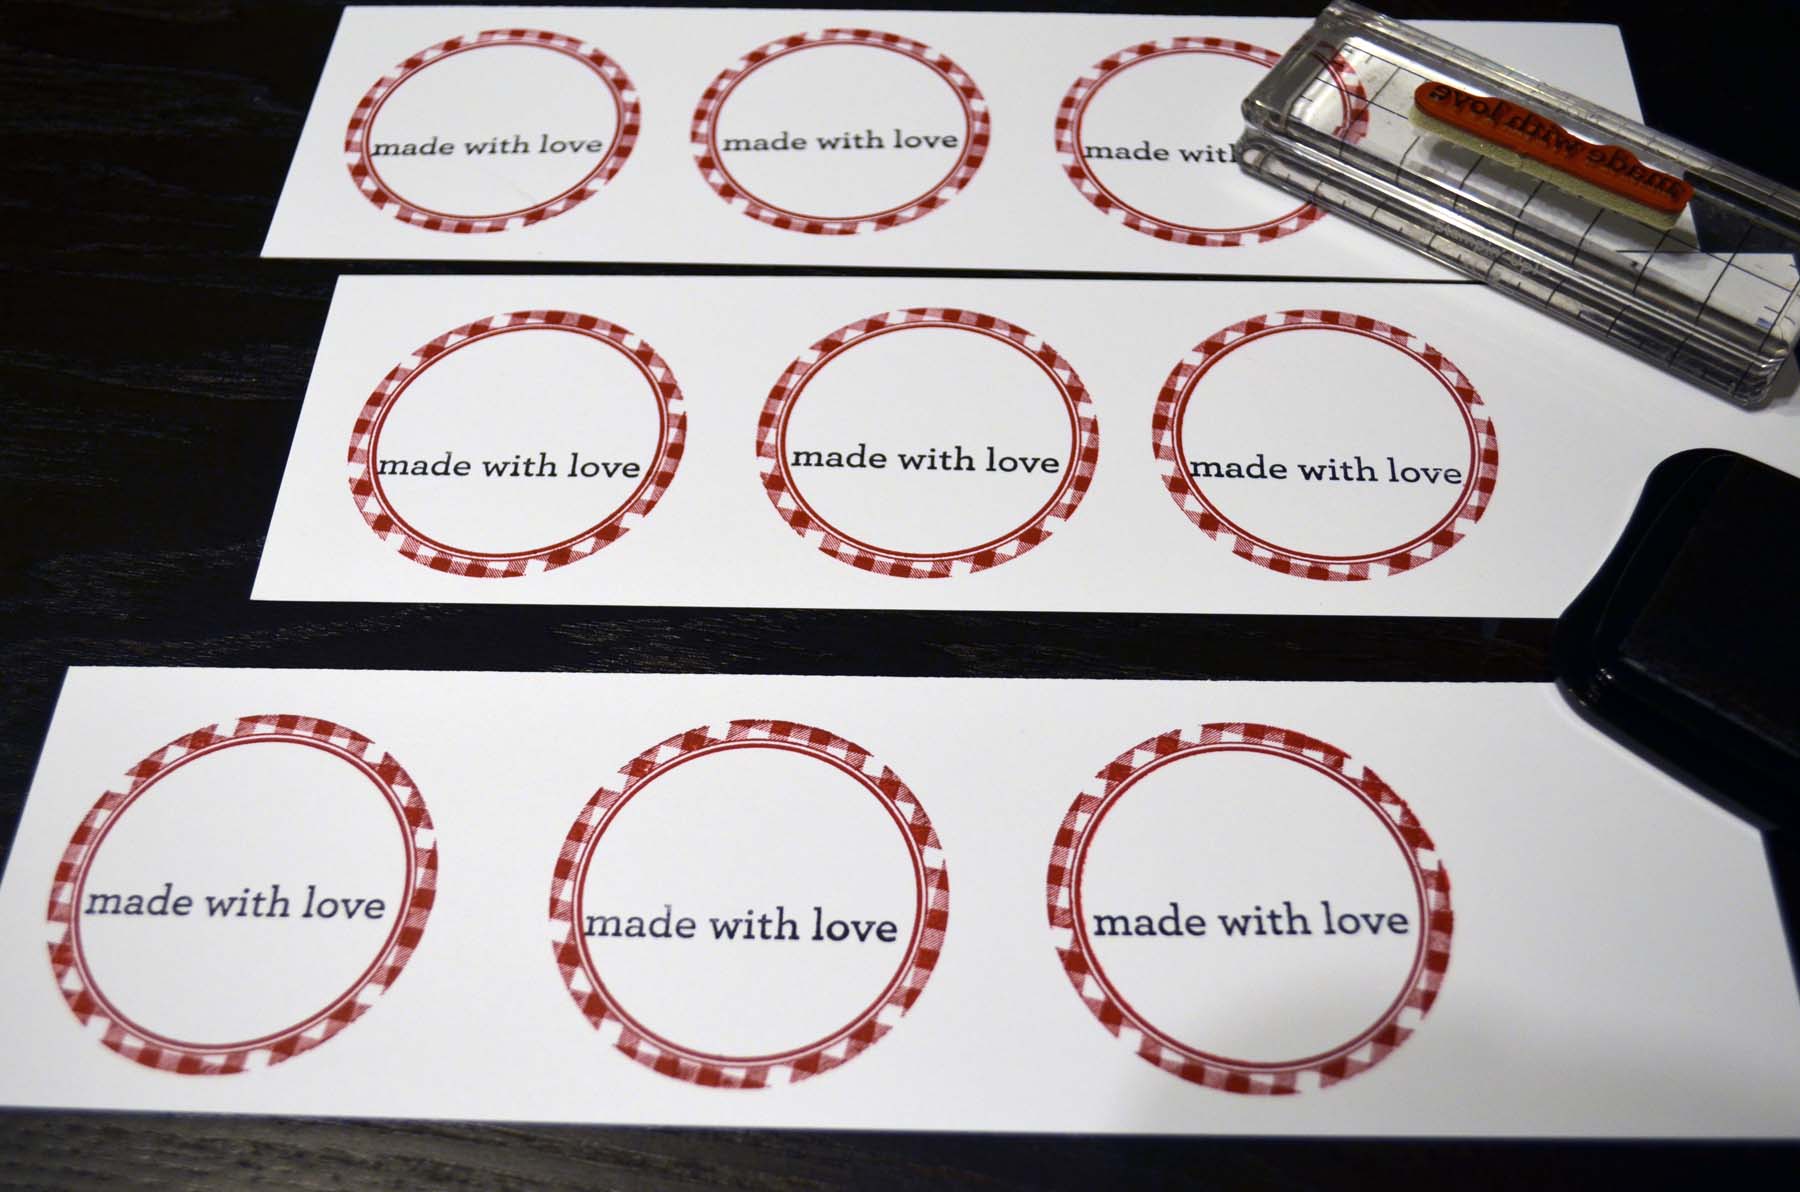
Stamped the words “made with love” using Stazon Jet Black ink.
Stamped the heart using Cherry Cobbler ink.

Stamped the flowers using Pink Pirouette ink.

Punched the circles out using the 2 1/5″ circle punch.
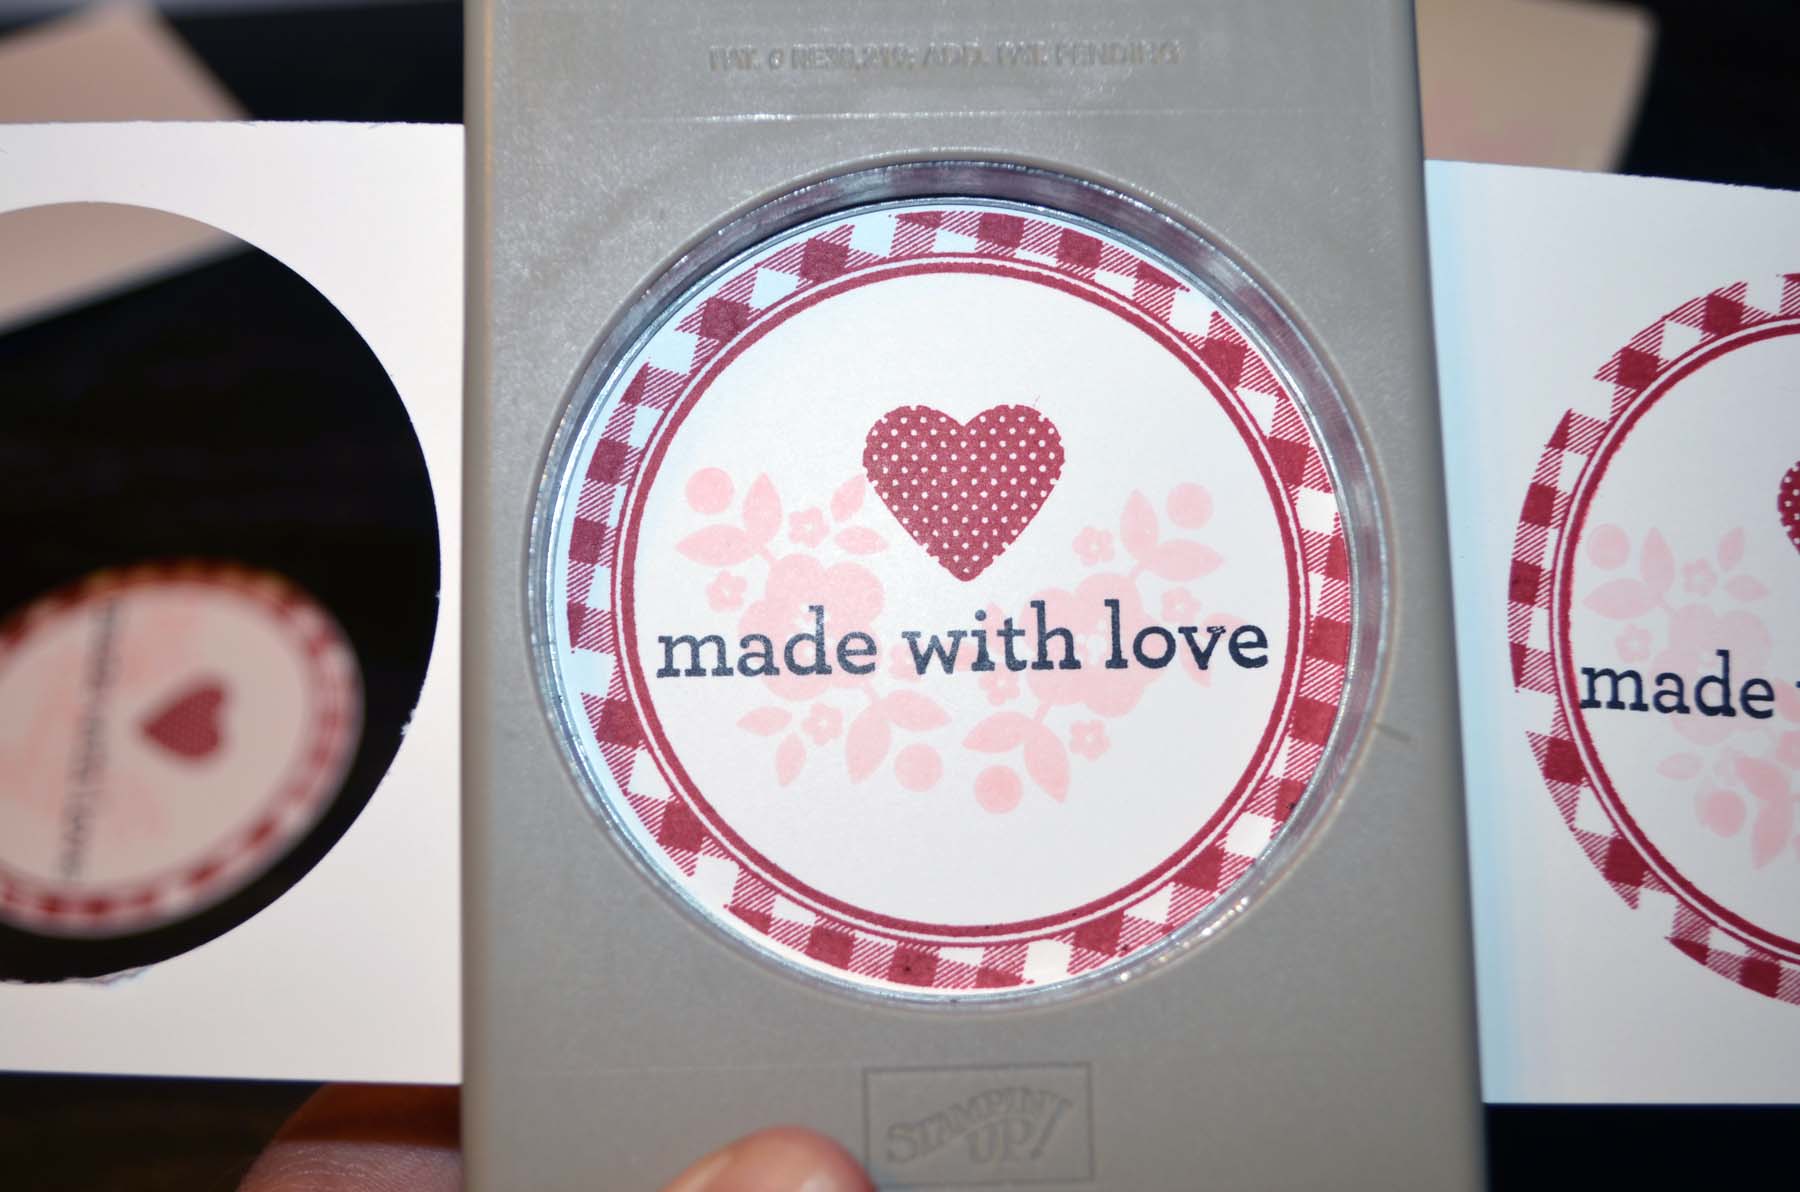
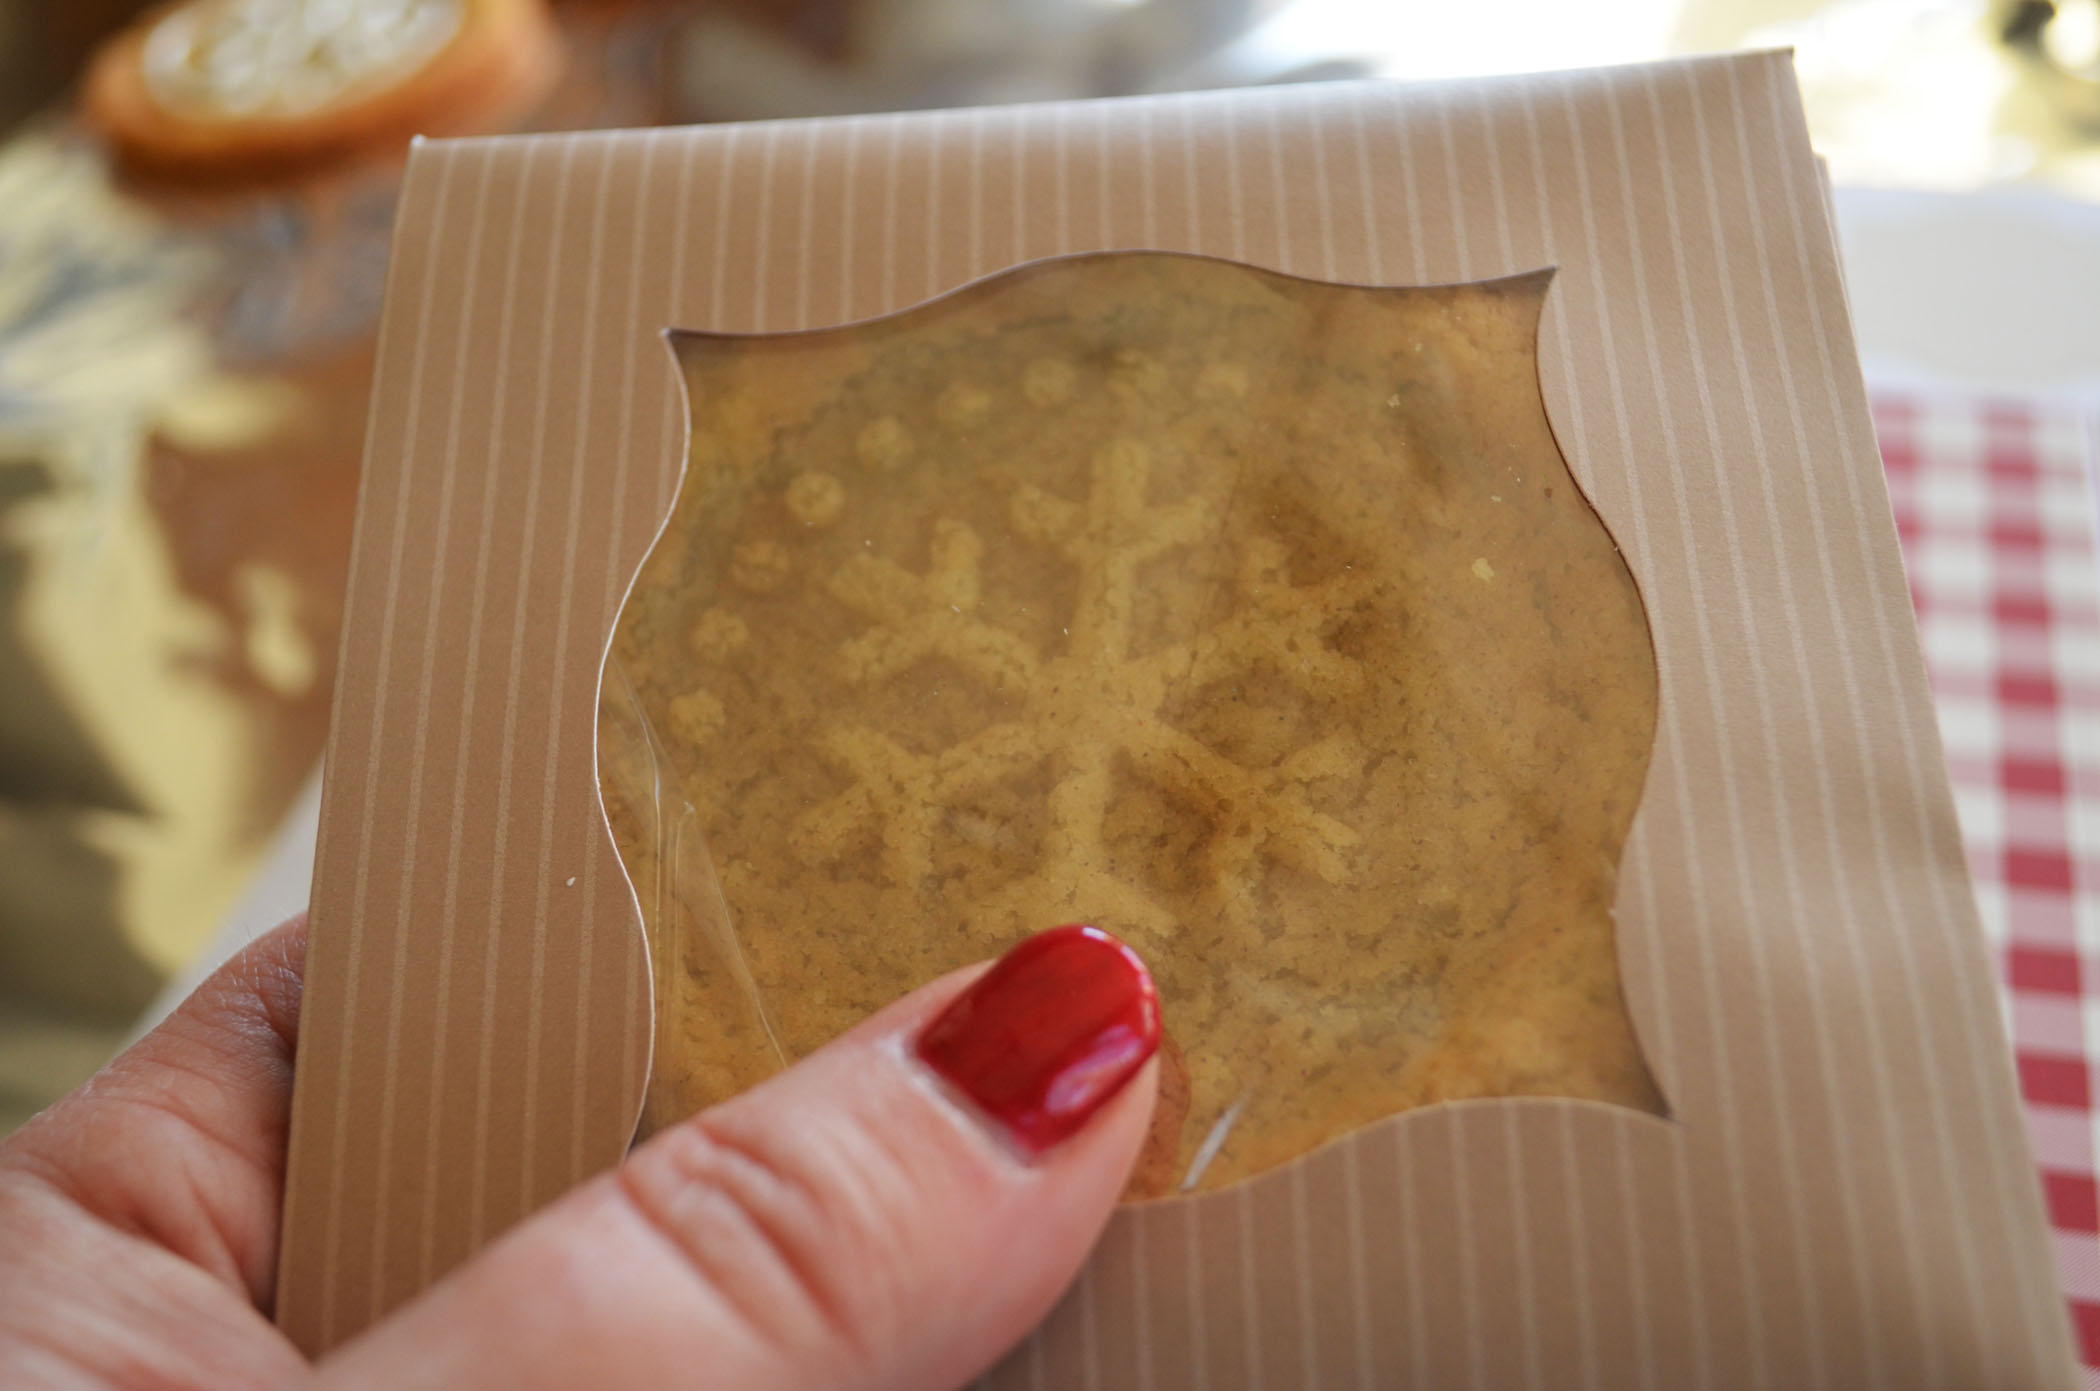
Printed the text out for my label on Whisper White card stock and then punched them out using the Decorative Label Punch.

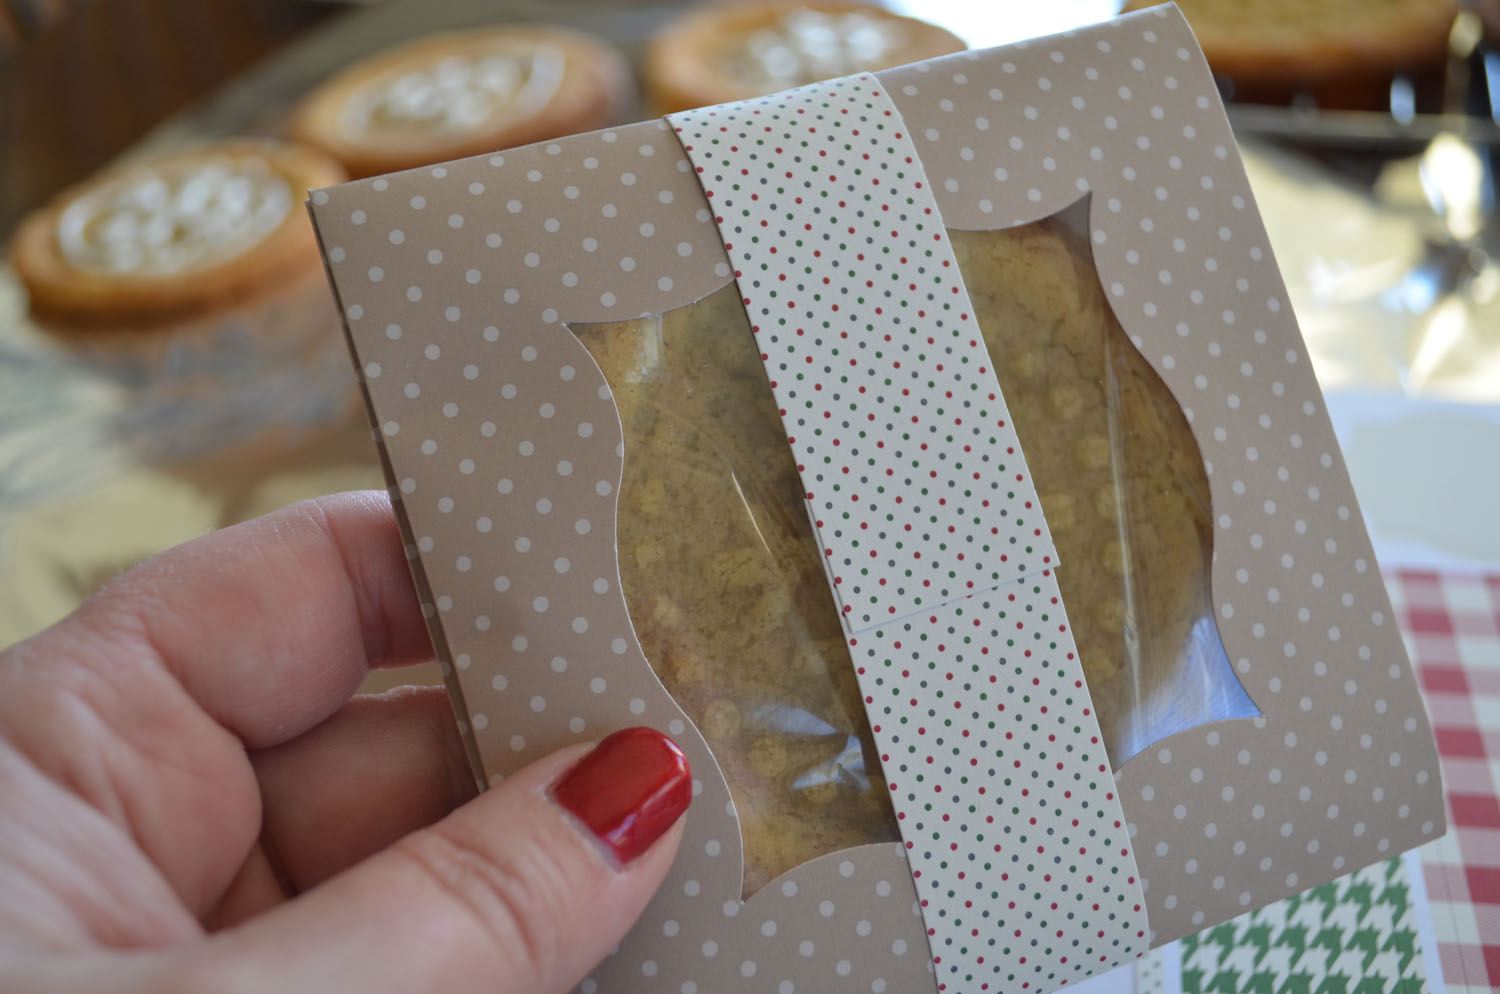
Cut Strips of Whisper White card stock and then rolled the Gingham wheel on the strips using Cherry Cobbler ink. I then cut the edges off of the strips to straighten things up a bit. I can never wheel straight, lol.
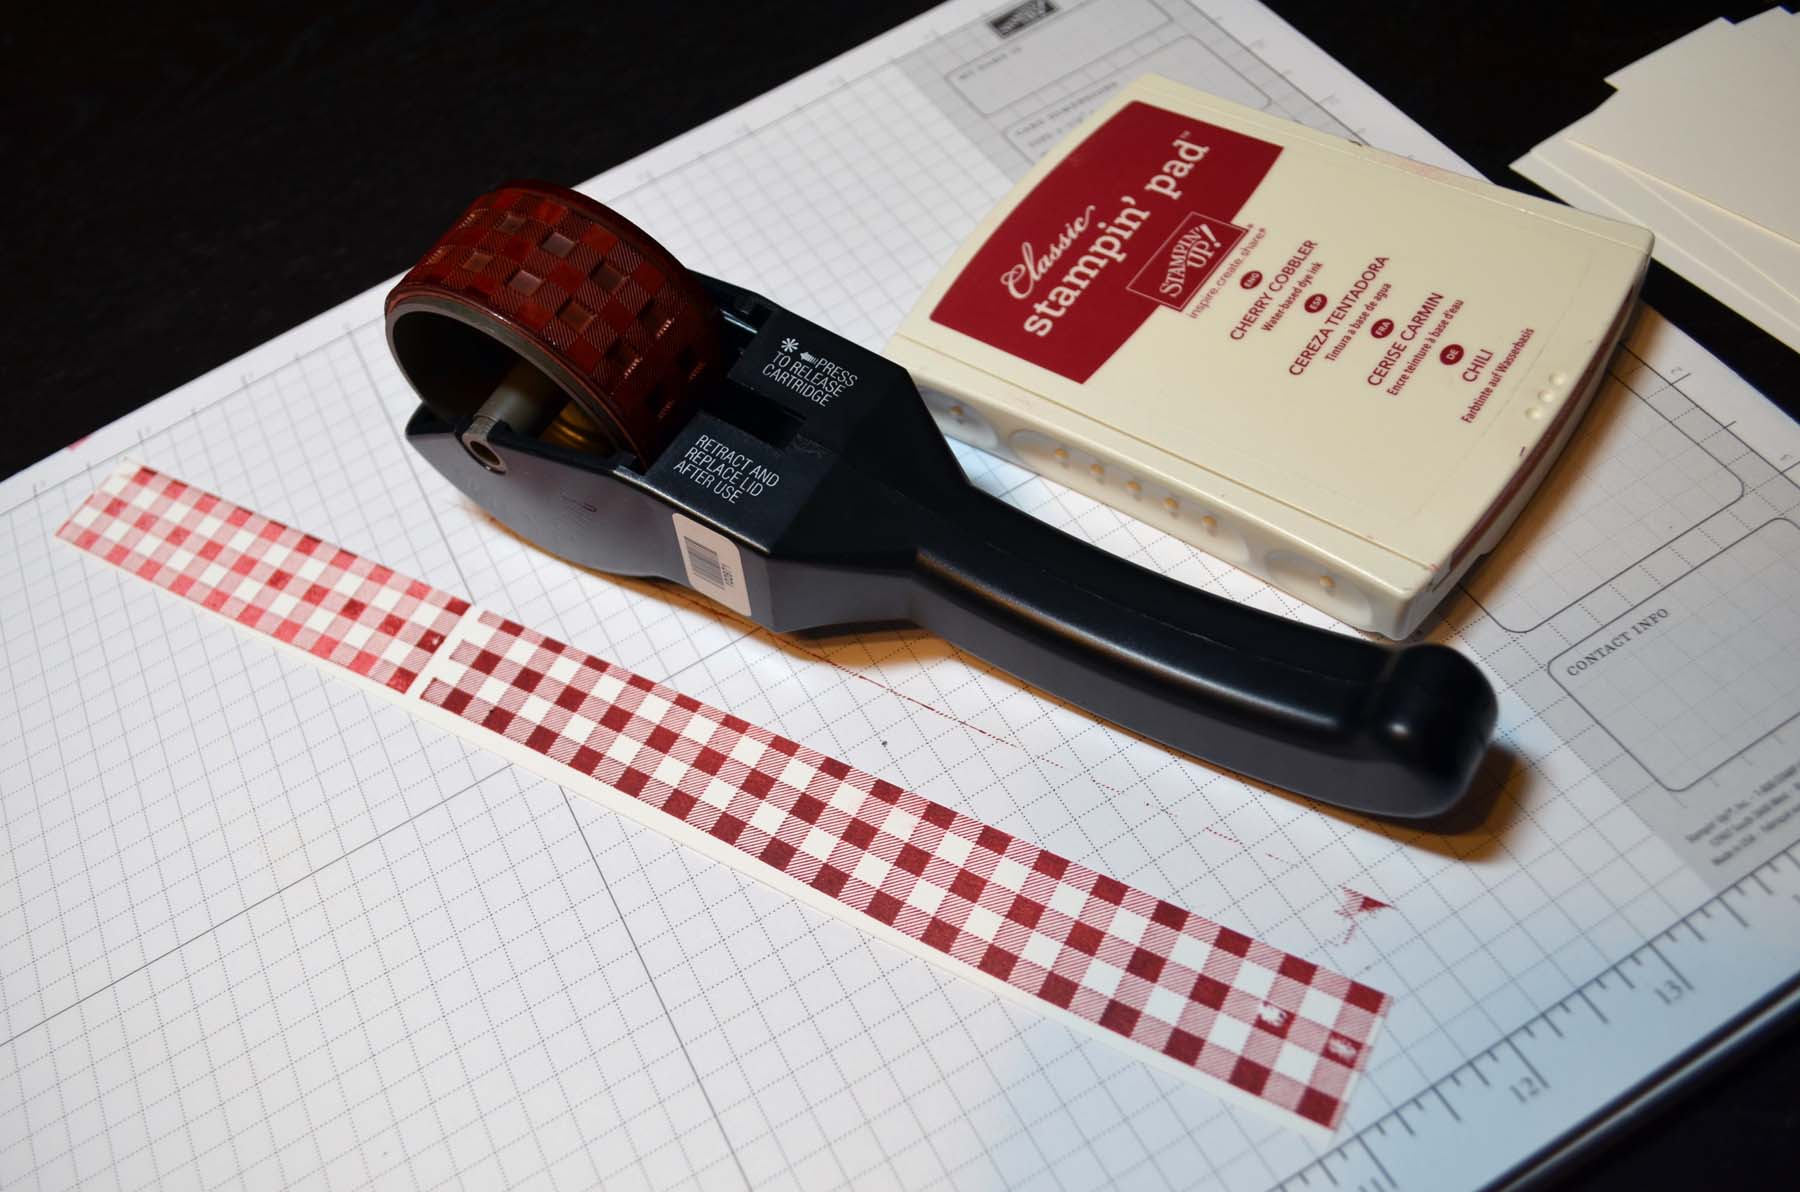
Also wheeled the Gingham wheel on the top and bottom edges of the label using Cherry Cobbler ink.
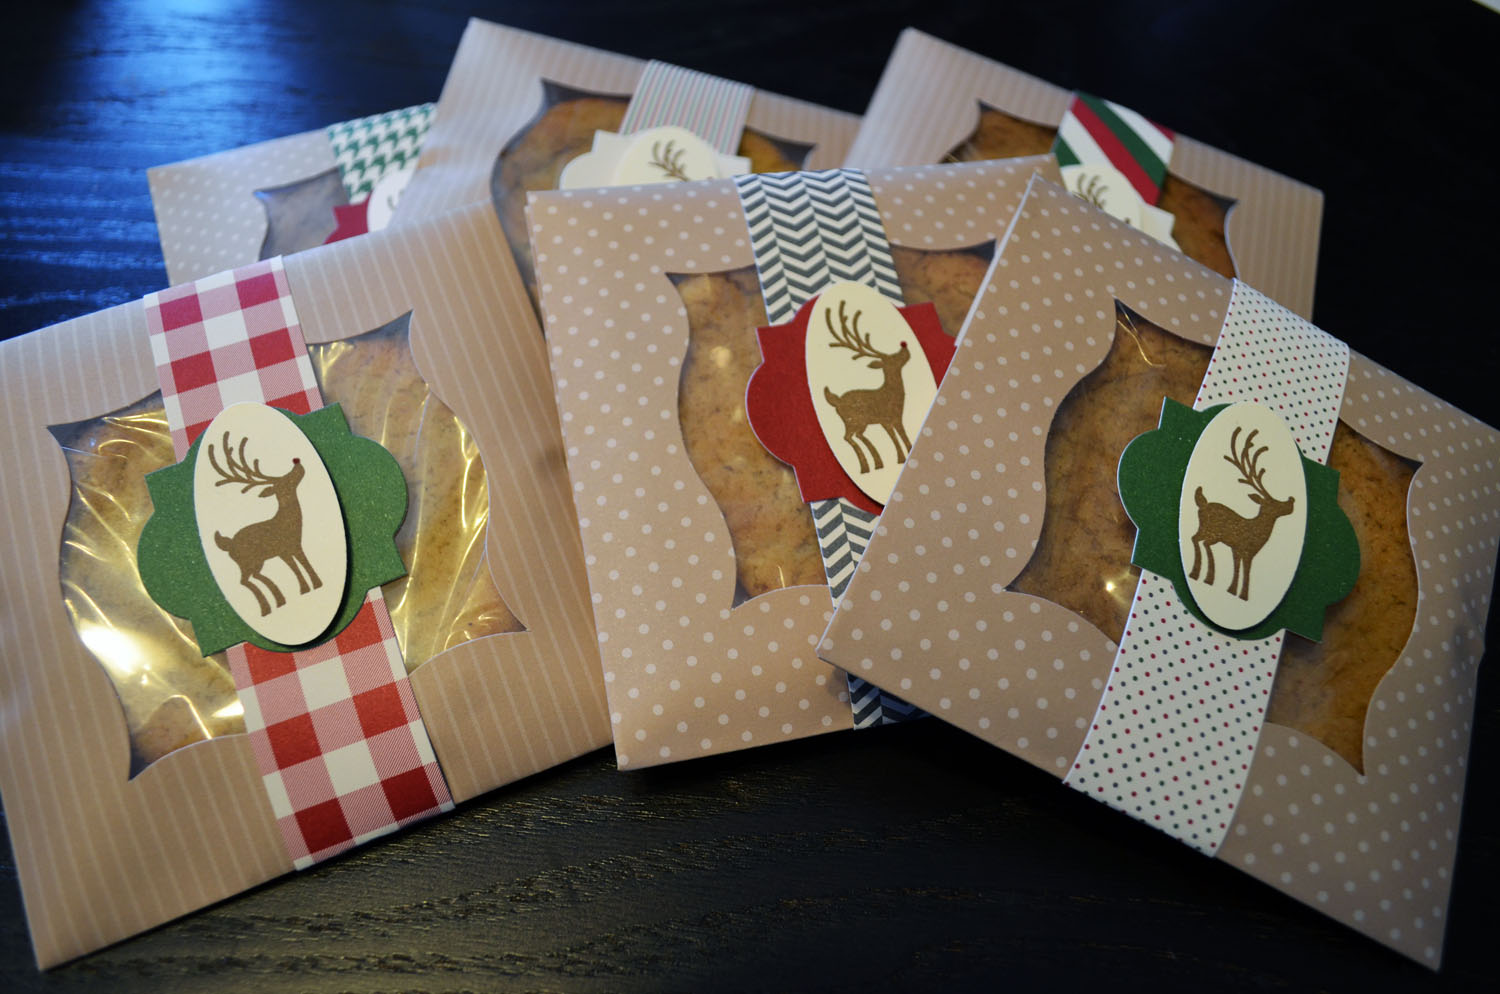
Here is the put together jars. Again, this was super simple and fast. Now that I have my design down for this years labels I will do the same design only in different colors. So next I’ll do my canned bread and butter pickle jars only in Old Olive. I plan on using the same design so when I gift a basket of home made items they will coordinate.
May your day be a total delight.
Until my next post. . . . . .
Huge Hugs!

******************************************************************
You could be my next Mystery Hostess!
The new Mystery Hostess Code is KVP77JCH and this is how it works:
MYSTERY HOSTESS:
With Stampin’ Up!’s announcement of the new Hostess Code, we can now “pool” Online Orders together (place them individually, orders will ship directly to you – within the US only, but use the same hostess code). When smaller orders are put in together, the larger order qualifies for HOSTESS BENEFITS.
******************************************************************
Shop my online store now CLICK HERE
******************************************************************
View the 2013-2014
annual catalog online (Flash)
![]() Annual catalog
Annual catalog
![]() Stampin’ Supplies
Stampin’ Supplies
![]() Product Guide
Product Guide
I have some catalogs on hand that can be ordered. The cost is $6.50 each which includes flat rate priority shipping. Please e-mail me at mzindorf@aim.com if you would like to purchase one click ![]() ***********************************************************
***********************************************************
Michelle’s Free Stamp Program
Don’t miss out on my Customer’s free stamp set program. Check it out! For your order of $50 in product using me as your demonstrator you will receive one virtual token. Order $100 in product receive two virtual tokens, etc. After you have collected 10 virtual tokens you will receive a free current stamp set of your choosing, a value of $30 or less.
Here is a link to my online shopping page that you can shop at 24/7 (from the comfort of your home, even in your pj’s) and the products will be shipped directly to your door step from Stampin’ Up. CLICK HERE TO SHOP. My free stamp set program will be an on going program. ![]()
***************************************************************
Learn How to Brayer

 I now have an online beginner brayer video classes that will teach you how to brayer. CLICK HERE TO GET THEM.
**************************************************
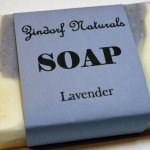 Also, check out my new Zindorf Naturals Soap Page. This stuff is oh so good for your skin. CLICK HERE TO CHECK IT OUT. I’m adding new soaps all the time to check back frequently.


