
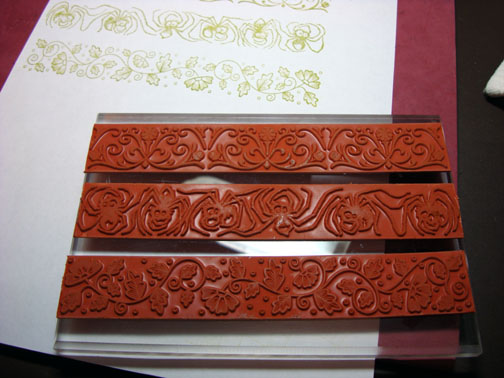
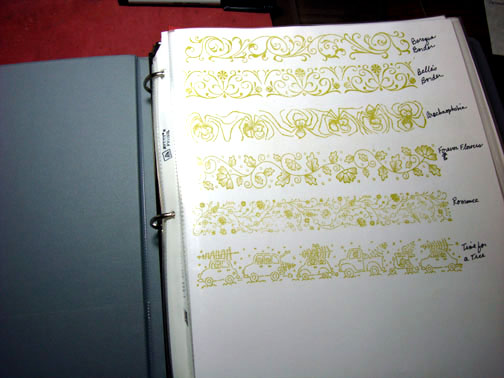
Today I have a little Tool Time segment for you on sponge organization. I gave up along time ago trying to keep a sponge for each color of ink I have, until I seen this cute and quick idea. I am not sure who to give credit to since I have heard this idea from a few different sources. But it is such a good idea I thought I would try it and share it with you.
Supplies:
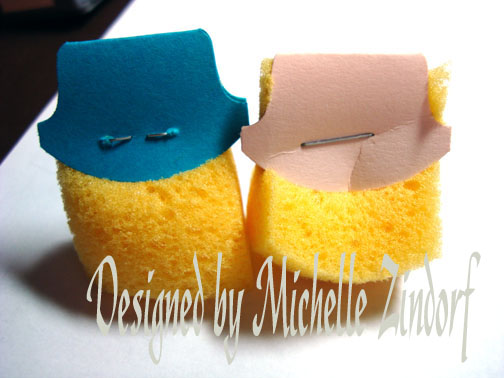
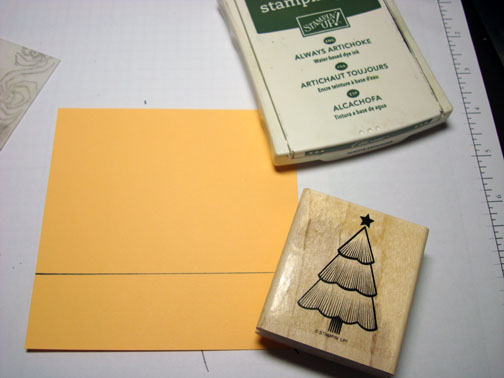
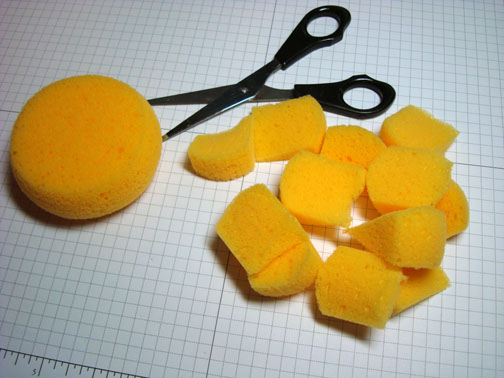
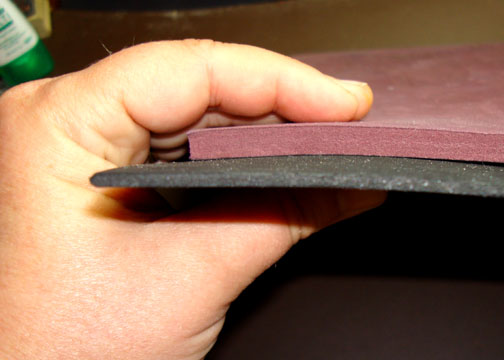
Stampin’ Up! Sponges, Item #101610 – cut into wedges
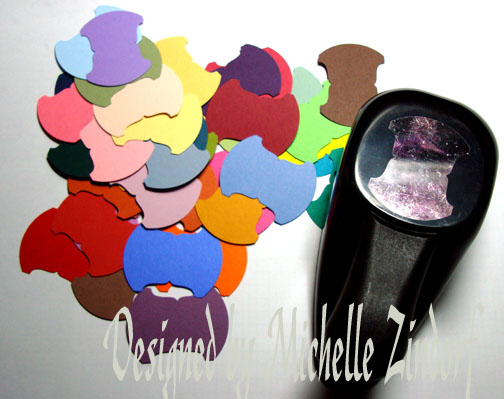
Stampin’ Up! Round Tab Punch, Item #108340
A scrap of each color of card stock that matches your ink colors. If you don’t have colored card stock to match your ink colors, smear ink on white card stock.
Stapler
Stampin’ Up has card stock that matches all of their ink colors, so using the Stampin’ Up! tab punch, punched one tab out of each color card stock that I have in ink. Pardon me, but I have them all, lol. By the way, so should you. 🙂 I know I am an enabler, I hear that often.
Next fold the tab over a wedge of sponge and staple it. The colored tab not only lets you quickly identify the ink color that the sponge is designated for, but also gives you something to hold onto when sponging.
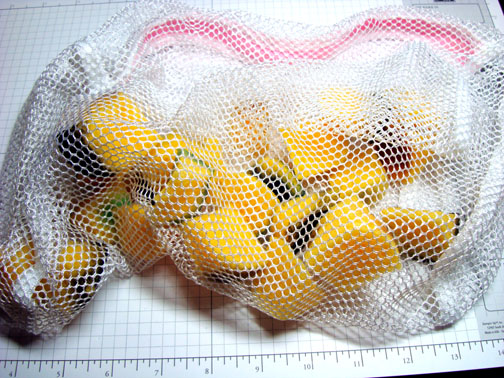
I have this plastic container that has dividers in it. I found it to be perfect to store my sponges.
This little project only took me about 30 minutes to throw together and will hopefully save me a bit of time and money.
I hope you enjoyed this little Tool Time segment. Let me hear from you in the comments section if you have great craft organization tips to share.
May your day be filled with lots of belly laughs. 🙂
Until my next post. . . . . . . . . . . . ..
Hugs,
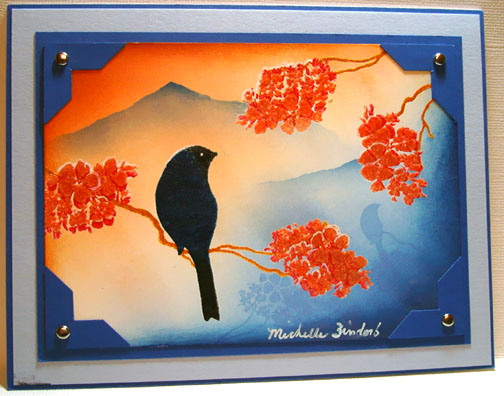
Michelle
 Get ready for Brayer Workshops! I am coming to:
Monroe, Louisiana (just a couple of seats left)
Jacksonville, Florida
St. Louis, Missouri
Mechanicsville, Virginia
Raleigh, North Carolina
Colleyville, Texas
Colorado Springs, Colorado
Boise area of Meridian, Idaho
Riverside, California (Southern California)
Salem, Oregon
Wheaton, Illinois
St. Cloud, Minnesota
Rockville, Maryland
North Chili, New York (near Rochester)
New Johnsonville, Tennessee
Kenova (Huntington), West Virginia
Helena, Montana
Middleburg Heights, Ohio
Venice, Florida
Grinnell, Iowa
Piedmont, Alabama (Near GA border close to Cedartown)
Auburn, Washington (near Seattle)
Elk Grove Village, Illinois
Savannah, Georgia
Atlanta, Georgia
North Liberty, Indiana
Saledad, California
Here is a link to my workshop calendar where you can see all of my travel schedule and to get info on beginner and advanced Brayer workshops: http://zindorf.blogs.splitcoaststampers.com/workshop-calendar
Link to my Stampin’ Up website where you can order all of your must have Stampin’ Up products from me 24-7: http://michellezindorf.stampinup.net
Frequently asked questions answers: http://zindorf.blogs.splitcoaststampers.com/frequently-asked-questions/


