You just never know when you will be inspired. This past weekend I had the honor of getting to teach my brayer workshops in the amazing, amazing, amazing, did I say AMAZING, studio of Brian Haggard in Indianapolis, Indiana. Brian Haggard is a fabulous artist. You should see what he does with fabric! When I was in his studio I just didn’t know what to look at first because everything was so very beautiful. Brian is the author of Crazy Quilt Memories. You can CLICK HERE TO CHECK IT OUT along with his blog. Brian thank you so much for opening up your studio to me and my students. Also a big thank you goes out to Sandy Elliot for hosting us.
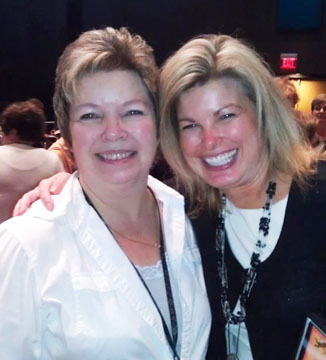
Okay, so these unsuspecting students, Kate Bell and Cathy Yamashita caught me when I was quite slap happy after teaching all day for this photo op. That will teach them, lol. Thanks ladies for being such good sports. Brayer On!

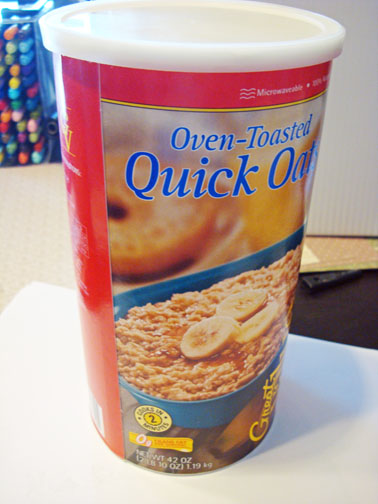
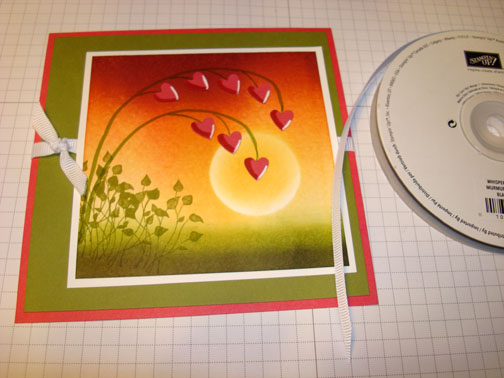
Although my project is not made from fabric, I was inspired by Brian Haggard’s work to do a piece with a fabric feel. I hope you like it. I had fun creating this tutorial for you. Enjoy and happy Monday!
Reminders before I start on the tutorial:
Only 4 days left to pick up those free Sale-a-bration sets. Stampin’ Up! Sale-a-bration sales period runs from January 24 – March 31, 2012. During this sales period you will receive your choice of a free stamp set from the Sale-a-bration catalog for every $50 in product you order. CLICK HERE TO CHECK OUT THIS YEAR’S SALE-A-BRATION CATALOG! You won’t want to miss out on the sale-a-bration sets, paper and embellishments.
Don’t miss out on my Customer free stamp set program. Check it out! Along with a thank you card from me for your order you will receive a token for each $50 in product you order using me as your demonstrator. After you have collected 10 tokens you will receive a free current stamp set of your choosing, a value of $39 or less. Here is a link to my online shopping page that you can shop at 24/7 (from the comfort of your home, even in your pj’s) and the products will be shipped directly to your door step from Stampin’ Up: CLICK HERE TO SHOP. My free stamp set program will be an on going program. ![]()
Don’t forget the Stampin’ Up! new Occasions Mini Catalog CLICK HERE TO TAKE A LOOK AT IT. I know you will fall in love with the new stamp sets, dies and accessories. They are to die for. . .
Now on with today’s tutorial. . . . . . .
Supplies:
Stamps: Stampin’ Up! Best Friends Forever (item number 122807)
Card Stock: Stampin’ Up! Early Espresso, Cherry Cobbler and River Rock
Ink: Stampin’ Up! Cherry Cobbler, More Mustard, Soft Suede and Early Espresso
Accessories: Stampin’ Up! Sponges, Butterfly and 1 3/4″ circle Punches, Mat Pack and Piercing Tool, Gold Brads, Versamark Pad, Clear Embossing Powder, Heat Gun and Stampin’ Dimensionals.
Want a free copy of the current Stampin’ Up! Occasions Mini Catalog? Just e-mail your address to mzindorf@aim.com and I will get one right out to you. Get your copy of the 2011-2012 Stampin’ Up! Idea Book & Catalog by sending $9.95 to me at P.O. box 116, West Alexandria, Ohio 45381 or via paypal to mzindorf@aim.com, shipping is free. ![]() Are you getting inspiration from this blog? One way you can help support it is to order your Stampin’ Up products through me. Click HEREto place an order and have your order delivered directly to your door step from Stampin’ Up! Want to become a Stampin’ Up Demonstrator , receive a 20% discount on product and earn instant income on orders, get to purchase products before they are released to the public? Consider being part of my Stampin’ Up Team and start your own business or become a Hobby Demo just for the discount. Click HERE for more information.
Are you getting inspiration from this blog? One way you can help support it is to order your Stampin’ Up products through me. Click HEREto place an order and have your order delivered directly to your door step from Stampin’ Up! Want to become a Stampin’ Up Demonstrator , receive a 20% discount on product and earn instant income on orders, get to purchase products before they are released to the public? Consider being part of my Stampin’ Up Team and start your own business or become a Hobby Demo just for the discount. Click HERE for more information.

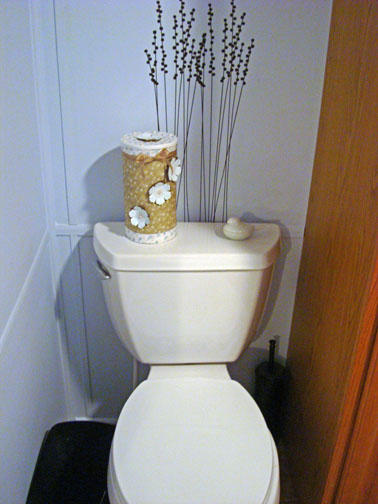
Started with a scrap piece of River Rock card stock. Stamped the vine image from the Stampin’ Up! set Best Friends Forever using Versamark. Heat embossed the image using clear embossing powder and a heat gun.

Punched a butterfly out of the embossed card stock, lining the vine image up in the punch so it is best highlight. (Sorry for the shaky photo, too much caffeine this morning, lol)

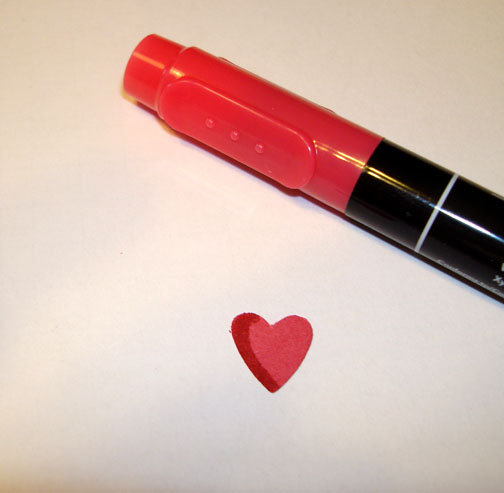
Sponged Cherry Cobbler ink all over the butterfly punch.

Sponged Early Espresso ink in the center of the butterfly.

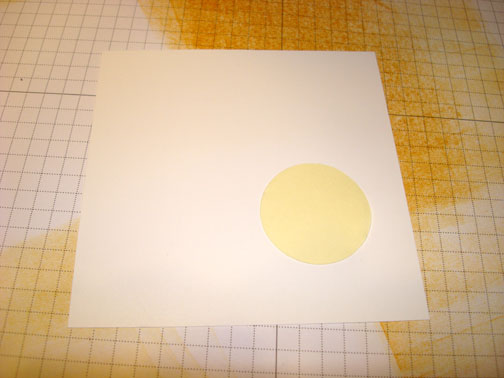
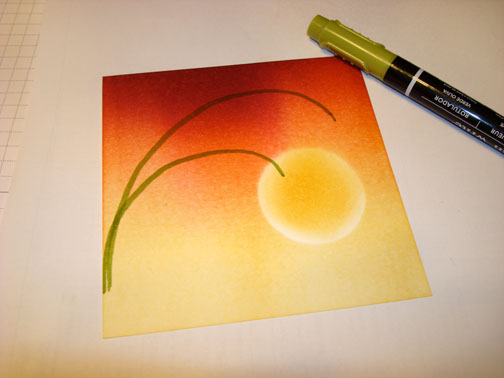
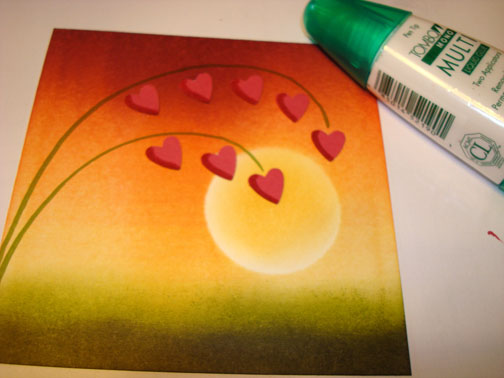
Stamped the vine image 3 times using Versamark on a 4″ square piece of River Rock card stock. Heat embossed the images using clear embossing powder and a heat gun.

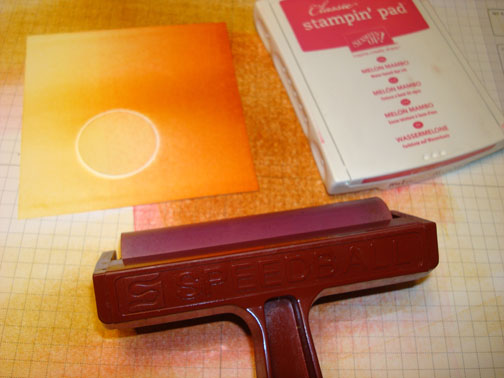
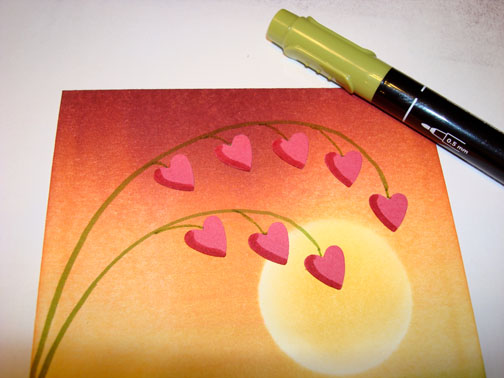
Sponged More Mustard ink all over the card stock.

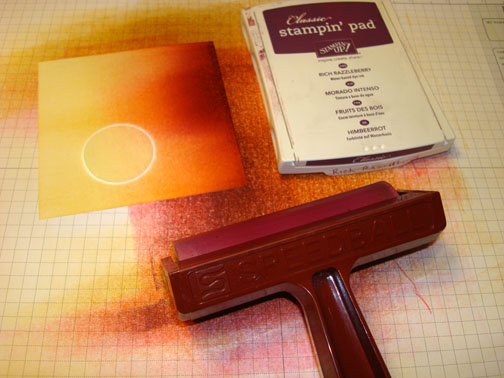
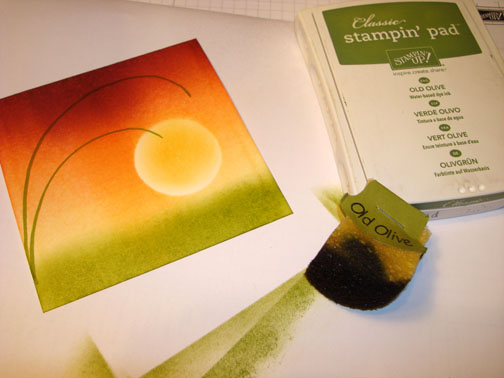
Sponged Soft Suede ink on the card stock.

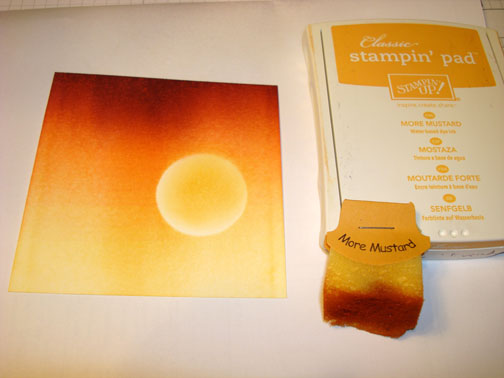
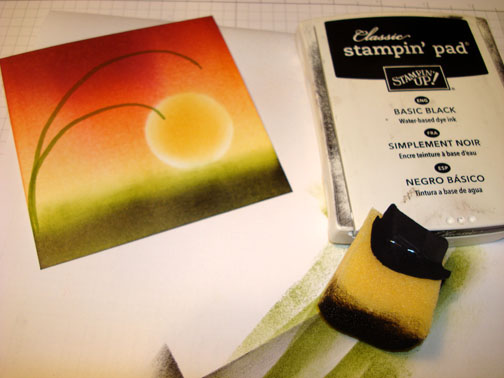
Sponged Early Espresso ink on the card stock.

Stamped the vine twice on a scrap piece of River rock card stock and heat embossed the two images using clear embossing powder and a heat gun.

Punched the images out using a 1 3/4″ circle punch.

Held the two circles together and cut one side off of them.

Sponged Early Espresso ink all over them.

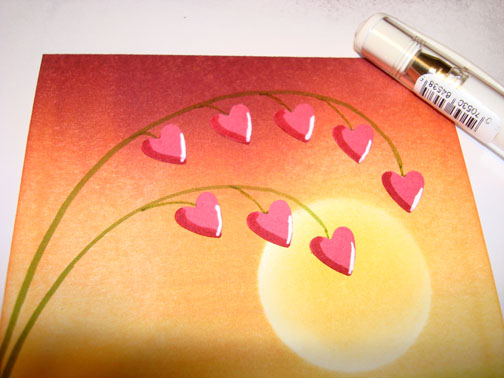
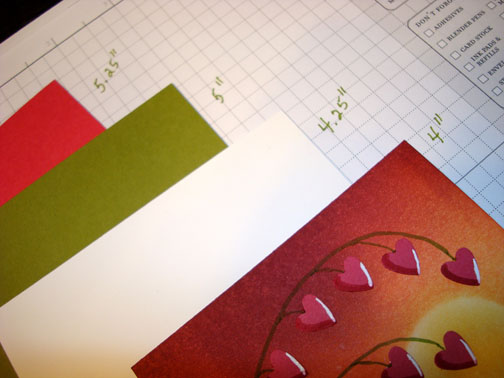
Assembled the card adding a 5.25″ Early Espresso panel, 5 1/8″ River Rock panel and a 4 1/8″ Cherry Cobbler panel. Popped the butterfly up using Stampin’ Dimensionals.

Added Gold Brads to the circles and the butterfly center.

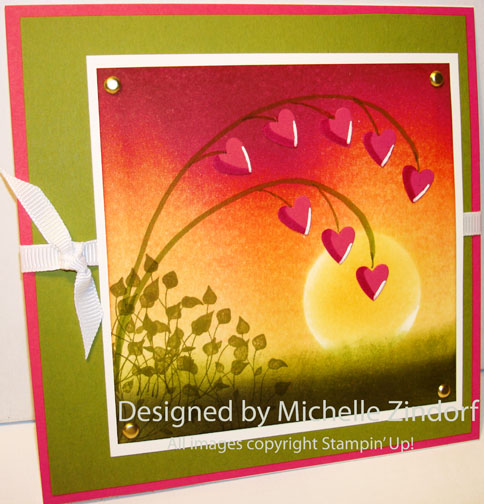
Here is the finished card measuring 5.25″ square.

May your day be filled with love and laughter.
Until my next post. . . . . . . .
Hugs,


 Get ready for Brayer and Direct to Paper Workshops! I am coming to the following locations, click the location name for more information.
Sparta, New Jersey (Sold Out)
Post Falls, Idaho (outside of Coeurd’Alene)
Sand Lake, Michigan (just North of Grand Rapids)
Longmont (Gunbarrel), Colorado
Here is a link to my workshop calendar where you can see all of my travel schedule and to get info on beginner and advanced Brayer workshops, along with the newly added Direct to Paper Workshop: http://zindorf.blogs.splitcoaststampers.com/workshop-calendar
Don’t see a workshop in your State? Interested in hosting the workshops in your area Click HERE to get hostess information.
Link to my Stampin’ Up website where you can order all of your must have Stampin’ Up products from me 24-7: http://michellezindorf.stampinup.net


