
Hey There, I’m back safe and sound from this year’s Stampin’ Up! Convention. If I was not a Stampin’ Up! Demonstrator already, I would become one just to get to go to this event every year. Can I say over the top fun!!! Stamping, friends, recognition/awards, totally wonderful products and ideas.
Below is a photo of myself with my Up Lines and Side Lines (I’m the fourth person from the left). Our fabulous team was up on stage celebrating the growth of our teams during the recruiting march.
It is so nice working with a company that rewards and recognizes your achievements. Stampin’ Up! ROCKS!!!!
Now how about a tutorial?
Anytime I am pressed for time I grab my Lovely As A Tree stamp set. This is the result of today’s stamping rush.
Let’s get started on this Mystical Tree scene. . . . . . .
Supplies:
| Stamps: Stampin’ Up! Lovely as a Tree, French Filigree, Vintage Vogue |
| Paper: Stampin’ Up! Concord Crush, Old Olive, Whisper White, Pocketful of Posies Designer Series Paper |
| Ink: Stampin’ Up! Concord Crush, Pacific Point, Old Olive, Basic Black, Bashful Blue |
| Accessories: Stampin’ Up! Sponges, Old Olive, Pear Pizzazz, Basic Black, Sahara Sand markers, Brayer, Corner Round punch, Old Olive Ribbon |
| Techniques: Brayering |
Want a free copy of the new Summer Mini Catalog ? E-mail your mailing address to mzindorf@aim.com and I will get one in the mail to you. ![]() Are you getting inspiration from this blog? One way you can help support it is to order your Stampin’ Up products through me. Click HERE to place an order. Want to become a Stampin’ Up Demonstrator , receive a 20% discount on product and earn instant income on orders? Consider being part of my Stampin’ Up Team and start your own business or become a Hobby Demo just for the discount. Click HERE for more information.
Are you getting inspiration from this blog? One way you can help support it is to order your Stampin’ Up products through me. Click HERE to place an order. Want to become a Stampin’ Up Demonstrator , receive a 20% discount on product and earn instant income on orders? Consider being part of my Stampin’ Up Team and start your own business or become a Hobby Demo just for the discount. Click HERE for more information.

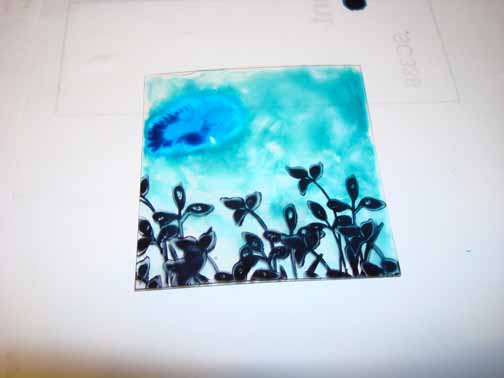
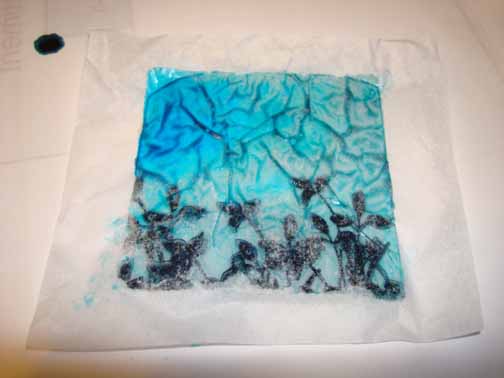
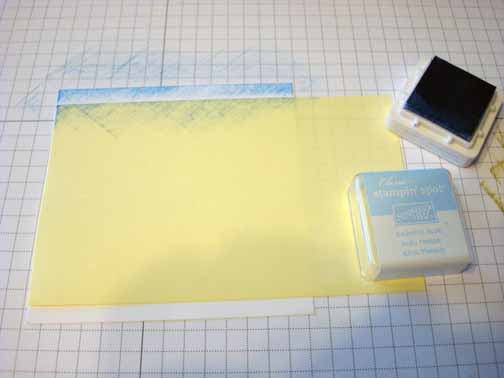
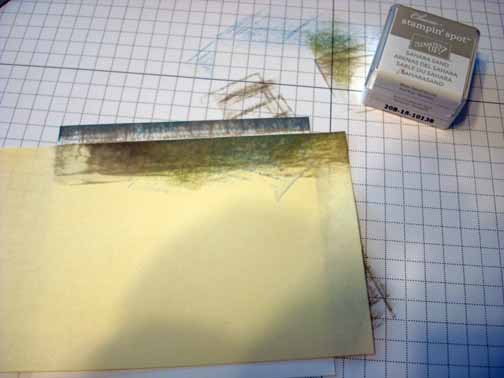
Brayered Pacific Point ink on the top and bottom of a 3.5″ x 5″ piece of Whisper White card stock.


Brayered Concord Crush ink at the top of the card stock, not covering the Pacific Point ink entirely.

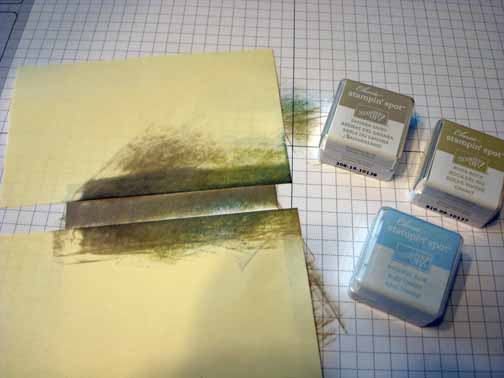
Sponged and oblong spot of Pacific Point ink at the left hand side at the bottom. This will be the shadow for the tree.

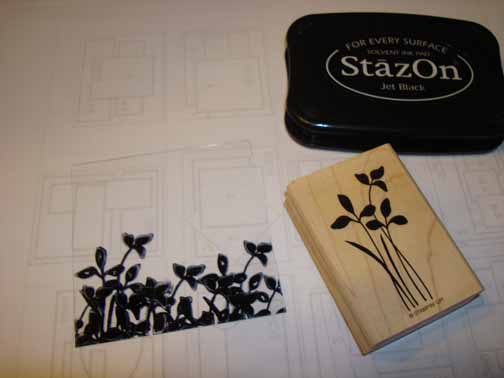
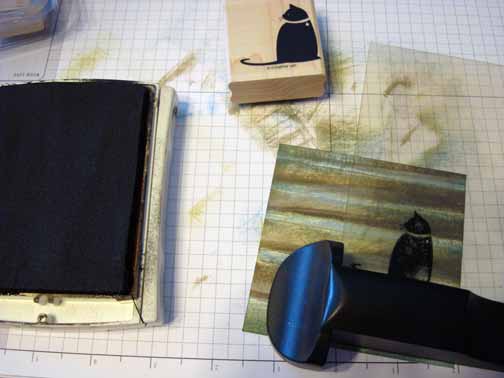
Stamp the Lovely as a Tree stamp in the middle of the shadow area using Basic Black ink.

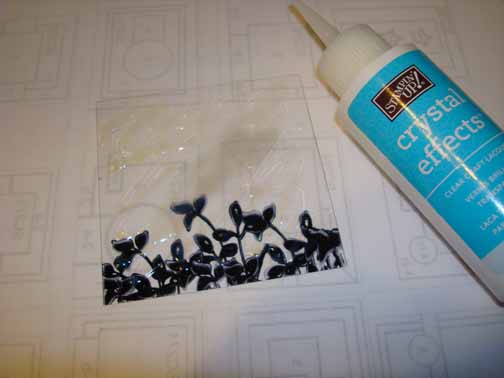
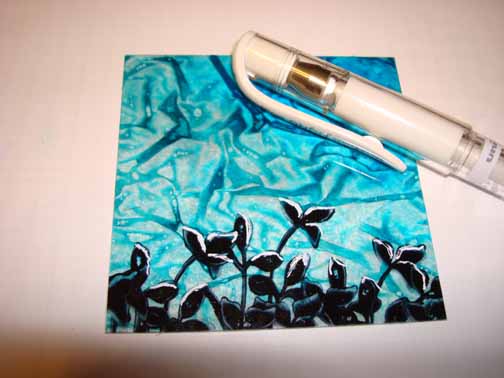
Color the trunk and bottom leaves in with a Sahara Sand marker.

Colored the rest of the leaves using a Pear Pizzazz marker.

Tapped in a bit of Old Olive marker at the bottom half of the leaf area.

Added White Gel pen highlights on the left side of the leafy area and the left side of the tree trunk.

Added Basic Black marker to the right side of the tree trunk.

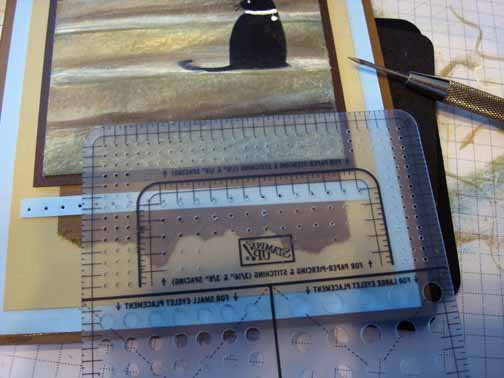
Cut 2 layers of Concord Crush, 2 layers of Old Olive and 1 layer of Pocket of Posies Designer Series paper. Used the corner round the left 2 corners of all the layers accept the largest Concord Crush layer.

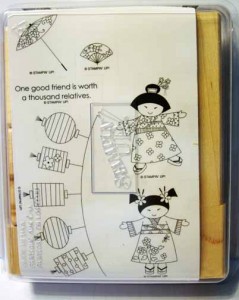
Stamped the flowers from the Vintage Vogue set at the bottom of the card stock using Old Olive ink.

Sponged Old Olive ink at the bottom of the card stock.

Sponged Basic Black ink around the outside edges of the card stock.

Stamped the French Filigree back ground stamp on the right hand side of the main image panel using Bashful Blue ink.

Assembled my card and added Old Olive Ribbon.
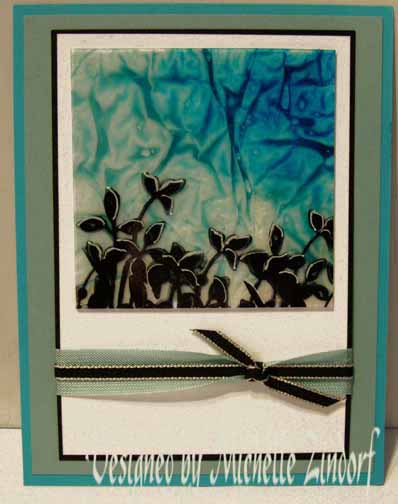
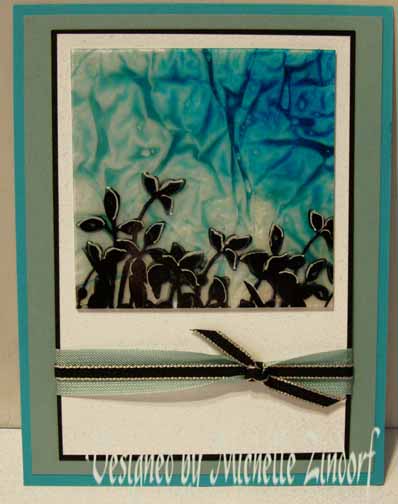
Here is the finished card measuring 5″ x 6.5″.
May your day be FABULOUS!
I’m going to go work on creating some out of this world projects for my upcoming Brayer workshops.
I have added a funny at the bottom of this post, enjoy!
Until my next post. . . . . .
Hugs,
Michelle
 Get ready for Brayer Workshops! I am coming to the following locations, click the location name for more information.
Staley , North Carolina (South of Greensboro)
Jefferson, Louisiana (New Orleans Area)
Here is a link to my workshop calendar where you can see all of my travel schedule and to get info on beginner and advanced Brayer workshops: http://zindorf.blogs.splitcoaststampers.com/workshop-calendar
Don’t see a workshop in your State? Interested in hosting the workshops in your area in 2012? Click HERE to get hostess information.
Link to my Stampin’ Up website where you can order all of your must have Stampin’ Up products from me 24-7: http://michellezindorf.stampinup.net
Now for a funny, lol.
HOW TO BE GRACIOUS
Jennifer’s wedding day was fast approaching. Nothing could dampen
her excitement – not even her parent’s nasty divorce.
Her mother had found the PERFECT dress to wear, and would be the
best-dressed mother-of-the-bride ever!
A week later, Jennifer was horrified to learn that her father’s
new, young wife had bought the exact same dress as her mother!
Jennifer asked her father’s new young wife to exchange it, but she
refused. ”Absolutely not! I look like a million bucks in this dress,
and I’m wearing it,” she replied.
Jennifer told her mother who graciously said, ”Never mind
sweetheart. I’ll get another dress. After all, it’s your special day.”
A few days later, they went shopping, and did find another
gorgeous dress for her mother.
When they stopped for lunch, Jennifer asked her mother, ”Aren’t
you going to return the other dress? You really don’t have another
occasion where you could wear it.”
Her mother just smiled and replied, ”Of course I do, dear…..I’m
wearing it to the rehearsal dinner the night BEFORE the wedding.”
(NOW I ASK YOU – IS THERE A WOMAN OUT THERE, ANYWHERE, WHO WOULDN’T ENJOY THIS STORY?)
Women are Angels.
And when someone breaks our wings….
We simply continue to fly ……… on a broomstick….. We are flexible….


