
Hi There,
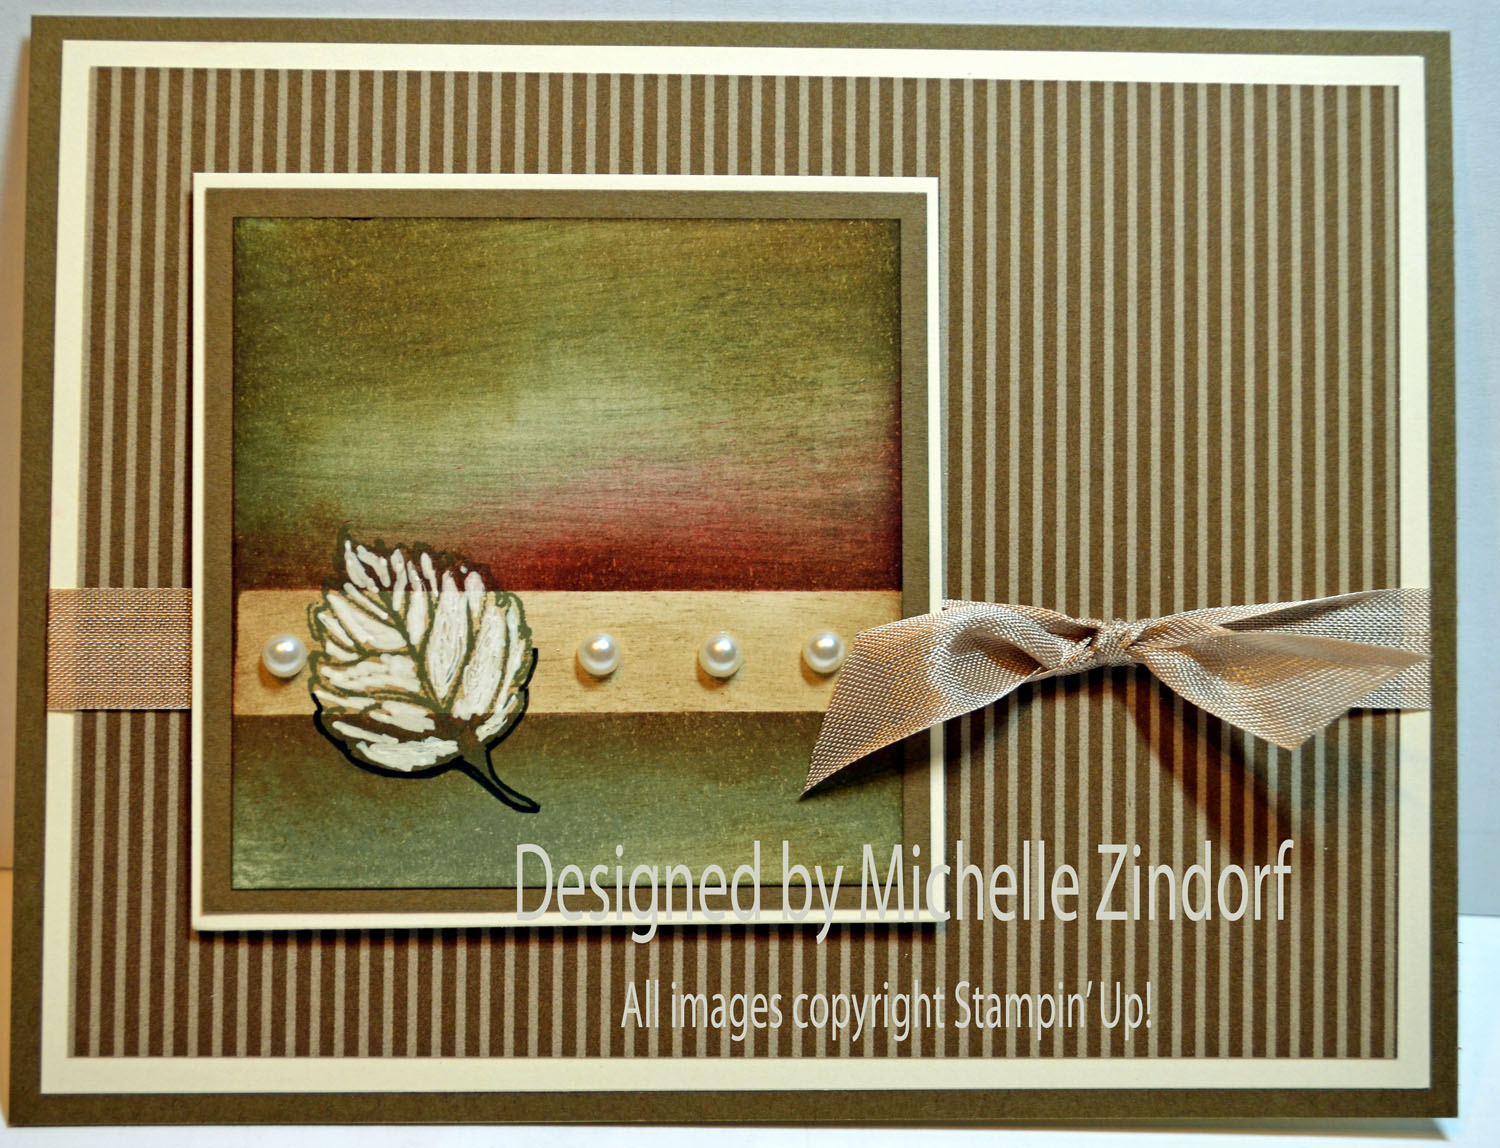
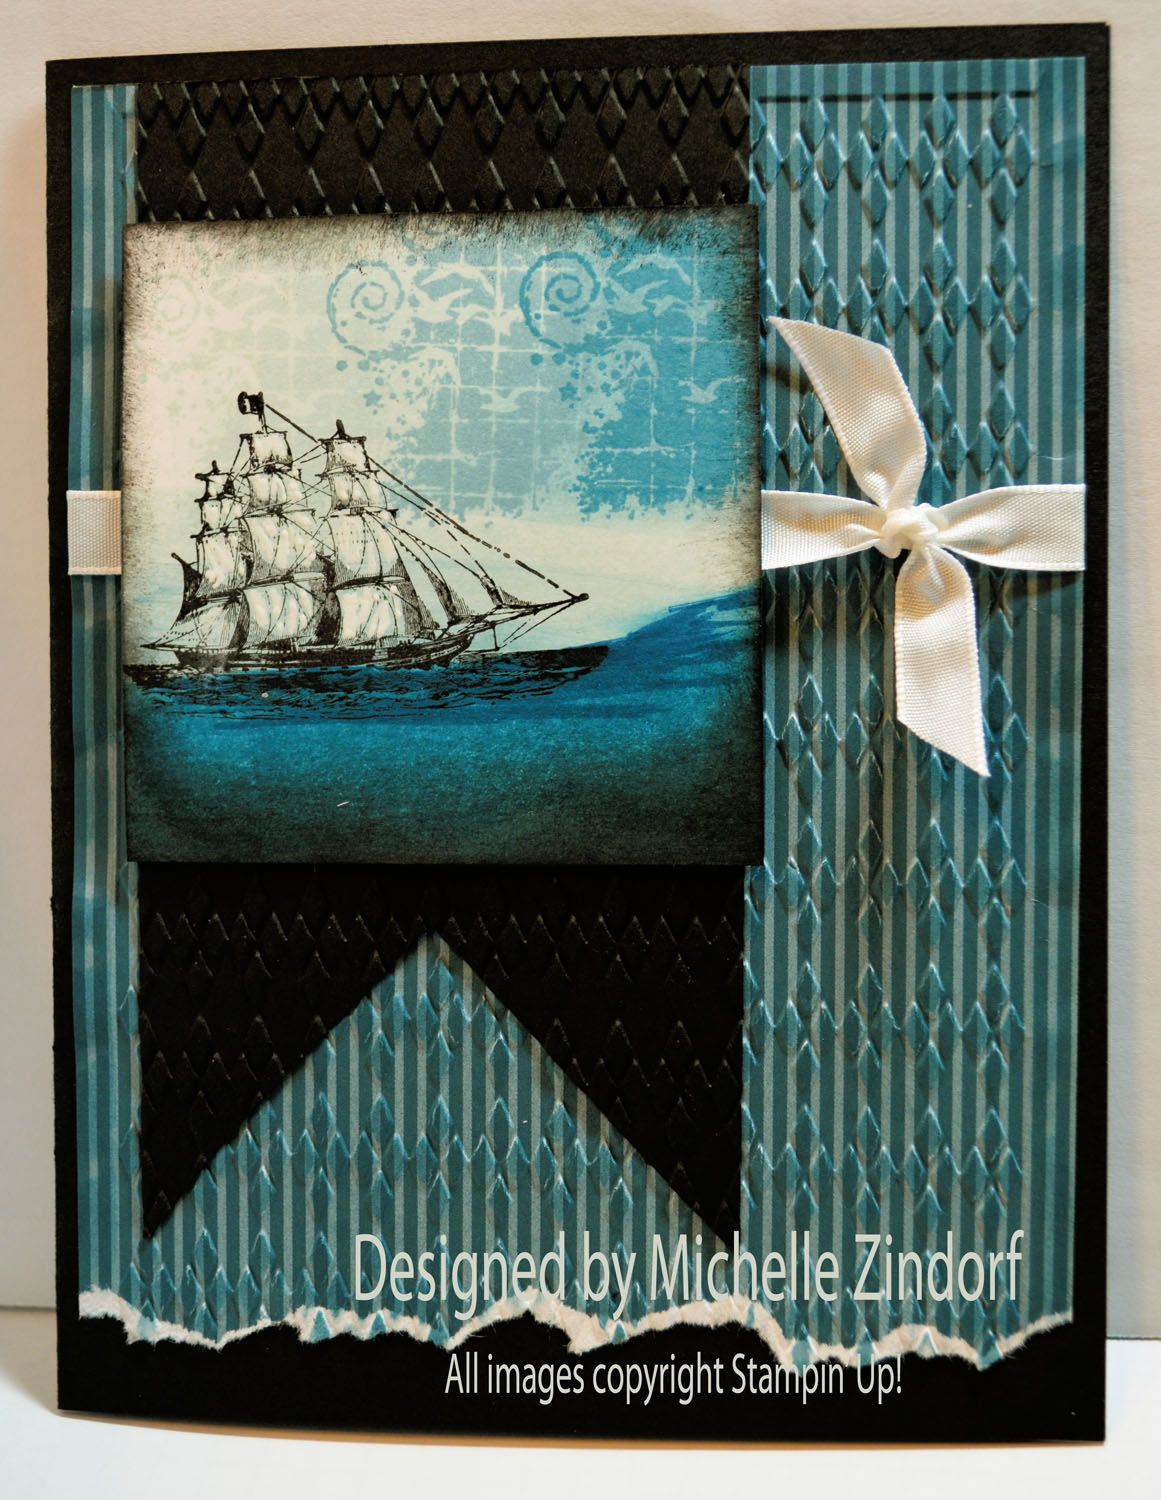
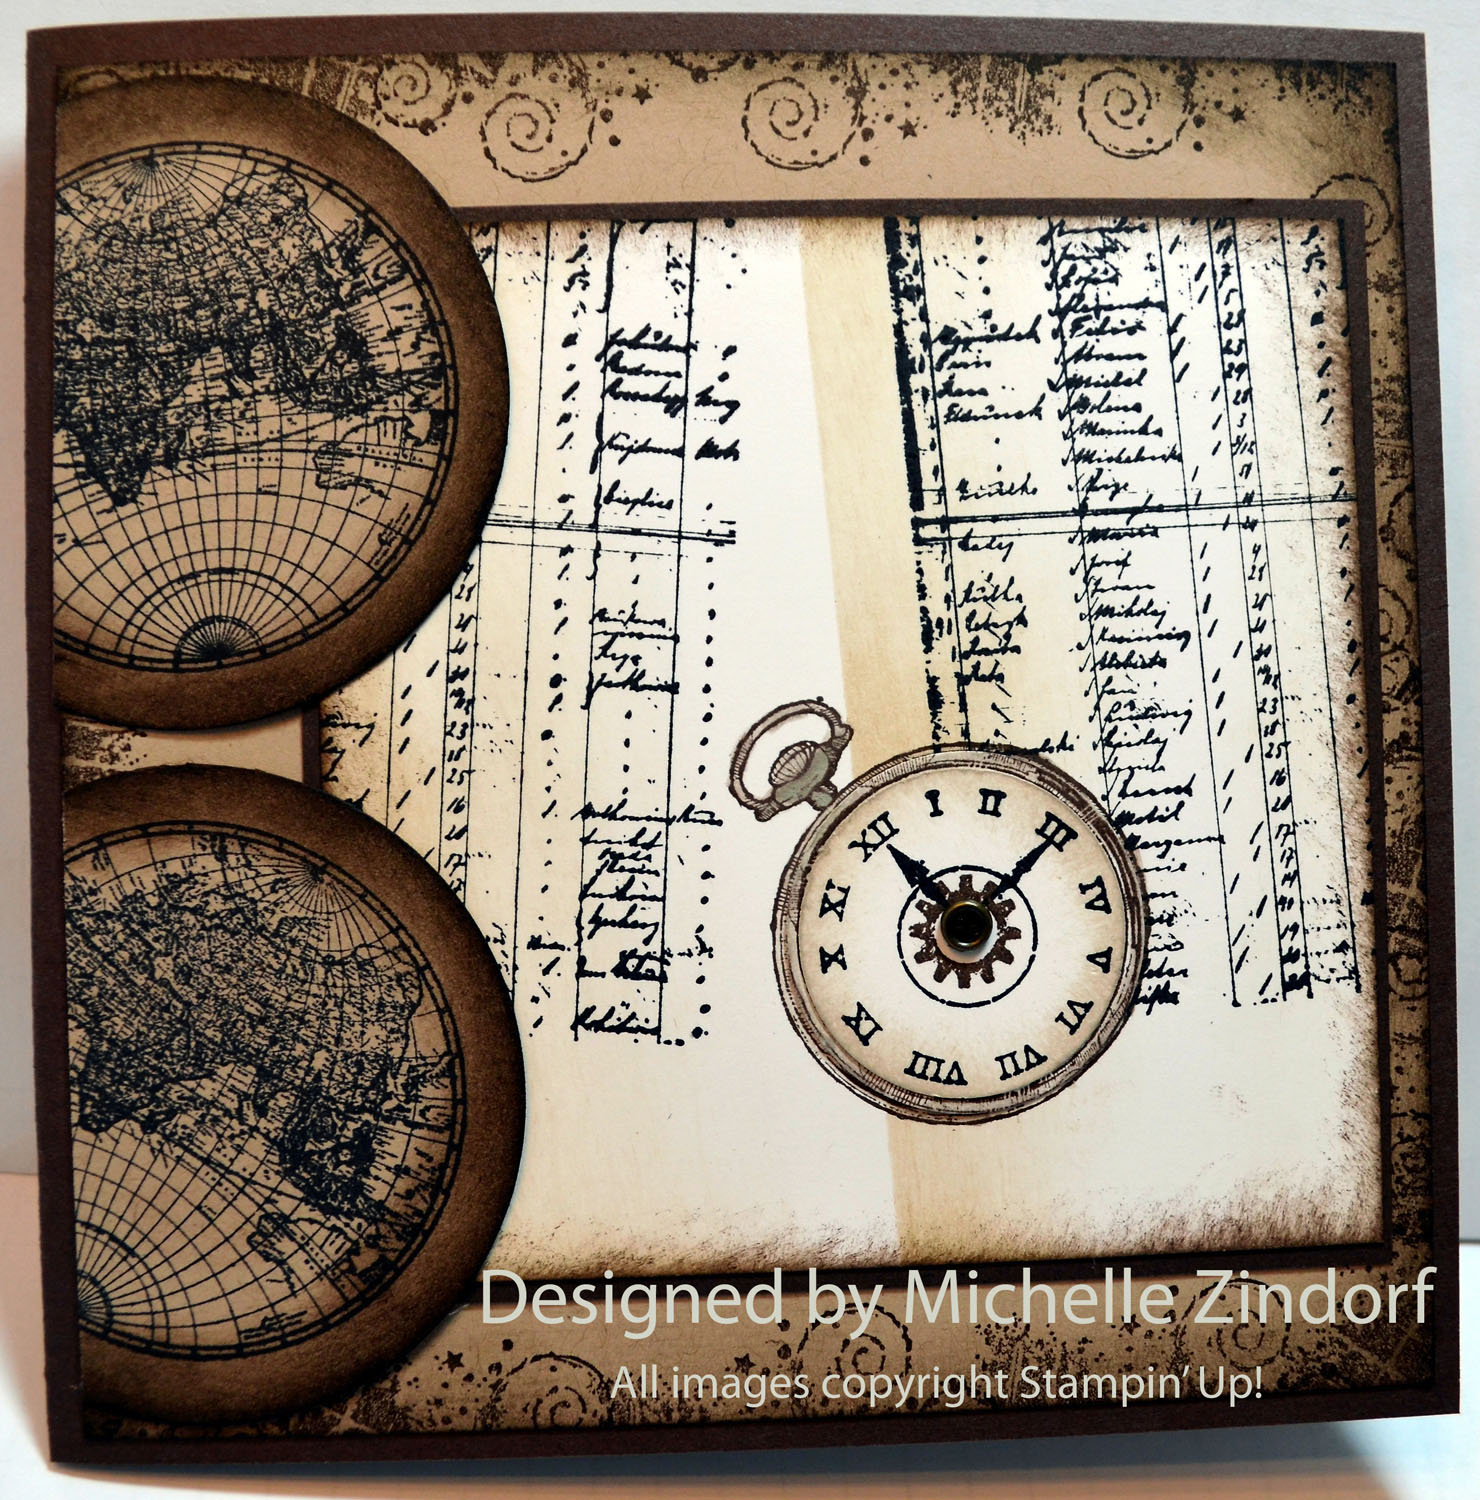
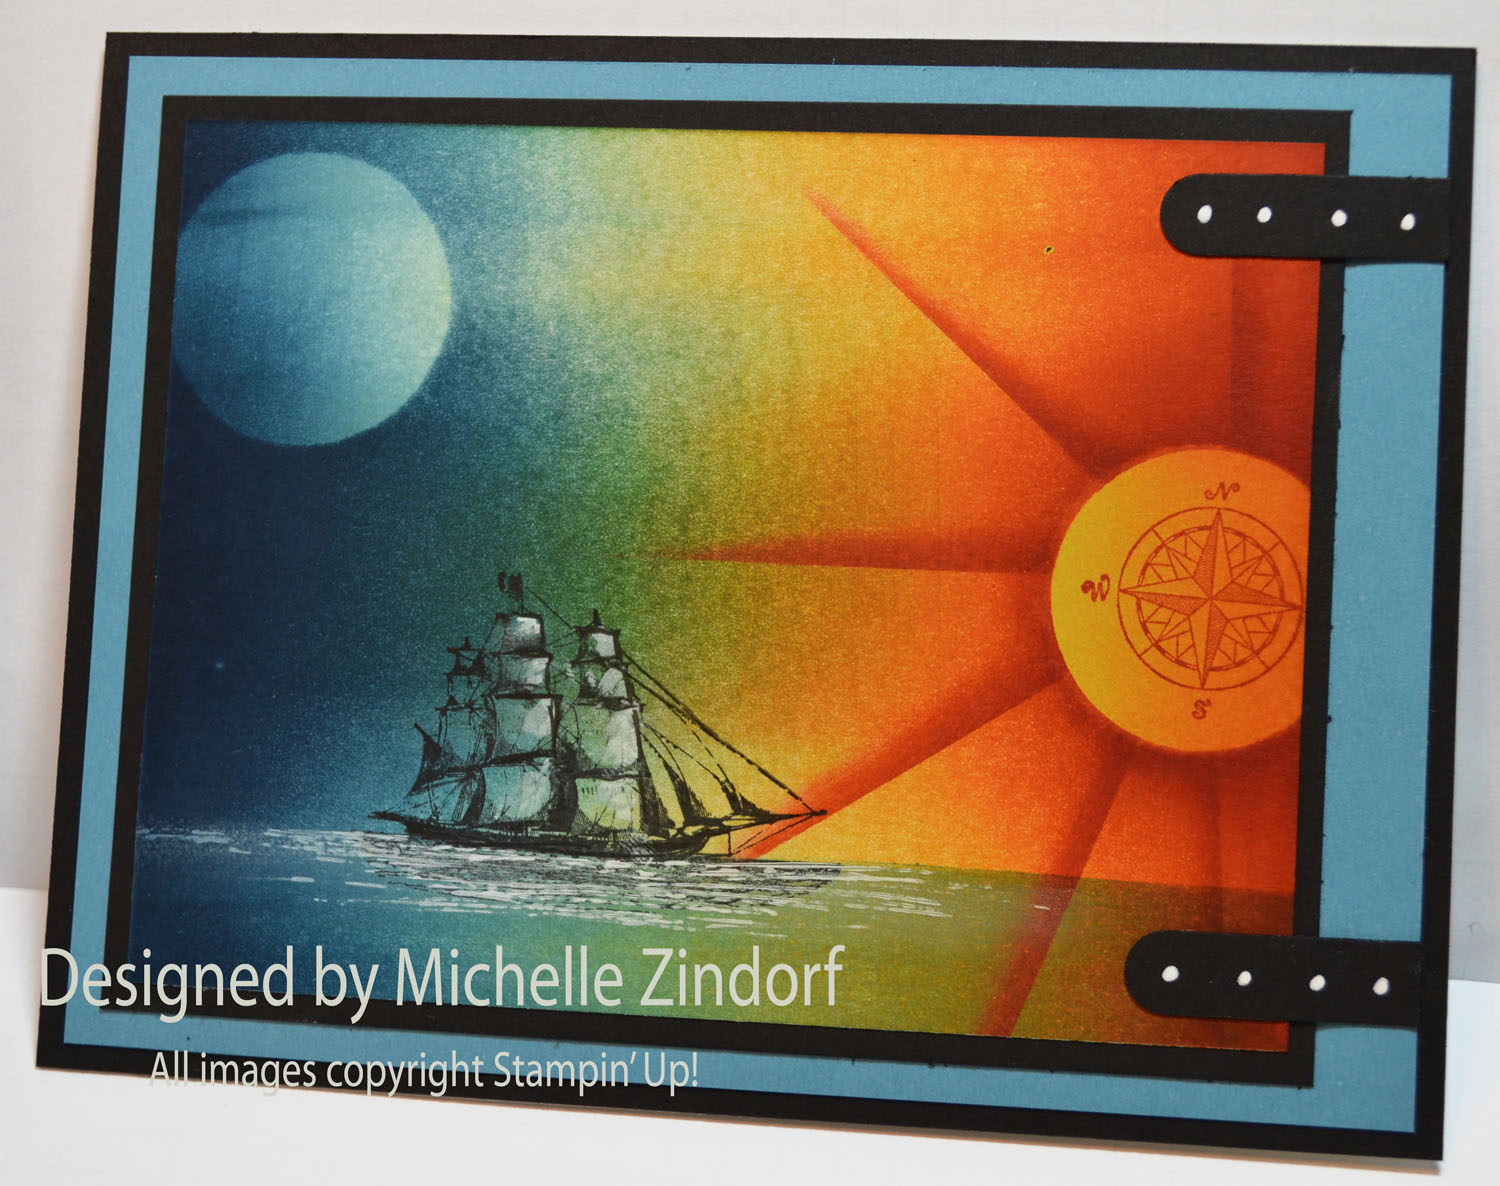
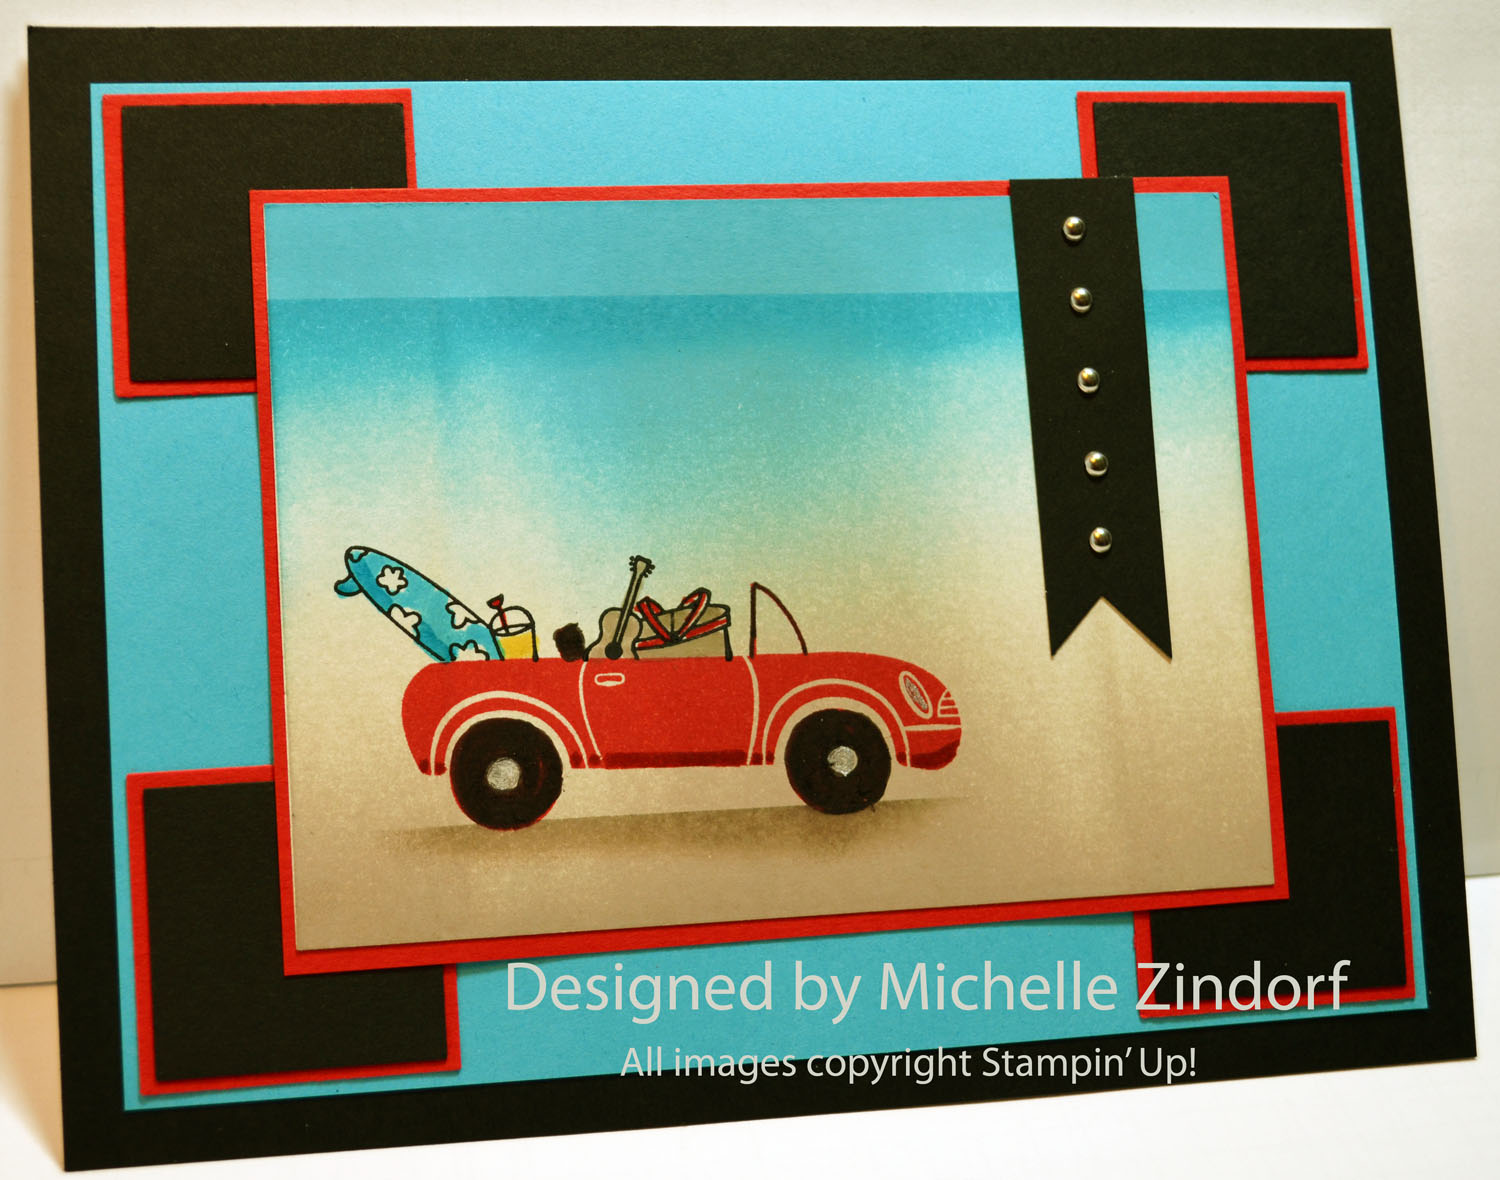
I broke two Stampin’ Up! sets out today that work perfectly together, Clockworks and The Open Seas. Don’t they look great together?
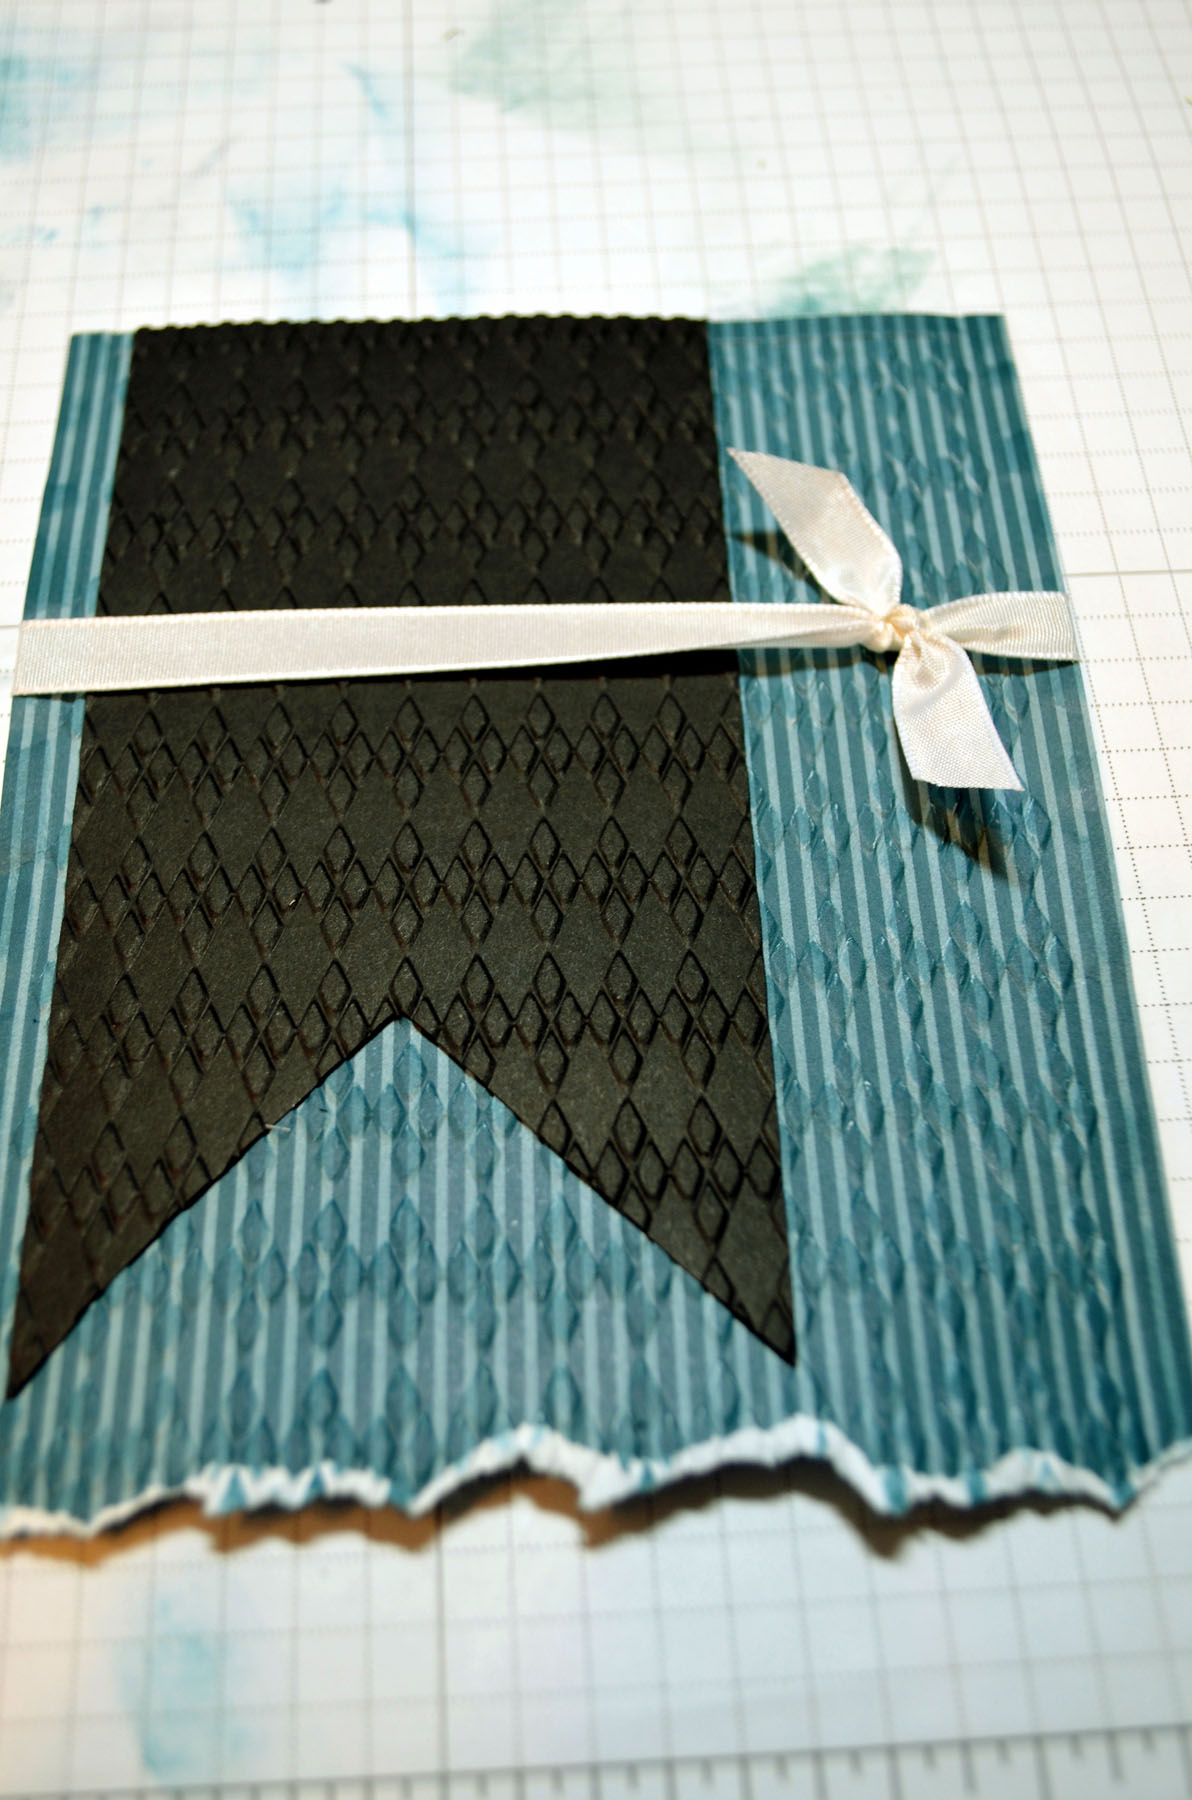
In my tutorial today I will show you how to achieve that open book look with just a bit of masking and shading. Check it out below.
***************************************************************
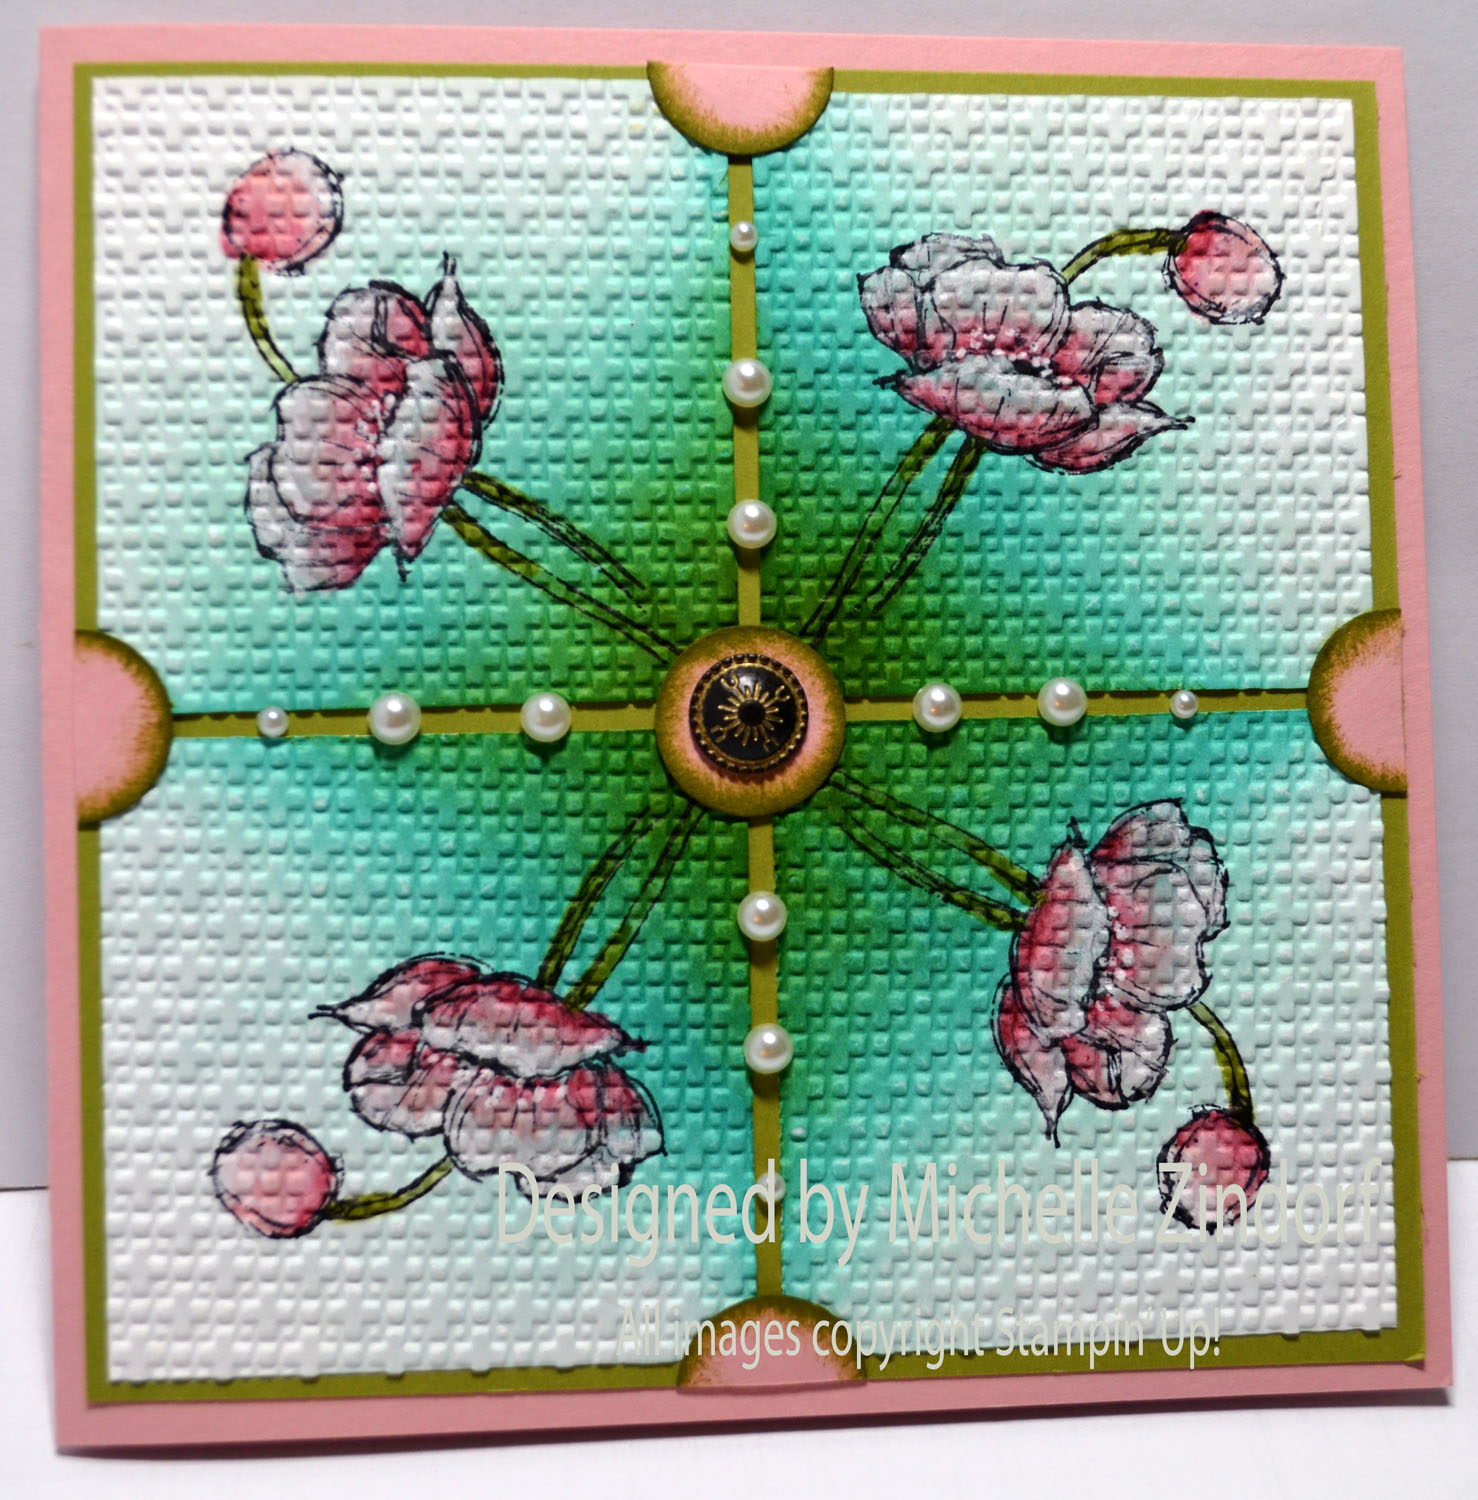
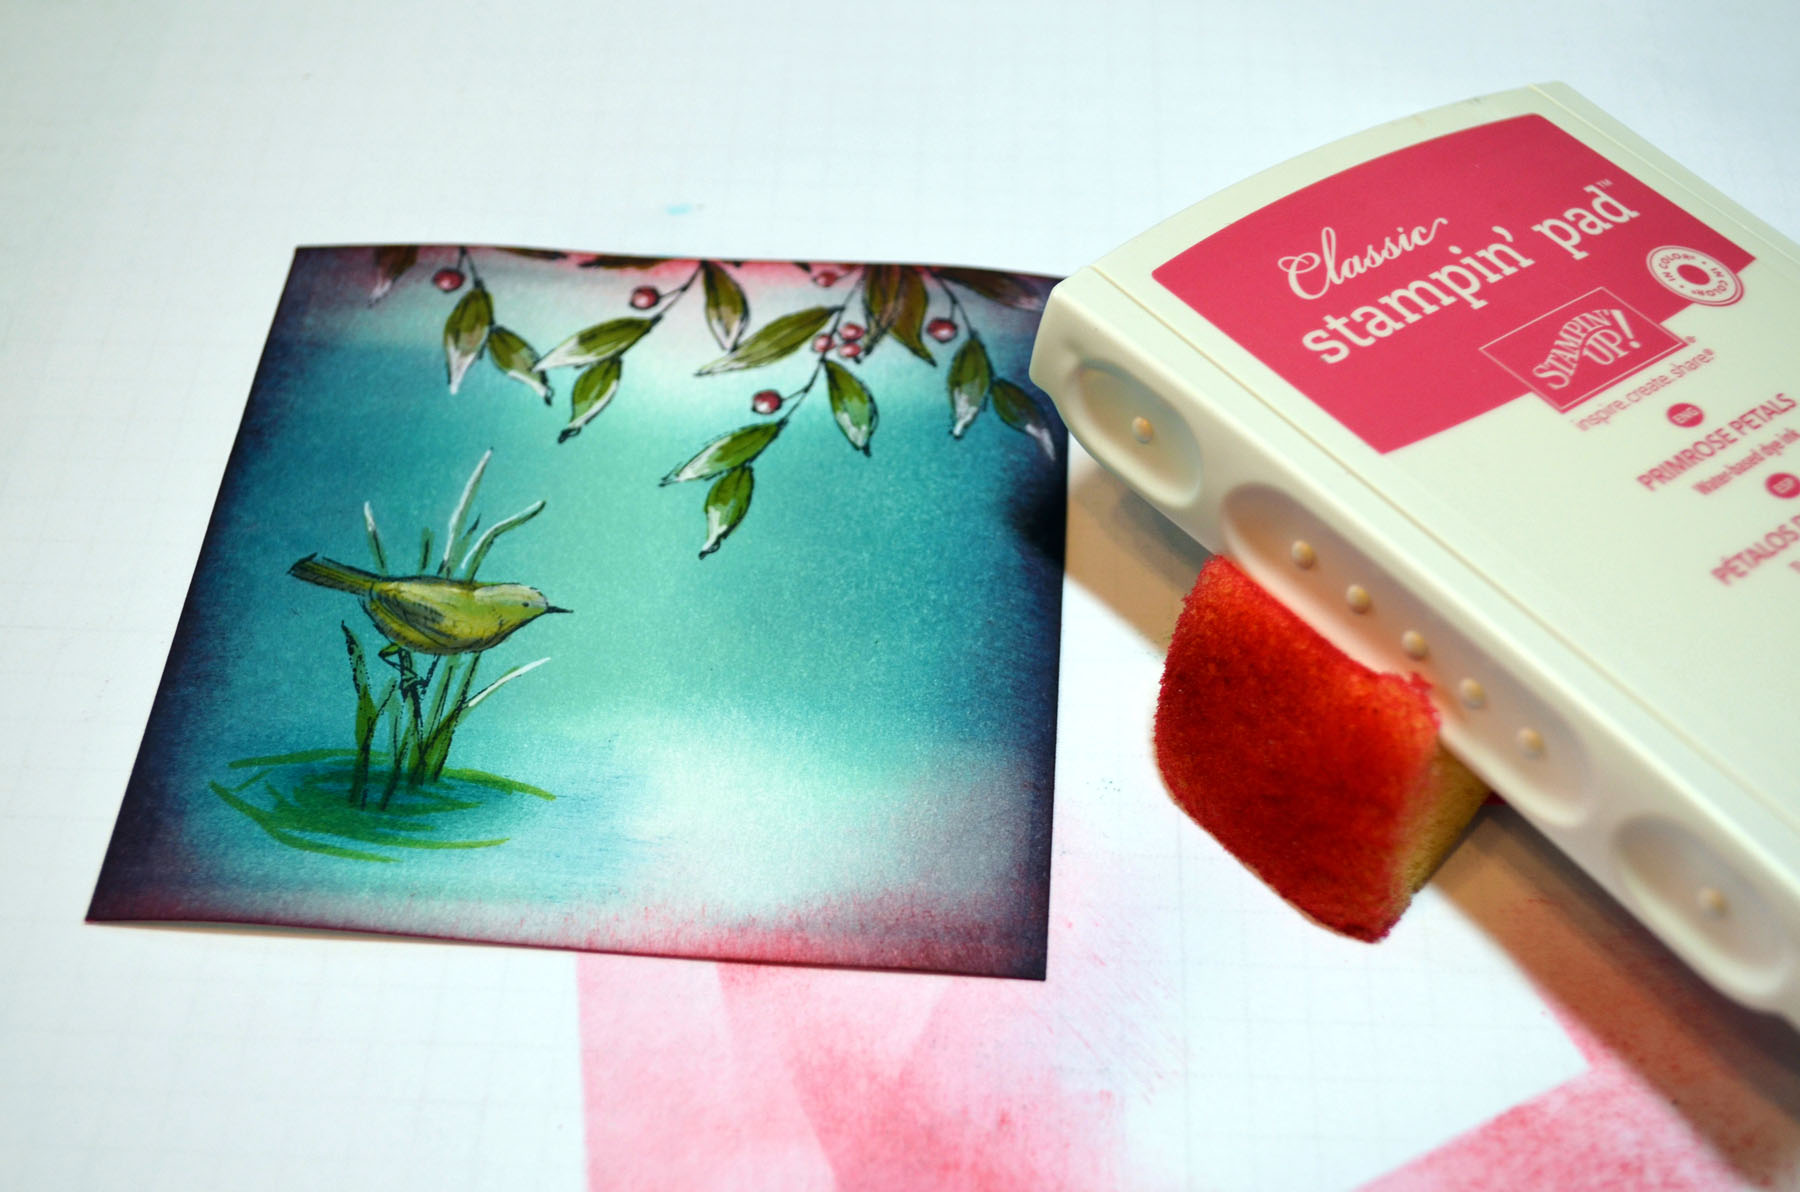
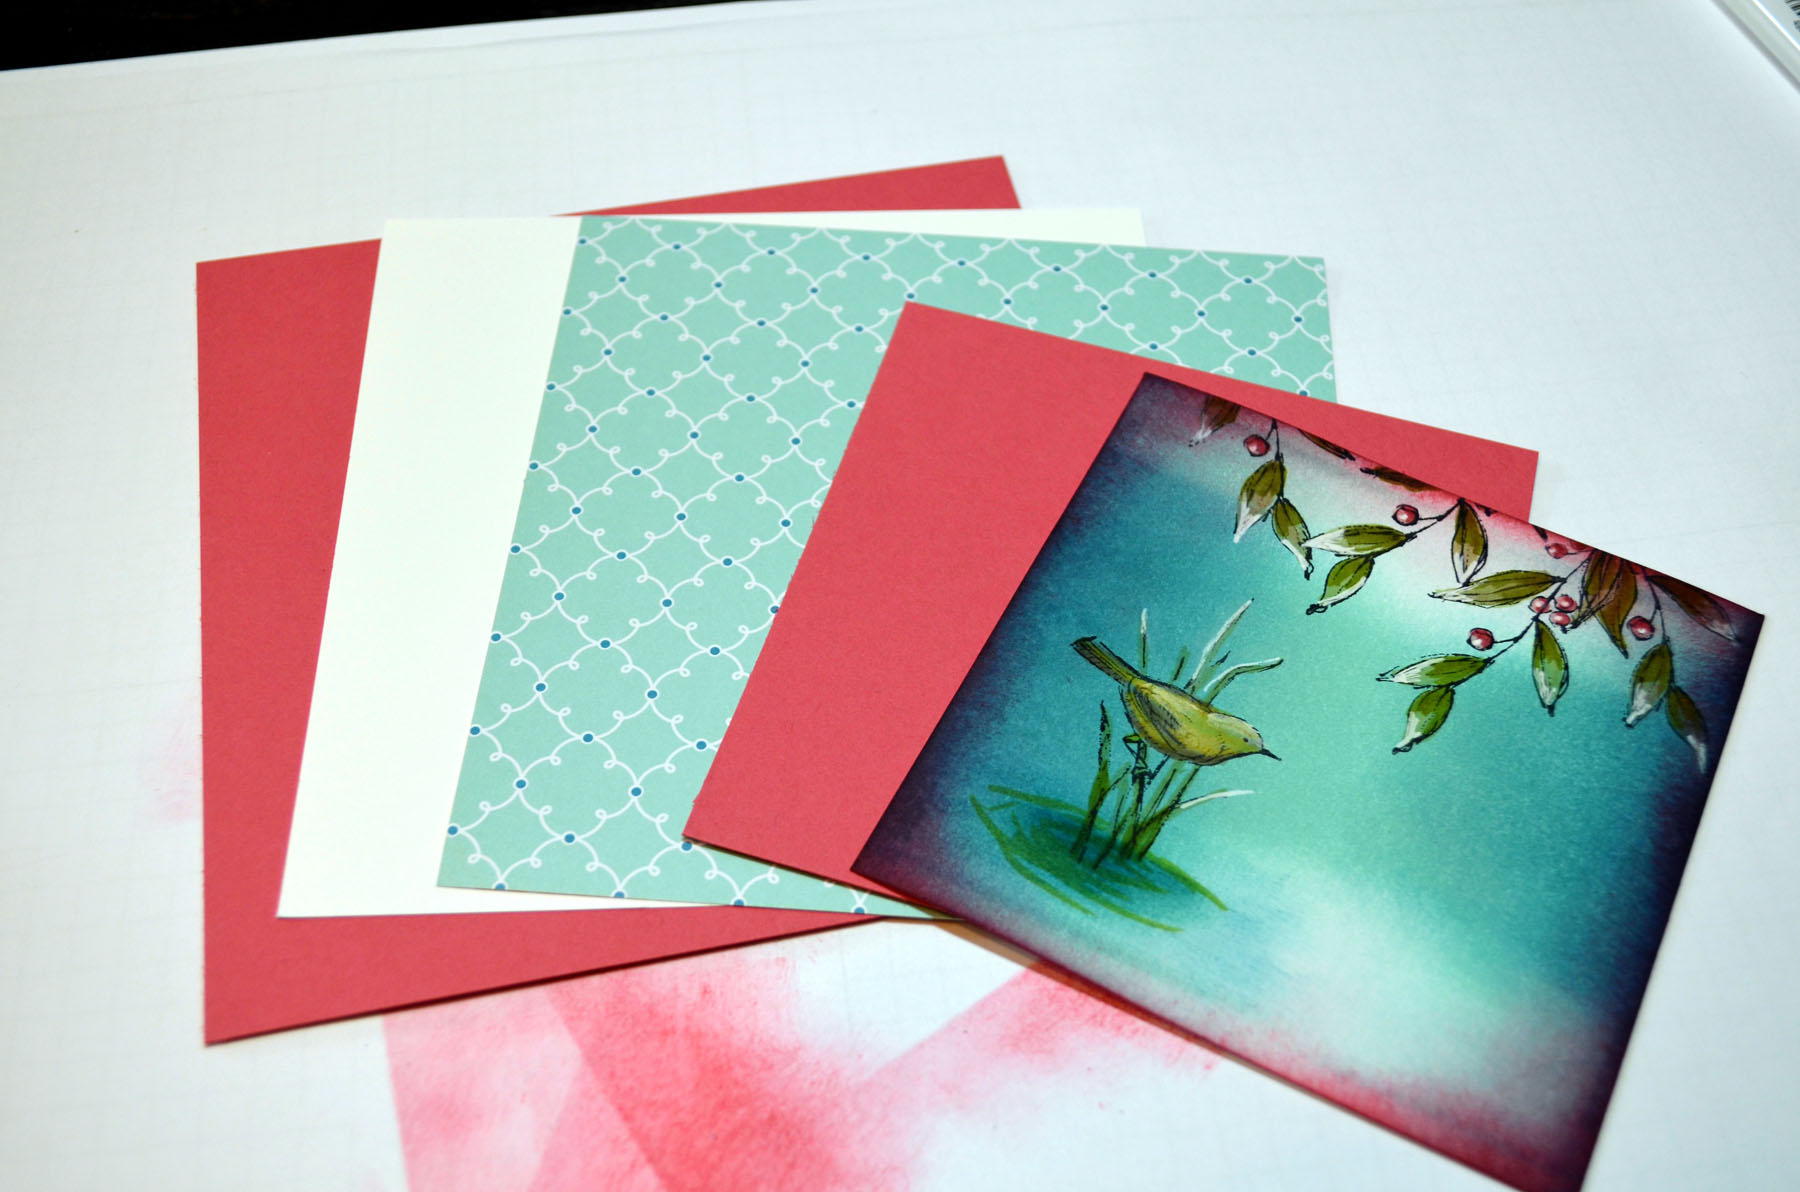
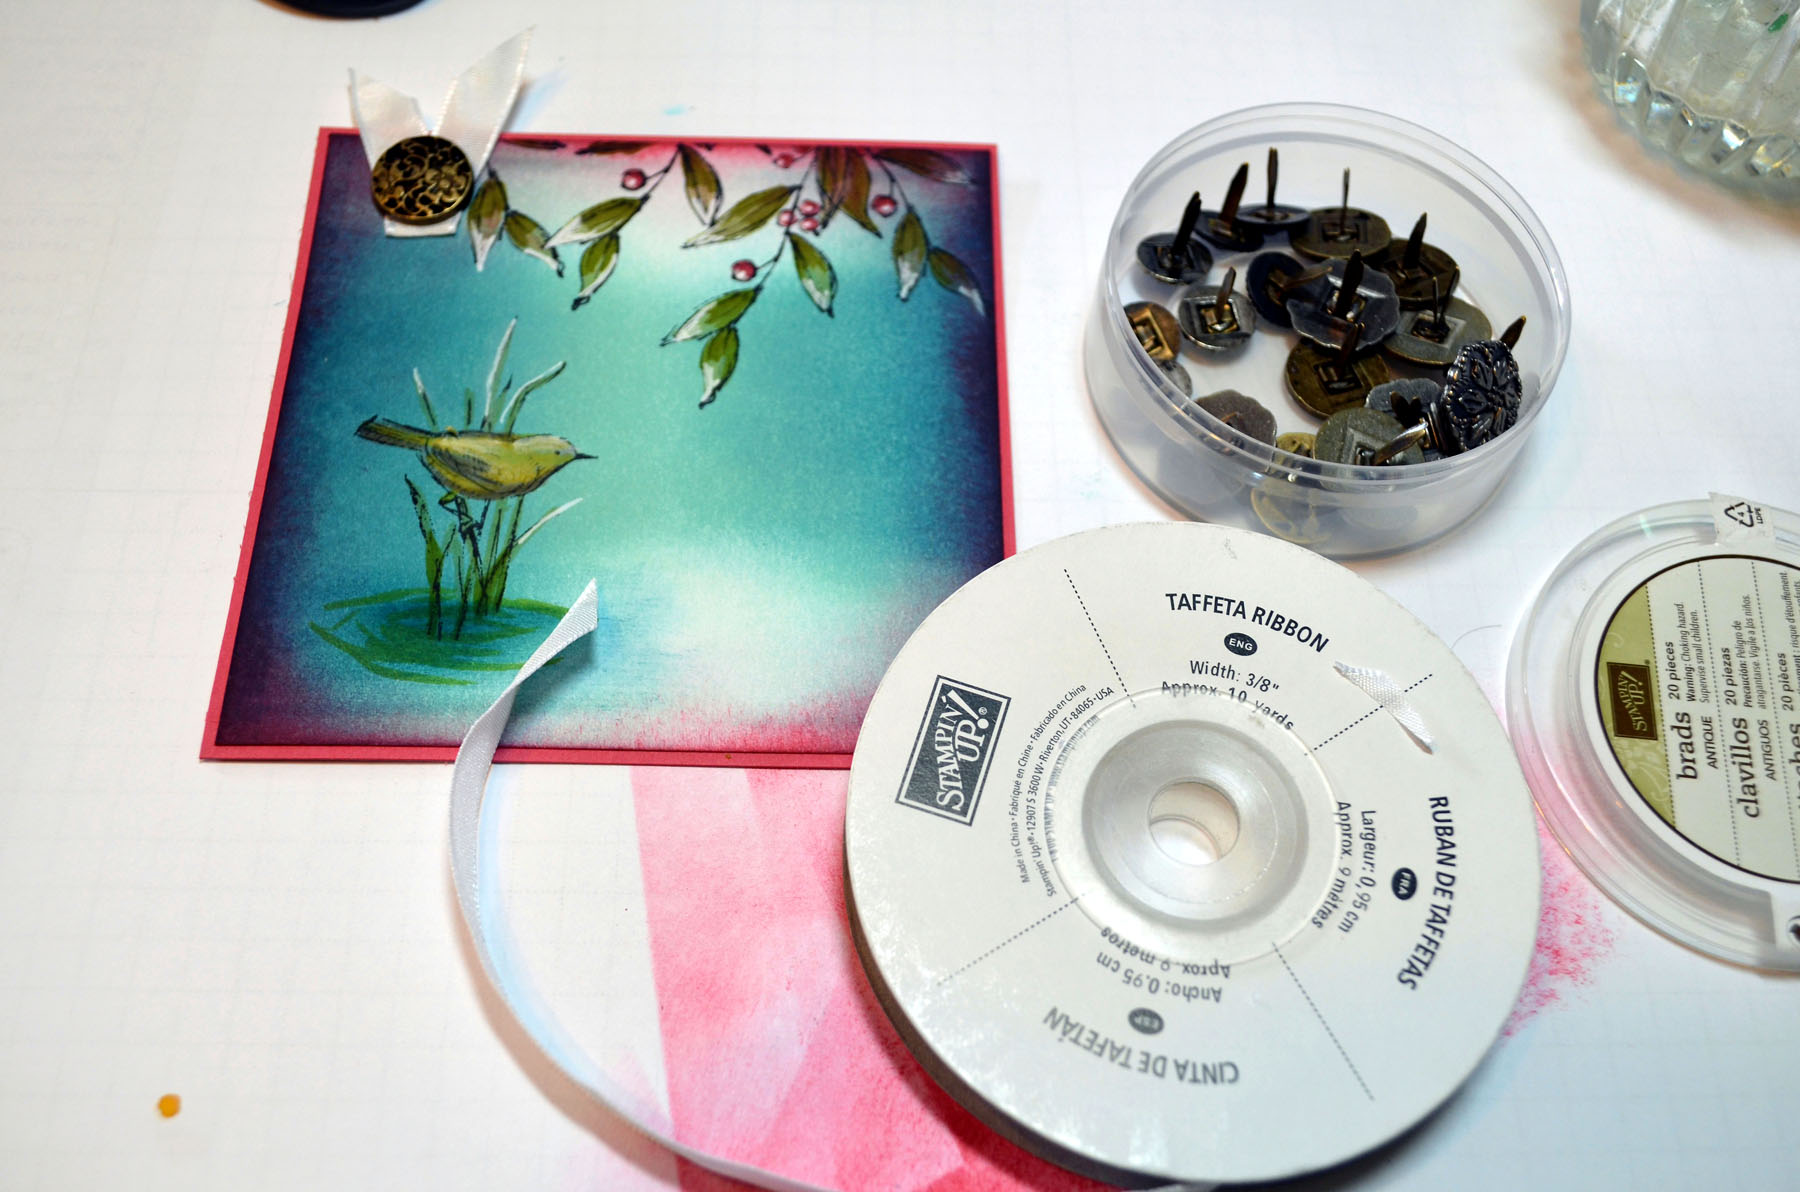
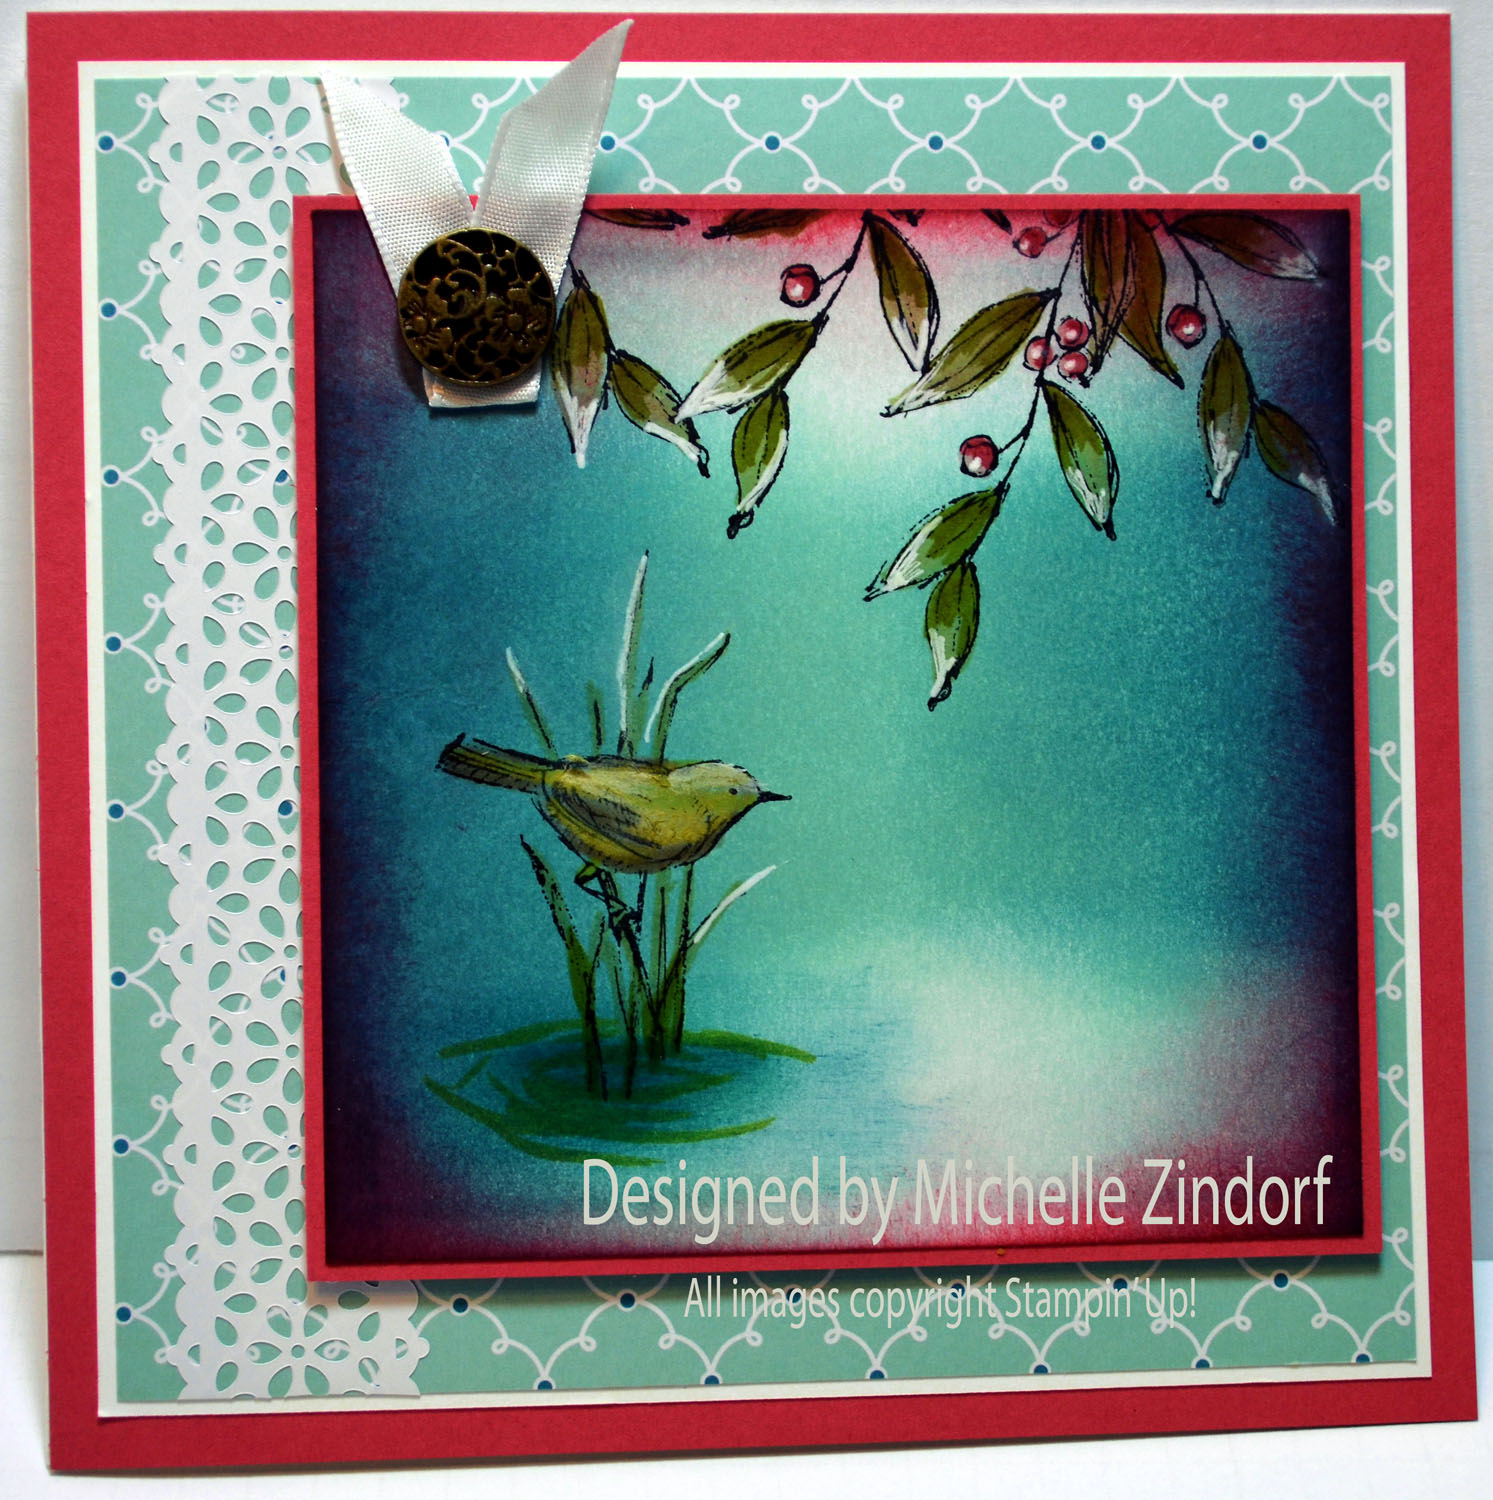
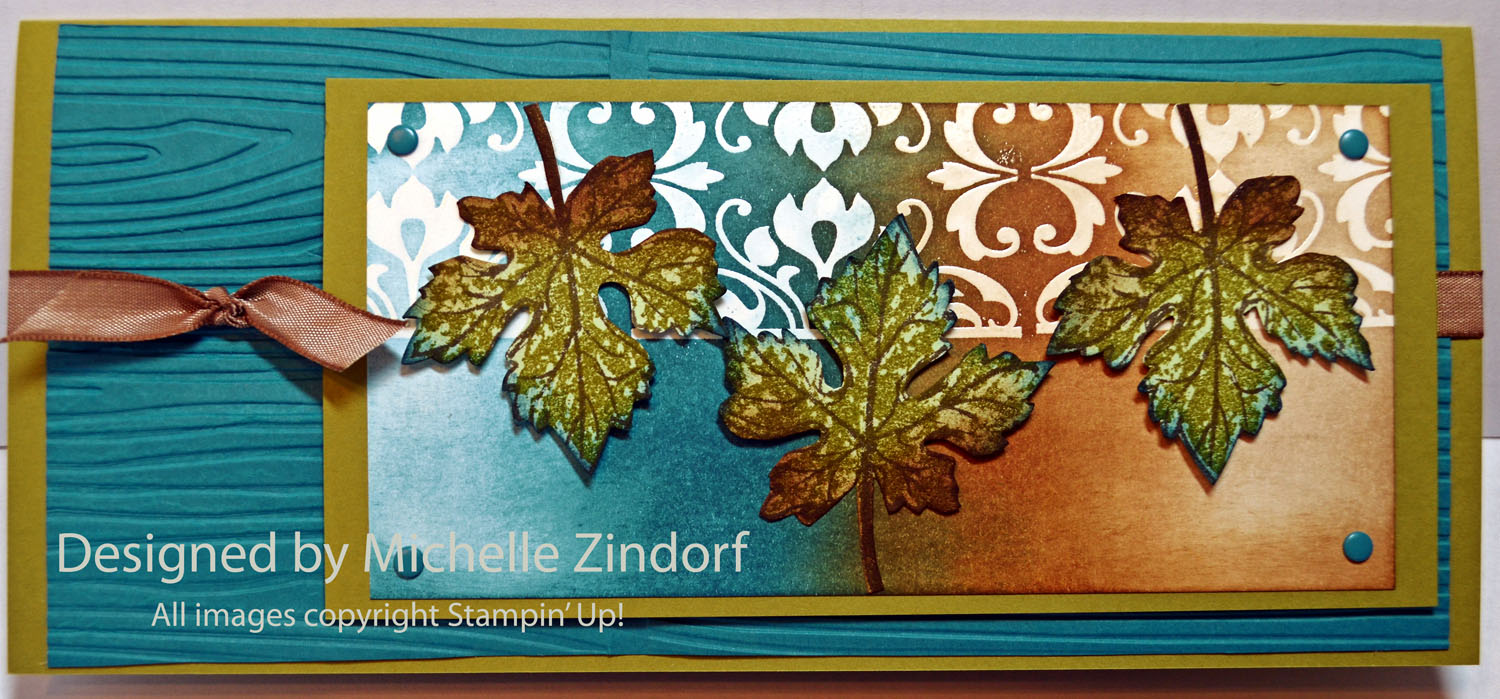
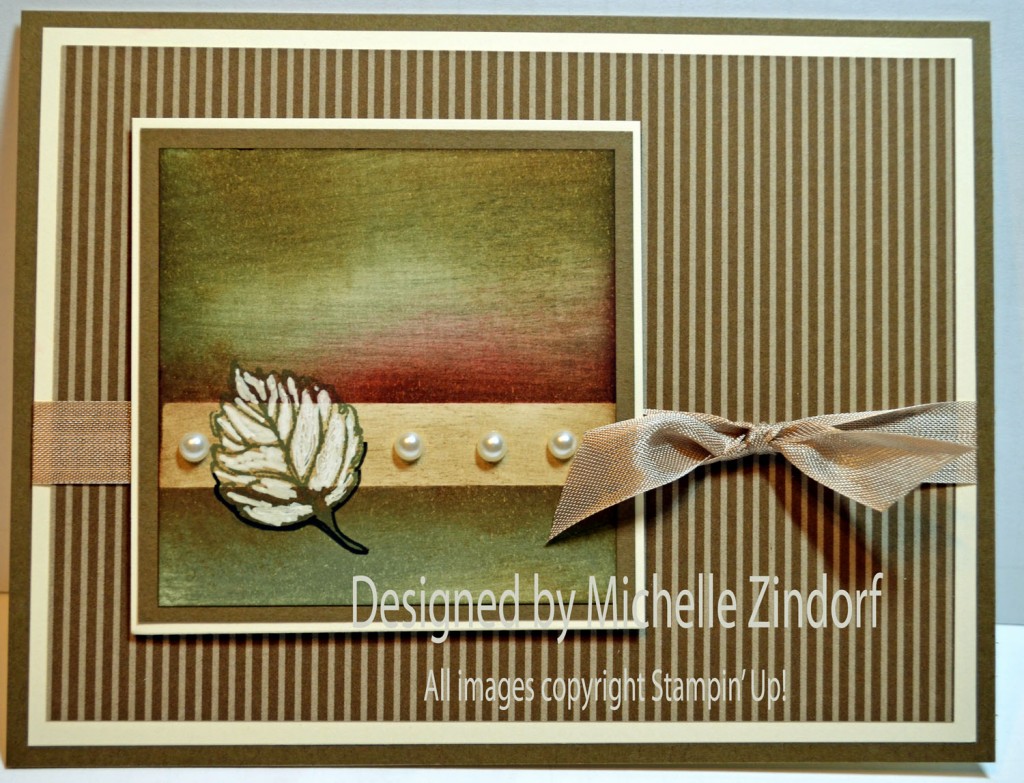
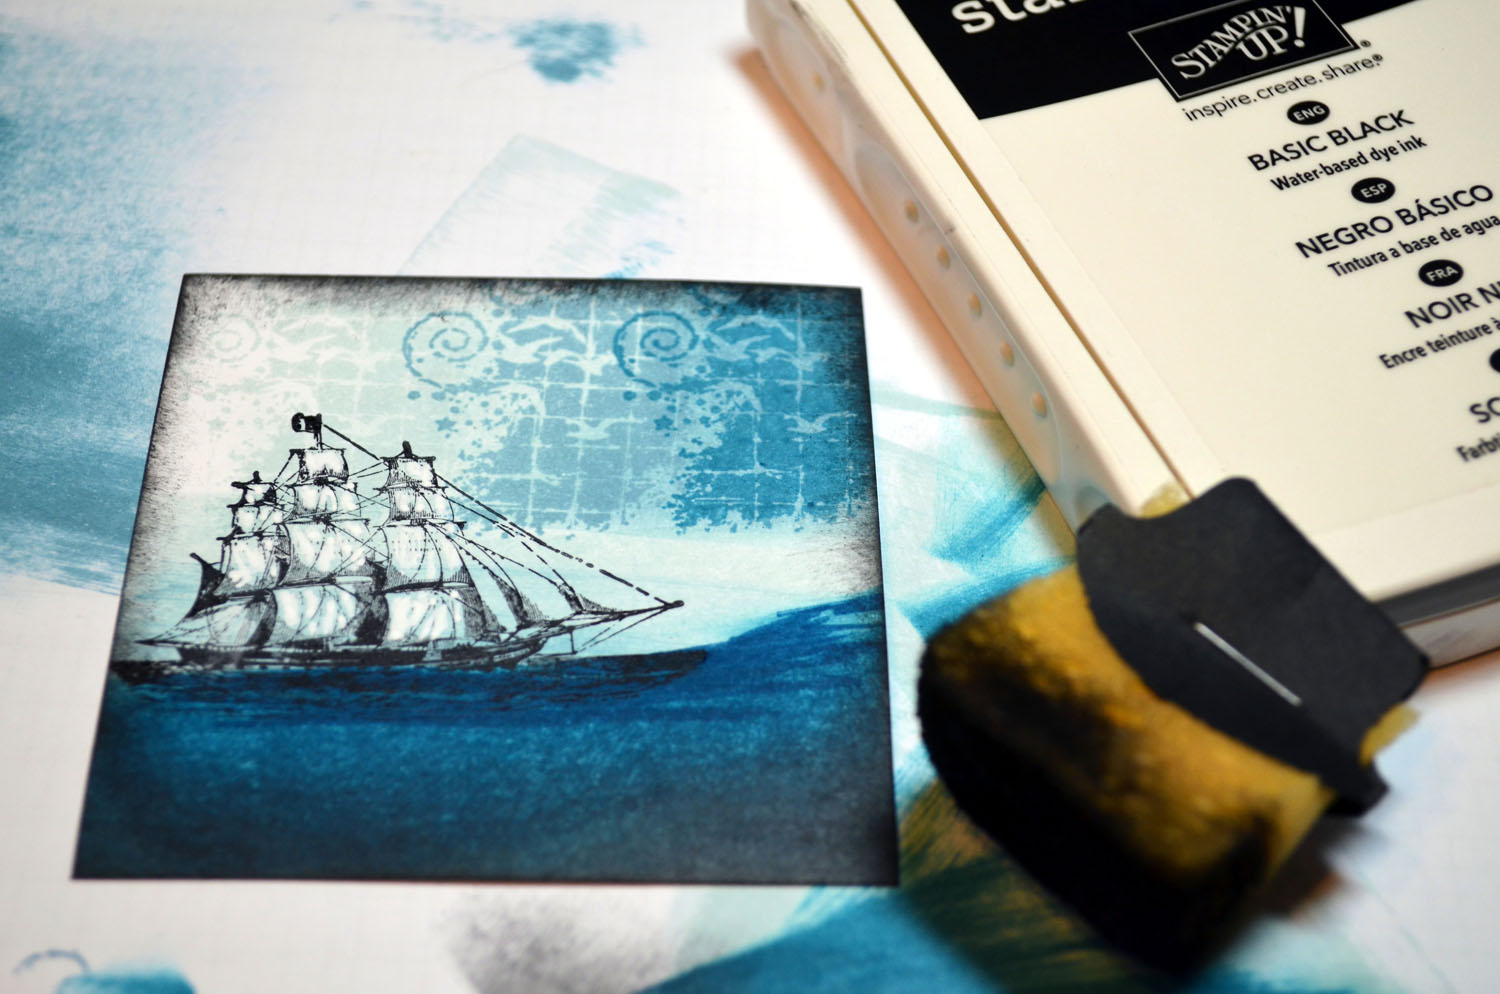
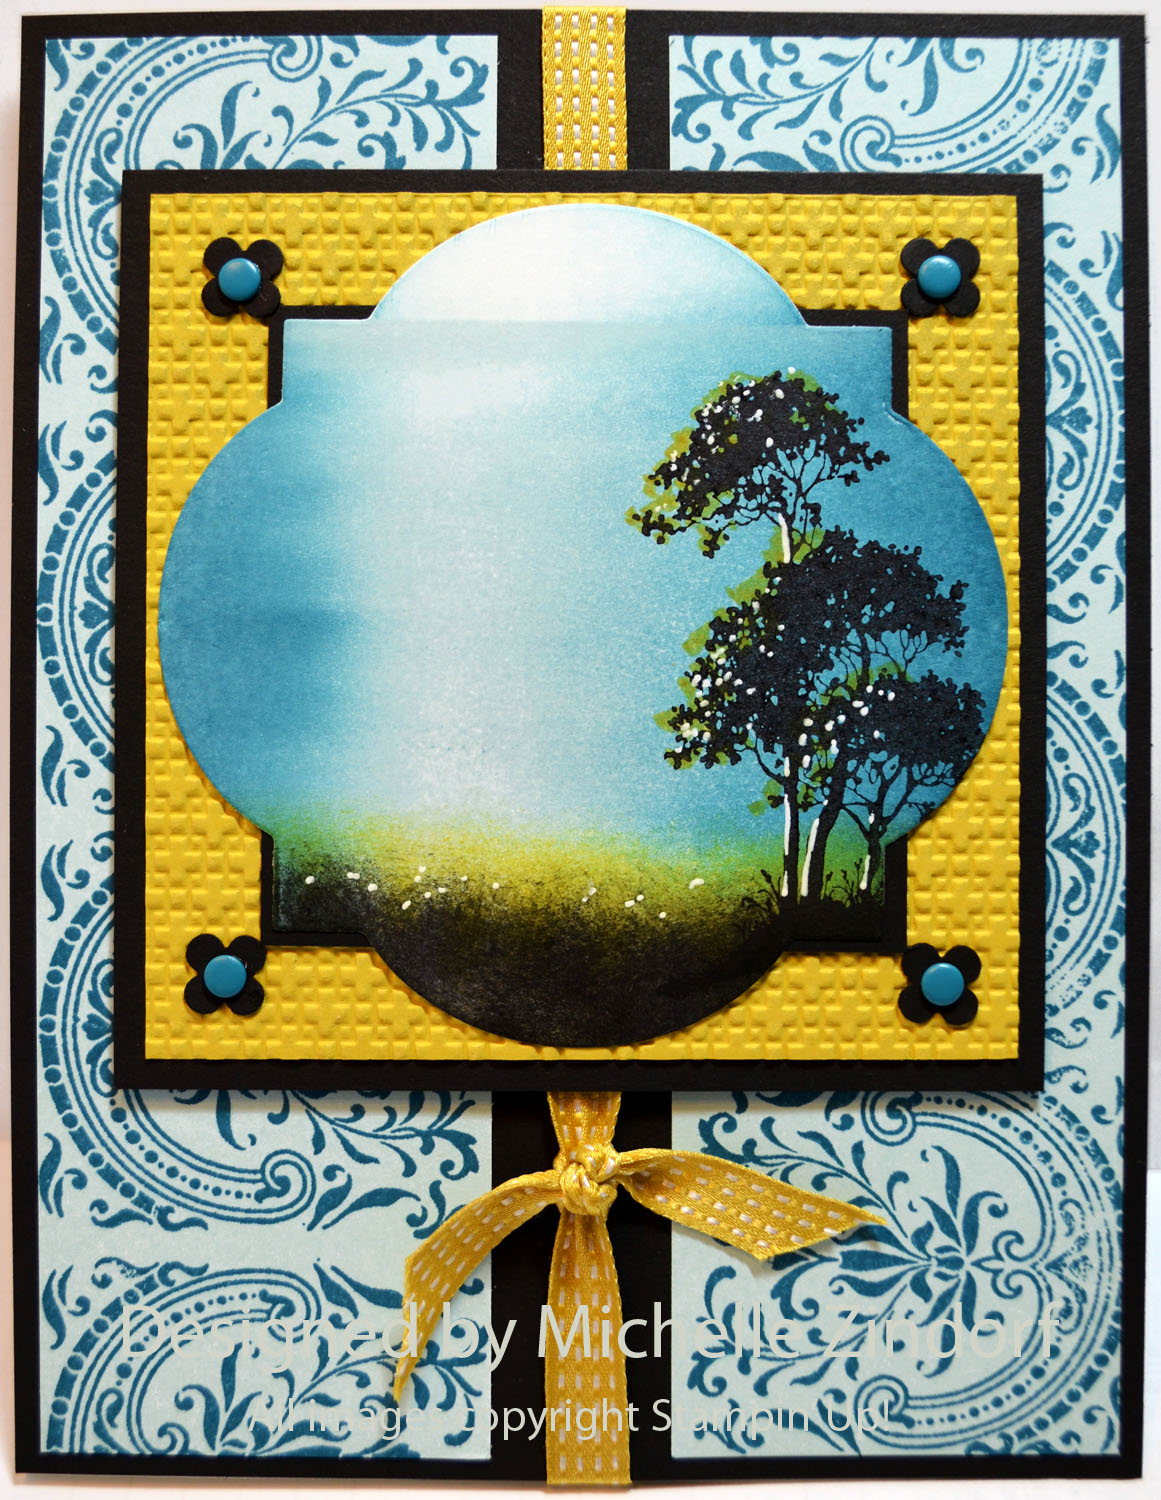
I’ve added the featured card of the day to my sales page where you will also find some great deals on retired stamp sets and my brayer video. CLICK HERE TO CHECK IT OUT
***********************************************
Now on with today’s tutorial. . . . . . .
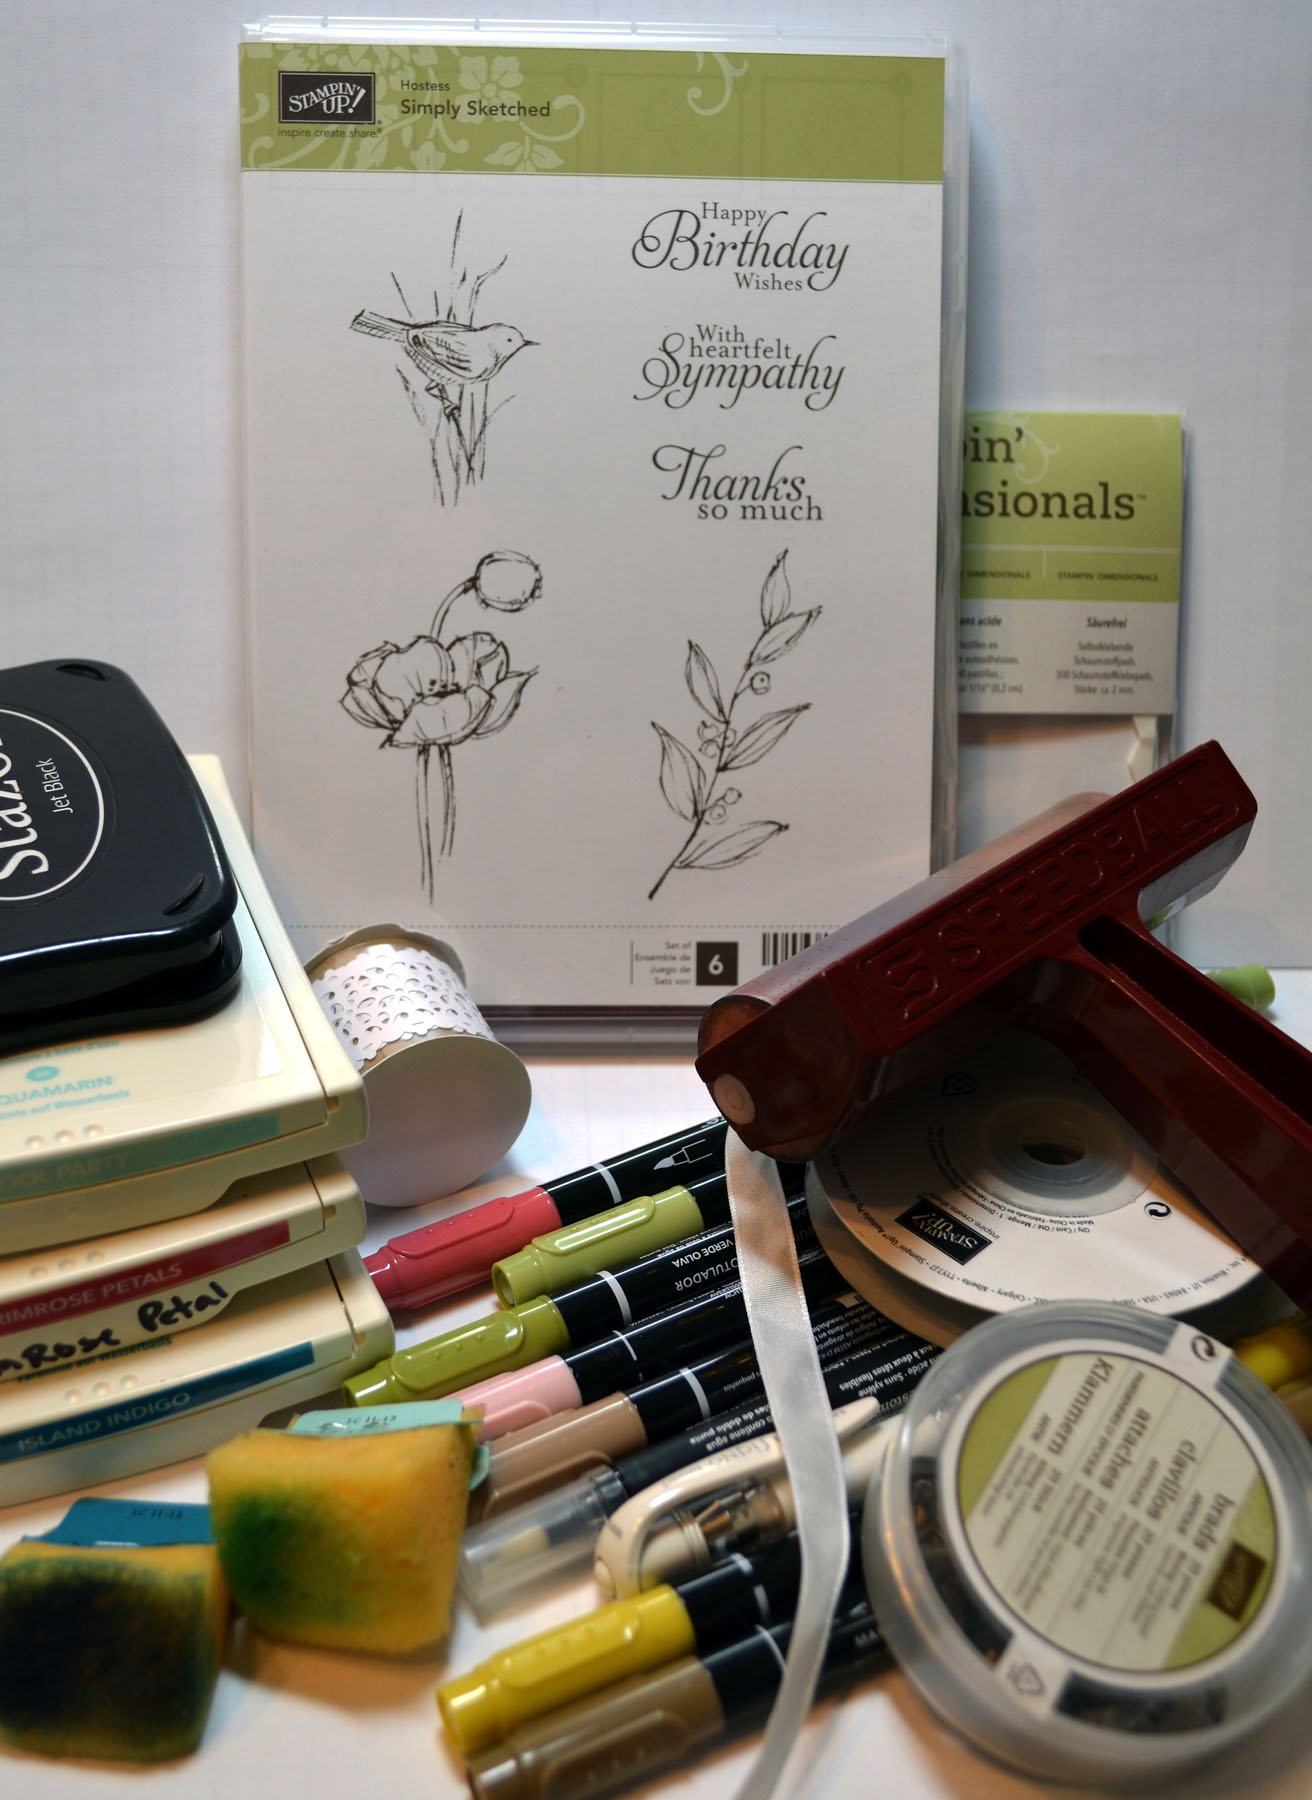
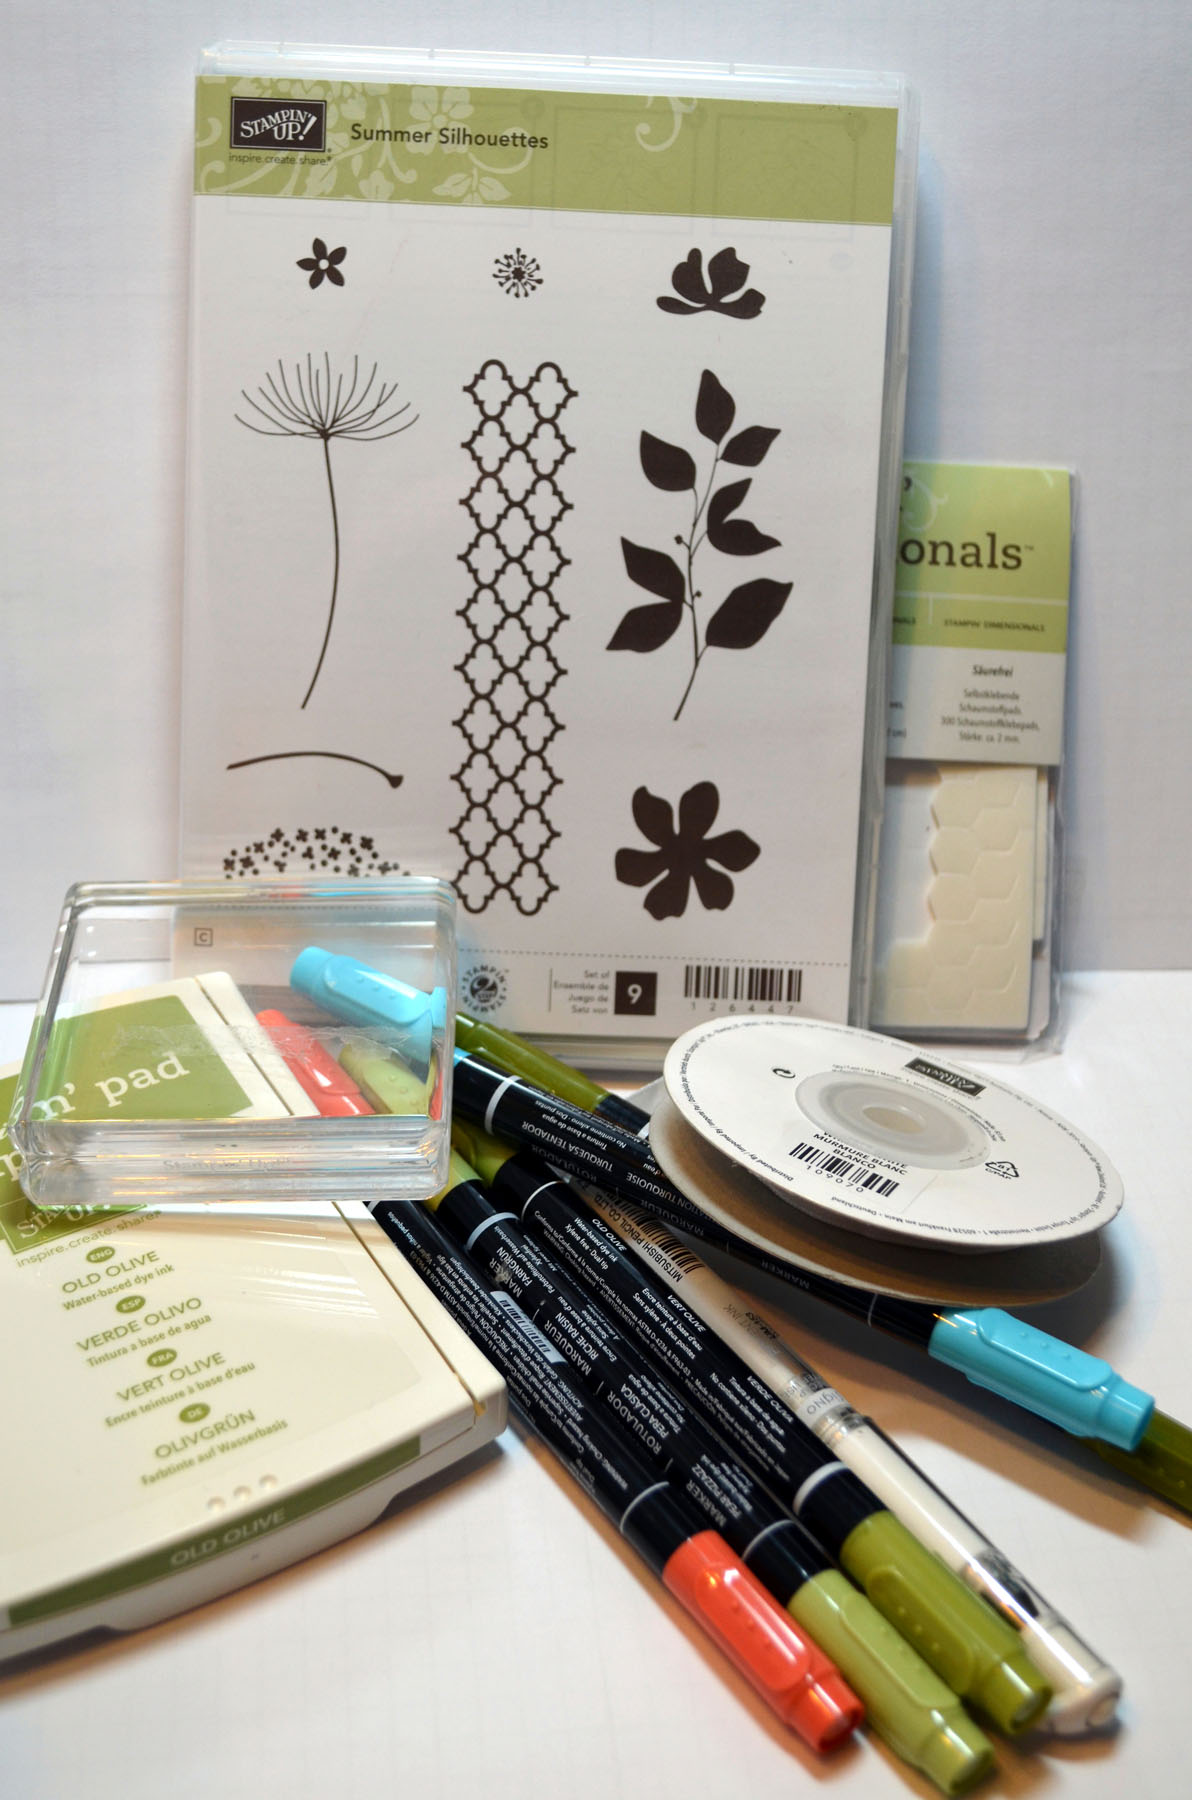
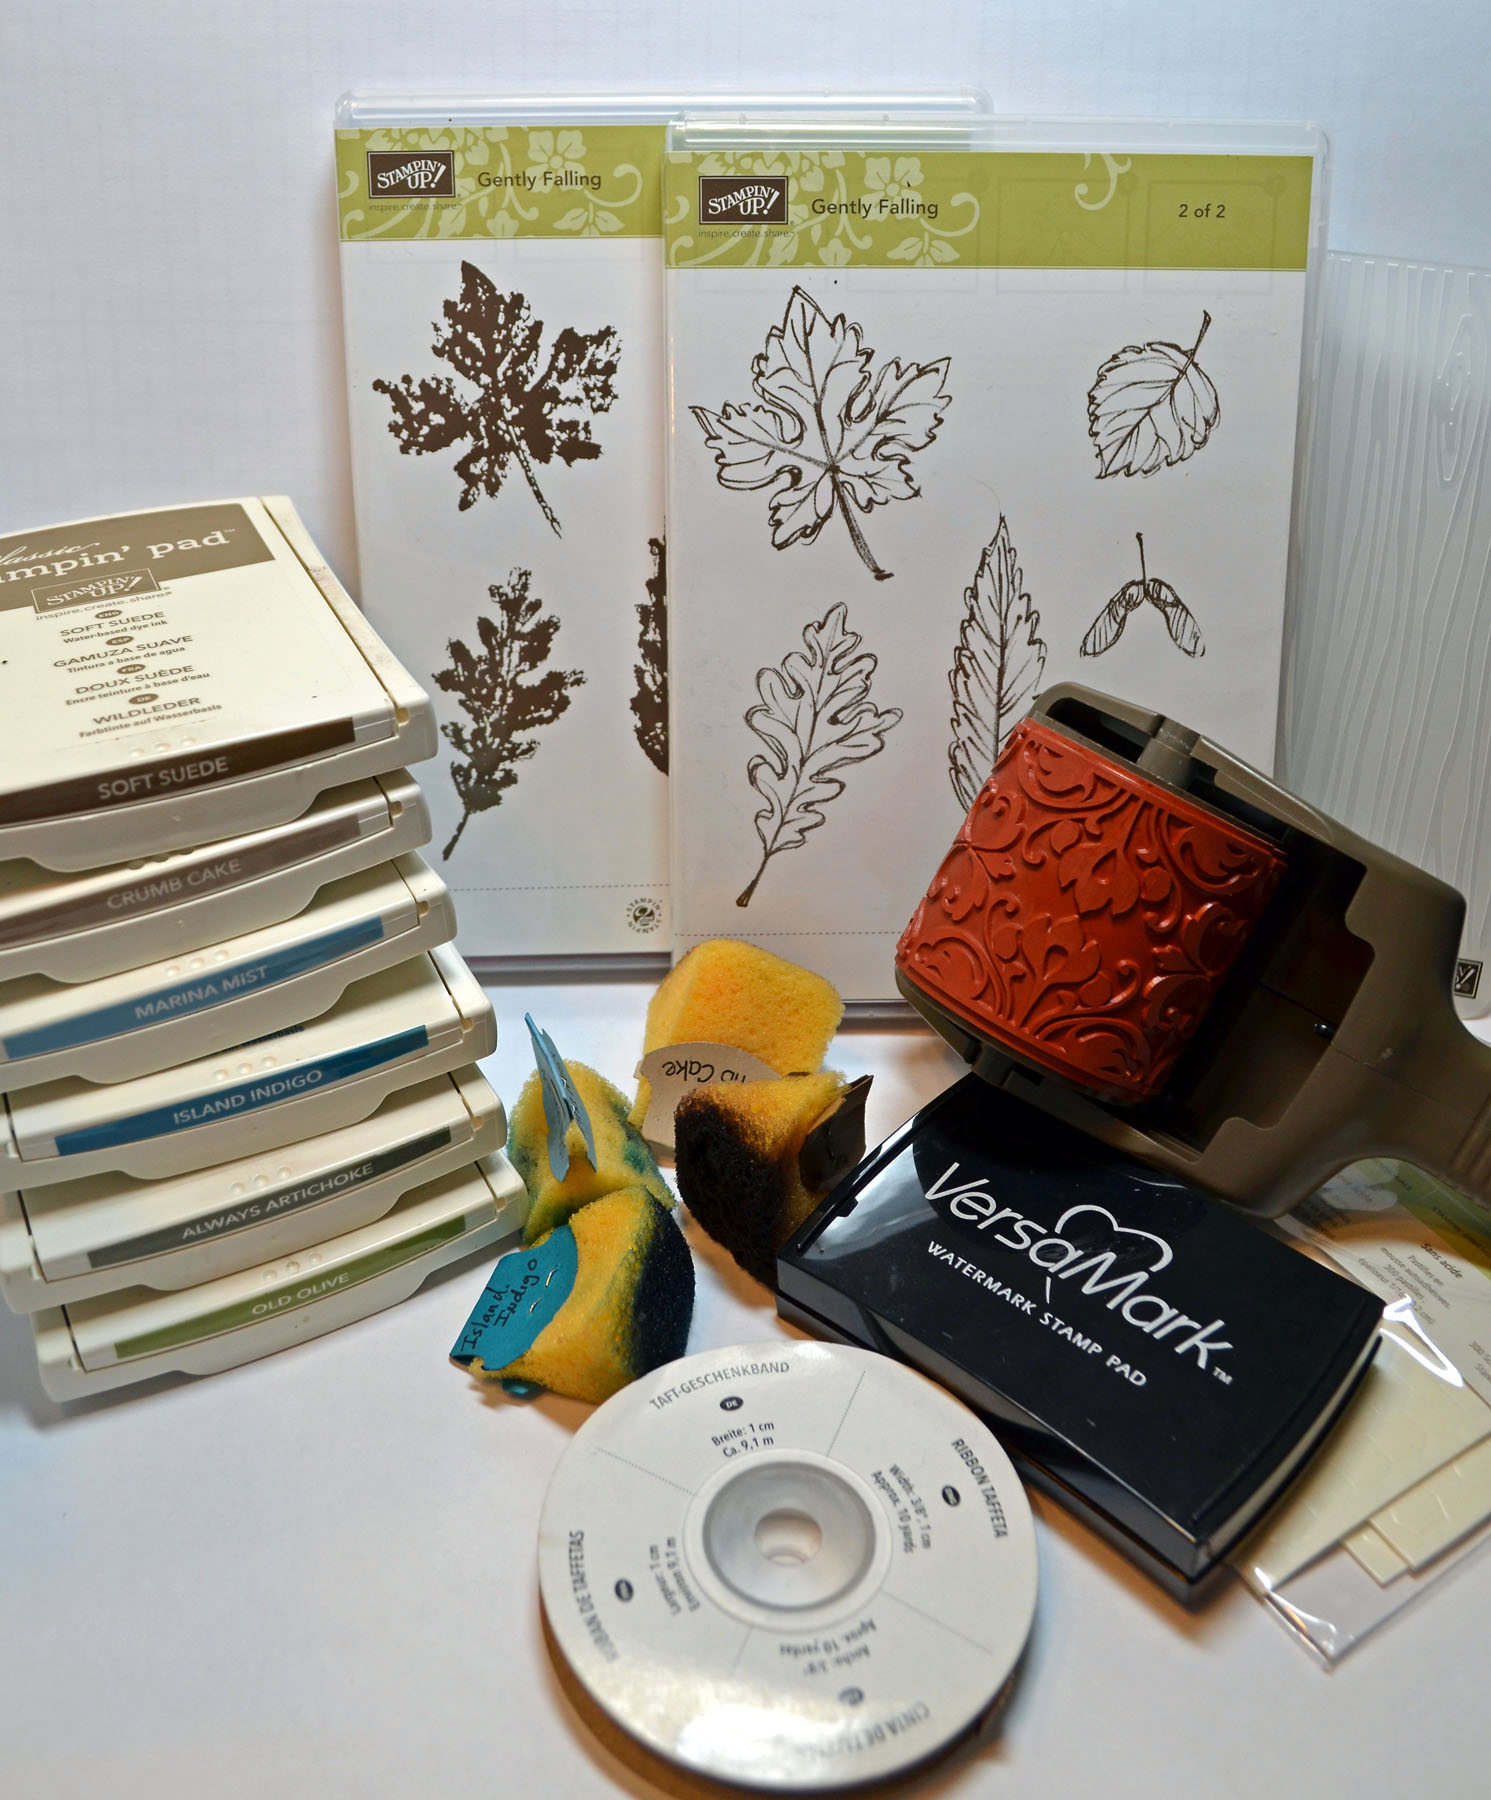
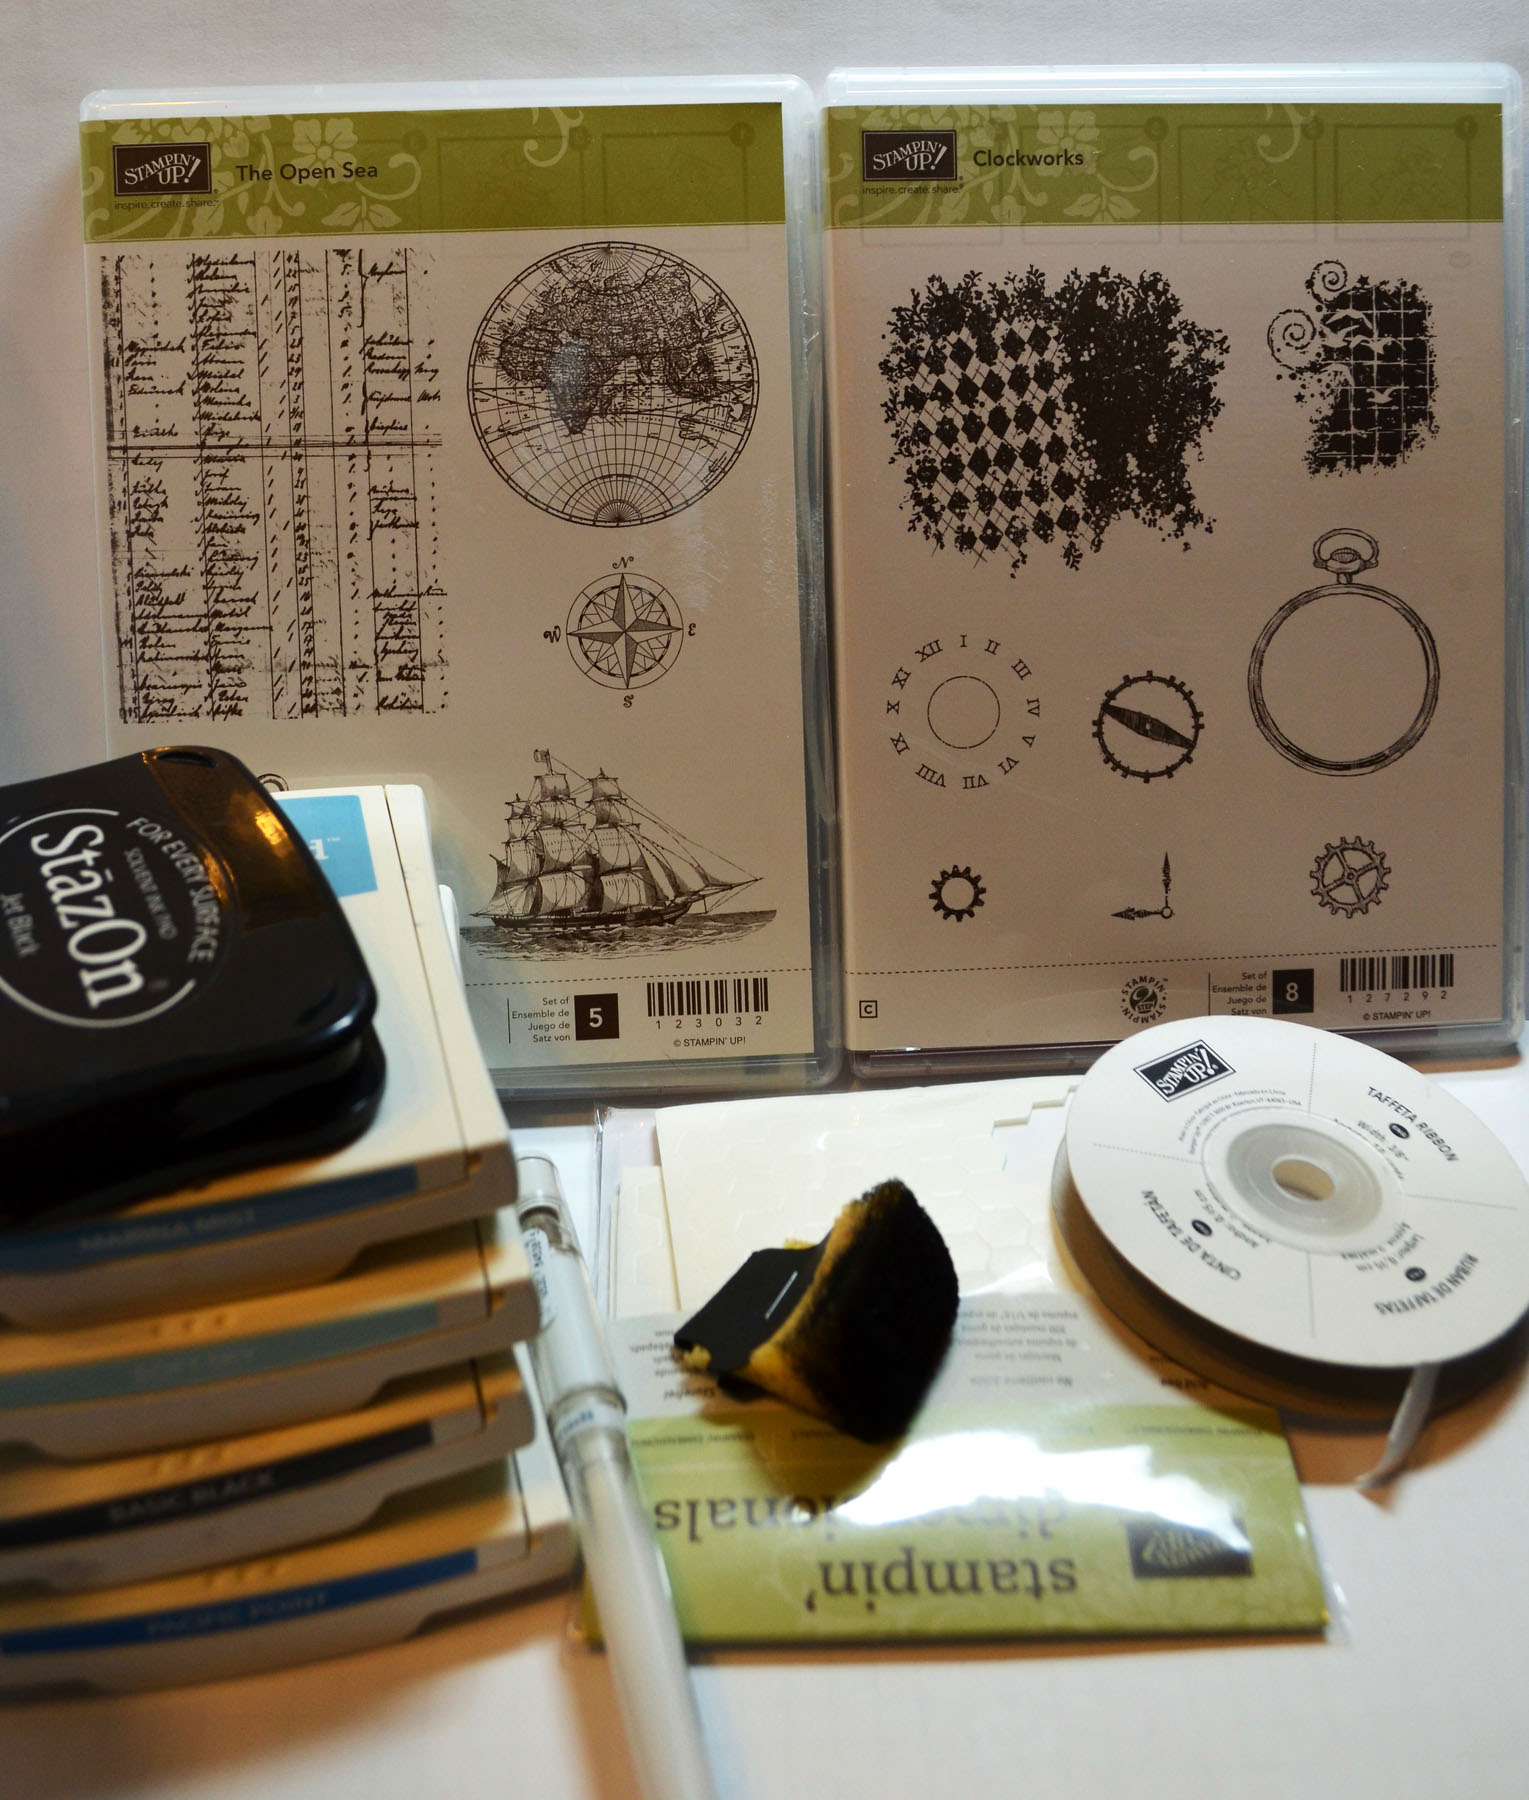
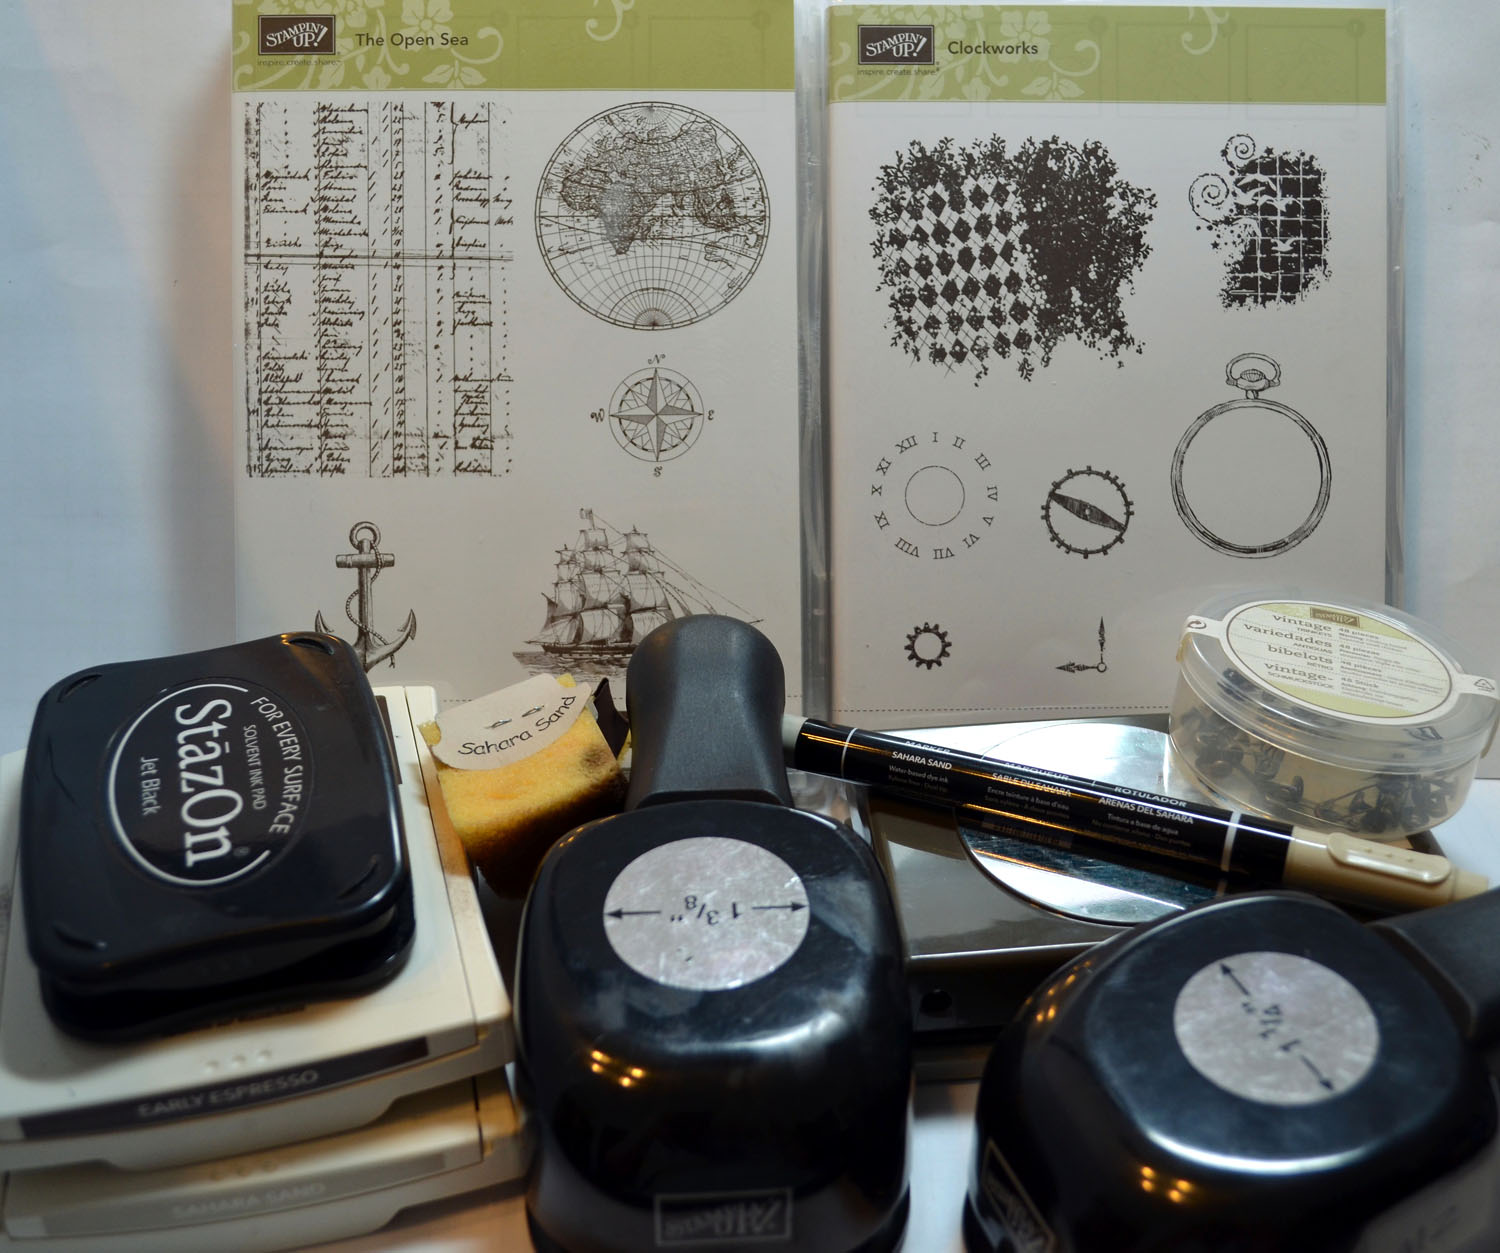
Project Supplies:
Stamps: Stampin’ Up! Clockworks (item #127292) and The Open Sea (item #123032)
Card Stock: Stampin’ Up! Whisper White, Crumb Cake and Early Espresso
Ink: Stampin’ Up! Early Espresso, Sahara Sand and Stazon Jet Black
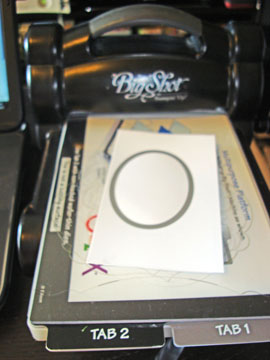
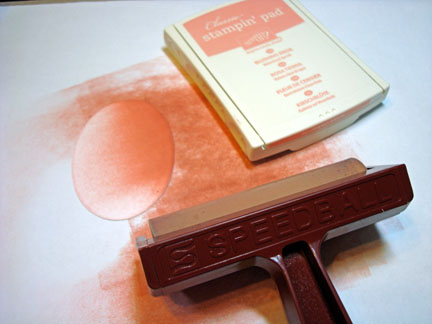
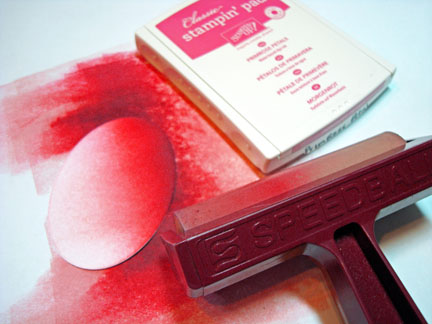
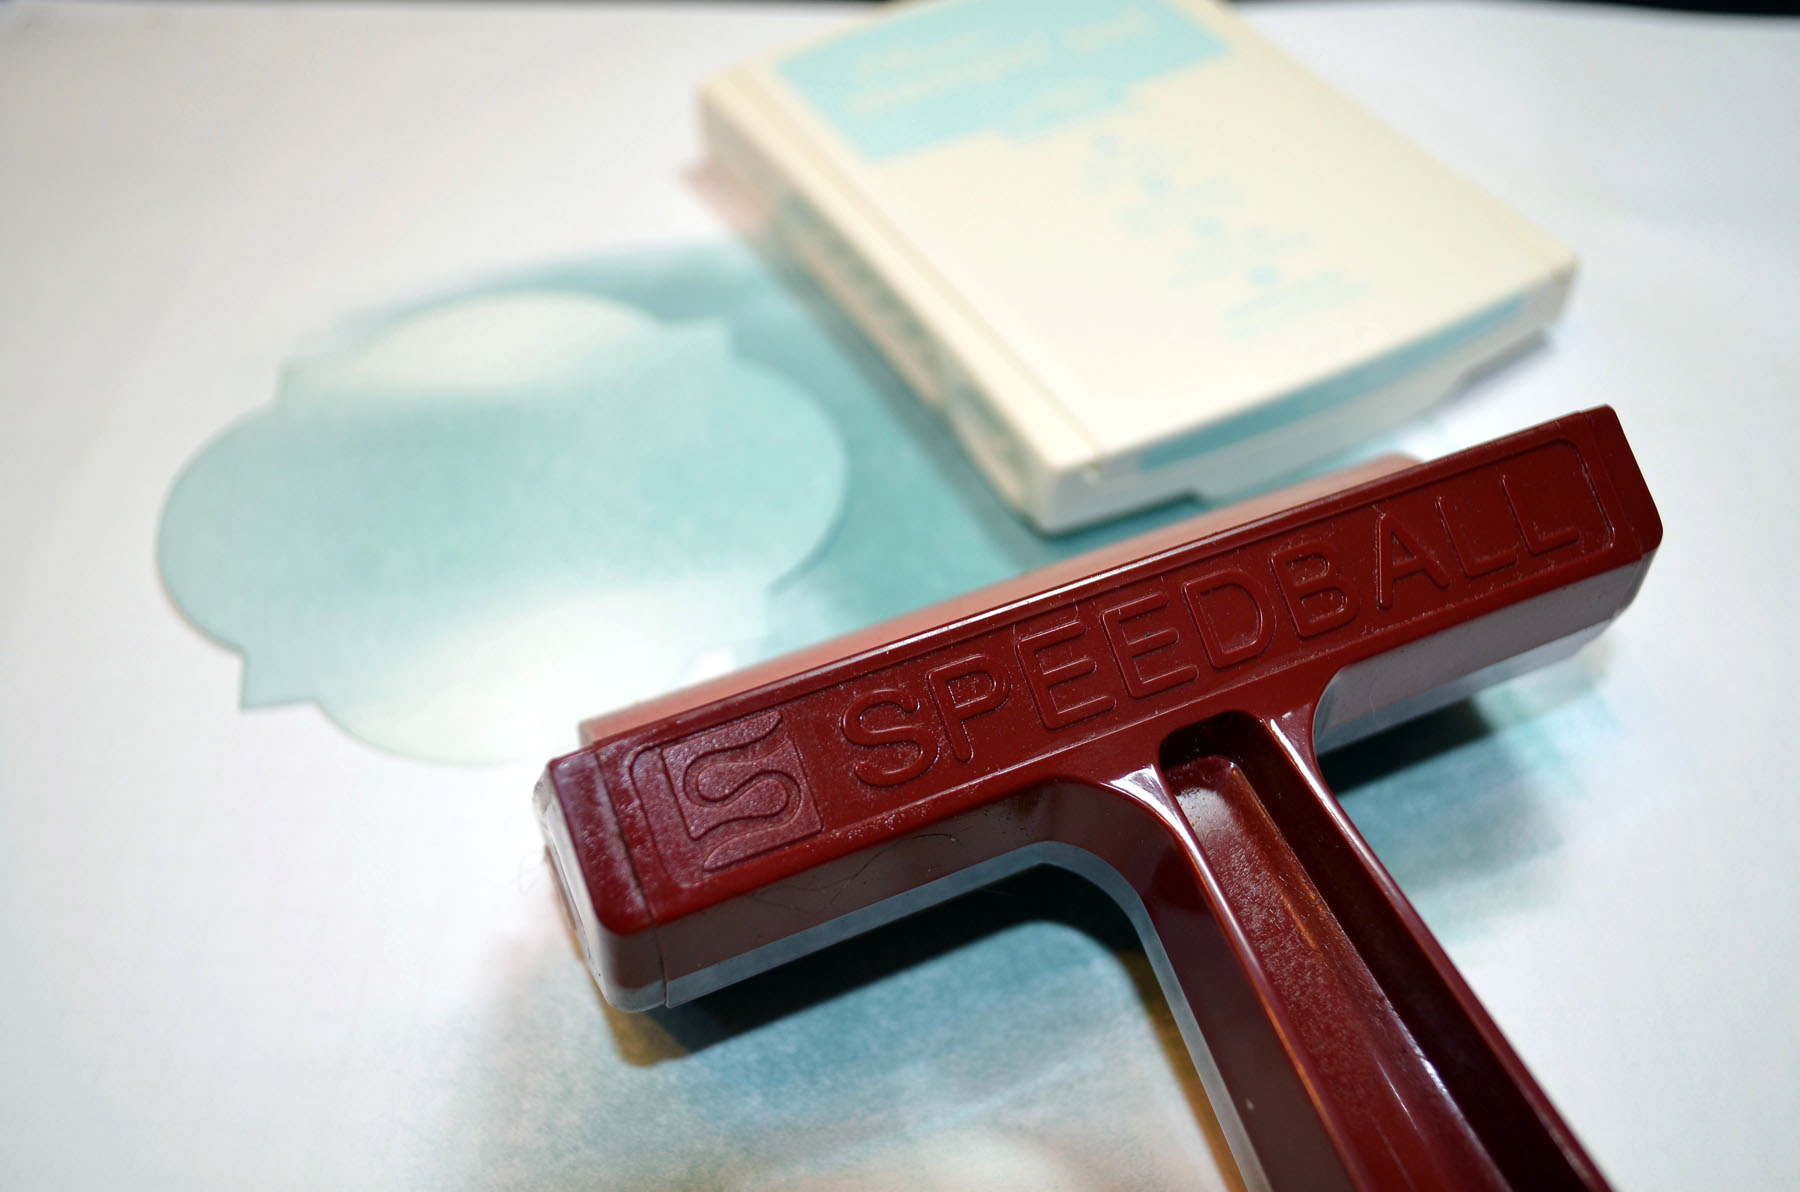
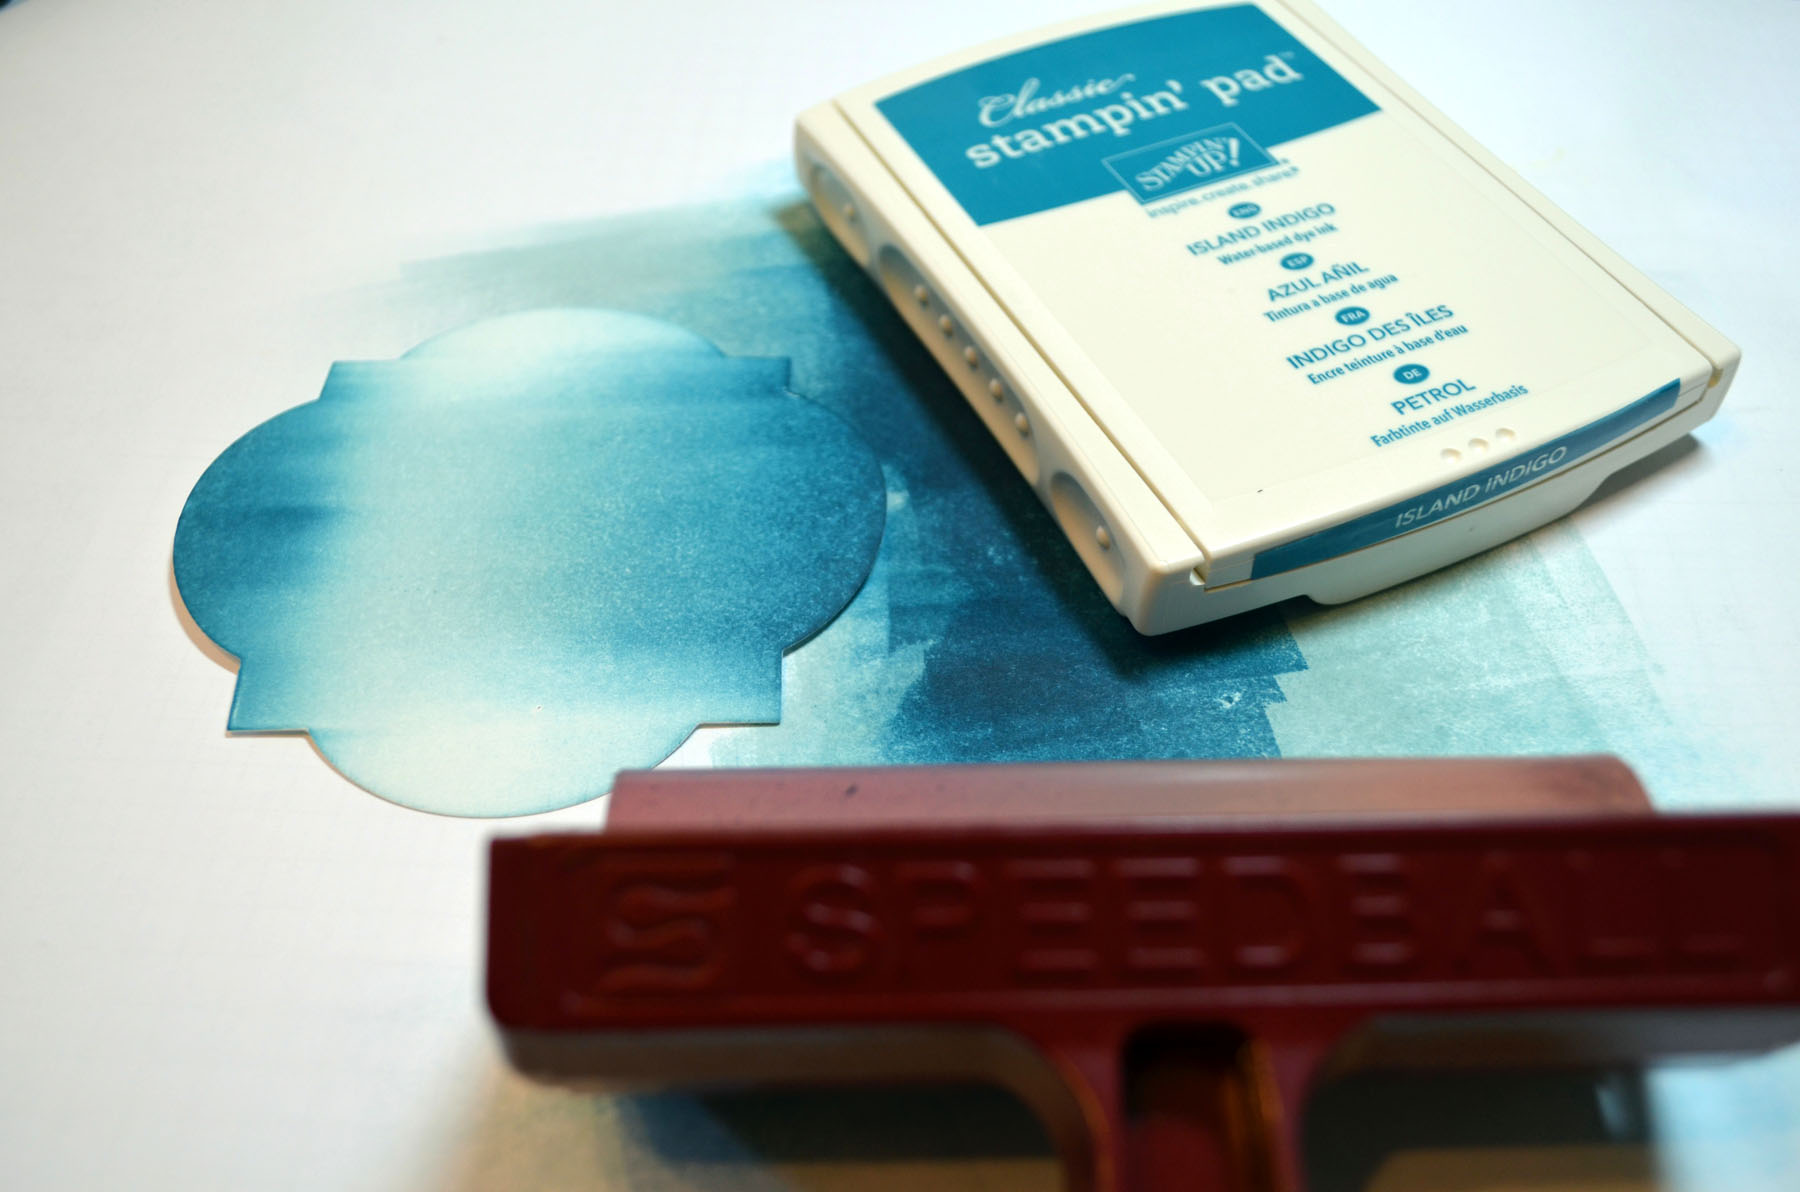
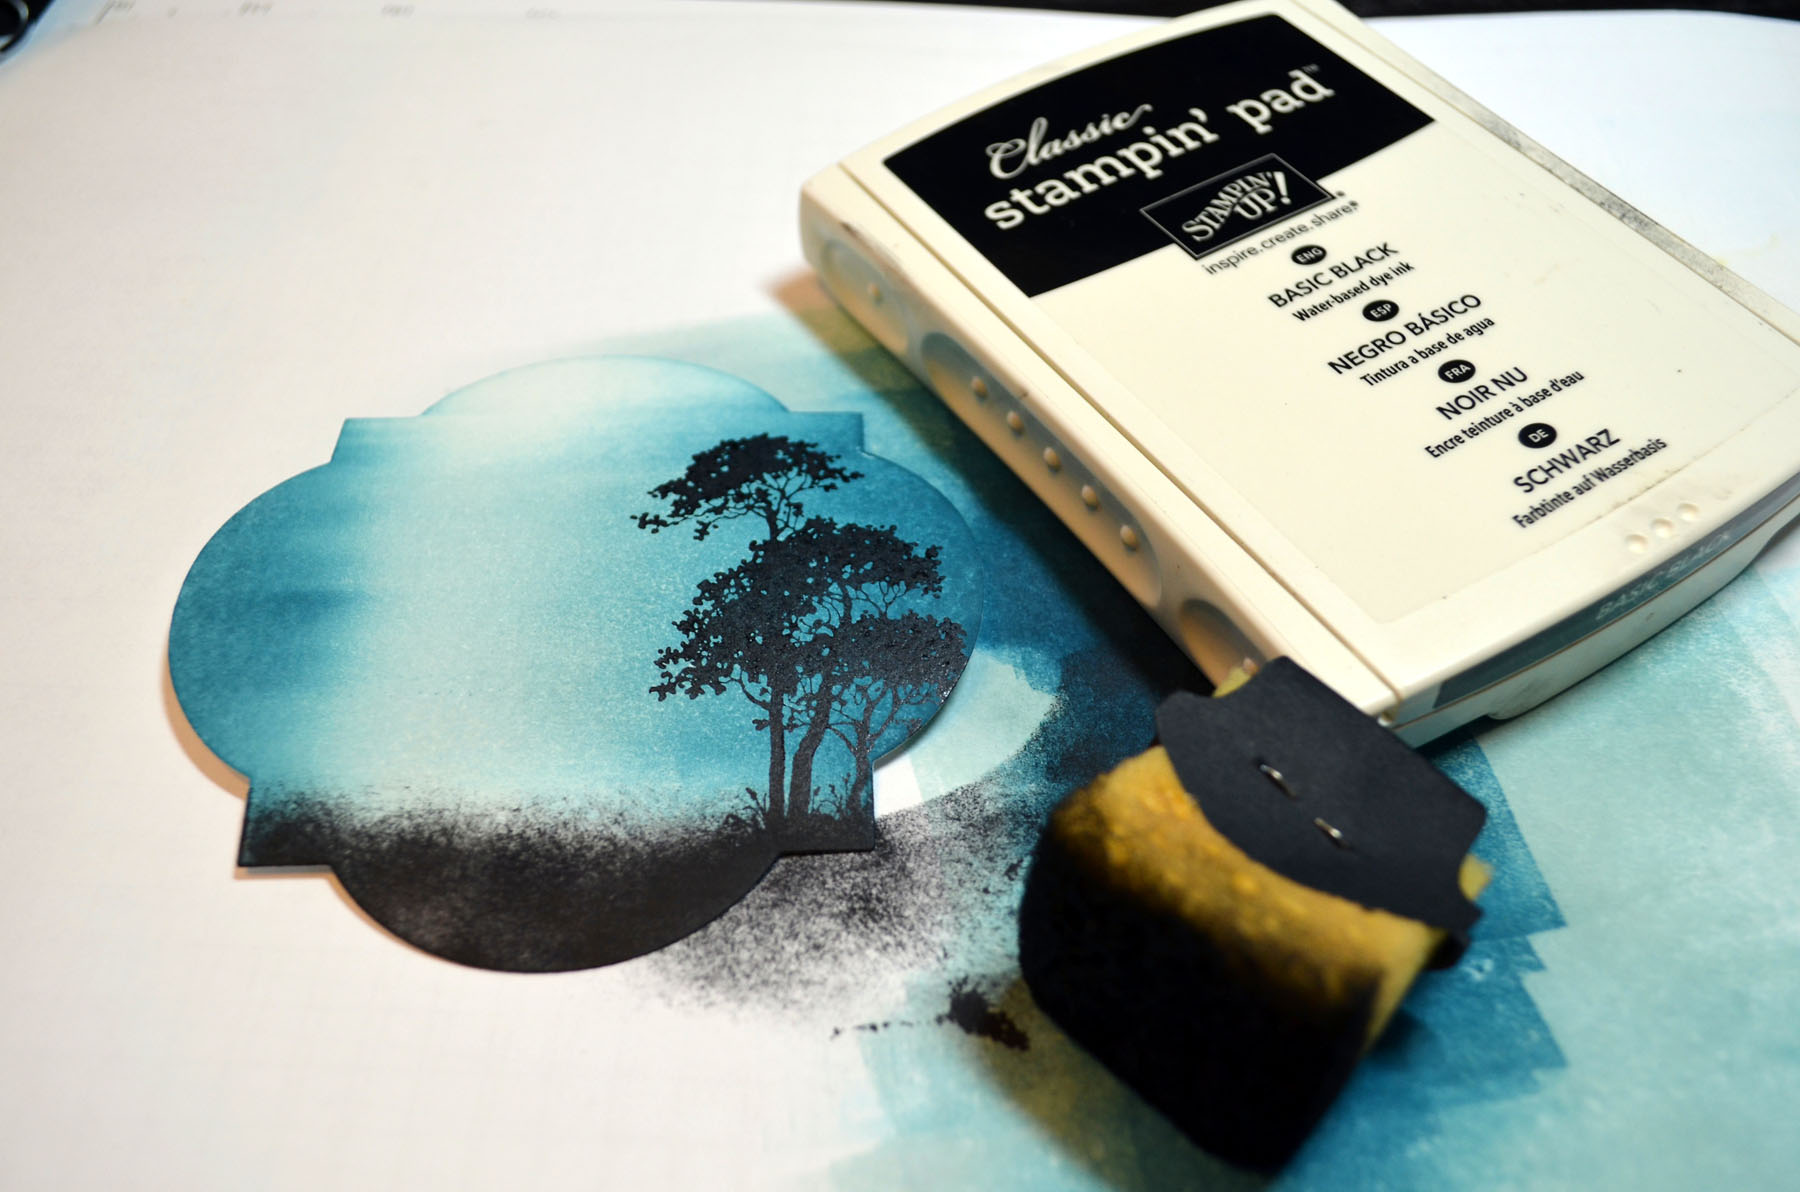
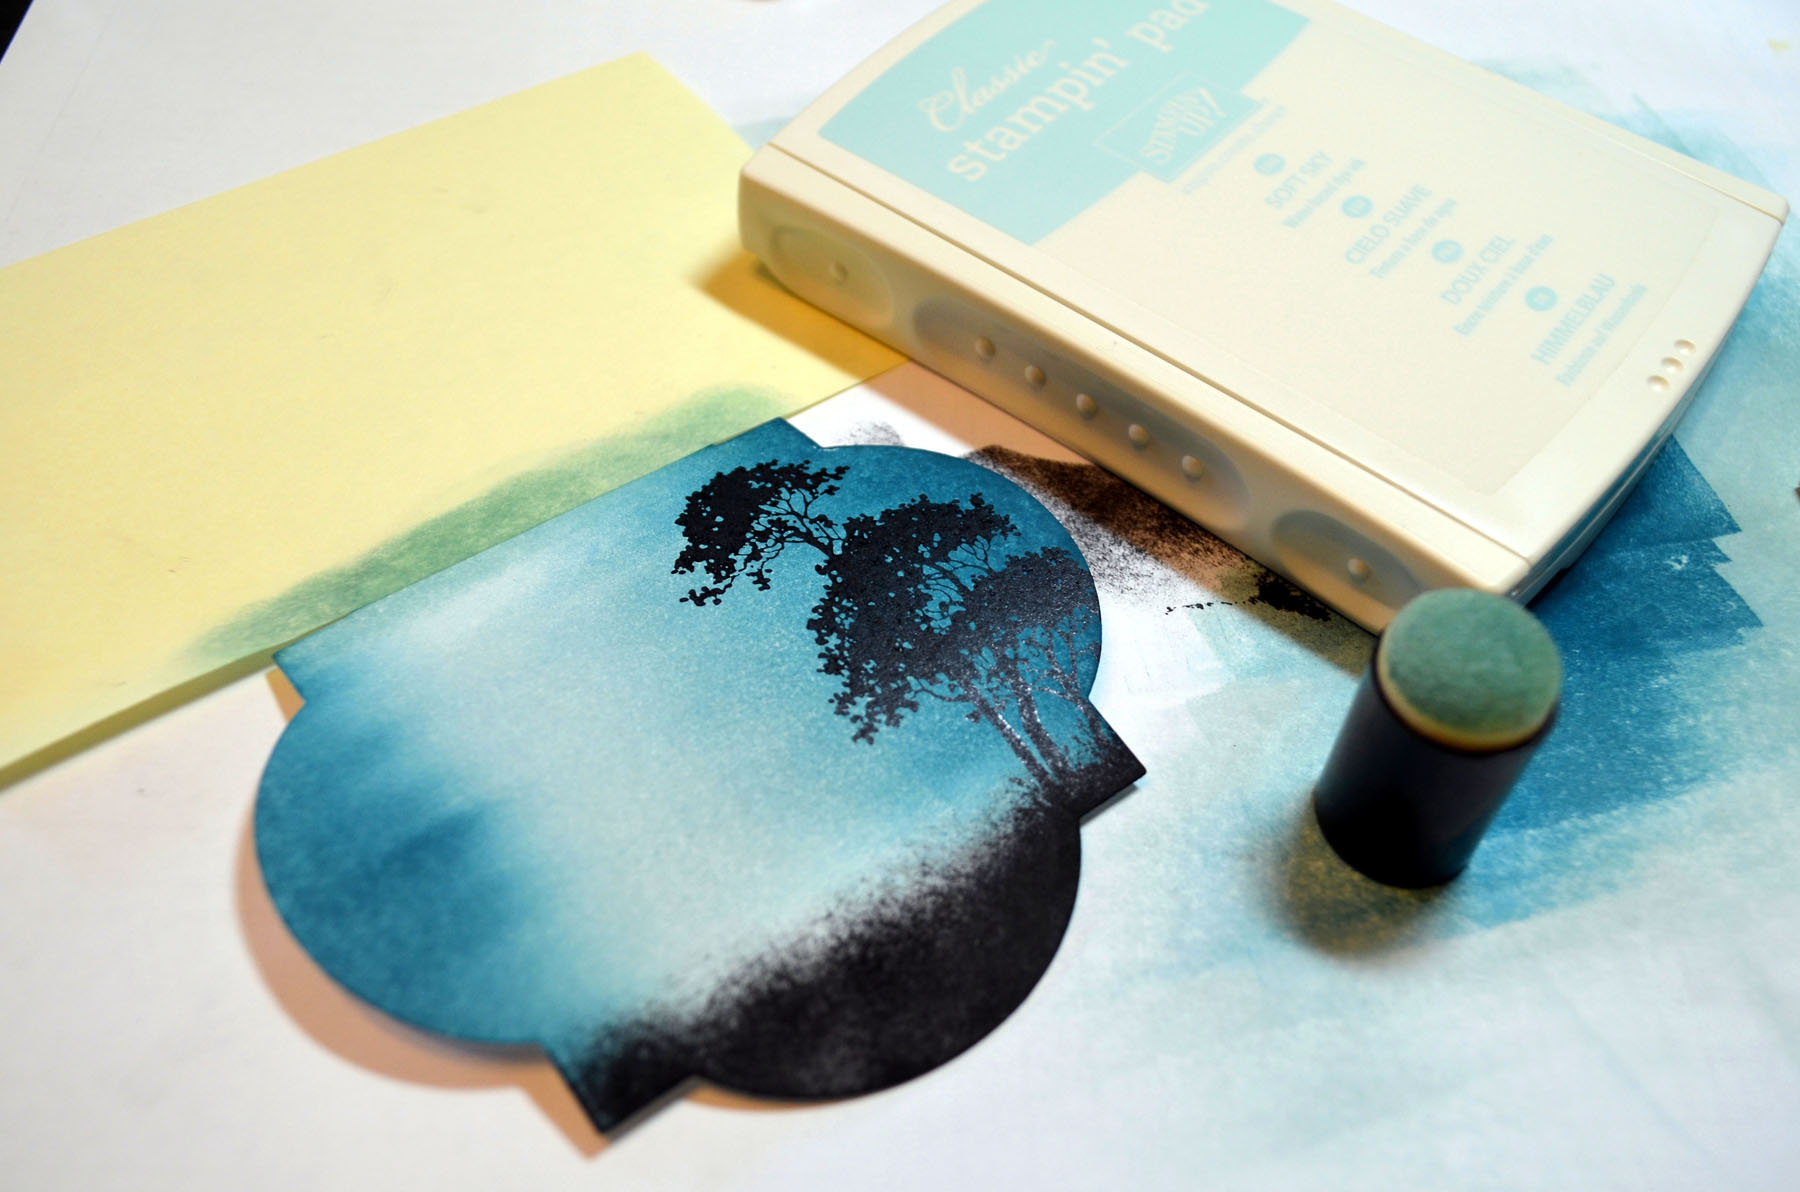
Accessories: Stampin’ Up! Sponge, 1 1/4″, 1 3/8″, and 2 1/2″ Circle punches, Sahara Sand marker, Vingage Trinkets and post it note

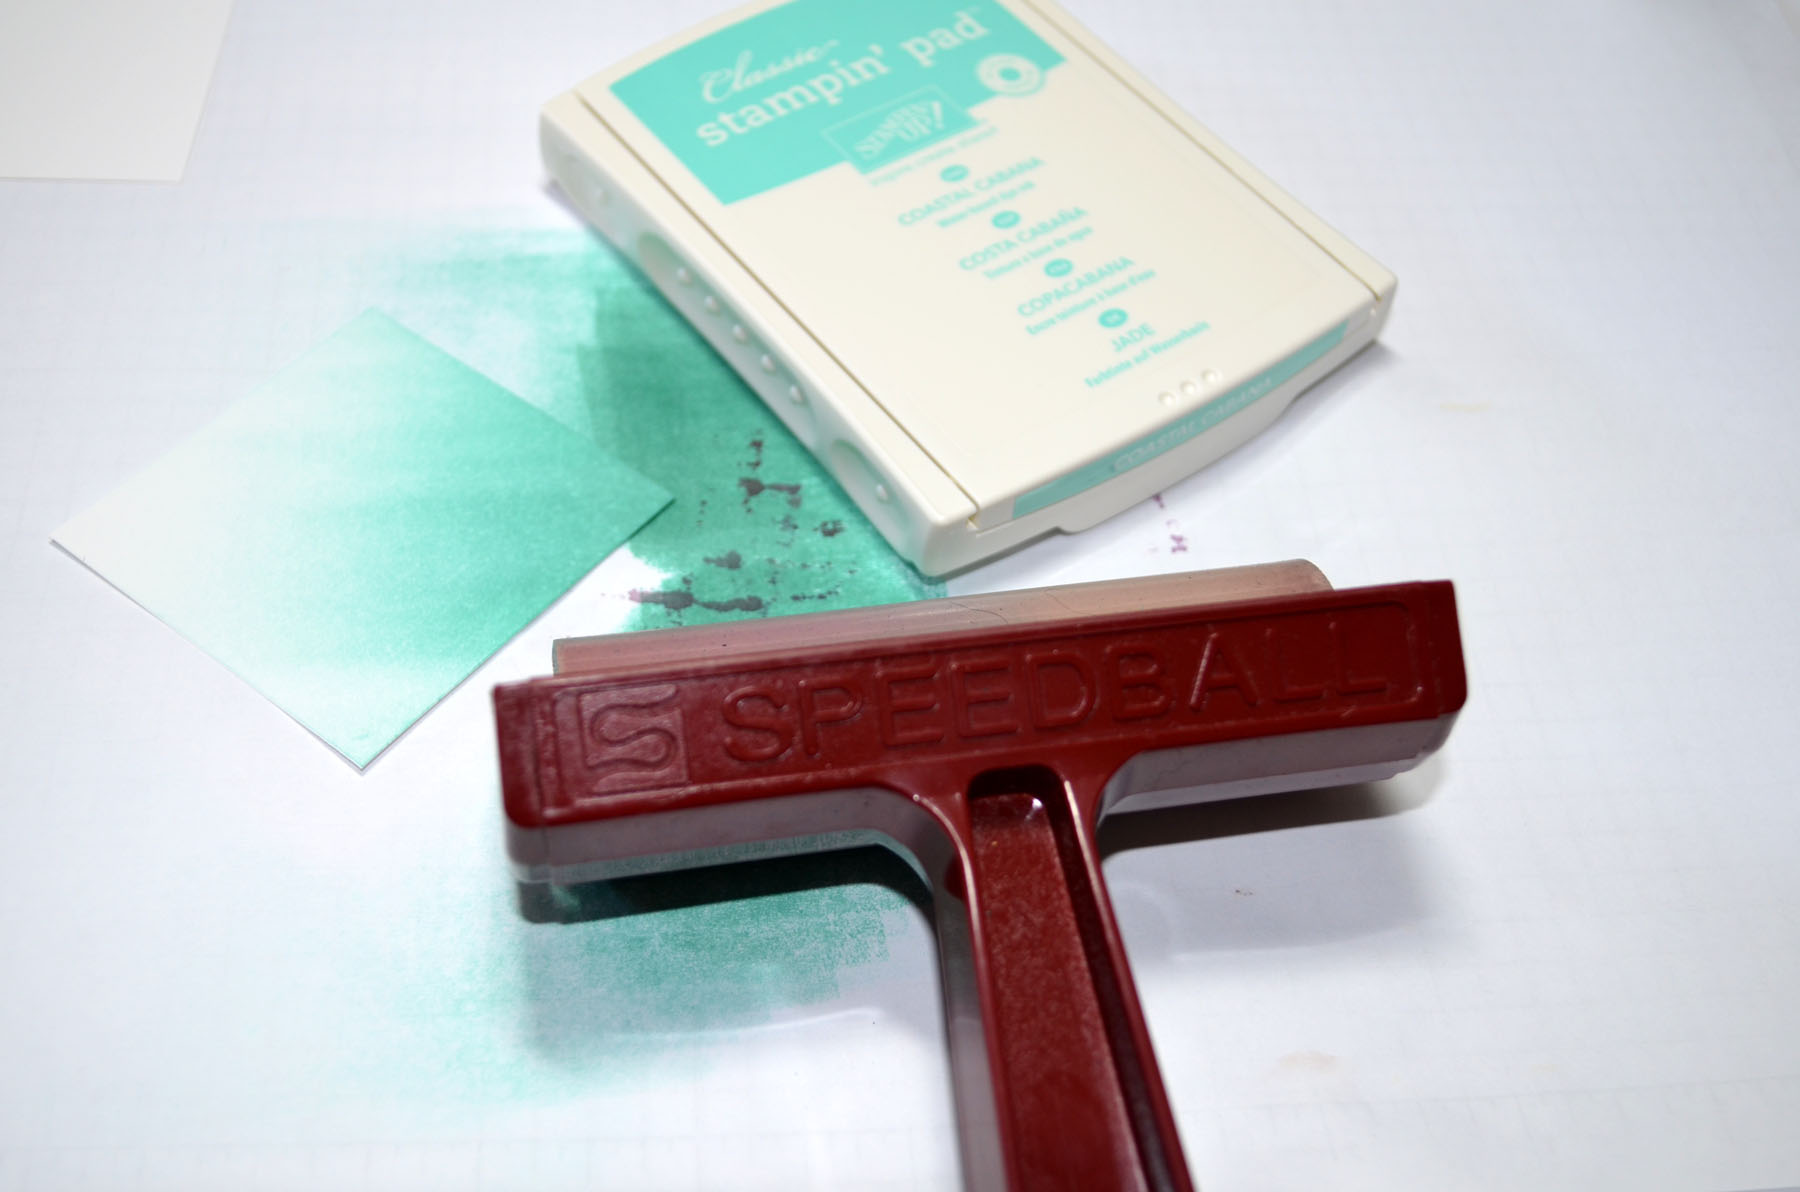
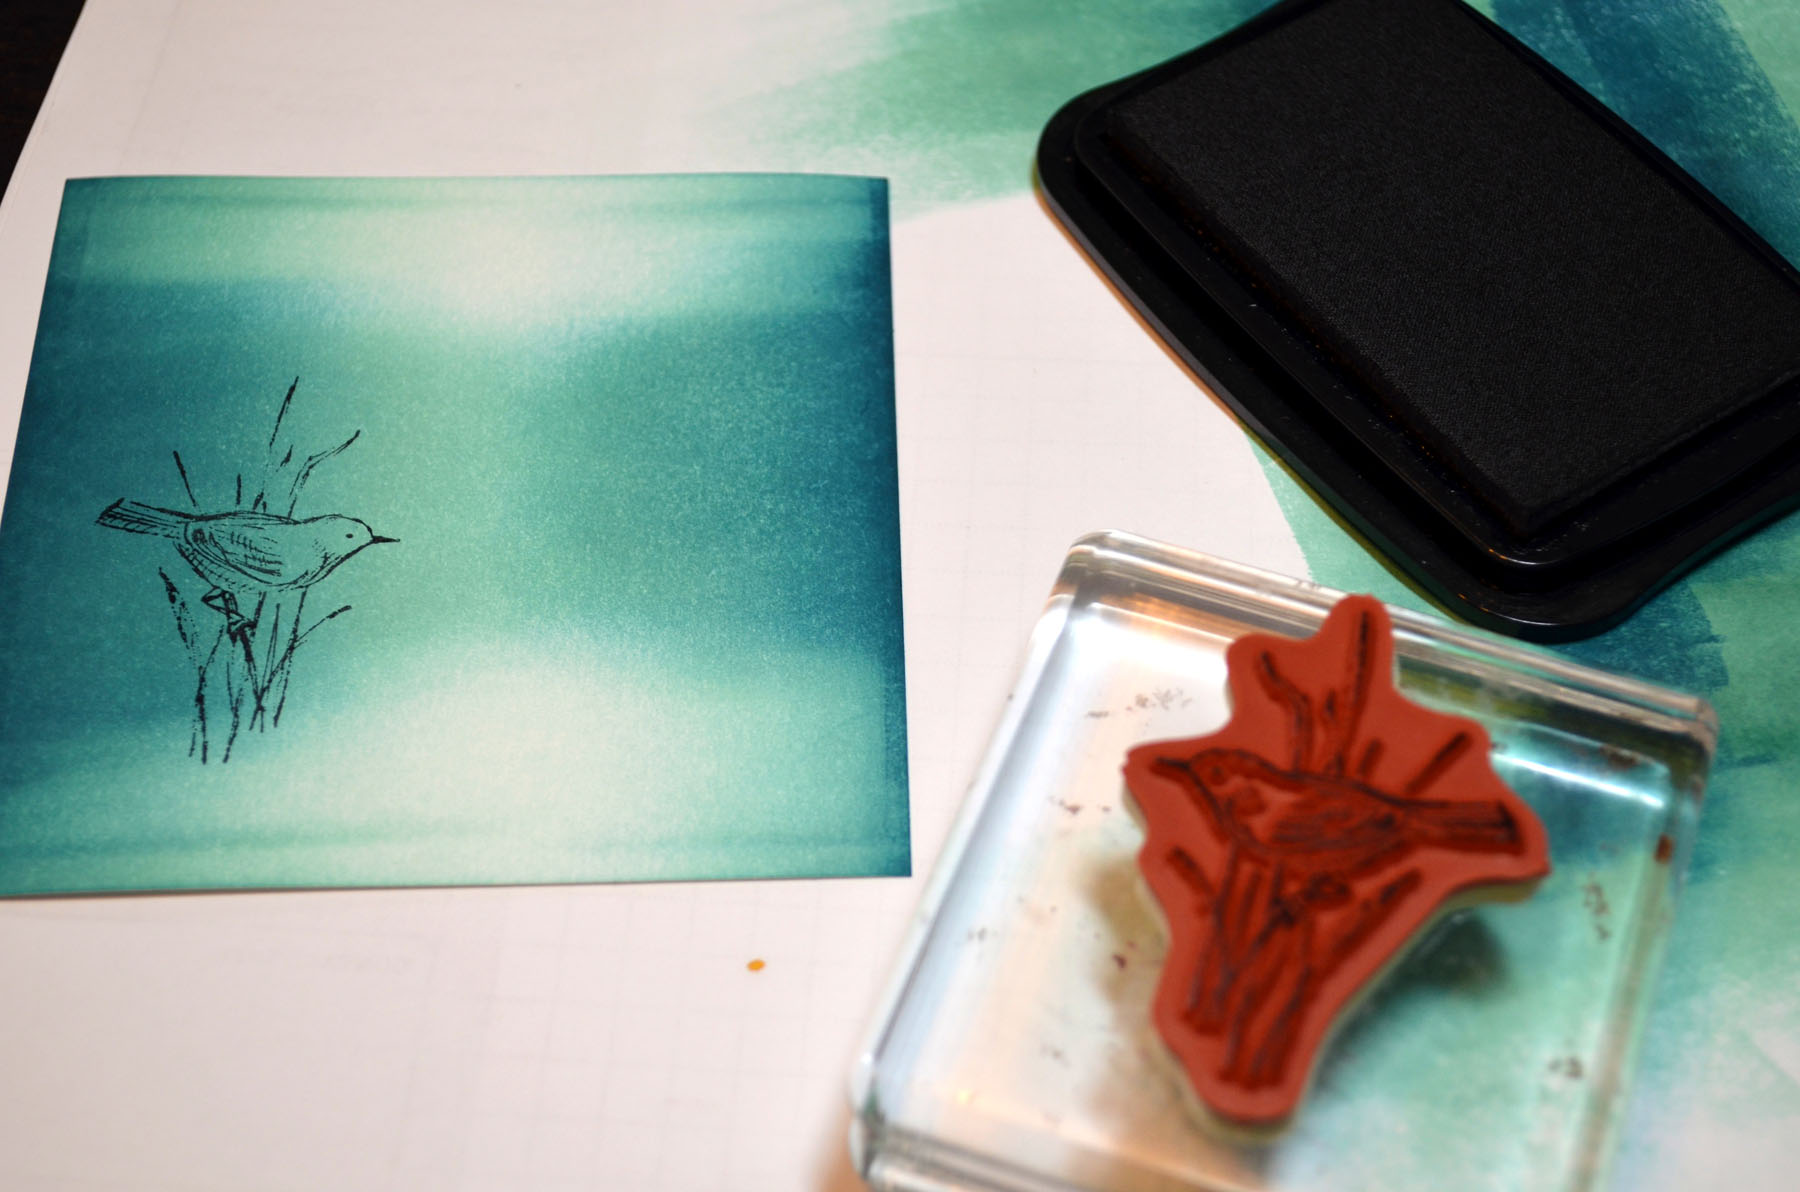
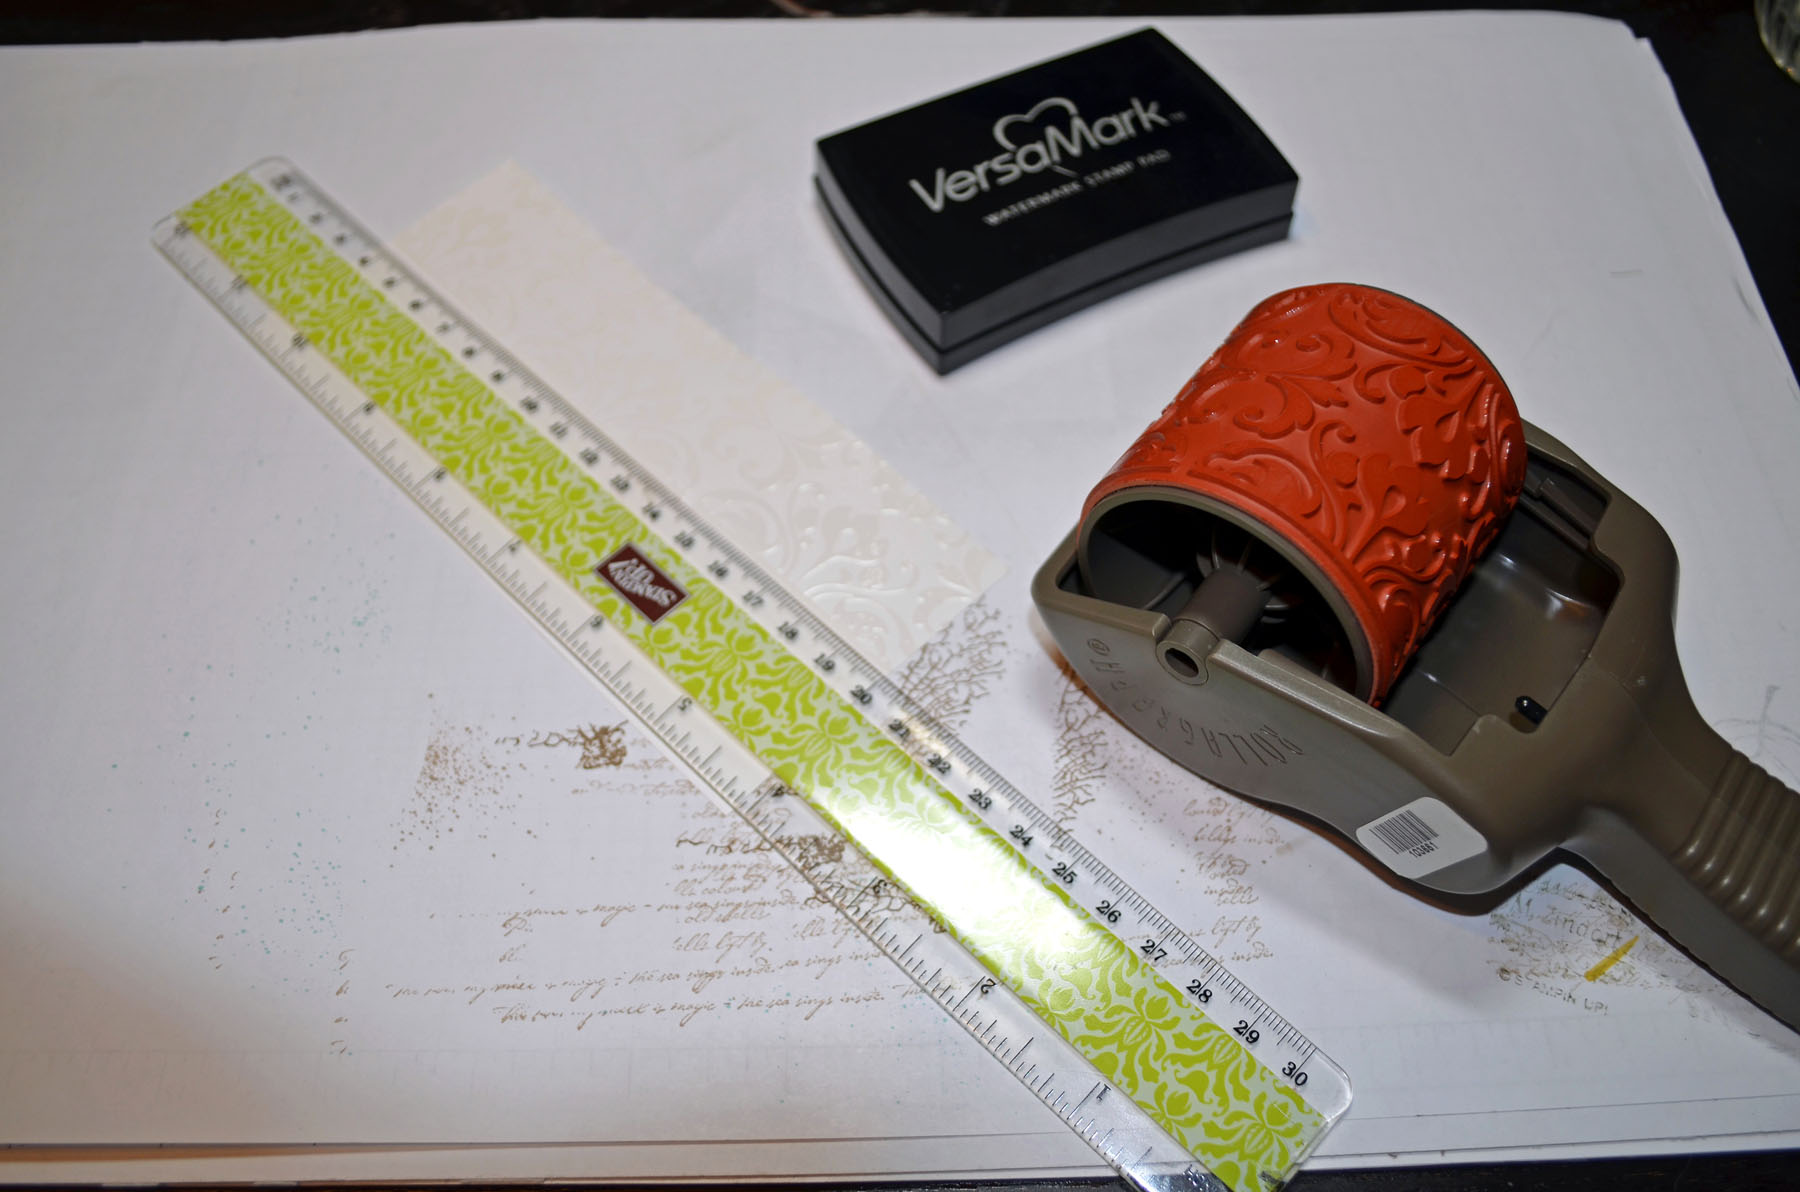
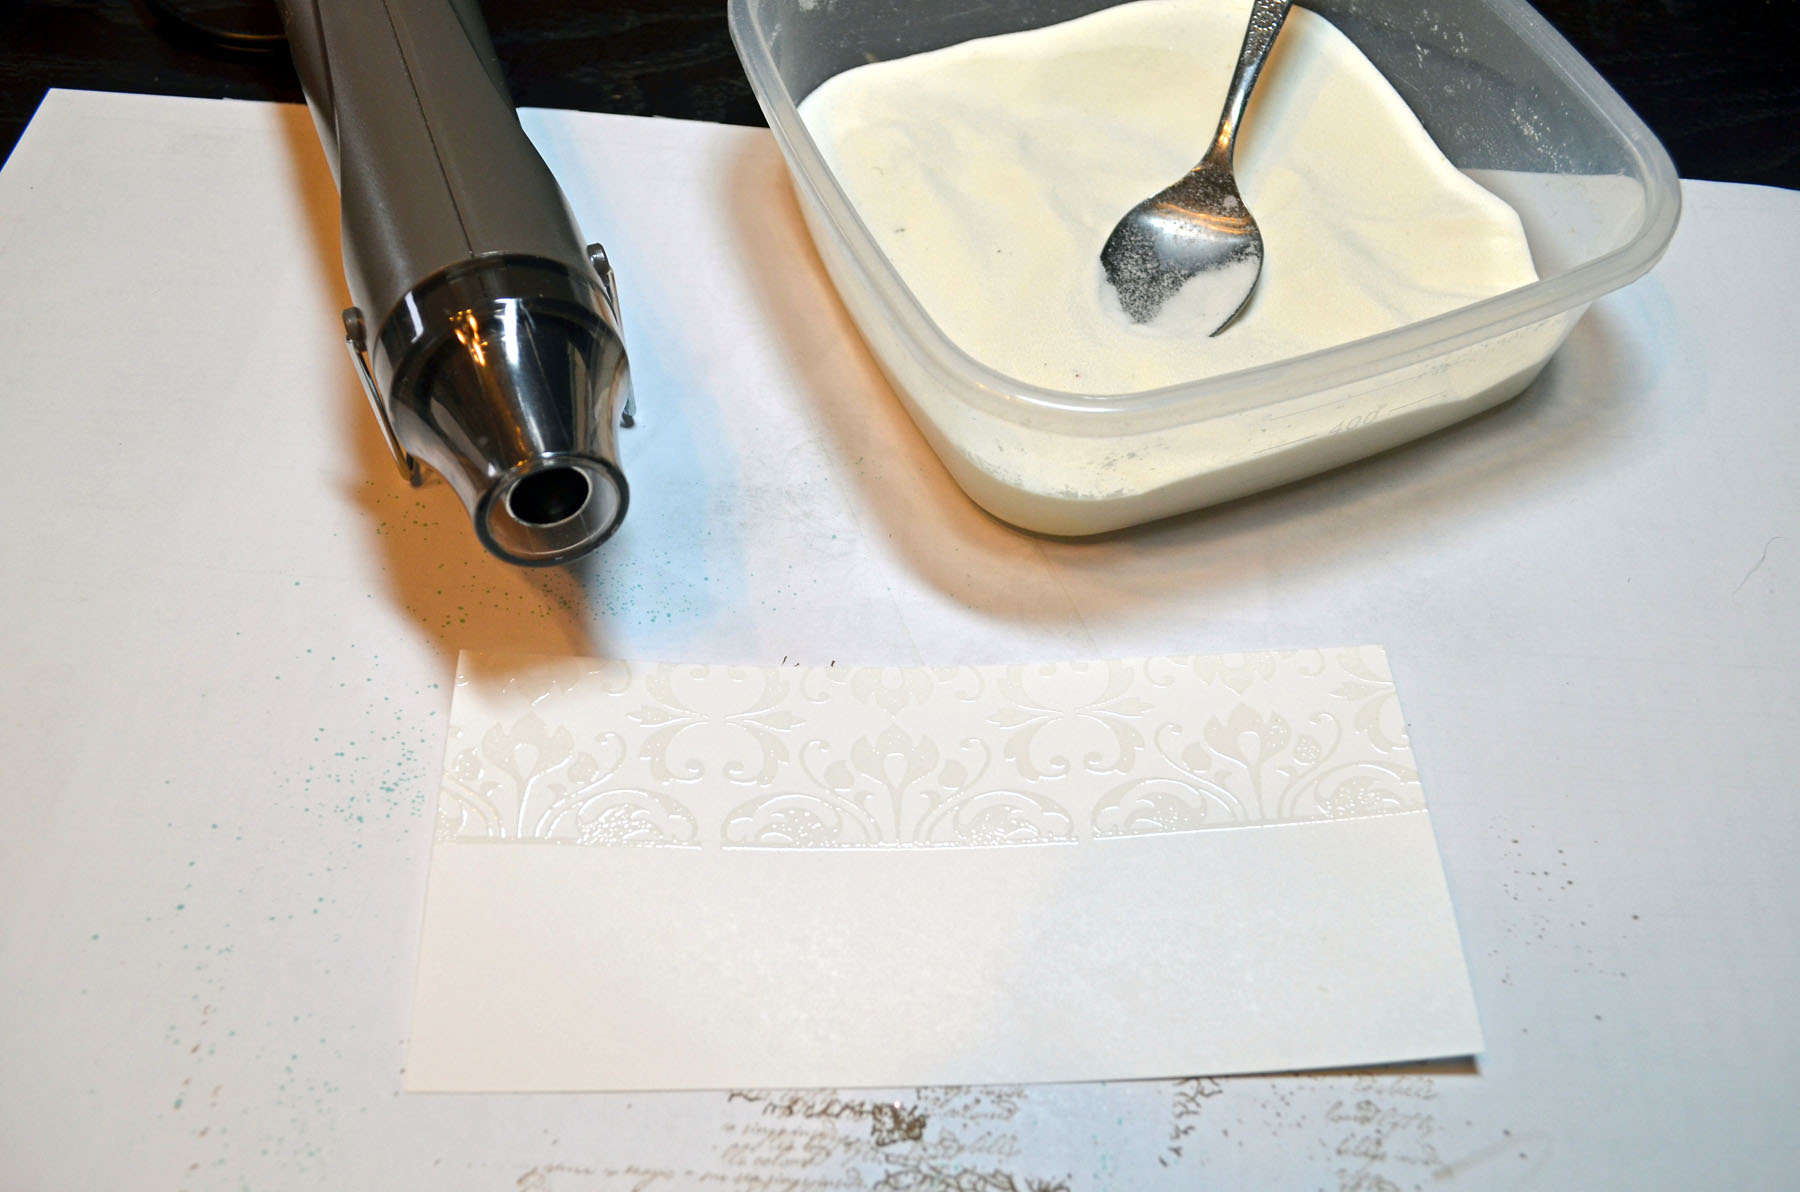
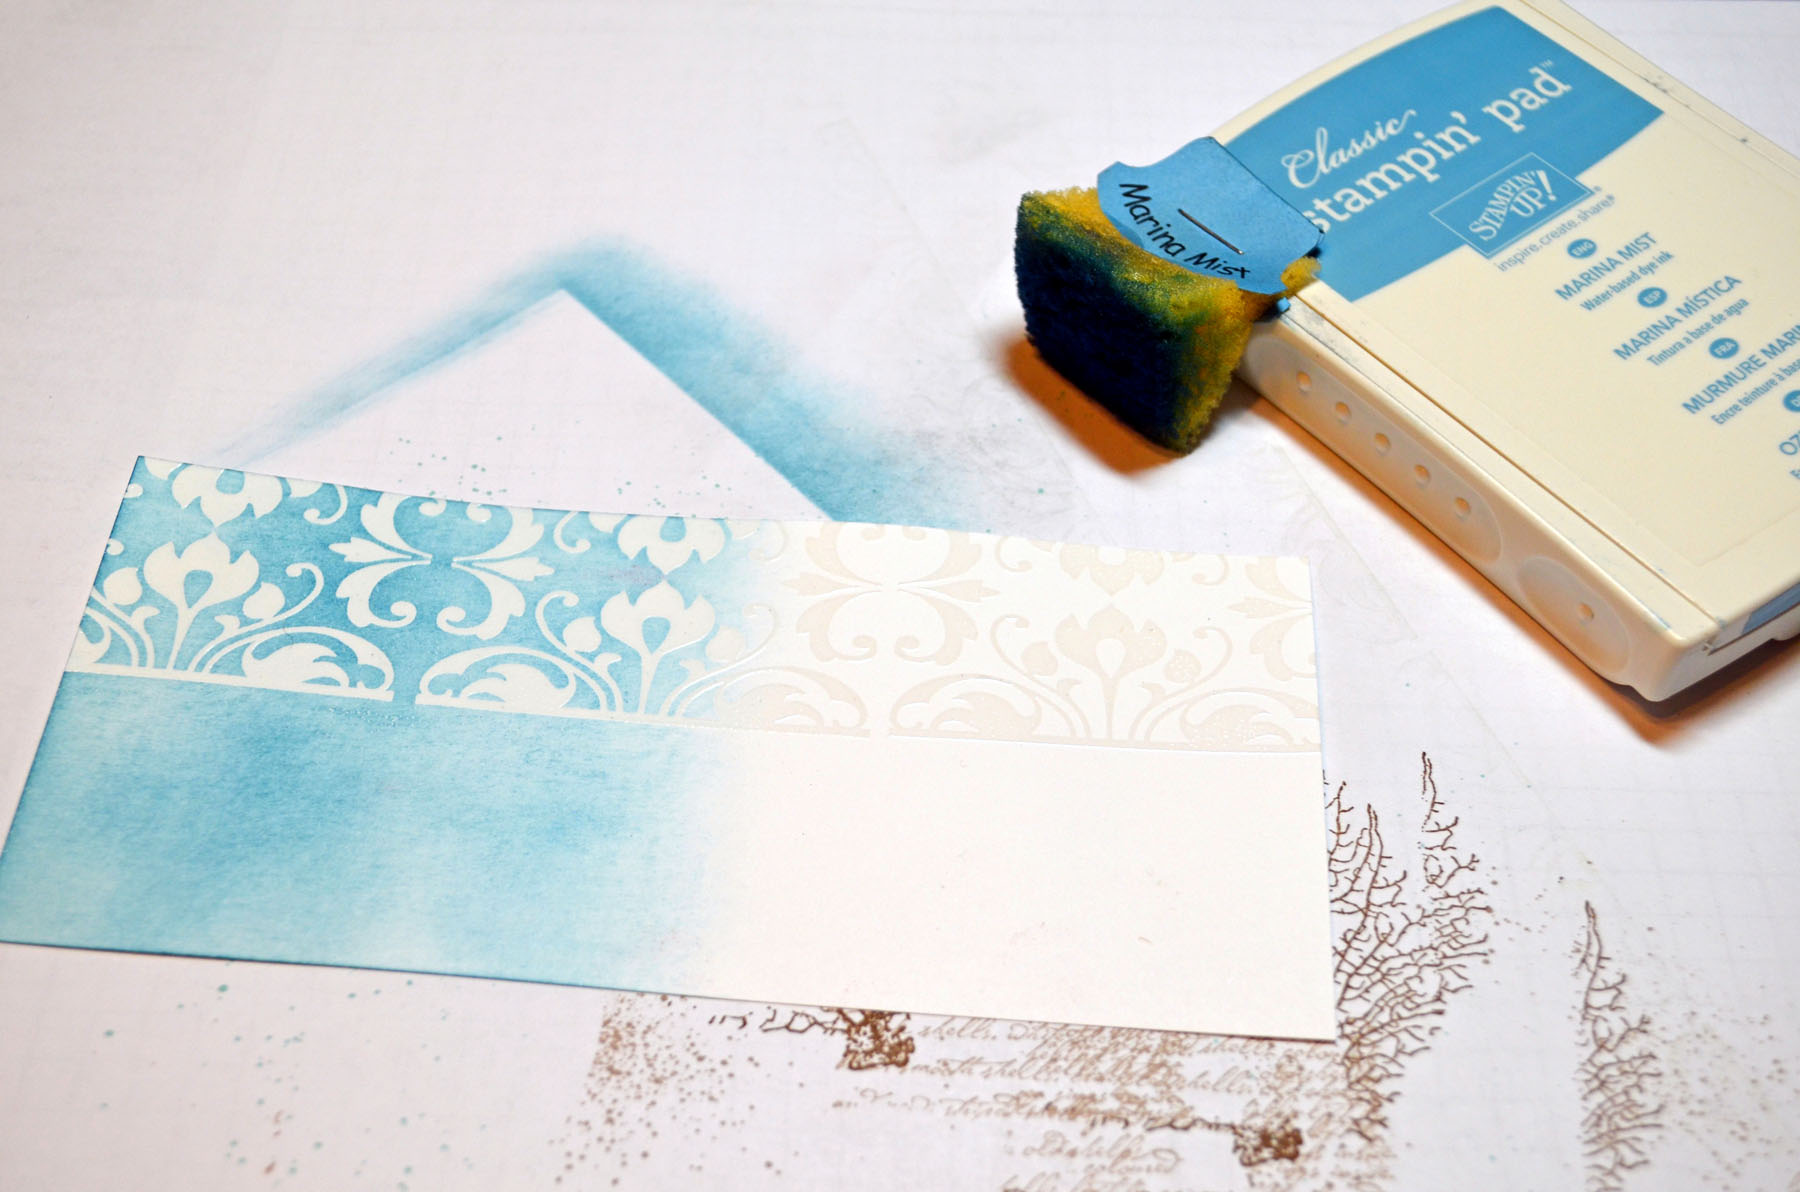
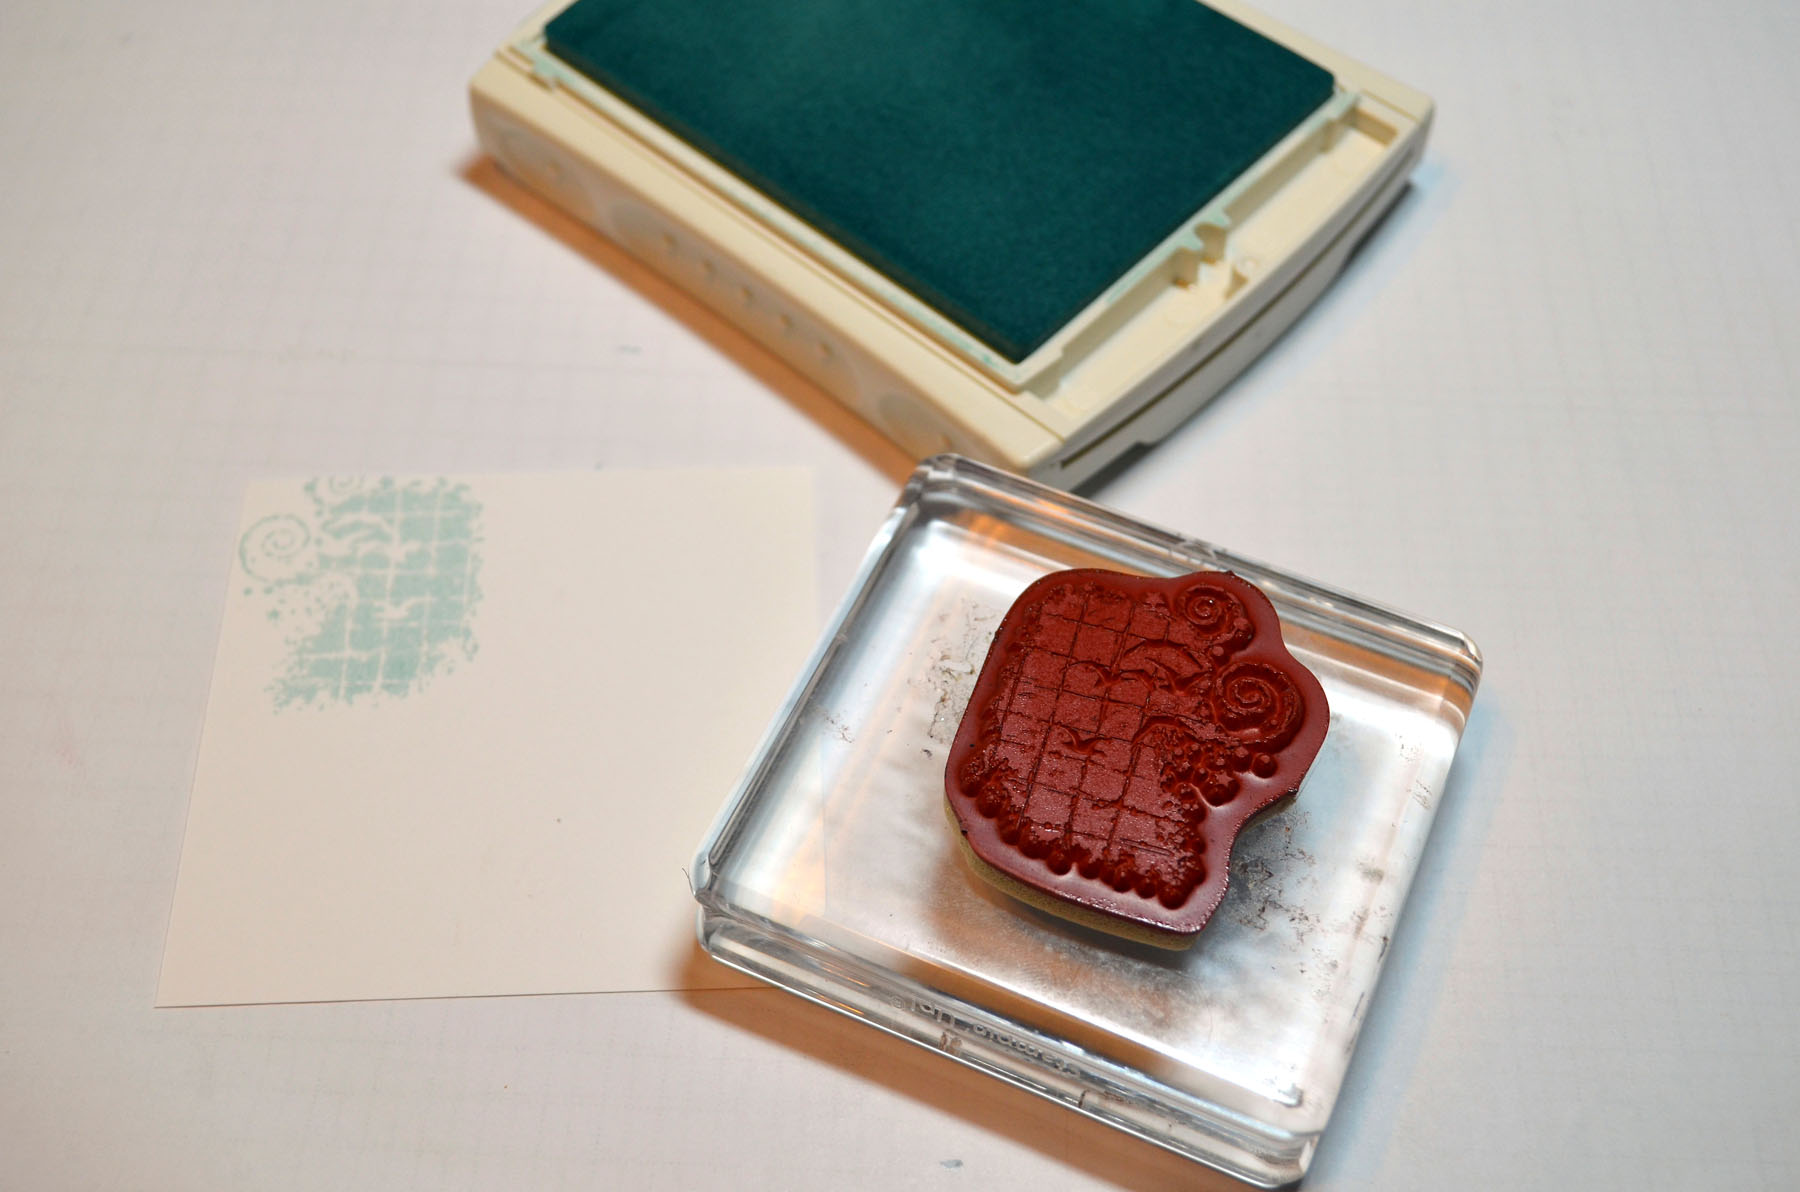
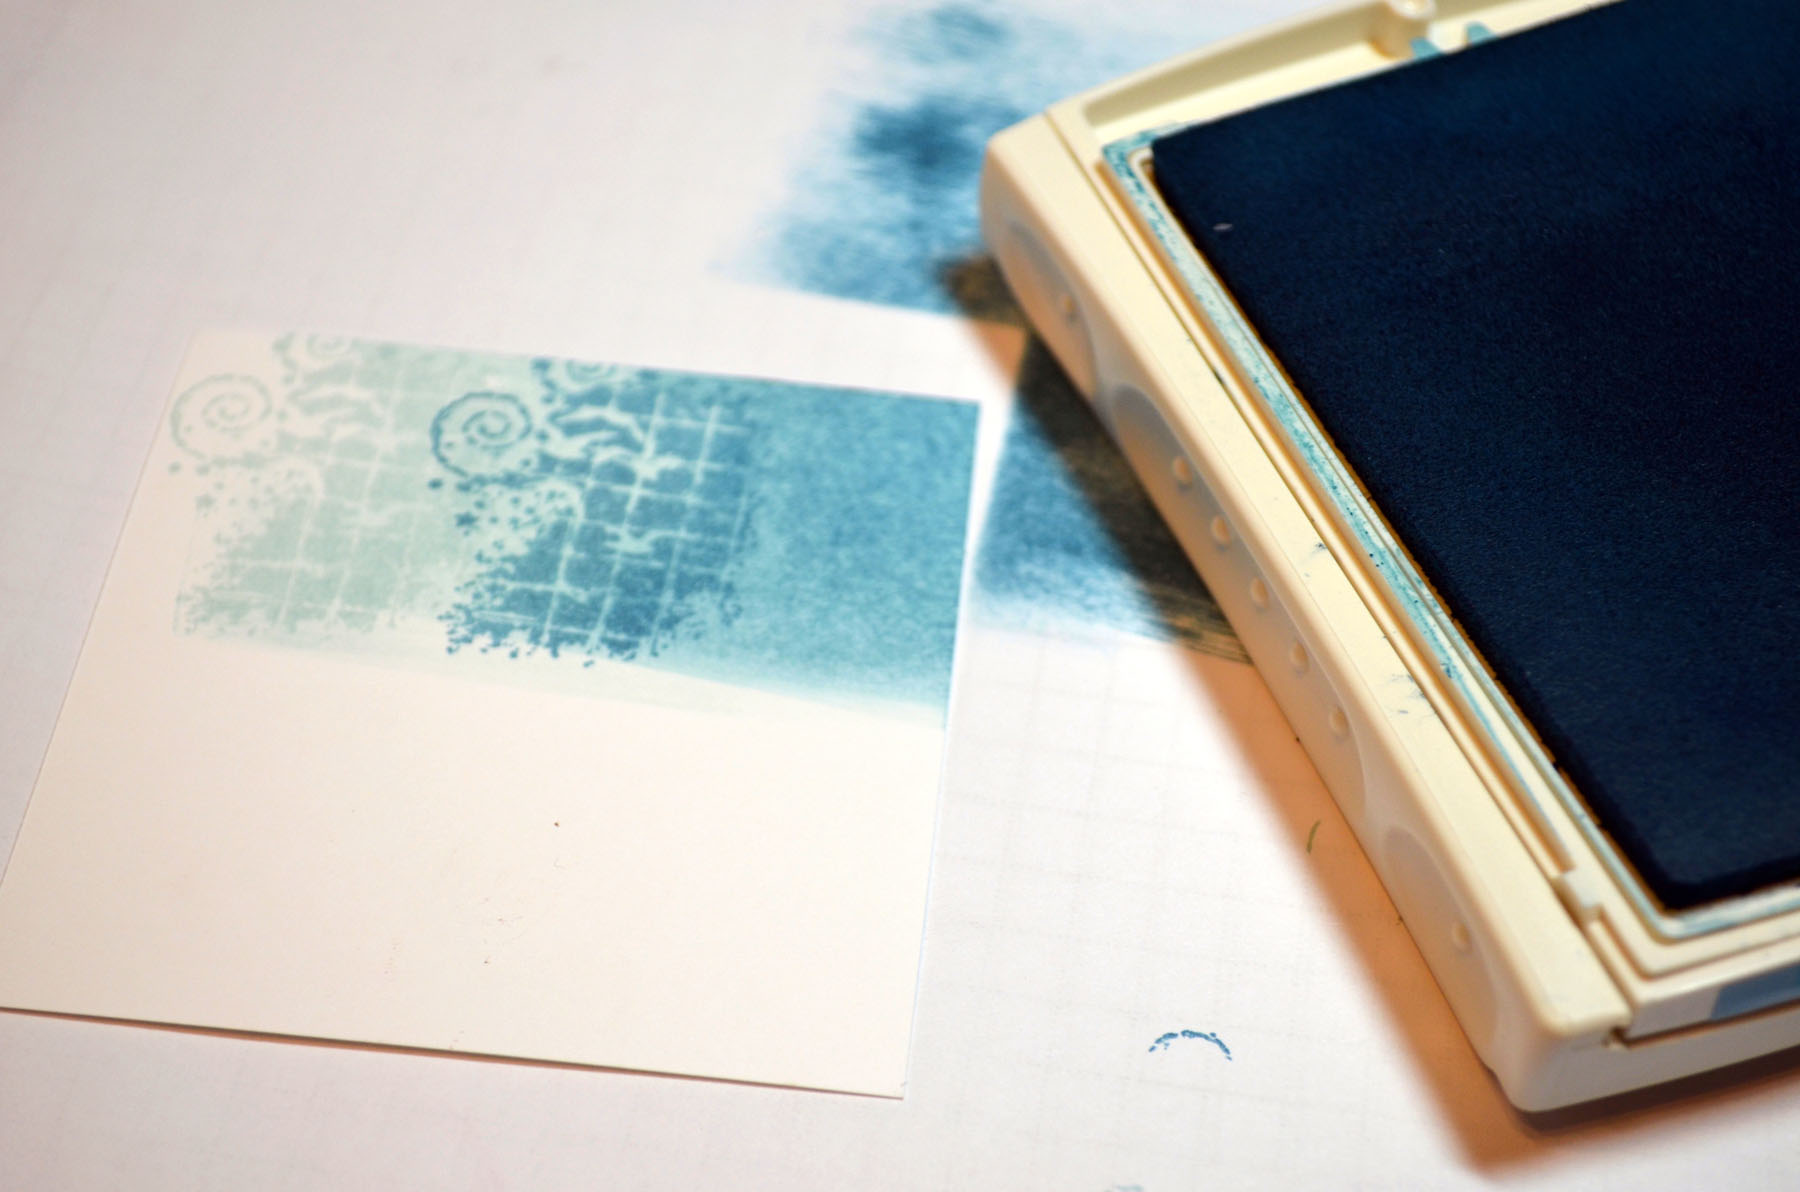
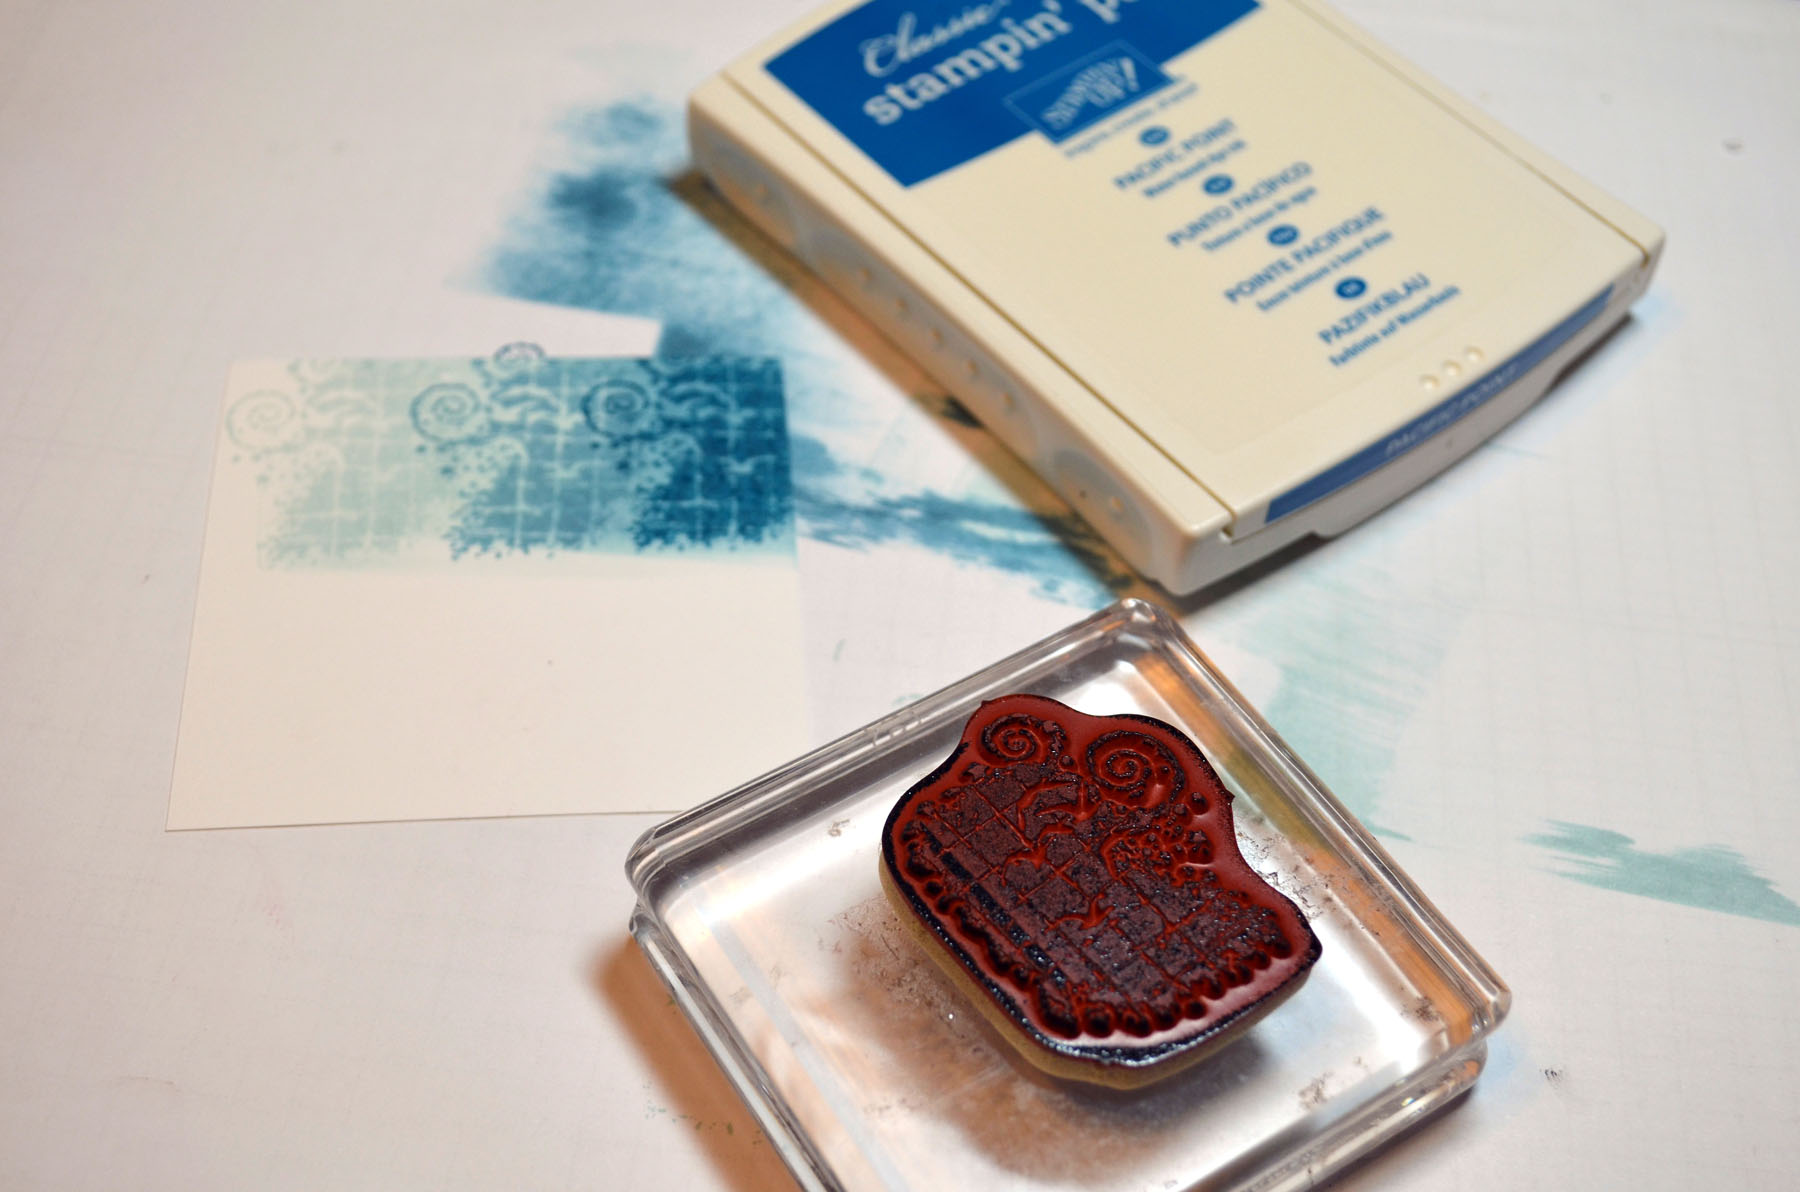
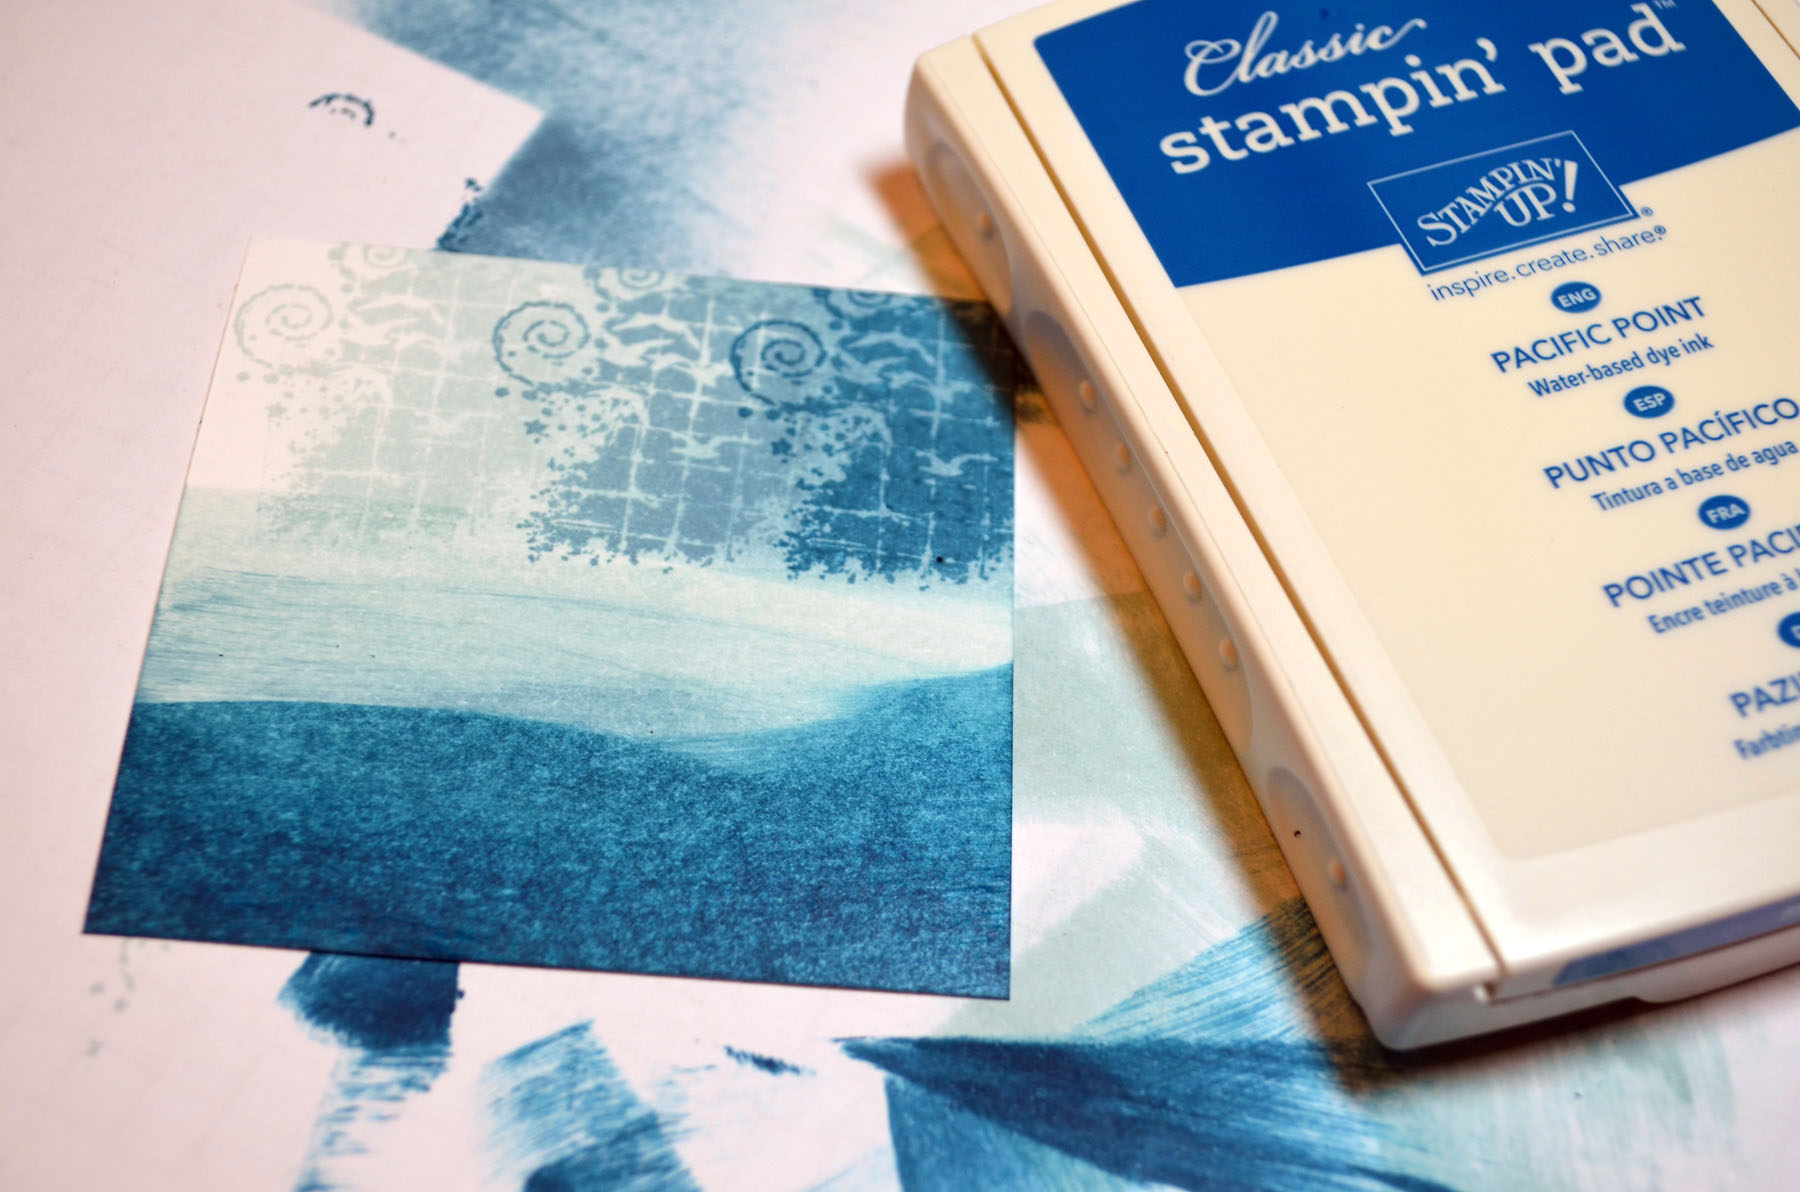
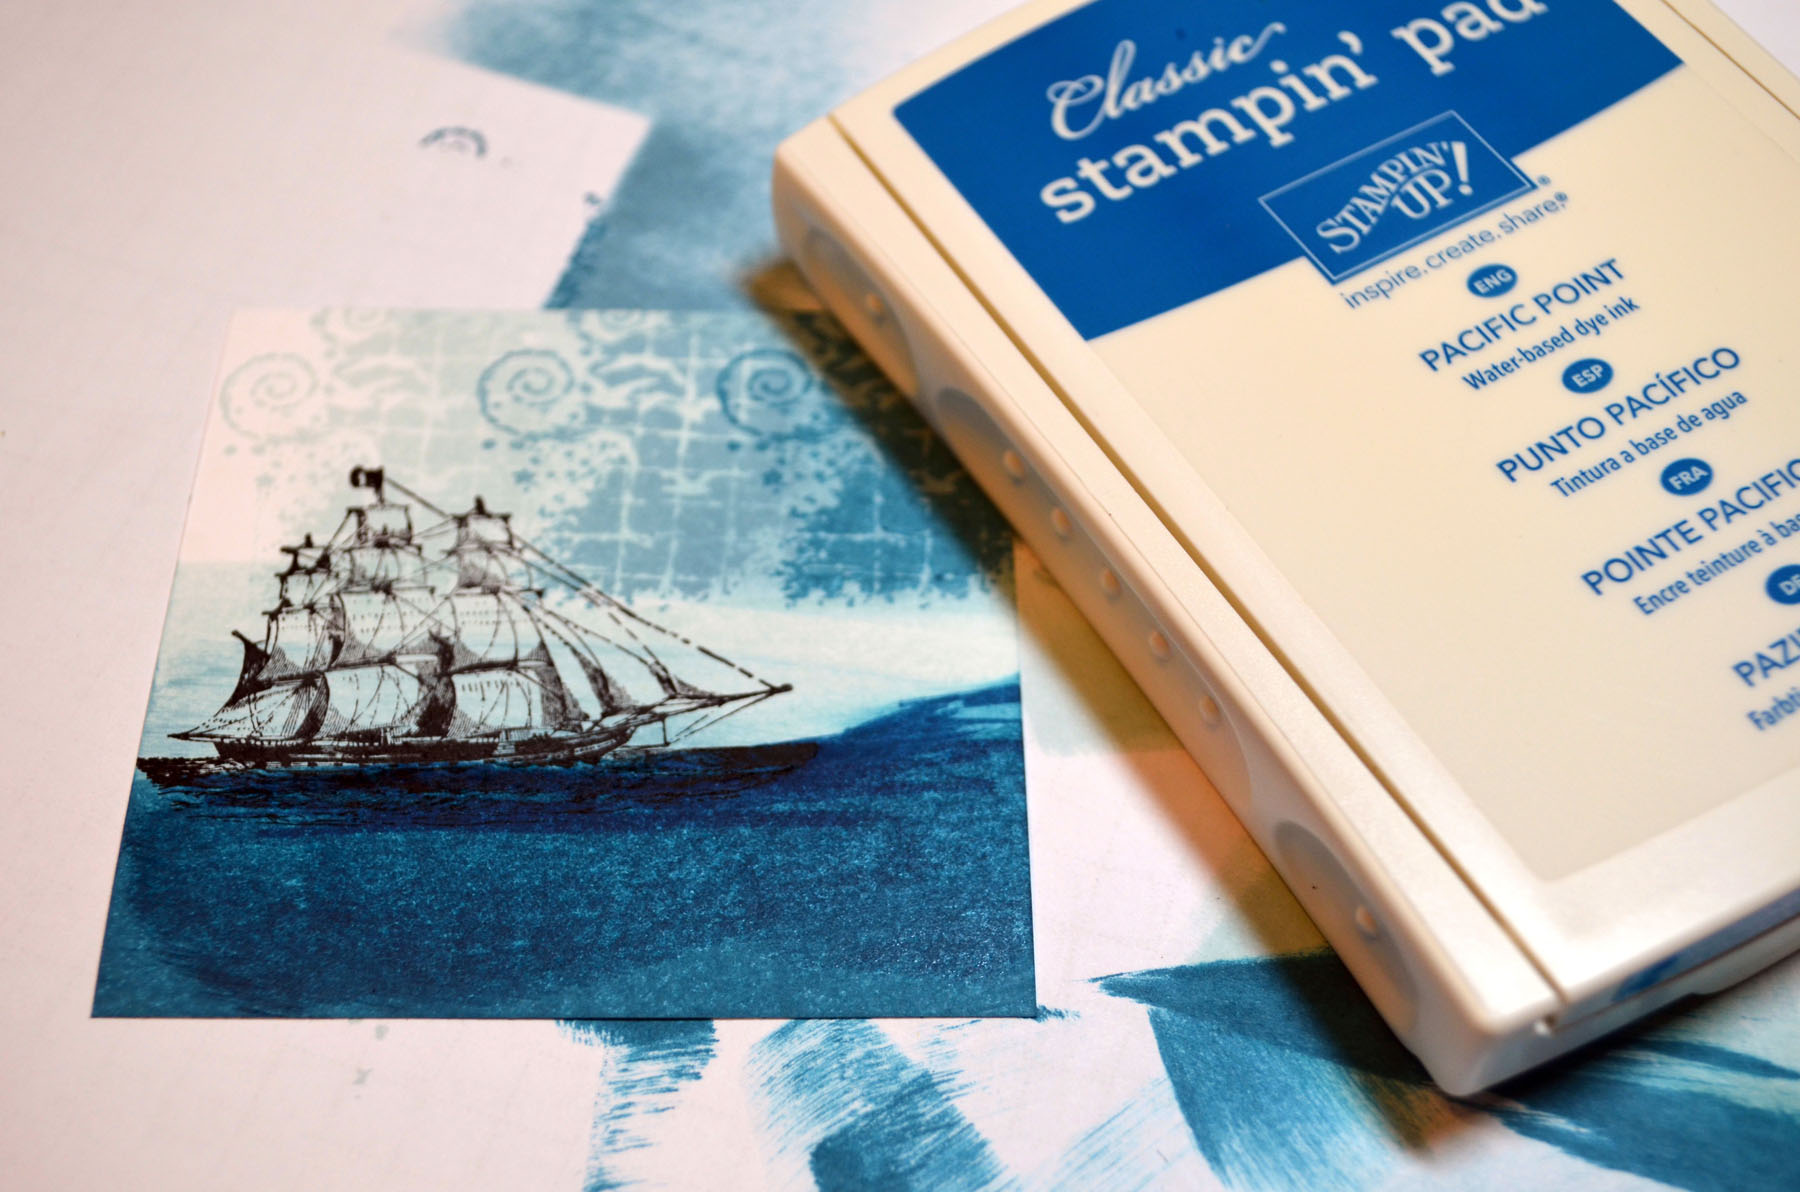
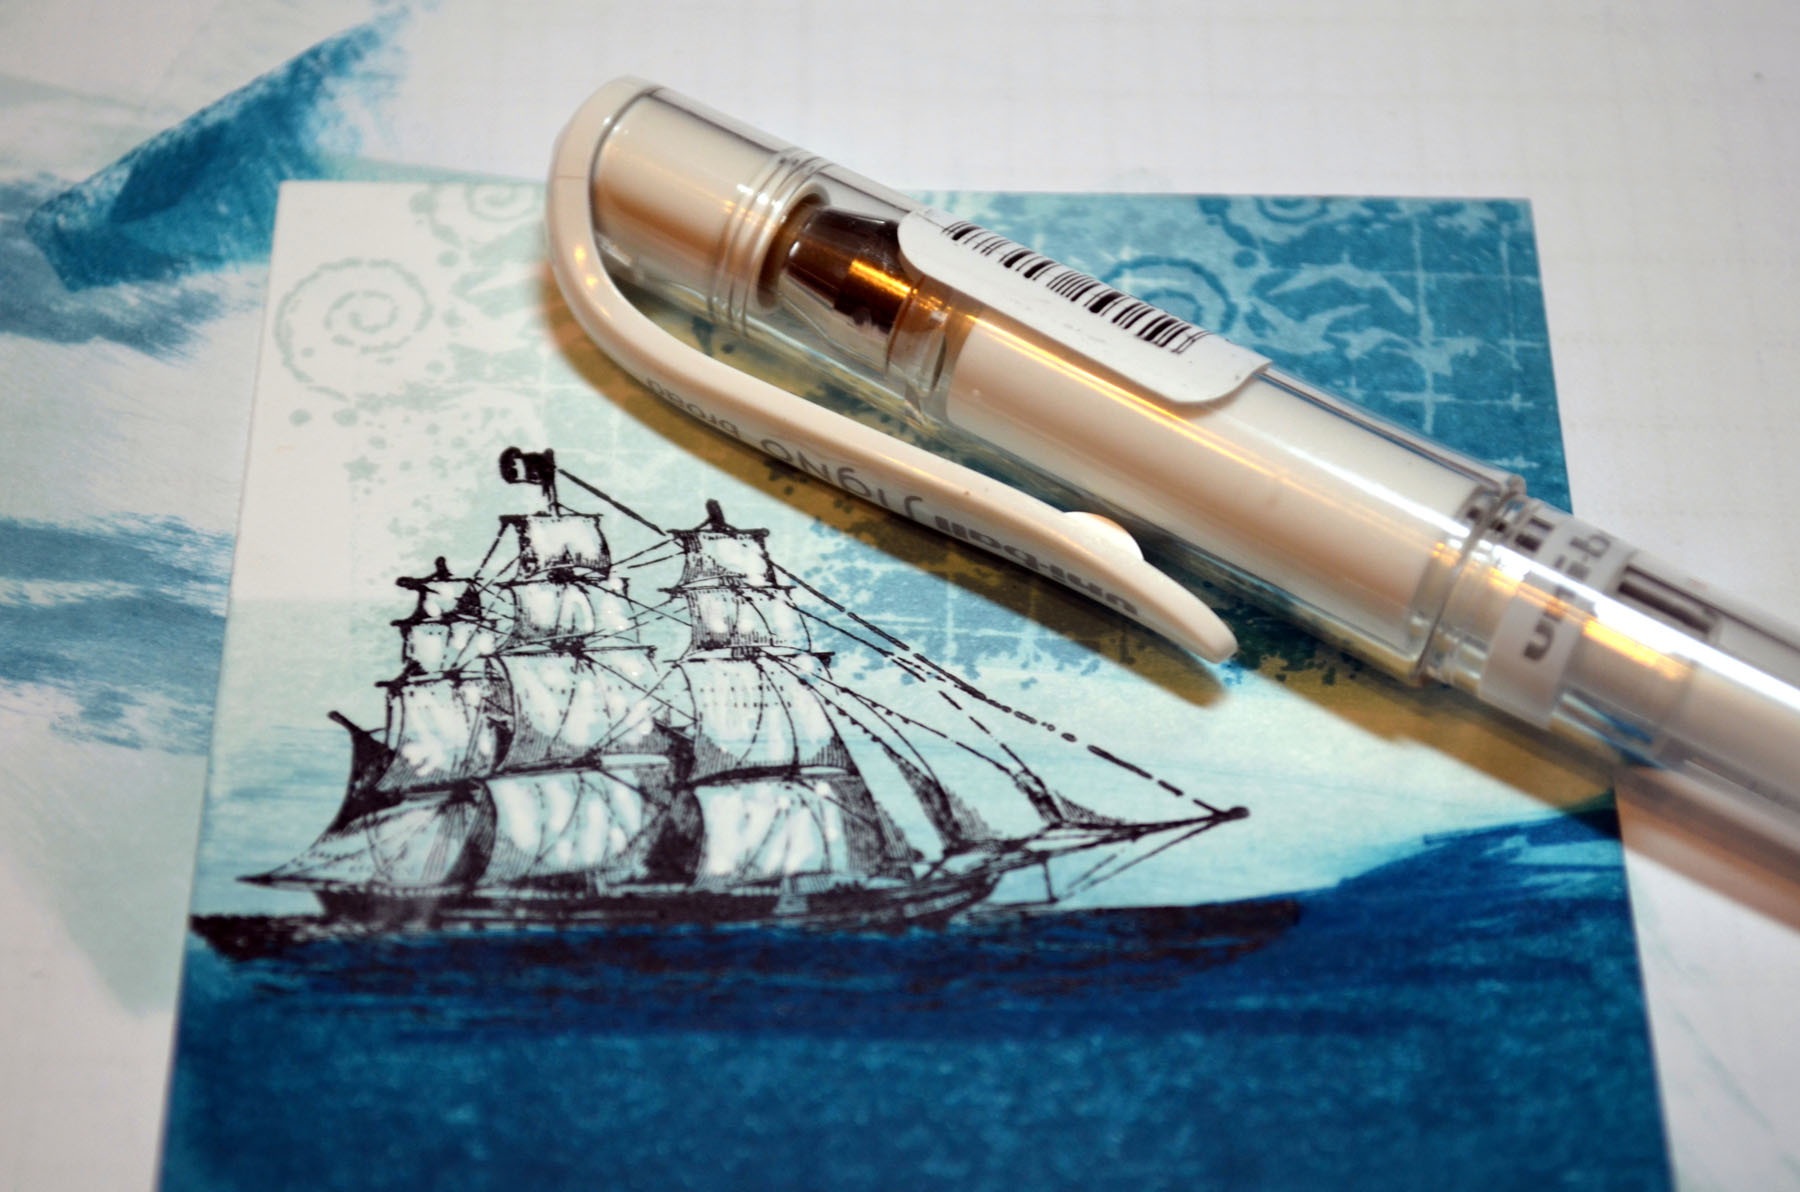
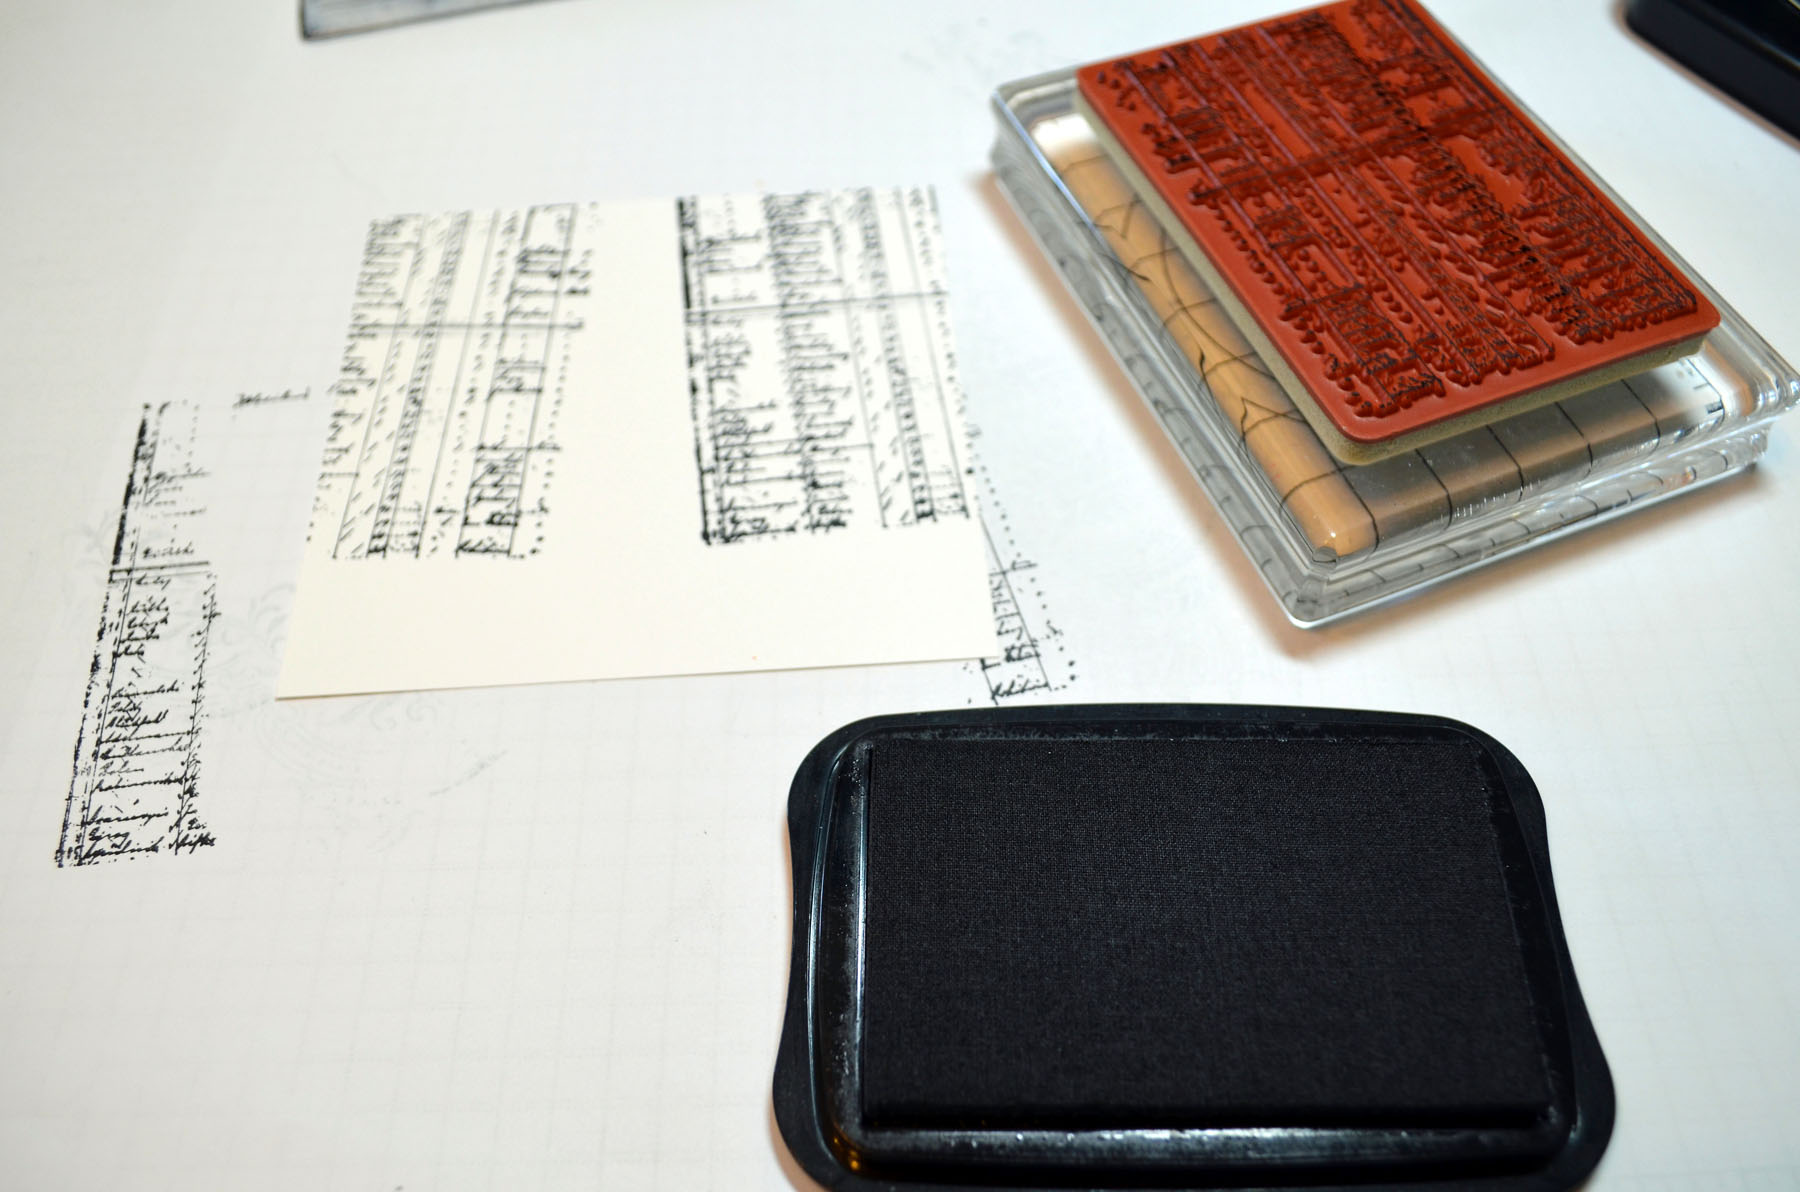
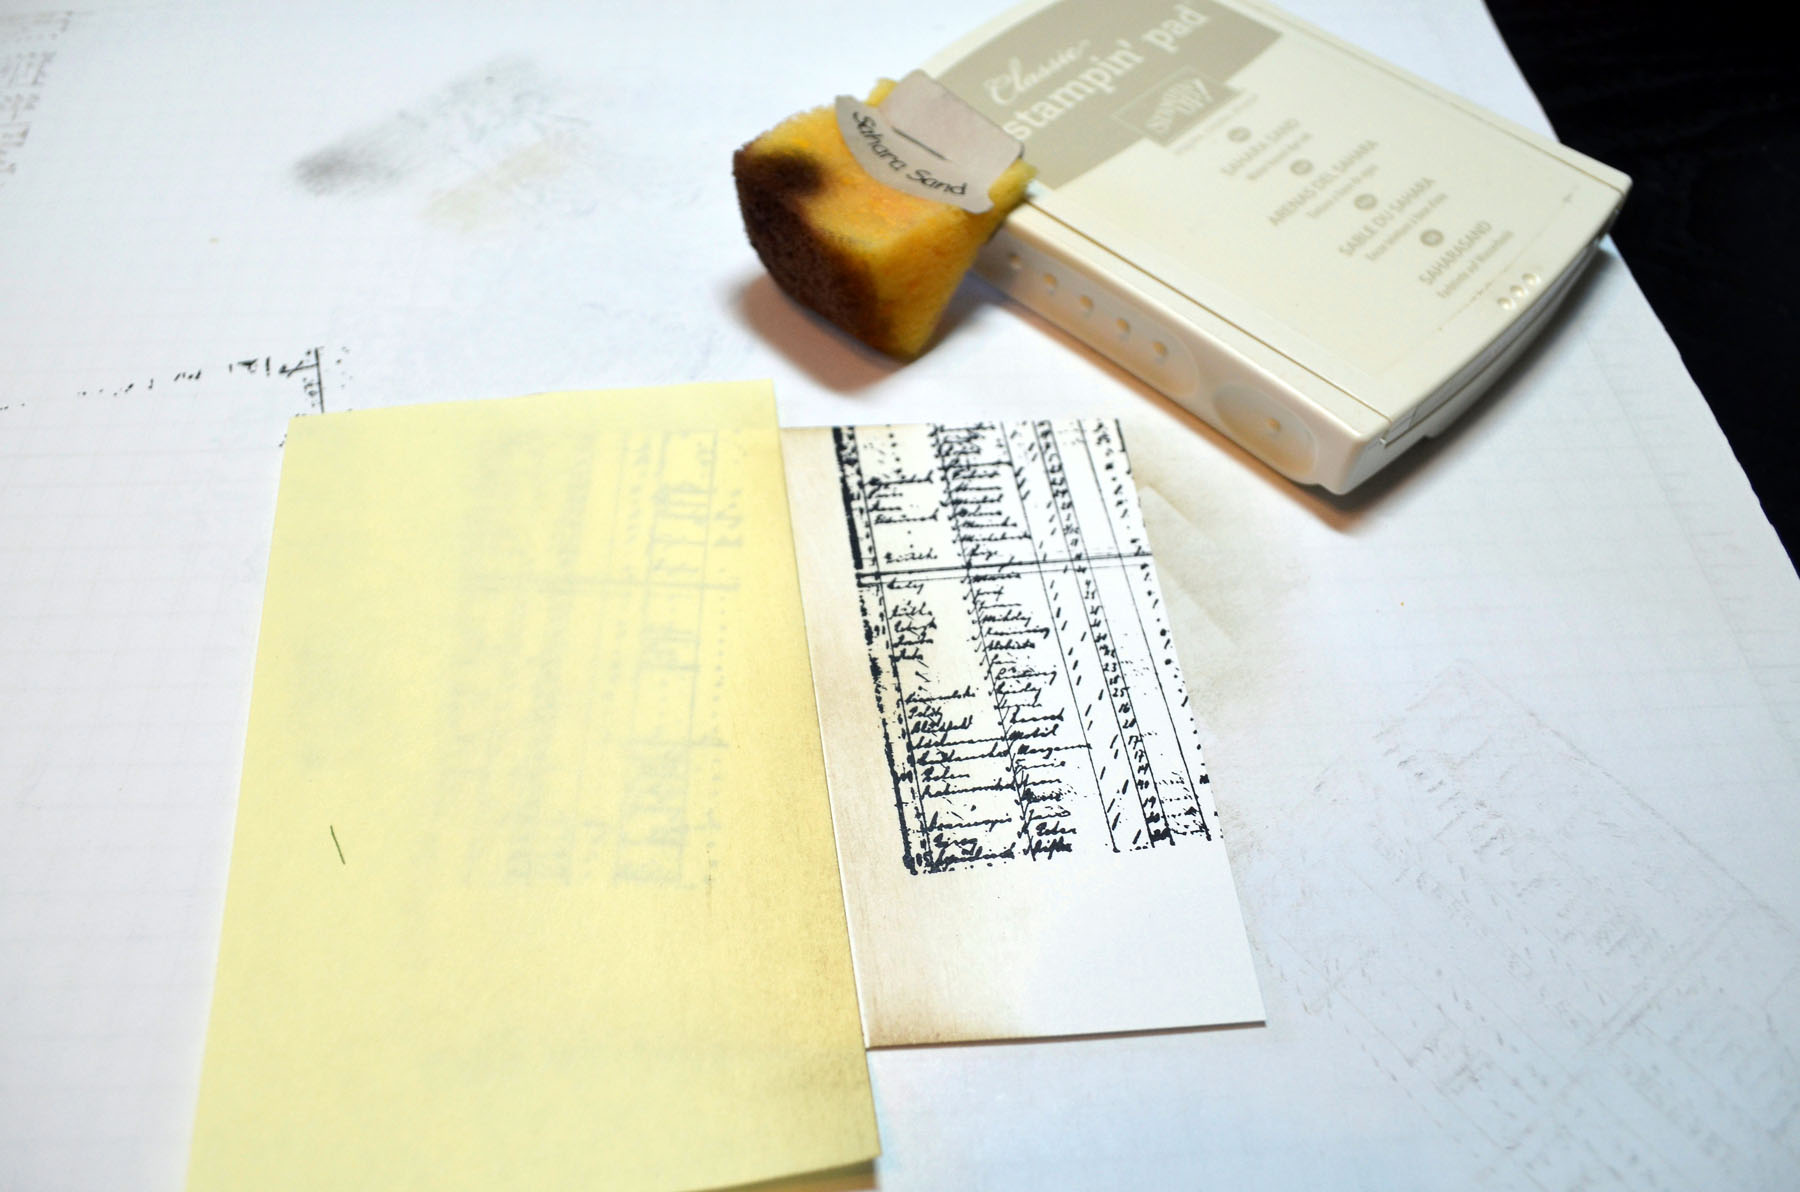
Stamped the journal stamp from the Stampin’ Up! set The Open Seas using Stazon Jet Black ink twice on a 4″ square piece of Whisper White card stock.


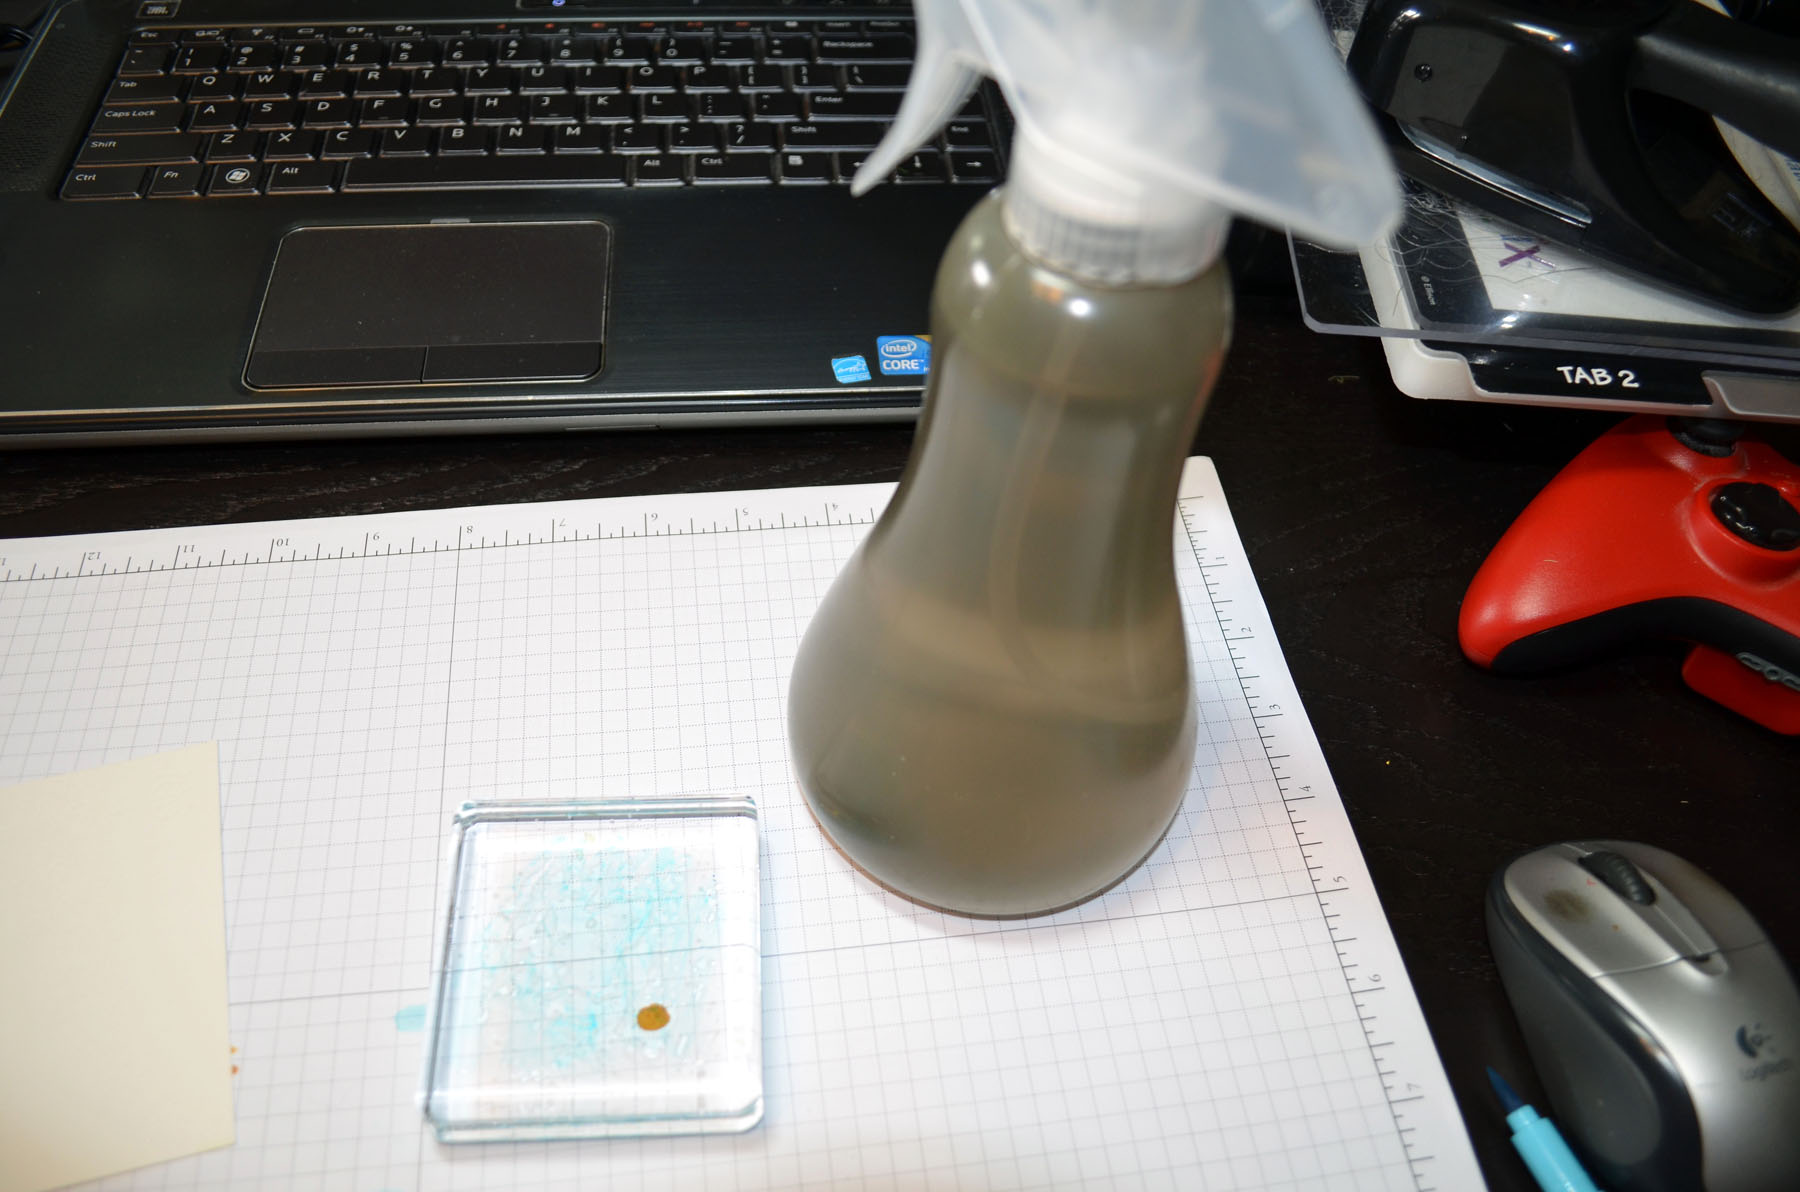
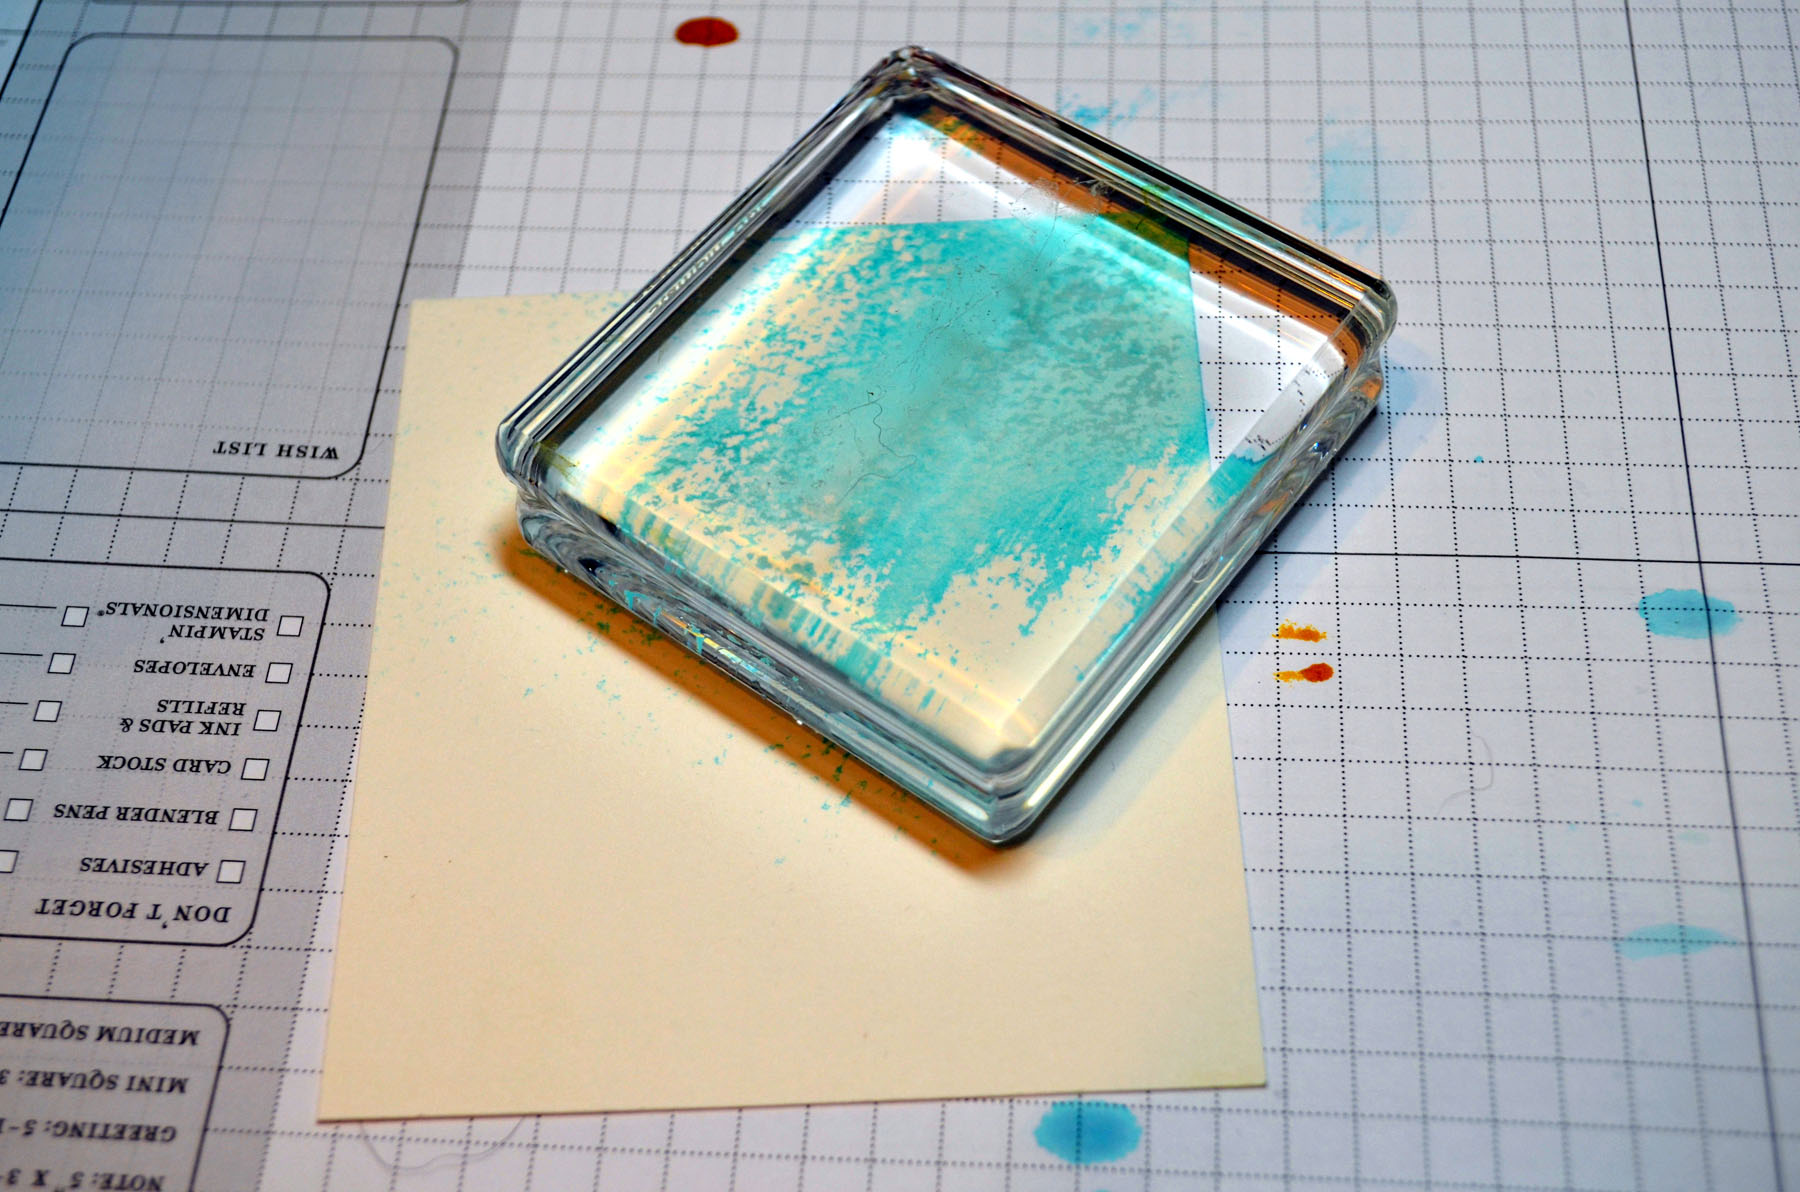
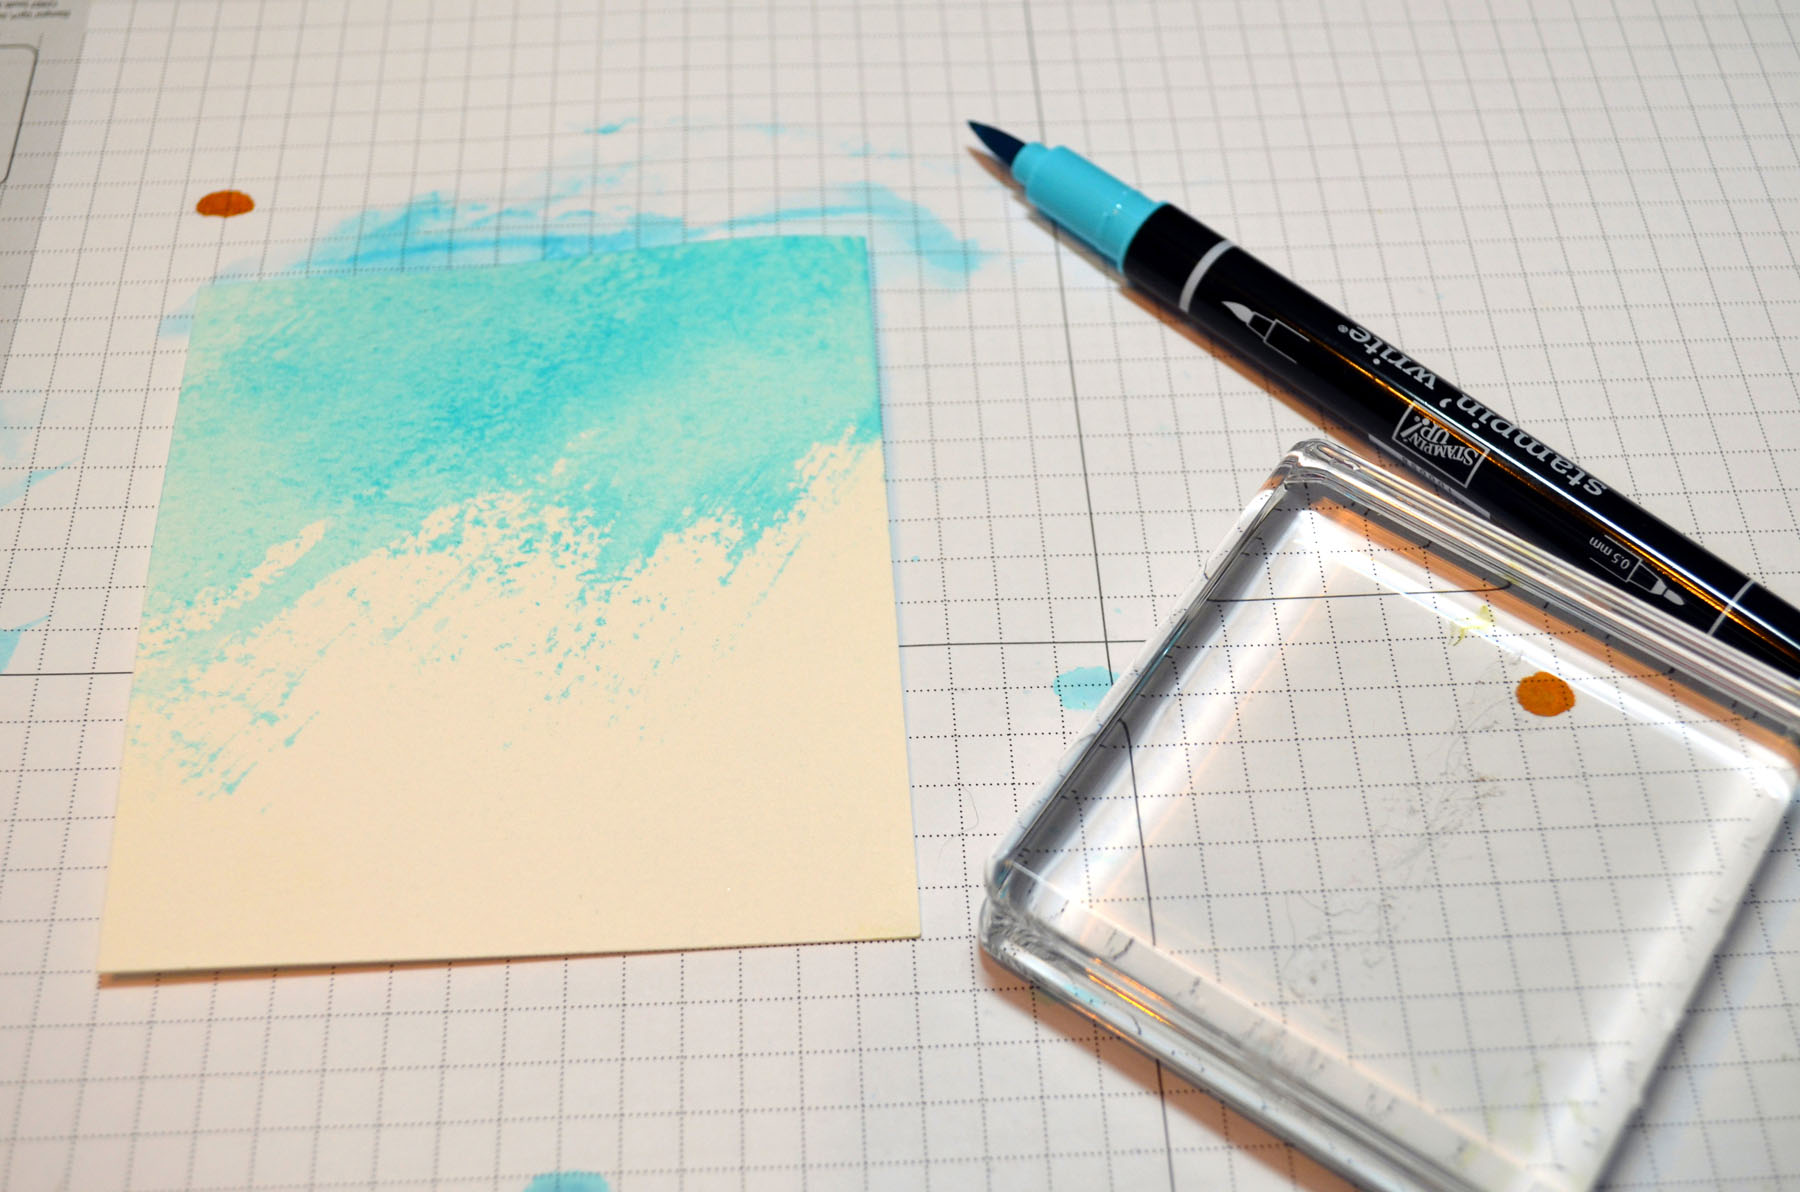
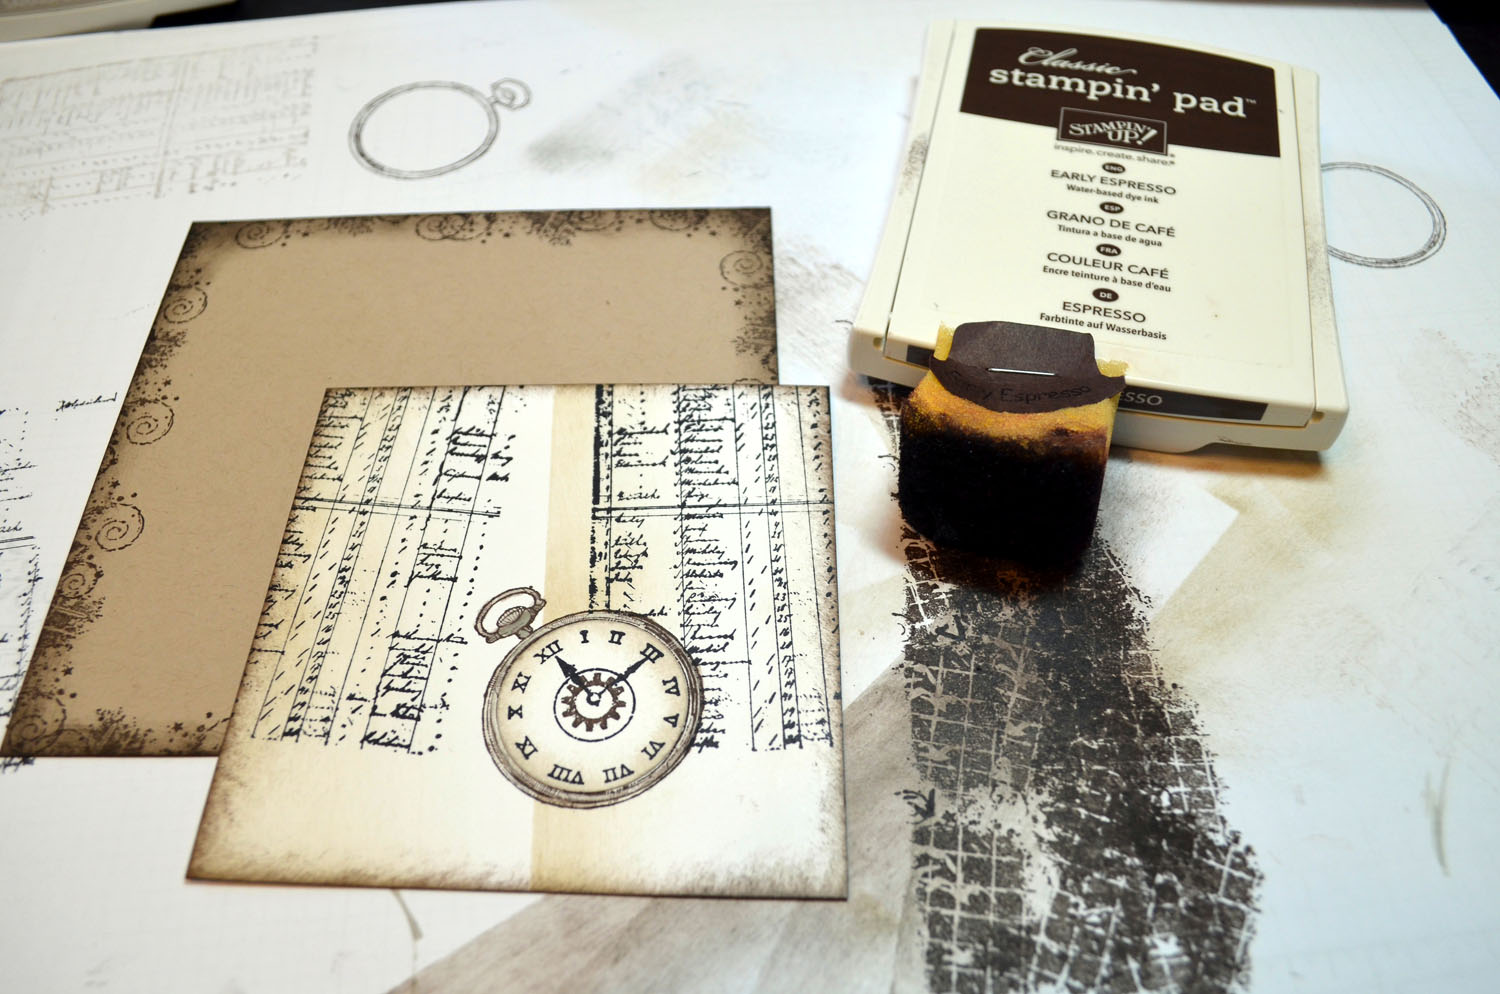
Masked the left side of the card stock and sponged Sahara Sand ink at the masks edge.

Remvoed the mask and sponged Sahara Sand ink on the left side of the card stock and on the very edge of the Right side.

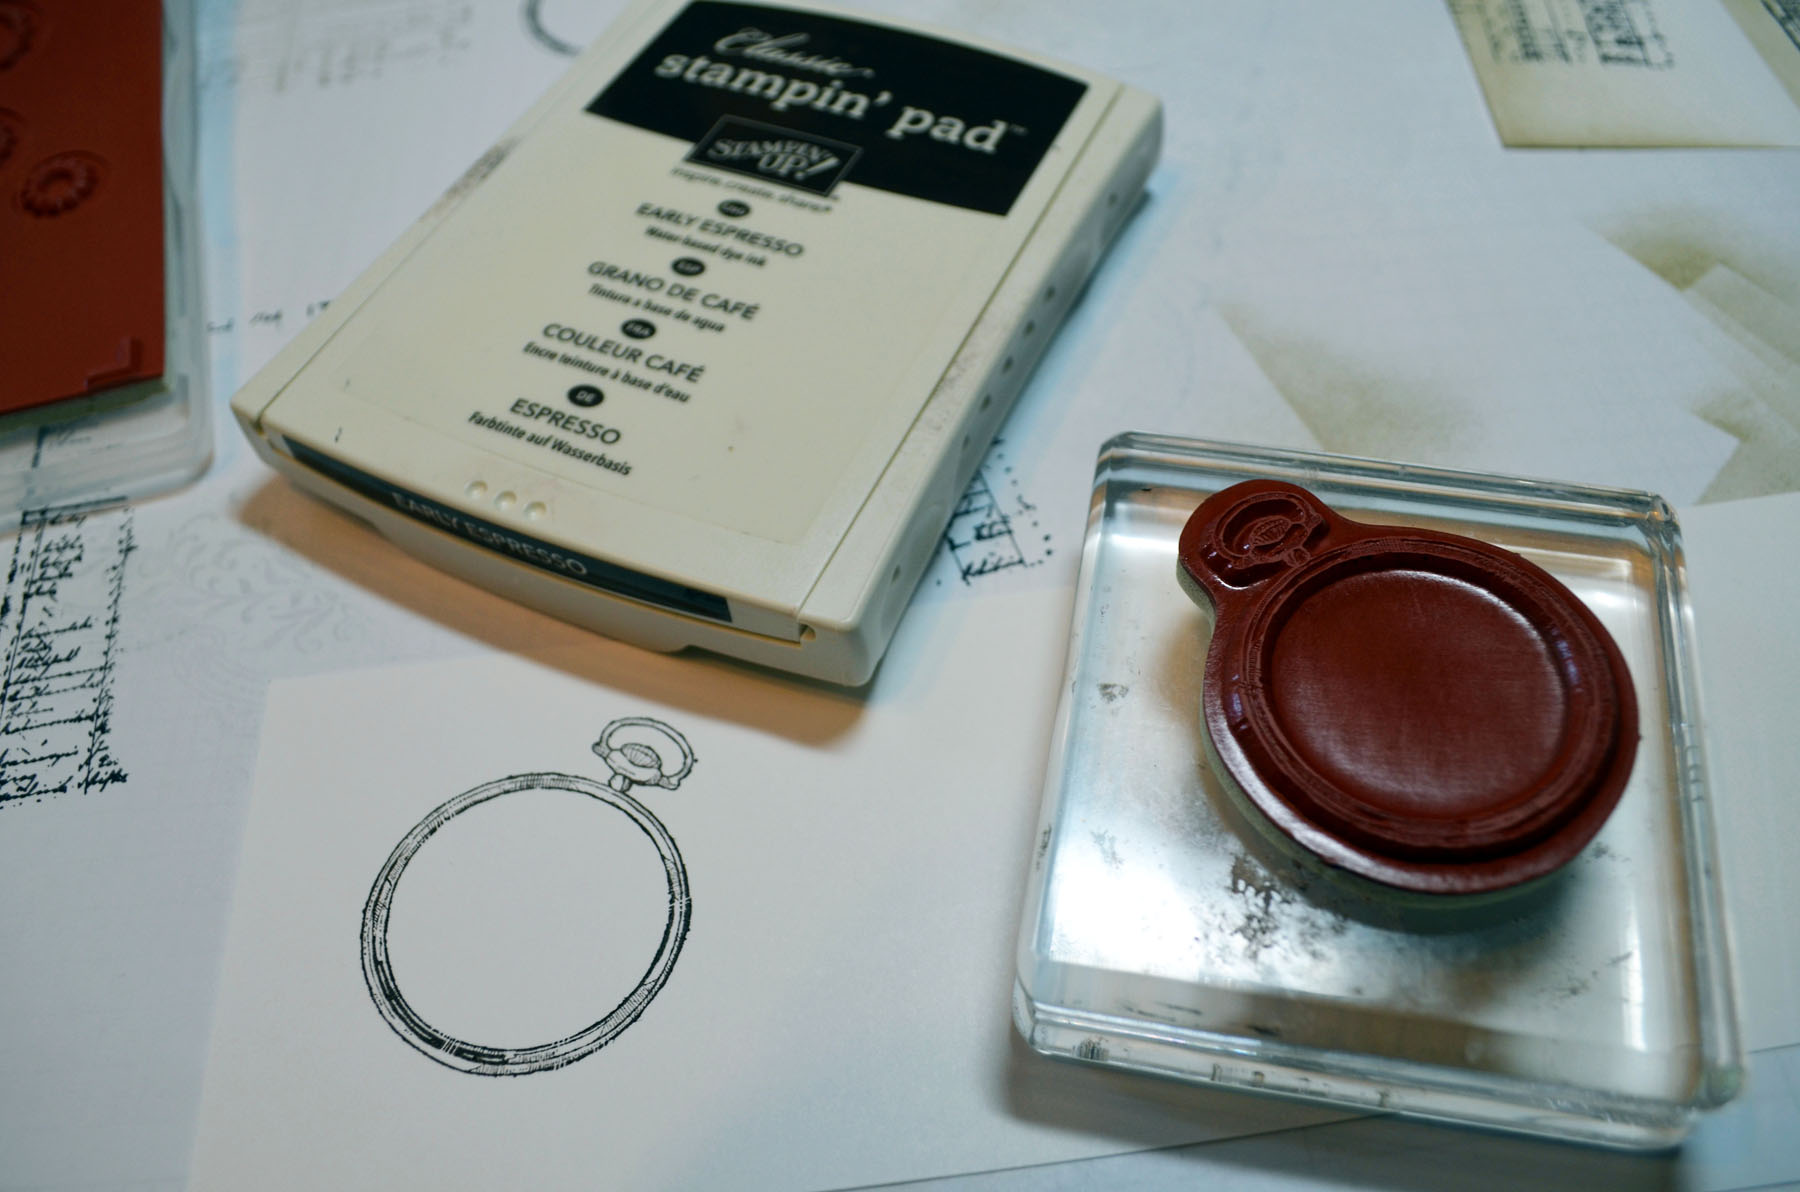
Stamped the Watch on a scrap piece of Whisper White card stock using Early Espresso ink.

Stamped the clock face on the card stock using Stazon Jet Black ink.

Stamped the cog in the center of the clock face using Early Espresso ink.

Stamped the clock hans using Stazon Jet Black ink.

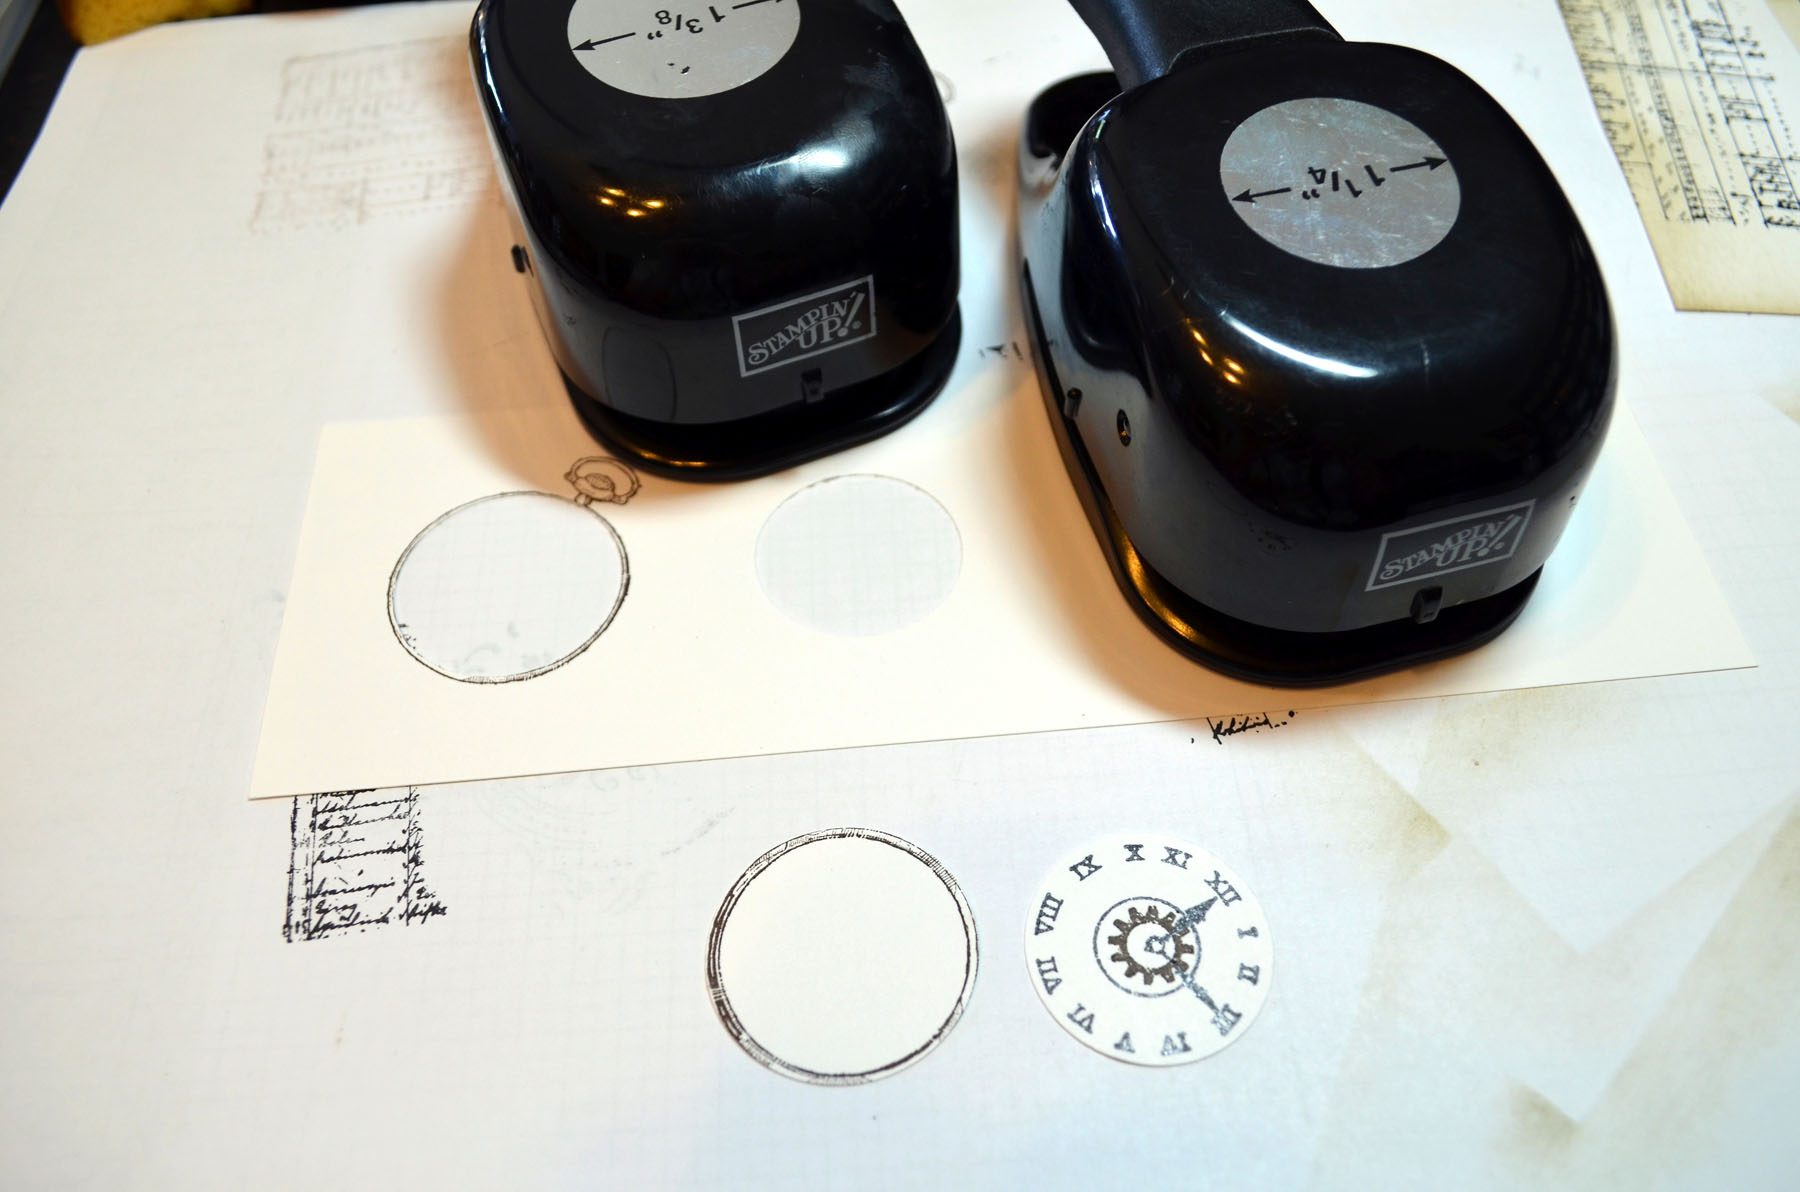
Punched the two images out using a 1 3/8″ and 1 1/4″ circle punches.

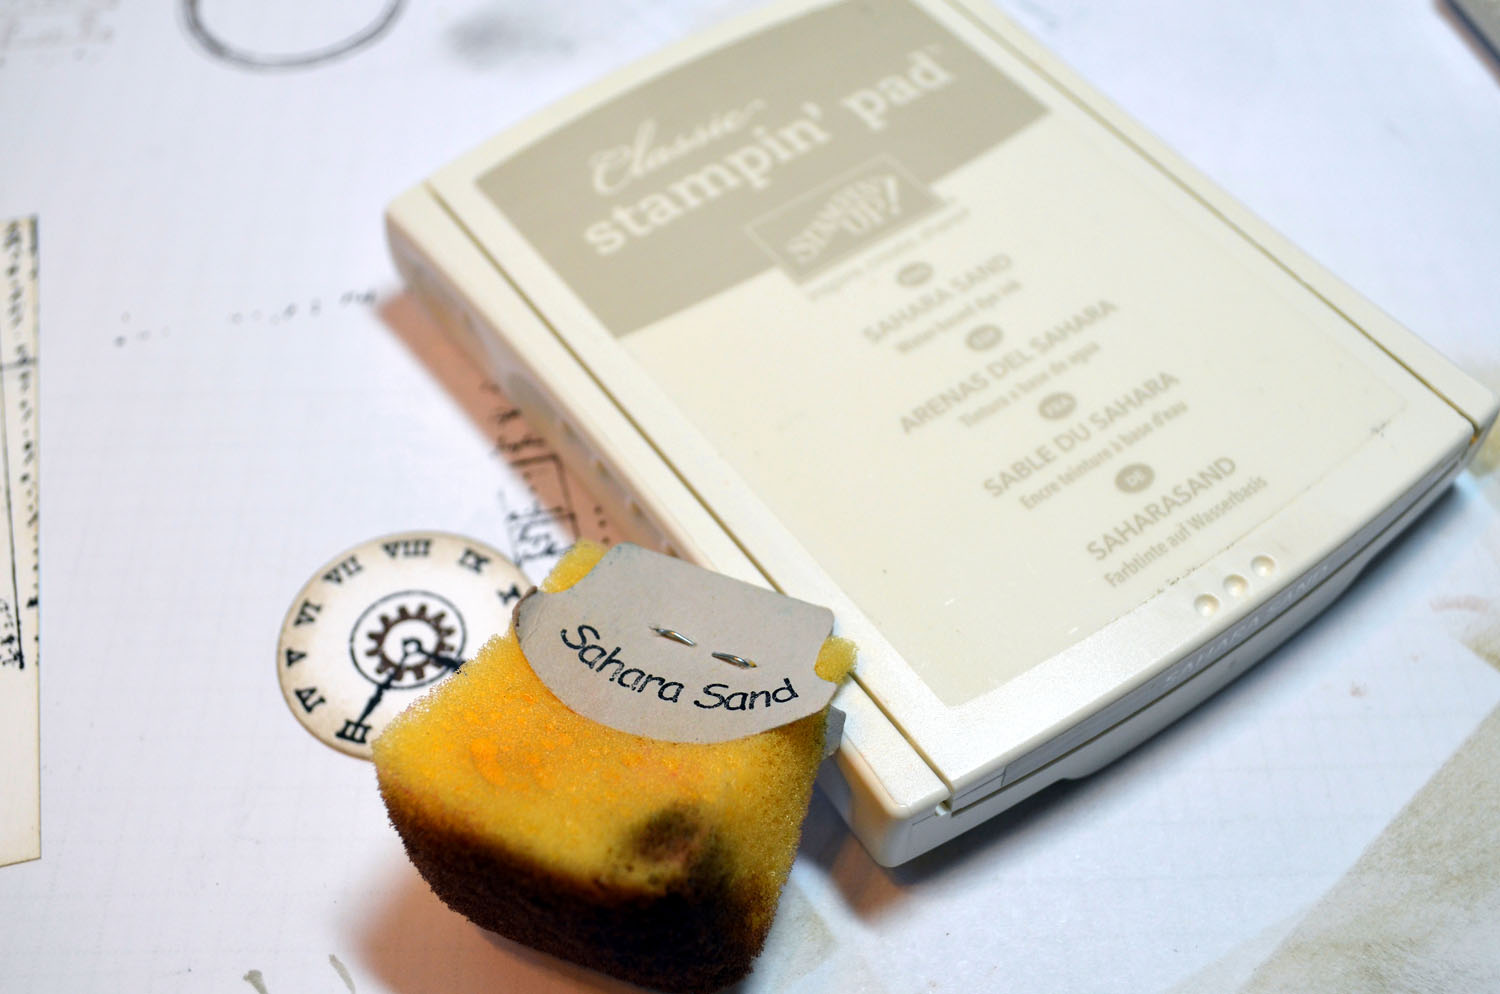
Stamped the clock again using Early Espresso ink on the journal and colored the watch with a Sahara Sand marker (this step not shown).

Sponged Sahara Sand ink around the edge of the clock face and colored/

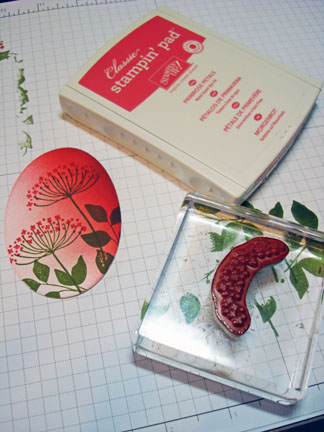
Cut a 5.25″ Crumb Cake panel and stamped the Clockworks flourish around the edge using Early Espresso ink.

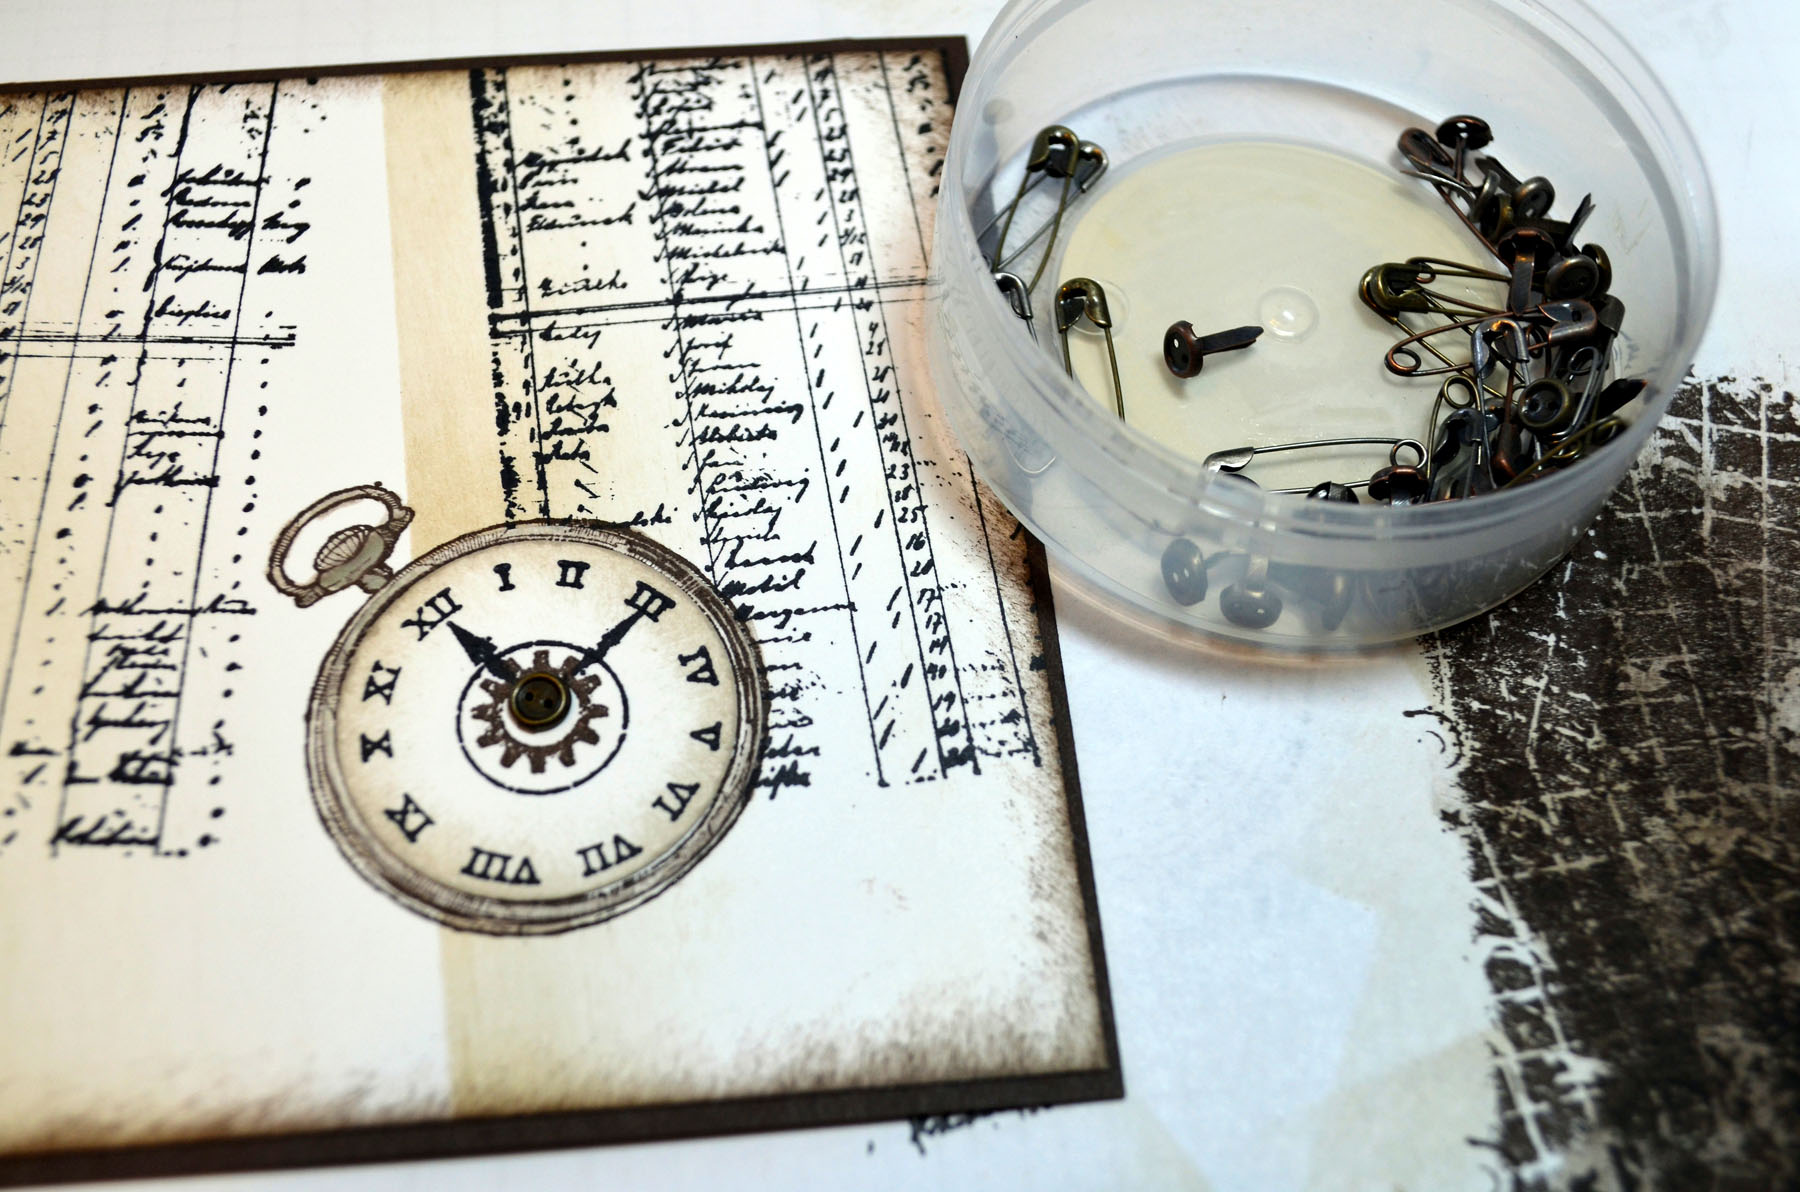
Sponged Early Espress ink around the edges of the main image panel and Crumb Cake panel. Adhered the clock pieces to the clock on the card stock.

Added a Vintage Trinkets brad to the center of the clock.

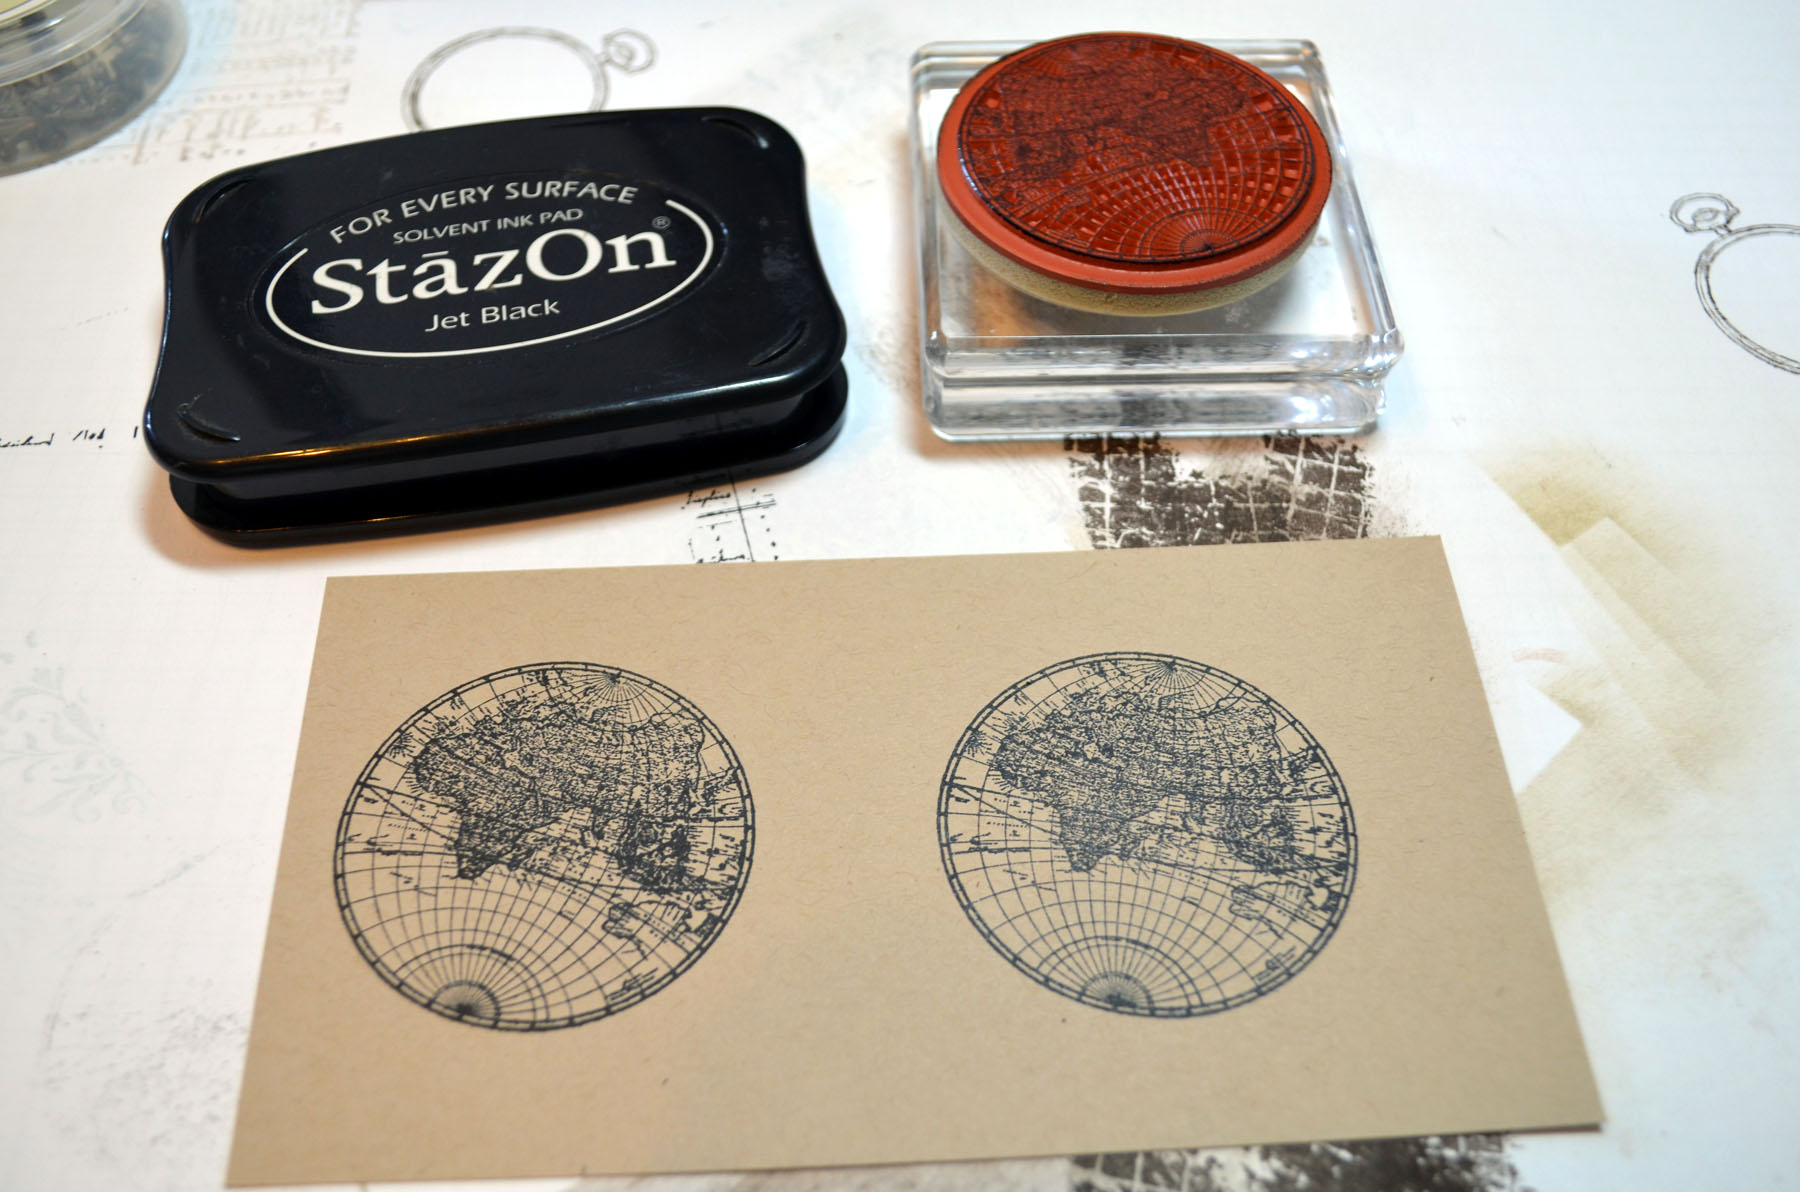
Stamp the World stamp from the Open Seas set on Crumb Cake card stock using Stazon Jet Black ink, twice.

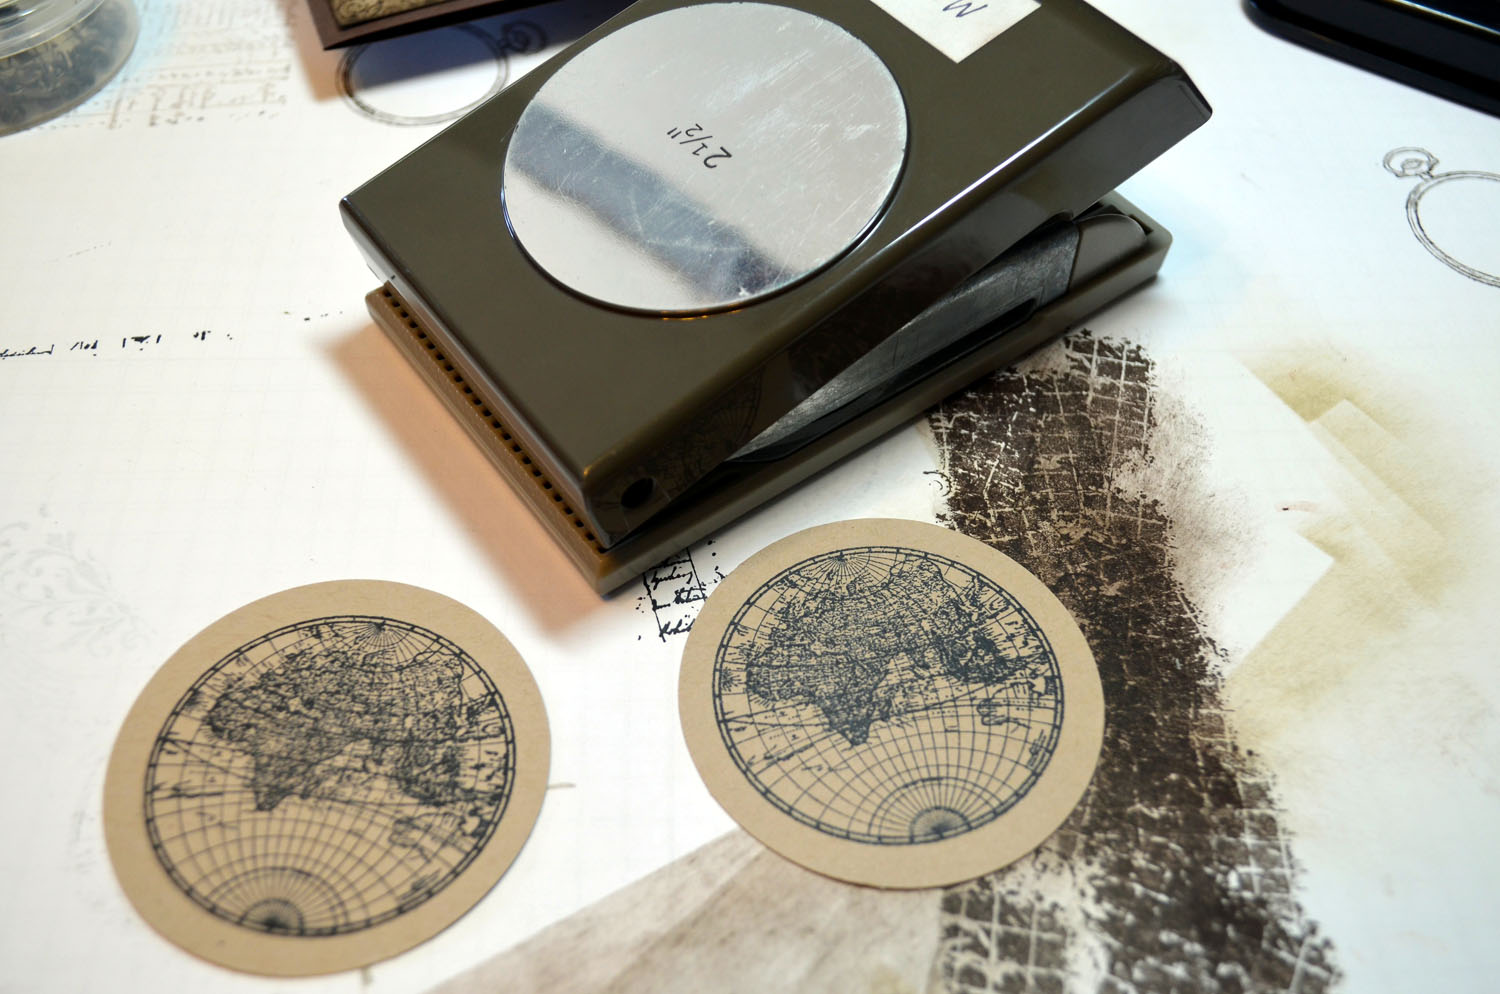
Punched them out using the 2 1/2″ circle punch.

Sponged Early Espresso ink around the edges.

Cut 1/3 of the circles off, holding them together and cutting them at the same time so they are the same size.
Added a 5.5″ square Early Espresso card base and a 4 1/8″ square Early Espresso panel below my main image panel. Added the globe images.
Here is the finished card measuring 5.5″ square.

Before I close let me tell you about the Mystery Hostess. I’m so excited!
MYSTERY HOSTESS:
With Stampin’ Up!’s announcement of the new Hostess Code, we can now “pool” Online Orders together (place them individually, orders will ship directly to you – within the US only, but use the same hostess code). When smaller orders are put in together, the larger order qualifies for HOSTESS BENEFITS.
That means FREE STAMPS (or other products) I can SHARE with YOU!
So let’s get started with May’s Online Mystery Hostess Workshop!
How do you get to be part of the Mystery Hostess Workshop?
Simply use the Hostess Code below and place a
minimum order of $50 (before tax and shipping) in my
online store by 11:00 pm on Wednesday, May 22, 2013.
Important: To be part of the Online Mystery Hostess Workshop, once you add your first item to your shopping bag the hostess code must be entered just below the Special Offers section and it should say Michelle Zindorf as the Hostess.
Once all the orders are placed, on Thursday morning May 23, I will draw ONE name to get hostess benefits on the entire order! I will email the winner to get your choices.
Your Hostess Code is: EGDM6BVS
event is 11:00 pm on Wednesday, May 22, 2013.
Please do not put the hostess code in if your merchandise order is $150 or more. You would lose your hostess benefits that you would have coming.
Until my next post. . . . . .
Huge Hugs!

Weight loss in 2013: 23.4 lbs
***************************************************************
The new Stampin’ Up! Annual Catalog is active on May 31, 2013. I have some on hand that can be pre-ordered. The cost is $6.50 which includes flat rate shipping. Please e-mail me at mzindorf@aim.com if you would like to purchase one.
***************************************************************
**********************
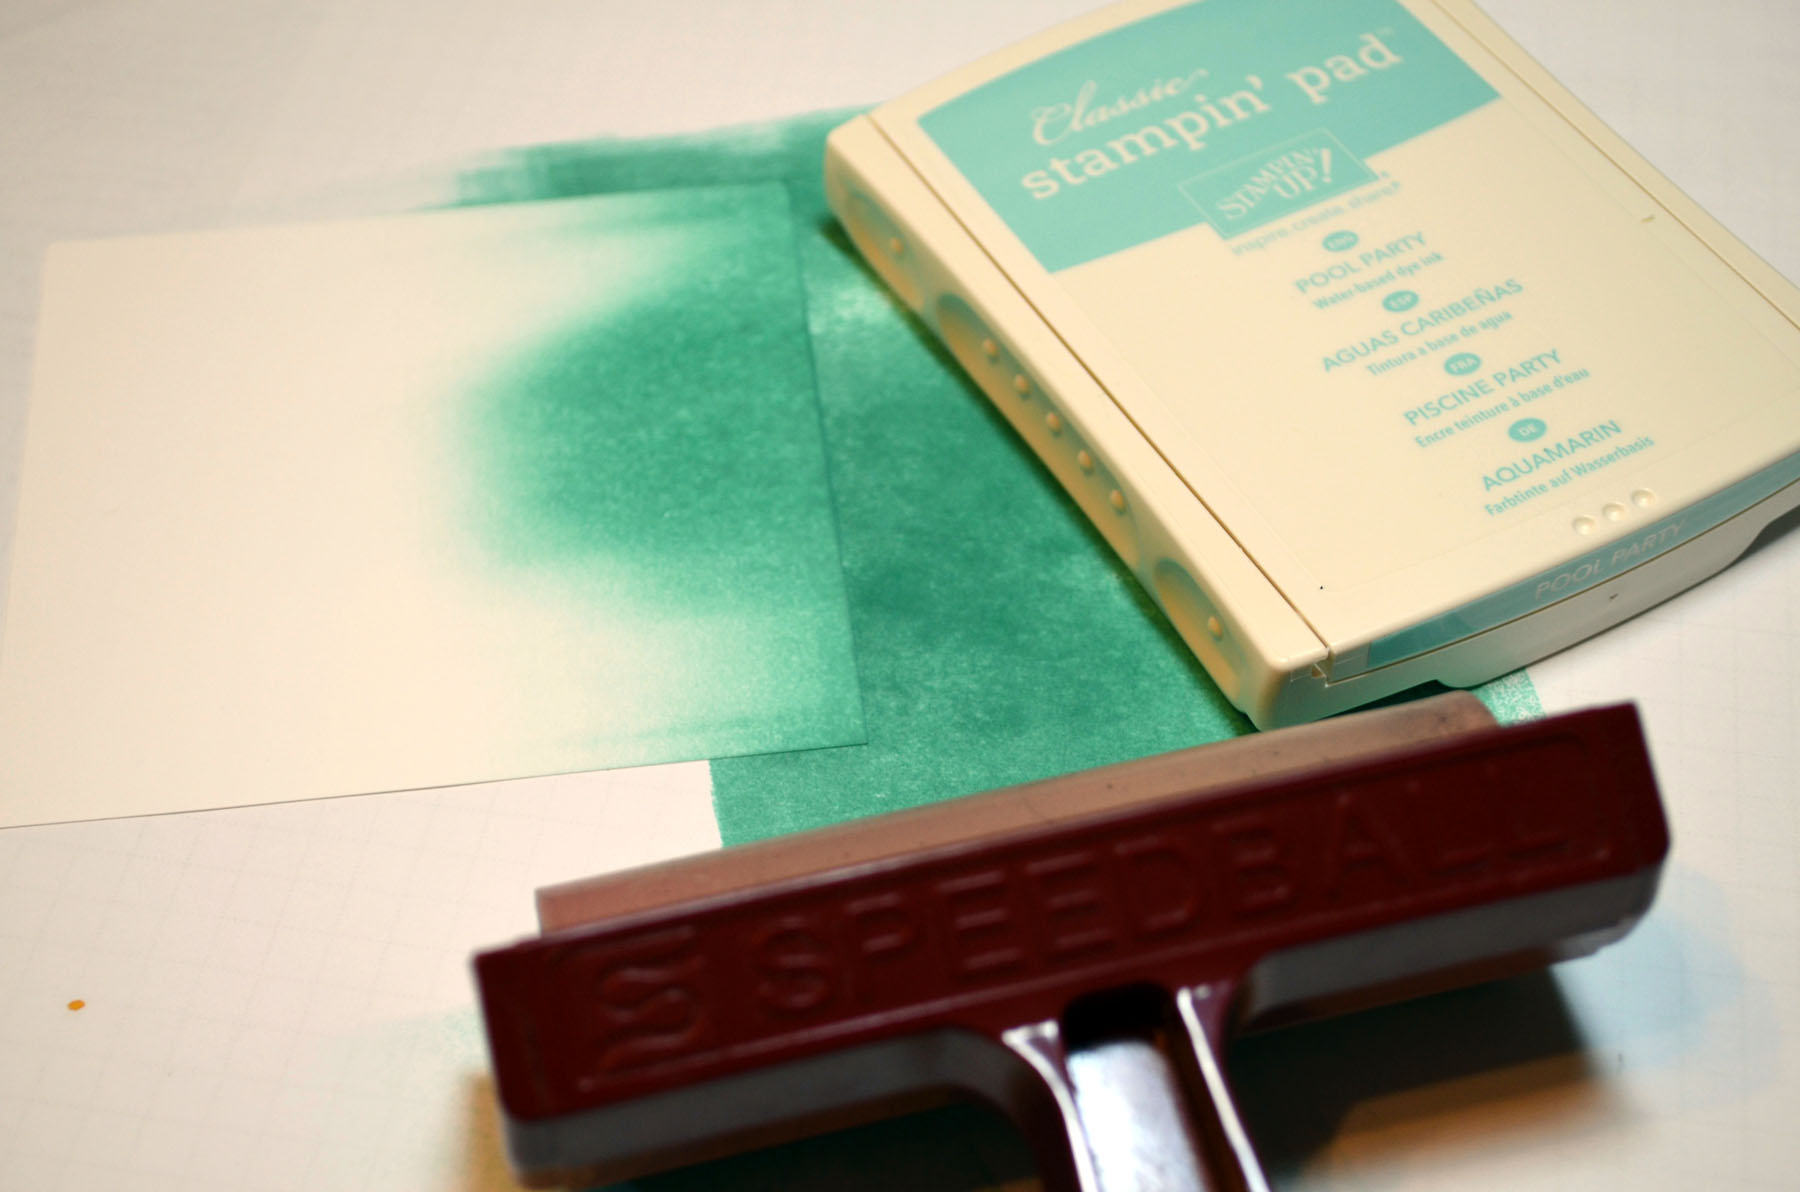
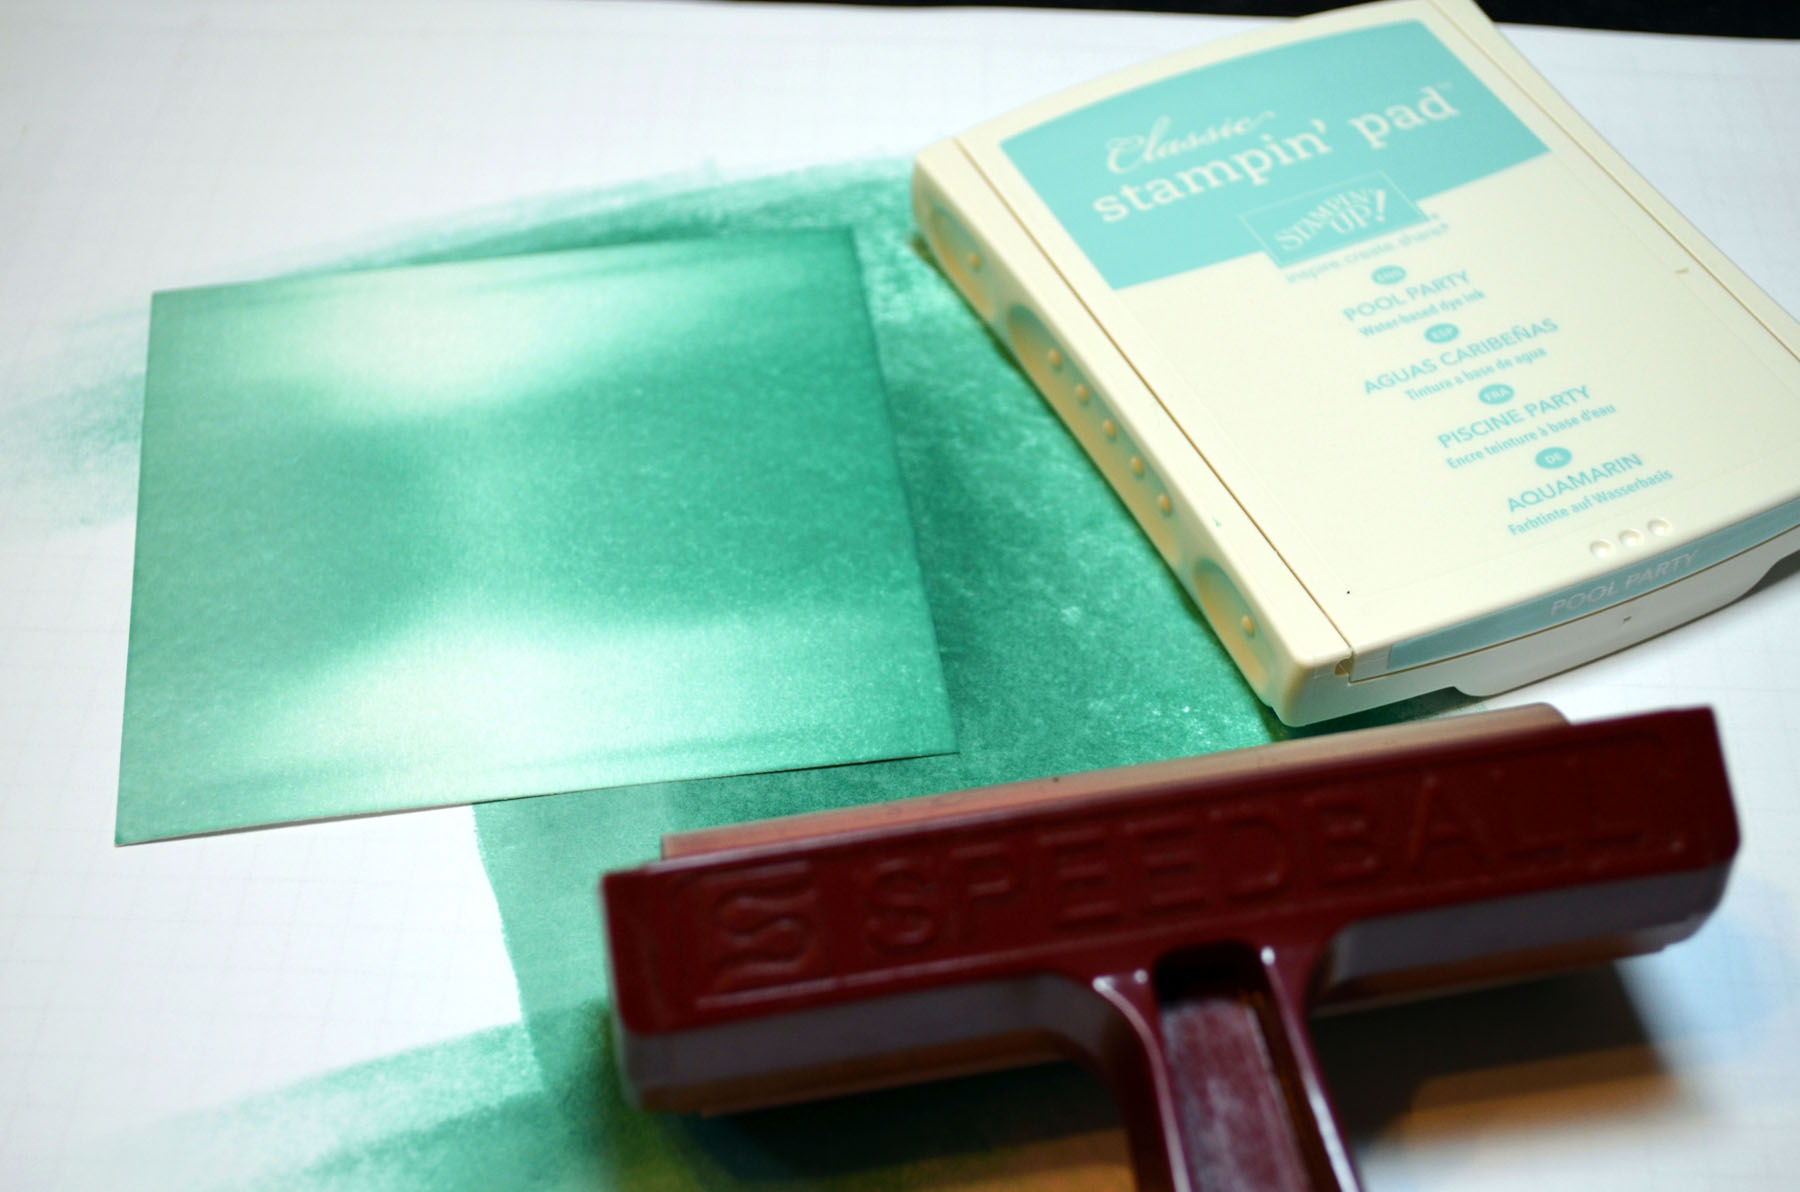
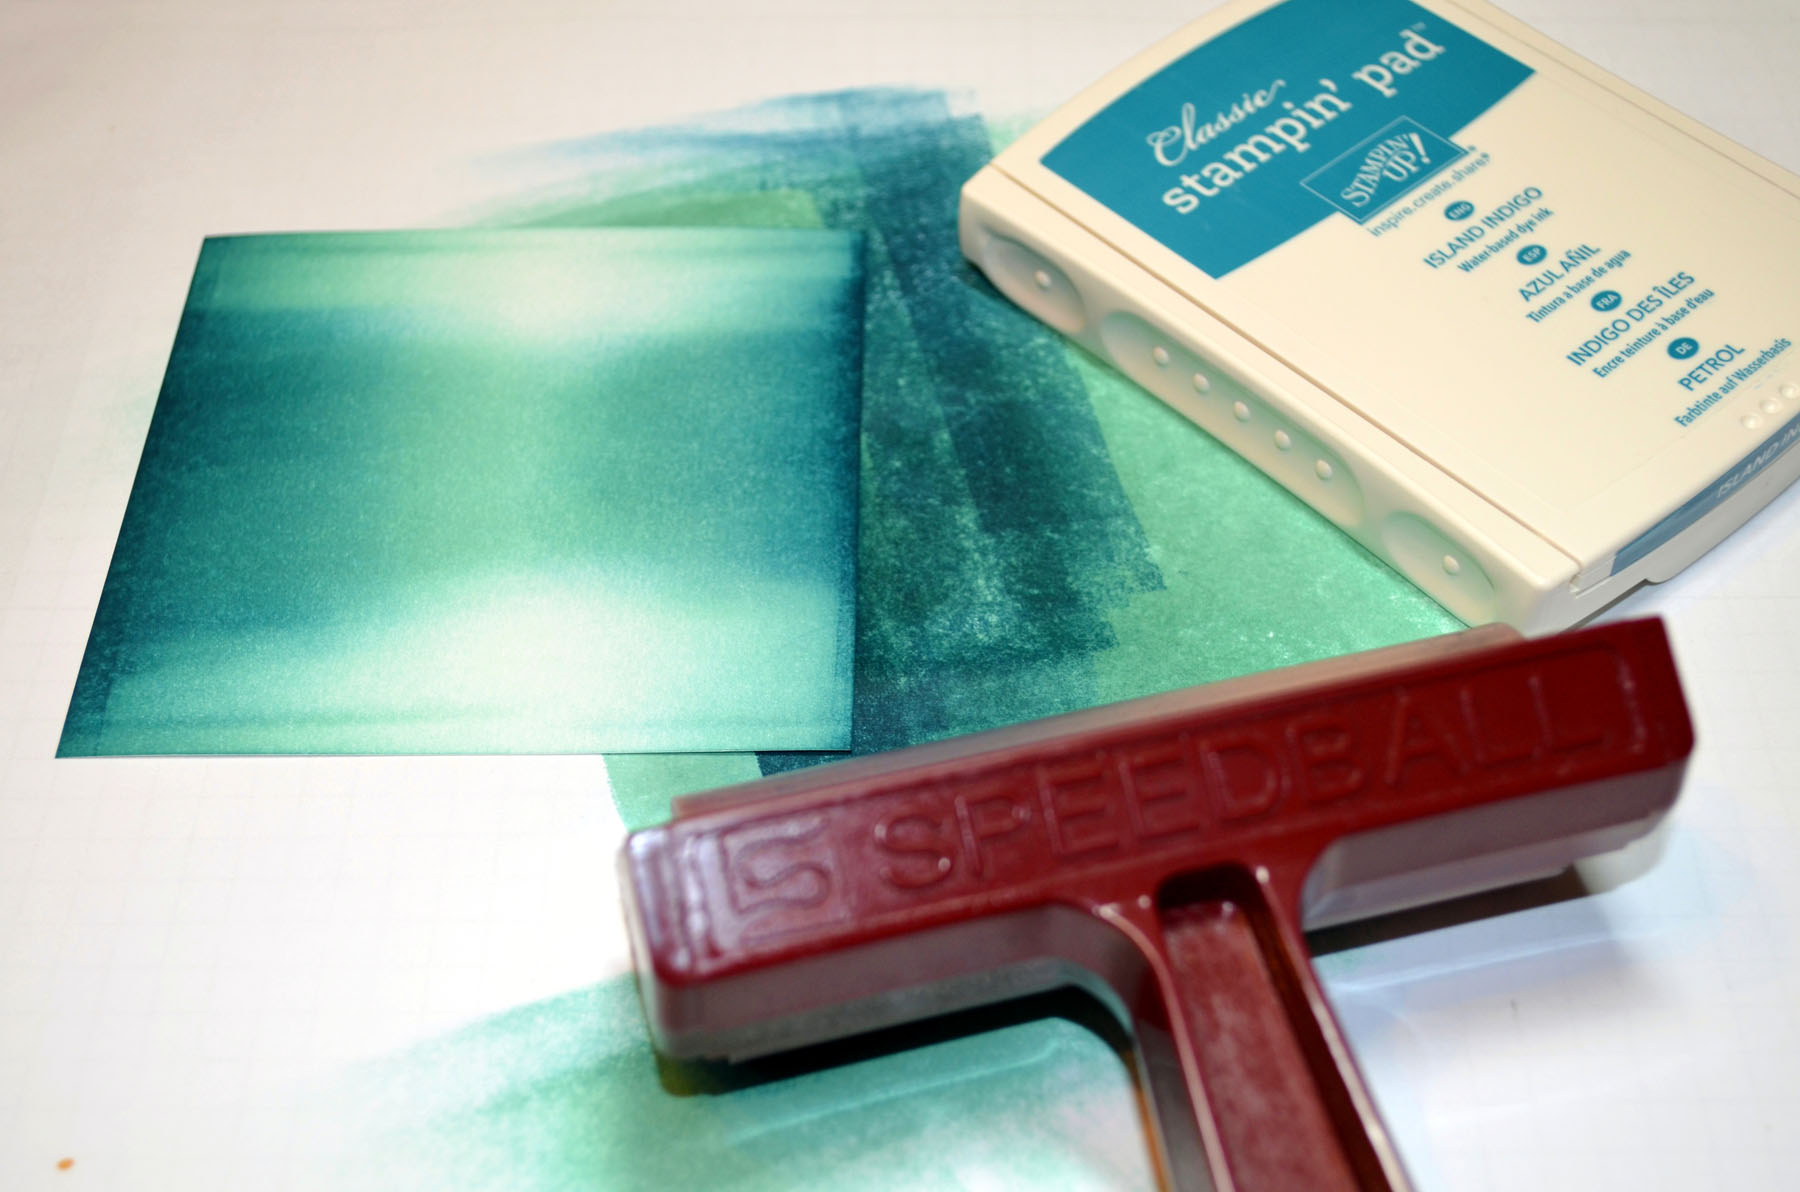
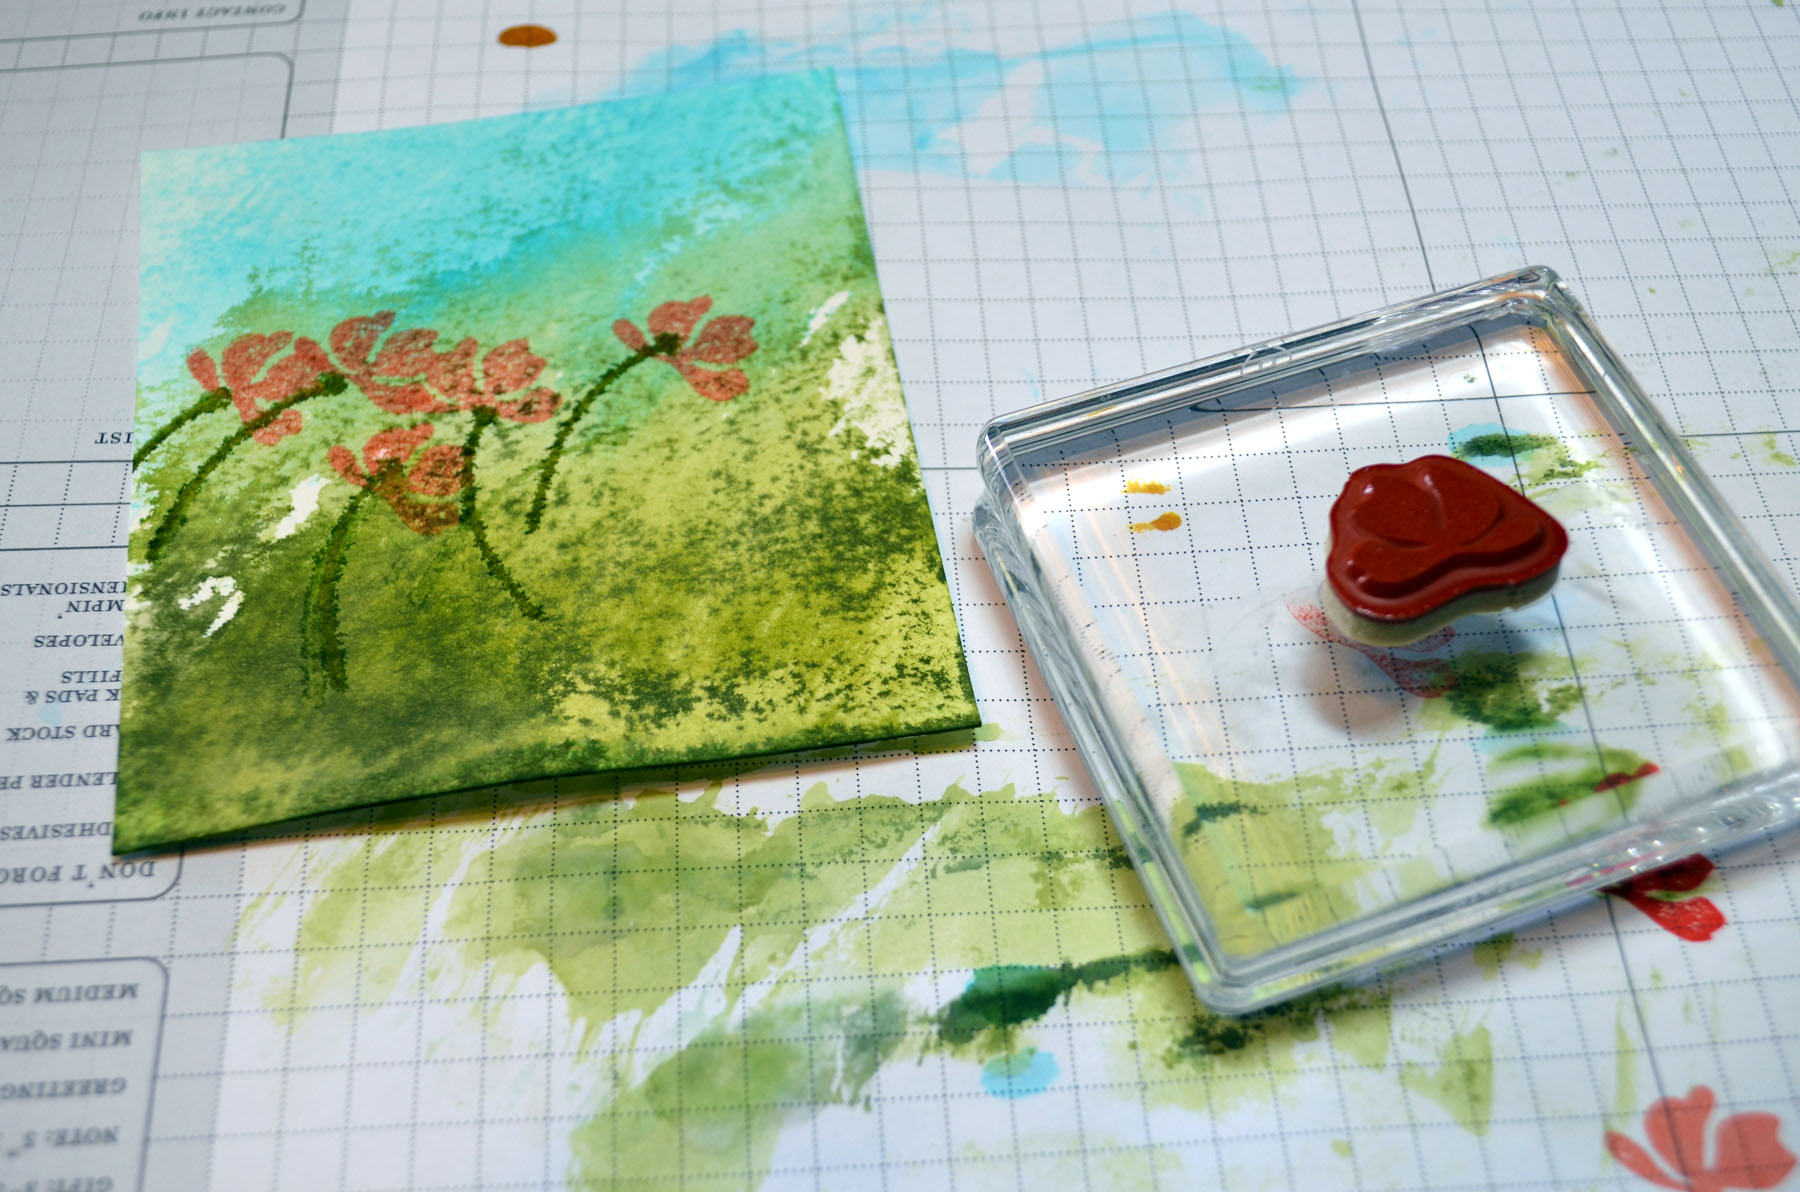
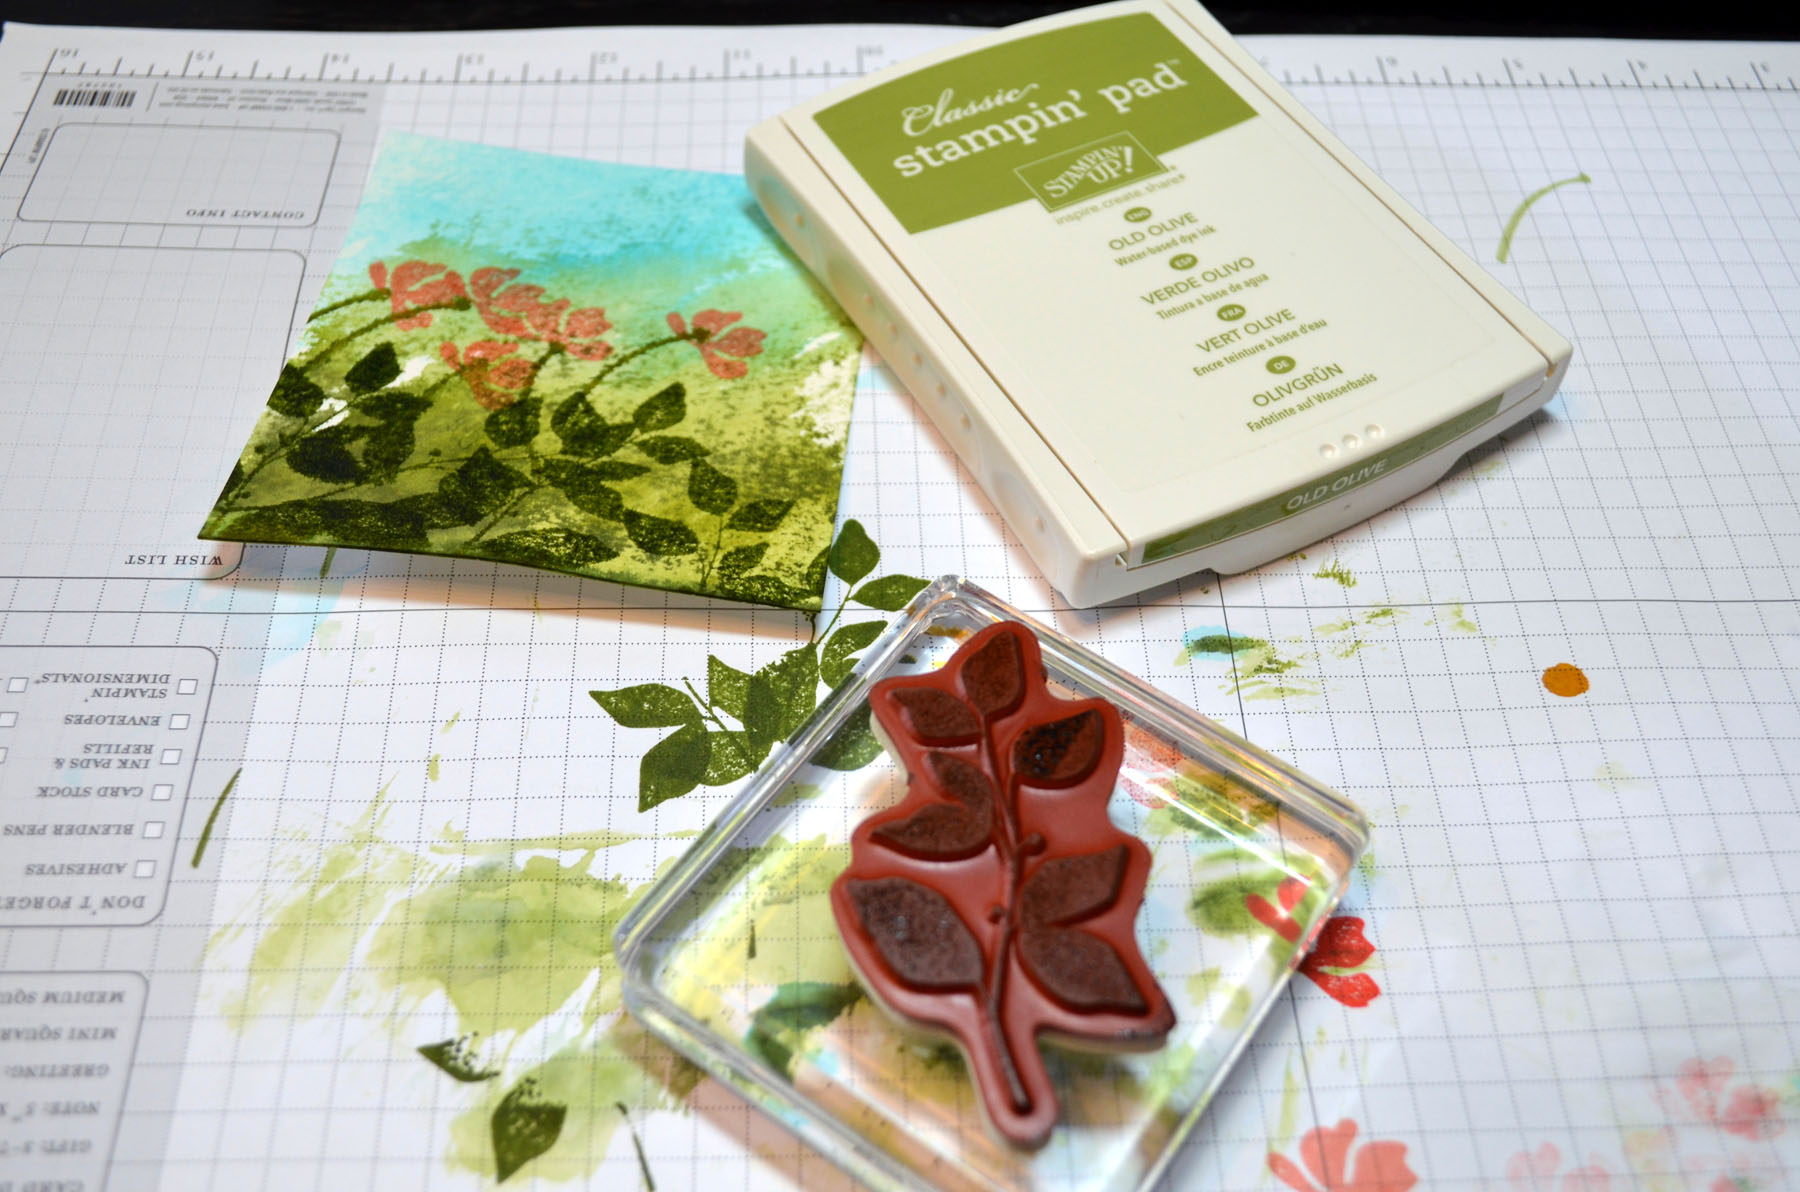
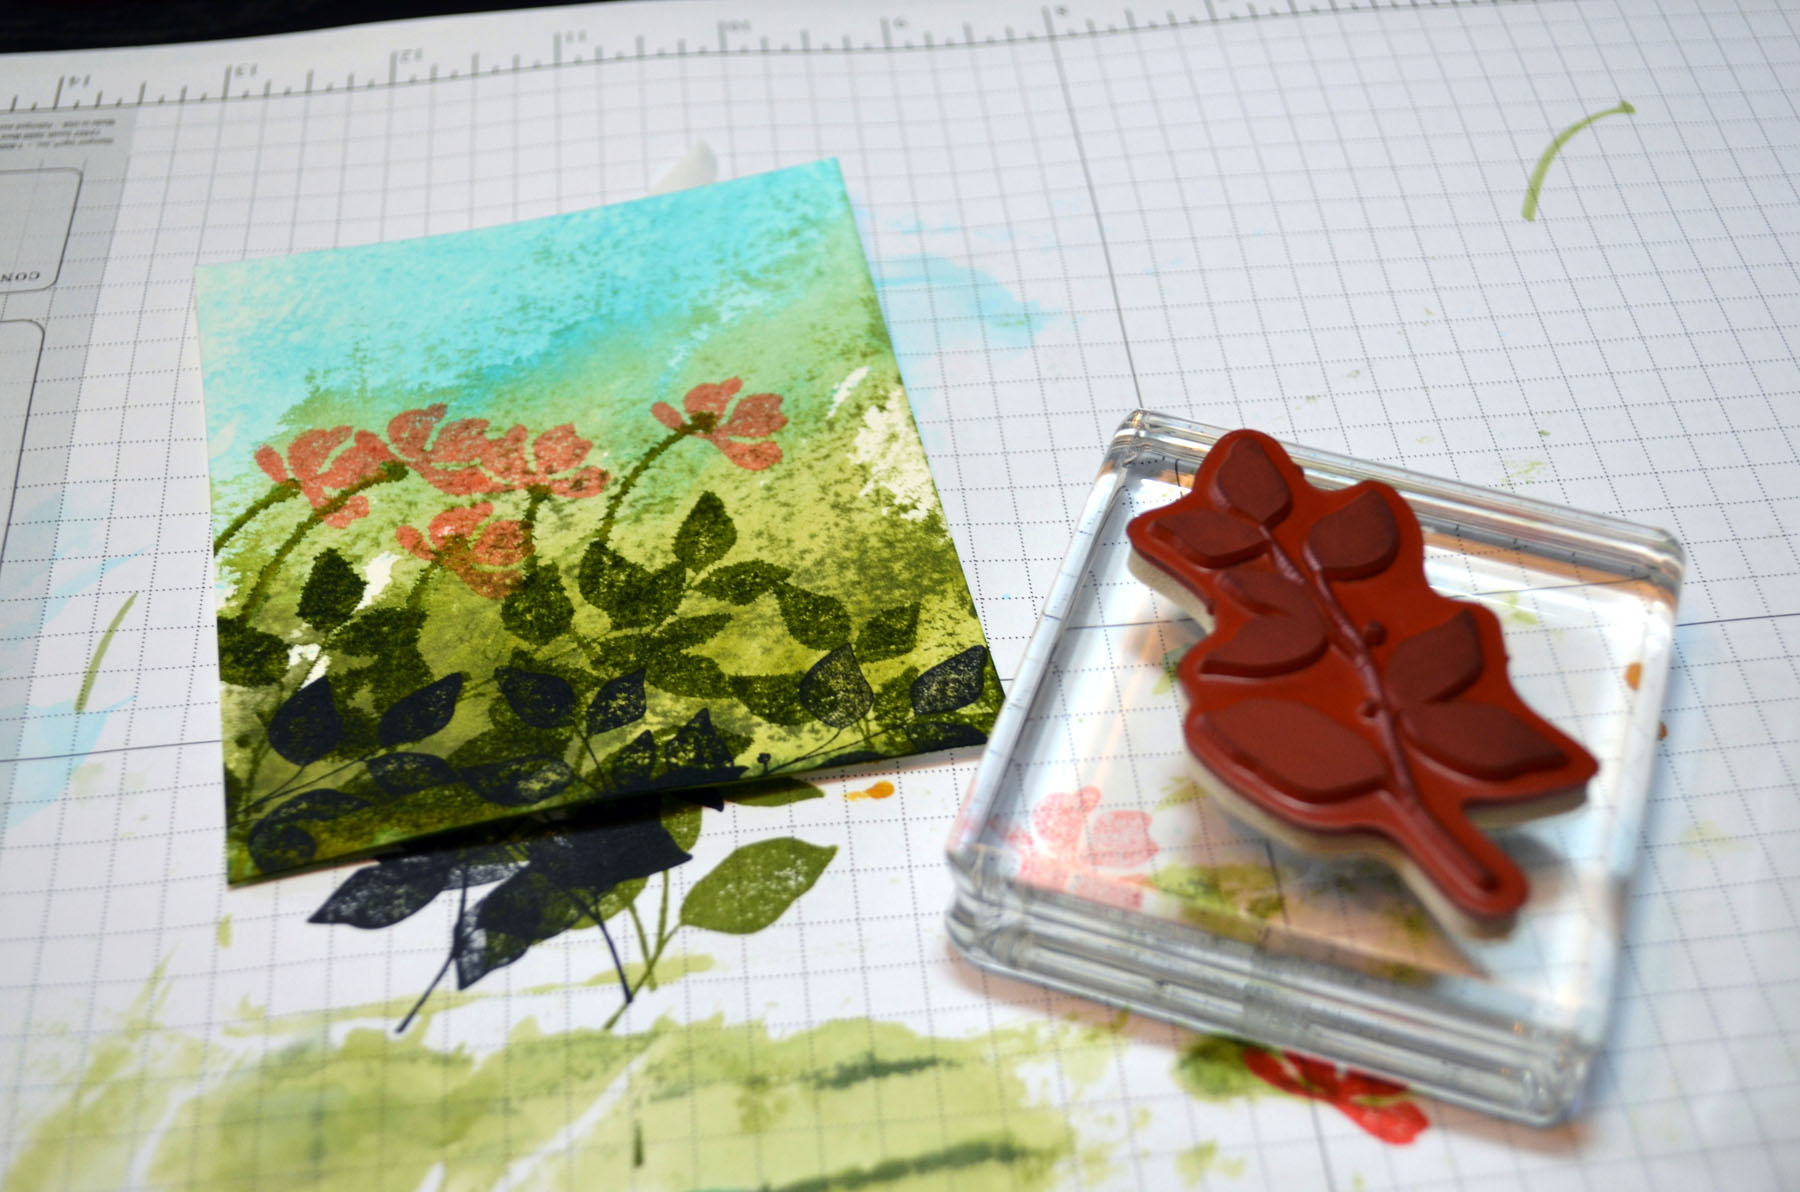
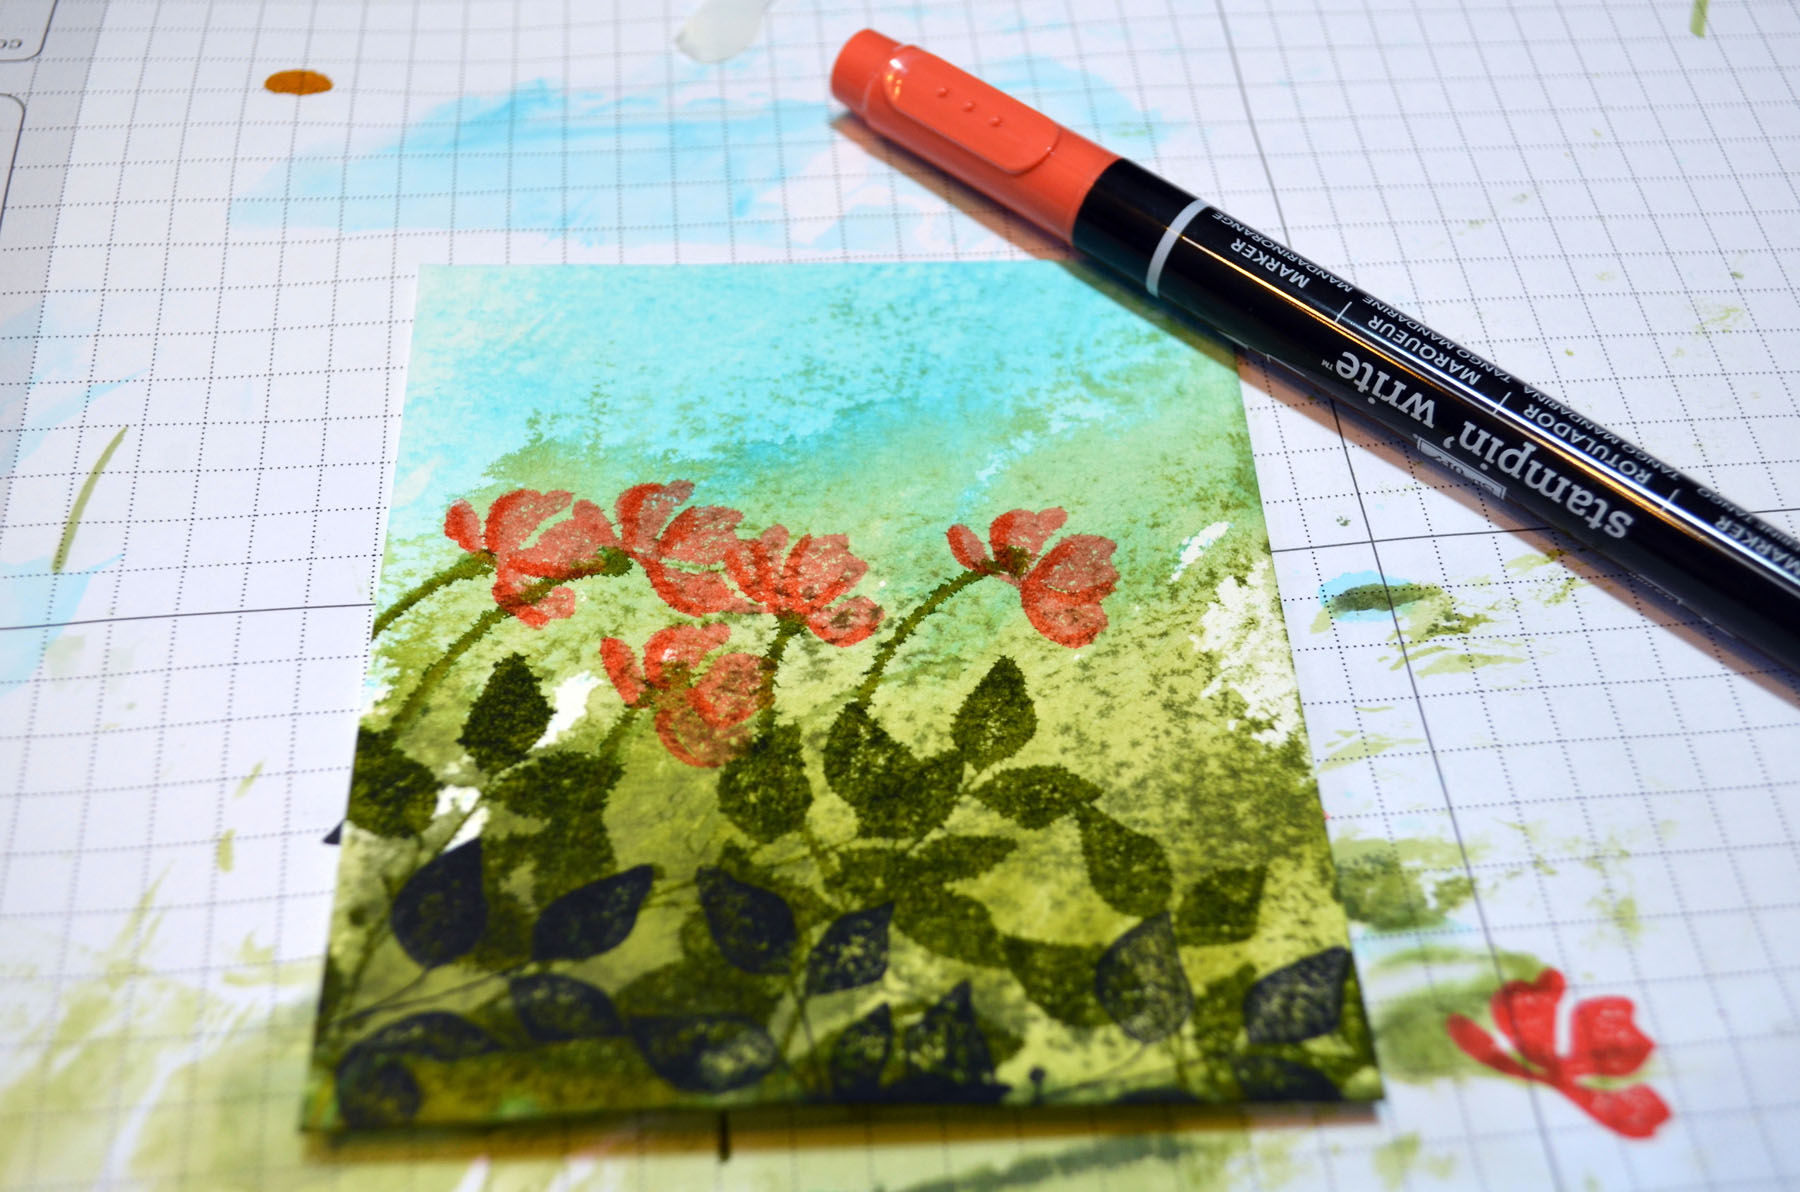
Learn How to Brayer
 I now have an online beginner brayer video class that will teach you how to brayer a beautiful 3 color sky. CLICK HERE TO GET IT.
****************************************************************

It’s that time of year to say goodbye to some of my favorite Stampin’ Up! stamps and accessories. It’s time to snap up the stamp sets and accessories that are on your wish list. Check it out before they are GONE, GONE, GONE.
CLICK HERE TO SEE THE RETIRED STAMP LIST!!
CLICK HERE TO SEE THE RETIRING ACCESSORIES!!!
Here is a link to my online shopping page that you can shop at 24/7 (from the comfort of your home, even in your pj’s) and the products will be shipped directly to your door step from Stampin’ Up. CLICK HERE TO SHOP.
*********************
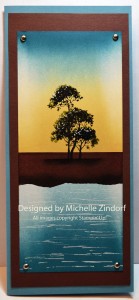
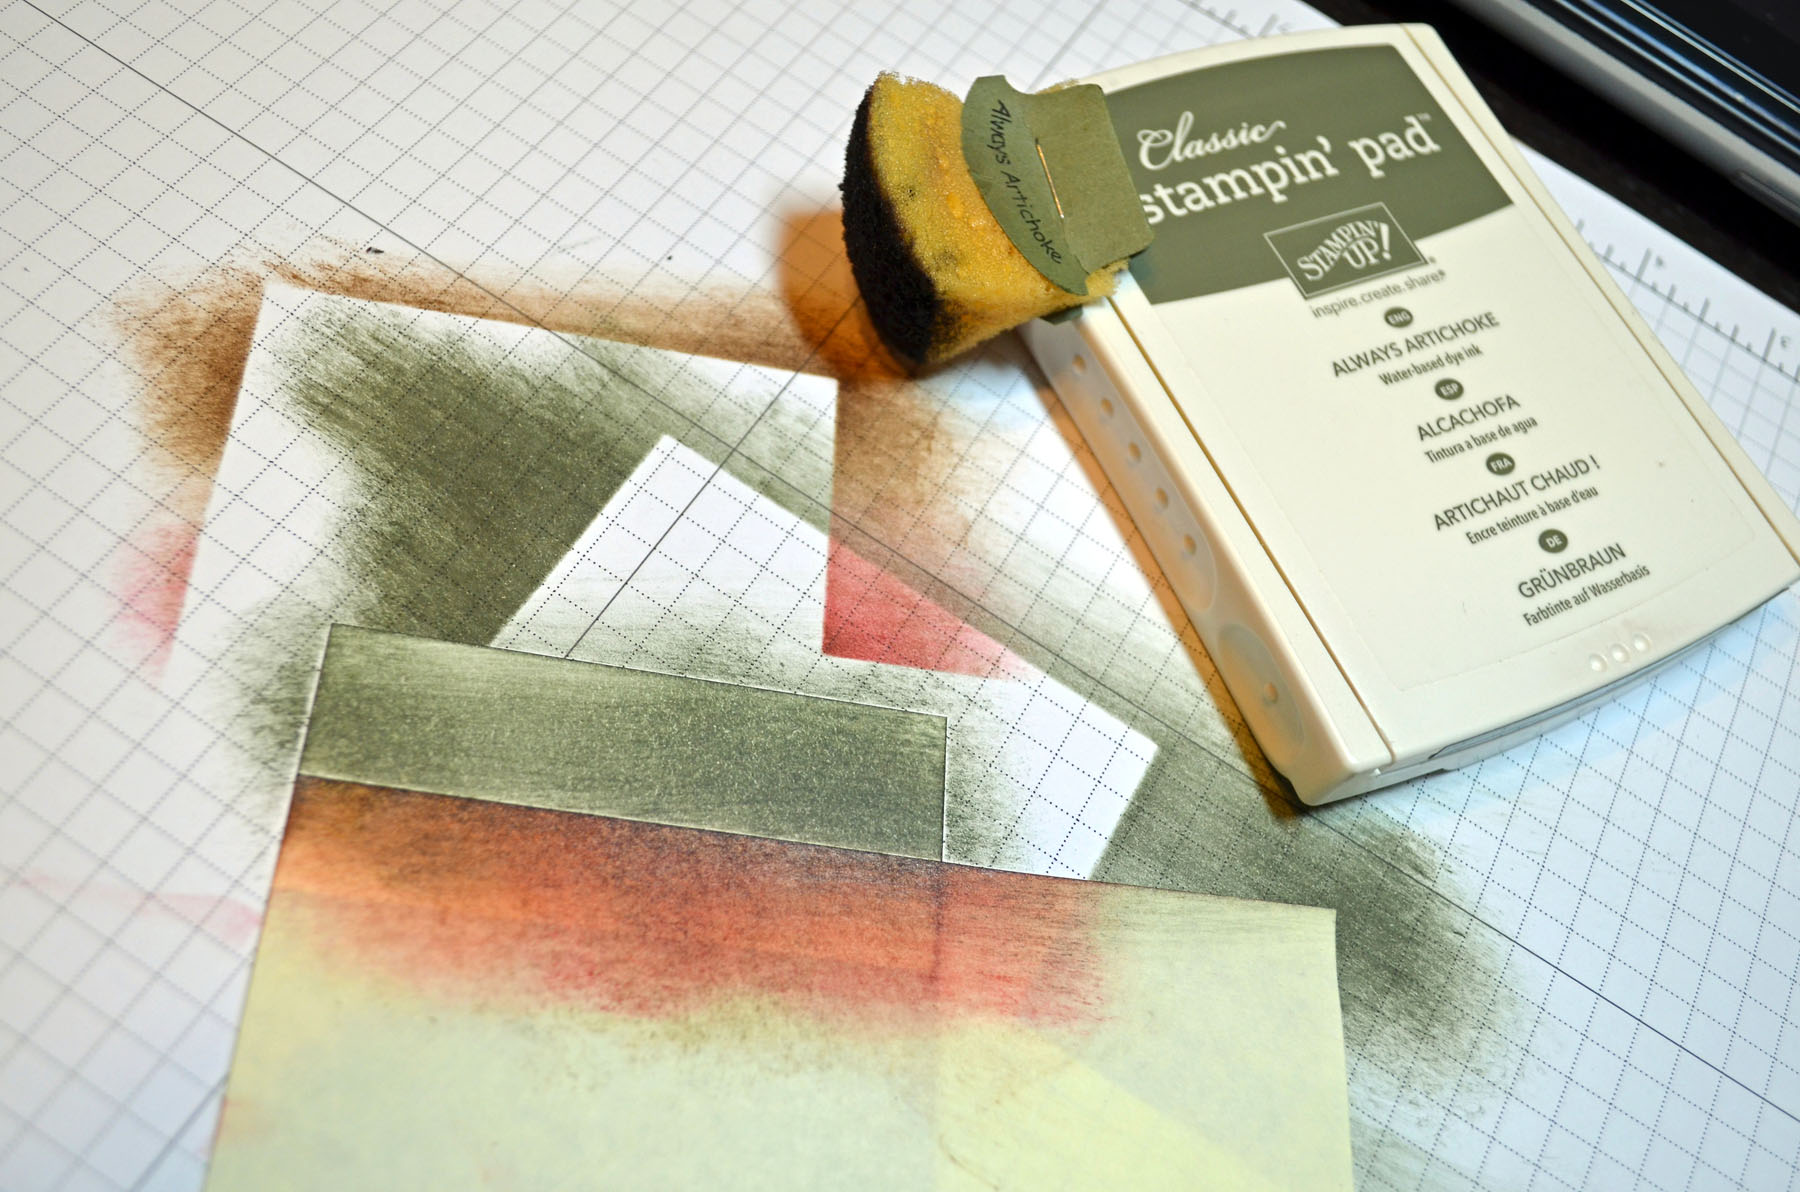
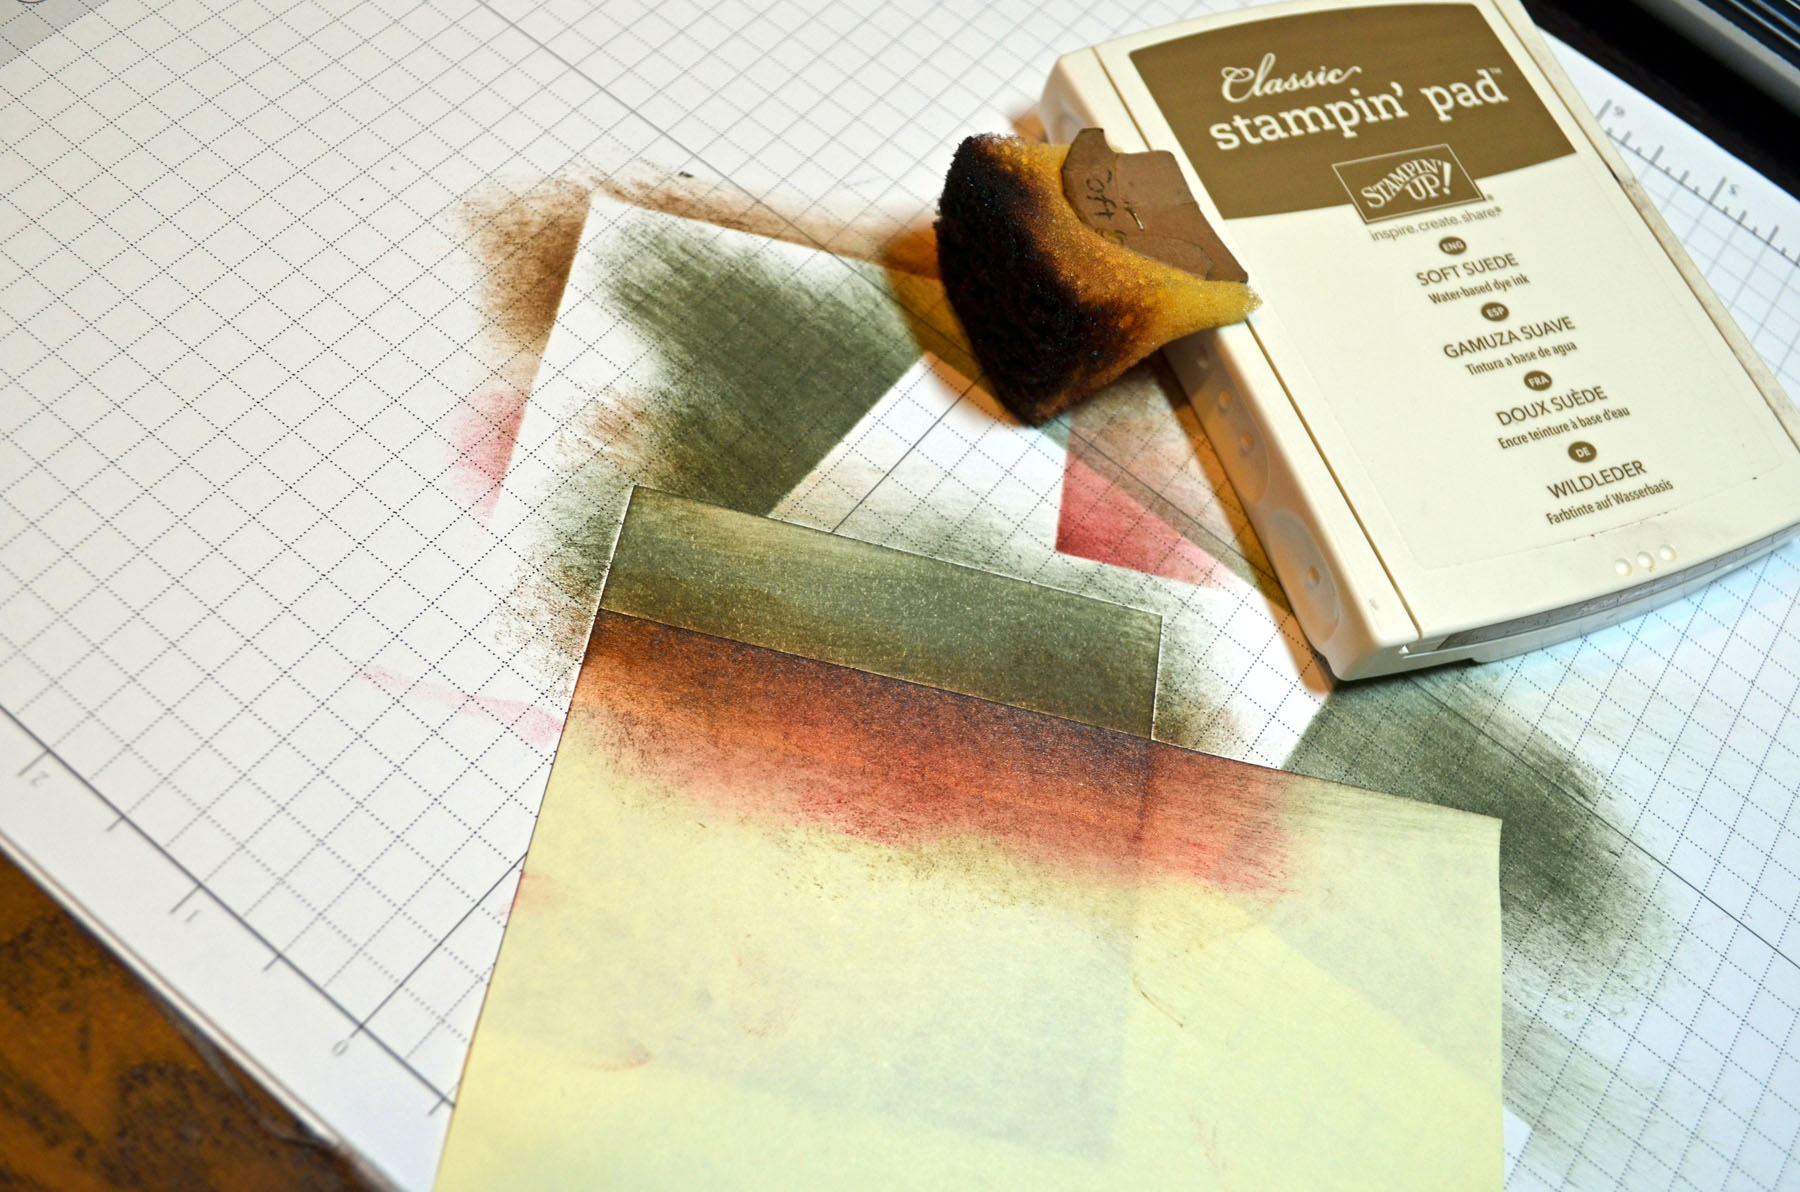
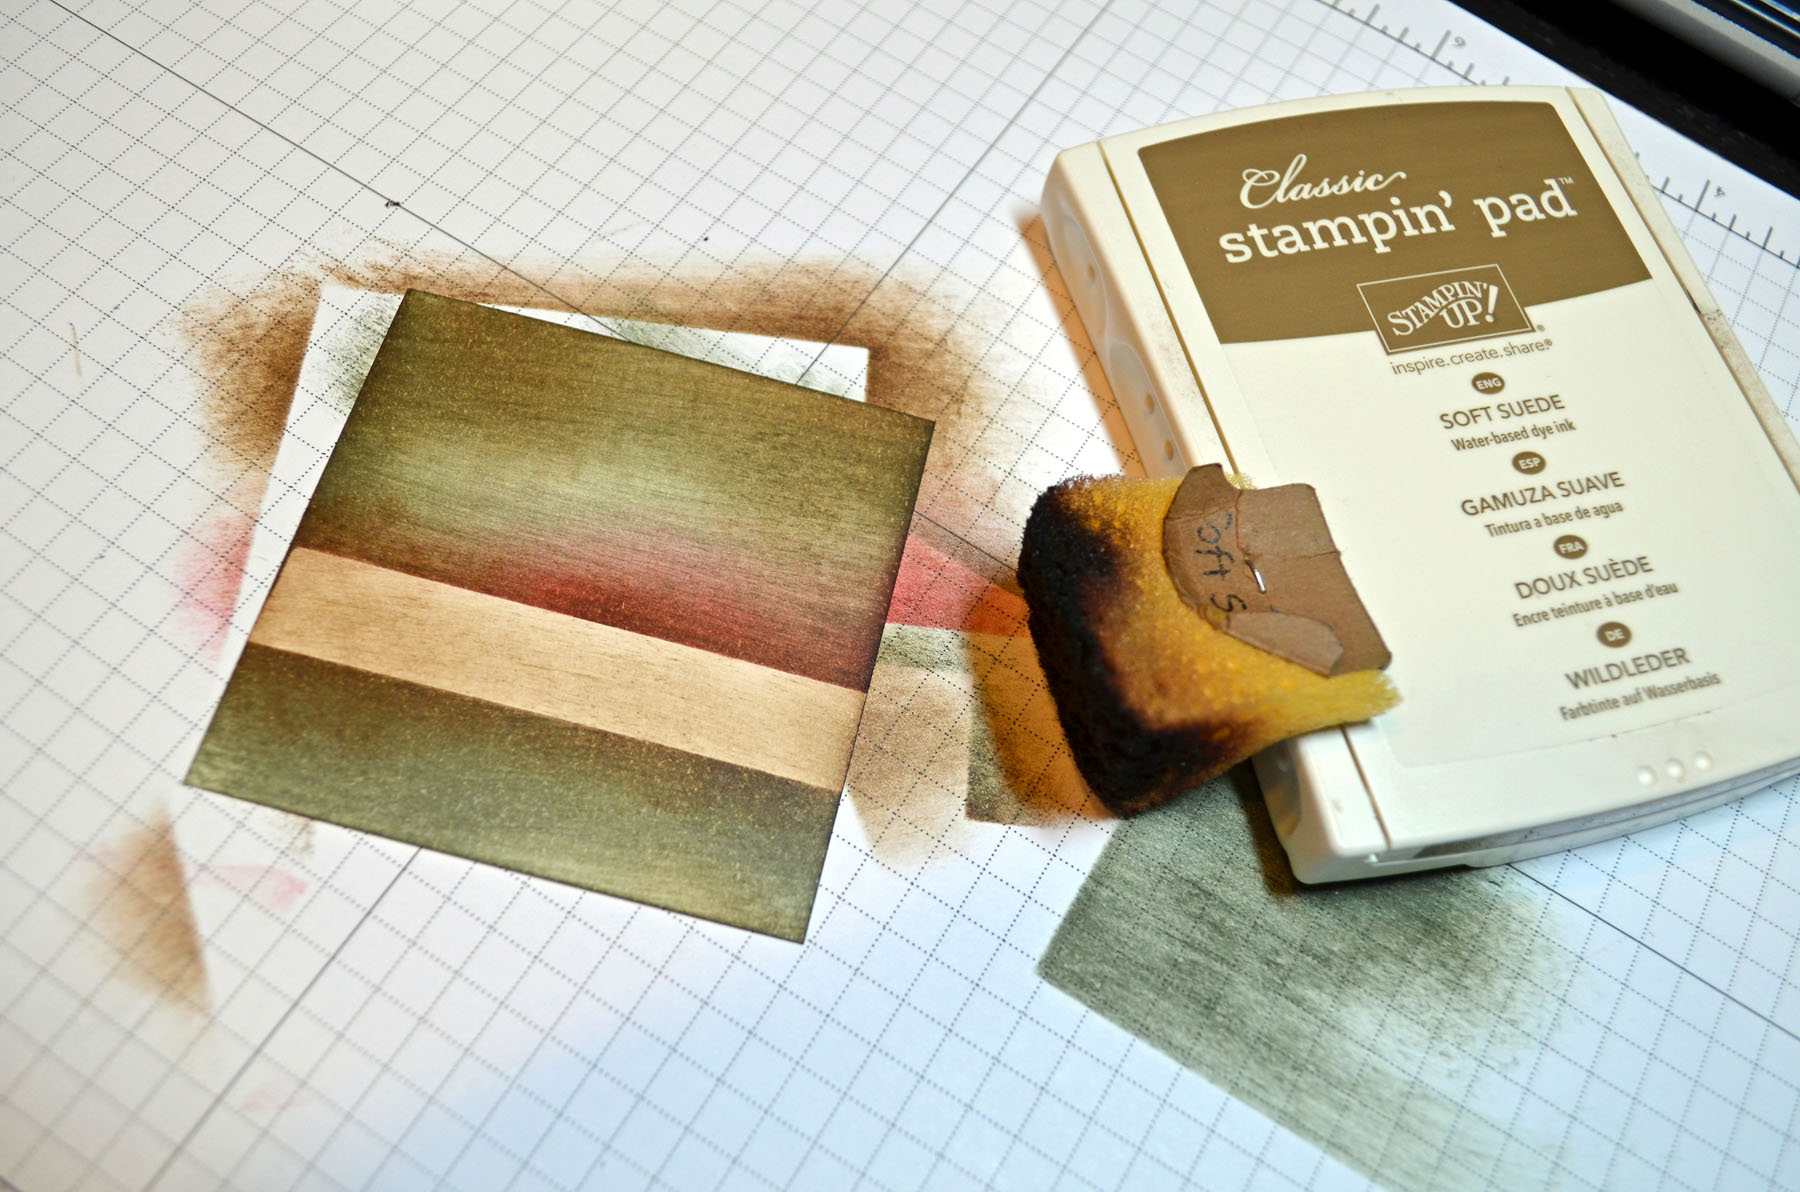
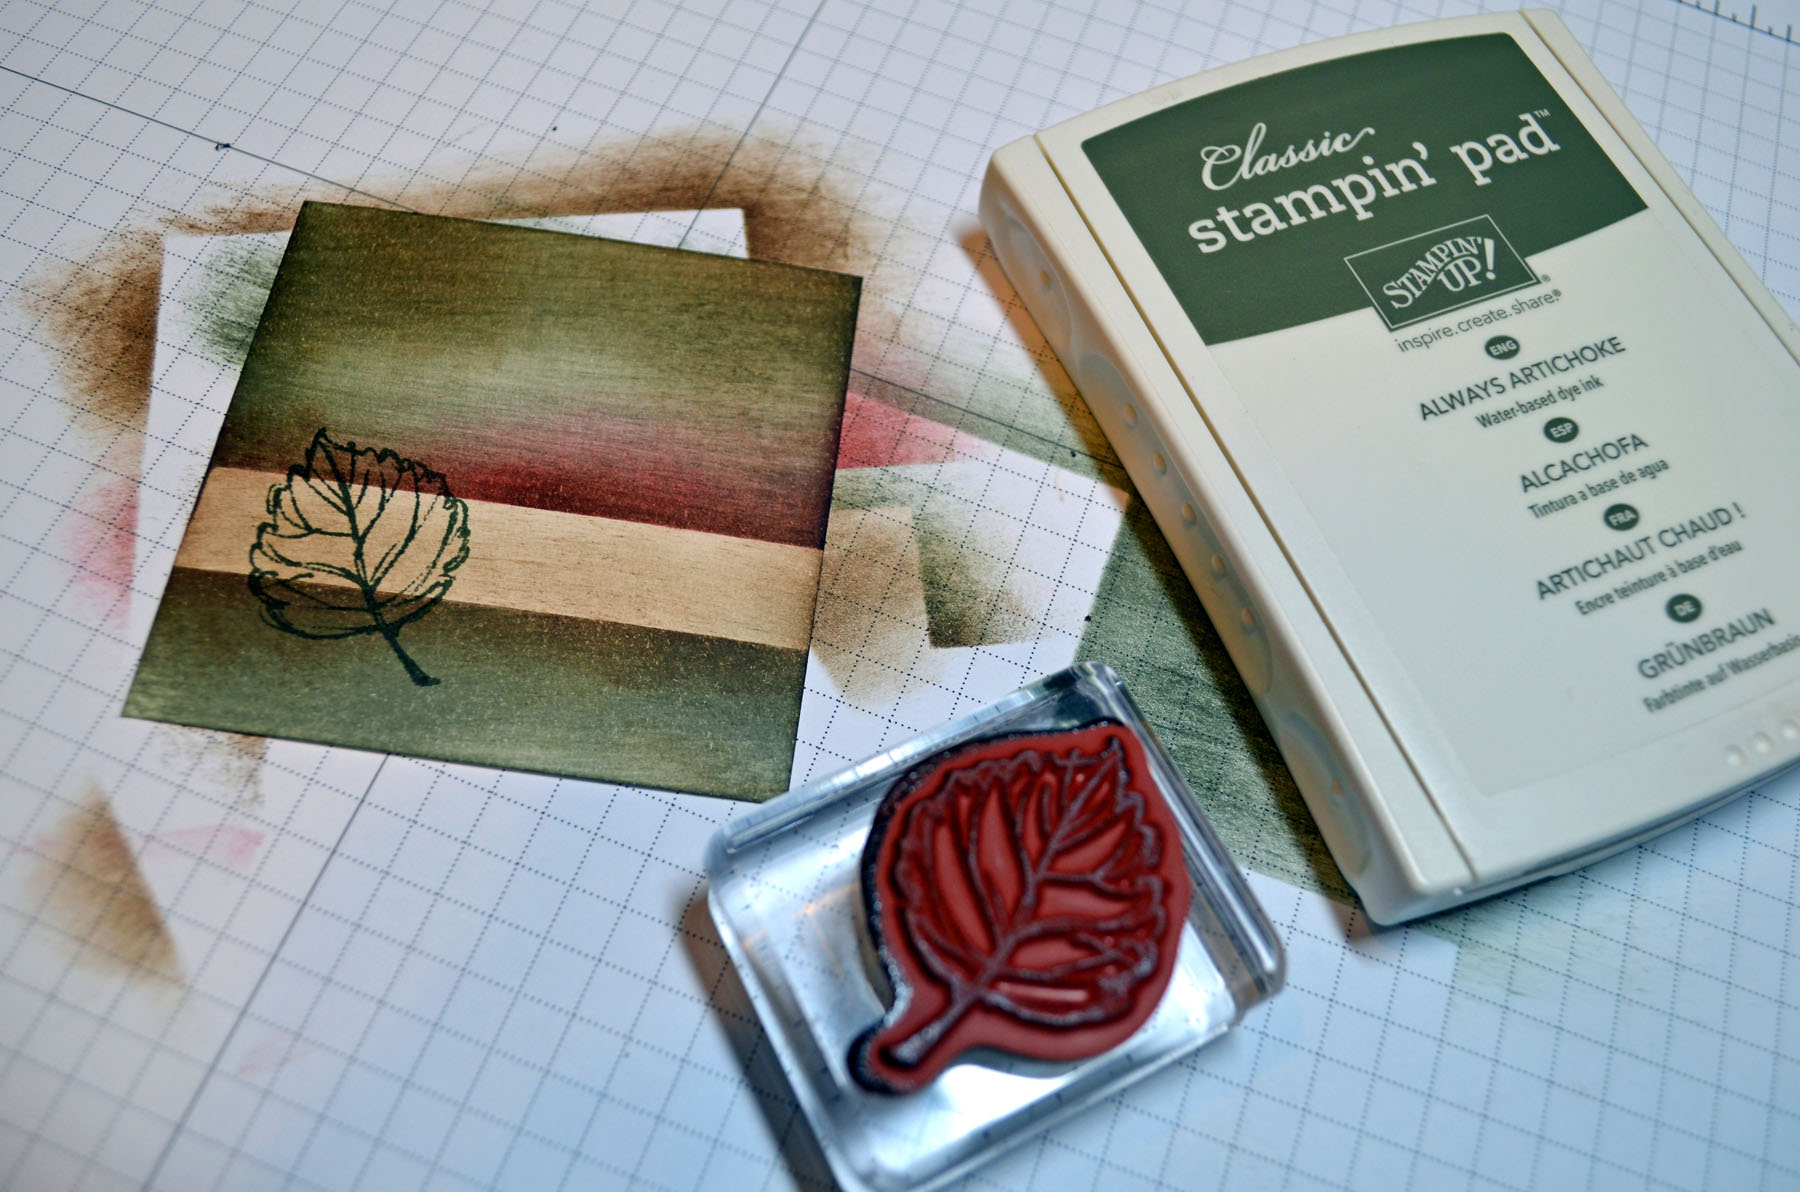
 Customers placing a $50 merchandise order, using me as their demonstrator, through May 9, 2013 will receive the advanced brayer picture tutorial for this card free of charged via e-mailed. This is in addition to my customer token program. 🙂 See token program details at the bottom of this post.
If you wish to purchase the advanced brayer picture tutorial for this card you can find it HERE ON MY SALES PAGE.
Here is a link to my online shopping page that you can shop at 24/7 (from the comfort of your home, even in your pj’s) and the products will be shipped directly to your door step from Stampin’ Up. CLICK HERE TO SHOP.
***************************************************************************

**********************
Stampin’ Up’s Color Refresh! I love color and I know that you do too. Color is fundamental to who Stampin’ Up! is and what they offer. It’s important for us to stay up-to-date with color trends so I am thrilled to share Stampin’ Up’s updated line of colors, and hope you will be as excited as I am by the new possibilities!
Why now? In 2010 Stampin’ Up! did a big color renovation and shared their plans for smaller color refreshes every three to five years to keep their colors on trend. Well it has been three years and I am excited to announce that the upcoming 2013-2014 annual catalog will include 10 new colors (most of which are returning In Colors from previous years)! Stampin’ Up! is welcoming back some of your favorites, moving some colors around, and introducing one brand-new color, so take a look!

Beginning on April 4, 2013, all retiring/discontinued color products (i.e. ink, paper, ribbon, accessories, etc.) will be available only while supplies last. This means that some products will not be available through the retired list period. Stampin’ Up! did anticipate increased demand and based their forecasts for these retiring colors on historical sales information from previous color transitions. However, even with the most careful planning, the response to a transition of this nature can surprise everyone–including your own personal purchases. We encourage you to get your favorites and look forward to the exciting colors coming in the 2013-2014 annual catalog.
********************************

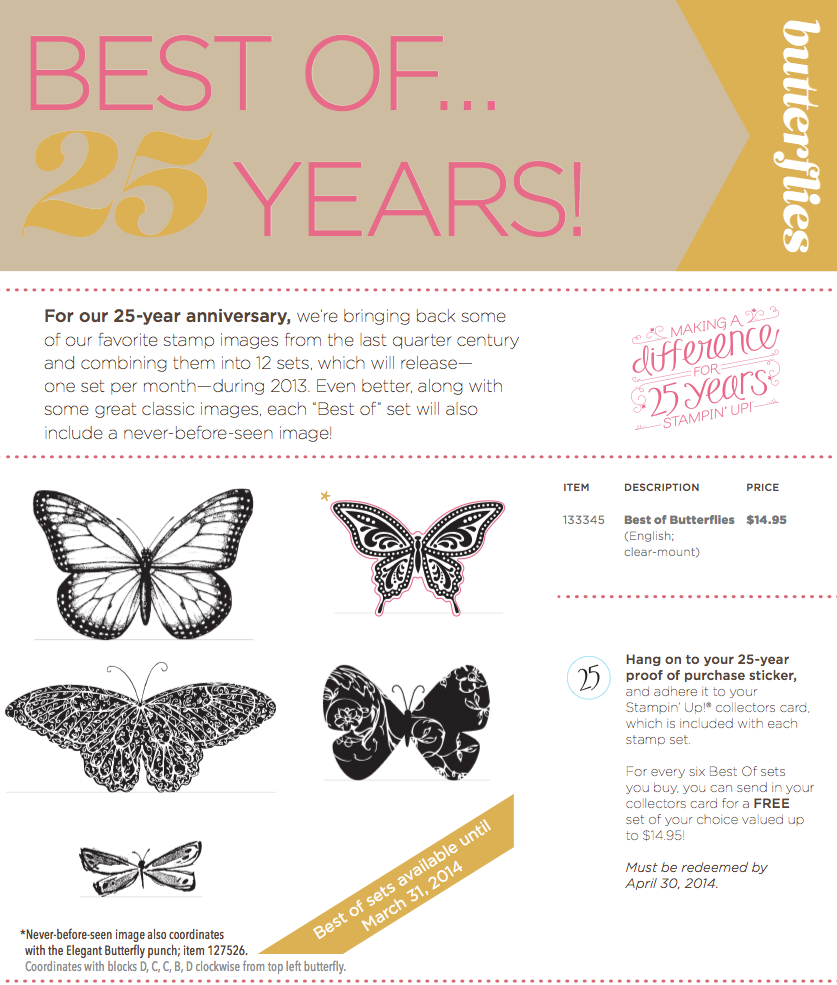
| Spring is definitely in the air, and we can’t wait to show you all the new product in the 2013-2014 annual catalog. Here’s your pre-sneak peek look at A Round Array! |
|

We’ve bundled it with the coordinating 7/8″ Scallop Circle Punch (introduced in the 2013 spring catalog) just in time for Sale-A-Bration for 15% off!
Dates: March 15 – May 30, 2013
| Price |
Description |
Item # |
| $23.95 |
Spring Surprise Bundle* (English; clear) |
133899 |
|
|
|
|
What if you already have the punch? Don’t fret! Just buy the set!
| Price |
Description |
Item # |
| $14.95 |
A Round Array Stamp Set* (English; clear) |
129090 |
|
|
|
|
*Only offered in clear-mount. Wood-mount option will be available in the 2013-2014 annual catalog.
Spring Surprise Order Deadlines:
Phone: Tuesday, May 30, 2013; 6:50 PM (MT)
OEX and Online: Tuesday, May 30, 2013; 11:50 PM (MT)
********************************************

Have you checked out the great clearance rack at Stampin’ Up! CLICK HERE
***********************************************************
Michelle’s Free Stamp Program
Don’t miss out on my Customer’s free stamp set program. Check it out! For your order of $50 in product using me as your demonstrator you will receive one virtual token. Order $100 in product receive two virtual tokens, etc. After you have collected 10 virtual tokens you will receive a free current stamp set of your choosing, a value of $30 or less.
Here is a link to my online shopping page that you can shop at 24/7 (from the comfort of your home, even in your pj’s) and the products will be shipped directly to your door step from Stampin’ Up. CLICK HERE TO SHOP. My free stamp set program will be an on going program. 
Note: if you have actual tokens from my old program they are still good.
**************************************************
 Also, check out my new Zindorf Naturals Soap Page. This stuff is oh so good for your skin. CLICK HERE TO CHECK IT OUT.

 I now have an online beginner brayer video classes that will teach you how to brayer. CLICK HERE TO GET THEM.
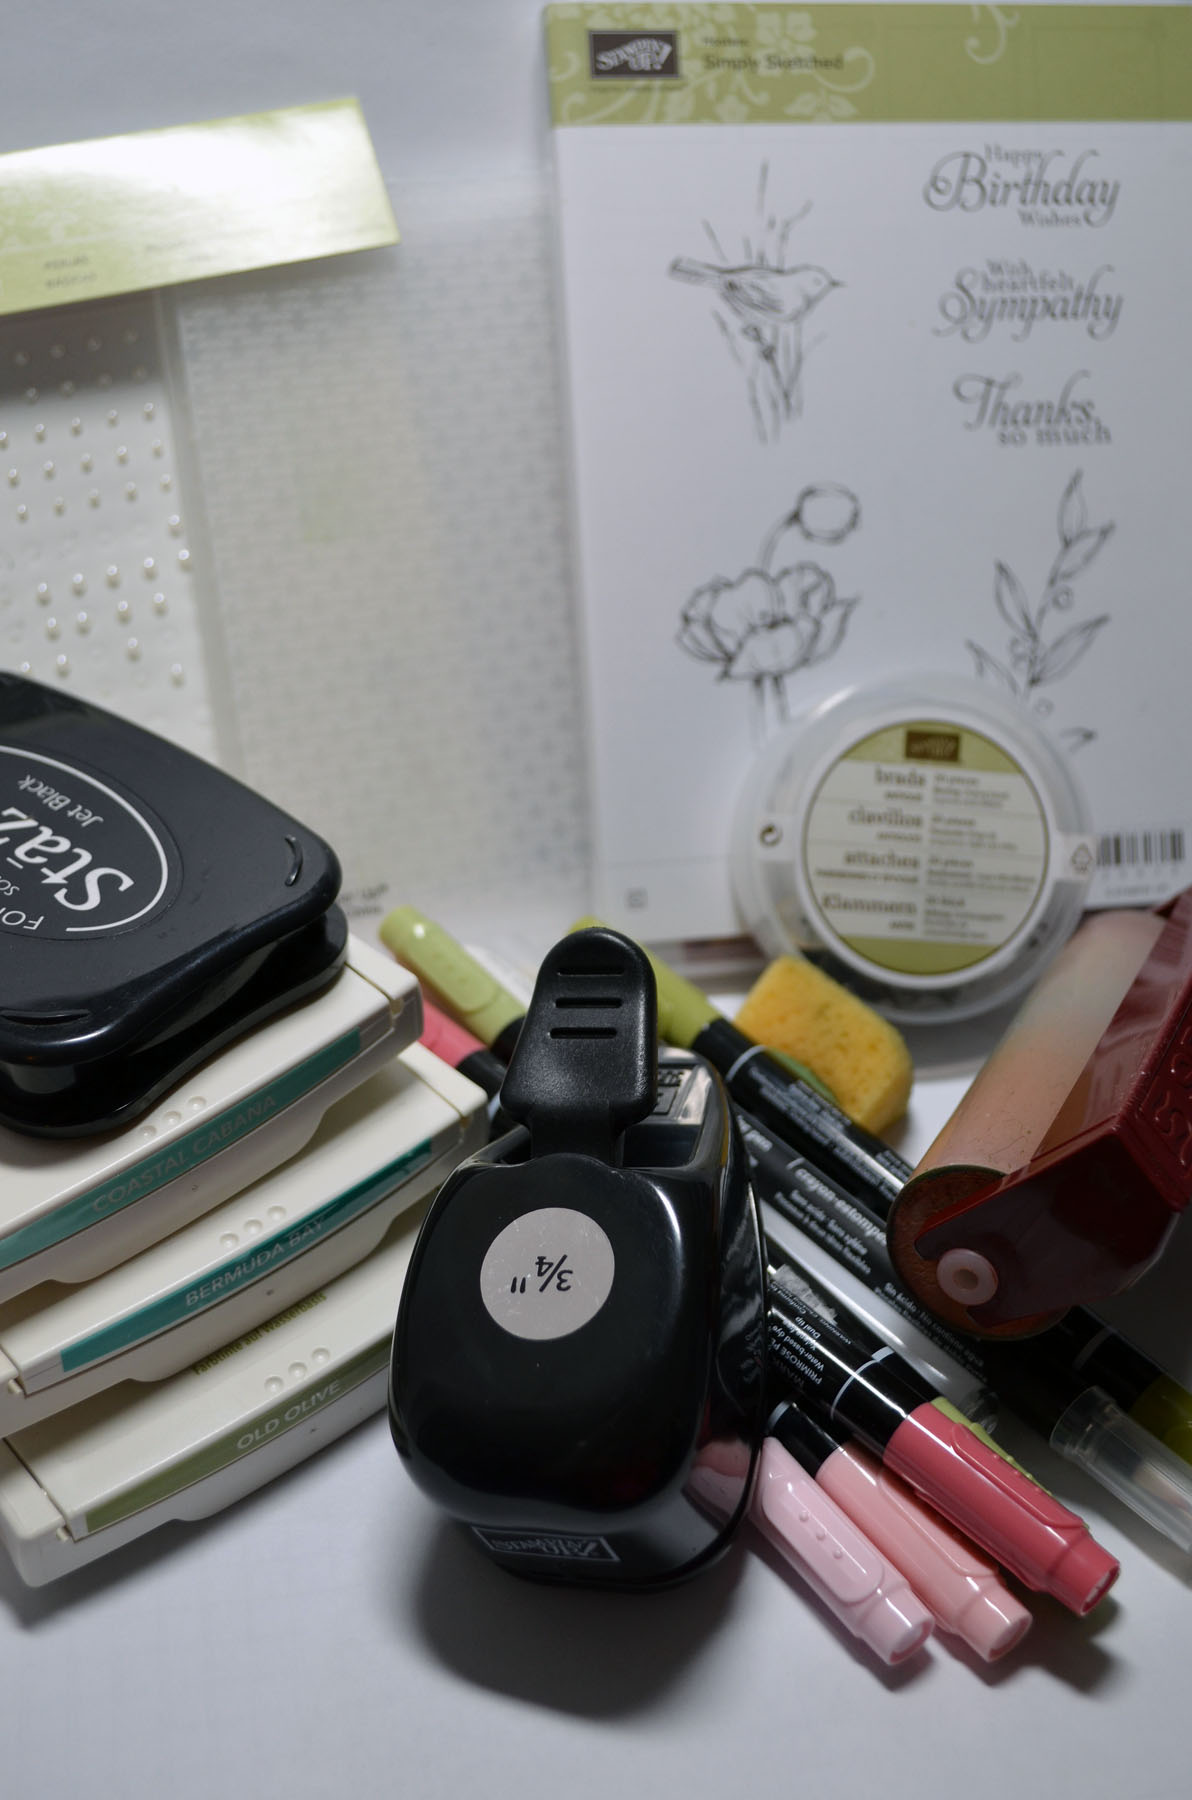


 Also, check out my new Zindorf Naturals Soap Page. This stuff is oh so good for your skin. CLICK HERE TO CHECK IT OUT.


