
Hello There,
I’ve got another card tutorial for you today using new Stampin’ Up! Spring Catalog stamp sets. This card features the Direct to Paper technique along with the new sets Rain or Shine, Spring Sampler and That’s the Ticket. I told you I went overboard on my pre-order from this catalog!
Grab you a warm beverage and check out my tutorial below. Then give it a try!
This card has been added to my sales page. Click here to check it out.
****************************************
Now on with today’s tutorial. . . . . . .
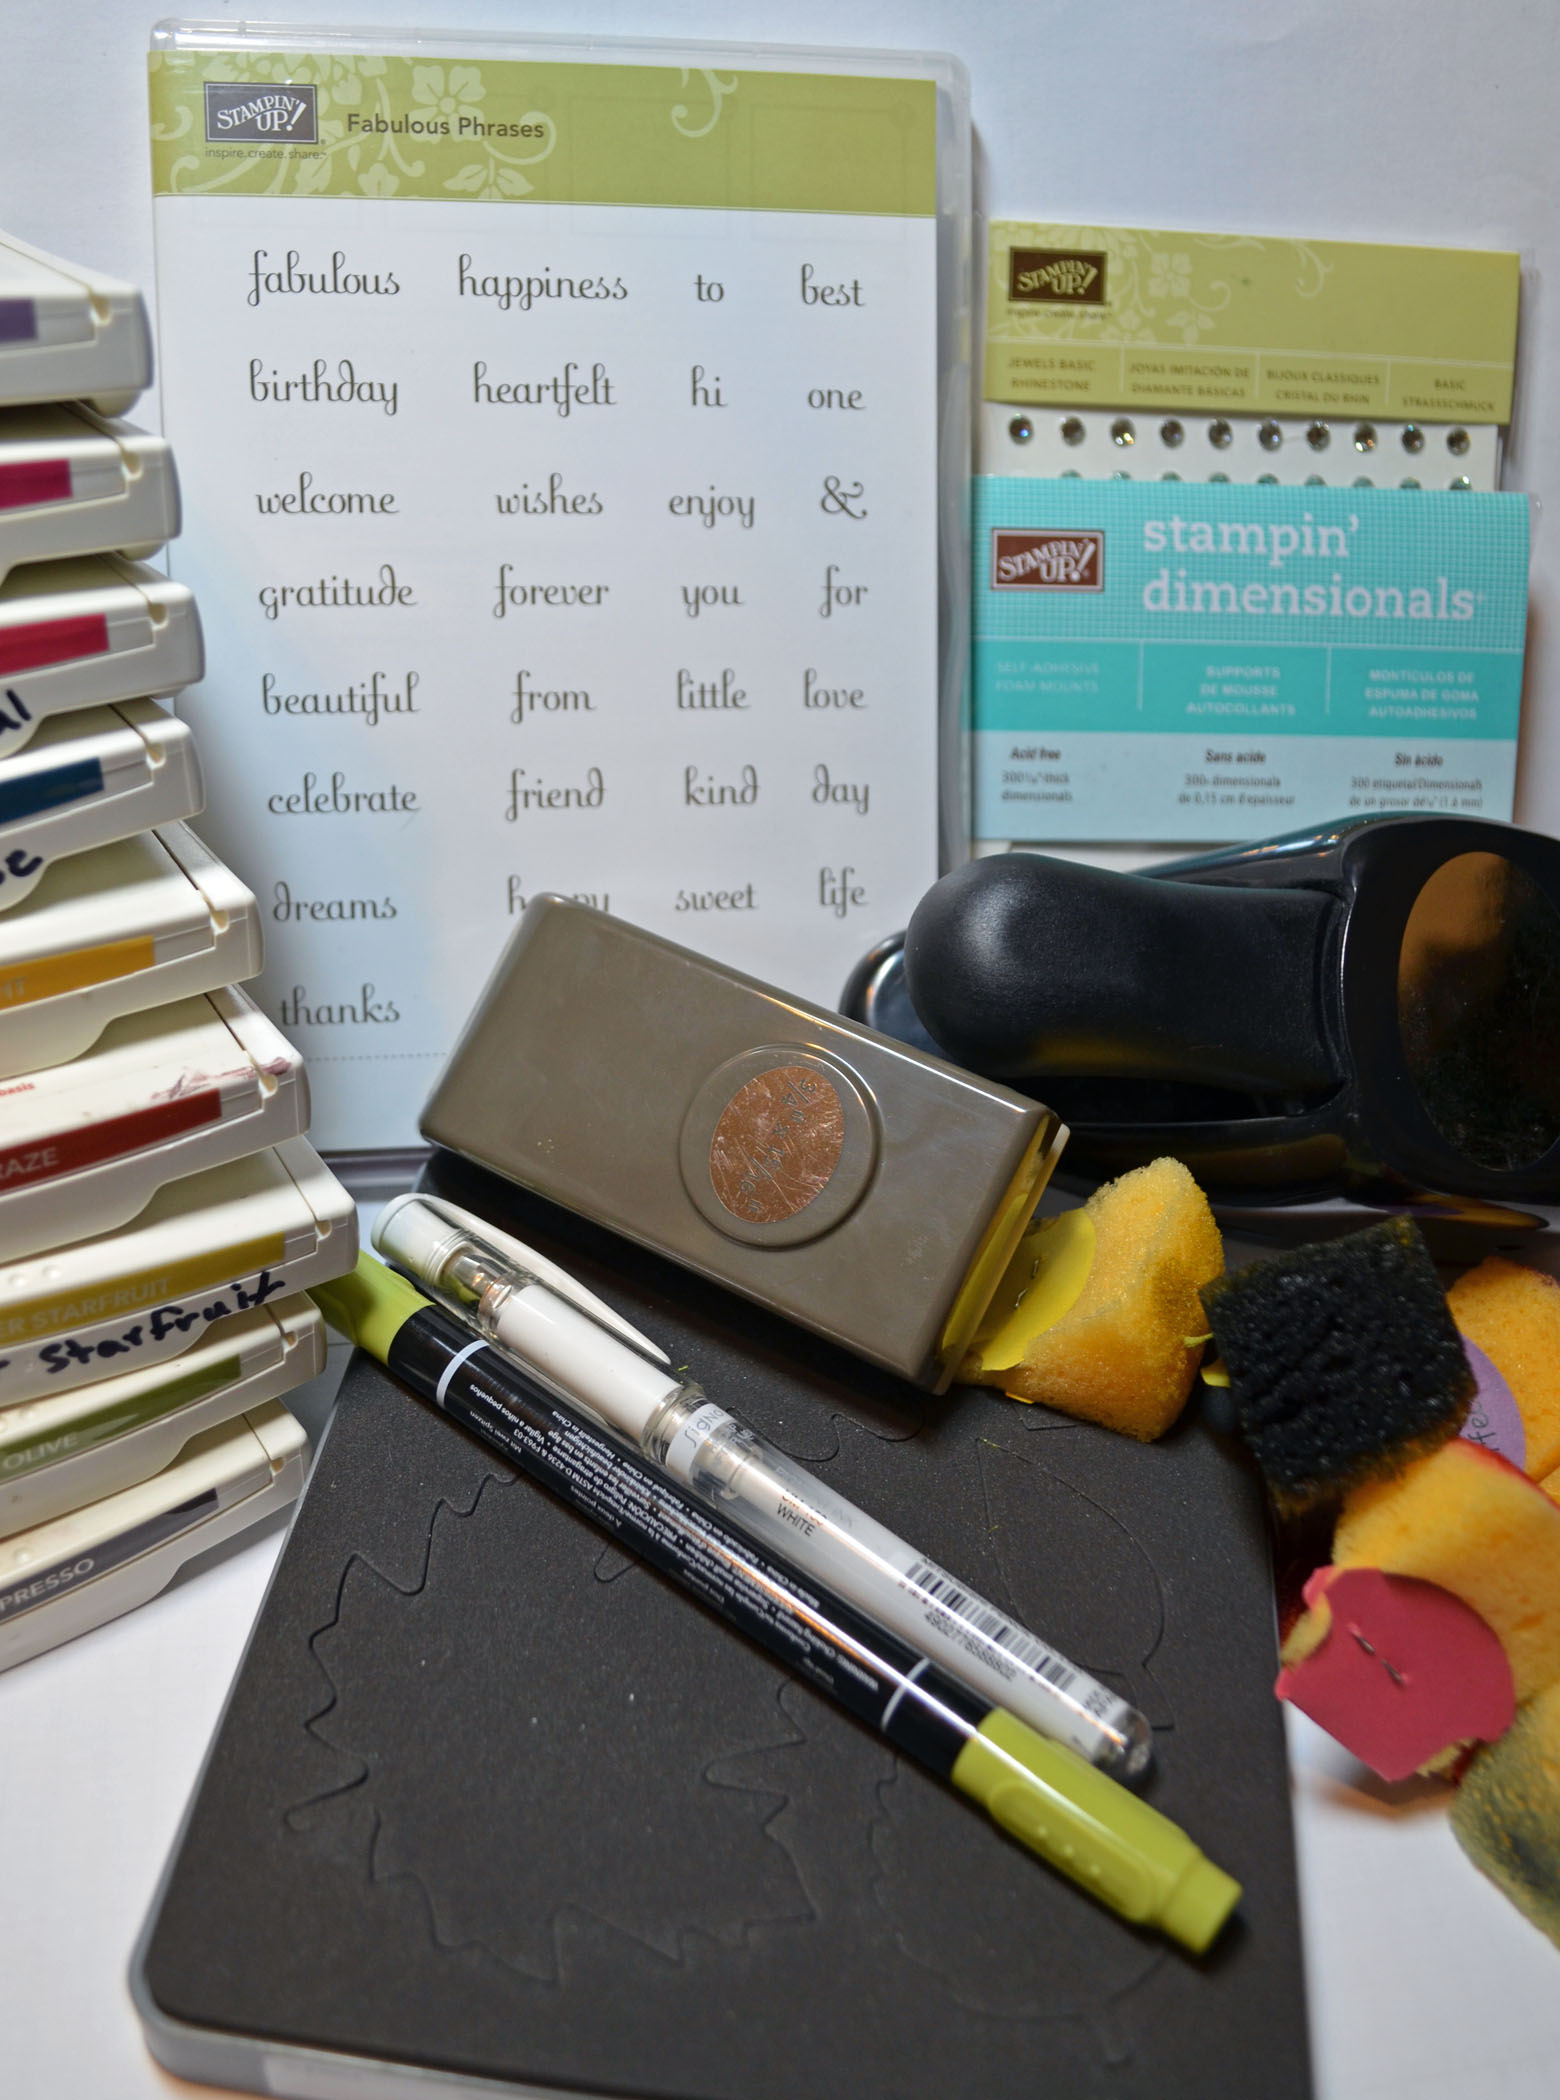
Project Supplies:
Stampin’ Up! Stamps: Rain or Shine (item#126777), Spring Sampler (item#125512), That’s the Ticket (item#128075)
Card Stock: Stampin’ Up! Whisper White, Crumb Cake and Soft Suede
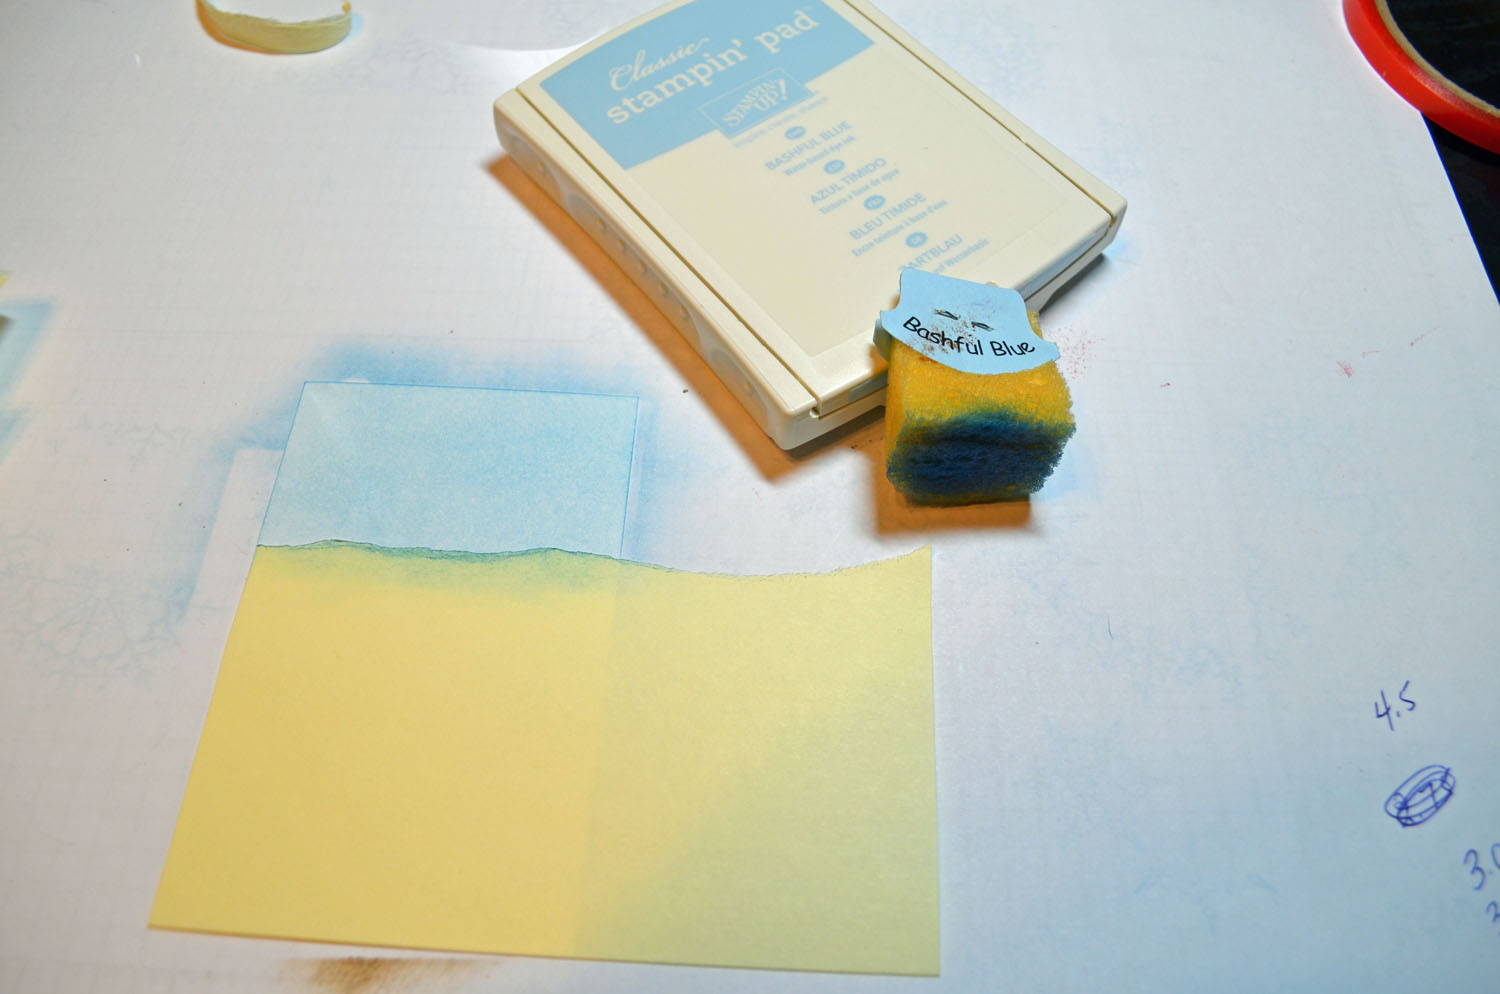
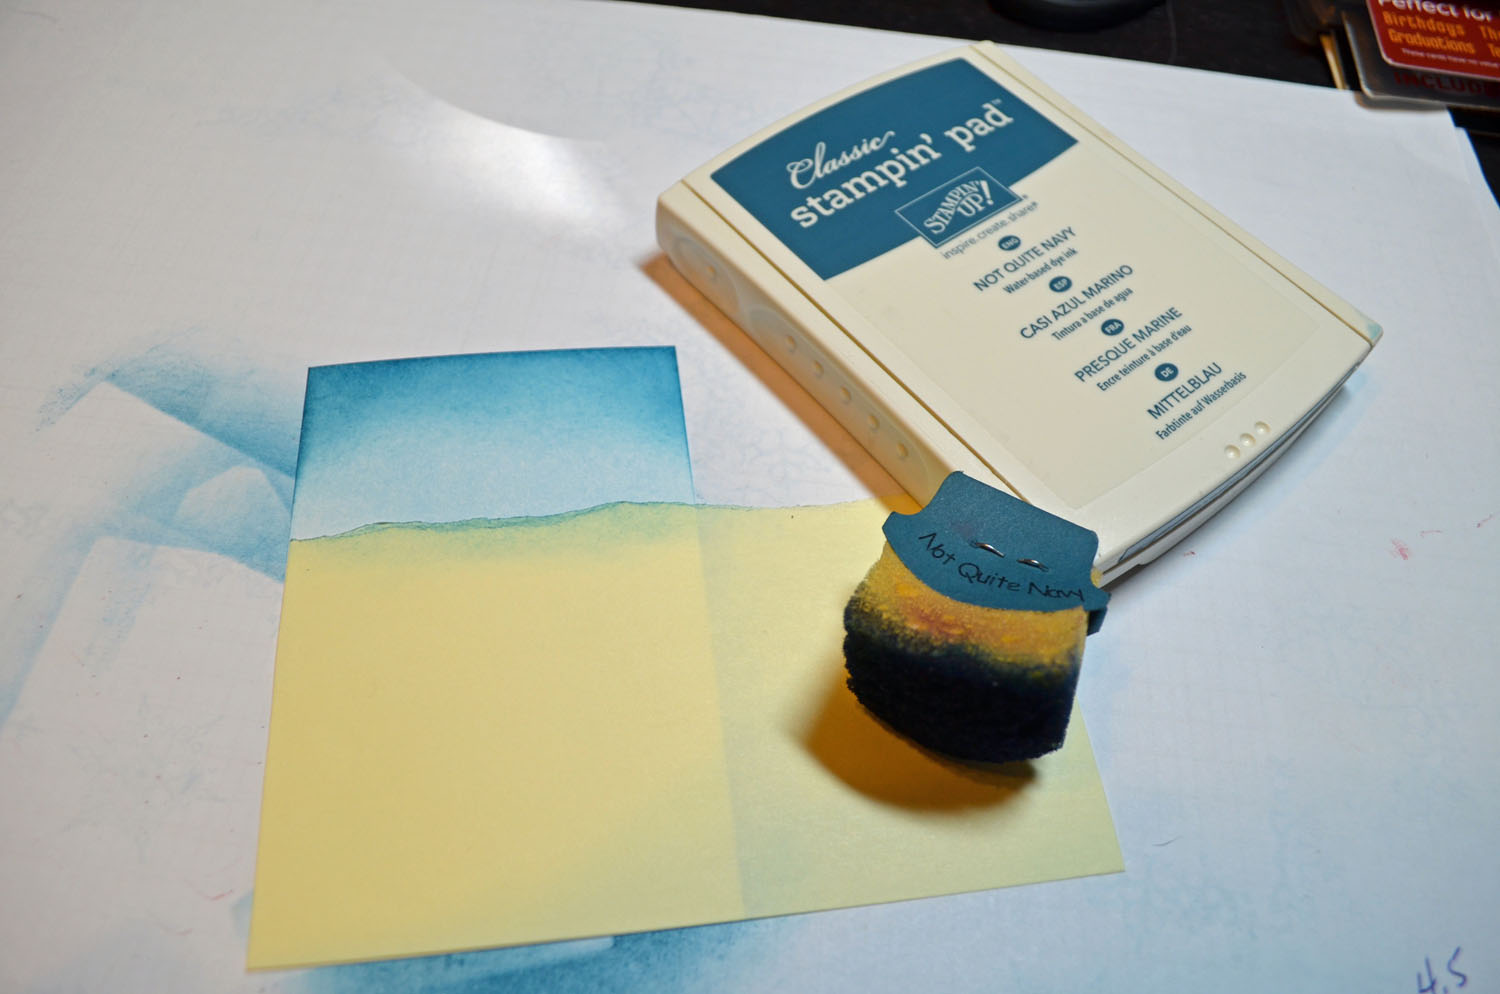
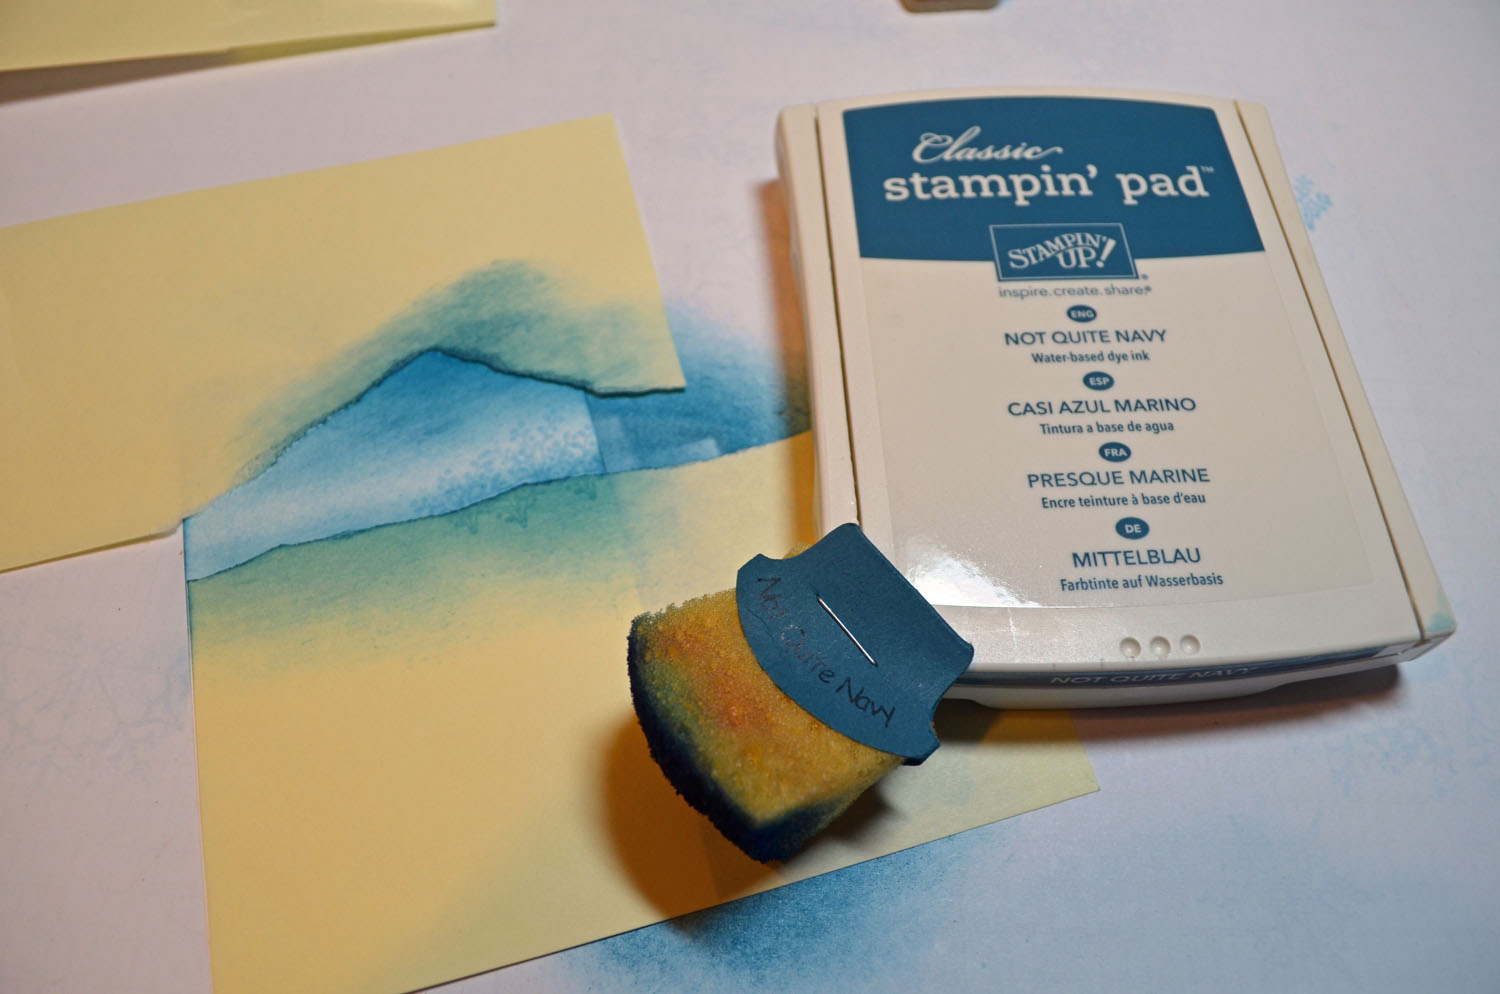
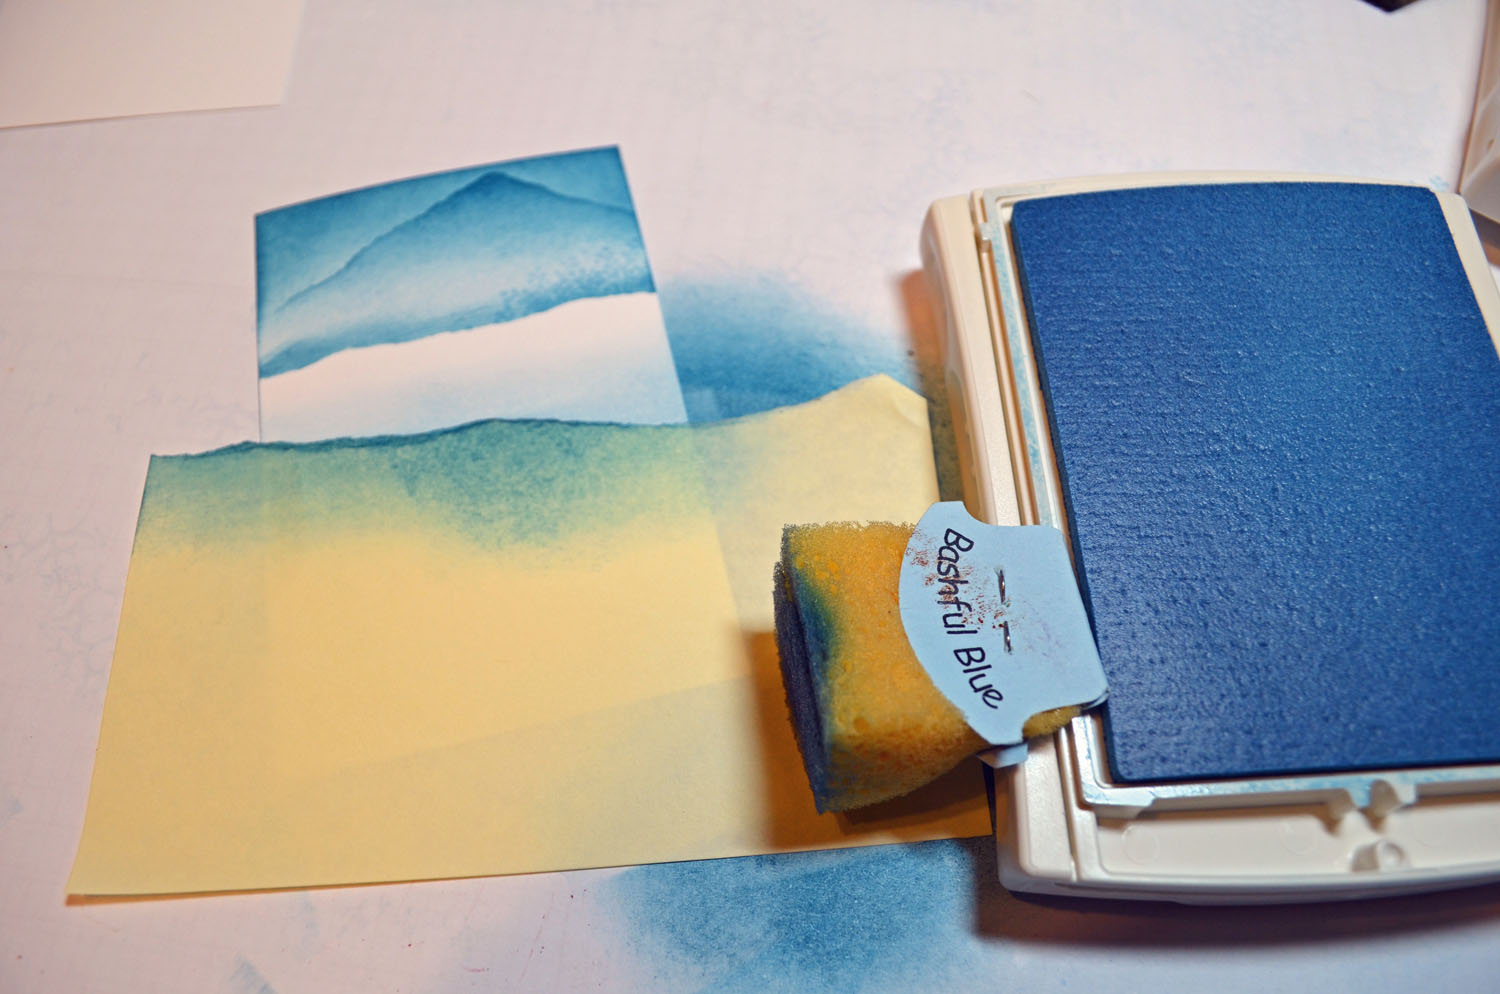
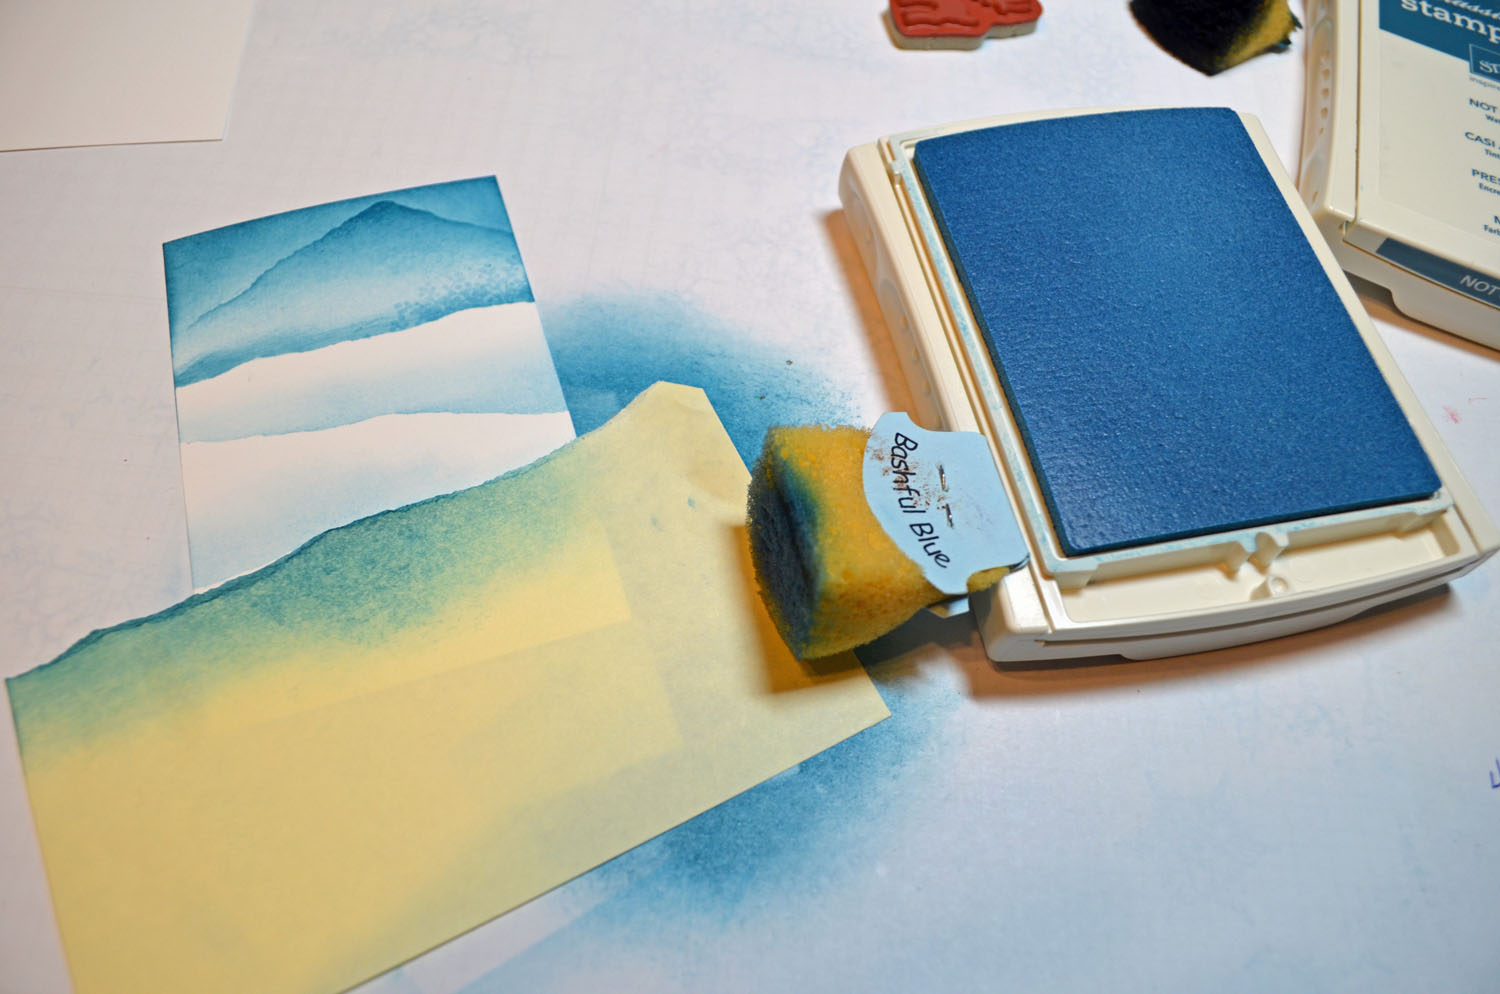
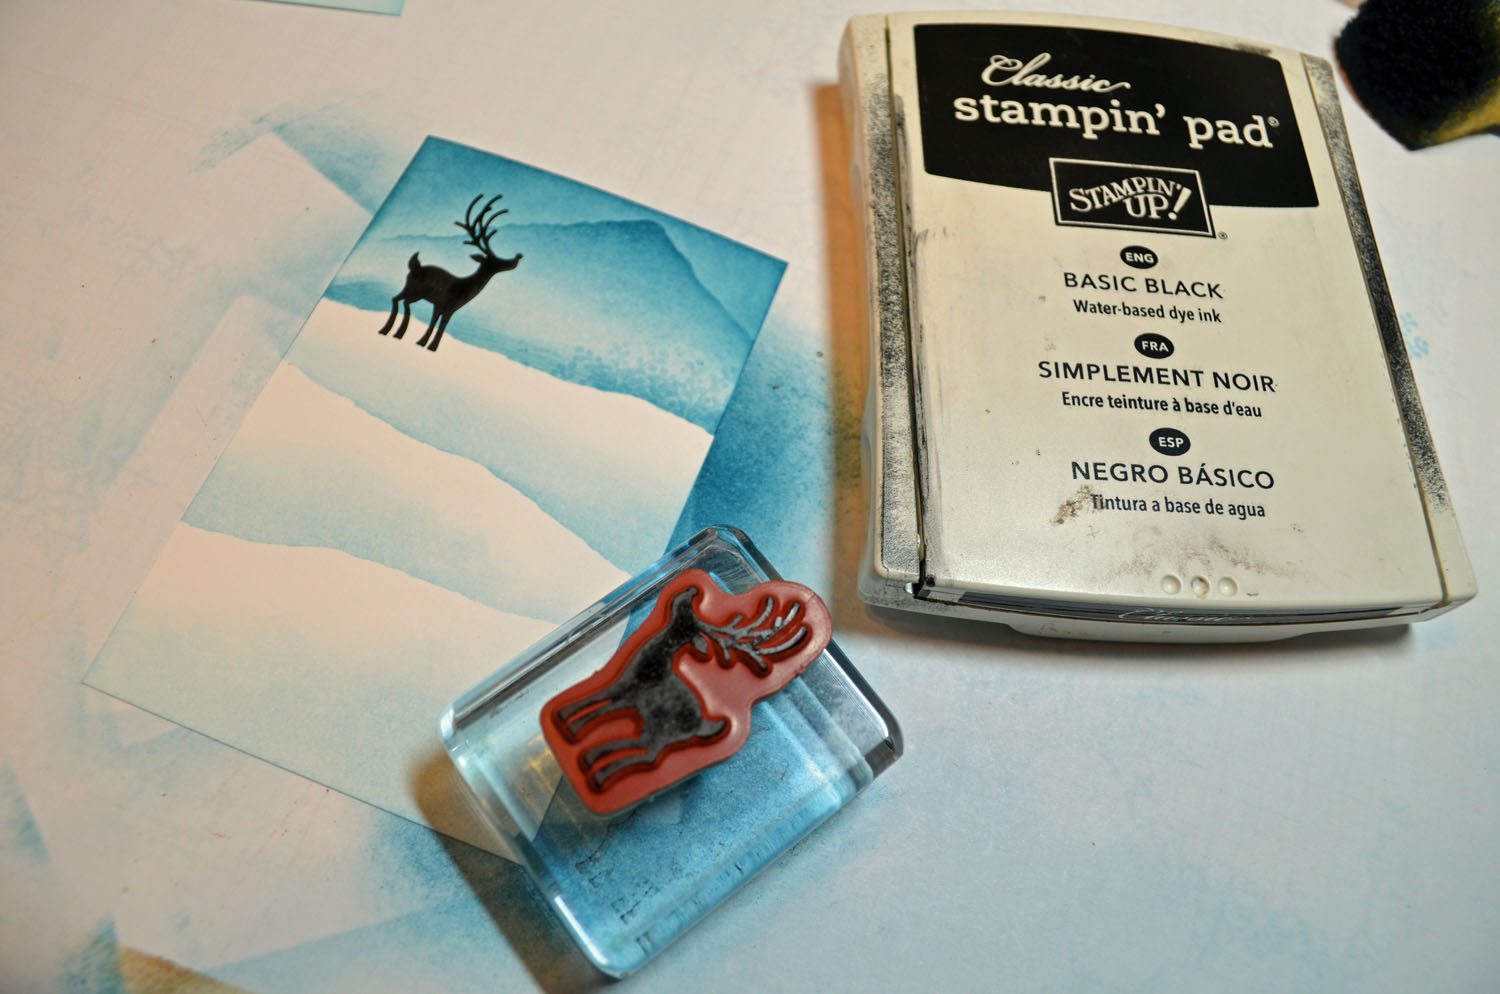
Ink: Stampin’ Up! Soft Suede, Crumb Cake, Tempting Turquoise, Whisper White, Basic Gray, Sahara Sand and Real Red
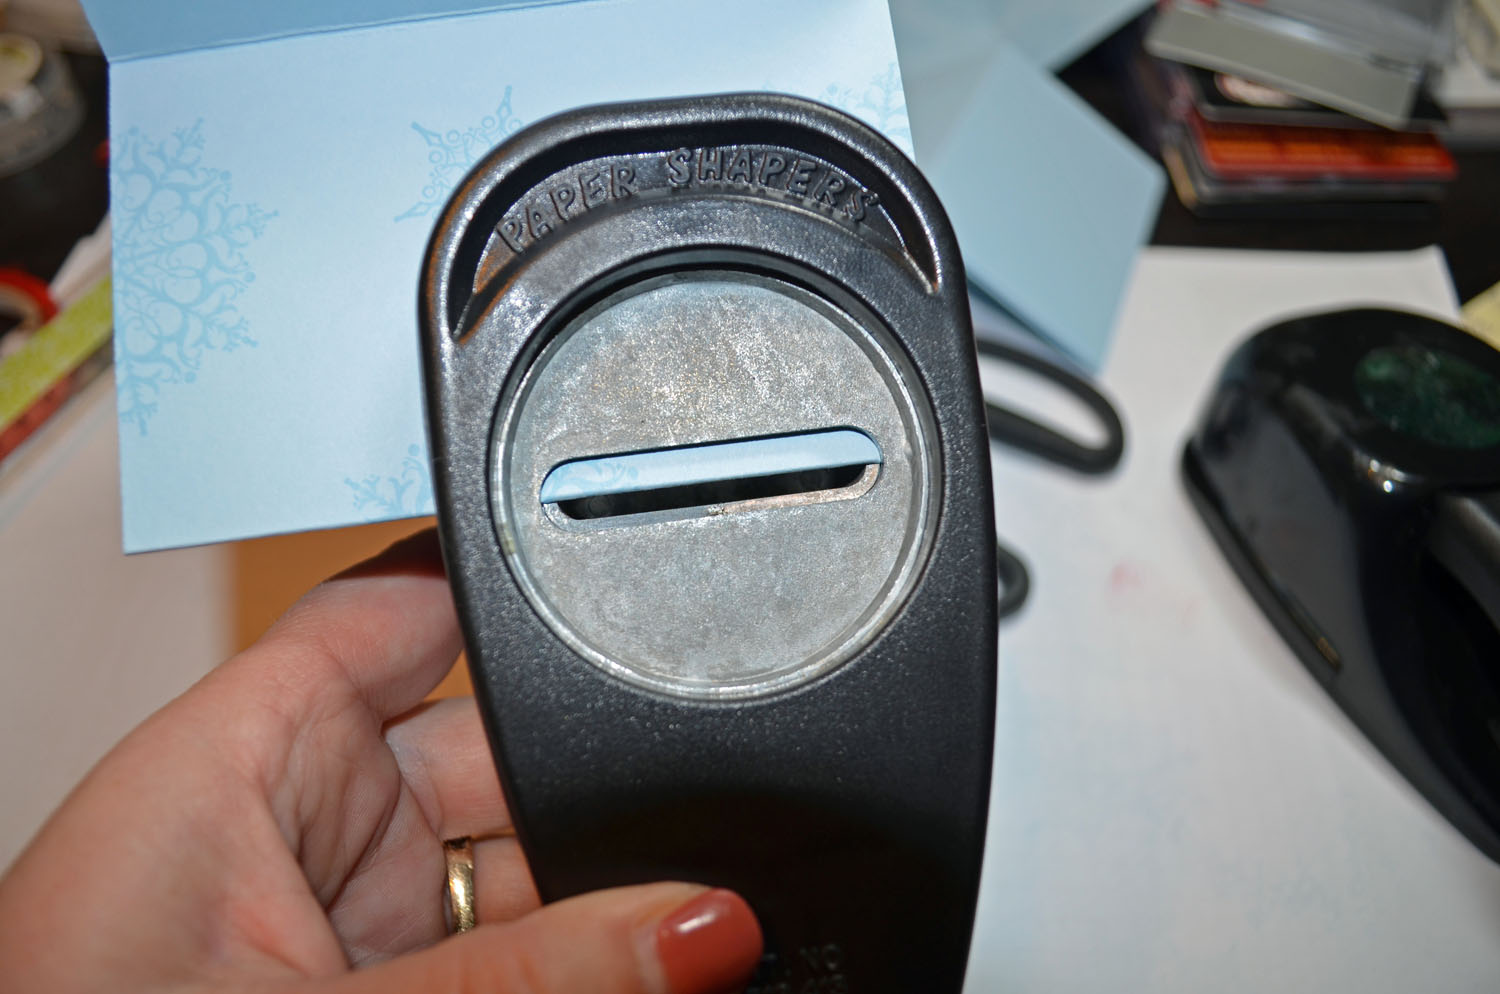
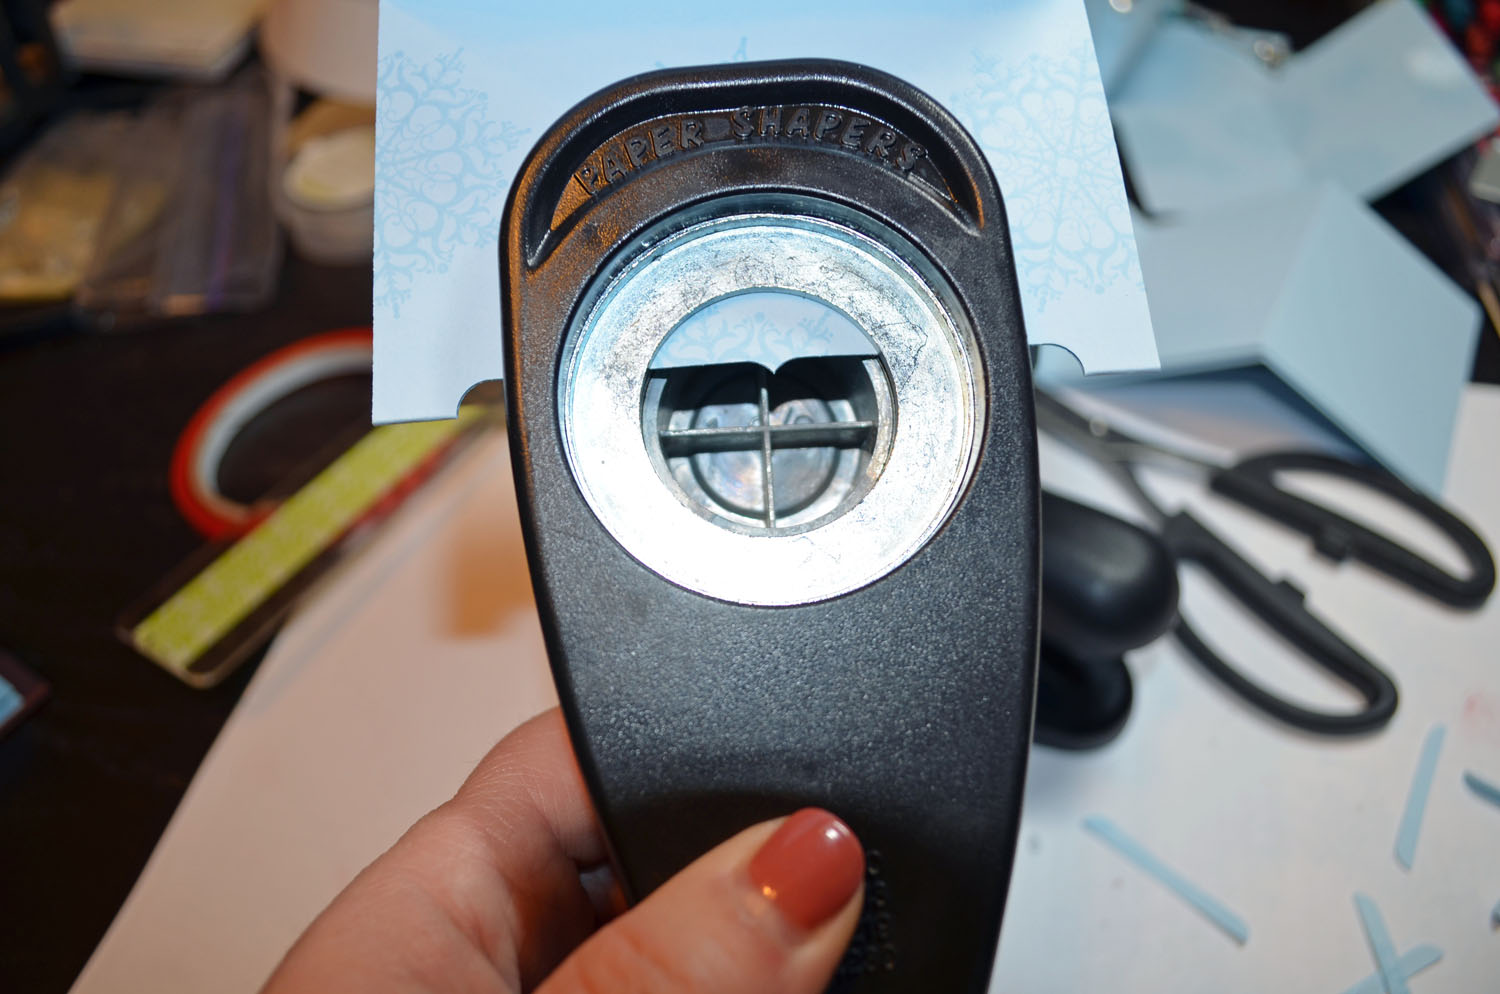
Accessories: Stampin’ Up! Sponge, Gold Brads, Corrugator tool, Color Spritzer, Ticket Punch, Soft Suede Marker

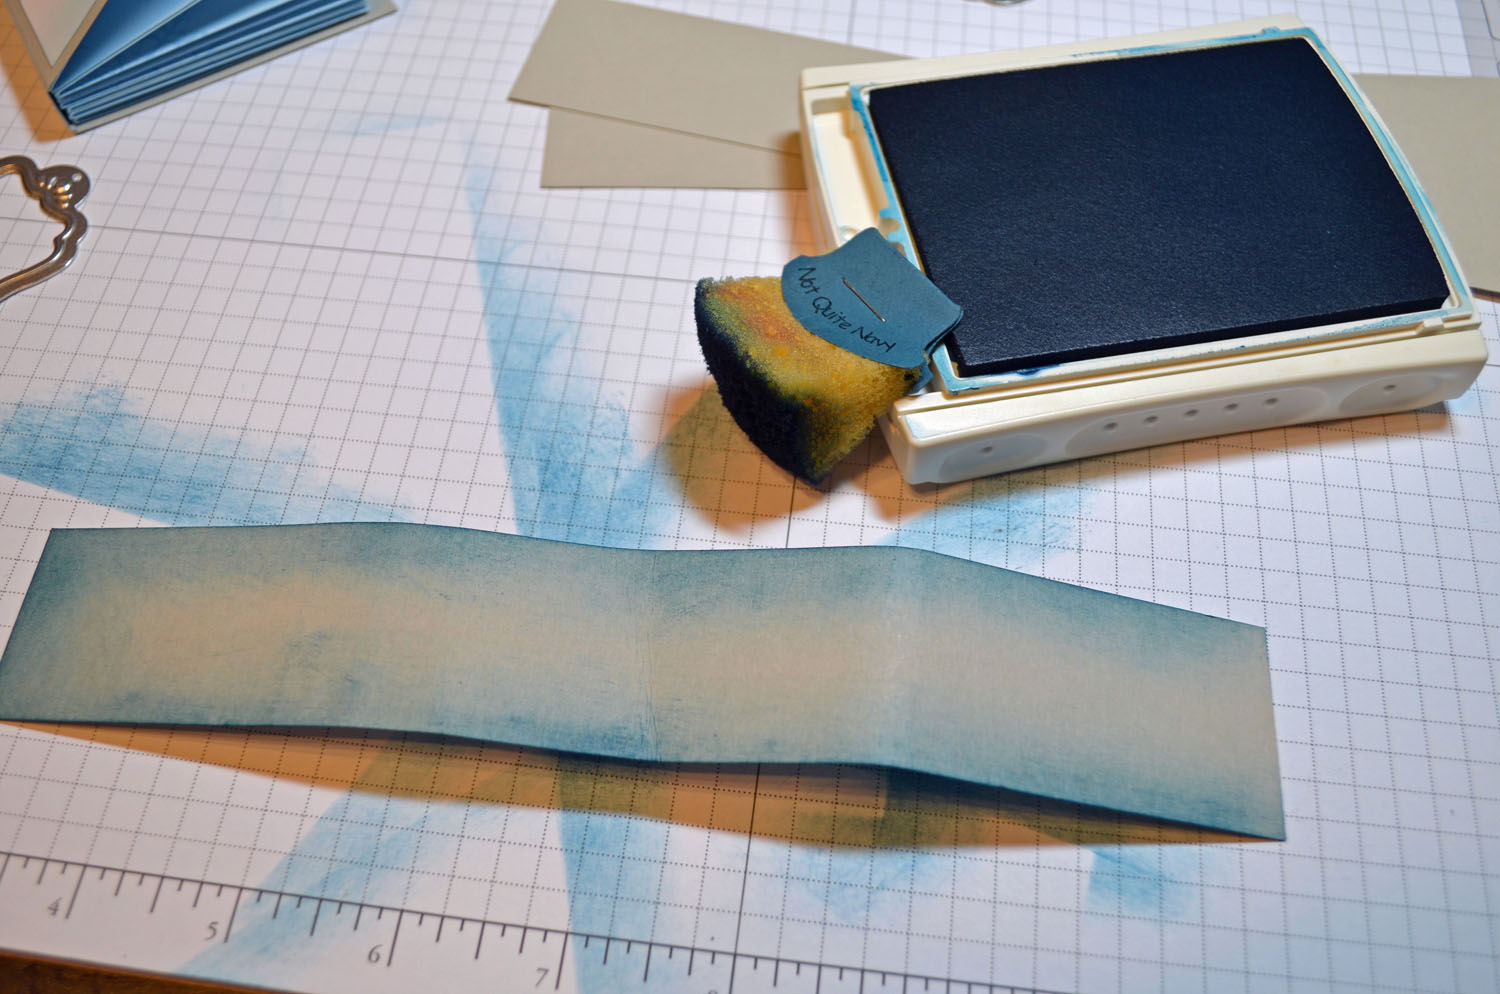
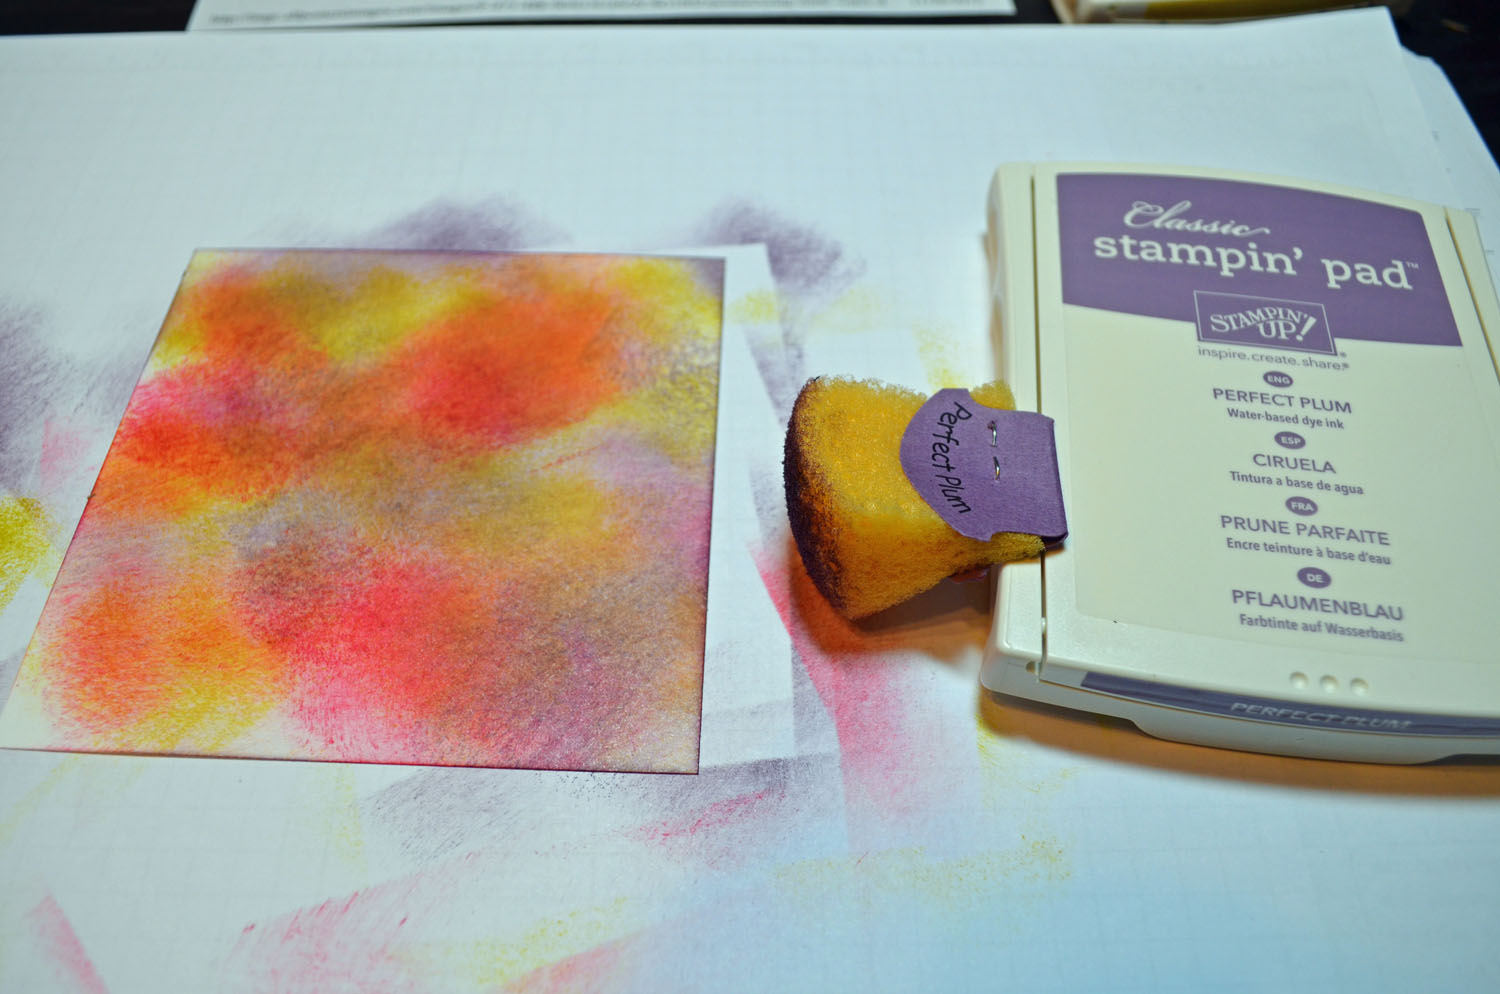
Smeared Tempting Turquoise ink directly across the a 3″ x 6″ piece of Whisper White card stock using the ink pad.

Using more pressure on the ink pad, smeared more Tempting Turquoise on the card stock creating the water.

Ran a piece of Crumb Cake card stock through the corrugator and then tore it to use as the sand.


Using the Color Spritzer and a Soft Suede Marker, made little dots all over the Crumb Cake card stock.

Stamped the umbrella using Real Red ink and adhered the Crumb Cake card stock to the bottom of the main image panel.

Stamped the umbrella pole using Soft Suede ink. Darkened it using a Soft Suede maker.


Sponged Soft Suede ink at the bottom of the sand area.

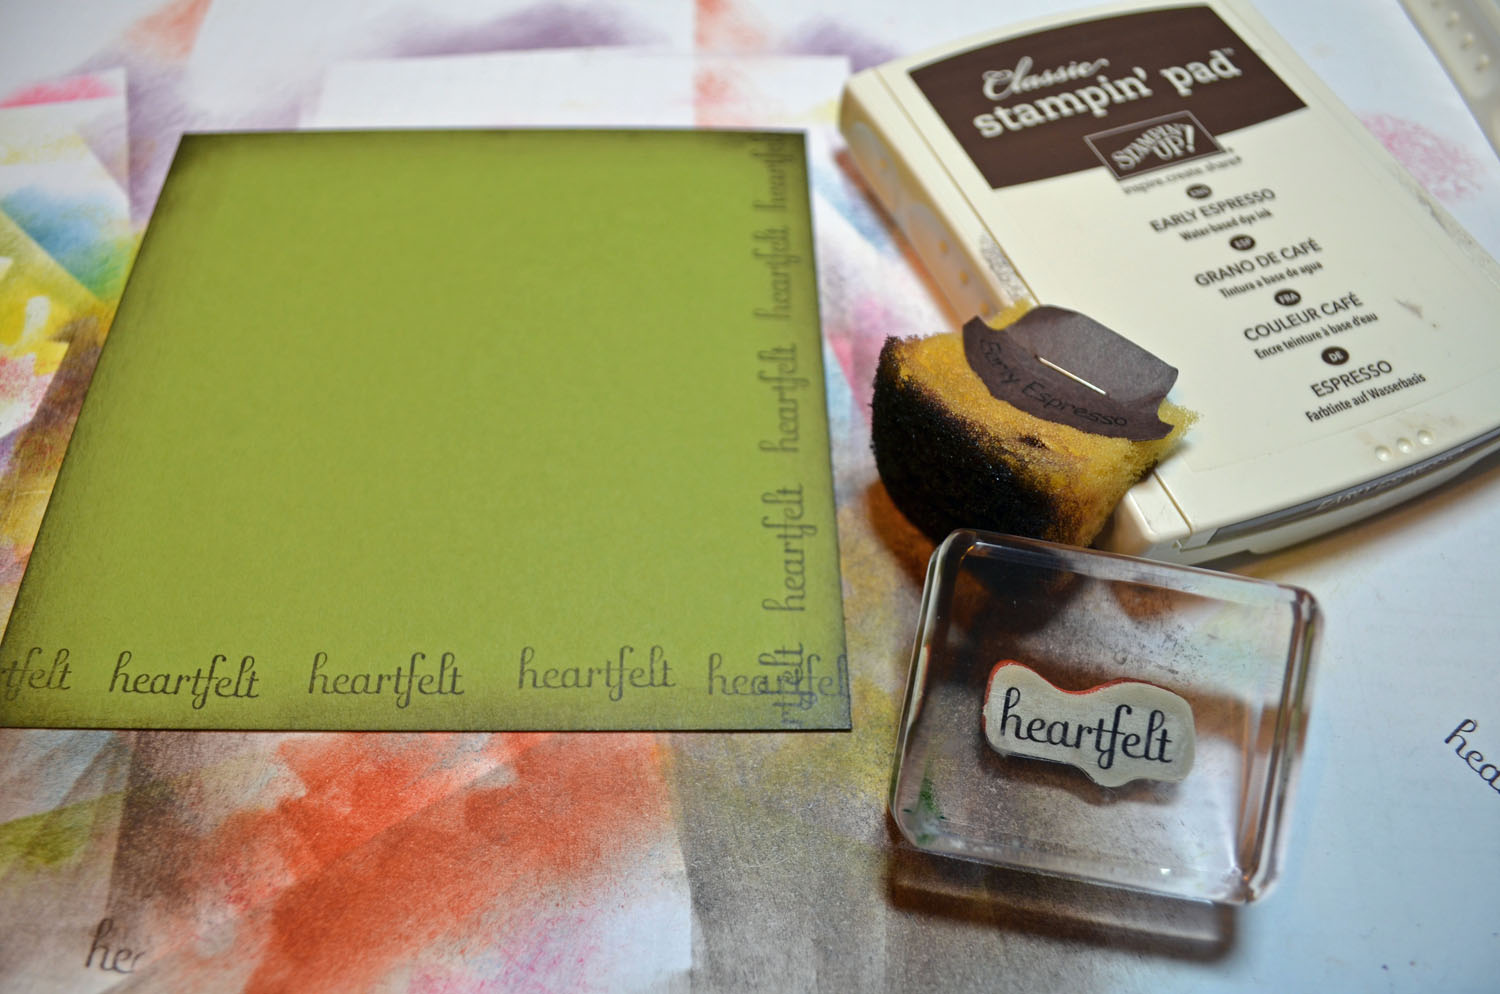
Stamped the sentiment using Soft Suede ink.

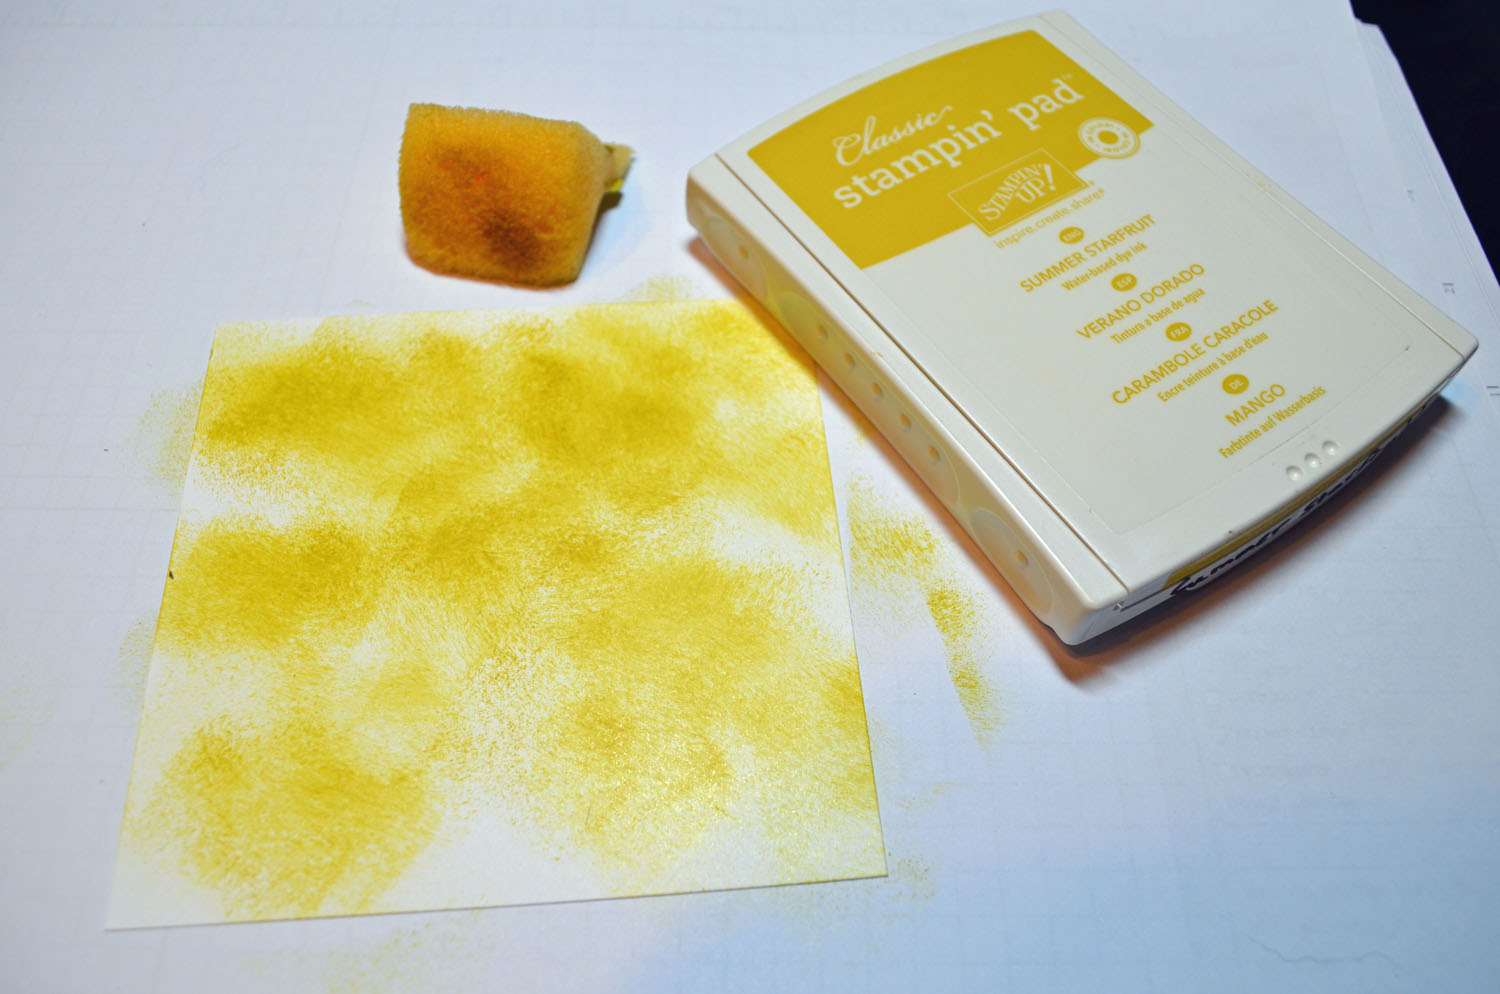
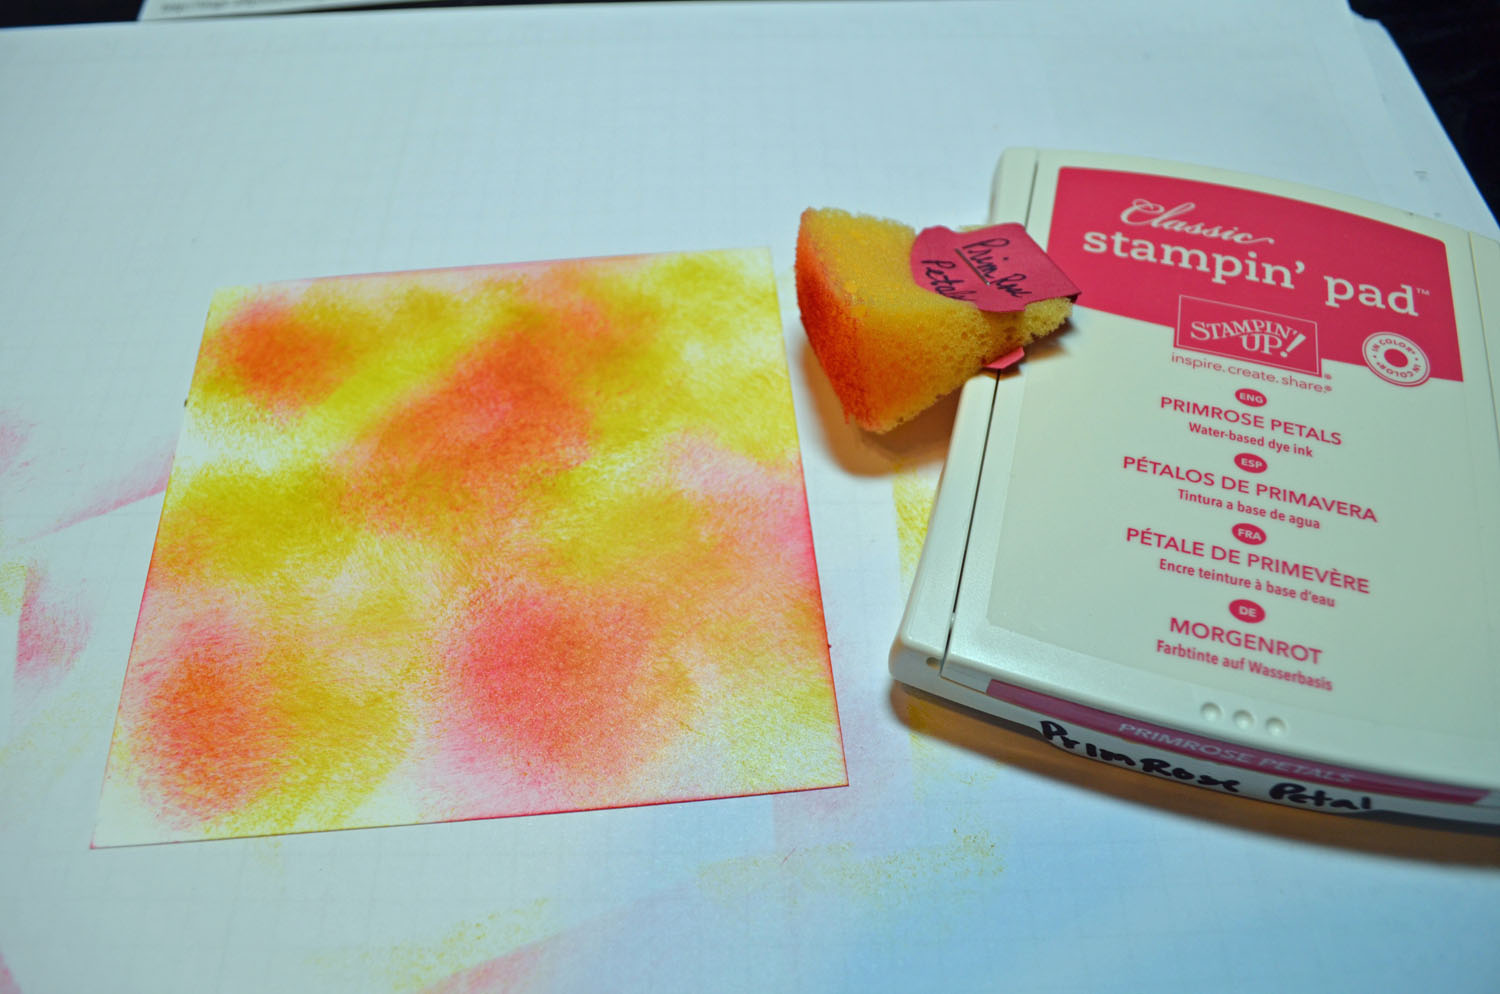
Smeared Sahara Sand ink in the top left corner of the card stock.

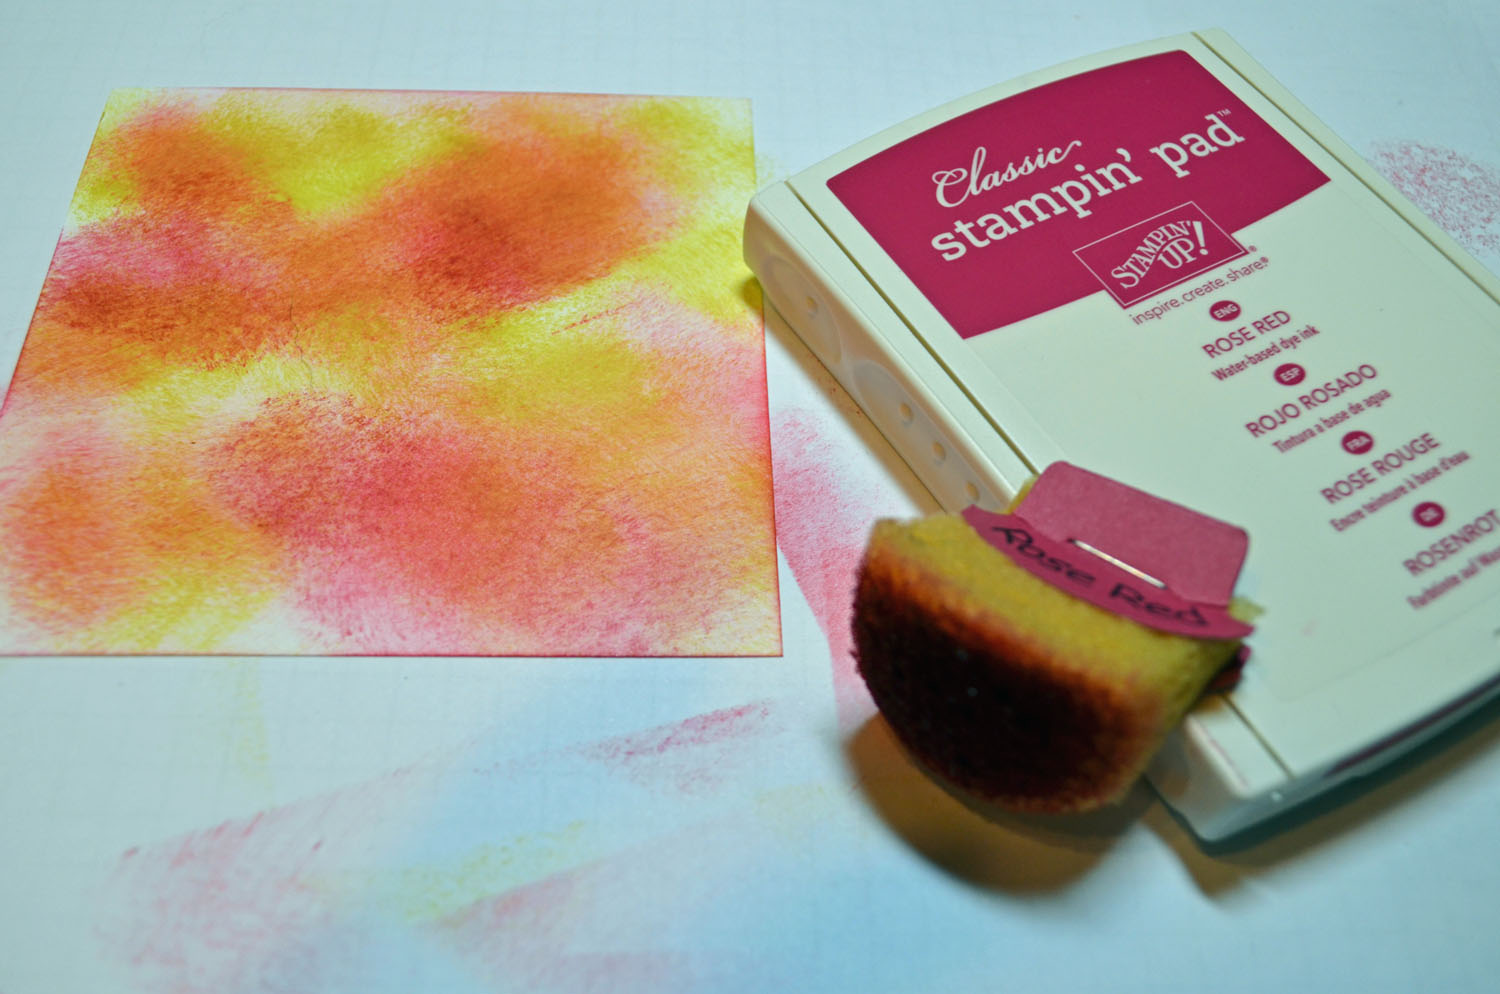
Smeared Basic Gray ink at the top left corner, not covering the Sahara Sand ink entirely.

Smeared Whisper White ink in the top left corner not covering the Basic Gray ink entirely.

Added a little hill at the pole base using a Soft Suede Marker.

Sponged a dark spot under the umbrella using Soft Suede ink.

Stamped 4 tickets on Crumb Cake card stock using Crumb Cake ink. Then punched them out using the ticket punch.

Stamped an umbrella on each ticket using Soft Suede ink.

Adhered the main image panel to a 3.5″ x 6.5″ Soft Suede panel. Added the tickets and gold brads. Adhered the card front to a Whisper White card base.
Here is the finished project measuring 3.5″ x 6.5″.

May your day be filled with nothing but sunshine!
I’m heading out to dig a path in the snow to a grassy area for the chickens to hang out in. Poor girls have been cooped up in their chicken run for over a week. They love some grass to peck around in.
Check out the great deals at Stampin’ Up! below.
Until my next post. . . . . .
Hugs,

*************************************************
CLICK HERE TO SEE THE LATEST STAMPIN’ UP! PROMOTION AND TO SHOP NOW!


************************************************************
Check out the brand new Spring Catalog and get all those supplies you need for you up coming projects.

**********************************************************
![]()
Have you checked out the great clearance rack at Stampin’ Up! CLICK HERE
New items added!
***********************************************************
Michelle’s Free Stamp Program
Don’t miss out on my Customer free stamp set program. Check it out! Along with a handmade thank you card from me for your order you will receive a token for each $50 in product you ordered using me as your demonstrator. After you have collected 10 tokens you will receive a free current stamp set of your choosing, a value of $39 or less. Here is a link to my online shopping page that you can shop at 24/7 (from the comfort of your home, even in your pj’s) and the products will be shipped directly to your door step from Stampin’ Up: CLICK HERE TO SHOP. My free stamp set program will be an on going program. ![]()
***************************************************
CHECK OUT MY STAMPING EVENTS Click here to see my event calendar


