Hello There,
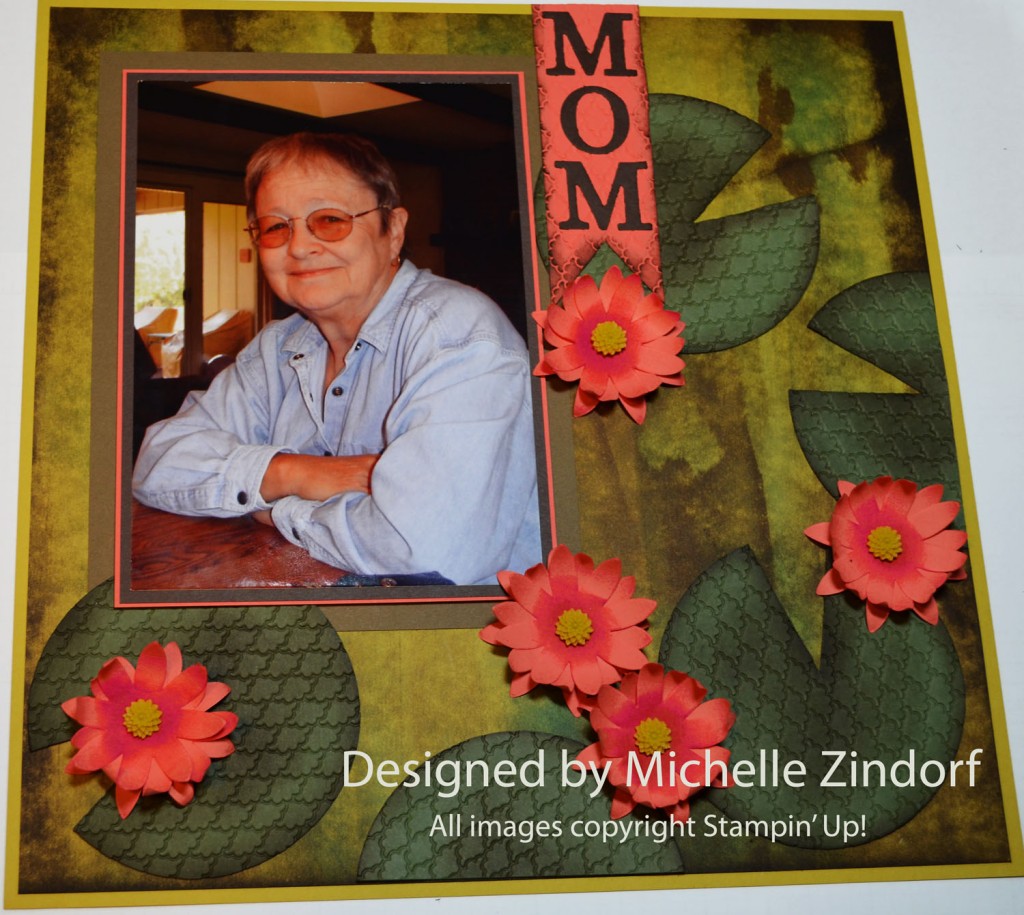
I’m still on my mission to get all my pictures out of frames that are sitting around and get them into Scrapbook frames to hang on the wall. Today I am focusing on a photo of my Mom. She passed over 2 years ago and I still found myself teary eyed though the process of this page. I hope she is looking down smiling at me and what I did with her picture. I also hope you enjoy the project and give it a try using the tutorial I created below.
The background is created using the direct to paper technique. I created the lily pads using a circle die cut and the flowers are from the Stampin’ Up! Pop Up Posies Designer kit that can be found in the Stampin’ Up! Spring Catalog.
Now on with today’s tutorial. . . . . . .
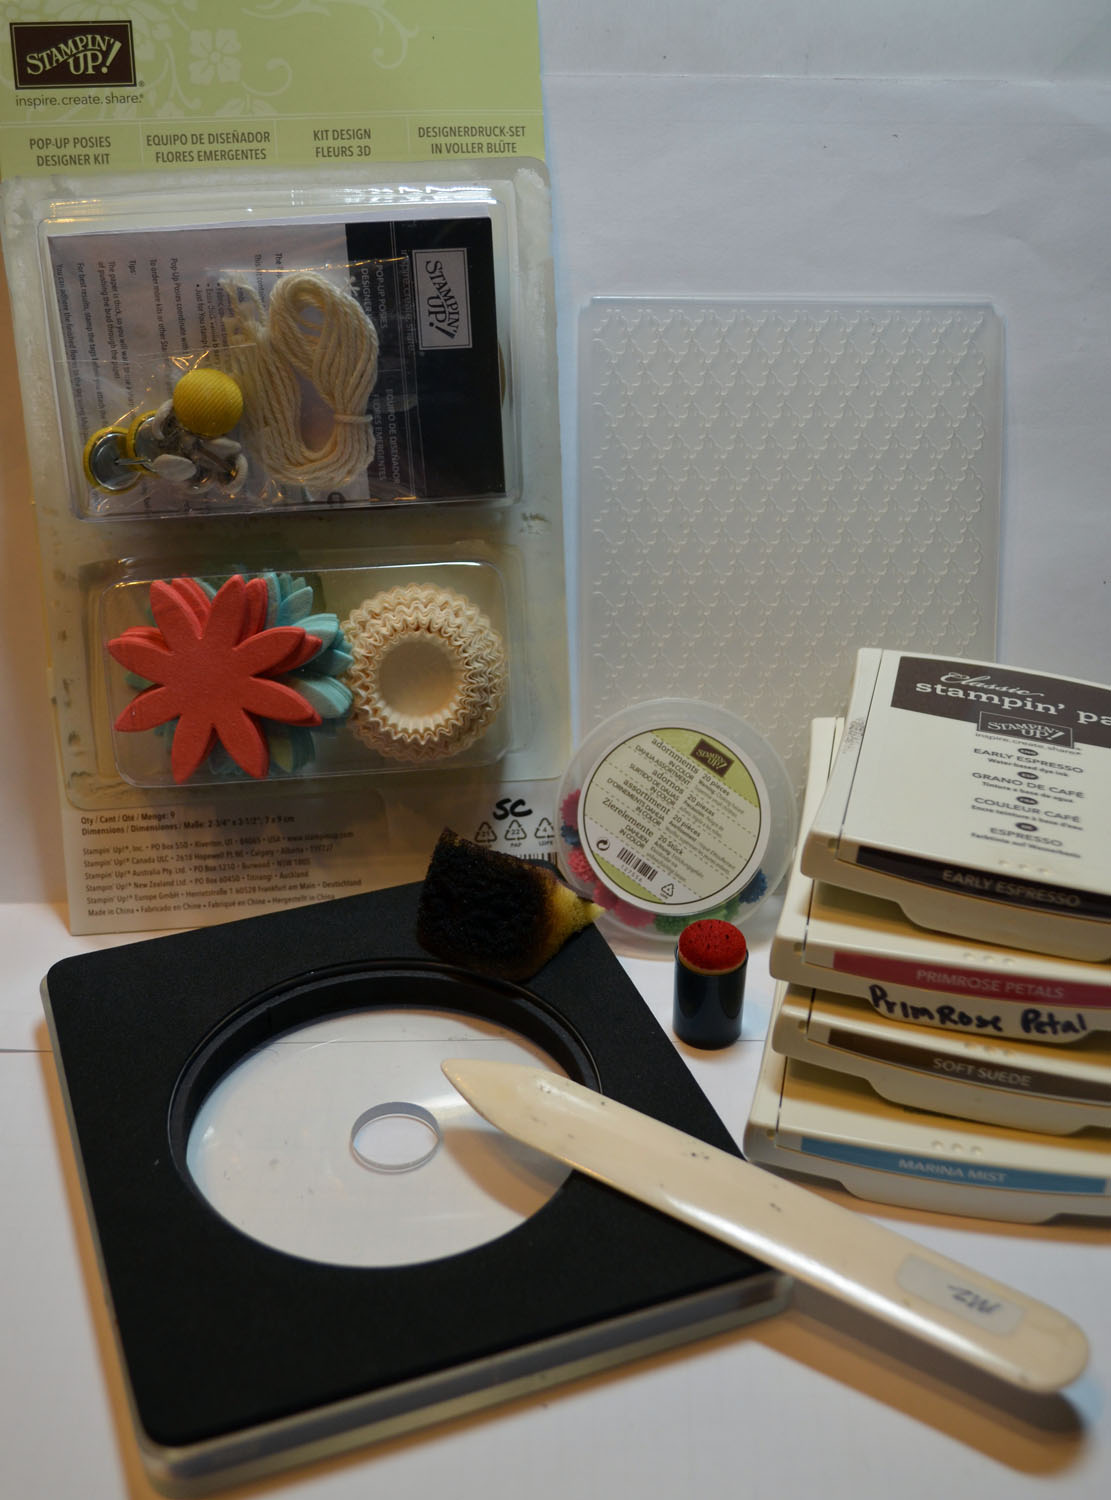
Project Supplies:
Card Stock: Stampin’ Up! Summer Starfruit, Early Espresso, Soft Suede, Calypso Coral, Always Artichoke
Ink: Stampin’ Up! Early Espresso, Primrose Petal, Soft Suede and Marina Mist
Accessories: Stampin’ Up! sponge, Sponge Dauber, Bone folder, Big Shot, Stampin’ Dimensionals, Clear Circle Die, Fancy Fan Embossing Folder, In Color Dahlias (127556), Pop Up Posies Designer Kit (131395), Timeless Type Alpha Dies (retired)
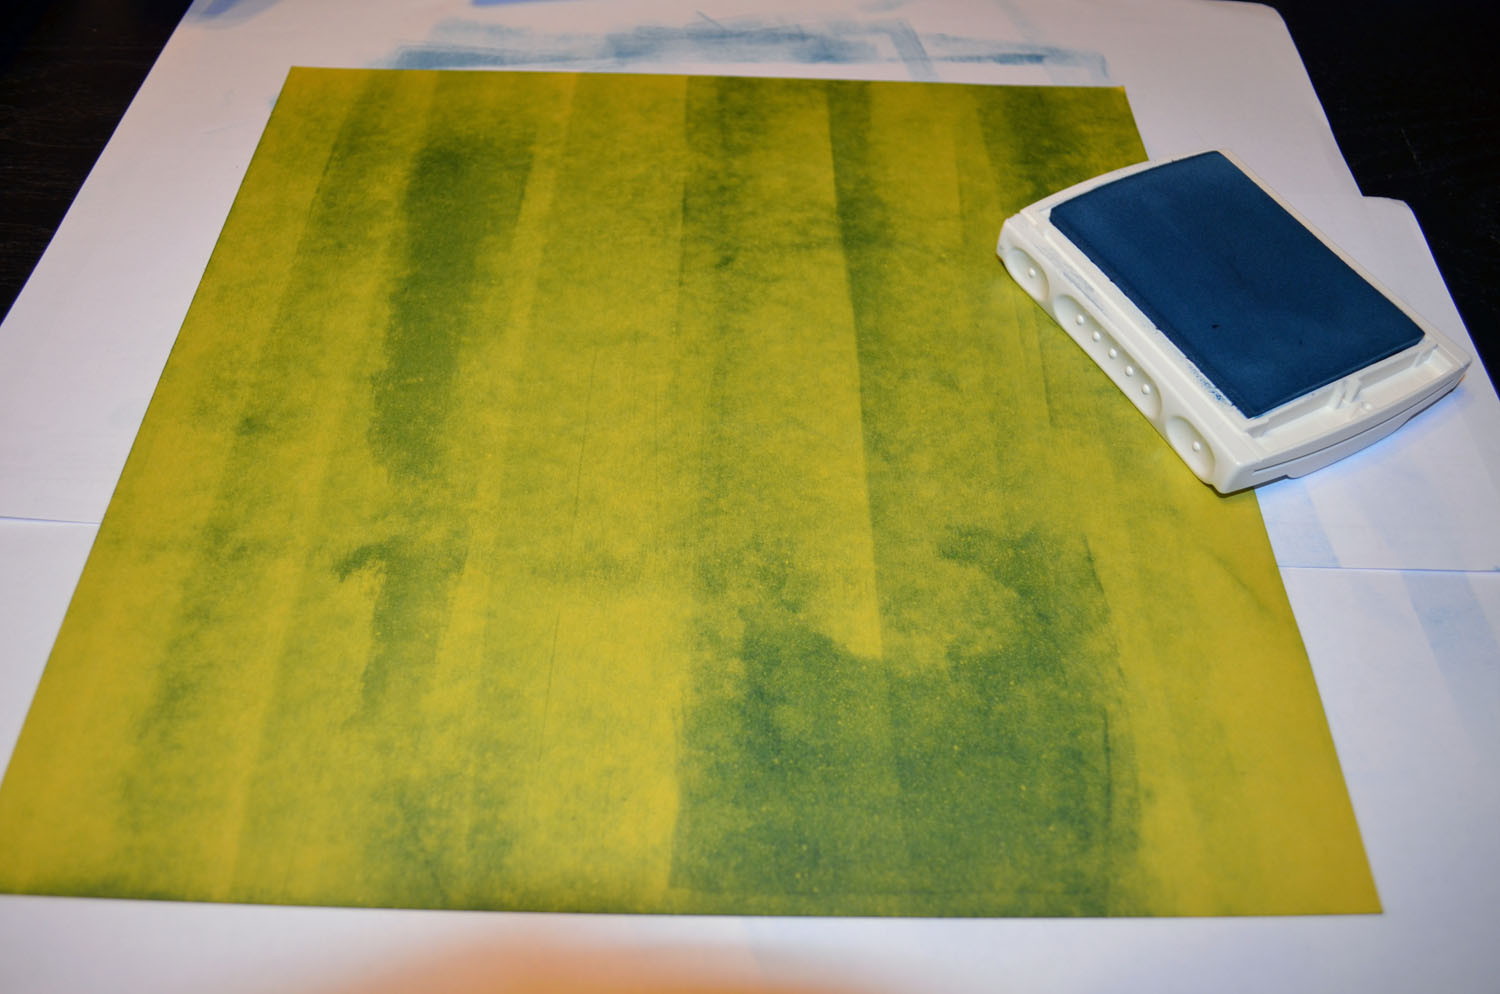
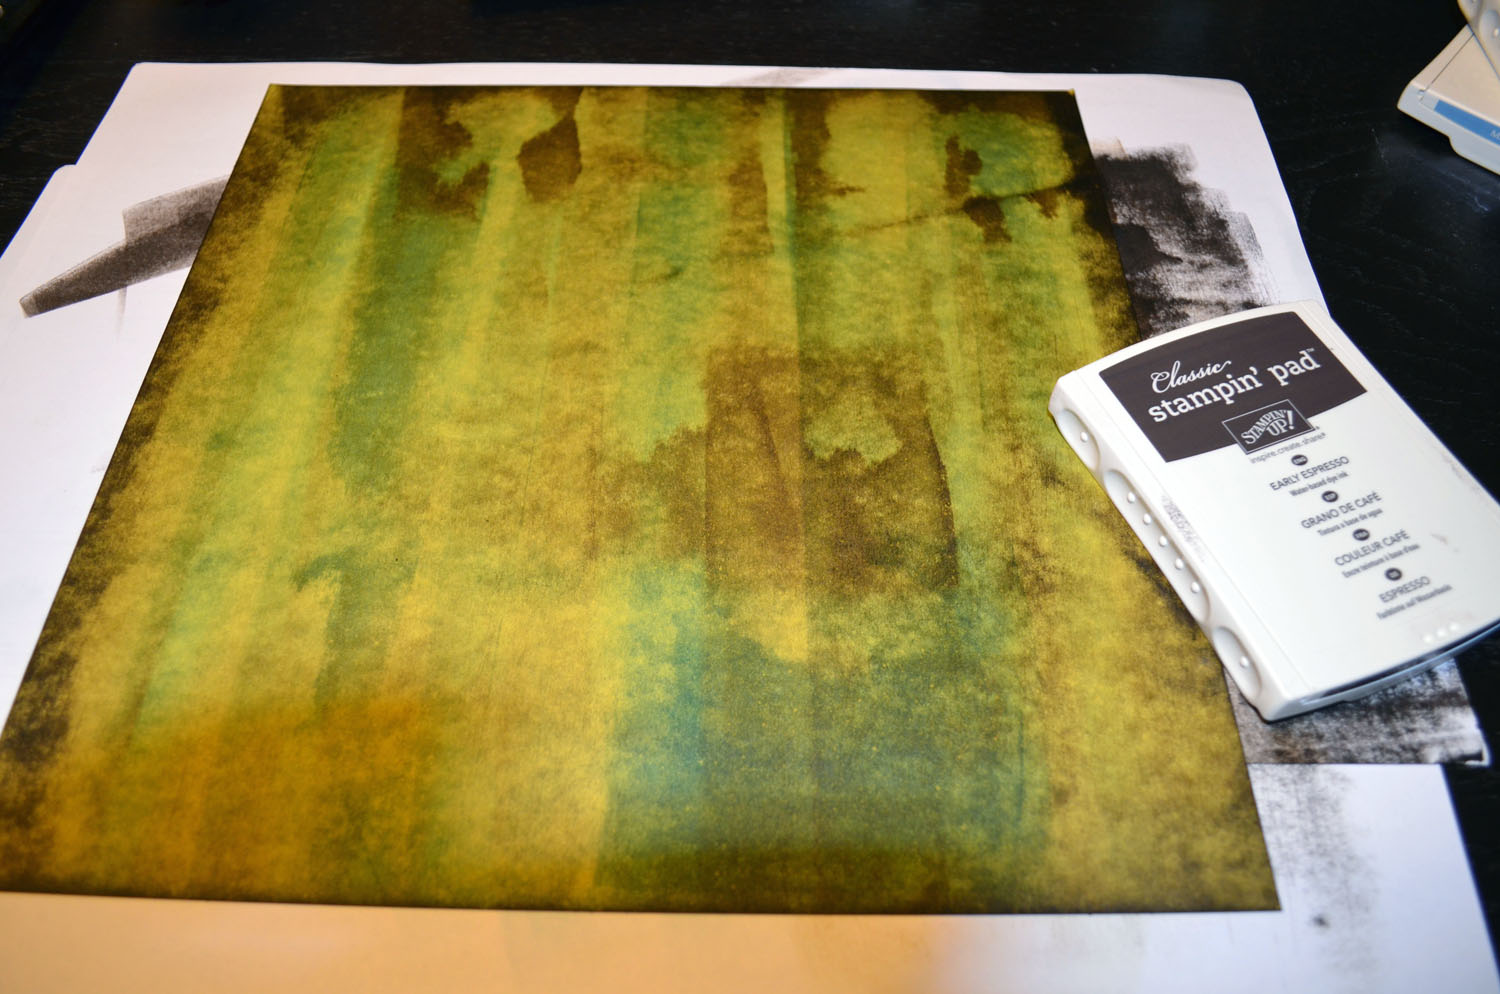
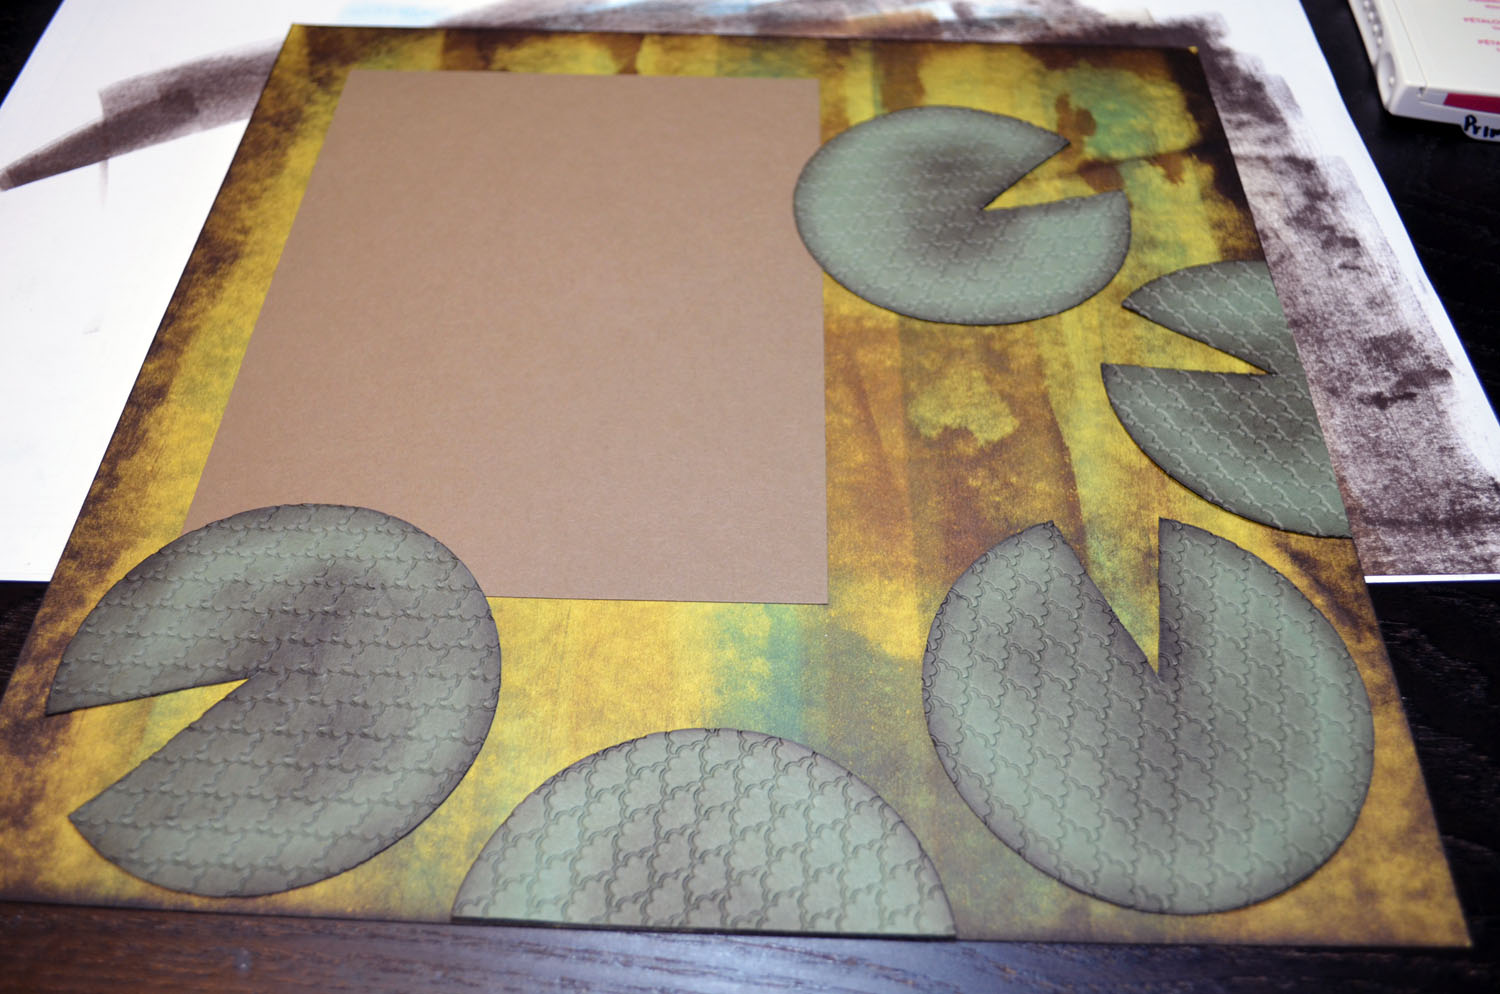
Started with a 11.75″ x 11.75″ piece of Summer Starfruit card stock. Dragged the Marina Mist ink pad from the top of the card stock down to the bottom over and over until the color was all the way across.
In the same manner added Soft Suede ink.
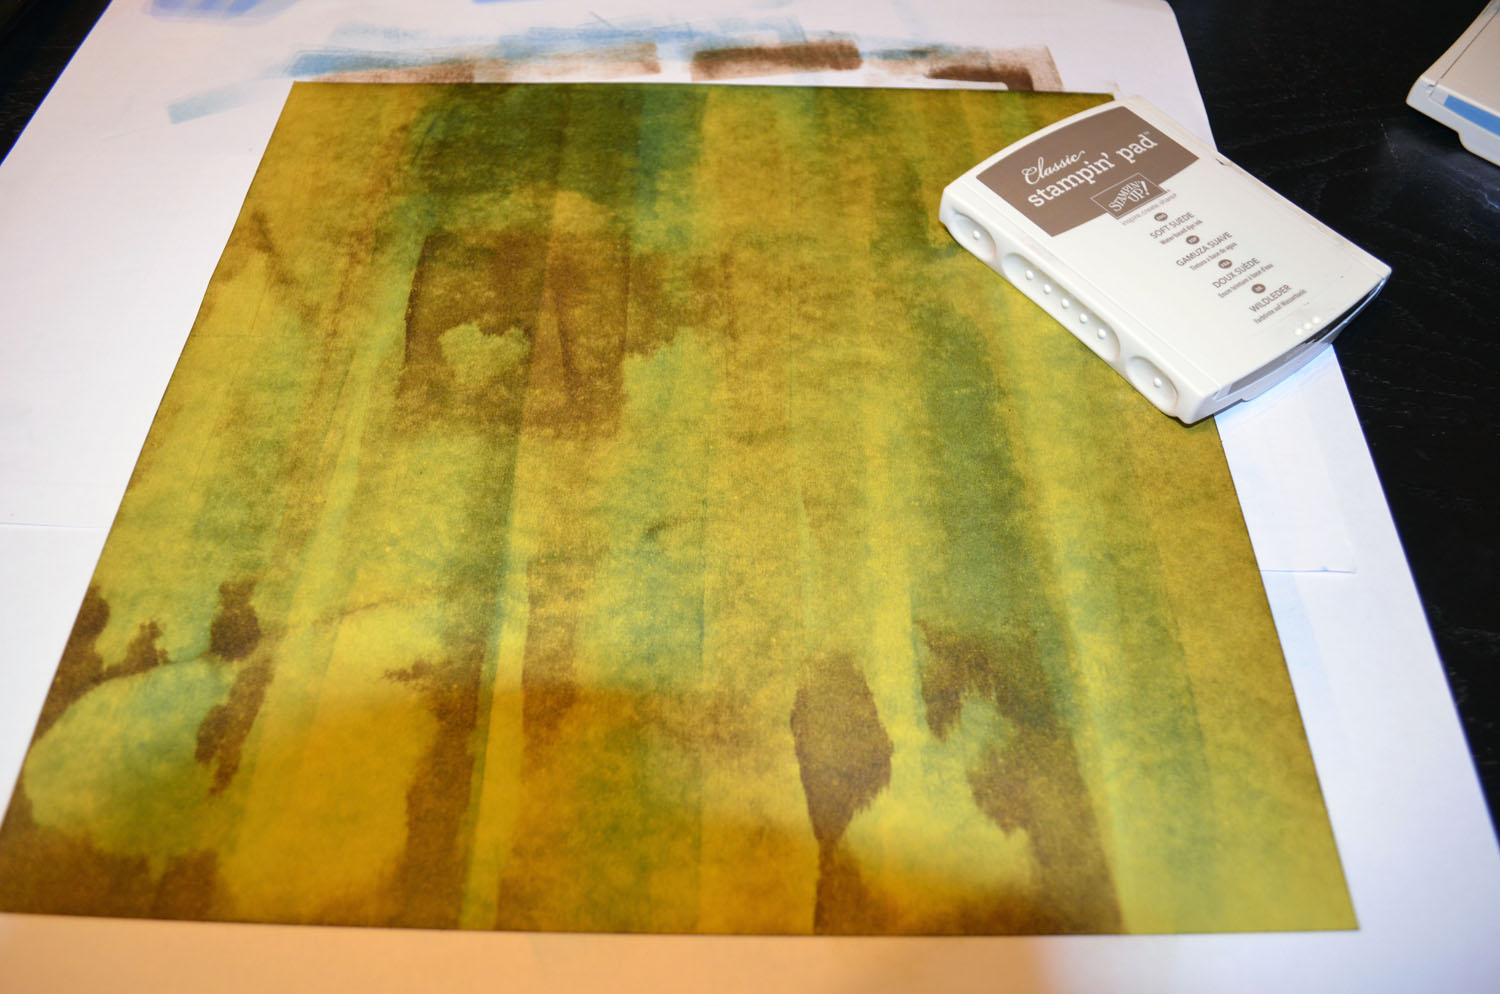
Added Early Espresso ink in the same manner only just around the edges.
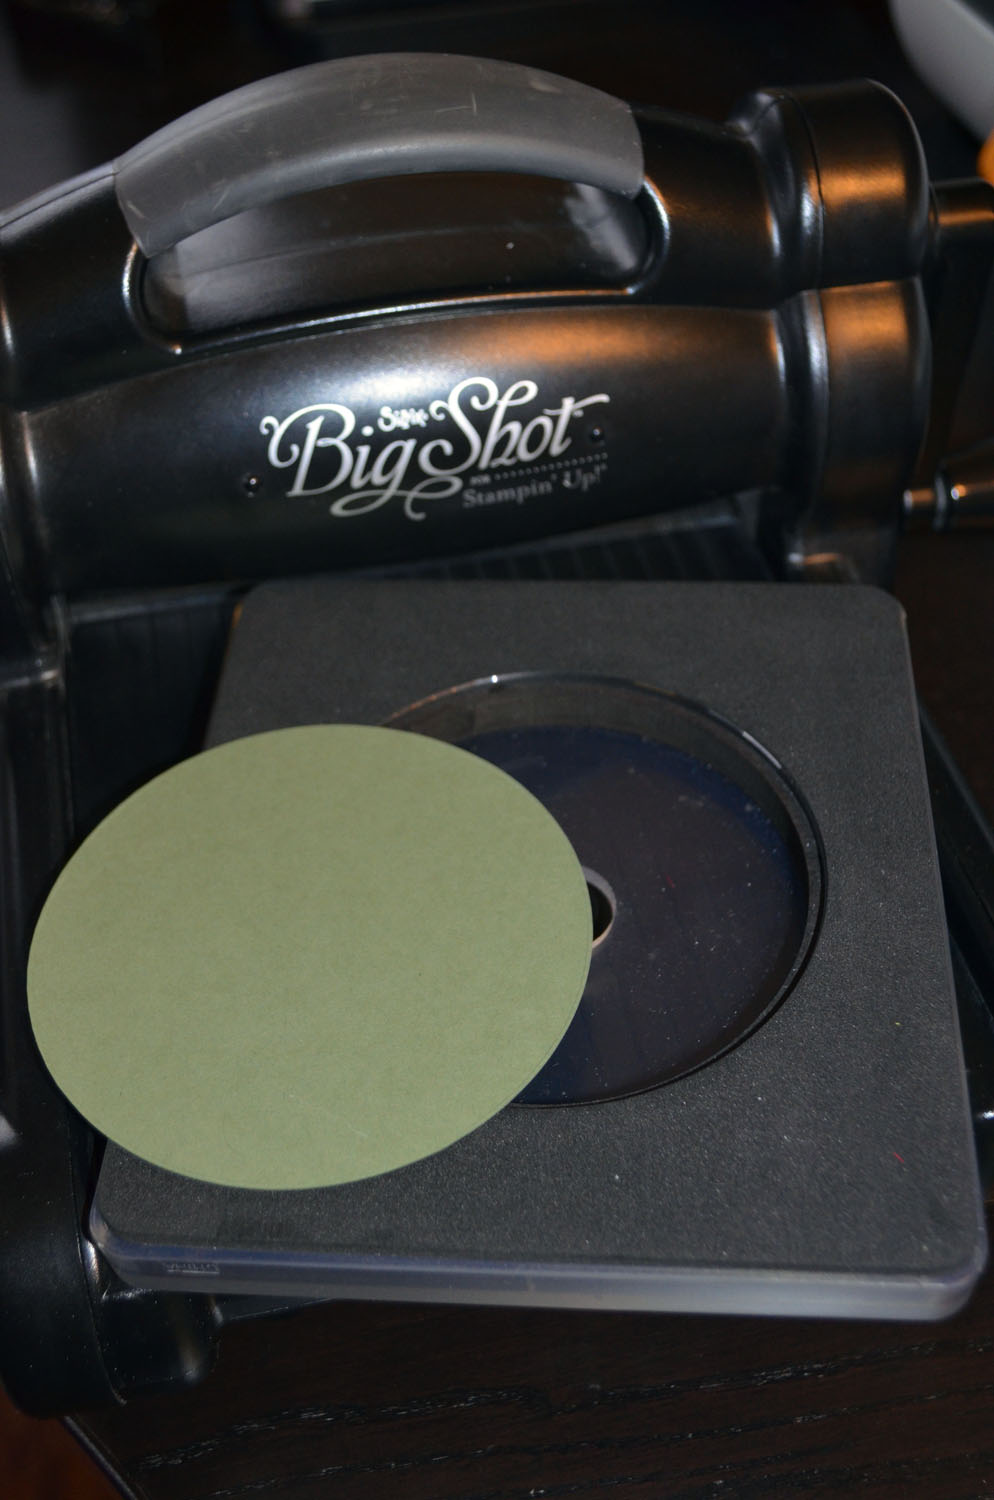
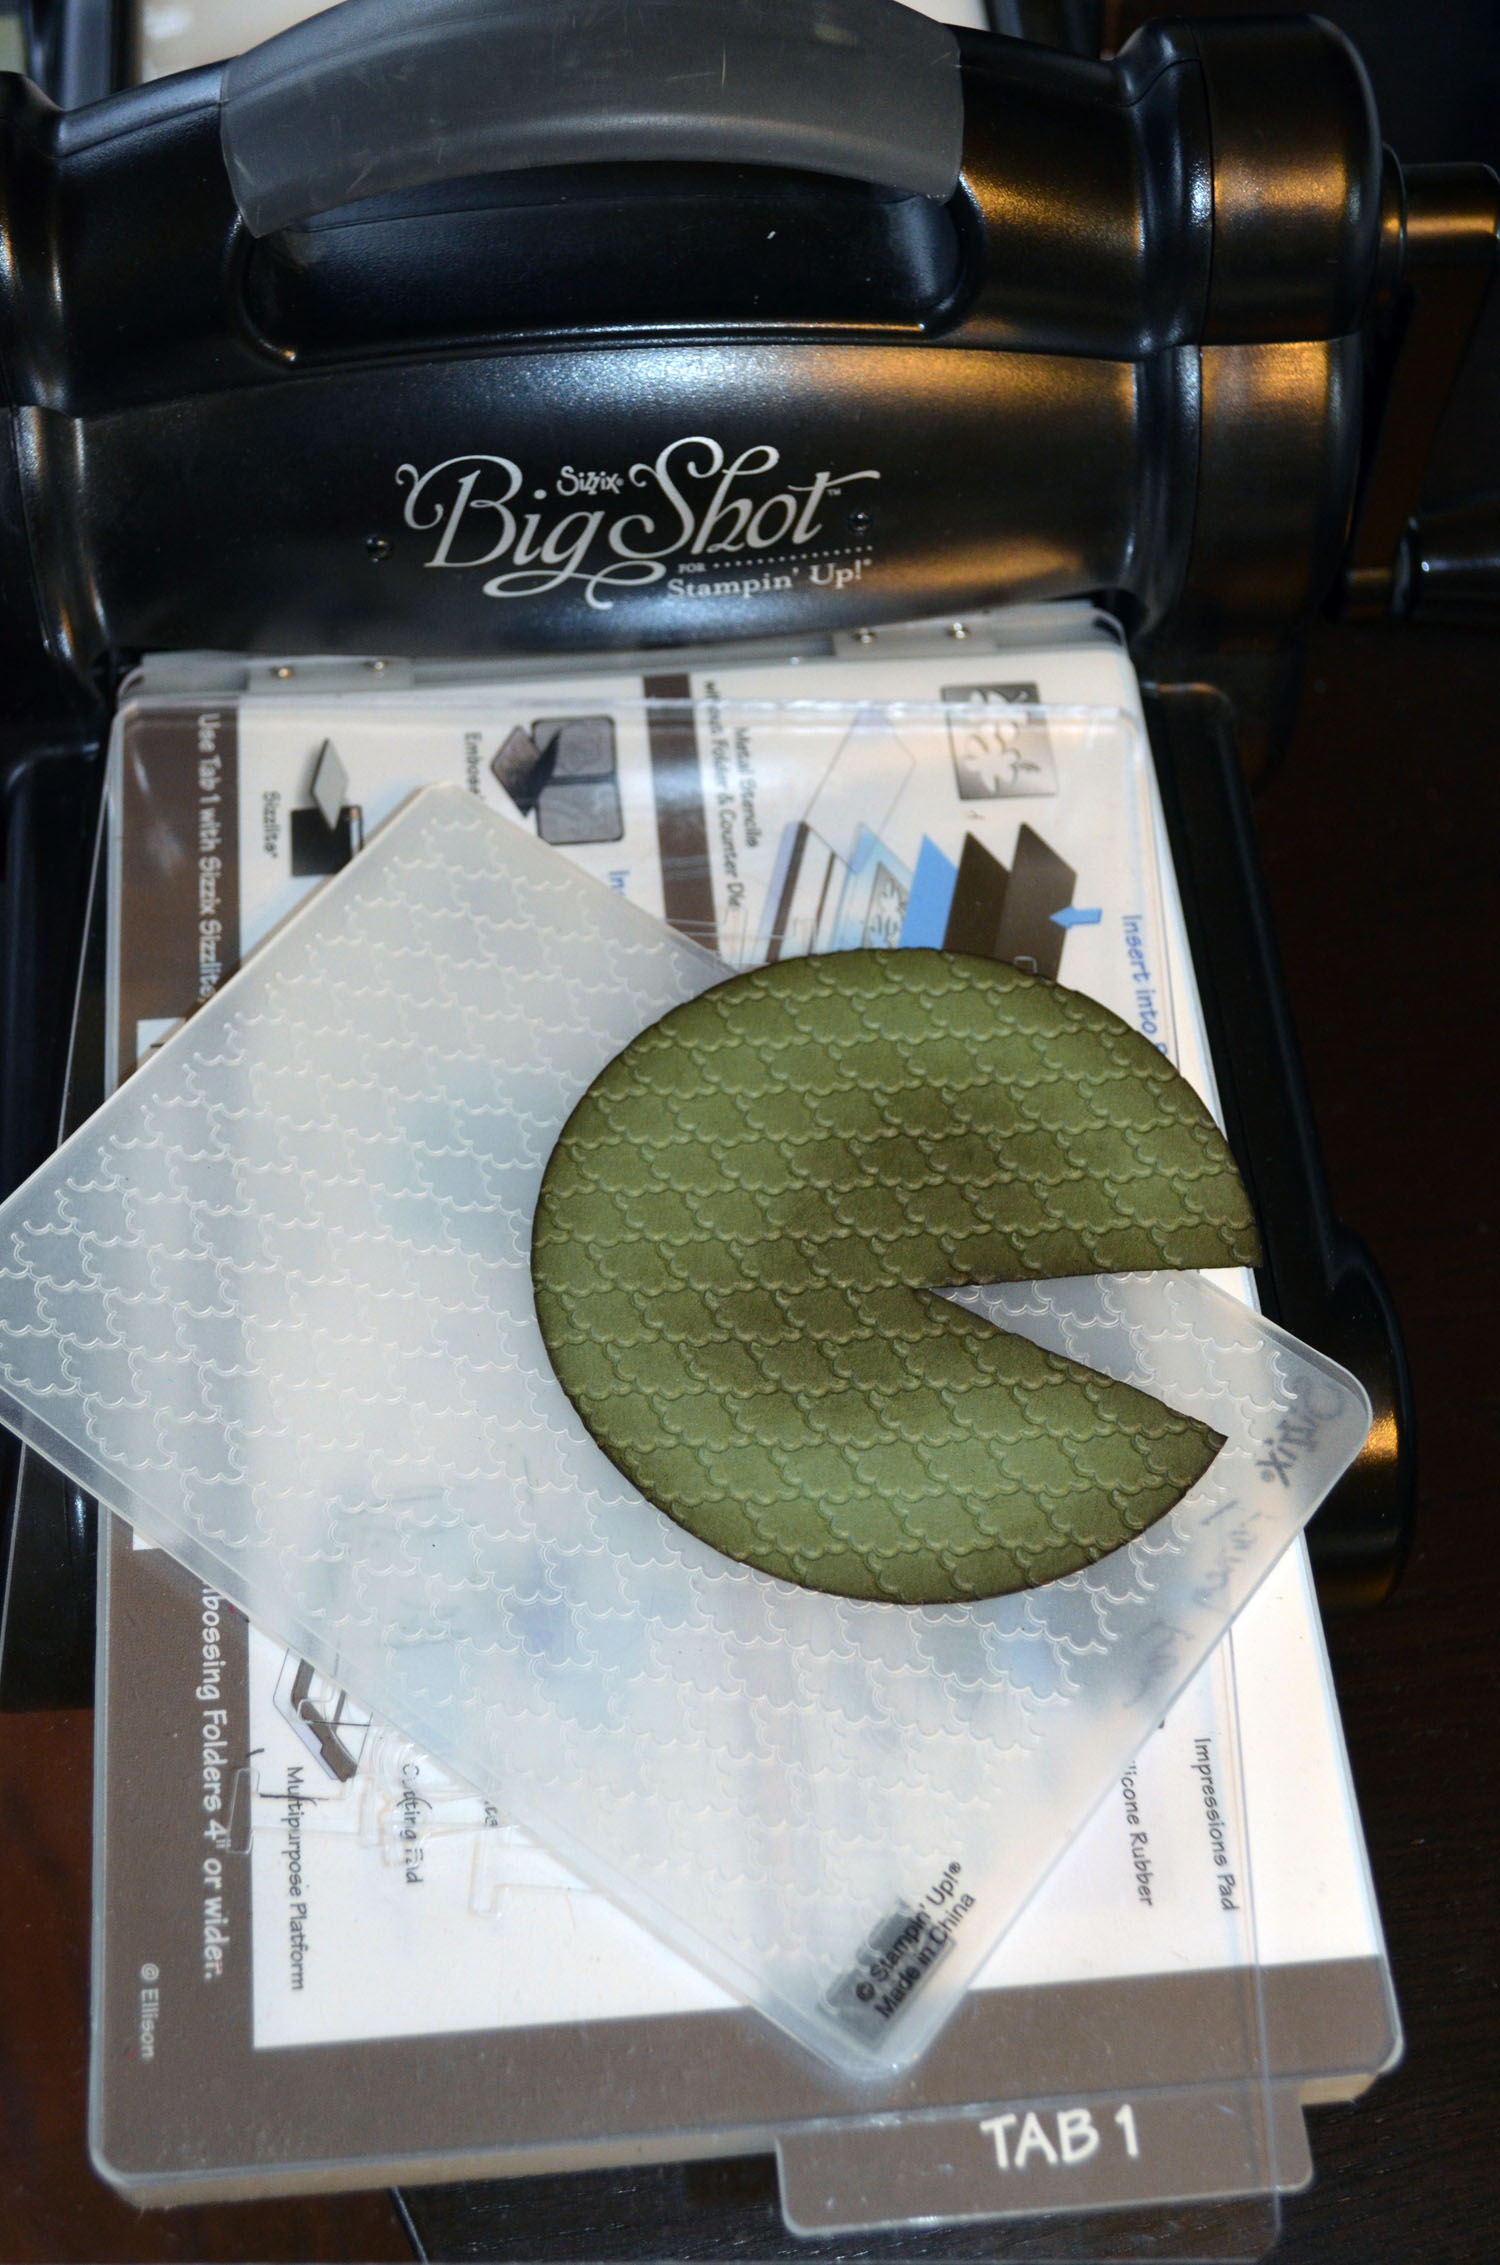
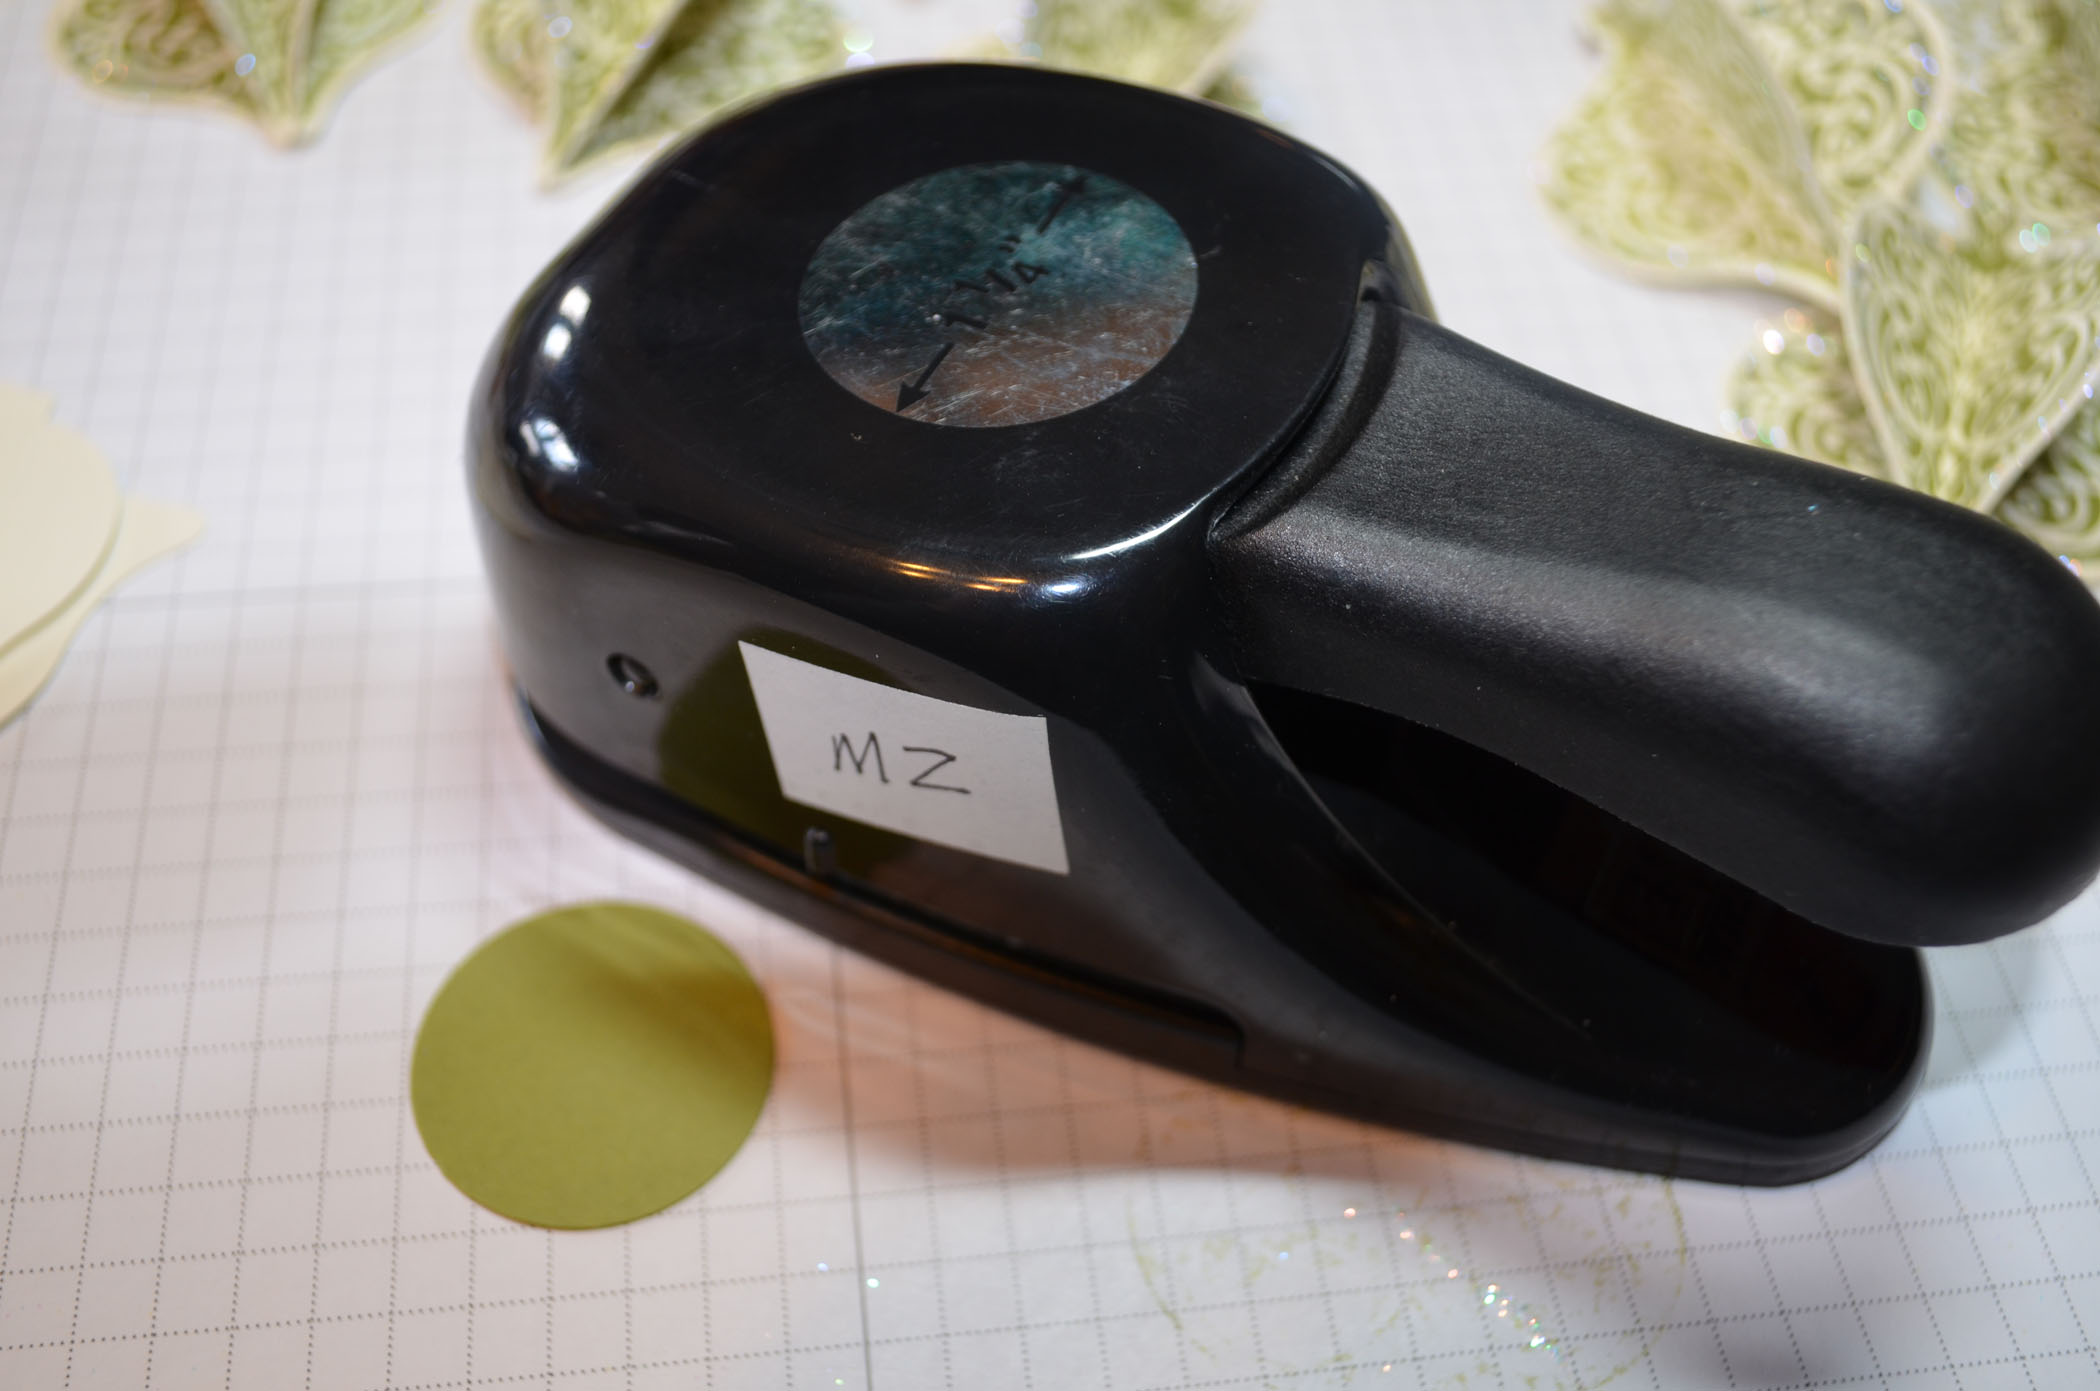
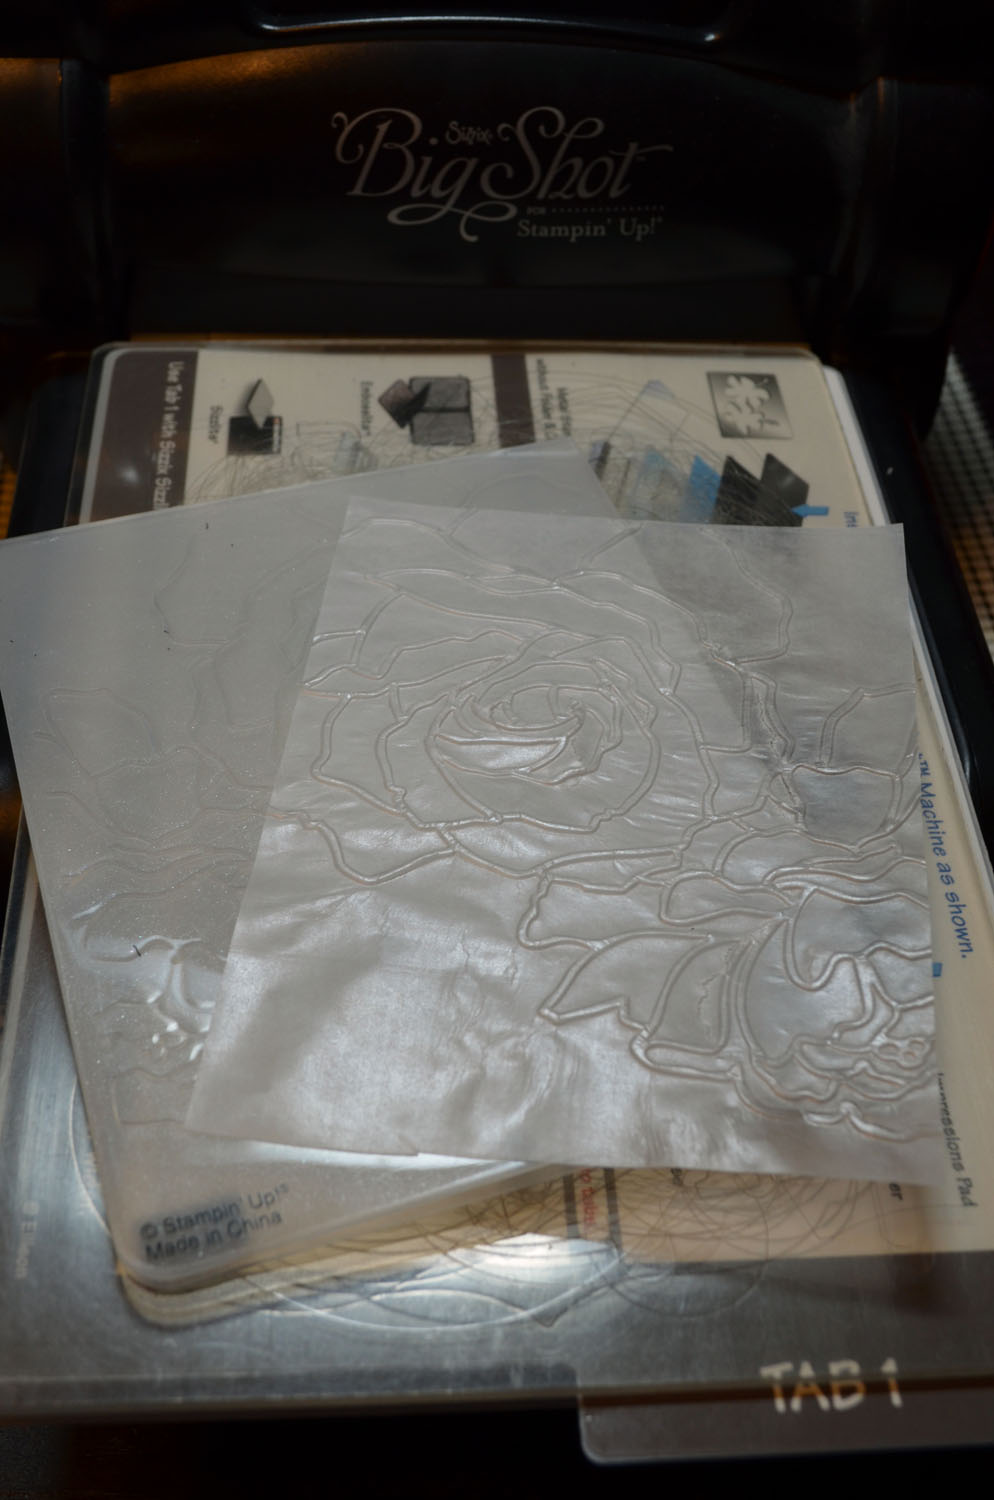
Die cut the Clear Circle die using the Big Shot Machine and Always Artichoke card stock. Cut 4.
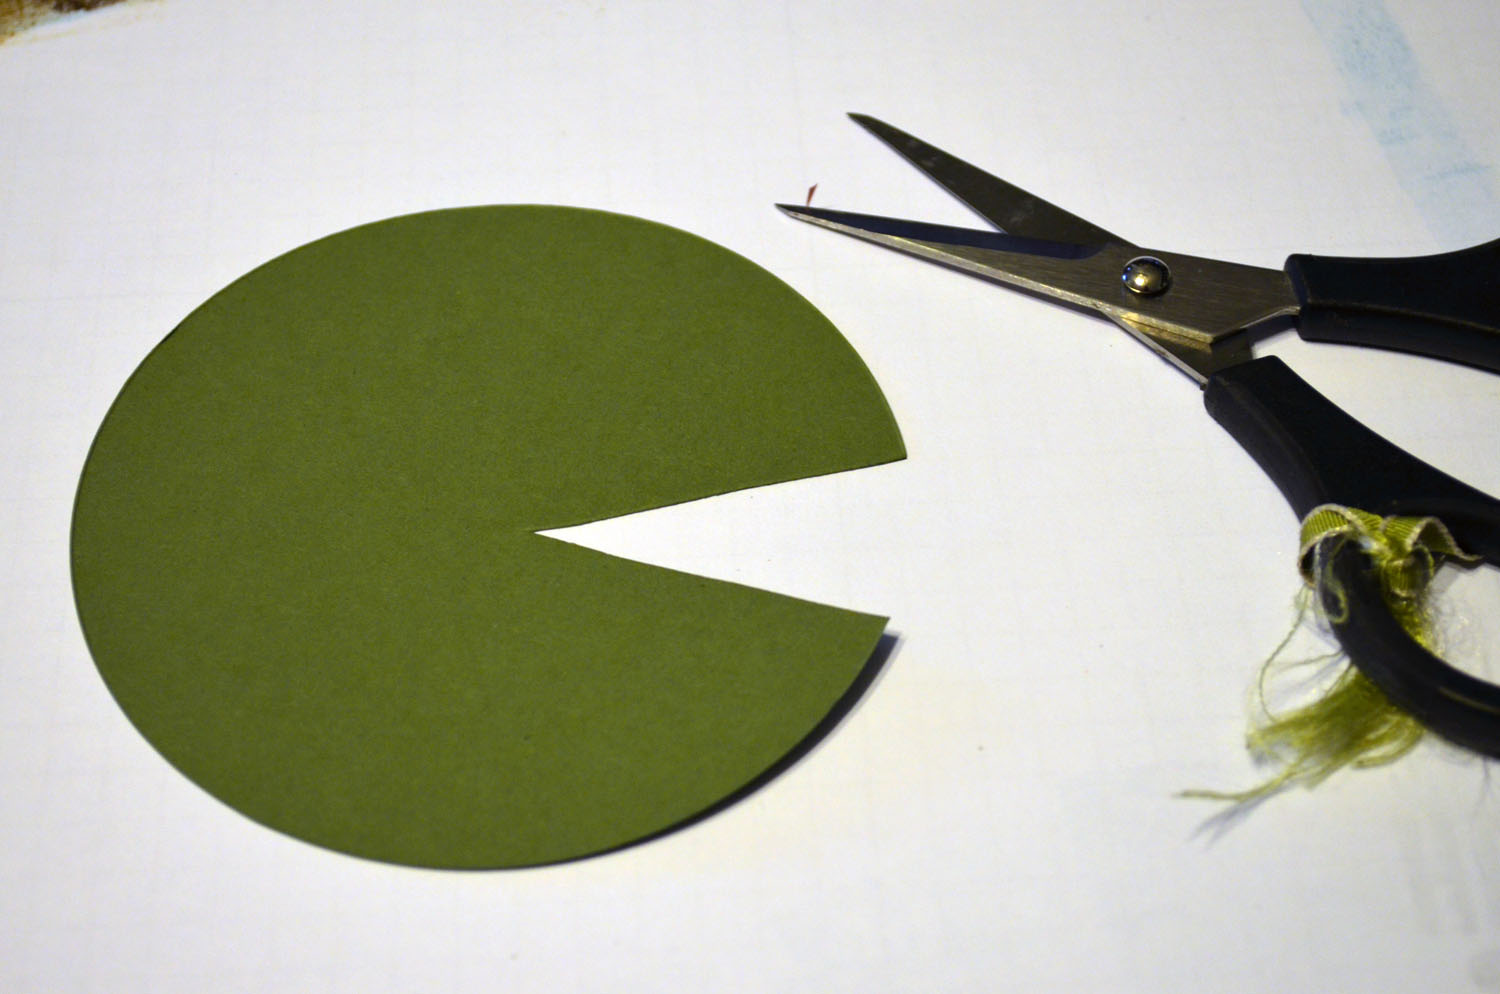
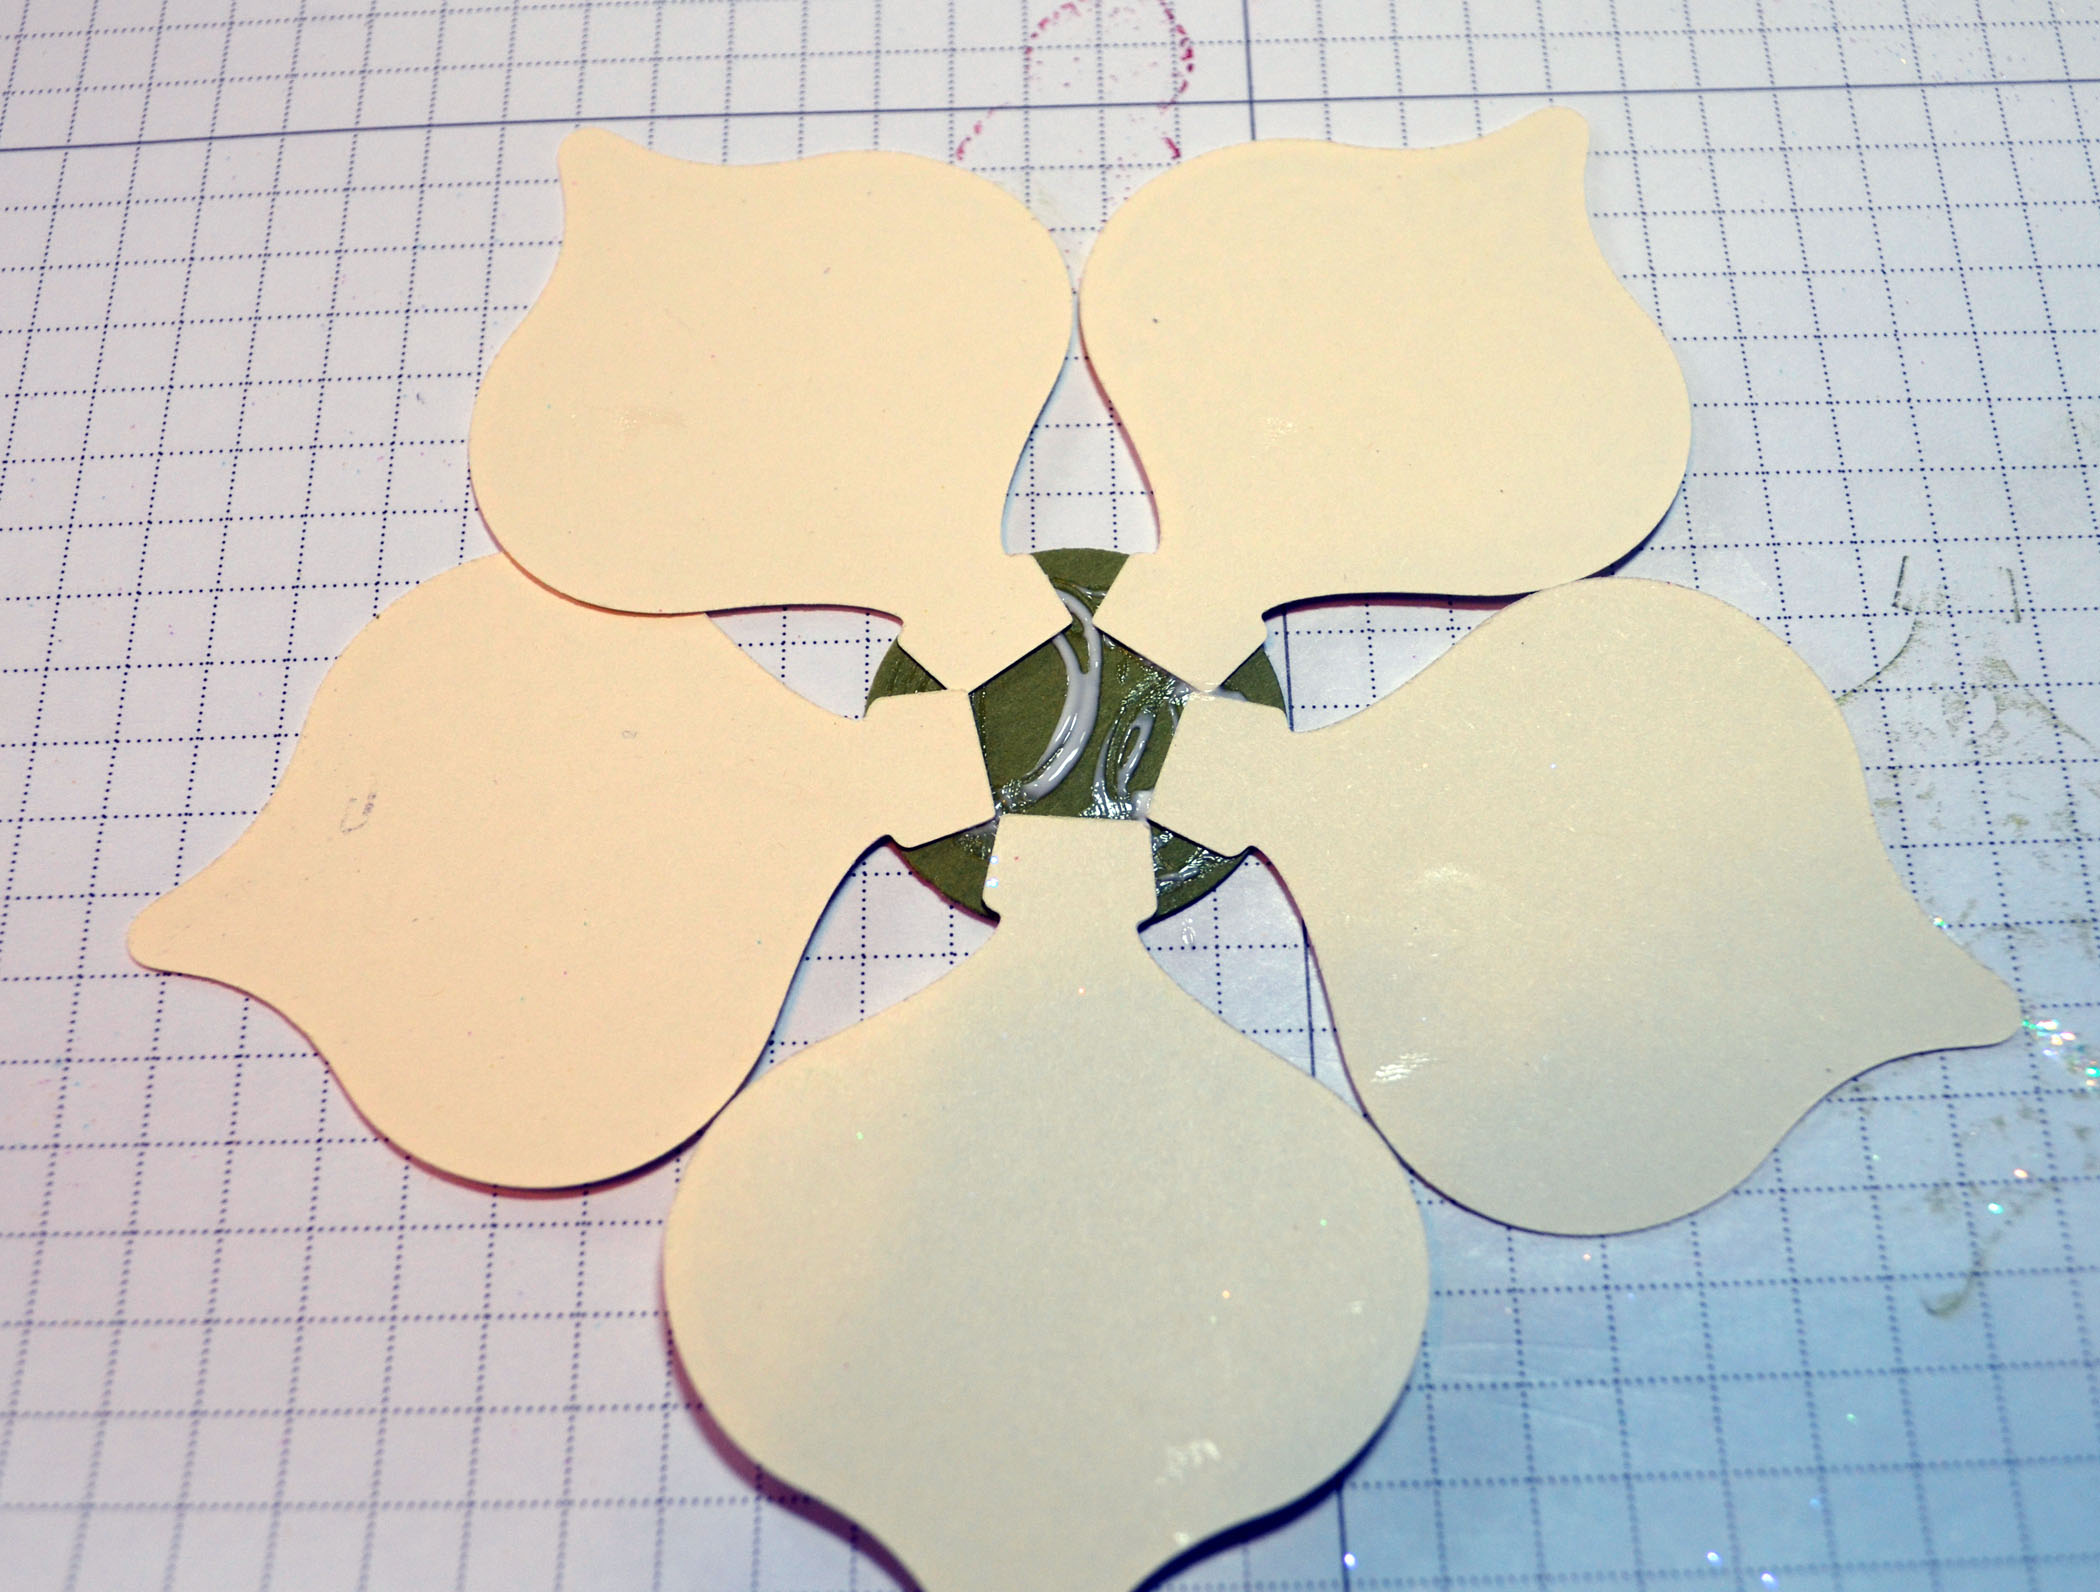
Cut a wedge out of the side of the circles.
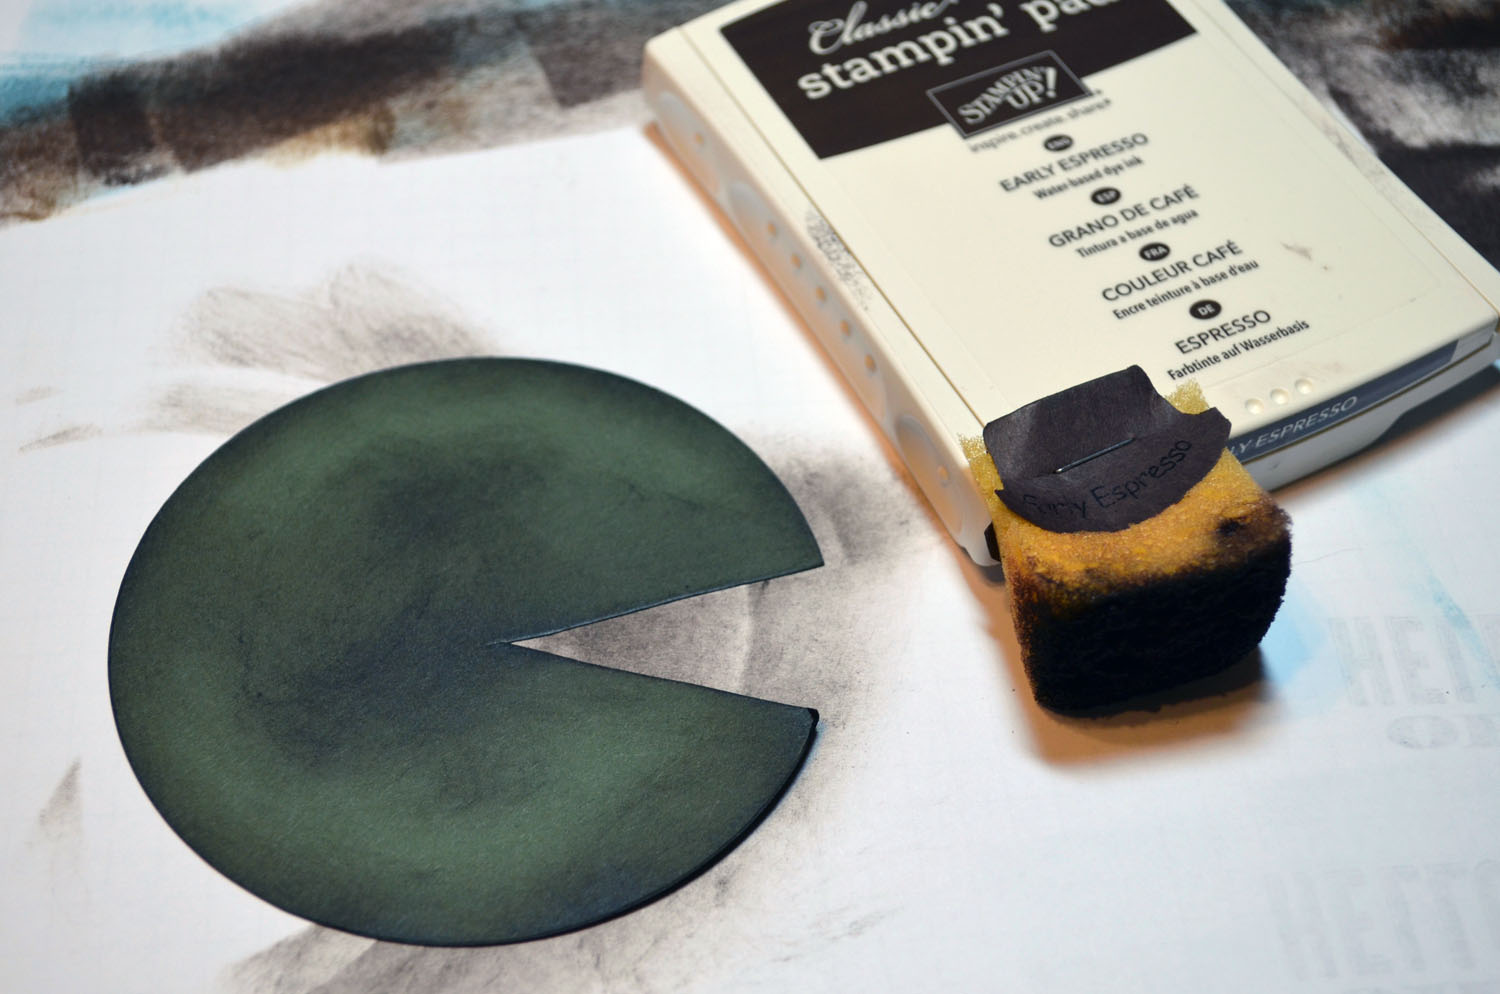
Sponged Early Espresso ink in the center and on the edges of the circles.
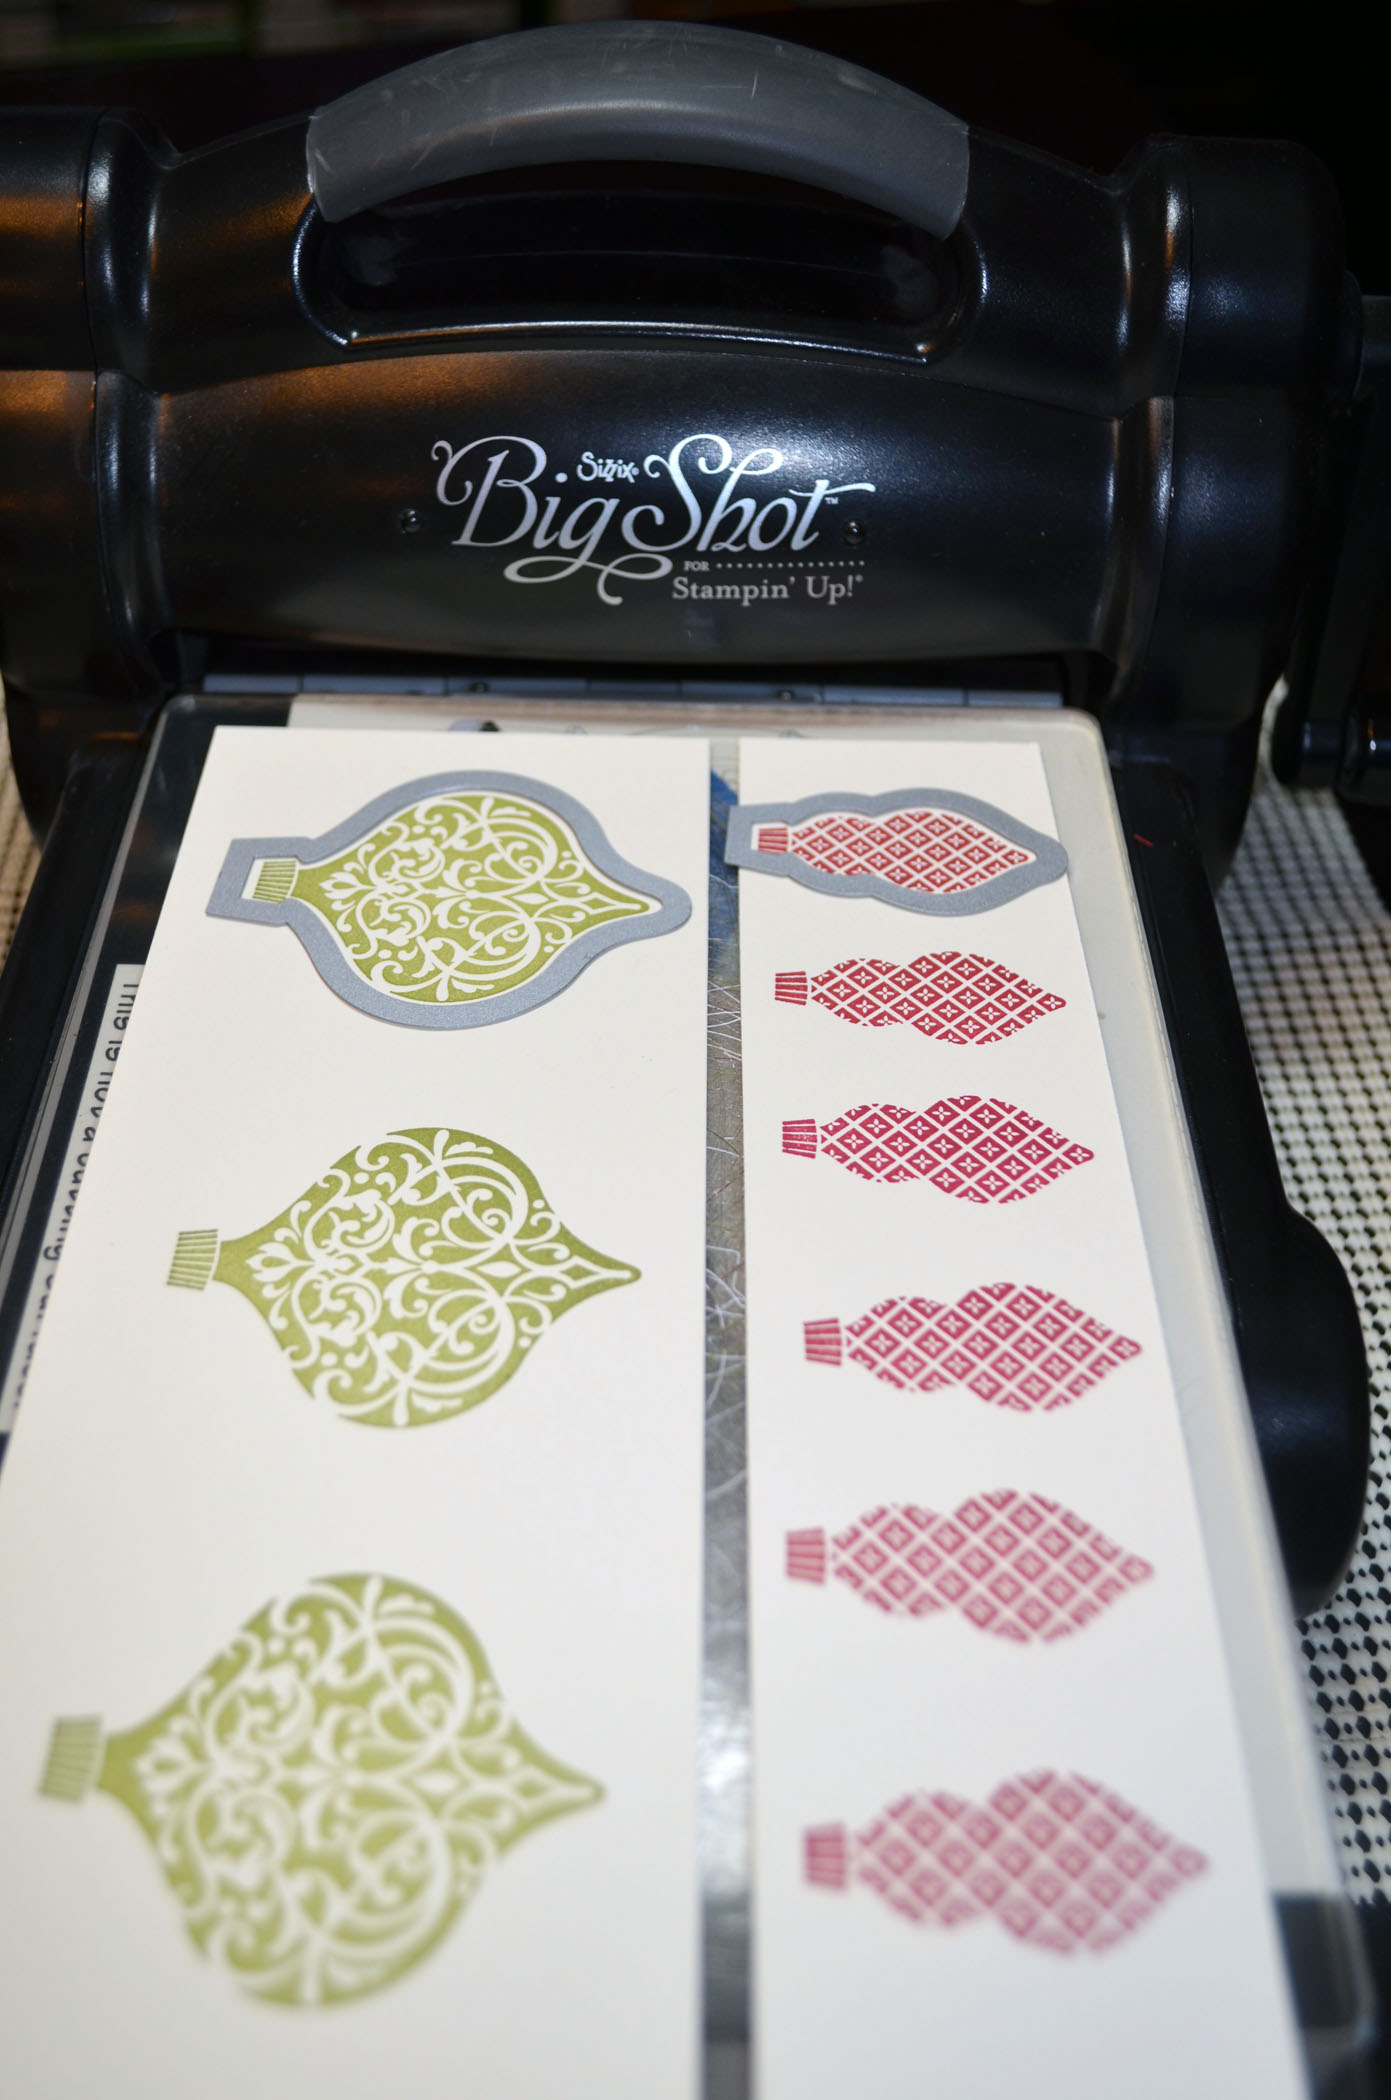
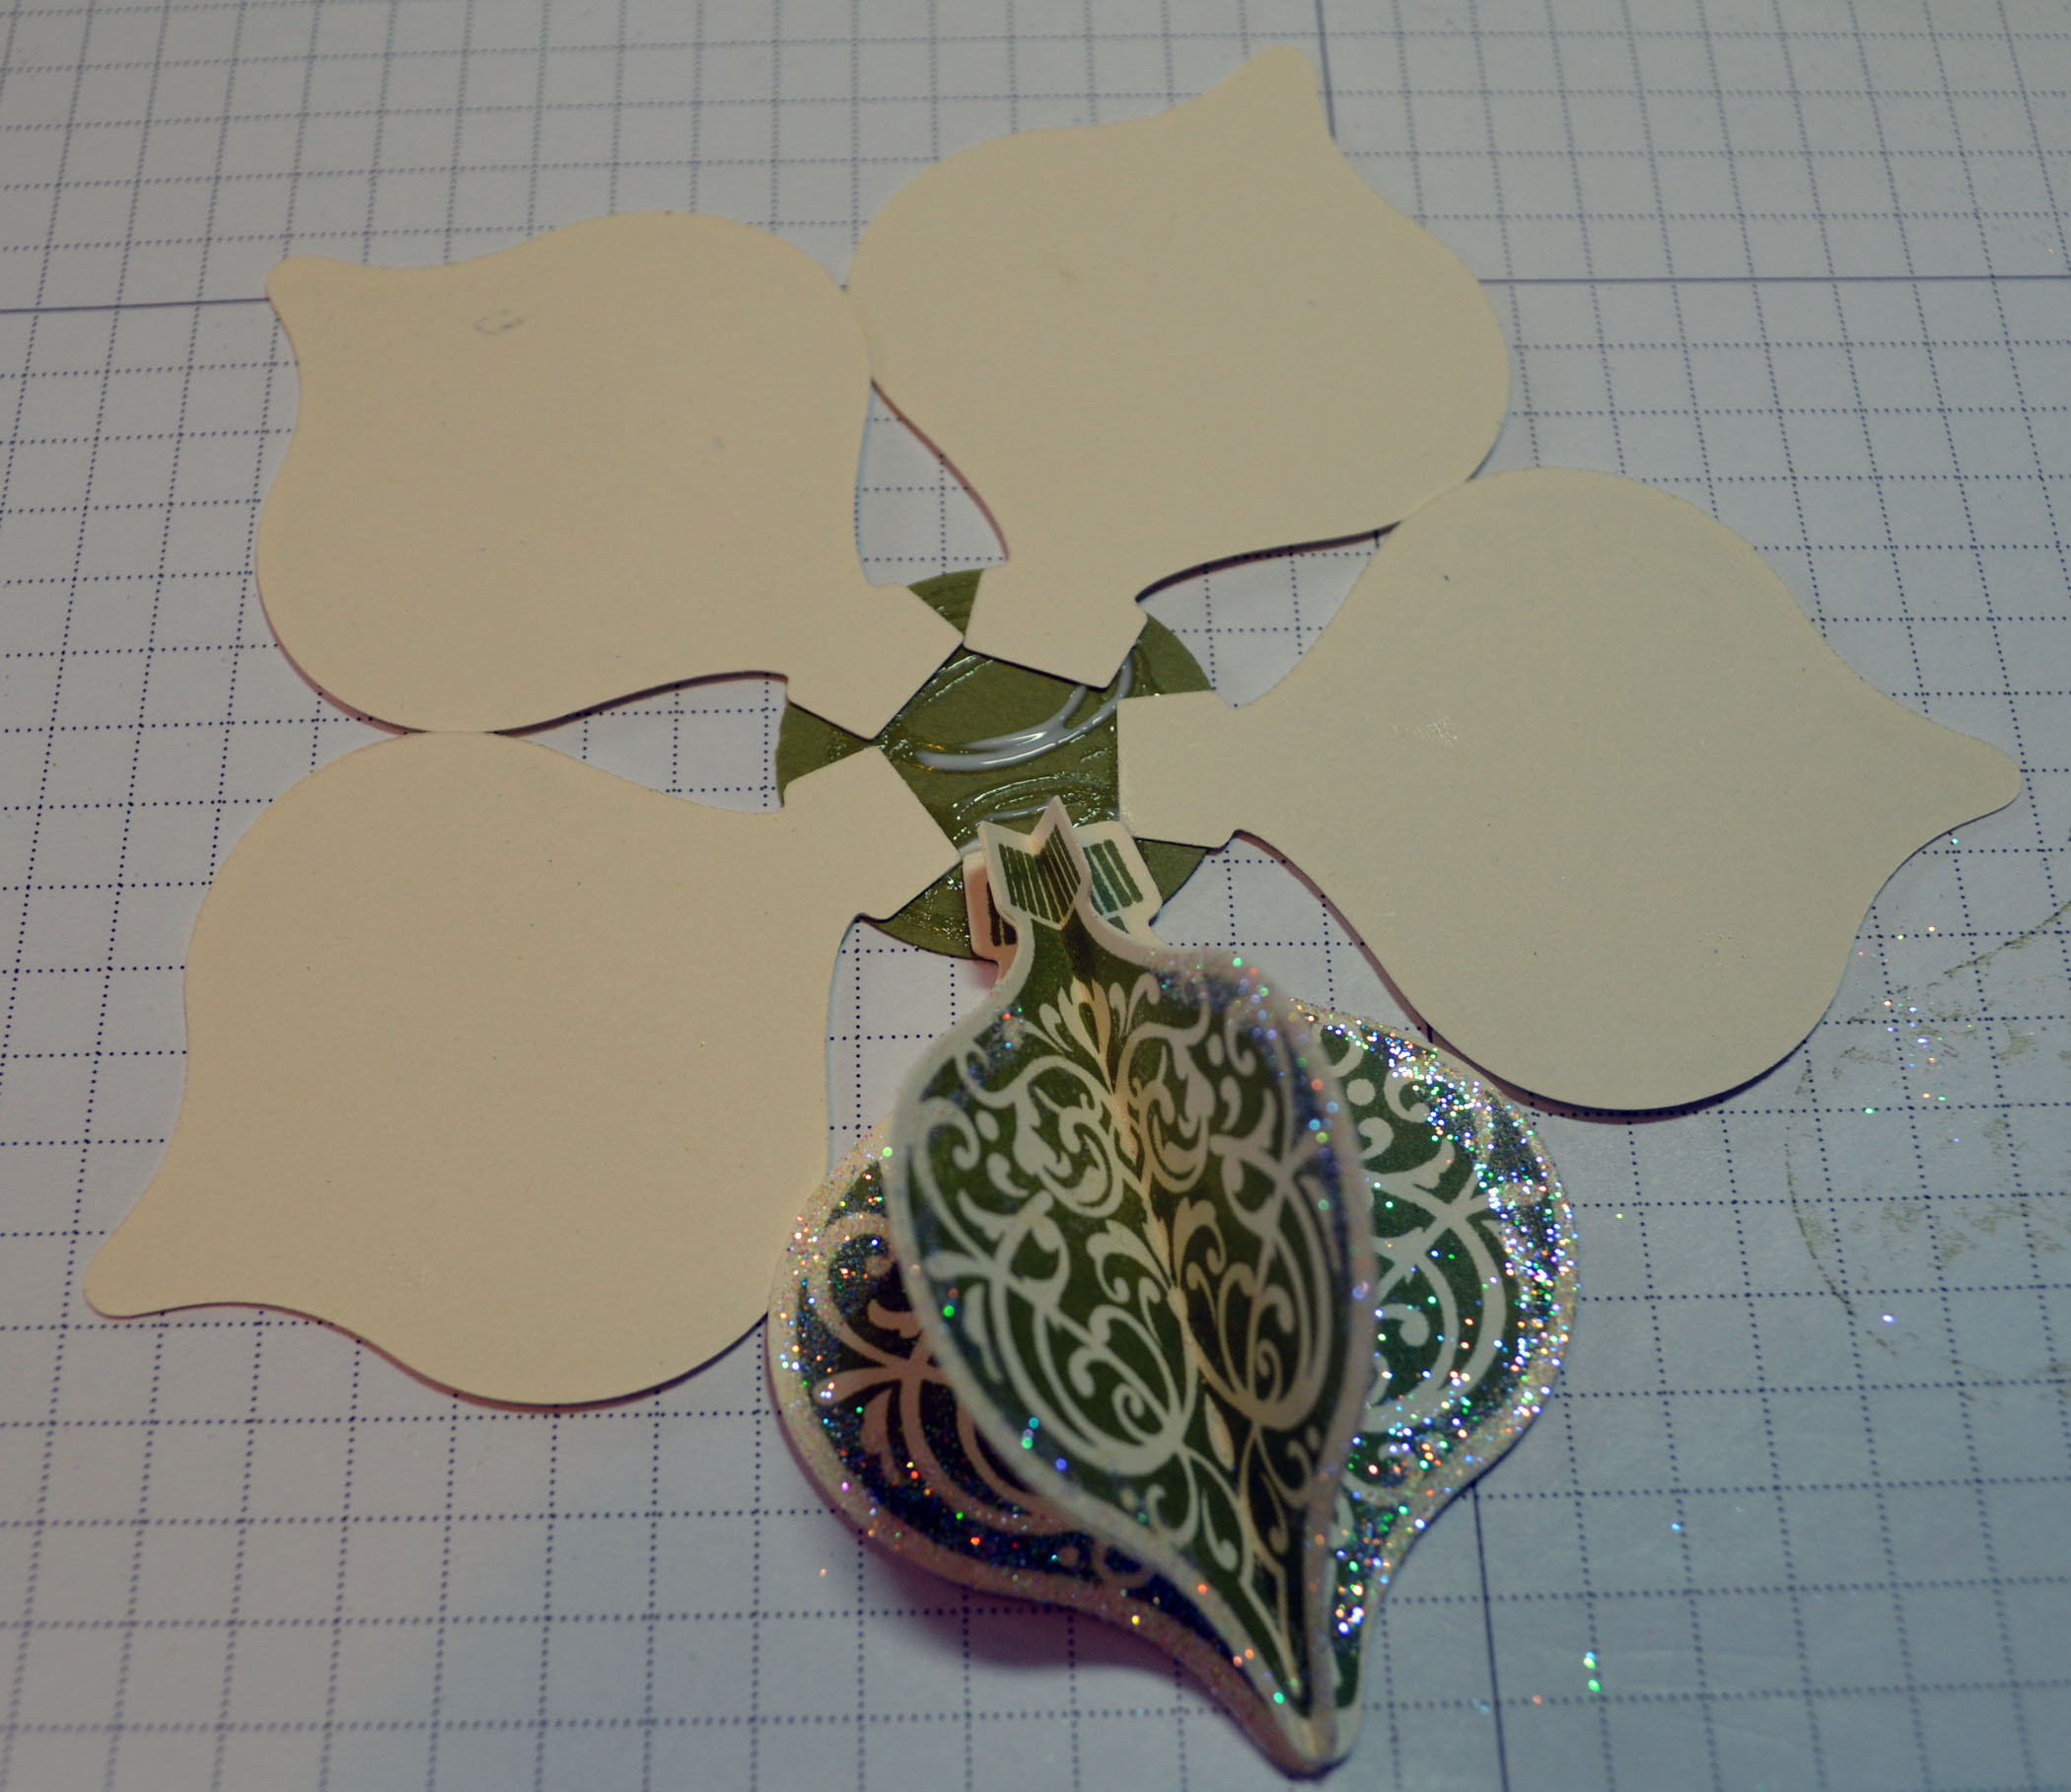
Embossed the circles using the Fancy Fan embossing folder.
Added the lily pads to the page along with a 6 x 8 piece of Soft Suede card stock.
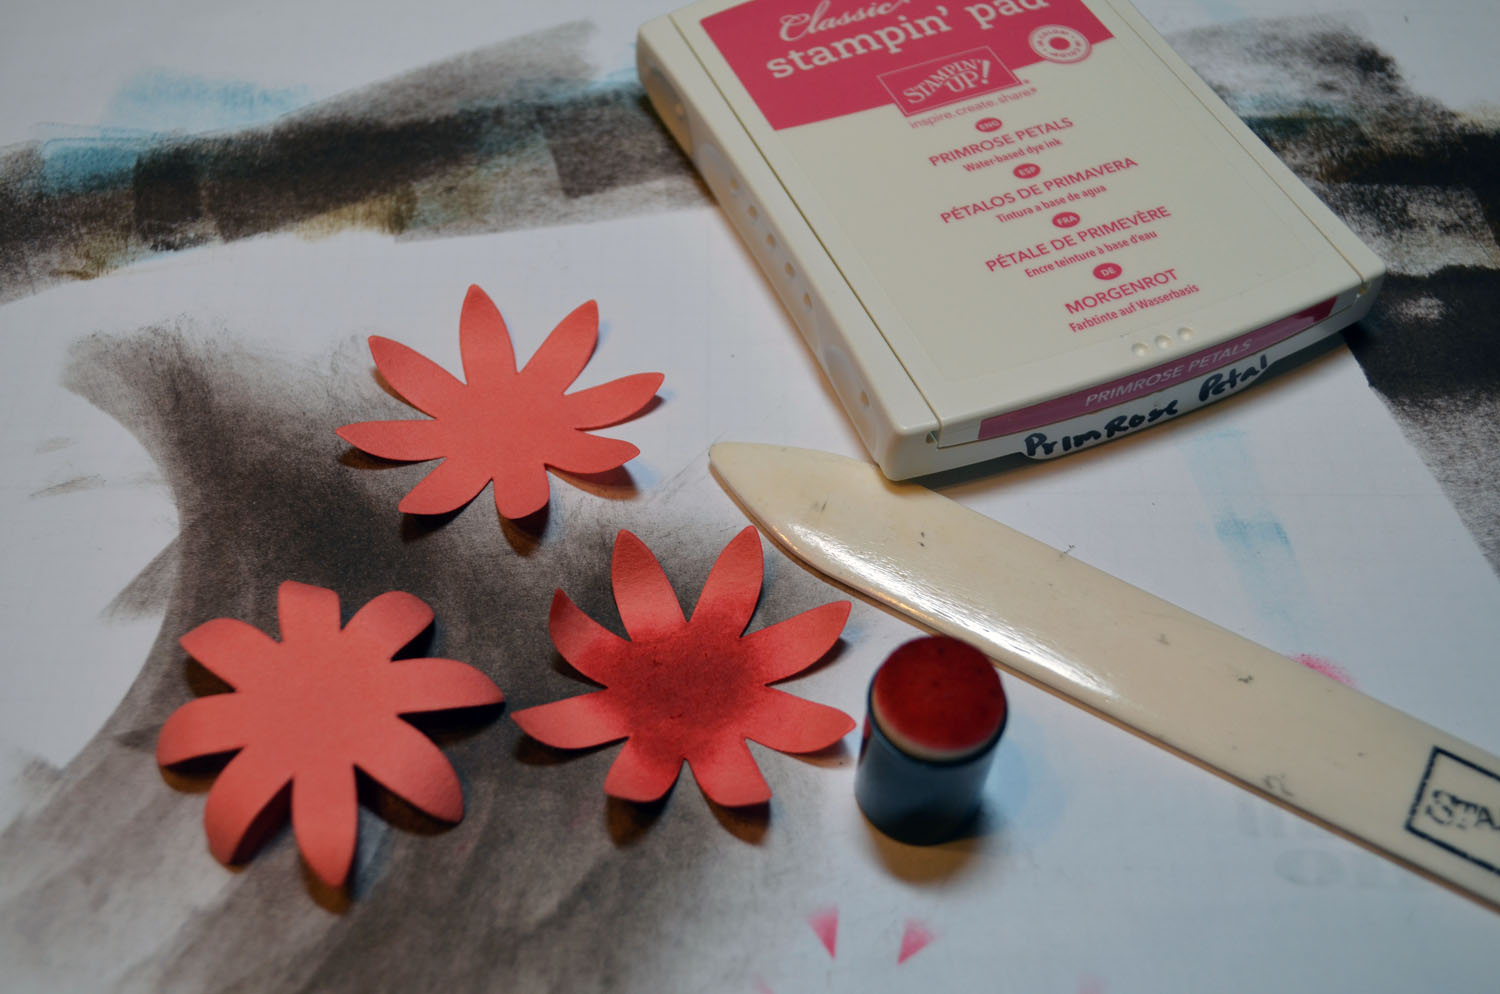
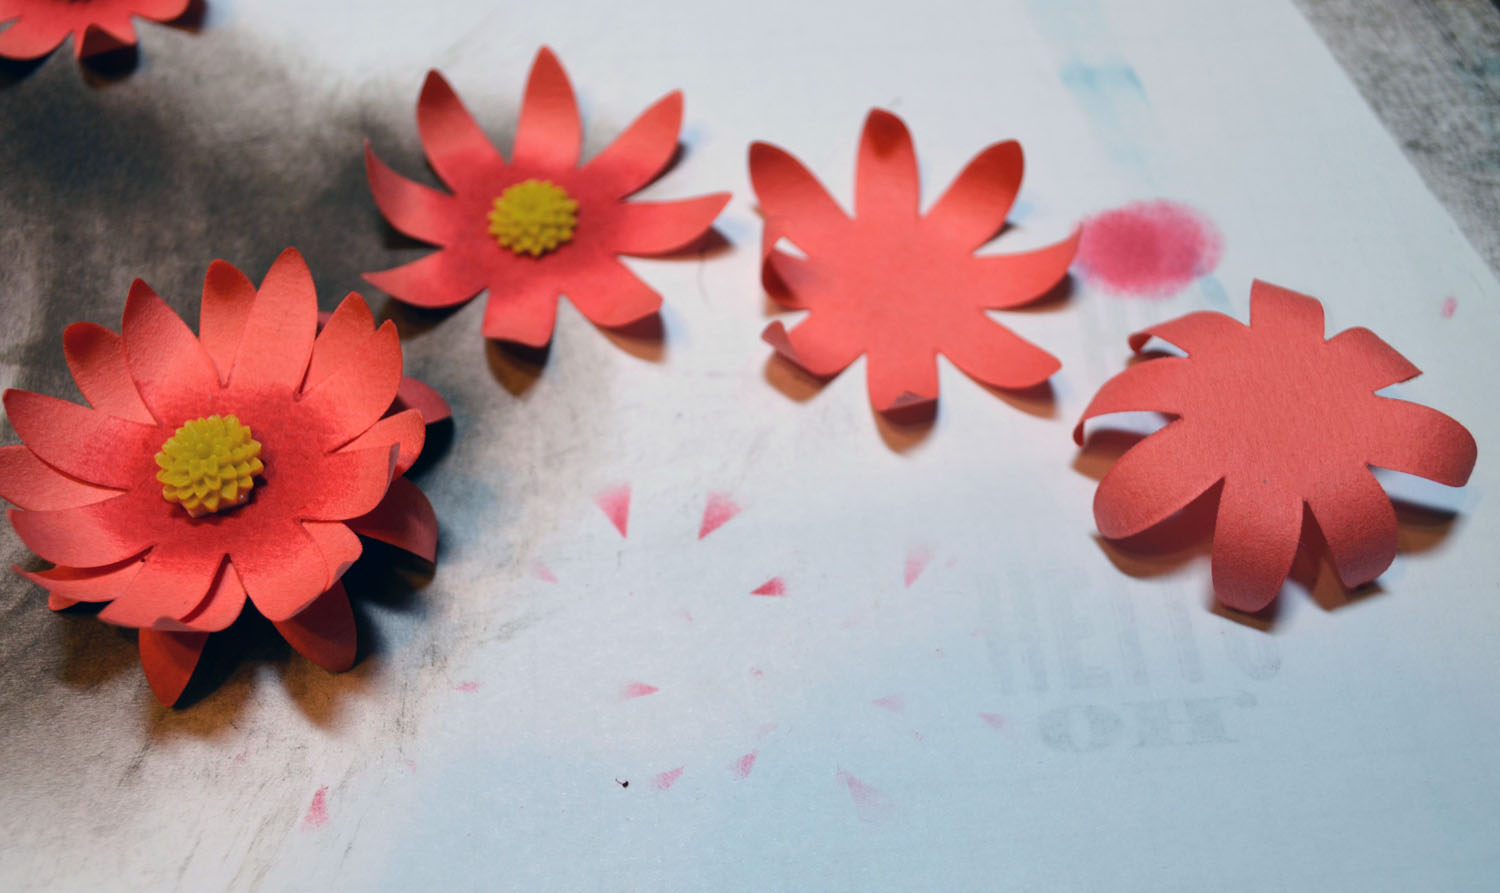
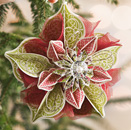
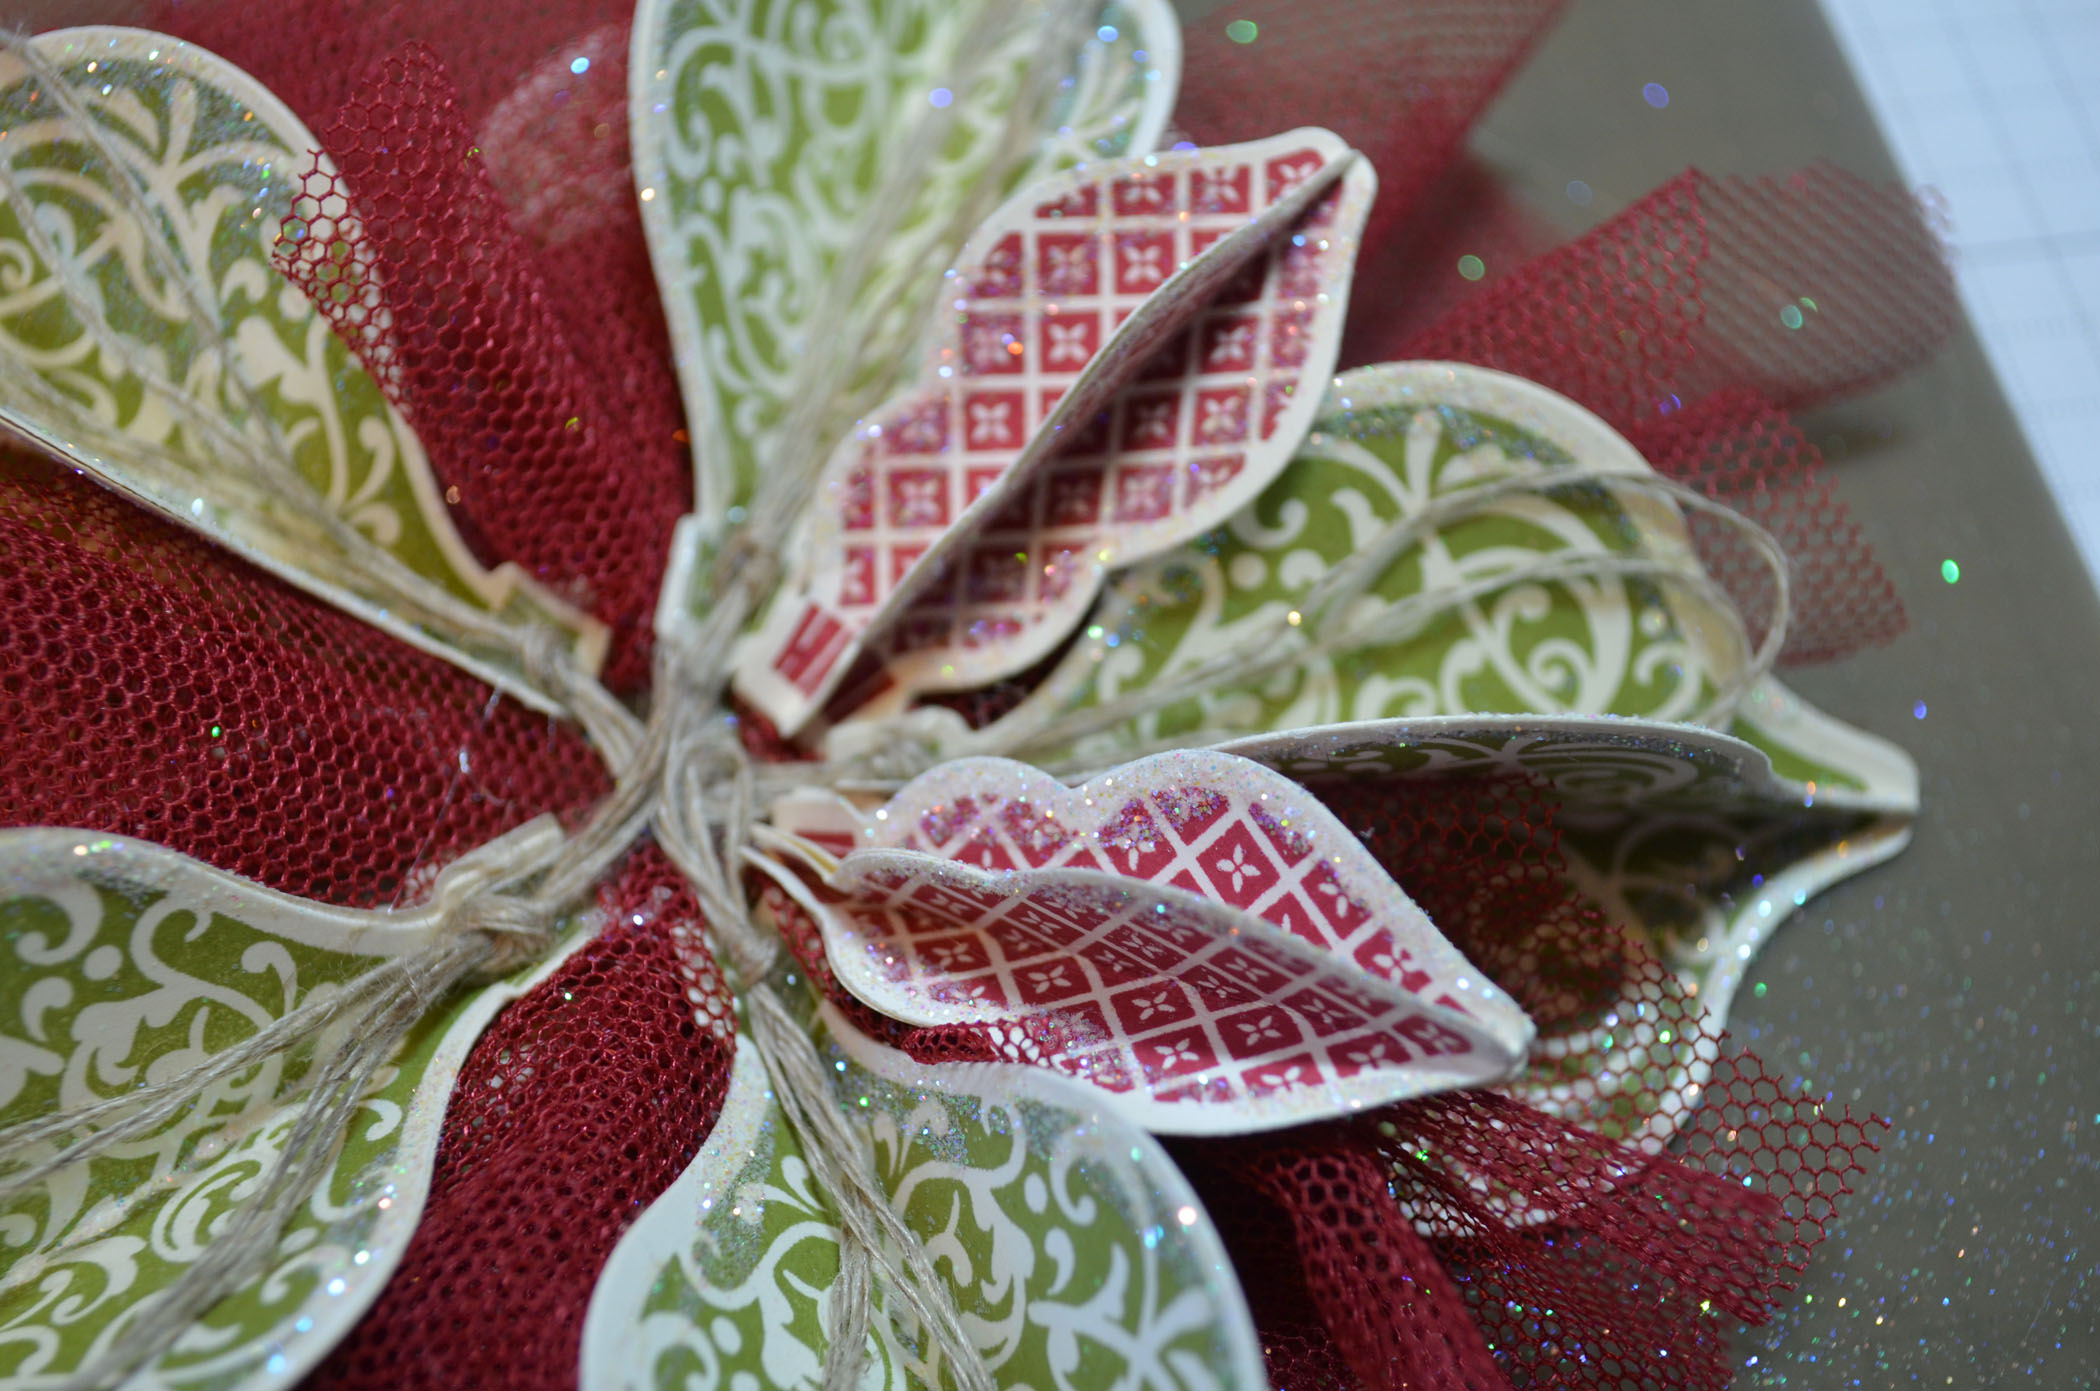
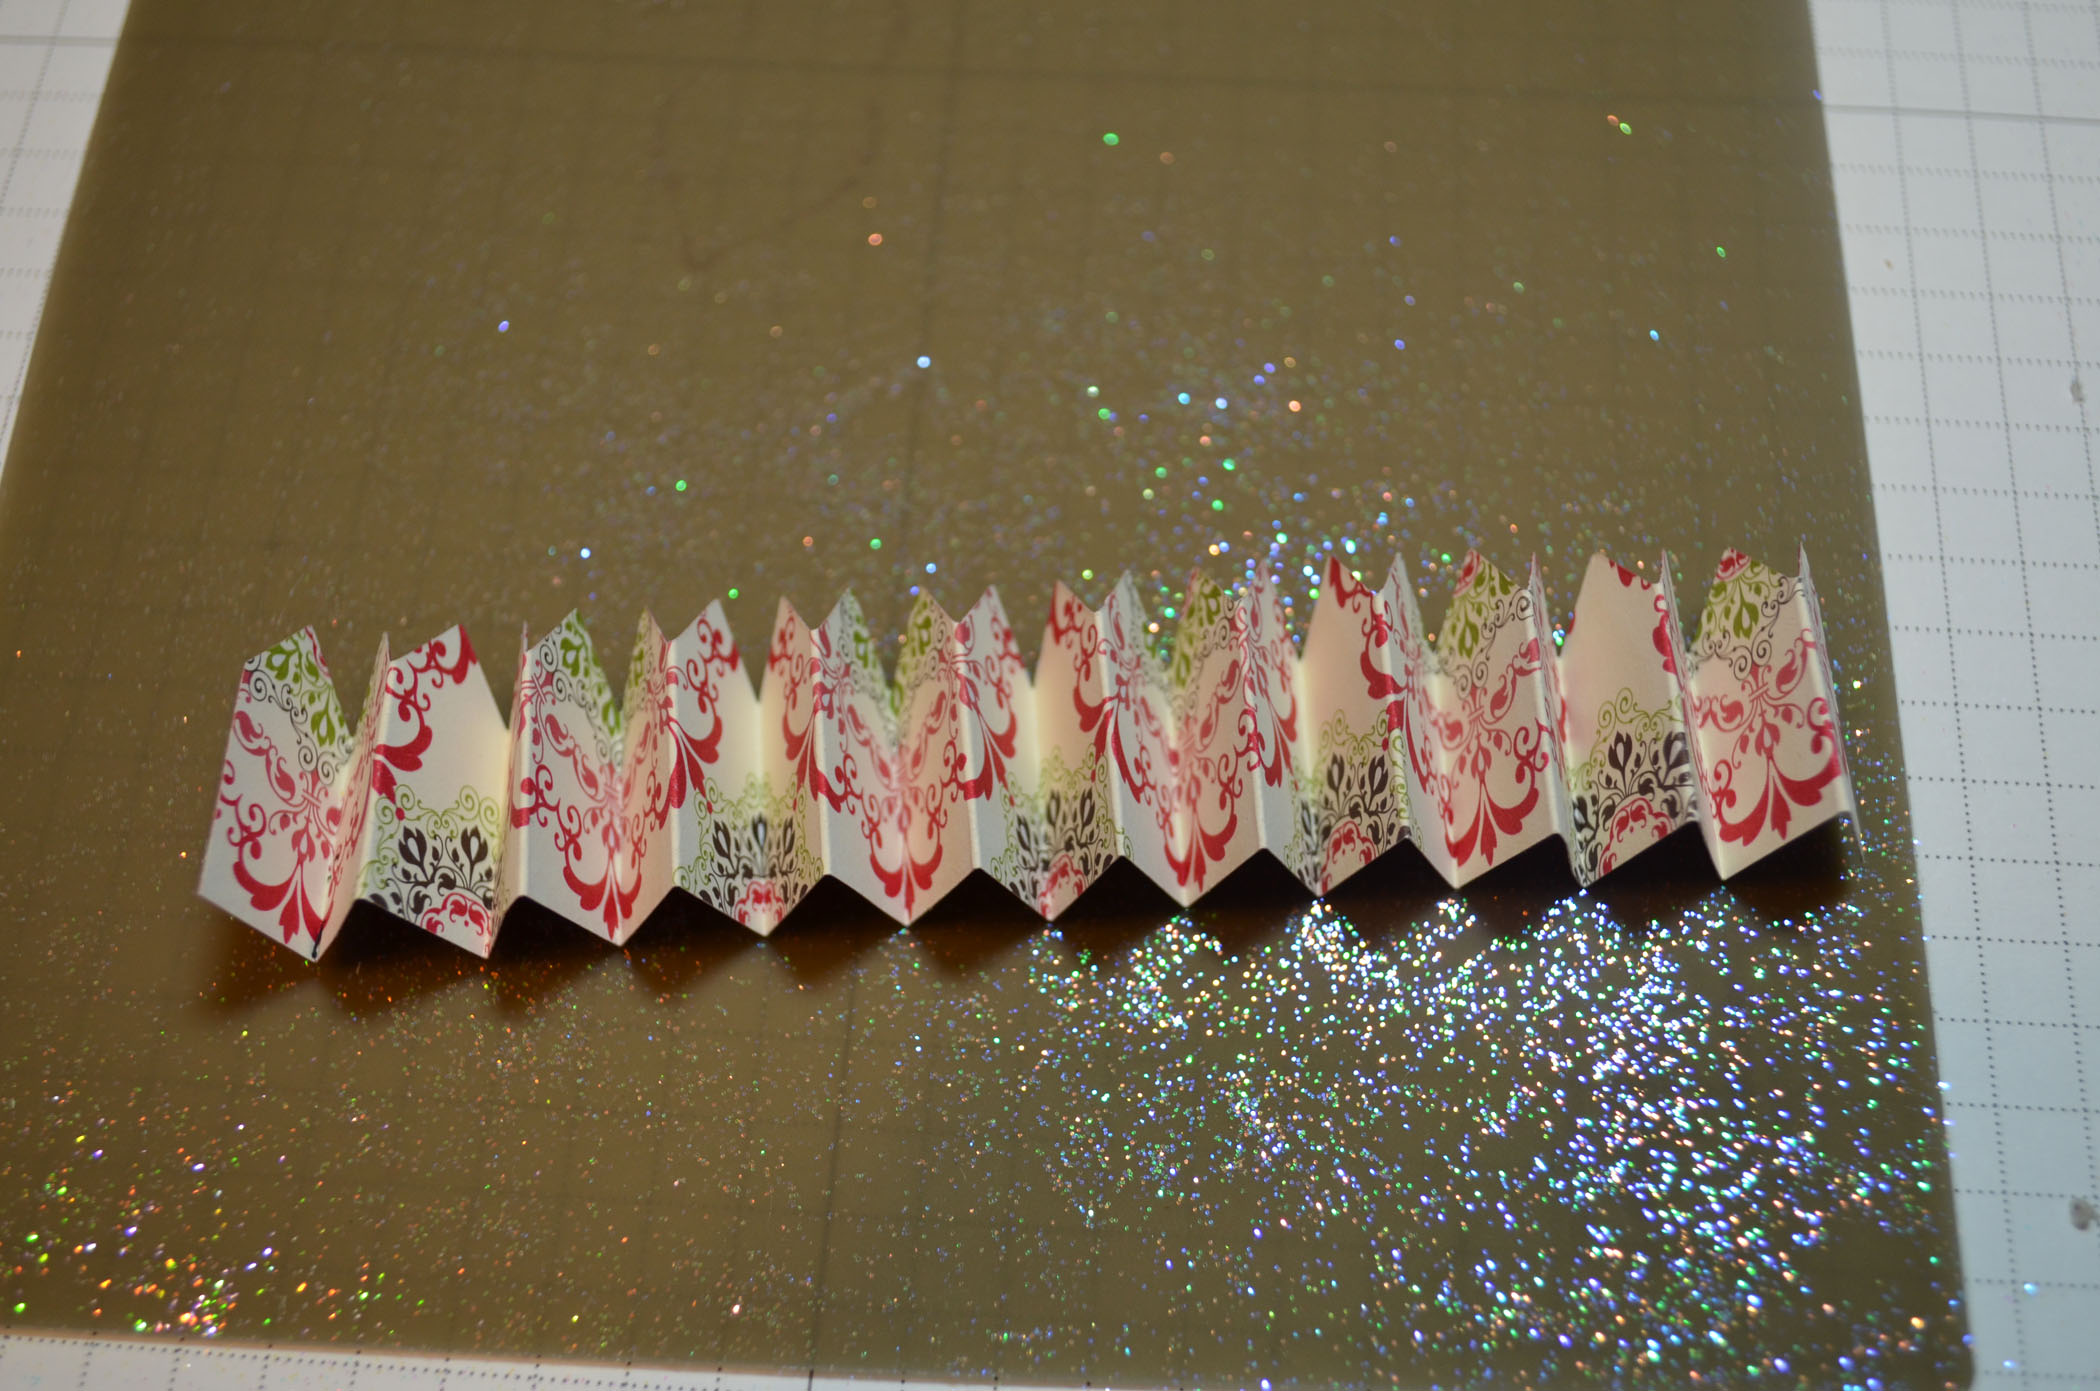
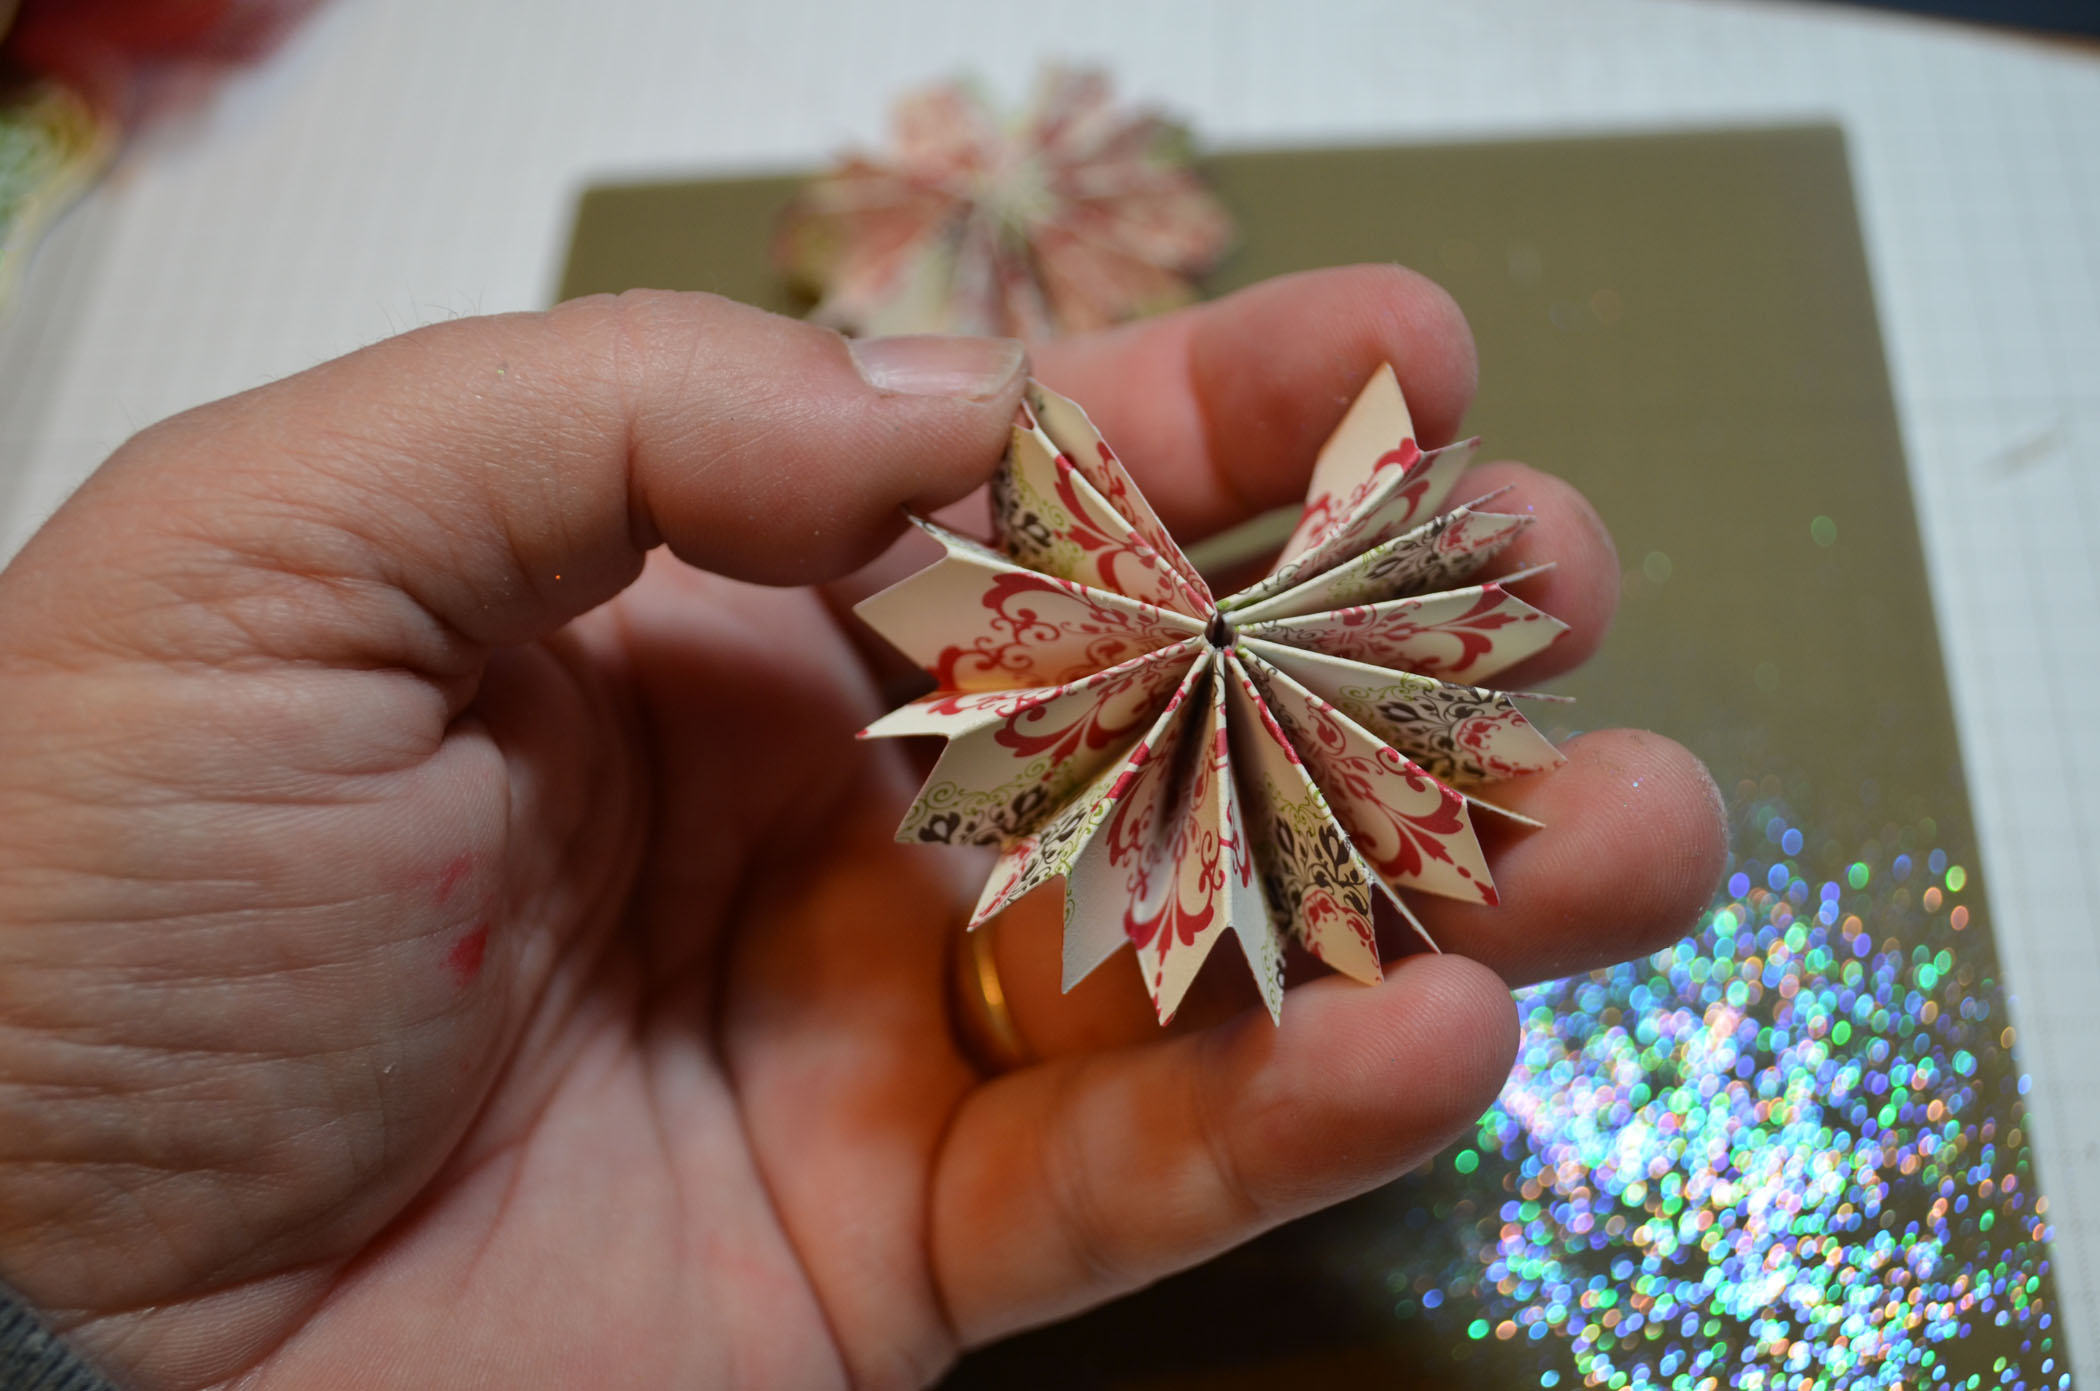
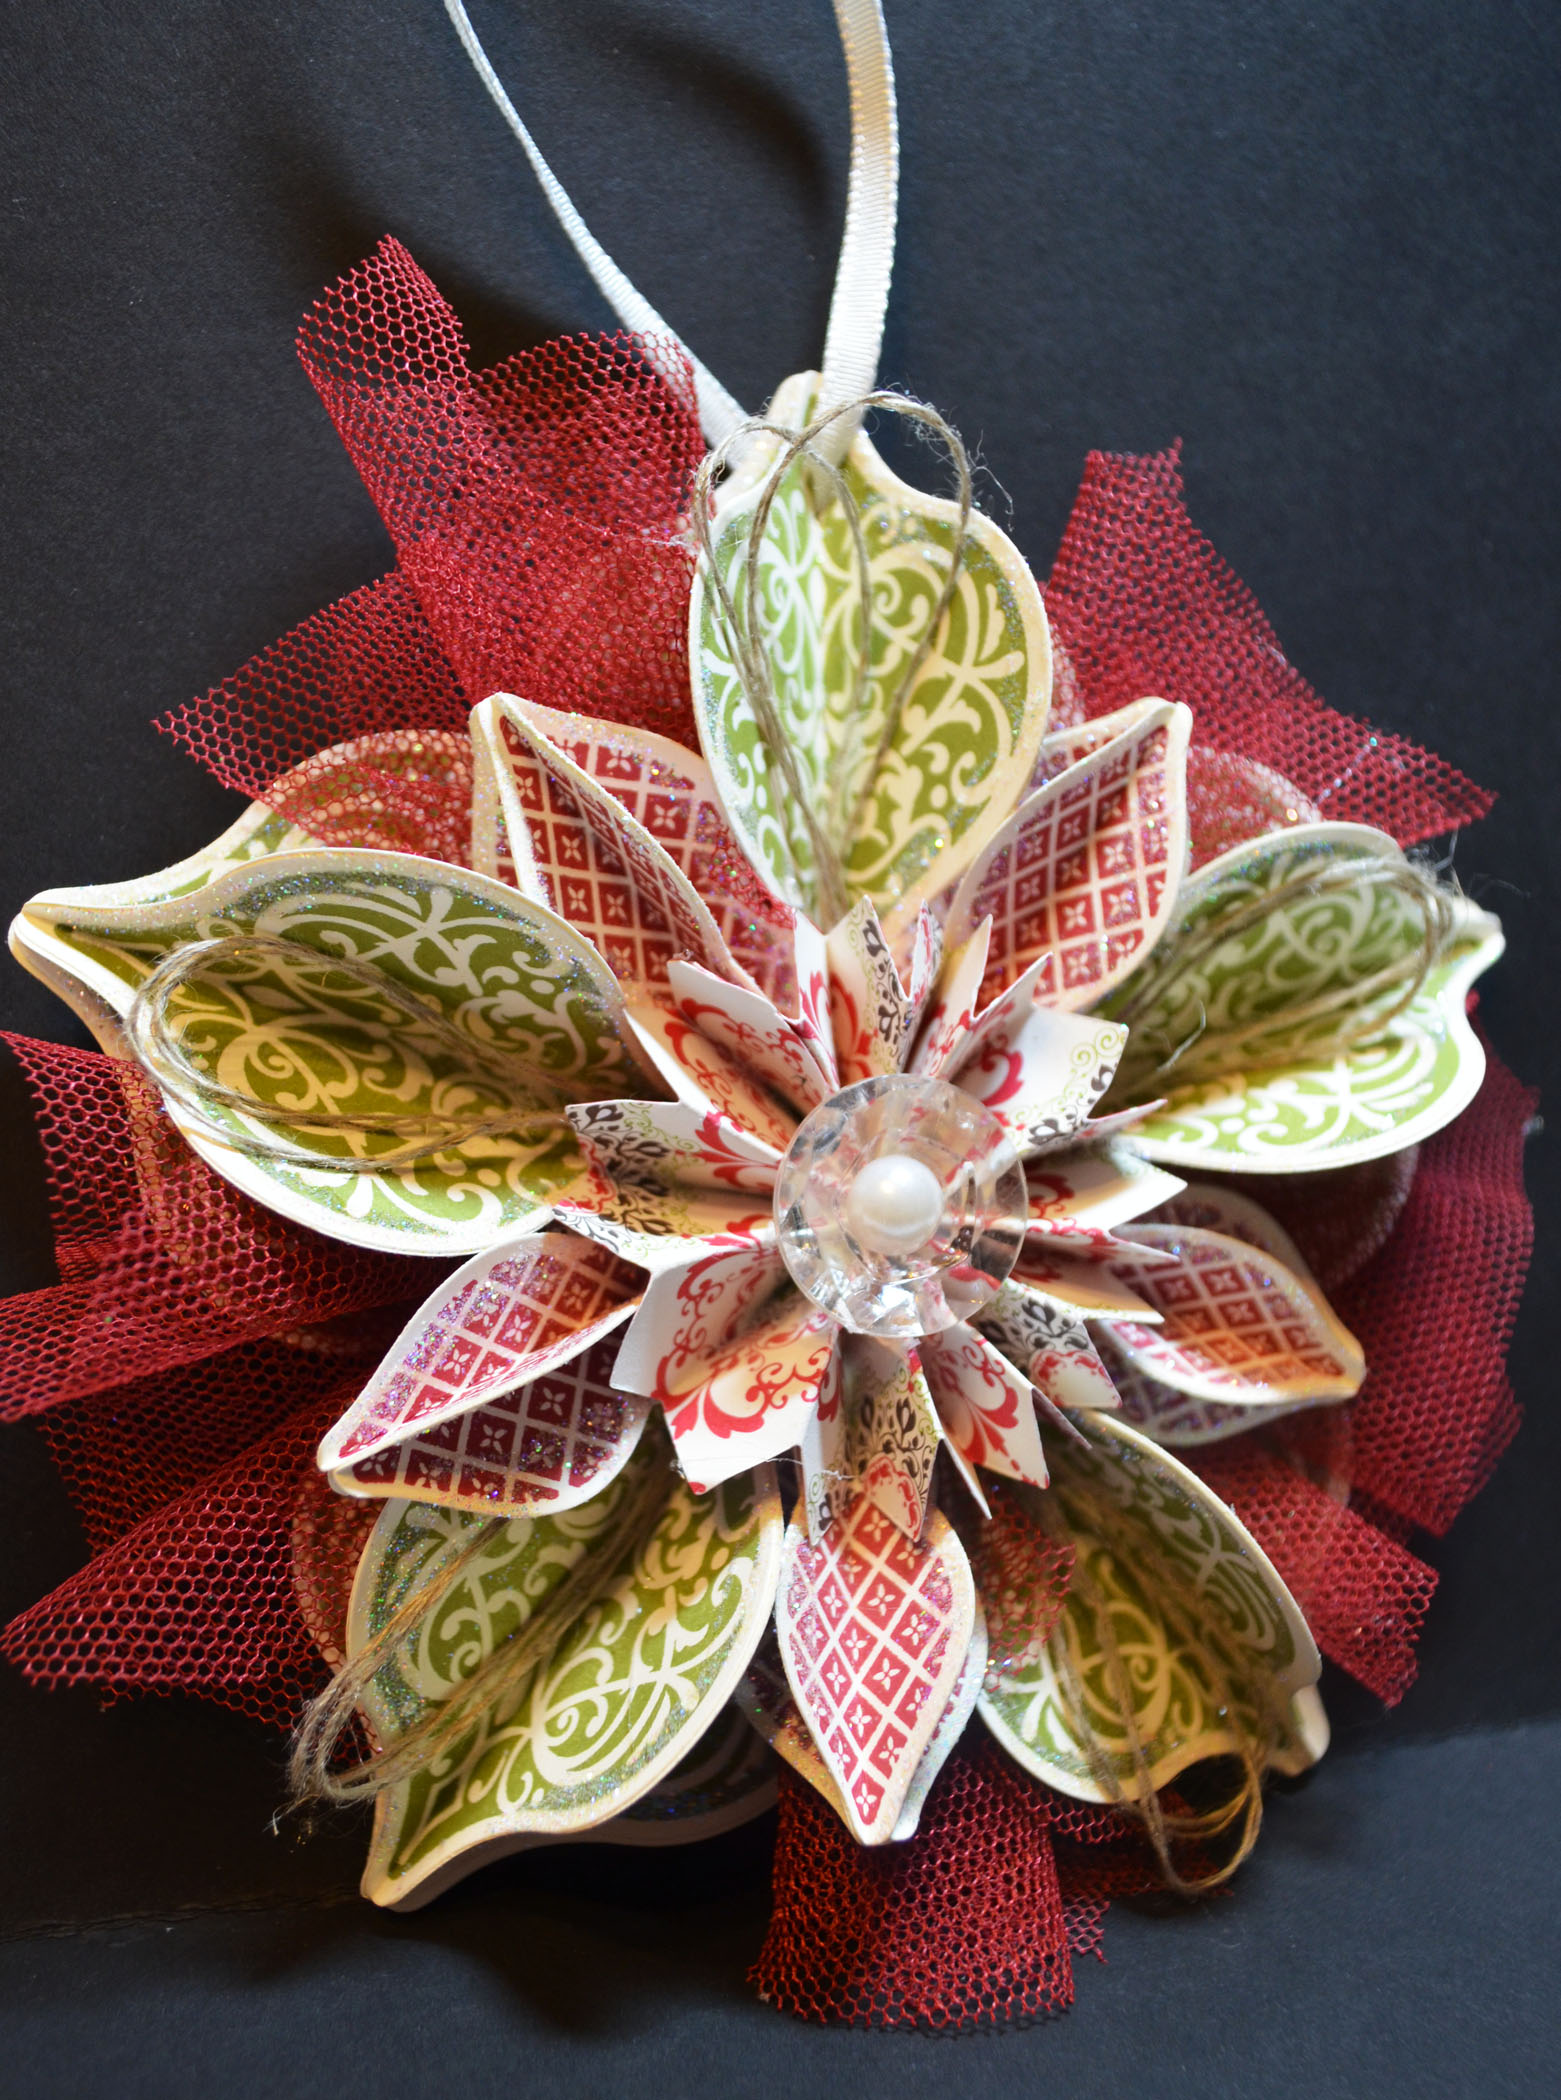
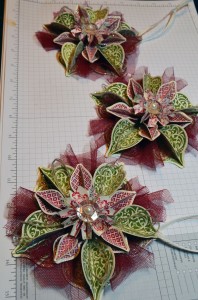
For each flower you will need 3 of the Calypso Coral flowers from the Pop Up Posies Designer set. Sponged Primrose Petal ink in the center of one of the flowers. Took a bone folder and curled the petals of all three of the flowers.
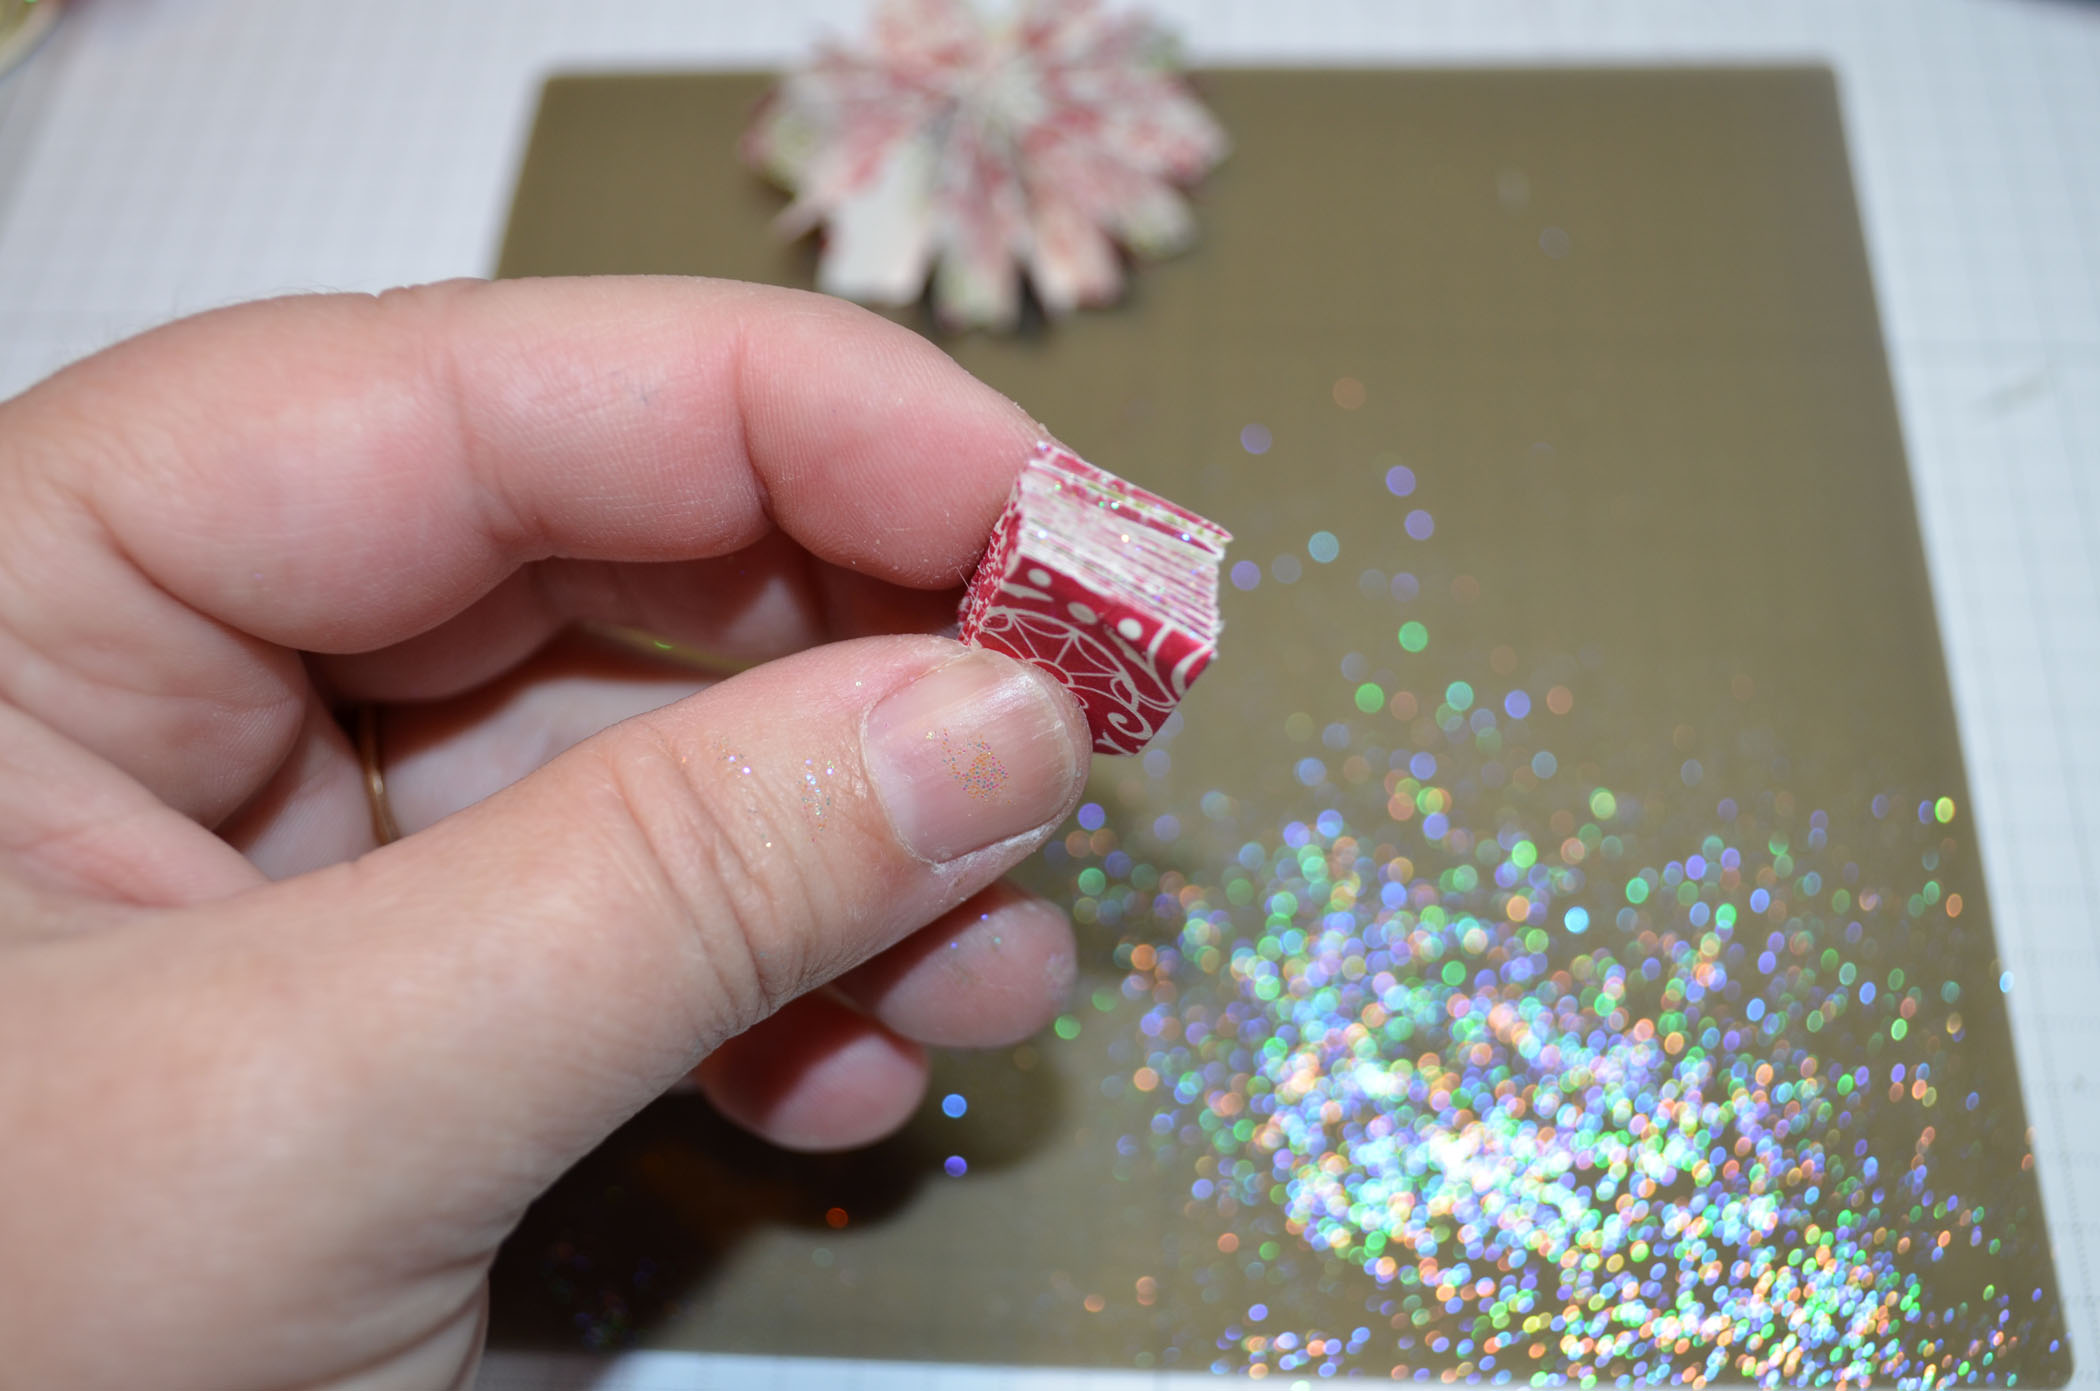
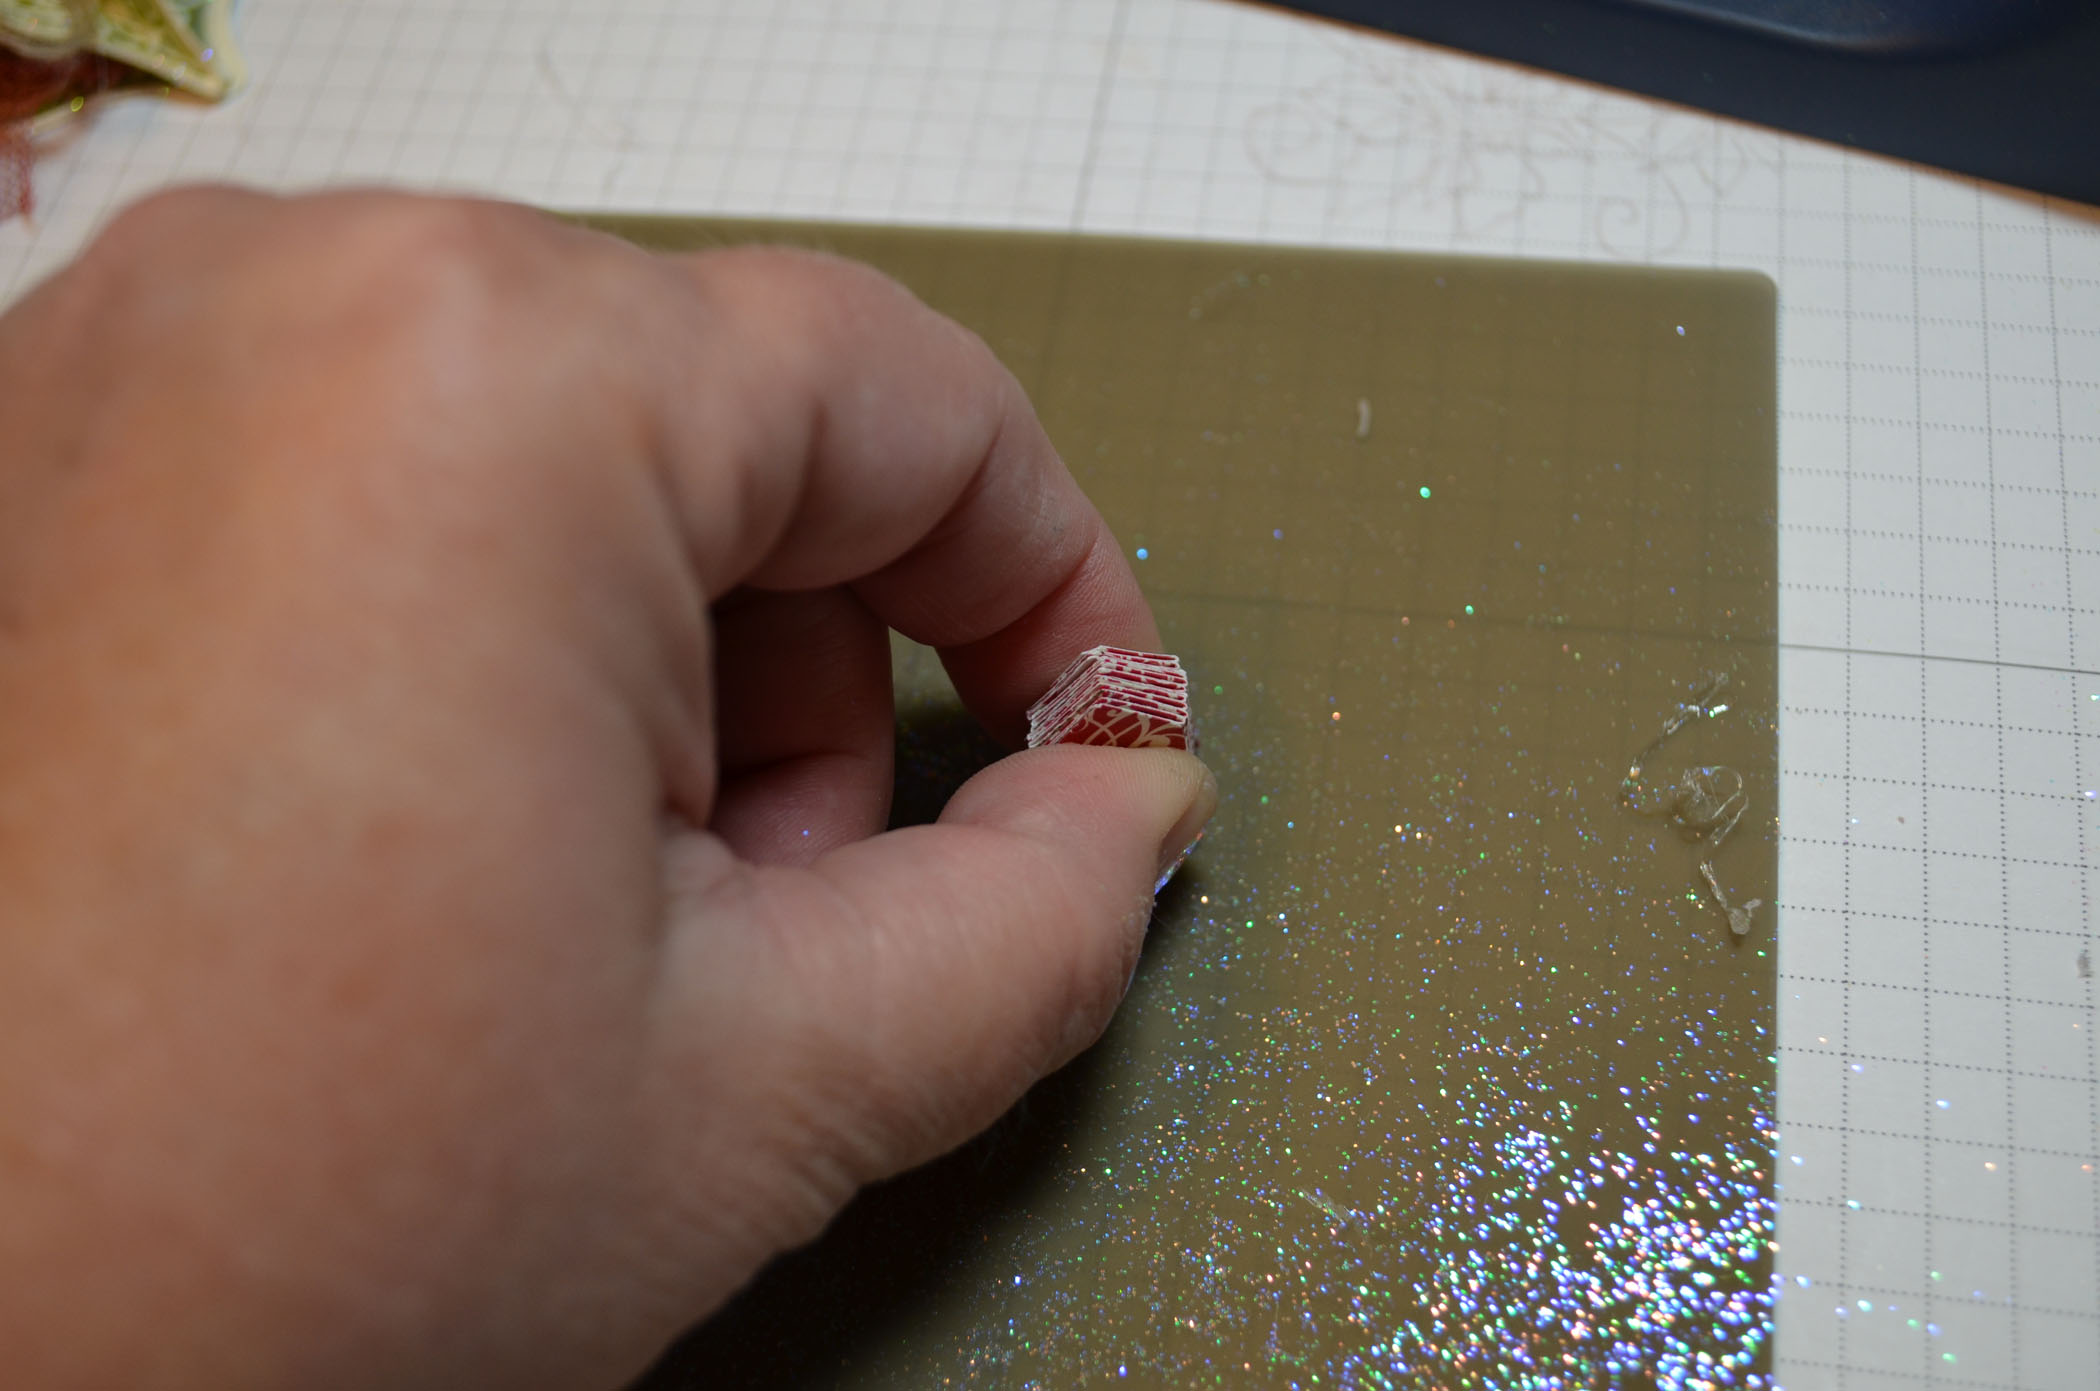
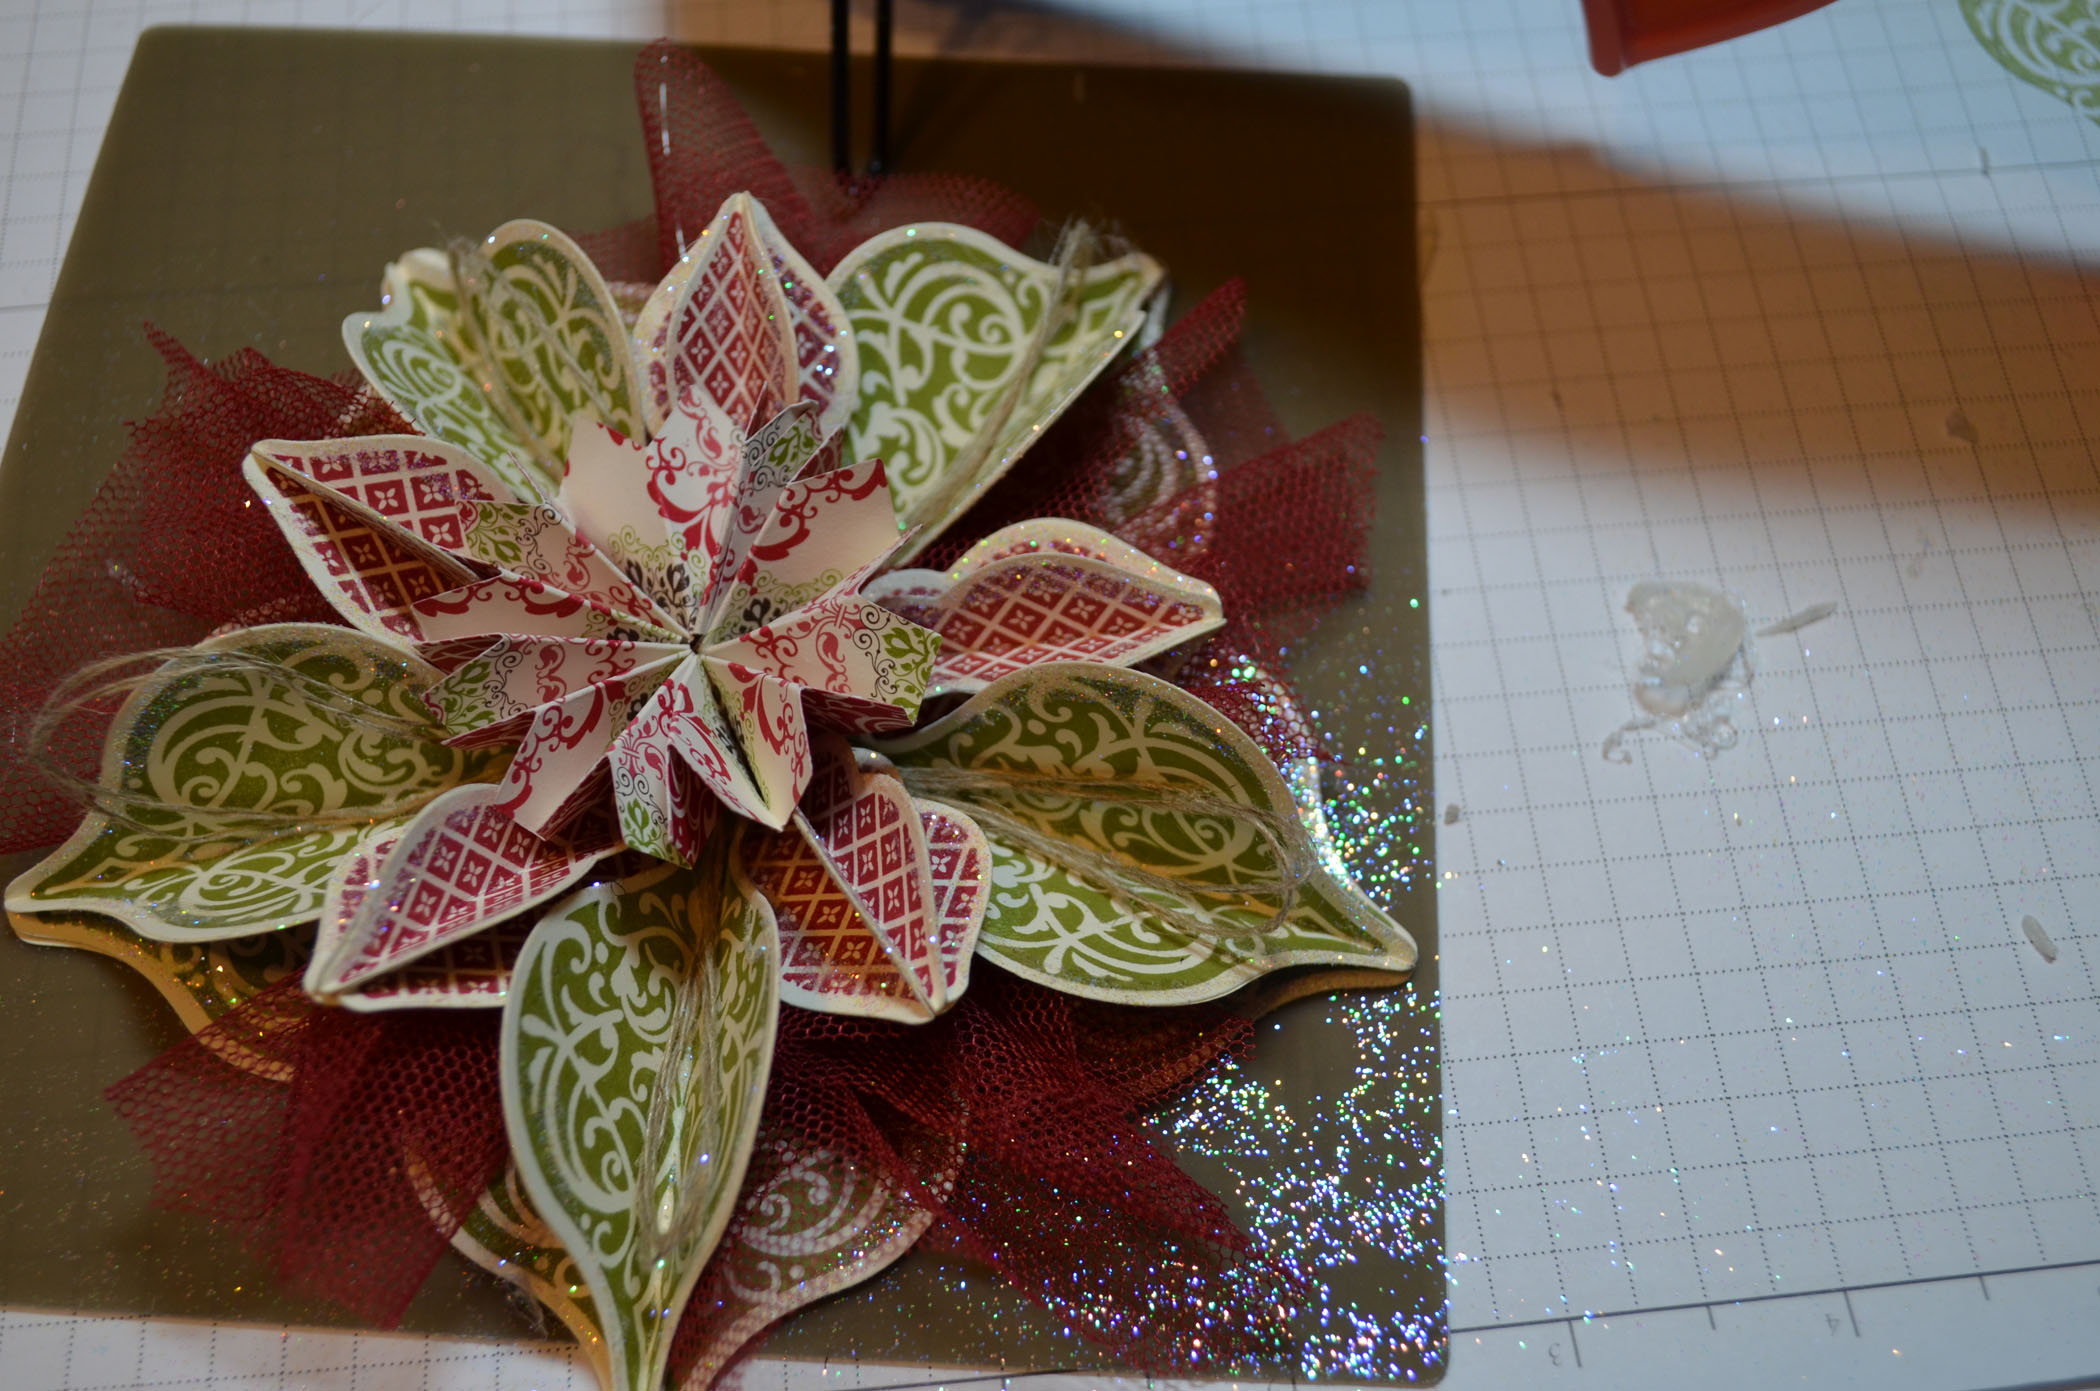
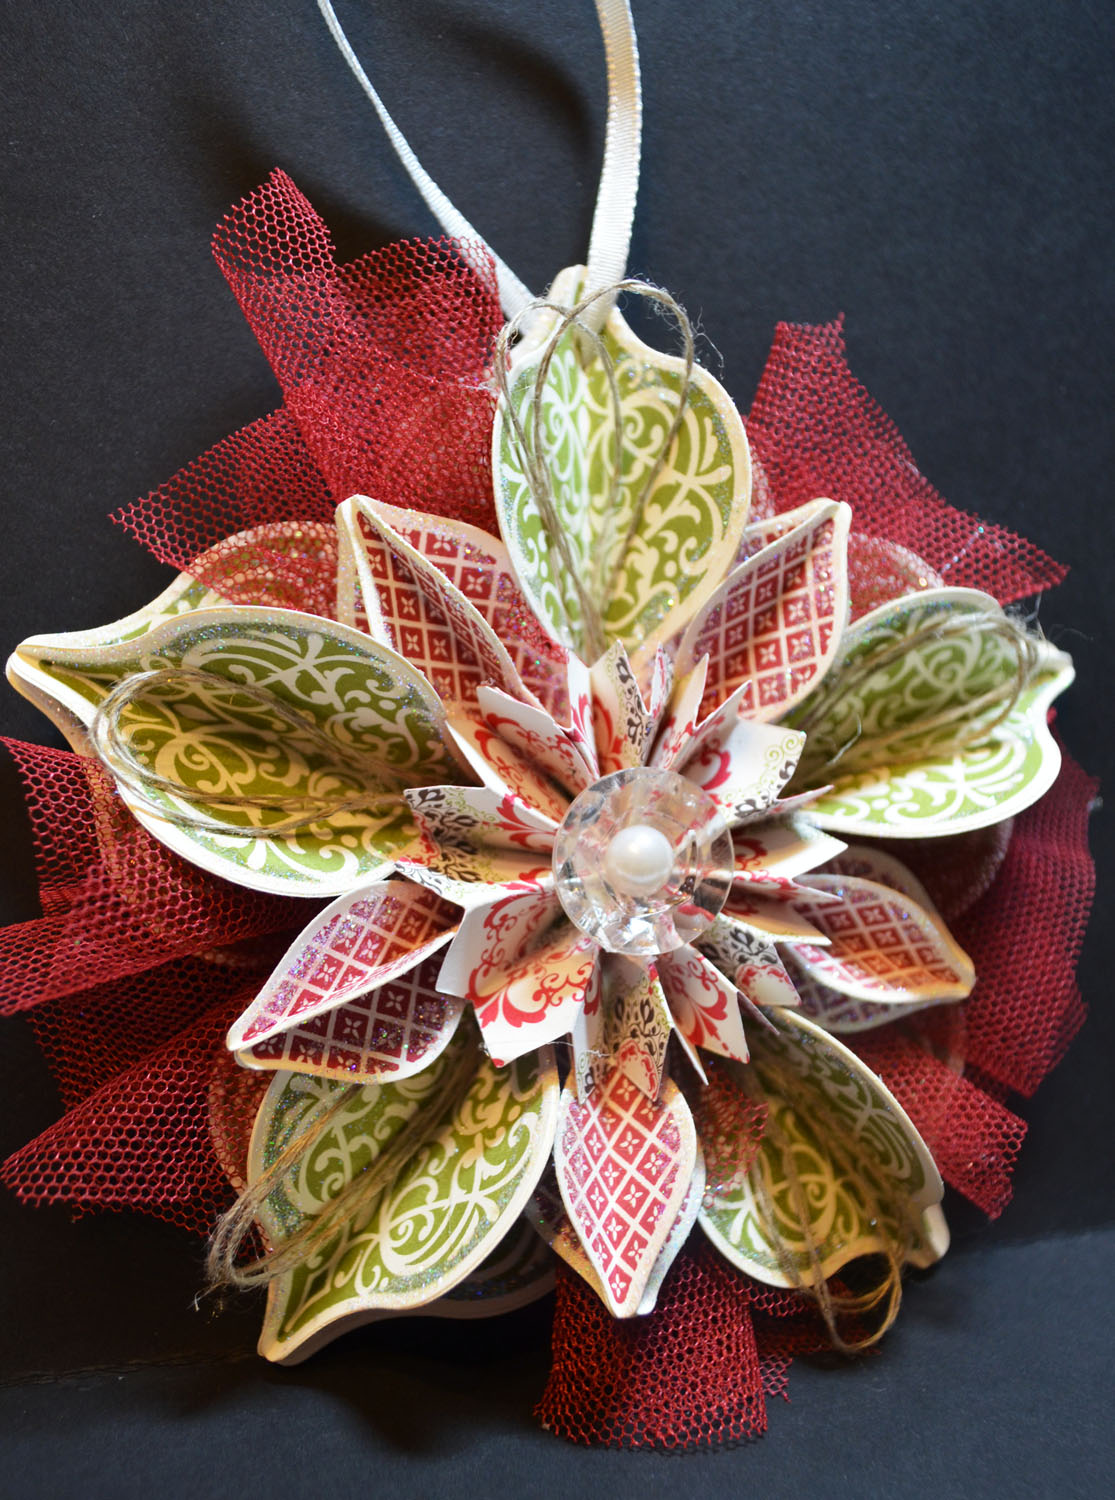
Assembled the flowers by turning the bottom flower so the tips point down and the add the other 2 flowers with the sponged flower on top. Added a Summer Starfruit Dahlia to the center of the flower. Adhered the flowers to the page using Stampin’ Dimensionals so they are popped up. Made 5.

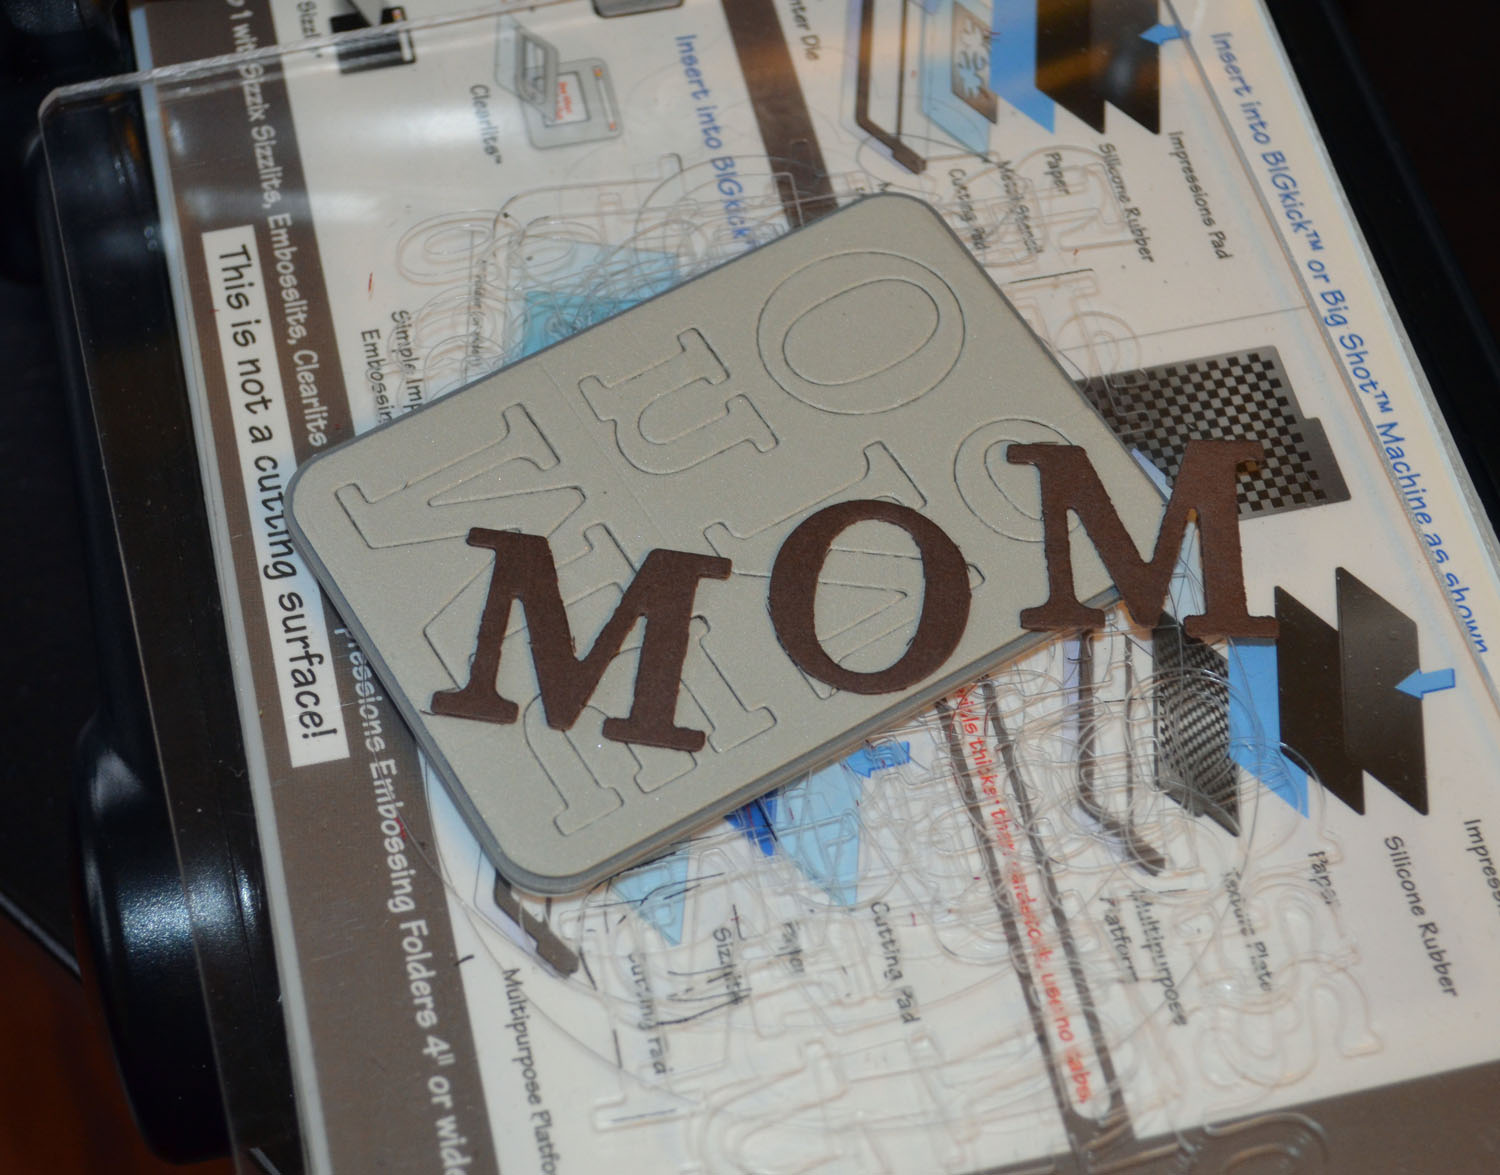
Added a Calypso Coral tag that has been embossed with the Fancy Fan embossing folder and Big Shot Machine. Clipped a V shape in the bottom of the card stock and sponged Early Espresso ink around the edges. Added Die Cut letters spelling “Mom” in Early Espresso card stock.
Added The picture with a Calypso Coral and Early Espresso card stock panels behind it to the layout using Stampin’ Dimensionals so it would be popped up. Also added a Summer Starfruit 12 x 12 panel to the back of the layout.
Here is the finished project. 🙂

May you be surrounded by those you love today.
Until my next post. . . . . .
Check out the awesome things happening at Stampin’ Up! below.
Hugs,

*******************************************
Weight loss in 2013: 9.5 lbs
*************************************************
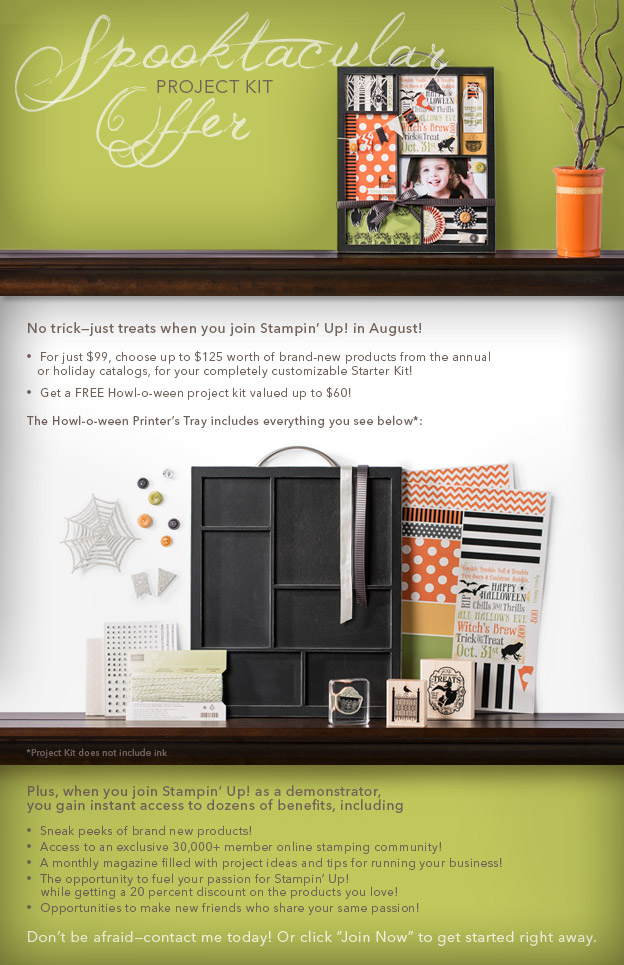
It’s the time of year us Stampin’ Up! Fans look forward to, it’s Sale-a-bration time!!!! The best time of year to get your Stampin’ Up! products. Why you ask?

Shop and receive a free Sale-a-bration product for every $50 you spend. CLICK HERE TO CHECK OUT THE SALE-A-BRATION PRODUCTS! This is a long brocure so be sure to scan right when viewing. . . . .

***********************************************************************

Join Stampin’ Up! during Sale-a-bration and chose $156.50 in product in your kit for just $99. That’s 25% more product! Start a business or just enjoy being a demonstrator to receive the 20% discount.

*************************************************
.jpg)
It’s a Magical Paper Escape Every Month!
Check this out, you can now get a monthly kit called Paper Pumpkin from Stampin’ Up! that includes exclusive stamps and everything you will need for a great project. You can get more info on this great product at www.mypaperpumpkin.com They even have a try me kit! You won’t want to miss out on even one of these kits. . . . . . . Please select me as your demonstrator when placing your order.
Also. . . . . . .
There is now a great stamp kit, Dude Your Welcome, for the men in your life. Check it out!
Guys don’t always have the easiest time expressing themselves, but with the Dude, You’re Welcome! kit, they’ll have
- Four wood-mount stamps (double-mounted) with the perfect sentiment for every occasion
- Twelve 4″ x 6″ postcards in four different (manly) colors
- Twelve gray envelopes
- A Basic Gray Classic Stampin’ Pad
- An instructional guide (for the most novice stamper!)
Basically, the kit includes everything a dude needs to create the perfect manly card that any woman would adore, all packaged in an appropriately masculine box.
This set can be purchased now with item number 132807. Great gift idea!
********************************************
Check out the brand new Spring Catalog and get all those supplies you need for your up coming projects.

**********************************************************
![]()
Have you checked out the great clearance rack at Stampin’ Up! CLICK HERE
New items added!
CHECK OUT MY STAMPING EVENTS Click here to see my event calendar


