
I am soooo in the gardening mode. All I can think about is flowers, flowers, flowers. If you are a gardener, you know what I mean. I don’t know what type of flower it is on the stamp I used today, but it reminds me of my Peonies that are in bloom right now. The Peonies I grow in my yard are very special to me. They grew first in my Grandma, Marie’s yard, she has past now and then they grew in my Mother’s yard for years. They are now proudly growing in my yard. I have many flowers that have been past down through my families gardens. I get all teary eyed just thinking about it. Not tears of sorrow, but tears of joy.
Before we get into the tutorial today I have an announcement. I will be teaching my brayer workshops (Beginner and Advanced) one day only, November 14, 2009 in Nashville, Indiana. I will be hosted by the Papertrix Store there. E-mail me at mzindorf@aim.com for more information.

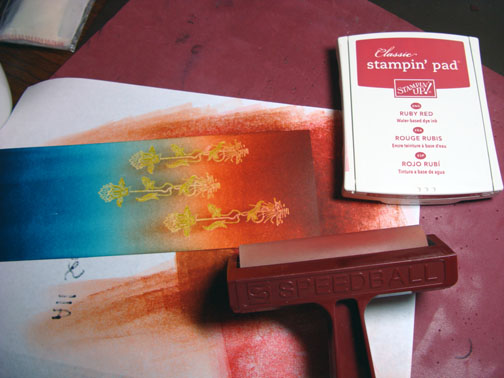
Now about this project. My poor Prismacolor markers have sat unused for quite some time now. So today I dusted them off, literally, and used them to add my color to the images. If you haven’t worked with Alcohol based markers before, give them a try. They are a whole different animal than the water-based markers, such as Stampin’ Up’s makers.
Let’s get started. . . . . .
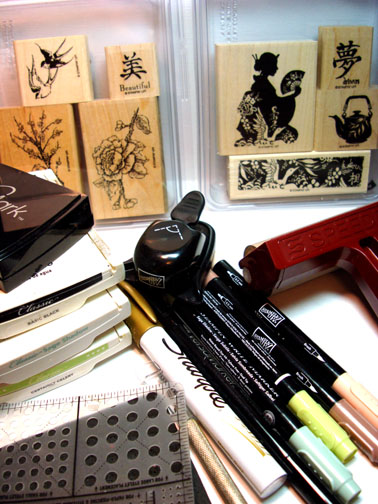
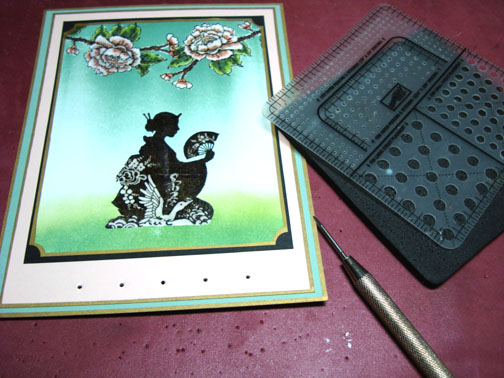
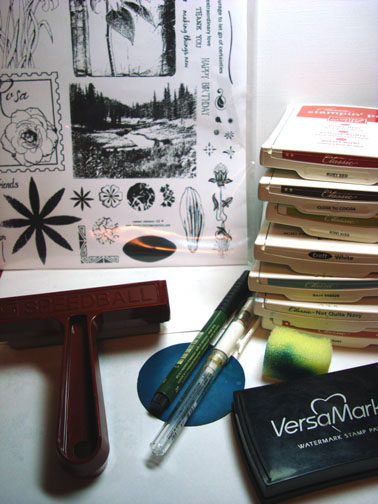
Supplies:
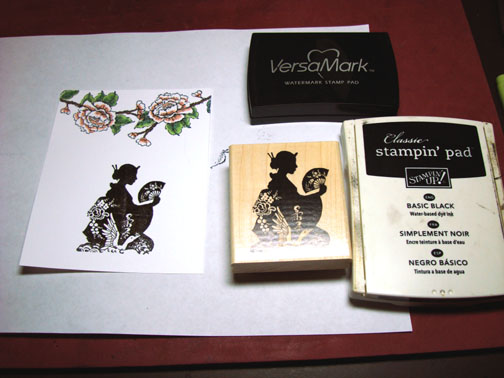
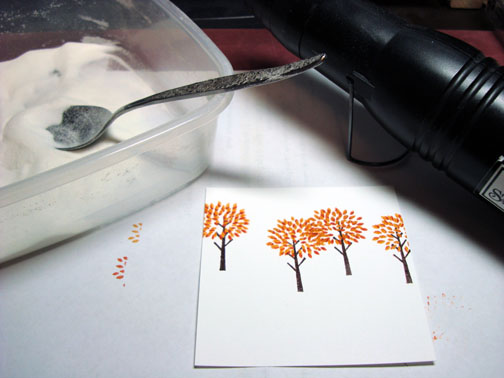
Stamps: Stampin’ Up Bloomin’ Beautiful
Paper: Stampin’ Up Whisper White, Basic Black & Blush Blossom
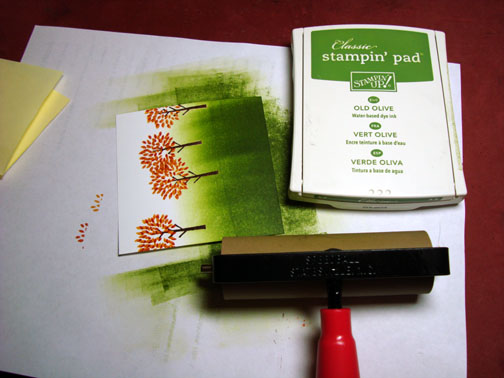
Ink: Stampin’ Up Basic Black, Not Quite Navy, Handsome Hunter, Bashful Blue, Sage Shadow, Old Olive & Blush Blossom
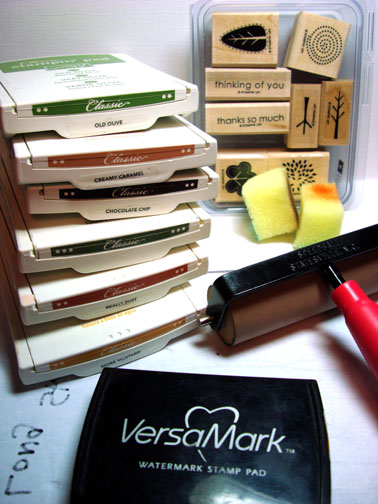
Accessories: Versamark Marker & Pad, Prismacolor Markers, Brayer, Clear embossing powder, Heat Gun, Sponge, Sharpie Metallic Gold Paint Marker, Ribbon & Gold Brads
Are you inspired by this Blog? One way for you can help support this blog is by ordering your Stampin’ Up products through me. You can order from me 24-7 from this link: http://michellezindorf.stampinup.net or e-mail me at mzindorf@aim.com if you are within the United States. Want a copy of the current mini catalog, just e-mail me your address and I will pop one in the mail to you.
Want to become a Stampin’ Up Demonstrator and earn instant income? Consider being part of my Stampin’ Up Team.

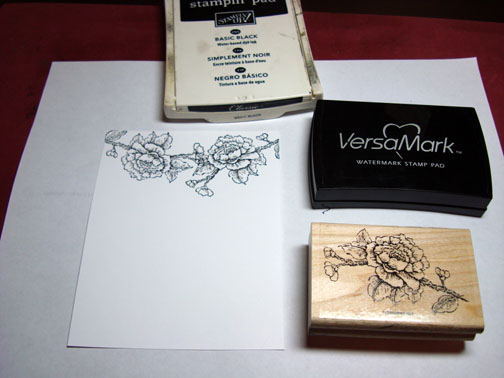
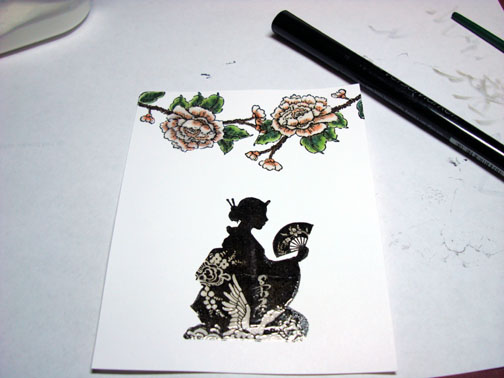
I stamped the bee by first loading my stamp with Versamark marker and then Basic Black ink before stamping him on a 4″ x 5.25″ piece of Whisper White Card stock.
I have to laugh when I look at this bee in the finished project. I did not intentionally stamp him to look like he is sitting on the flower. I actually wanted him to look like he was working, gathering pollen. But the angle in which I stamped him it turned out to look like he is resting, lol. You will see on the finished piece what I mean.

Heat embossed the bee with clear embossing powder and a heat gun. Colored the bee in with a Yellow Ochre Prismacolor marker.


Colored over the bee with a Versamark marker and heat embossed it with clear embossing powder and a heat gun.


Now that my bee is entirely heat embossed I can over stamp the flowers on and it will look like they are behind the bee.
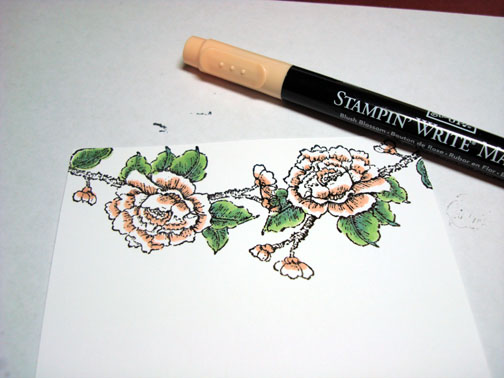
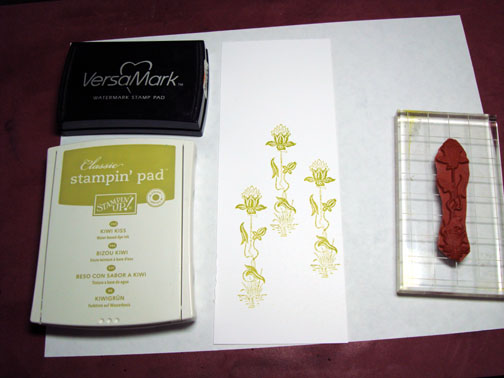
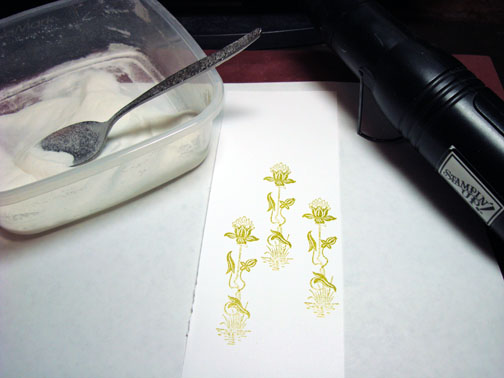
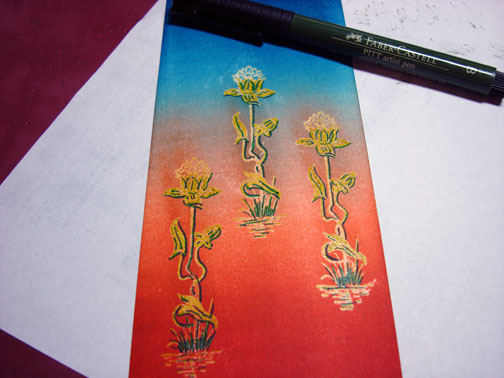
Stamped the flower by first loading the stamp with Versamark and then added Blush Blossom ink to the flower and Old Olive ink to the stem and leaves before stamping it.

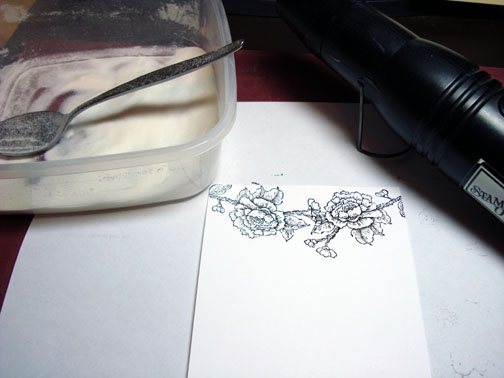
Heat embossed the flower using clear embossing powder and a heat gun.

Repeated the process of stamping and heat embossing the flowers.

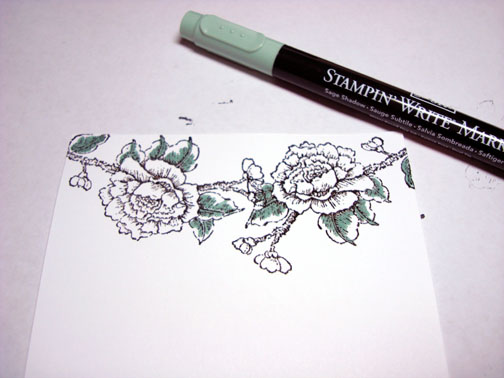
Added a bit of Deco Pink Prismacolor marker to the flowers.

Colored in the leaves and stems with a Lime Green Prismacolor marker.

Added Spruce Green Prismacolor marker to the dark areas of the leaves.

Went over the leaves again with the Lime Green Prismacolor marker to blend the two greens some.

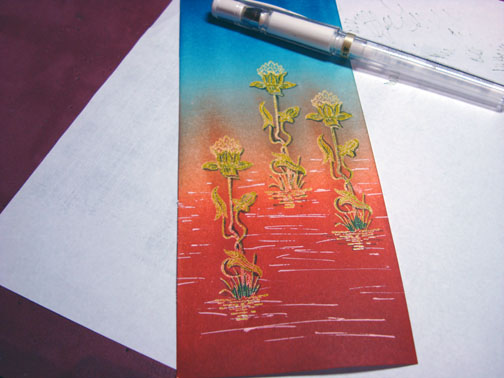
Colored over the flowers, leaves and stem with a Versamark marker.
Note: color the lightest areas in first then work your way to the darker areas, cleaning your Versamark maker on your scrap paper often.

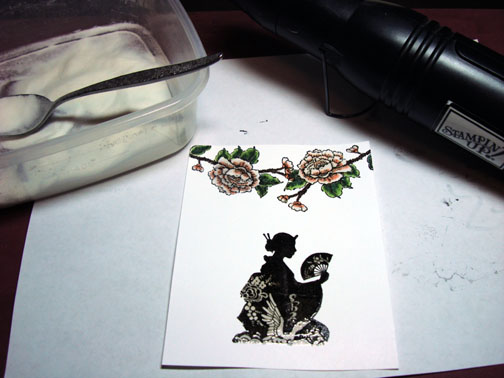
Heat embossed the flowers, stems and leaves with clear embossing powder and a heat gun.
Note: my embossing looked a bit pitted so I colored over the flowers a second time with Versamark marker and heat embossed them again with clear embossing powder and a heat gun.

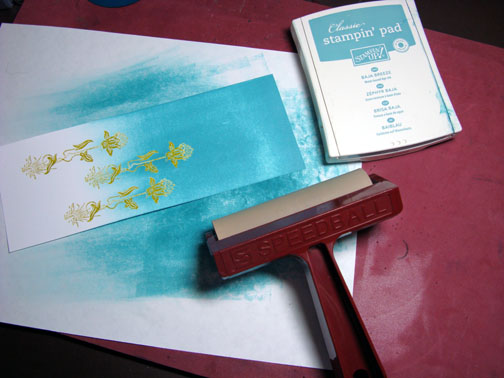
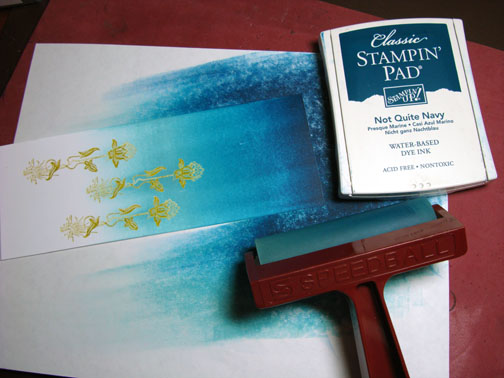
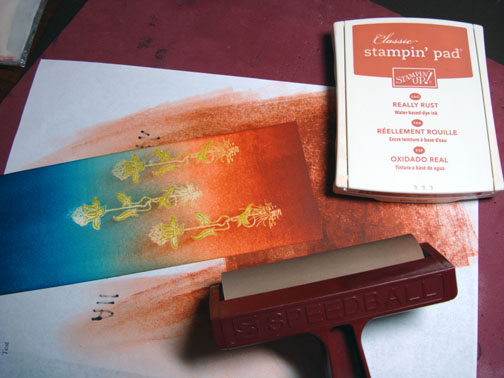
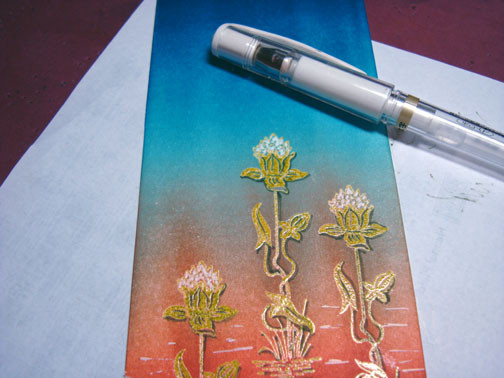
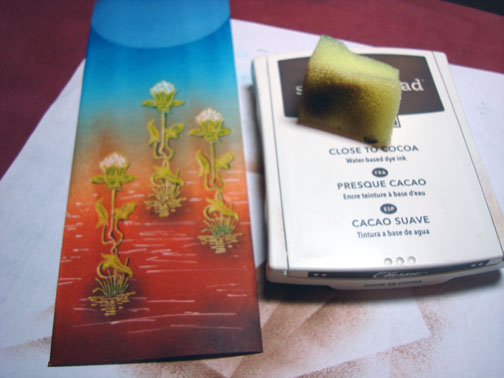
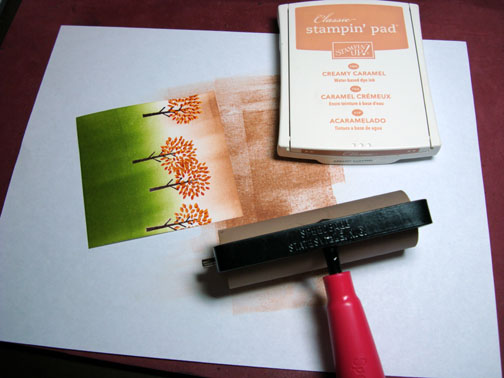
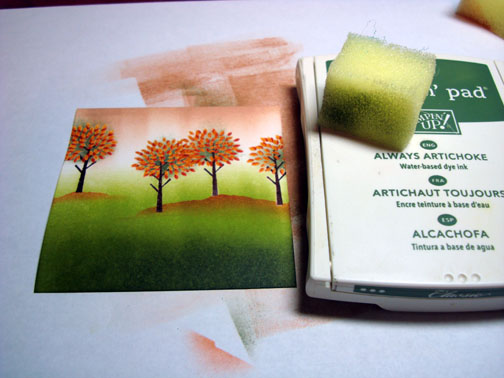
Now that all of my images are heat embossed I can brayer in my back ground and the embossed images will resist the brayered ink.
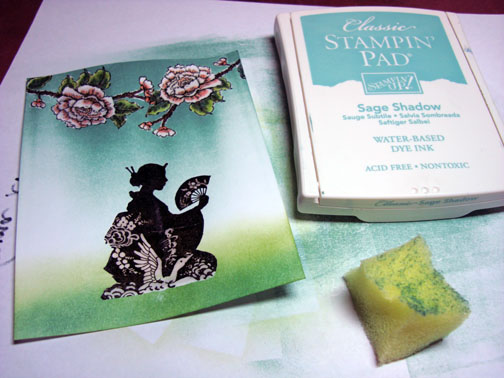
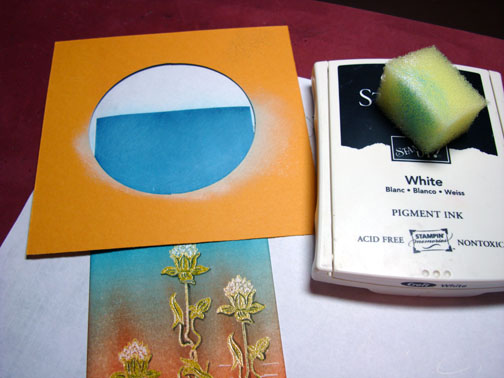
Brayered Sage Shadow ink at the bottom of the card stock.

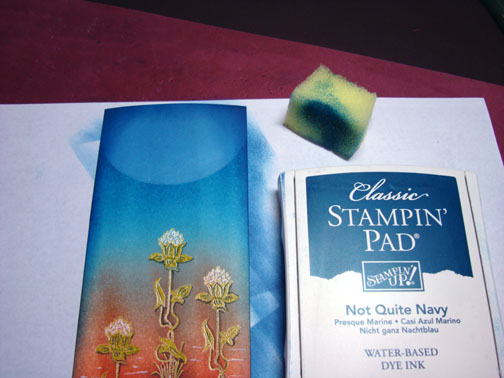
Brayered Bashful Blue ink at the top of the card stock.

Brayered Not Quite Navy ink at the top of the card stock, not covering the Bashful Blue ink entirely.

Brayered on Handsome Hunter ink at the bottom of the card stock, not covering the Sage Shadow ink entirely.

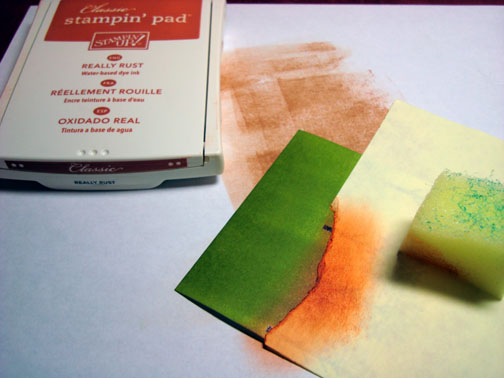
Wiped the ink off of my embossed images using an old cotton towel.

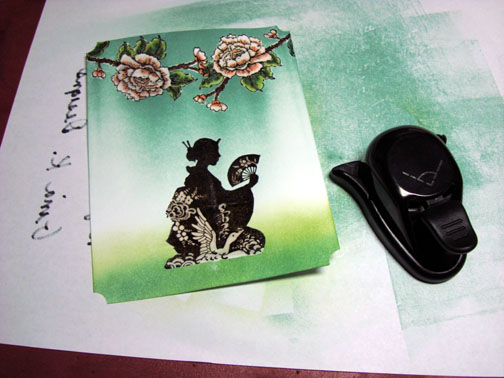
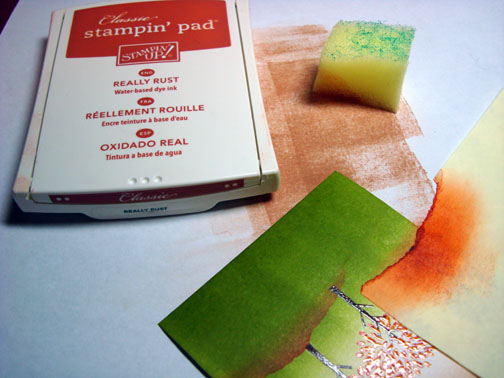
Sponged Not Quite Navy around the out side edge of the card stock.

Sponged Basic Black ink at the top and bottom edges of the card stock.

Added Cool Grey 60% Prismacolor marker under the flower heads and leaves to add a bit of depth and shadow to the piece.

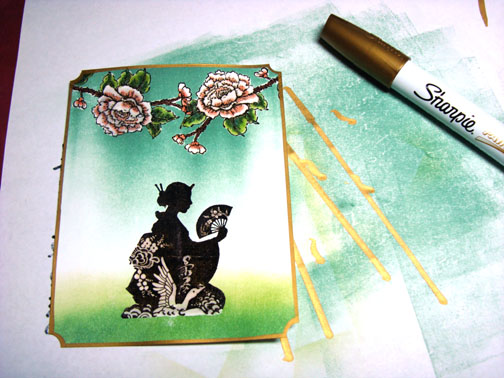
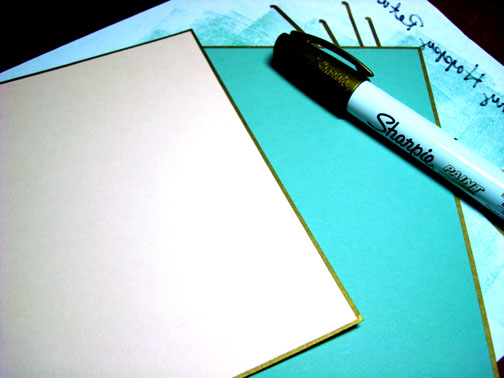
Now here is an easy way to add a gold layer to you cards without having the cost of Gold paper.
I use a Sharpie Opaque Paint Marker, Metallic Gold. This is the wide marker. They come if various sizes.
Holding the marker half on the card stock edge and half on the scrap paper edge I drag the marker down the side of the card stock. This is not hard with a bit of practice.
I used this technique on my main image panel and my Blush Blossom Panel.

Assembled my card and added ribbon and gold brads. Here it is completed measuring 5″ x 6.5″.
See my bee is taking a rest, lol.
I hope this tutorial has inspired you to get out your Alcohol based markers today and give them a whirl.
Until my next post. . . . . . . . . . . . . . . . .
Huge Hugs,
Michelle
 Get ready for Brayer Workshops! I am coming to:
Dayton, Ohio
Buffalo, Minnesota
Webster, New York
New Johnsonville, Tennessee
Stoughton, Wisconsin
Columbia, Missouri
Lynchburg, Virginia
Greewood, Indiana
Castro Valley, California
Yardley, Pennsylvania (near Philadelphia)
Knox, Maine
Broomfield, Colorado
Moore, Oklahoma
Nashville, Indiana
Portland, Michigan
2010
Phoenix, Arizona
Jacksonville, Florida
Pocatello, Idaho
Salem, Oregon
Here is a link to my workshop calendar where you can see all of my travel schedule and to get info on beginner and advanced Brayer workshops: http://zindorf.blogs.splitcoaststampers.com/workshop-calendar
Link to my Stampin’ Up website were you can order all of your must have Stampin’ Up products from me 24-7: http://michellezindorf.stampinup.net
Here is a link to all of my tutorials: http://zindorf.blogs.splitcoaststampers.com/tutorials-ive-written/
Frequently asked questions answers: http://zindorf.blogs.splitcoaststampers.com/frequently-asked-questions/


