
Hello There,
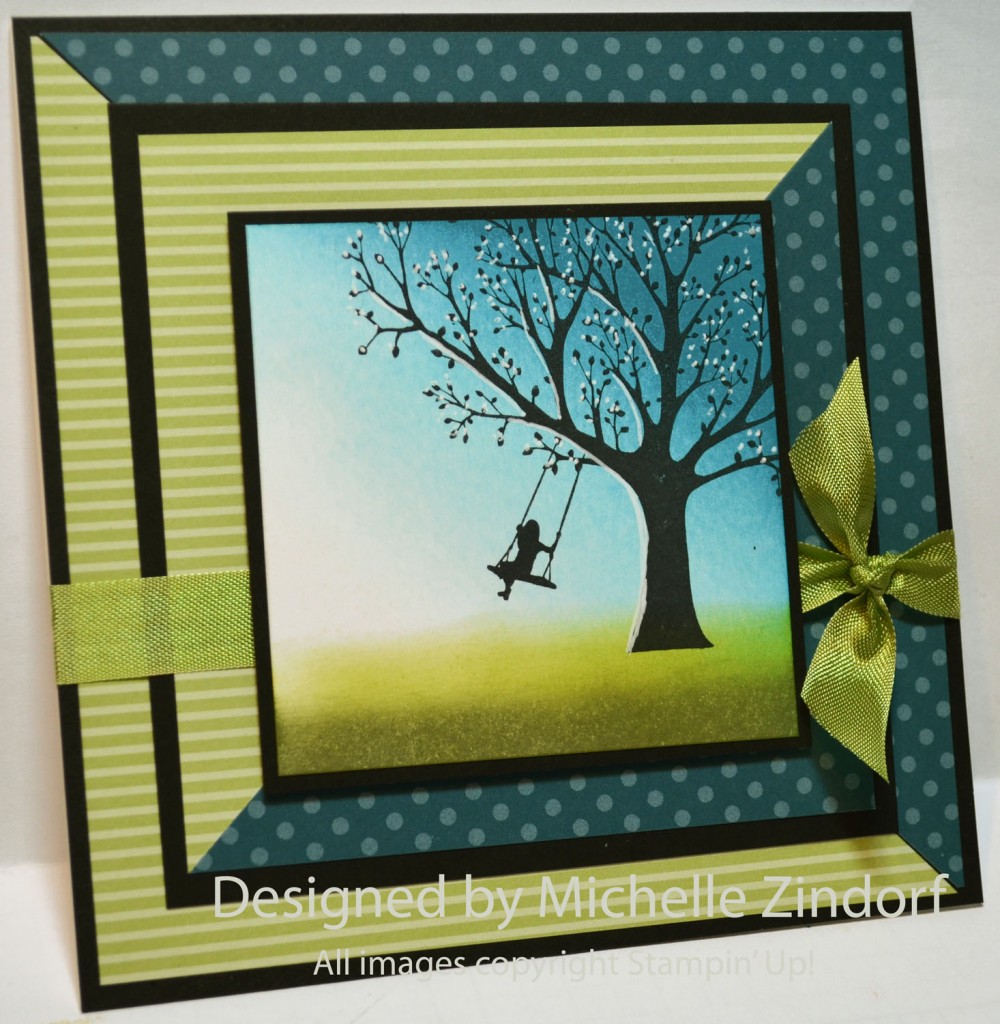
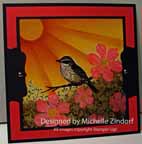
My tutorial today features a flower field created using the Stampin’ Up! Color Spritzer, super easy! Pair that up with a brayered sky and the super Stampin’ Up! set Lovely As a Tree and you got a great card. Check out my tutorial below.
********************************************
I’ve added this card to my sales page where you will also find some great deals on retired stamp sets. CLICK HERE TO CHECK IT OUT
********************************************
Now on with today’s tutorial. . . . . . .
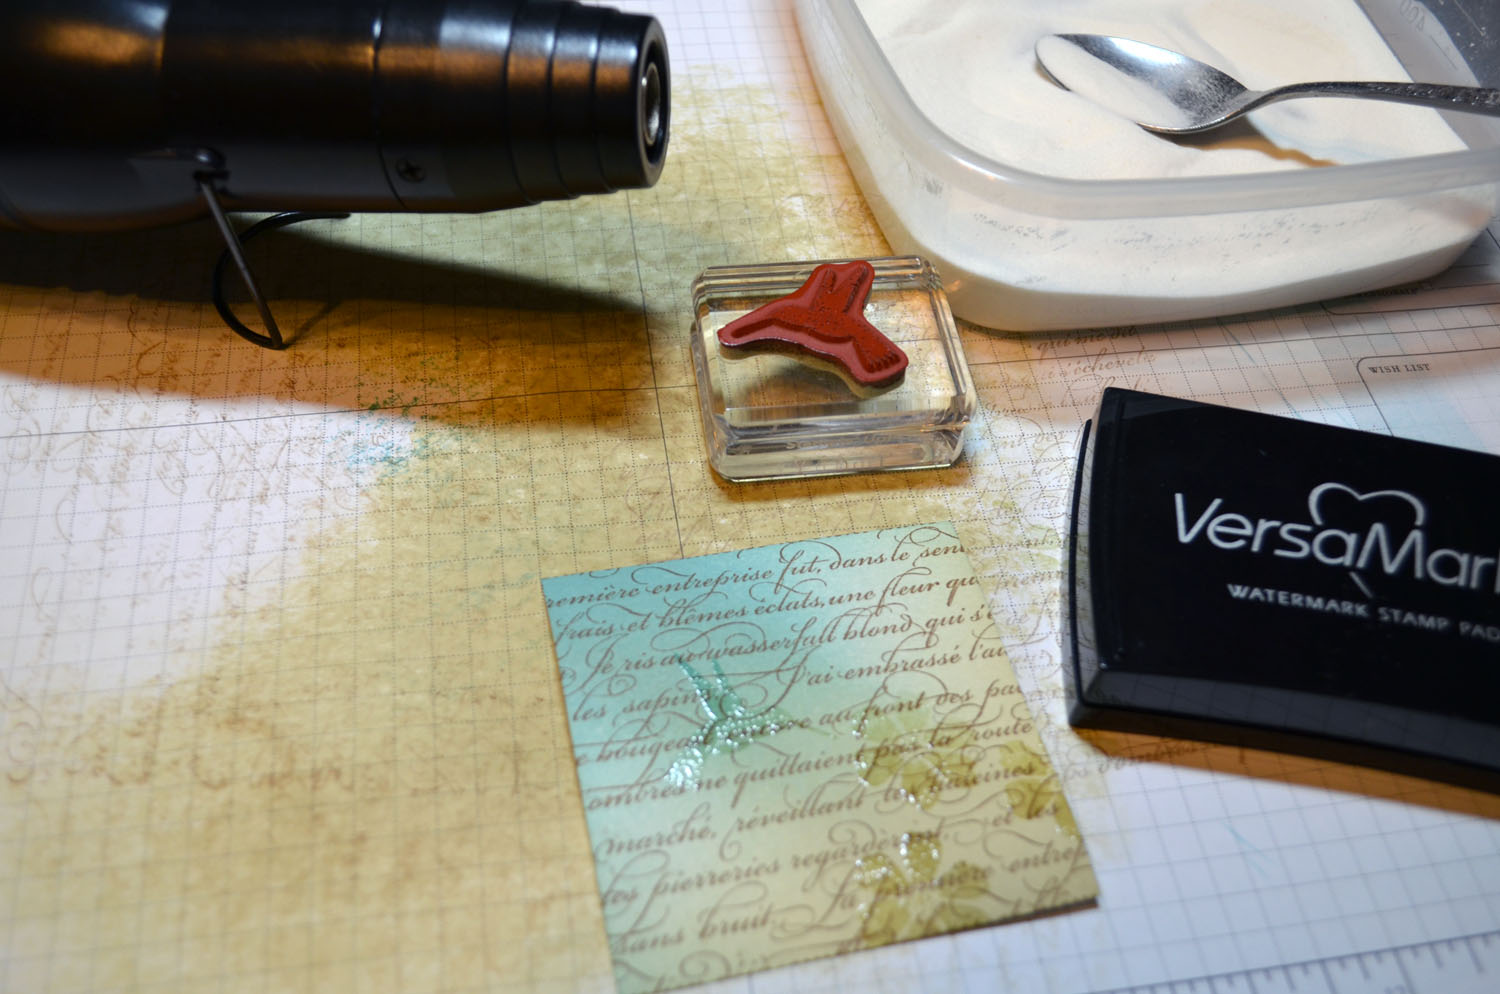
Project Supplies:
Stamps: Stampin’ Up! Lovely As a Tree (item #115026)
Card Stock: Stampin’ Up! Whisper White, Always Artichoke, Old Olive and Tempting Turquoise
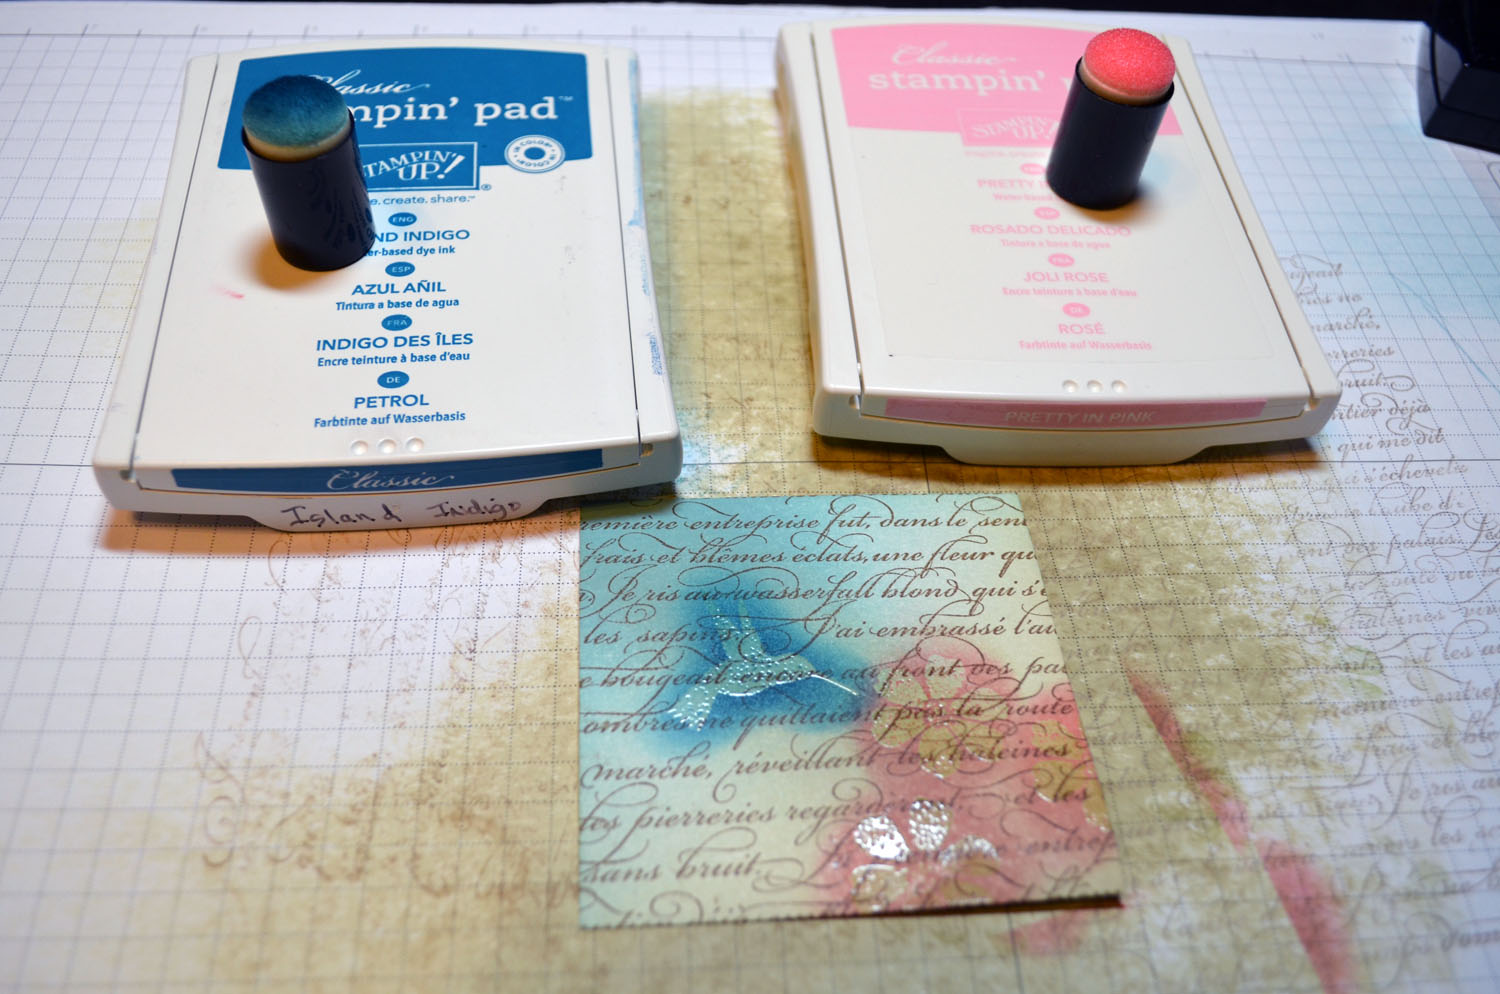
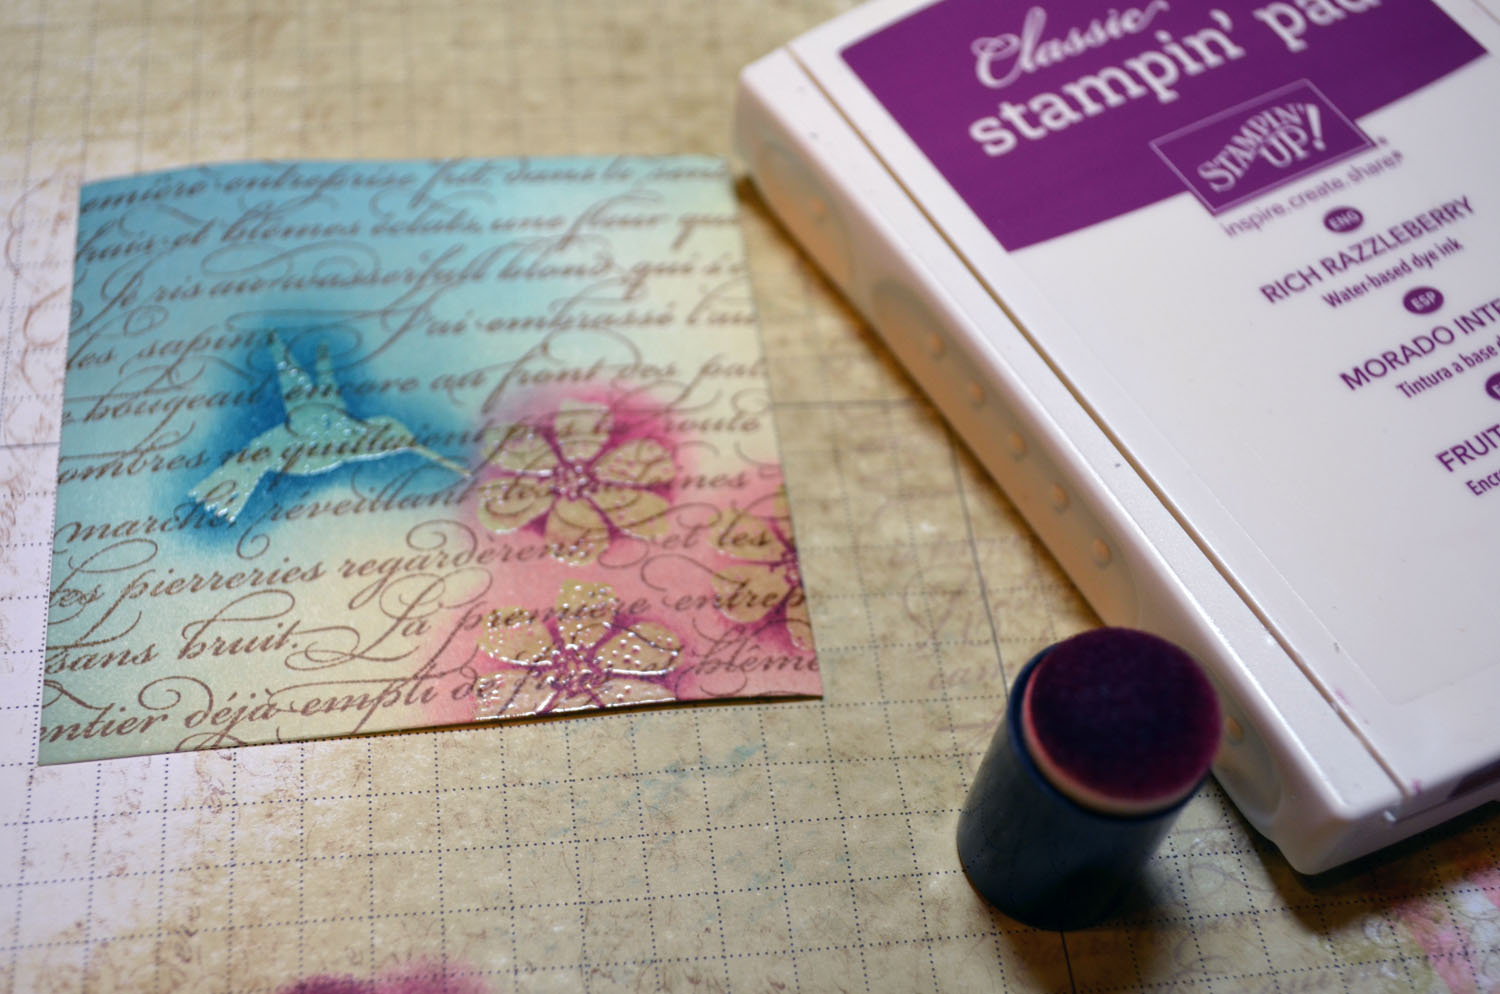
Ink: Stampin’ Up! Basic Black, Whisper White, Tempting Turquoise, Not Quite Navy, Lucky Limeade, Old Olive and Always Artichoke
Accessories: Stampin’ Up! Color Spritzer (item number 107066), sponges, Brayer, Stampin’ Dimensionals, Markers (Real Red, Old Olive, Calypso Coral, post it note

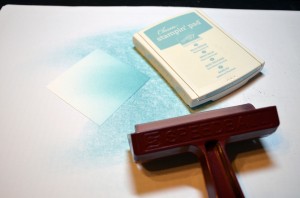
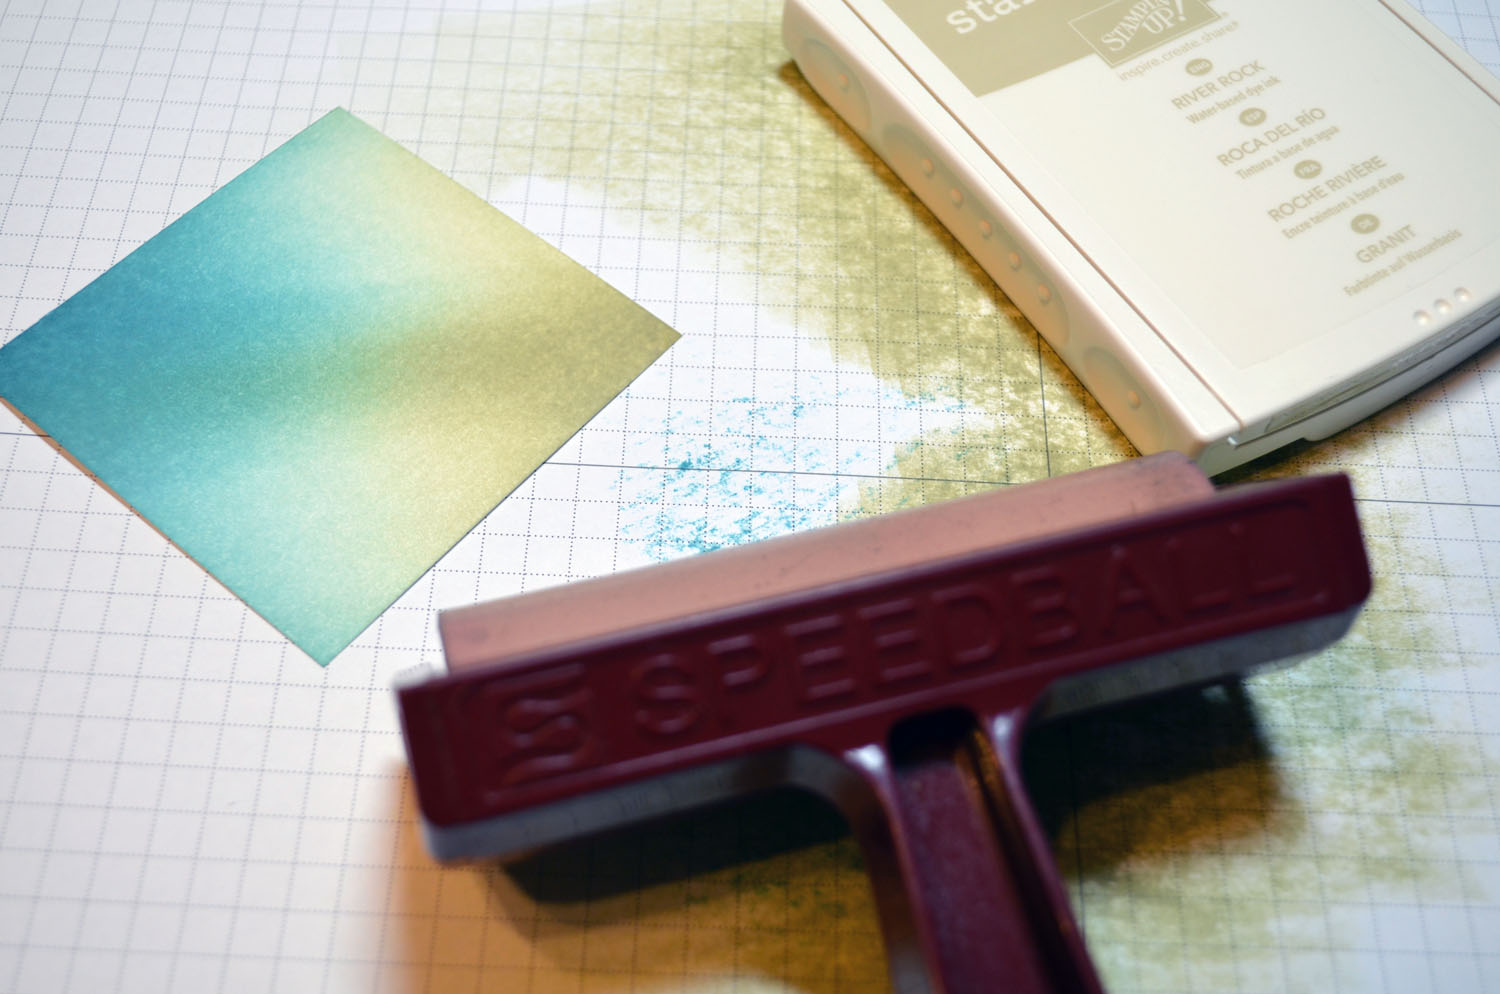
Brayered Tempting Turquoise ink at the top of a 3.5″ x 4.25″ piece of Whisper White Card Stock.

Brayered Not Quite Navy ink at the top of the card stock.

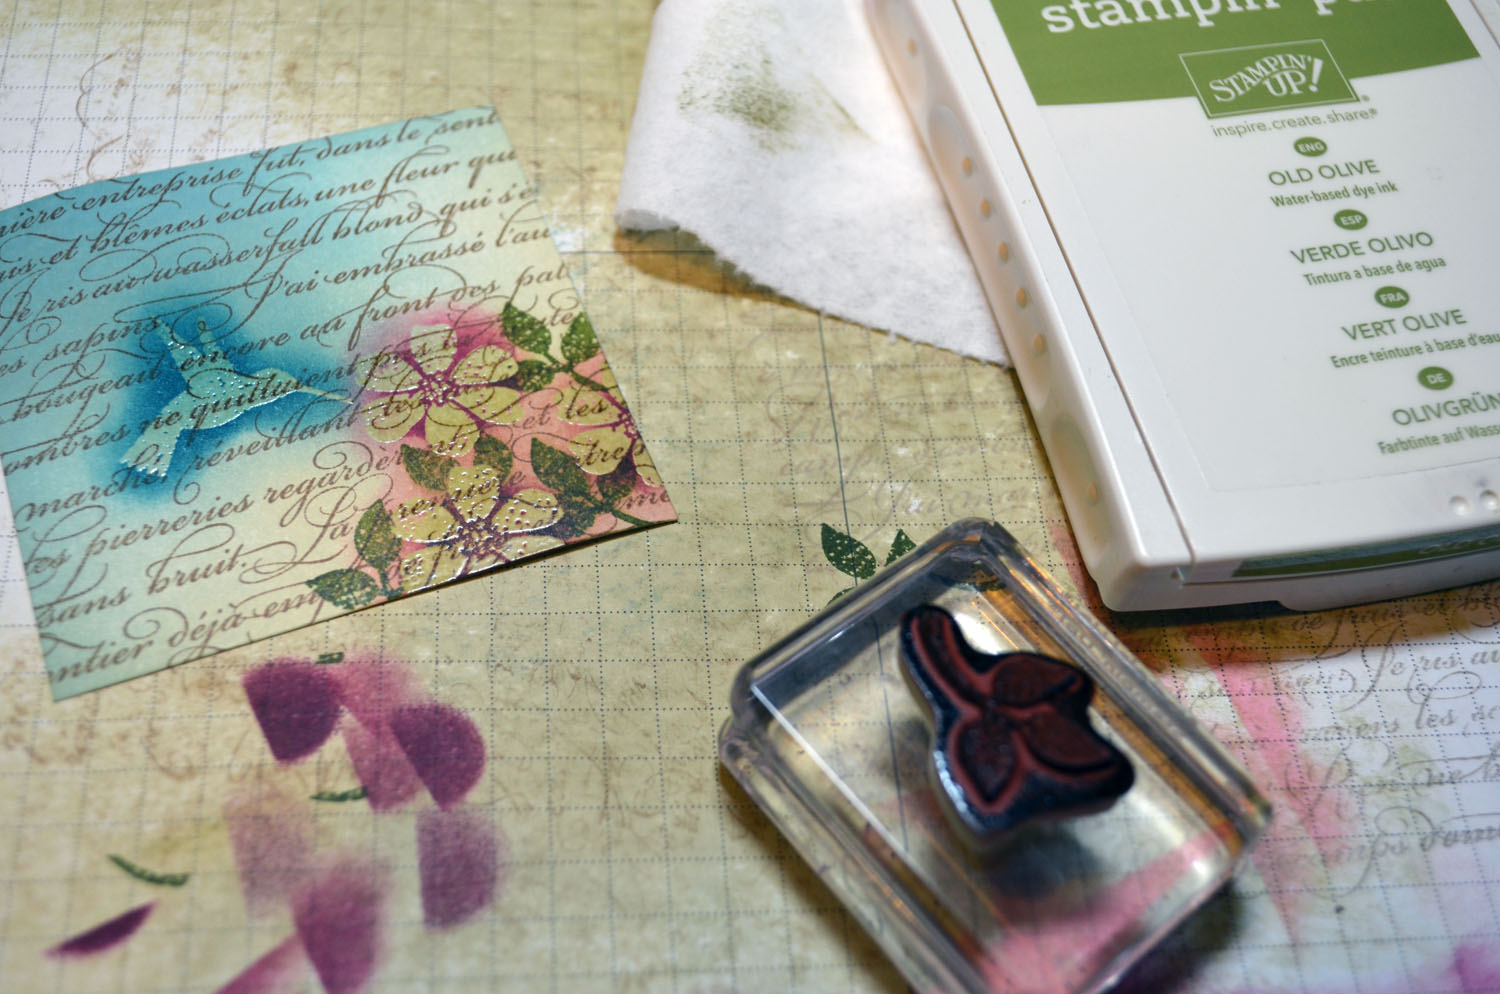
Sponged Lucky Limeade, Old Olive and Always Artichoke ink at the bottom of the card stock.


Using the color spritzer, spritzed Calypso Coral, Real Red and then Old Olive marker on the bottom of the card stock.


Ripped a post it note in a mountain shape and masked the top of the card stock with it.

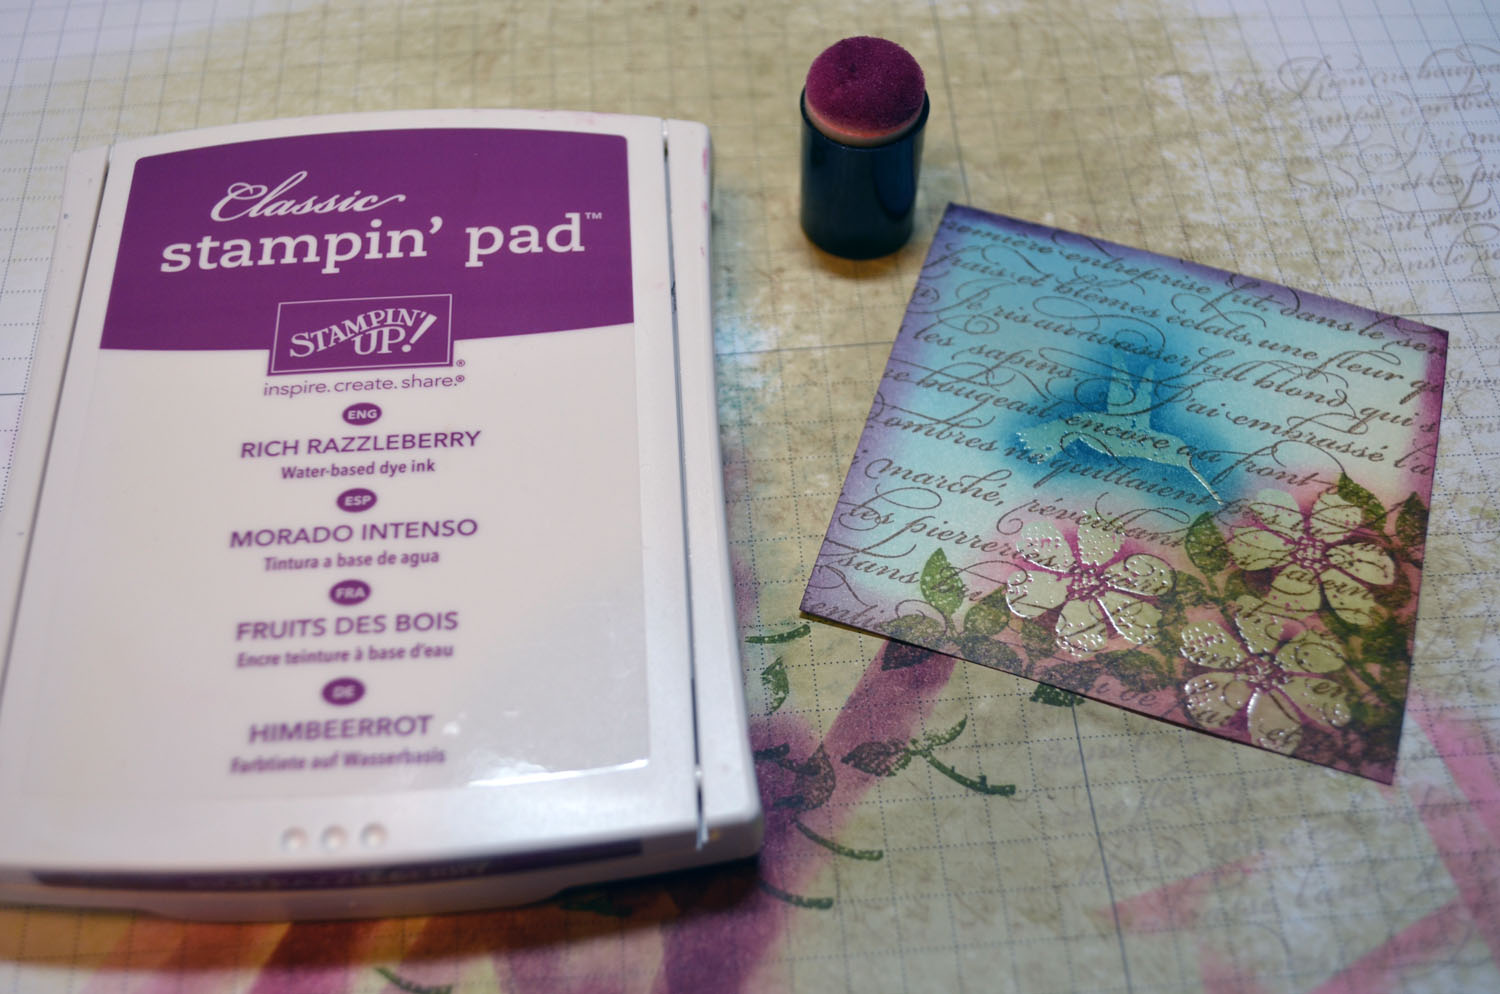
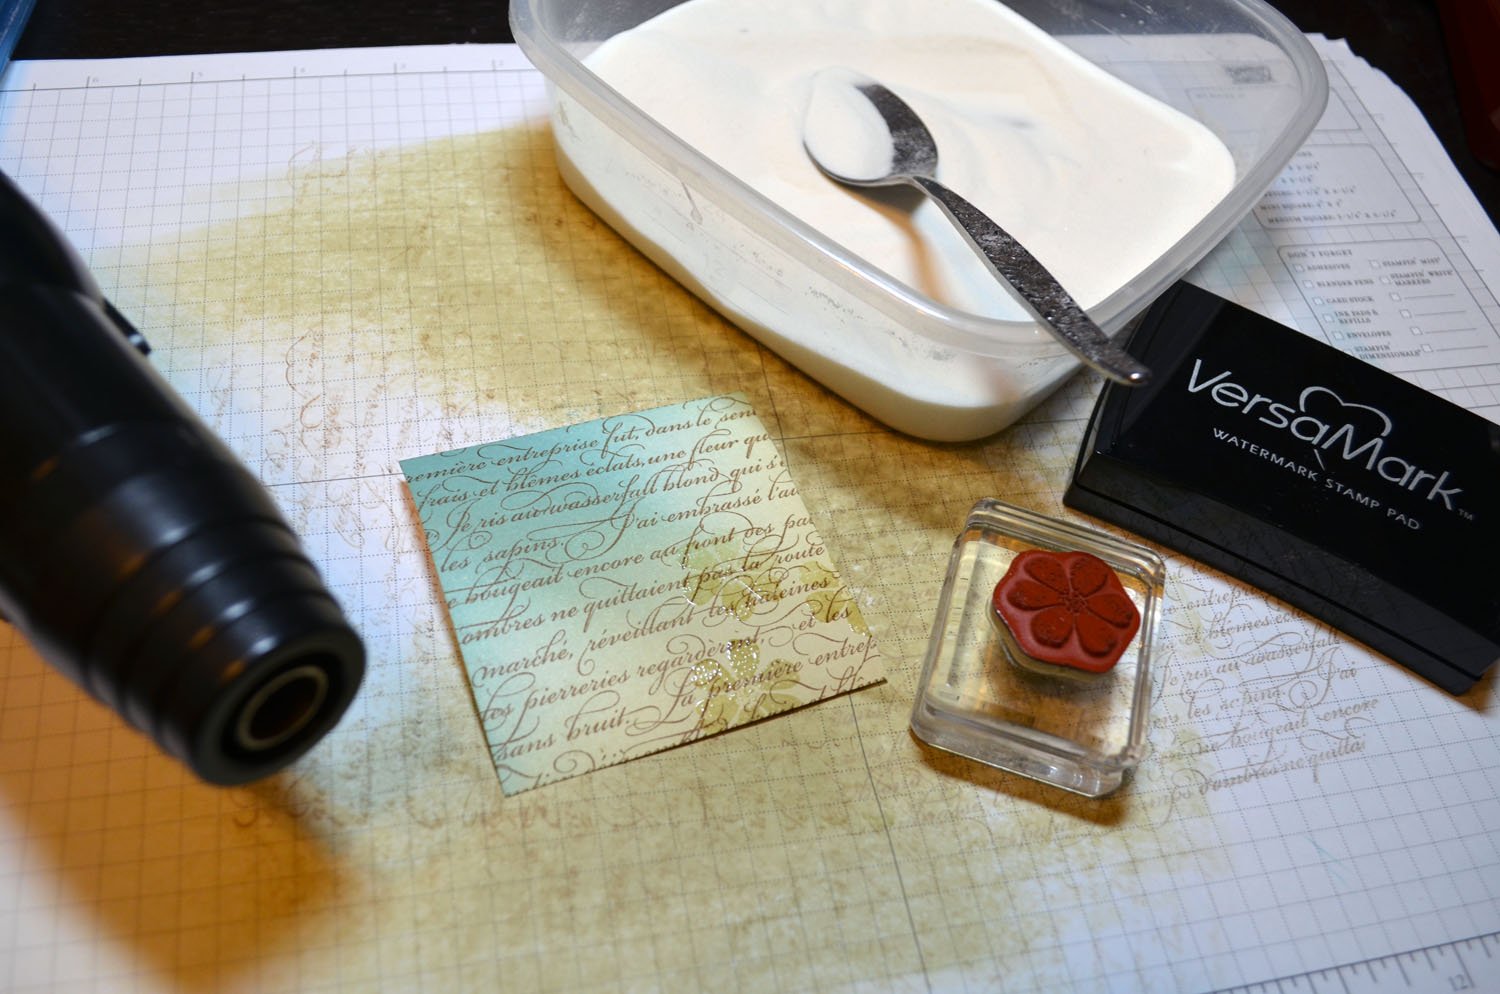
Sponged Not Quite Navy ink and then Whisper White ink in the mountains.


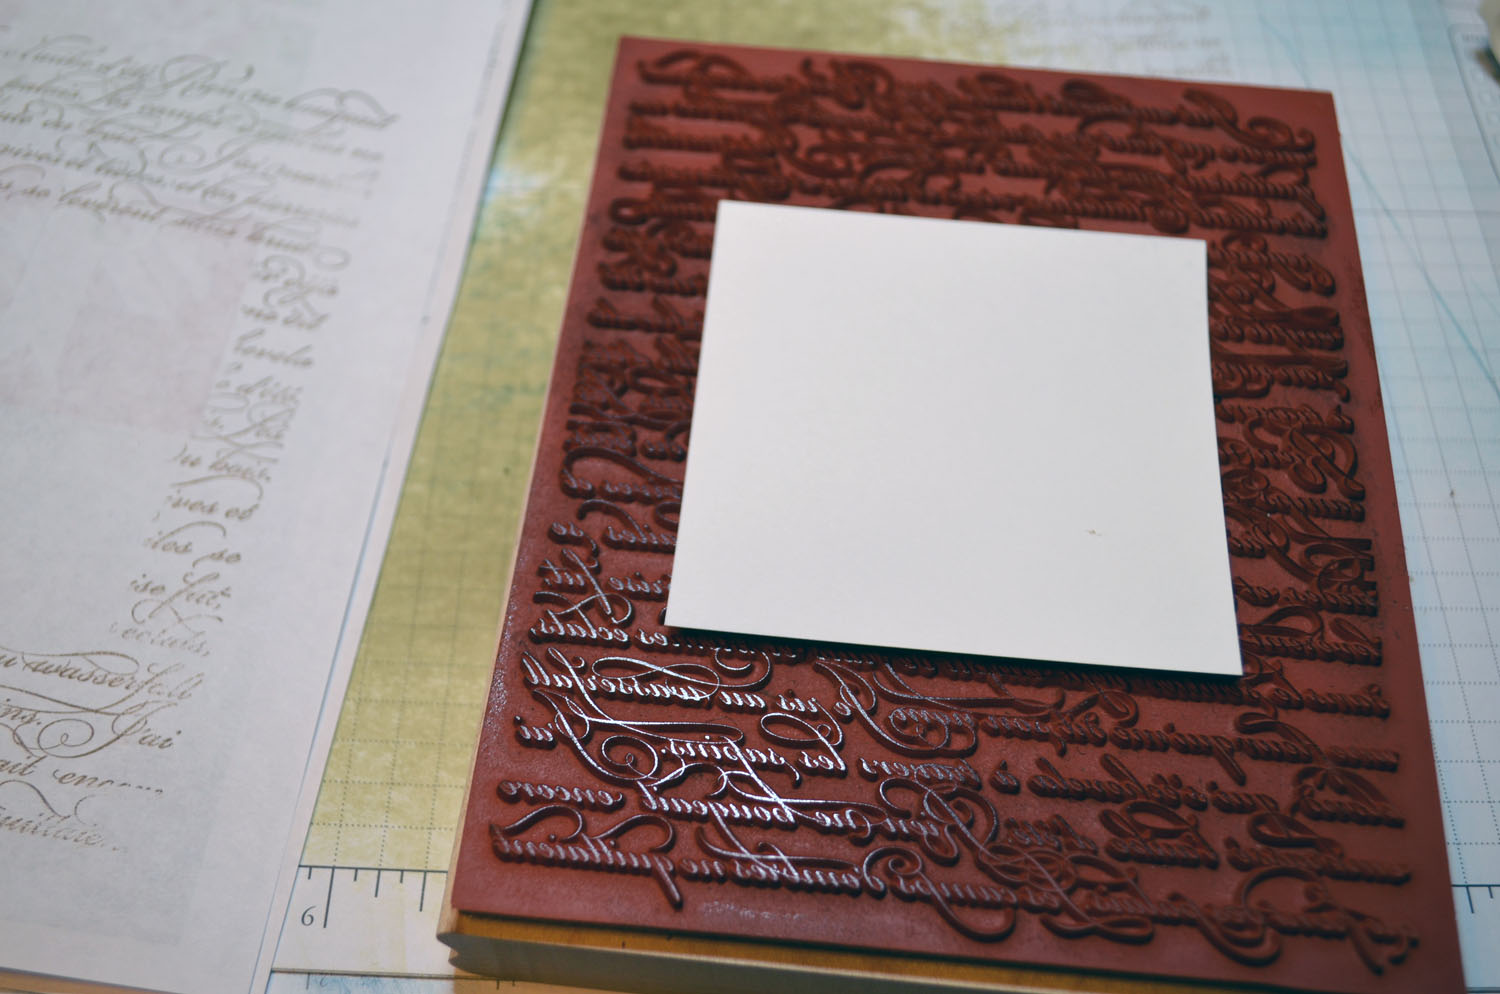
Removed the mask and Stamped just the trees (not the ground by inking only the trees) with Basic Black ink on both sides of the card stock.


Sponged Lucky Limeade all over the leave areas of the trees, sponged Old Olive ink at the bottom of the Lucky Limeade area.


Added a Whisper White card base, 5 ” x 6.5″ Old Olive panel, 4.75″ x 6.25″ Tempting Turquoise panel and two 1 1/4″ Old Olive square punches.

Added a strip of Always Artichoke and an Always Artichoke panel behind the main image panel. Popped up the two panels using Stampin’ Dimensionals.
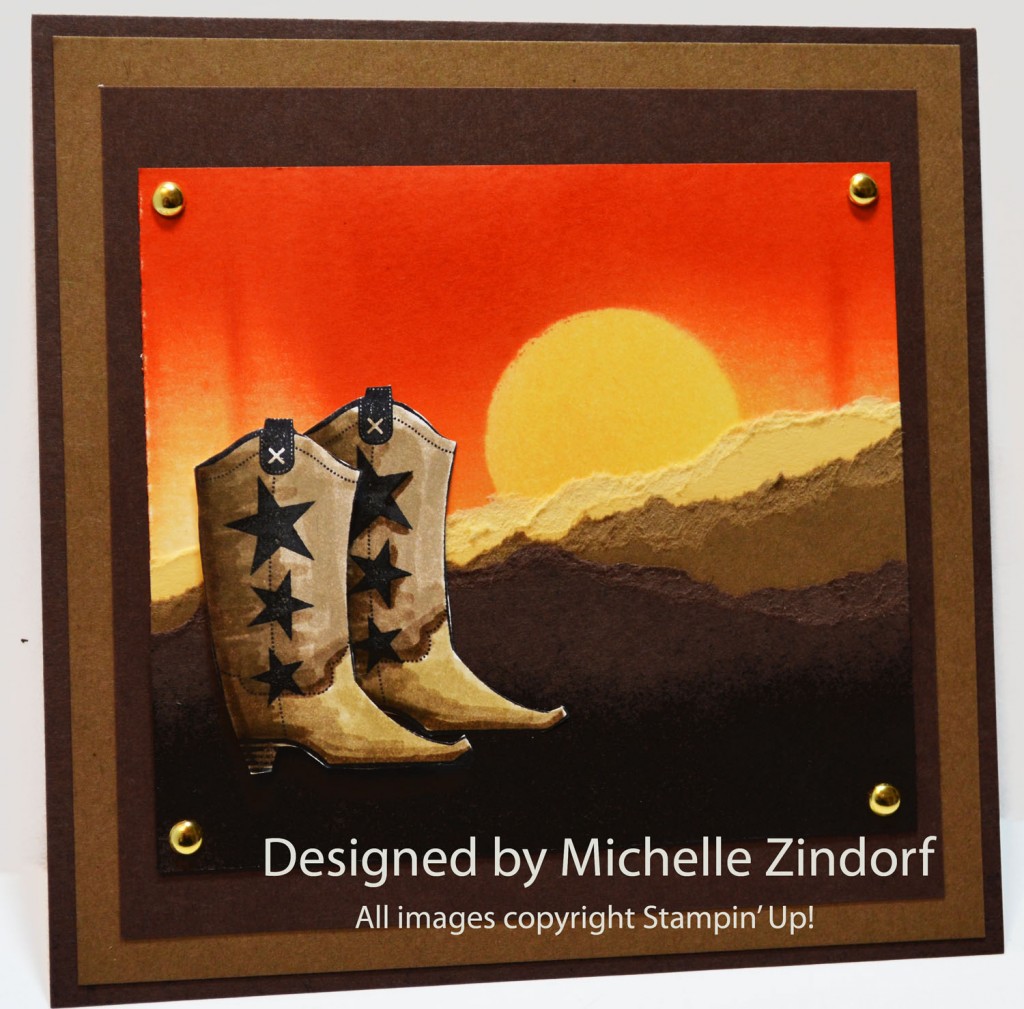
Here is the finished card measuring 5″ x 6.5″.

Please help support this blog by purchasing your Stampin’ Up! supplies through my online store. CLICK HERE TO SHOP NOW
May your day be extra wonderful!
Until my next post. . . . . .
Check out the awesome things happening at Stampin’ Up! below. There are only 30 days left to take advantage of the free Sale-a-bration products.
Hugs,

Weight loss in 2013: 13.9 lbs
********************************
A few reminders of things you will want to check out. . . . . . . .

Stampin’ Up’s fabulous Spring Catalog Get your supplies to rock those Spring projects.
Sale-a-bration brochure showing the totally terrific stamps and things you can get for free with a $50 order.
***********************************************************
Michelle’s Free Stamp Program
Don’t miss out on my Customer’s free stamp set program. Check it out! Along with a handmade thank you card from me for your $50 order you will receive a token for each $50 in product you ordered using me as your demonstrator. After you have collected 10 tokens you will receive a free current stamp set of your choosing, a value of $39 or less. Here is a link to my online shopping page that you can shop at 24/7 (from the comfort of your home, even in your pj’s) and the products will be shipped directly to your door step from Stampin’ Up. CLICK HERE TO SHOP. My free stamp set program will be an on going program. ![]()
**************************************************
It’s the time of year us Stampin’ Up! Fans look forward to, it’s Sale-a-bration time!!!! The best time of year to get your Stampin’ Up! products. Why you ask?

Shop and receive a free Sale-a-bration product for every $50 you spend. CLICK HERE TO CHECK OUT THE SALE-A-BRATION PRODUCTS! This is a long brocure so be sure to scan right when viewing. . . . .

***********************************************************************

Join Stampin’ Up! during Sale-a-bration and chose $156.50 in product in your kit for just $99. That’s 25% more product! Start a business or just enjoy being a demonstrator to receive the 20% discount.

*************************************************
.jpg)
It’s a Magical Paper Escape Every Month!
Check this out, you can now get a monthly kit called Paper Pumpkin from Stampin’ Up! that includes exclusive stamps and everything you will need for a great project. You can get more info on this great product at www.mypaperpumpkin.com They even have a try me kit! You won’t want to miss out on even one of these kits. . . . . . . Please select me as your demonstrator when placing your order.
********************************************
![]()
Have you checked out the great clearance rack at Stampin’ Up! CLICK HERE


