Hey There,
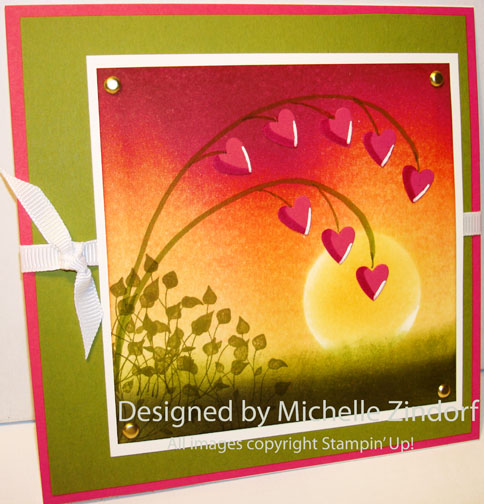
I have a tutorial for you today. It’s a card I made this morning for a new friend, Tami White. Tami just lost a loved one and I wanted to send her a card that would let her know I am thinking of her. So, Tami, if you are reading this expect this one in the mail, cyber hugs!
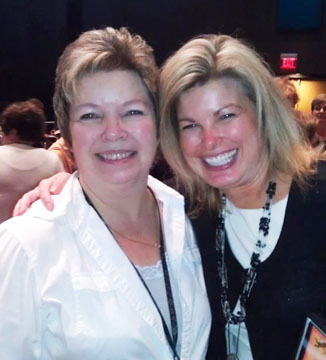
Tami and I at Stampin’ Up’s Leadership Conference back in January.
Reminders before I start on the tutorial:
Stampin’ Up! Sale-a-bration sales period runs from January 24 – March 31, 2012. During this sales period you will receive your choice of a free stamp set from the Sale-a-bration catalog for every $50 in product you order. CLICK HERE TO CHECK OUT THIS YEAR’S SALE-A-BRATION CATALOG! You won’t want to miss out on the sale-a-bration sets, paper and embellishments.
Don’t miss out on my Customer free stamp set program. Check it out! Along with a thank you card from me for your order you will receive a token for each $50 in product you order using me as your demonstrator. After you have collected 10 tokens you will receive a free current stamp set of your choosing, a value of $39 or less. Here is a link to my online shopping page that you can shop at 24/7 (from the comfort of your home, even in your pj’s) and the products will be shipped directly to your door step from Stampin’ Up: CLICK HERE TO SHOP. My free stamp set program will be an on going program. ![]()
Don’t forget the Stampin’ Up! new Occasions Mini Catalog CLICK HERE TO TAKE A LOOK AT IT. I know you will fall in love with the new stamp sets, dies and accessories. They are to die for. . .
Now on with today’s tutorial. . . . . . .
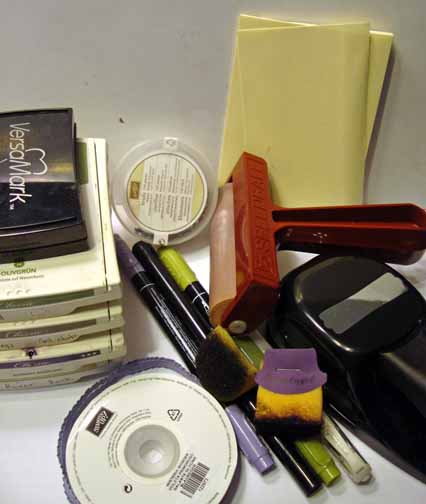
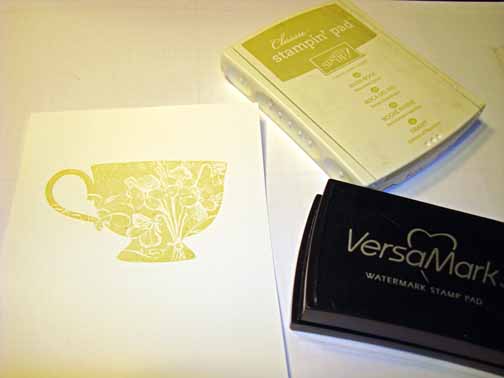
Supplies:
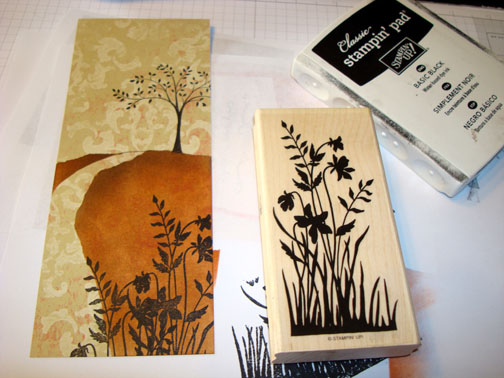
Stamps: Stampin’ Up! Pocket Silhouettes (item number 111672)
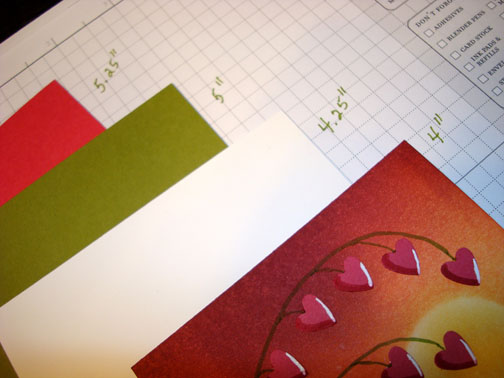
Card Stock: Stampin’ Up! Whisper White, Old Olive, Rose Red and Melon Mambo
Ink: Stampin’ Up! Old Olive, Basic Black, More Mustard, Rich Razzelberry and Melon Mambo
Accessories: Stampin’ Up! sponges, 1 1/4″ circle punch, brayer, White Gel Pen, Old Olive Marker, Rose Red Marker, Heart Punch, Whisper White Ribbon, Gold Brads, post it note.
Want a free copy of the current Stampin’ Up! Occasions Mini Catalog? Just e-mail your address to mzindorf@aim.com and I will get one right out to you. Get your copy of the 2011-2012 Stampin’ Up! Idea Book & Catalog by sending $9.95 to me at P.O. box 116, West Alexandria, Ohio 45381 or via paypal to mzindorf@aim.com, shipping is free. ![]() Are you getting inspiration from this blog? One way you can help support it is to order your Stampin’ Up products through me. Click HEREto place an order and have your order delivered directly to your door step from Stampin’ Up! Want to become a Stampin’ Up Demonstrator , receive a 20% discount on product and earn instant income on orders, get to purchase products before they are released to the public? Consider being part of my Stampin’ Up Team and start your own business or become a Hobby Demo just for the discount. Click HERE for more information.
Are you getting inspiration from this blog? One way you can help support it is to order your Stampin’ Up products through me. Click HEREto place an order and have your order delivered directly to your door step from Stampin’ Up! Want to become a Stampin’ Up Demonstrator , receive a 20% discount on product and earn instant income on orders, get to purchase products before they are released to the public? Consider being part of my Stampin’ Up Team and start your own business or become a Hobby Demo just for the discount. Click HERE for more information.

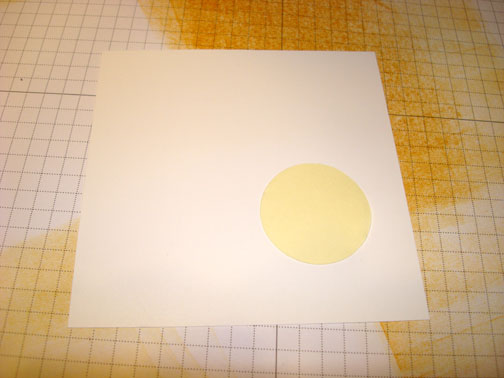
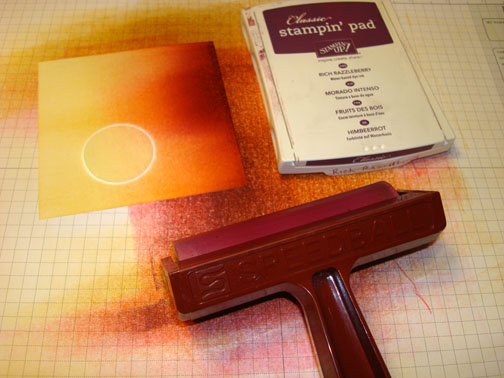
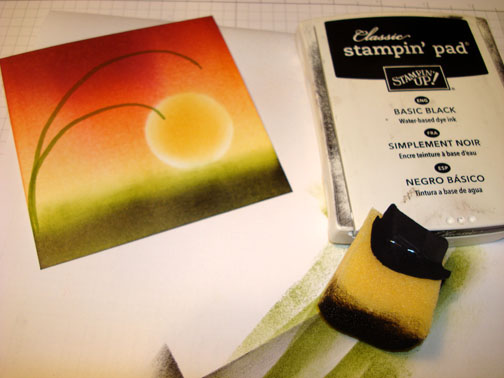
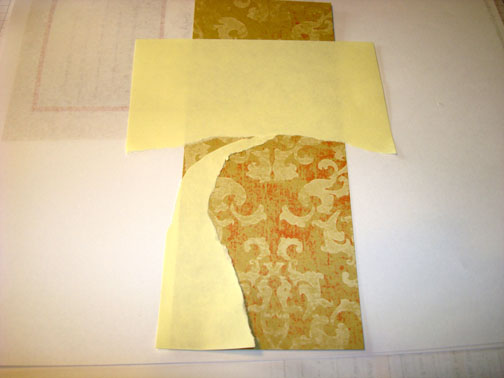
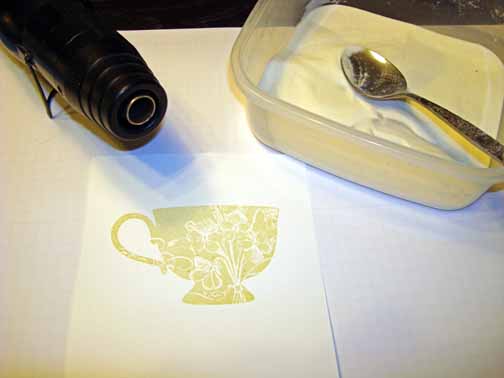
Punched a 1 1/4″ circle from the sticky part of a post it note. Used it to mask my sun on a 4″ square piece of Whisper White card stock.
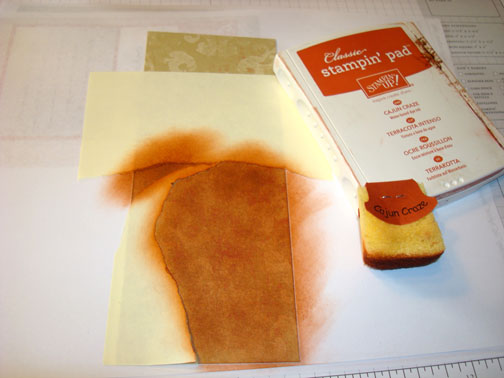
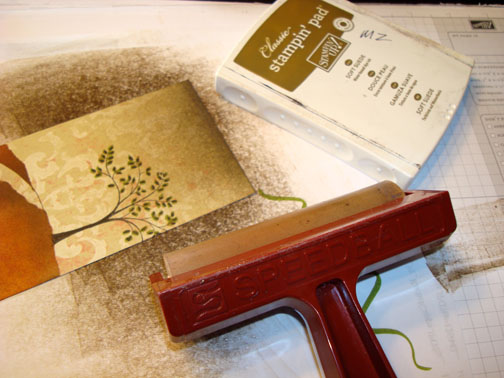
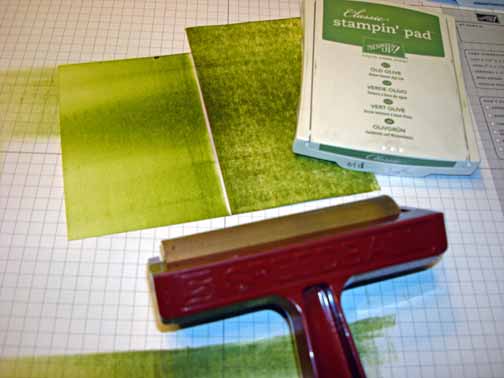
Brayered More Mustard ink on the card stock.

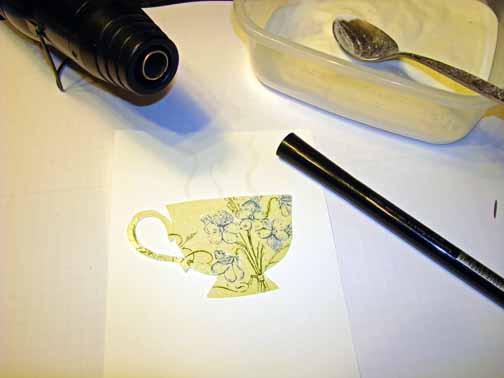
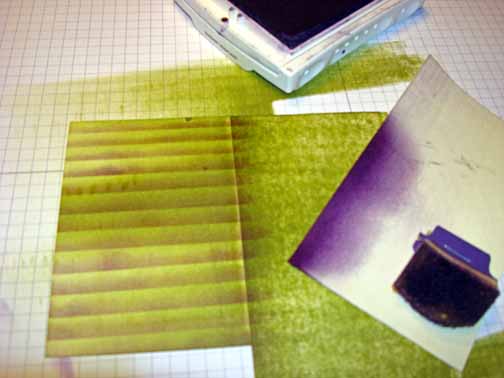
Brayered Melon Mambo ink on the card stock.
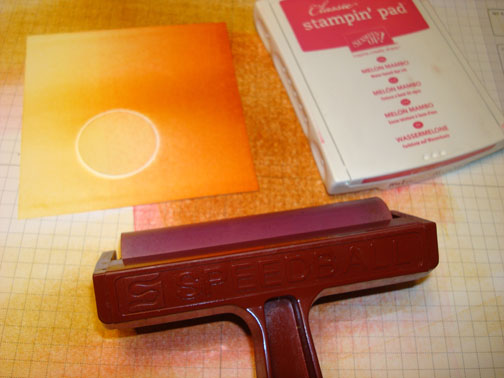
Brayered Rich Razzelberry ink at the top of the card stock.
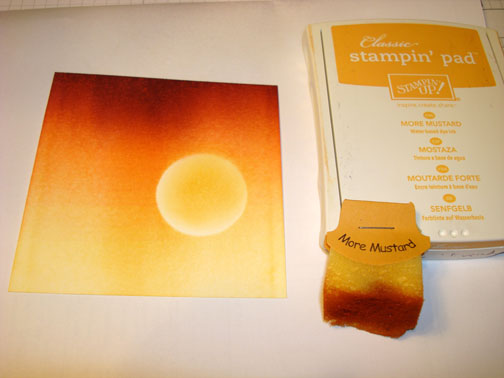
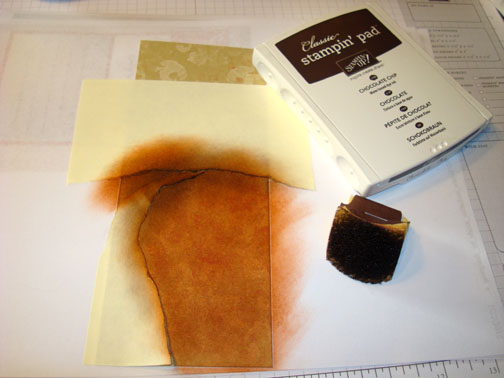
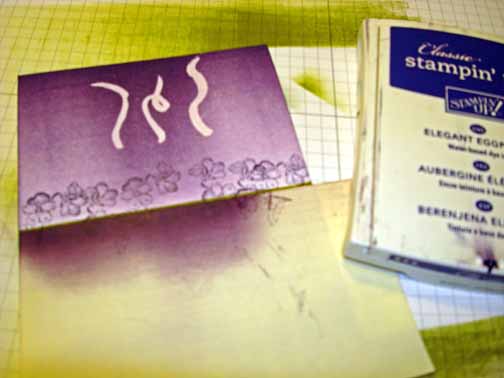
Removed the sun mask and sponged More Mustard ink in the center of the sun.
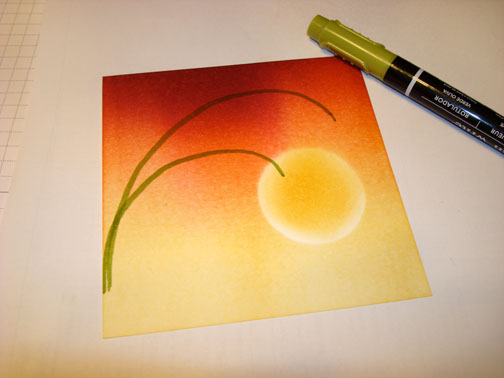
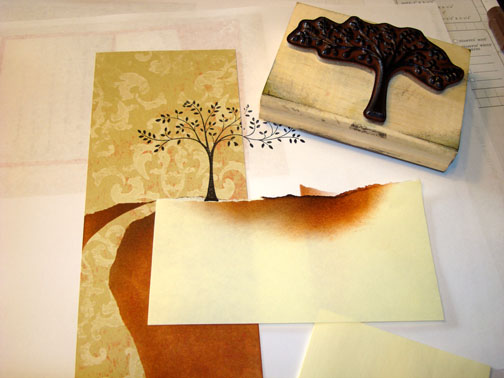
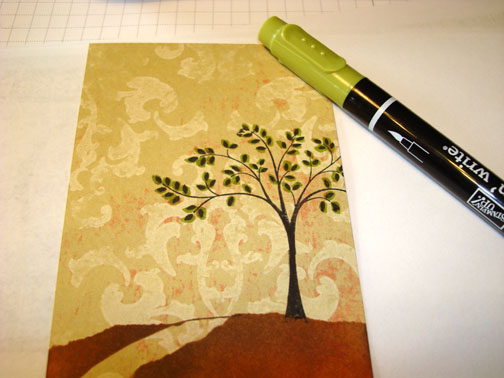
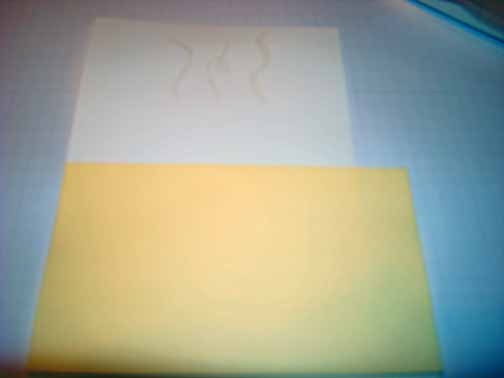
Made two stems using an Old Olive Marker.
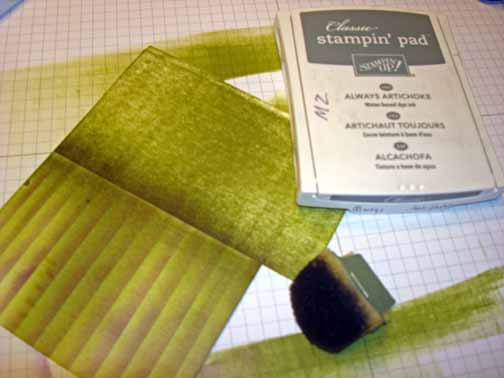
Sponged Old Olive ink at the bottom of the card stock.
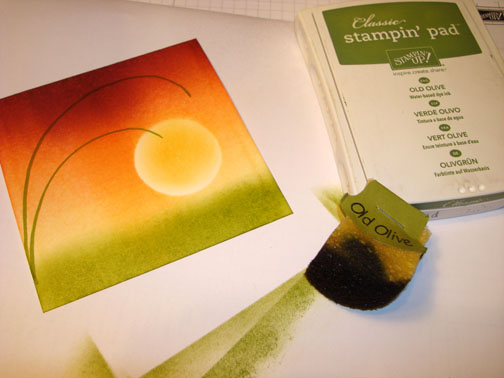
Sponged Basic Black at the very bottom of the card stock.
Punched 7 small hearts out of Rose Red card stock.
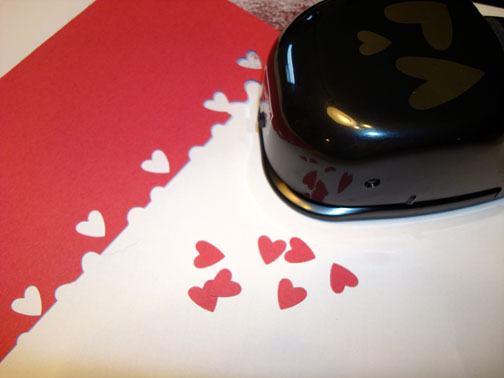
Colored the left side of the heart with a Rose Red marker to create a shadow and dimension in the heart.

Adhered the hearts to my main image panel.
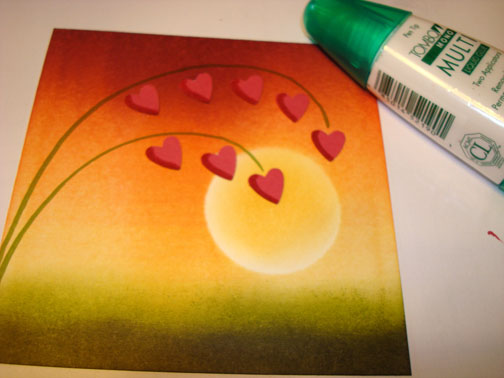
Added a little stem to the hearts that connects to the large stem using an Old Olive marker.
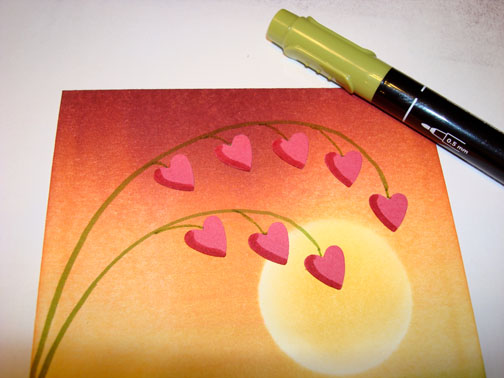
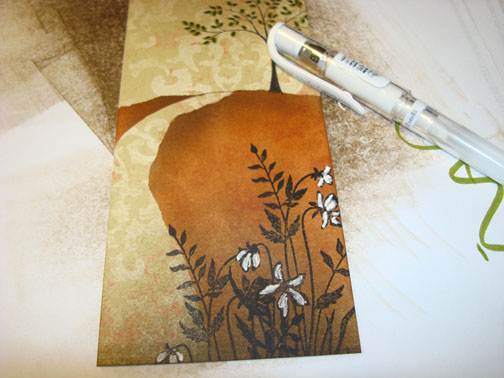
Livened the heart up by putting a highlight on each heart using a white gel pen.

Stamped the leafy plant from the Stampin Up Pocket Silhouettes set using Old Olive ink a few times at the bottom left corner of the main image panel.

Added a Melon Mambo panel, Old Olive Panel, Whisper White Panel.
Added Whisper White Ribbon.
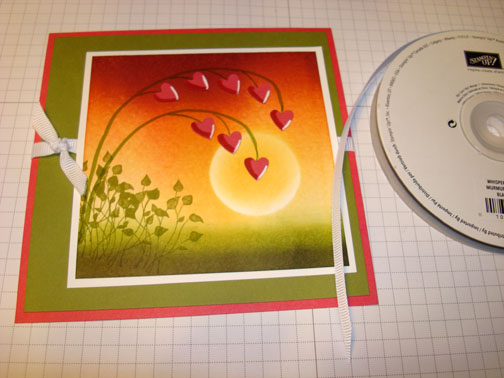
Added 4 Gold Brads.
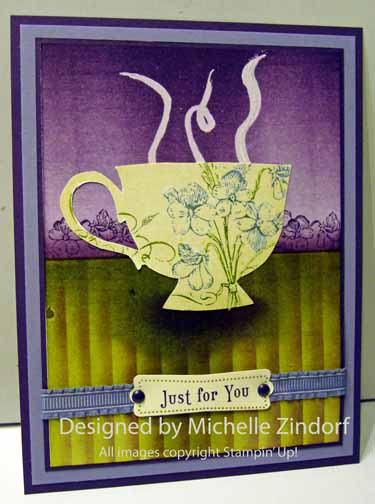
Here is the finished card measuring 5.25″ square.
May you let someone you care about know it today.
Until my next post. . . . . . . .
Hugs,


 Get ready for Brayer and Direct to Paper Workshops! I am coming to the following locations, click the location name for more information.
Indianapolis, Indiana (Sold Out)
Sparta, New Jersey (Sold Out)
Post Falls, Idaho (outside of Coeurd’Alene)
Sand Lake, Michigan (just North of Grand Rapids)
Longmont (Gunbarrel), Colorado
Here is a link to my workshop calendar where you can see all of my travel schedule and to get info on beginner and advanced Brayer workshops, along with the newly added Direct to Paper Workshop: http://zindorf.blogs.splitcoaststampers.com/workshop-calendar
Don’t see a workshop in your State? Interested in hosting the workshops in your area Click HERE to get hostess information.
Link to my Stampin’ Up website where you can order all of your must have Stampin’ Up products from me 24-7: http://michellezindorf.stampinup.net


