
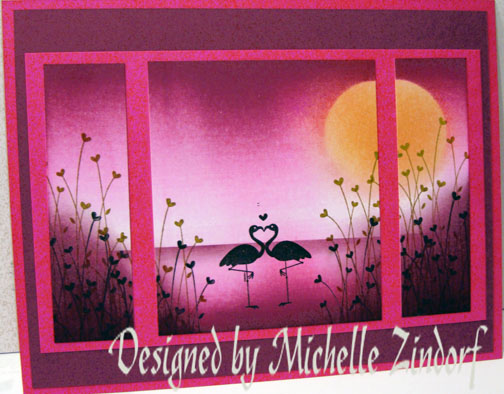
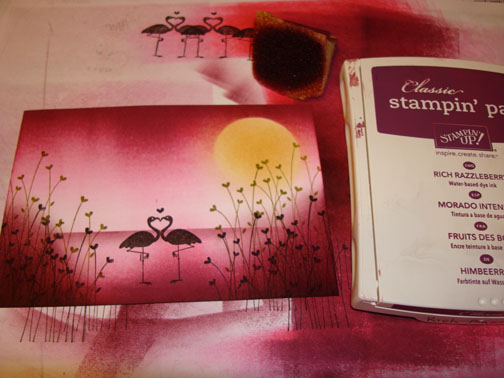
Today’s tutorial was made for my Stampin’ Up Down Line Team Technique Swap. The technique I used on the flower petals is called “Shadow Stamping”. This is a very quick, but Wow result, giving you great color variation.
Let’s get started. . . . .
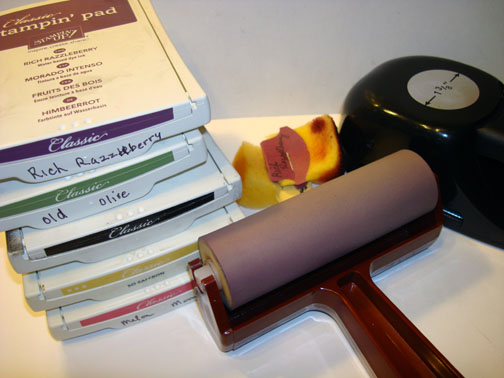
Supplies:
| Stamps: Stampin’ Up! Build a Blossom |
| Paper: Stampin’ Up! Whisper White, Early Espresso, Cajun Craze and Tempting Turquoise |
| Ink: Stampin’ Up! Pacific Point, Cajun Craze, Daffodil Delight, Basic Black, Tempting Turquoise |
| Accessories: Stampin’ Up Sponge, Gold Brads, Blossom Petals Punch, 1 1/4″ circle punch, 3.5″ circle Die Cut, Big Shot Machine, Brayer, Post it Note, Mat Pack, Piercing Tool |
Don’t forget it is Sale-a-bration time at Stampin’ Up. Receive a free Sale-a-bration set for each $50 in merchandise purchased. Click HERE to place an order. Your order will be shipped directly to your door step from Stampin’ Up!
The Stampin’ Up USA Idea book and Catalog is here. For your copy, please send a check for $9.95 to Michelle Zindorf, P.O. Box 116, West Alexandria, OH 45381 or send it via paypal to mzindorf@aim.com USA only. My current customers will receive a new Occasions Mini Catalog automatically from me. Not a current customer and want a free copy of the new Occasions Mini Catalog ? E-mail your mailing address to mzindorf@aim.com and I will get one in the mail to you. ![]() Are you getting inspiration from this blog? One way you can help support it is to order your Stampin’ Up products through me. Click HERE to place an order. Want to become a Stampin’ Up Demonstrator , receive a 20% discount on product and earn instant income on orders? Consider being part of my Stampin’ Up Team and start your own business or become a Hobby Demo just for the discount. Click HERE for more information.
Are you getting inspiration from this blog? One way you can help support it is to order your Stampin’ Up products through me. Click HERE to place an order. Want to become a Stampin’ Up Demonstrator , receive a 20% discount on product and earn instant income on orders? Consider being part of my Stampin’ Up Team and start your own business or become a Hobby Demo just for the discount. Click HERE for more information.

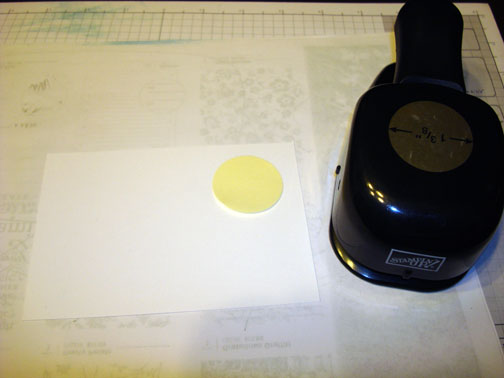
Cut a 3.5″ circle our of a piece of Whisper White card stock using a circle die and my big shot machine.

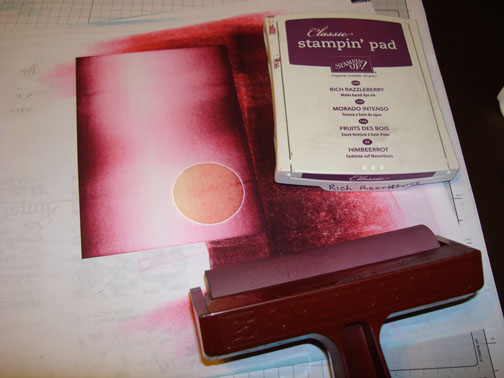
Punched a 1 3/4″ circle from the stick part of a post it note and used it as a mask for the sun. Brayered Tempting Turquoise ink on the card stock.

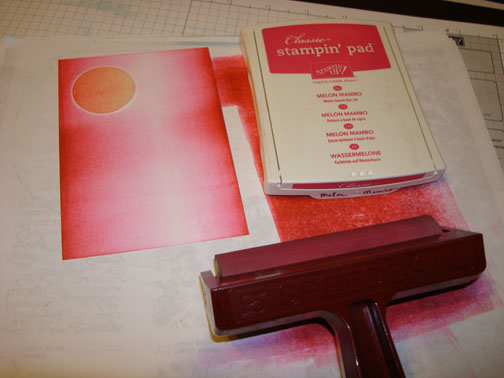
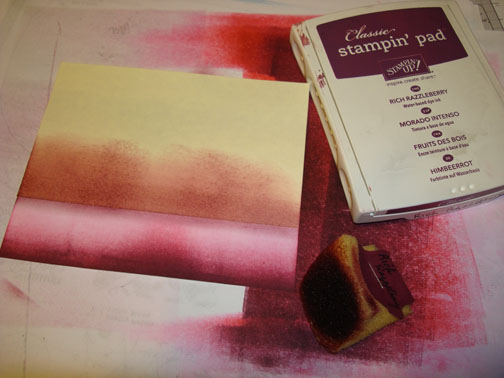
Brayered Pacific Point ink at the top of the card stock, not covering the Tempting Turquoise ink entirely.

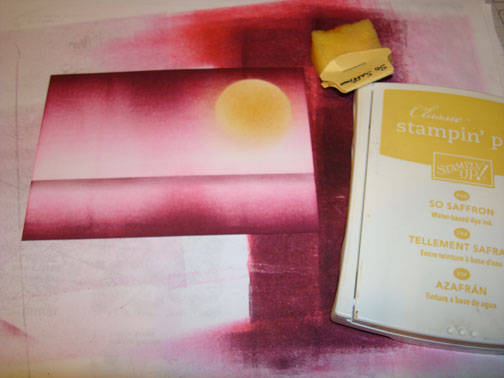
Removed the sun mask and sponged Daffodil Delight ink on the sun.

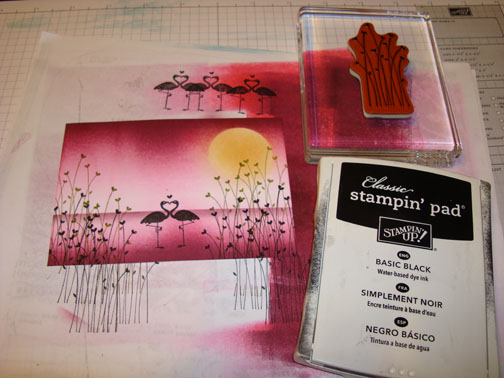
Loaded the petal from the Stampin’ Up set “Build a Blossom” with Daffodil Delight ink and then rolled the edges of the stamp on a Cajun Craze ink before stamping. This technique is called Shadow stamping. 🙂 I stamped the petals on Whisper White card stock.

Punched the petals out using the matching punch.

Adhered the petals to the die cut circle.

Punched a 1 1/4″ circle from Early Espresso card stock and then sponged Basic Black ink on the circle edges.

Adhered the Early Espresso circle to the center of the petals and cut the part of the circle off that hangs over the die cut edge.

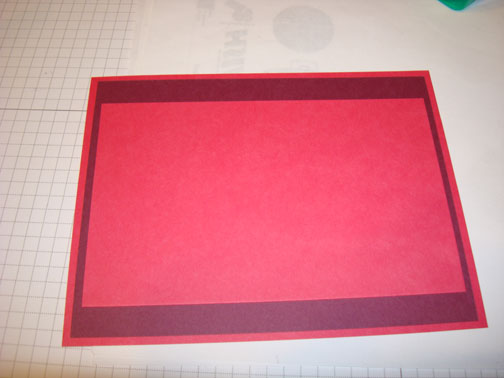
Added 2 Cajun Craze panels, 1 Tempting Turquoise panel and 1 Early Espresso panel.

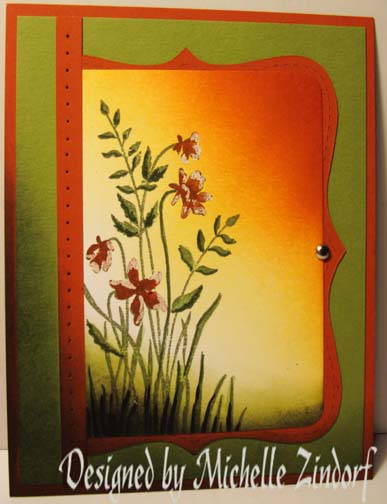
Added Pierced rows at the top and left side of the card stock using the Stampin’ Up Mat pack and piercing tool.

Pierced holes in the flower center using the piercing tools.

Added 4 gold brads.
Here is the finished card measuring 5.25″ square.
May your day be filled with laughter and love.
Until my next post. . . . . . . .
Hugs,
Michelle
 Get ready for Brayer Workshops! I am coming to the following locations, click the location name for more information.
Syracuse (Bridgeport), New York
Owings Mills, Maryland (Baltimore Area)
Staley , North Carolina (South of Greensboro)
Jefferson, Louisiana (New Orleans Area)
Here is a link to my workshop calendar where you can see all of my travel schedule and to get info on beginner and advanced Brayer workshops: http://zindorf.blogs.splitcoaststampers.com/workshop-calendar
Don’t see a workshop in your State? Interested in hosting the workshops in your area in 2012? Click HERE to get hostess information.
Link to my Stampin’ Up website where you can order all of your must have Stampin’ Up products from me 24-7: http://michellezindorf.stampinup.net


