
I woke this morning feeling a little uninspired, still feeling under the weather. It must have taken me over an hour just to pick out a stamp to use. But once I picked up this Stampin’ Up! set “Abundant Hope” things started to fall into place. Especially, since this set just screams SPRING! So, with that being said, I picked out some Spring colors and off to the races I went with embossing powder and brayer in hand.
Let’s get started on the tutorial.. . . . . . .
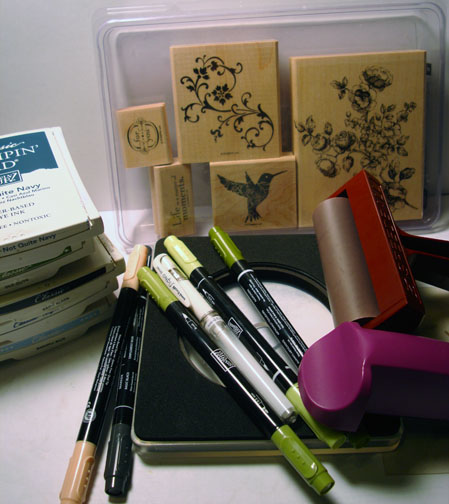
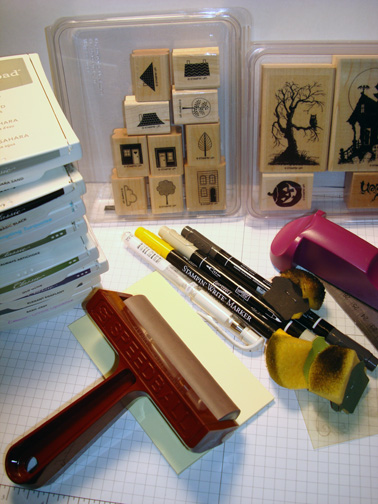
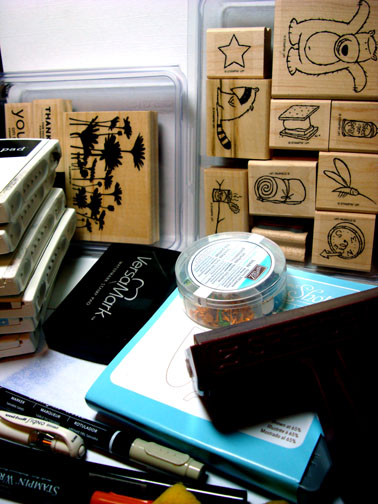
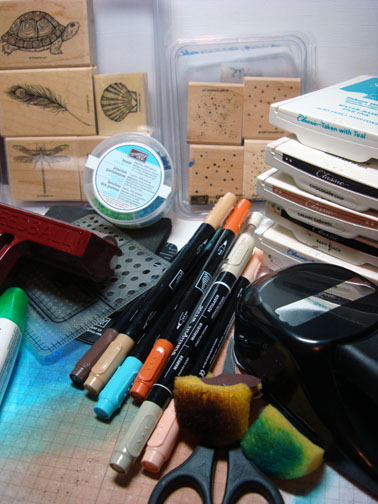
Supplies:
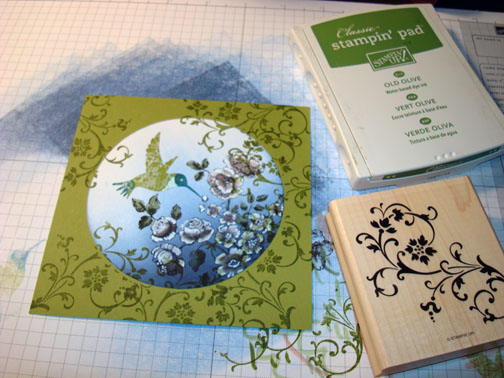
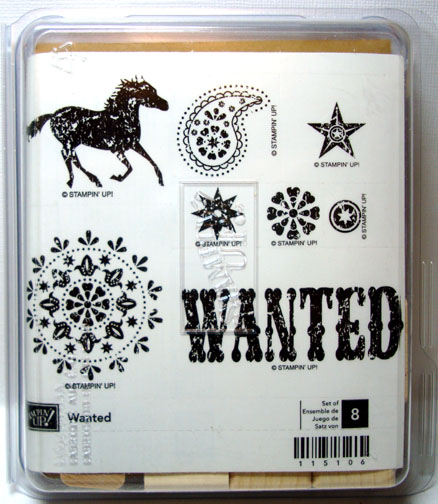
| Stamps: Stampin’ Up! Abundant Hope and Inspired by Nature |
| Paper: Stampin’ Up! Tempting Turquoise, Whisper White and Brilliant Blue |
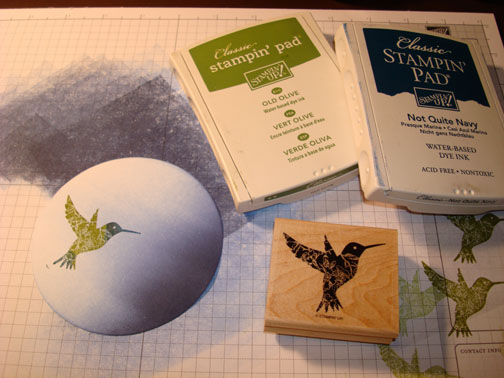
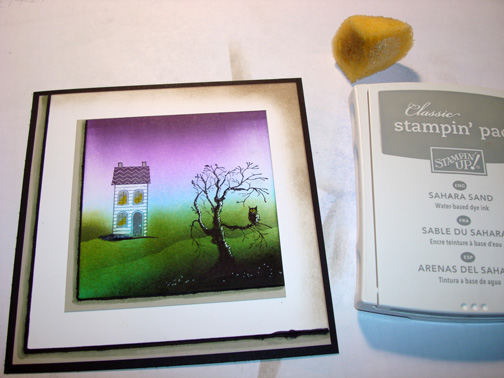
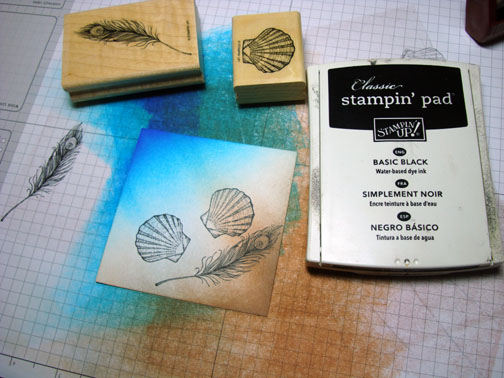
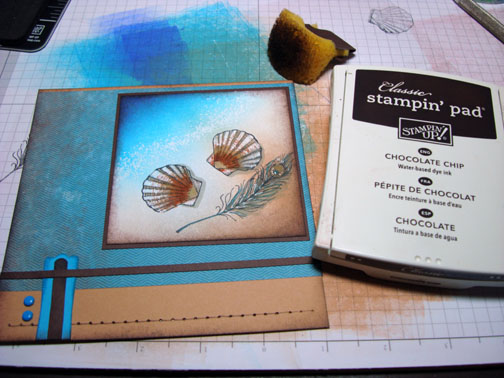
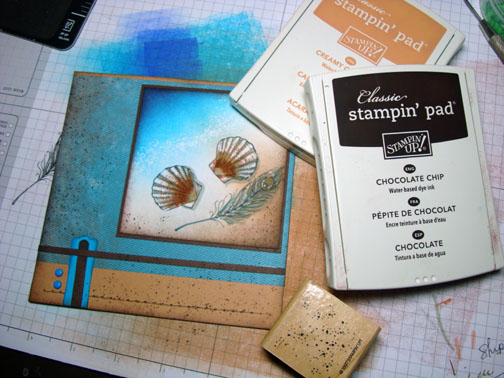
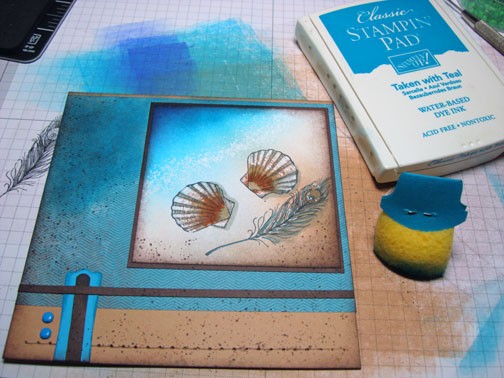
| Ink: Stampin’ Up Basic Black, Old Olive, Tempting Turquoise and Brilliant Blue |
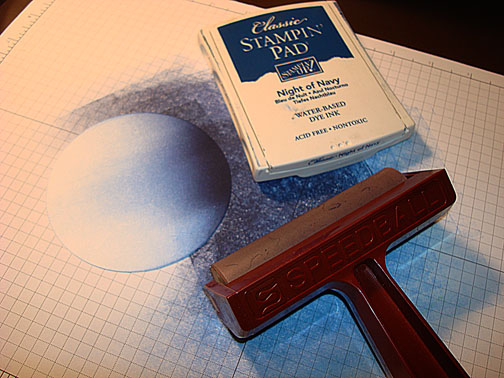
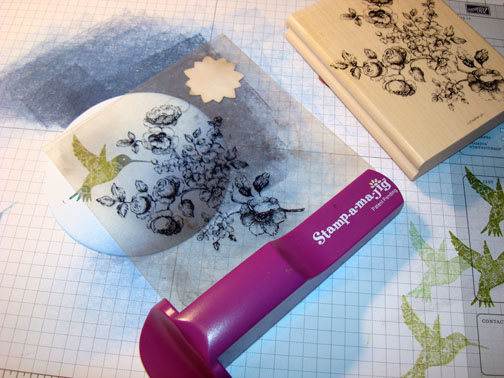
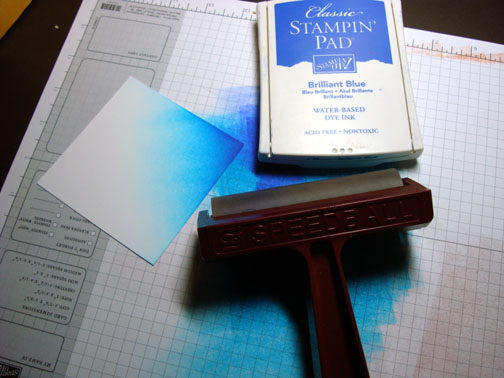
| Accessories: Stampin’ Up Heat Gun, clear embossing powder, white gel pen, Versamark pad and marker, markers – Old Olive, Certainly Celery, Barely Banana, Yoyo Yellow and More Mustard, Gold Brads, Photo corner punch, sponges, Stamp-a-ma-jig, post it notes and brayer |
Don’t forget to request your copy of the Stampin’ Up Occasions Mini Catalog . Just e-mail me your address and I will be glad to mail you one for free. Are you getting inspiration from this blog? One way you can help support it is to order your Stampin’ Up products through me. Click HERE to place an order. Want to become a Stampin’ Up Demonstrator and earn instant income? Consider being part of my Stampin’ Up Team and start your own business. Click HERE for more information.

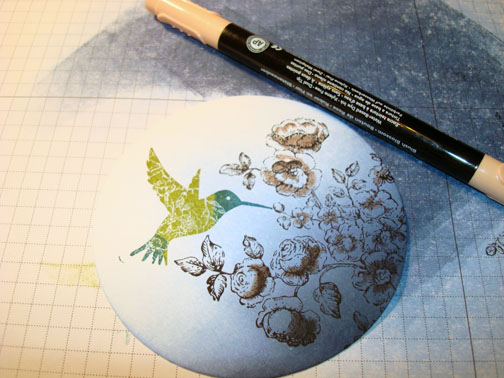
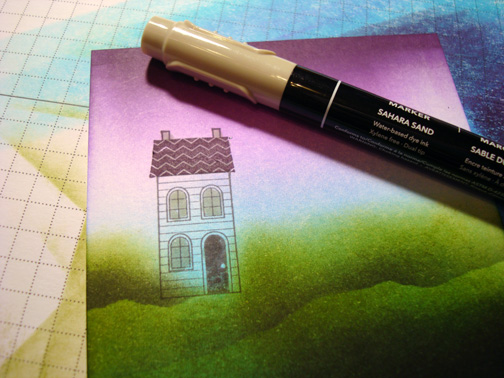
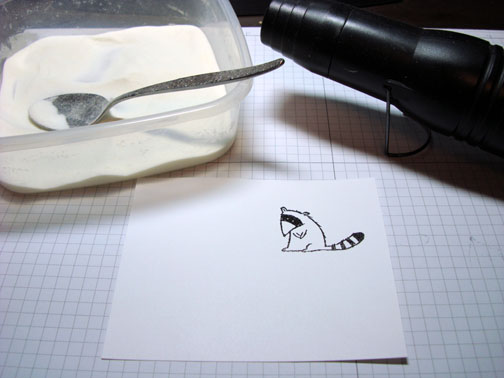
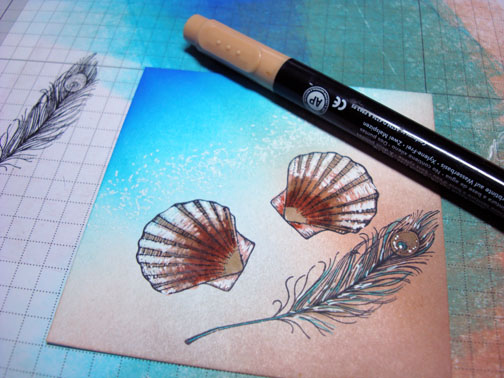
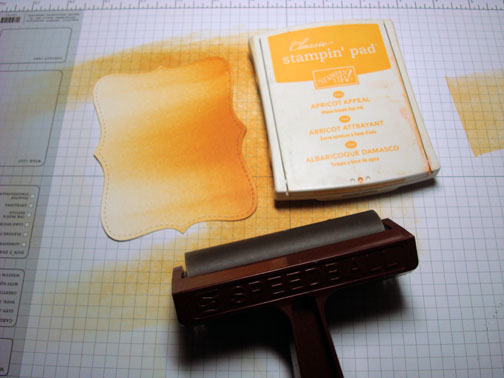
On a 3.5″ x 4.5″ piece of Whisper White card stock, stamped the flowers by first loading my stamp with Versamark and then with Basic Black ink before stamping it. Then I heat embossed the image using clear embossing powder and a heat gun.

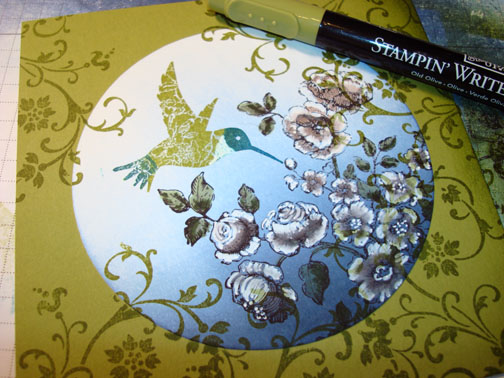
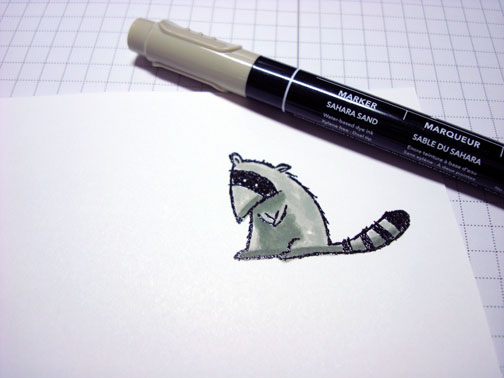
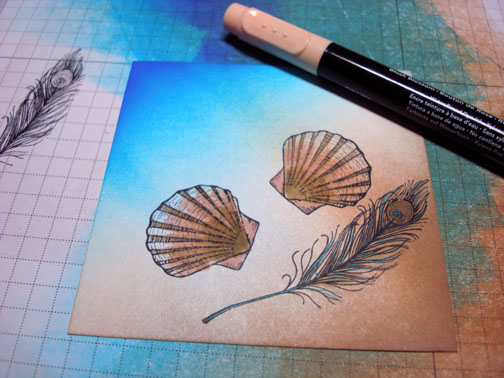
Colored the Flowers in with a Barely Banana marker.

Added Yoyo Yellow marker to the dark parts of the flowers.

Added More Mustard to the darkest parts of the flowers.

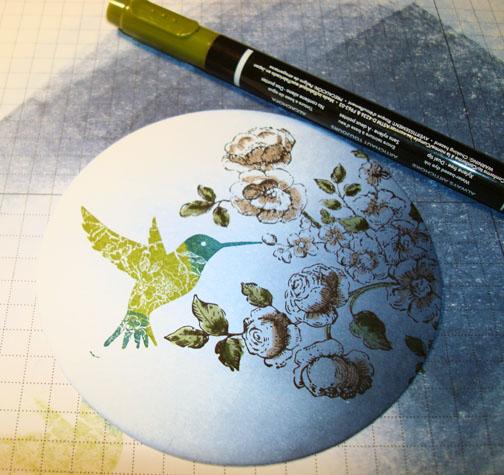
Colored the leaves and stems in with Certainly Celery marker.

Added Old Olive to the dark parts of the stems and leaves.

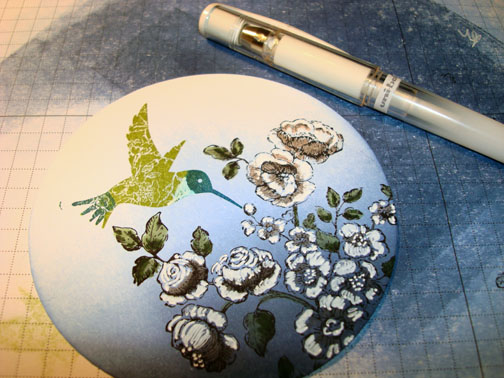
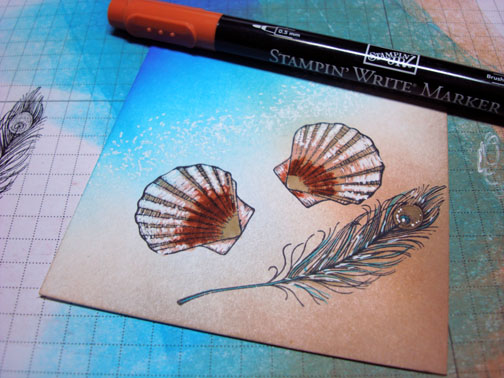
Colored over the flowers, leaves and stems using a Versamark marker, staying inside of the embossed lines. Heat embossed the image using clear embossing powder and a heat gun. Now my image is protected and will resist my back ground inks.

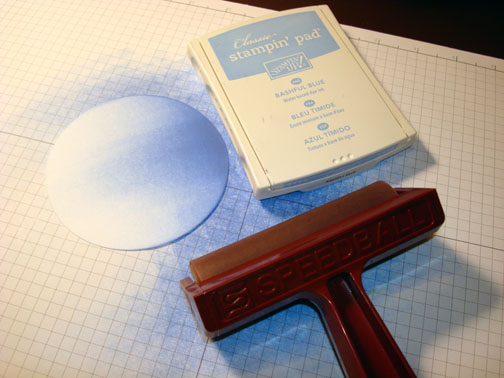
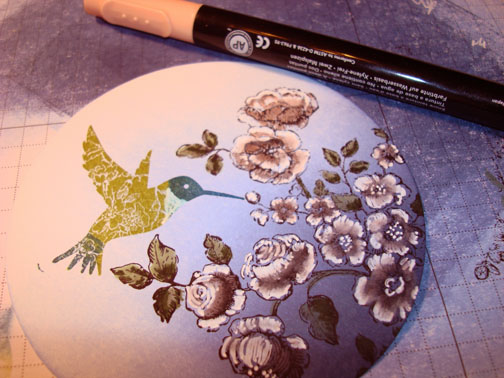
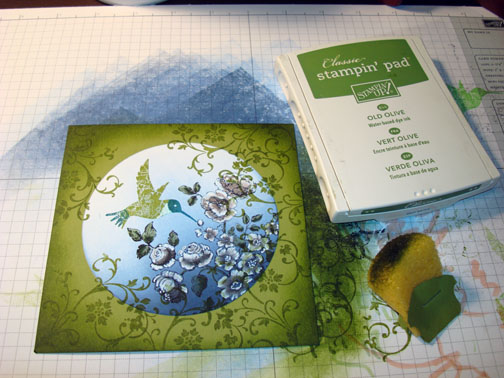
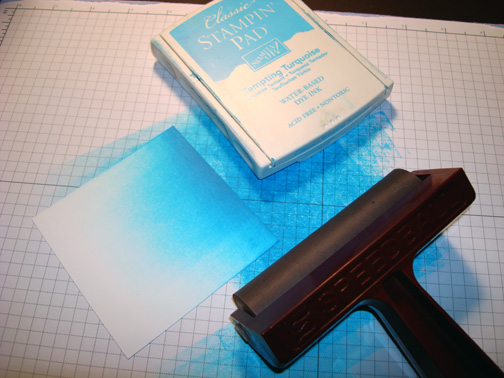
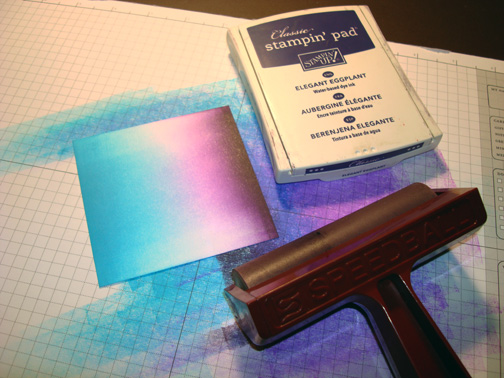
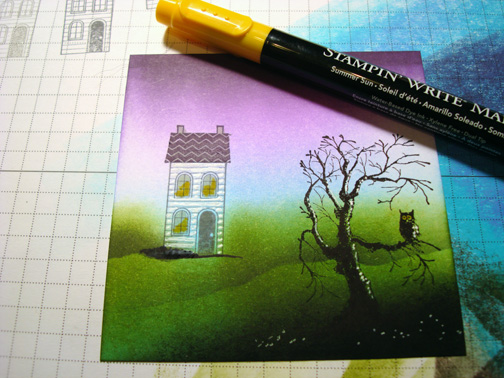
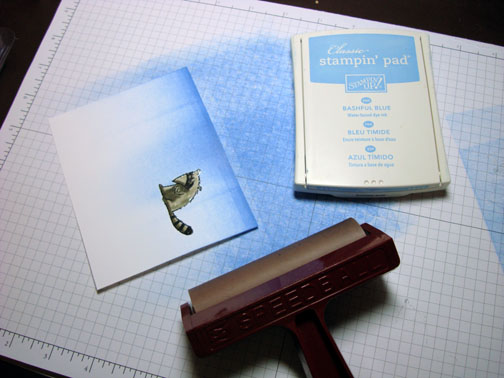
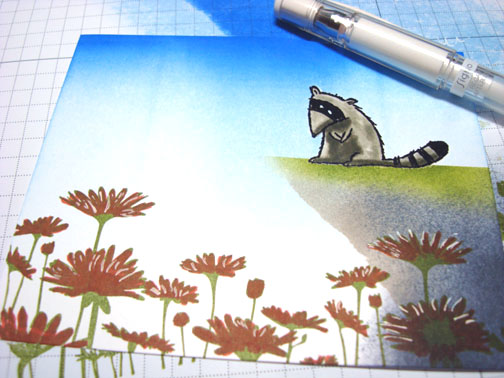
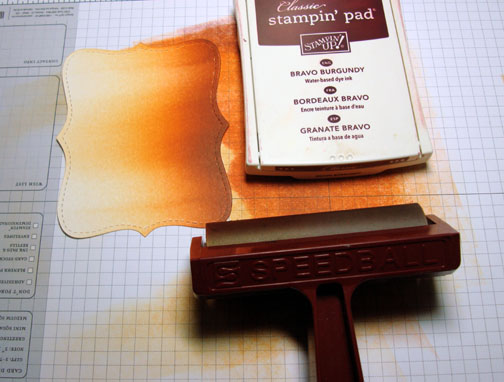
Brayered Tempting Turquoise ink at an angle in the sky area. Note: Wipe ink off of the embossed image after brayering.

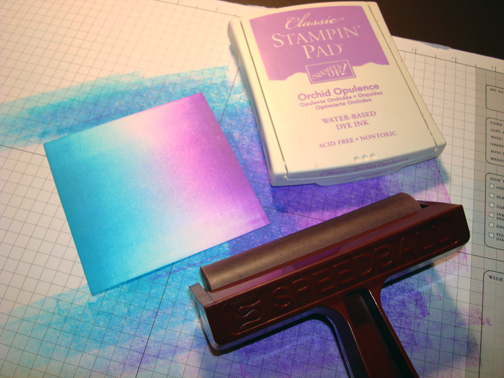
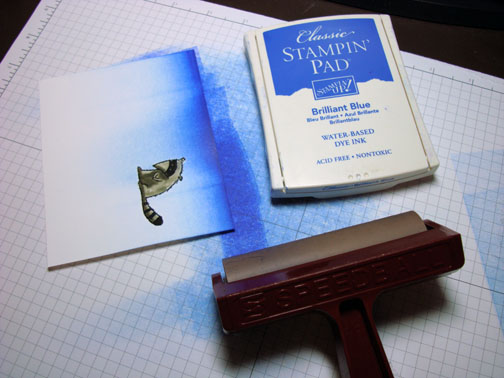
Brayered Brilliant Blue ink at an angle, not covering the Tempting Turquoise ink entirely.

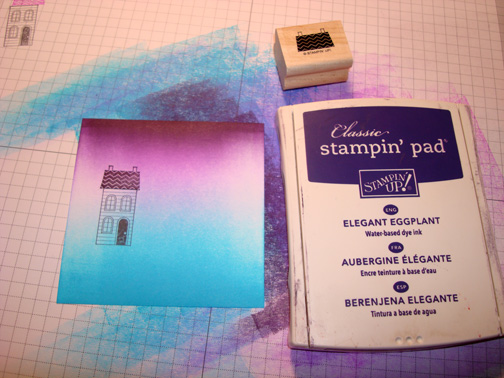
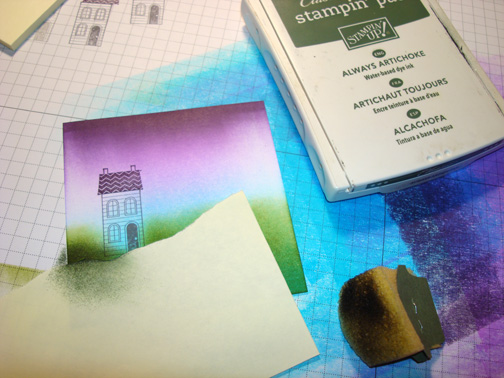
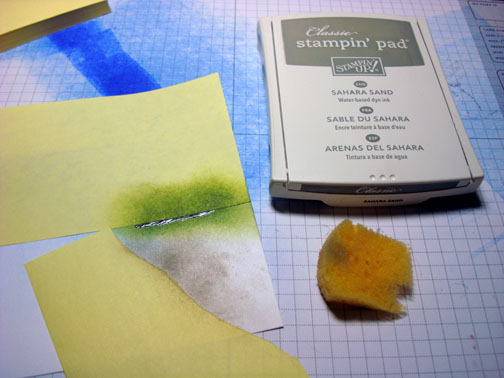
Masked the sky area of the card stock using a post it note and sponge Tempting Turquoise ink at the post it note edge.

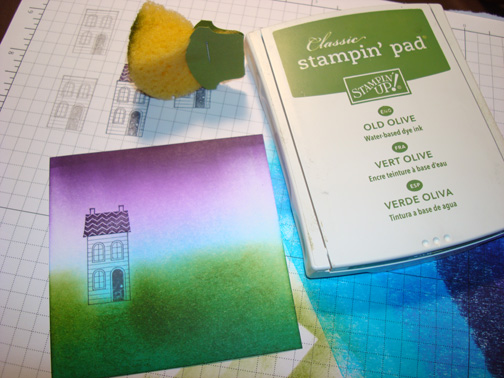
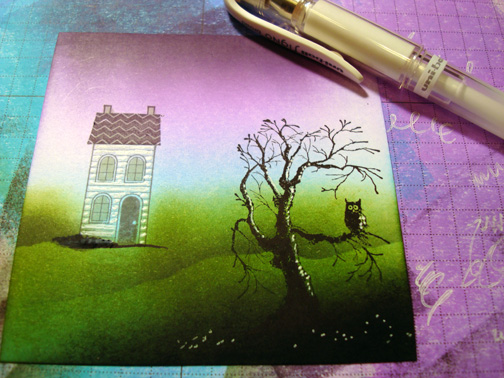
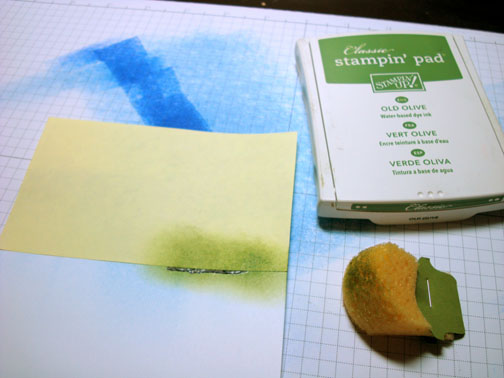
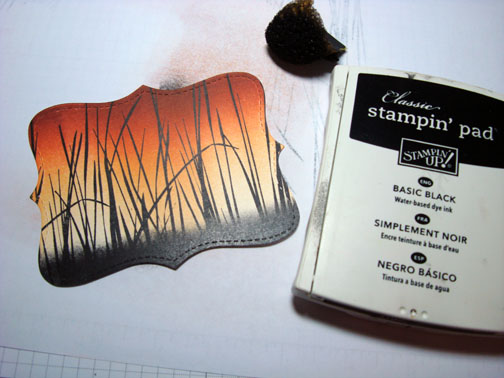
Using the edge of a Old Olive ink pad, lightly smear grasses in the ground area. I used a half of a “C” motion, top half.

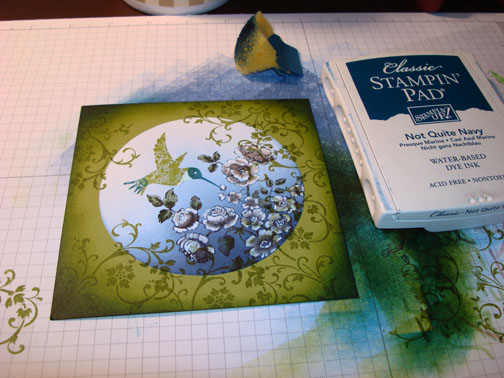
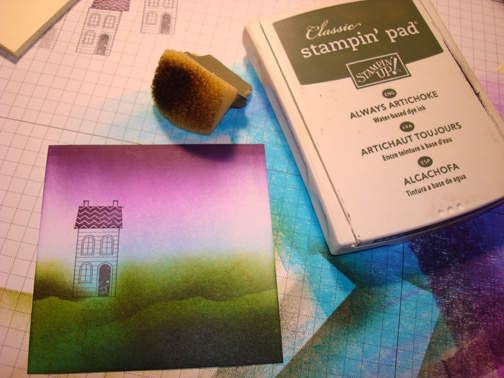
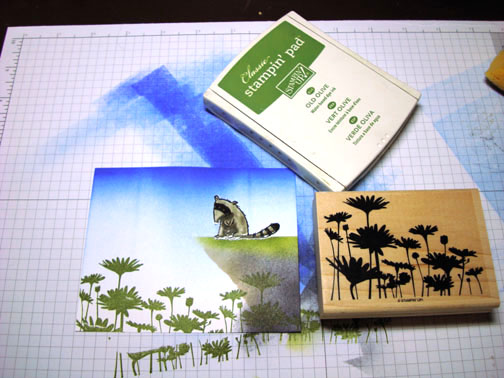
Stamped some grasses in using Old Olive ink.

Stamped a few grasses in using Basic Black ink.

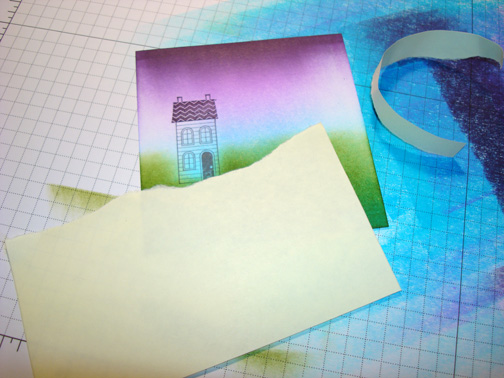
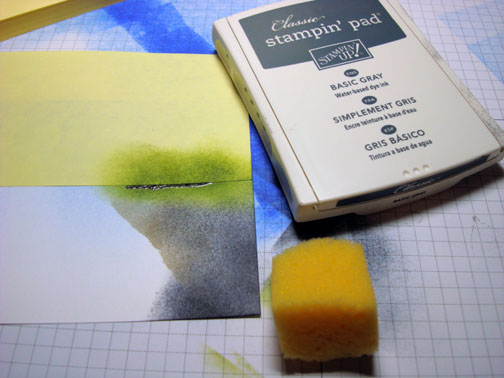
Sponged Basic Black ink at the bottom of the card stock.

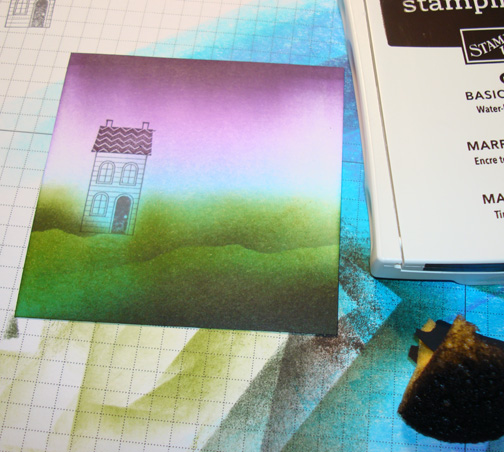
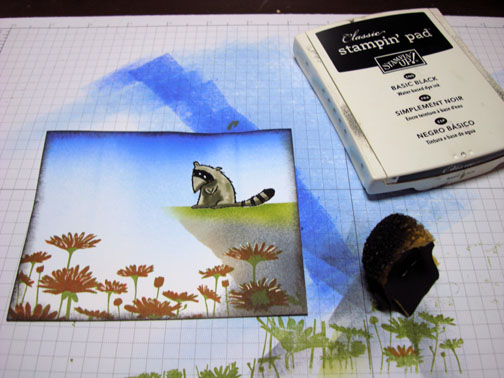
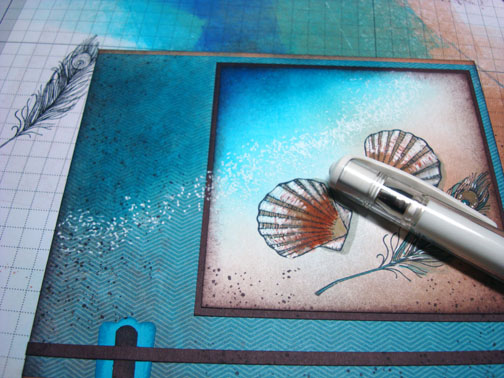
Added highlights to the flowers, leaves and grasses using a White Gel Pen.

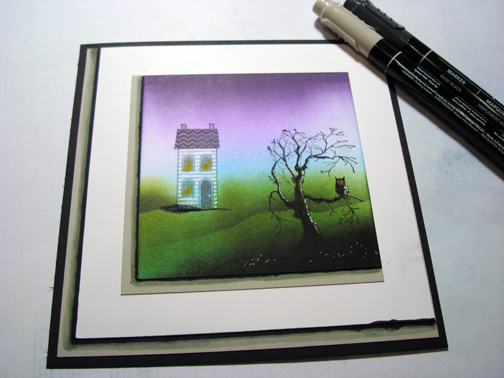
Sponged Basic Black ink on each edge of the card stock.

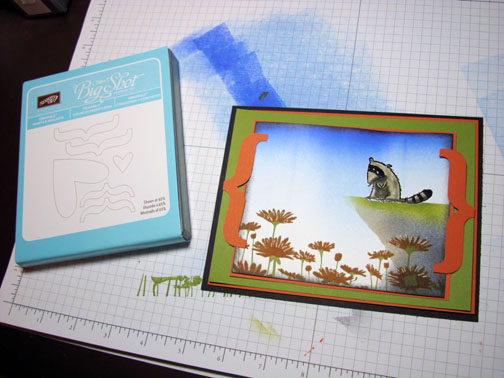
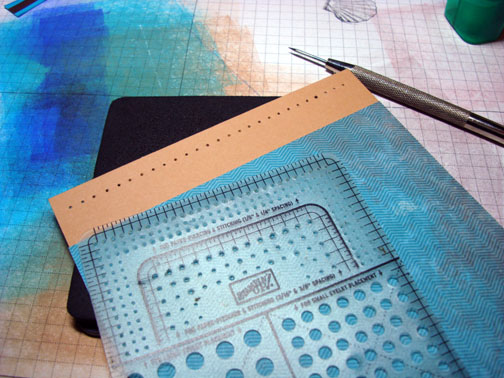
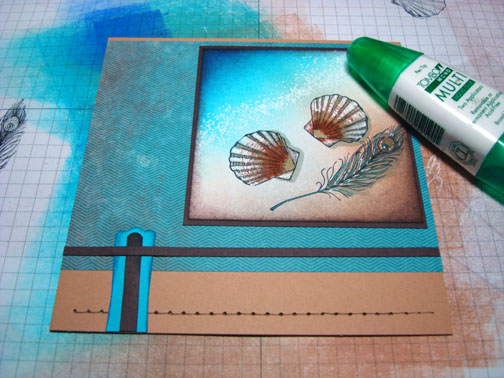
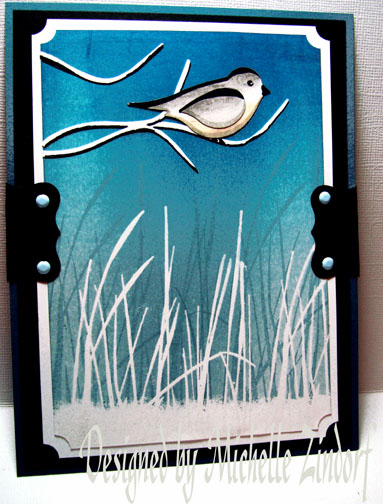
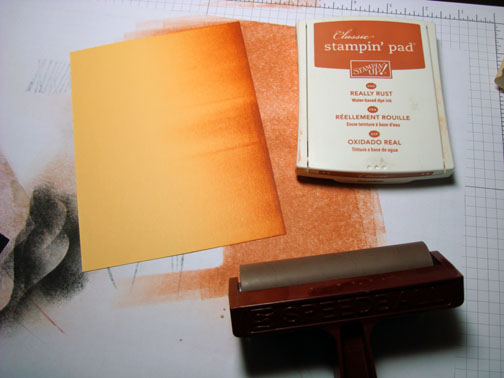
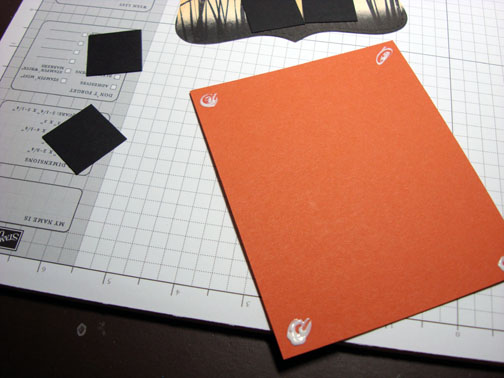
Assembled the main image panel, Tempting Turquoise panels and Brilliant Blue panels. Using a Stamp-a-ma-jig stamp the flourish on each side of one of the Brilliant Blue panels using Basic Black ink.


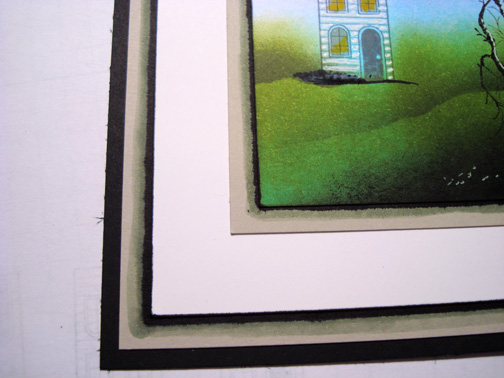
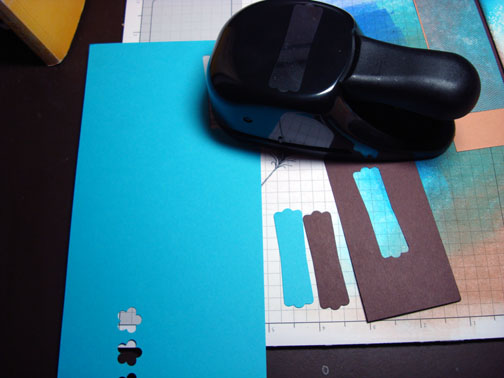
Added Tempting Turquoise photo corner punches and 6 gold brads. Also, sponged a bit of Basic Black ink on my largest Brilliant Blue panel.
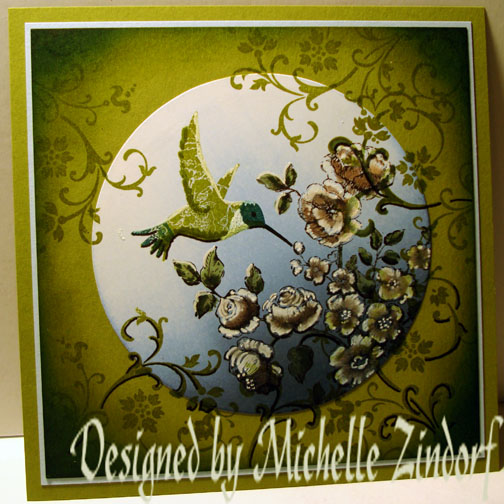
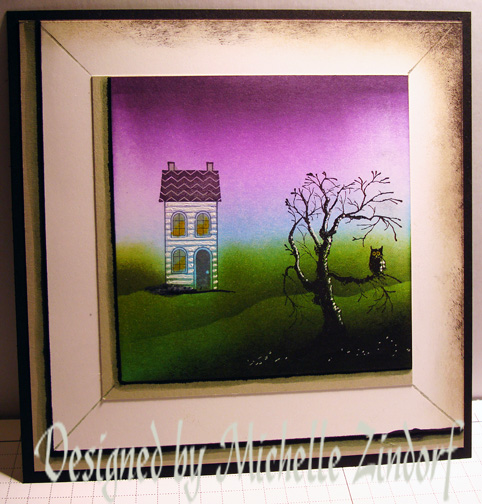
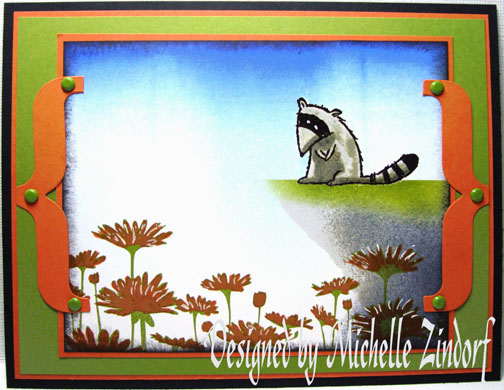
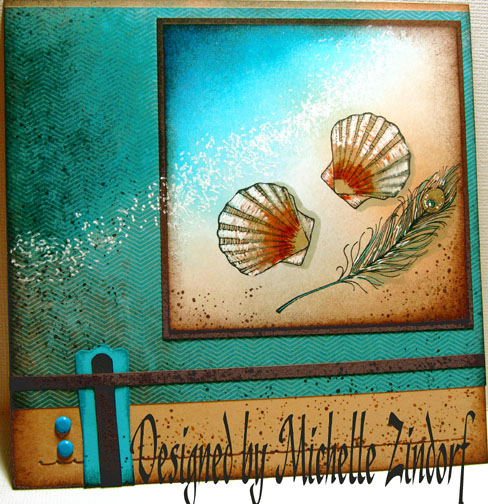
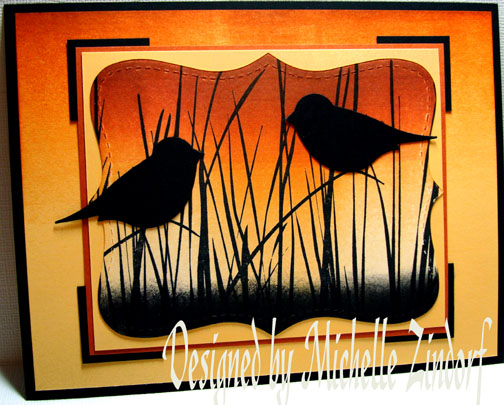
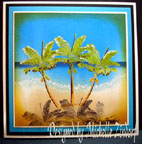
Here is the finished card measuring 5″ x 6.5″.
Although I am not feeling well, the warm Spring weather is calling me outside to my gardens for a little bit of Spring clean up.
May you get some fresh air today also.
Until my next post. . . . . . . .
Hugs,
Michelle
 Get ready for Brayer Workshops! I am coming to:
Colorado Springs, Colorado (Sold Out)
Boise area of Meridian, Idaho
Riverside, California (Southern California)
Salem, Oregon
Wheaton, Illinois
St. Cloud, Minnesota
Rockville, Maryland (Sold Out)
North Chili, New York (near Rochester) (Sold Out)
New Johnsonville, Tennessee
Kenova (Huntington), West Virginia
Helena, Montana
Middleburg Heights, Ohio
Venice, Florida
Grinnell, Iowa
Piedmont, Alabama (Near GA border close to Cedartown)
Auburn, Washington (near Seattle)
Elk Grove Village, Illinois
Savannah, Georgia
Atlanta, Georgia
North Liberty, Indiana
Saledad, California
Here is a link to my workshop calendar where you can see all of my travel schedule and to get info on beginner and advanced Brayer workshops: http://zindorf.blogs.splitcoaststampers.com/workshop-calendar
Link to my Stampin’ Up website where you can order all of your must have Stampin’ Up products from me 24-7: http://michellezindorf.stampinup.net
Frequently asked questions answers: http://zindorf.blogs.splitcoaststampers.com/frequently-asked-questions/


