It’s another wintry morning here in Ohio. We are expecting 8 more inches of snow today. Woohoo! It is an American Holiday, President’s Day, so Russ and I are going to stay home today and do some work on my new Stamping Room/Office, which totally thrills me!
Yesterday we emptied the room and painted the ceilings. Today I believe we will get the walls painted. Next thing, will be to put brand new carpet down. 🙂 I cannot wait. I will share some pictures when it is all complete. But in the mean time I will continue to stamp away in my tiny stamping room. 🙂
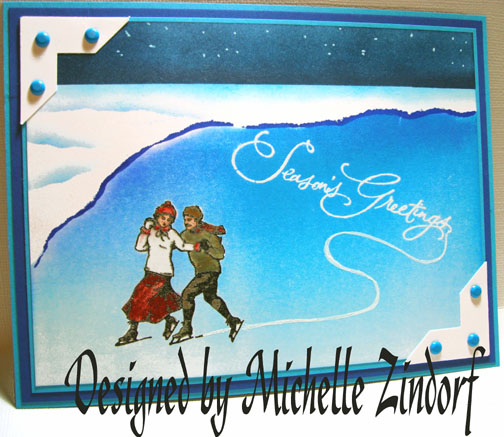
I have a frosty card for you today. But I need to announce the Stampin’ Up! Winter Post set Blog Candy winner first. The winner is. . . . . . . . . . 
Windy Ellard who wrote”Thank you for the offer and i love that stamp set but do not own it. Please enter me. Have a great weekend. Happy Valentine’s!!!”
Windy, you were number “1” and the random number generator selected you! I never thought it would fall on “1”. Congratulations! Please e-mail you shipping address to mzindorf@aim.com within 30 days and I will get this set out to you.
Thanks go out to all of you who participate. Hopefully, it will be you next time. 🙂
Now let’s get started on the tutorial. . . . . . .
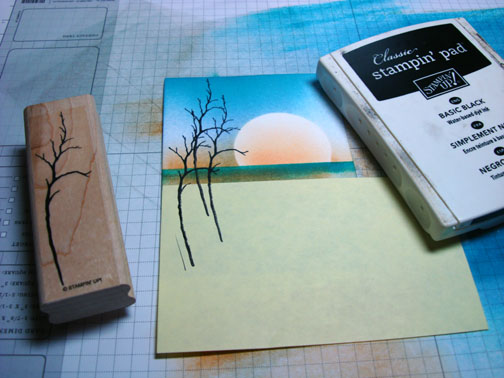
Supplies:
| Stamps: Stampin’ Up! Inspired by Nature |
| Paper: Stampin’ Up! Whisper White, Basic Black, Not Quite Navy |
| Ink: Stampin’ Up! Bordering Blue and Not Quite Navy |
| Accessories: Stampin’ Up Two Step Bird Punch, Ticket Corner Punch, Curly Label Punch, Bashful Blue Brads, Stampin’ Pastels, Brayer, Basic Black Marker, Sahara Sand Marker, White Gel Pen, Clear Embossing Powder, Heat Gun, Versamark Pad |
Don’t forget to request your copy of the new Stampin’ Up Occasions mini catalog and Sale-a-bration mini. Just e-mail me your address and I will be glad to send you a set for free. The new Occasions mini catalog can also be viewed on-line here: http://204.228.150.61/catalogs/20091231/OccasionsMini10_US.pdfThe New Sale-a-Bration Mini Catalog can also be viewed on-line here:http://204.228.150.61/catalogs/20091231/SAB_10_US.pdfAre you getting inspired and enjoying this blog. One way you can help support it is to order your Stampin’ Up products through me. You can order from me 24-7 from this link: http://michellezindorf.stampinup.net or e-mail me at mzindorf@aim.com. Want to become a Stampin’ Up Demonstrator and earn instant income? Consider being part of my Stampin’ Up Team and start your own business

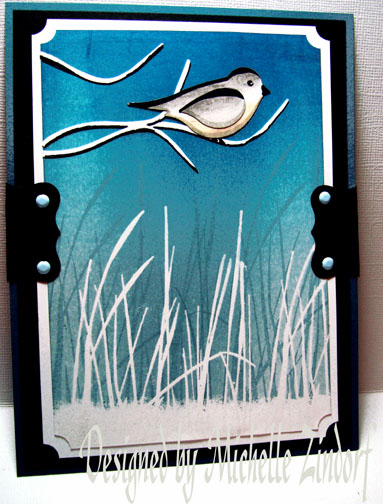
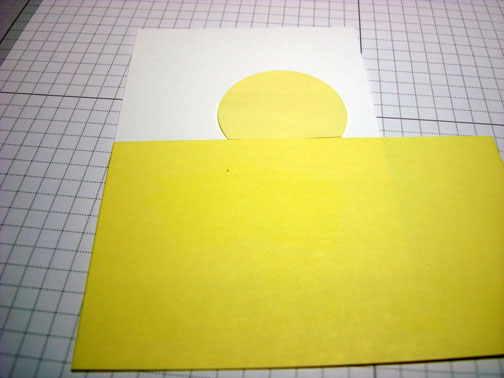
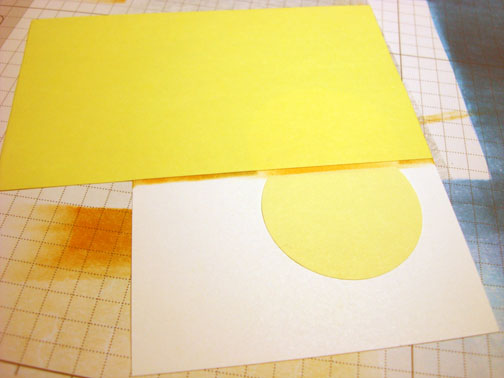
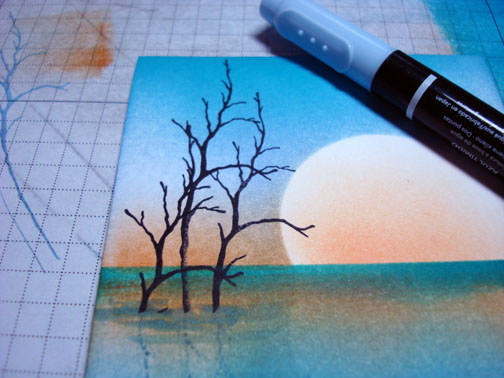
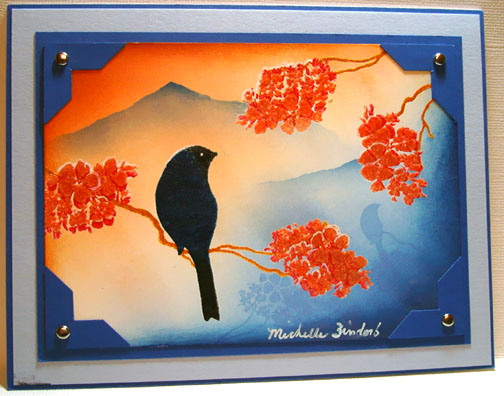
Stamped the Stampin’ Up! Inspired by Nature Grass Stamp twice using Versamark on a 4″ x 5.75″ piece of Whisper White card stock. Then heat embossed it using clear embossing powder and a heat gun.


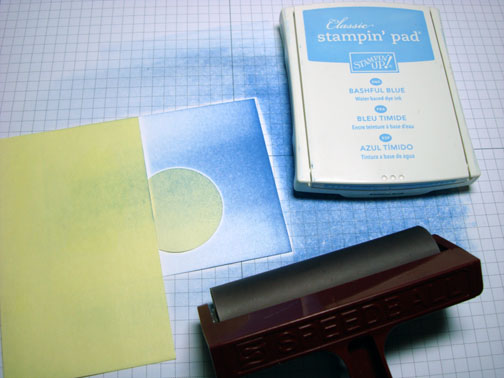
Sponged some Versamark on the bottom of the card stock and heat embossed the Versamark with clear embossing powder and heat gun.

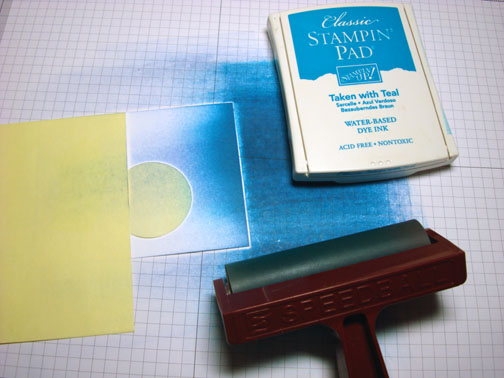
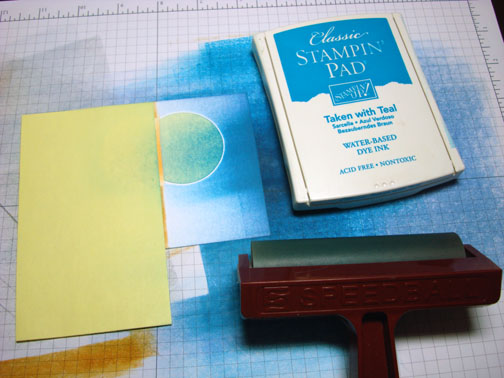
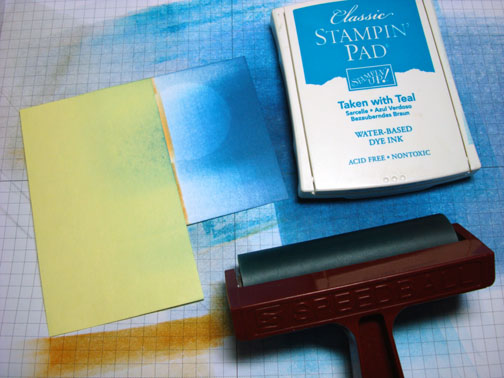
Brayered Bordering Blue ink at the top of card stock, down to the bottom.

Brayered Not Quite Navy ink at the top of the card stock.

Wiped the ink off of my embossed images with an old cotton towel that I keep at my desk for this very purpose. 🙂 Trying to stay green here.

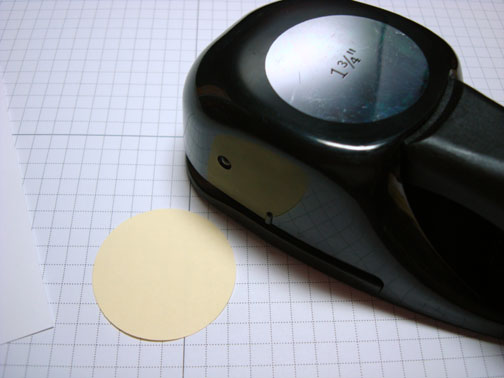
I’m excited to use this new Stampin’ Up! Punch “Two step Bird”. This punch punches out the bird, bird wing and branch all in one step. 🙂
I punched these things out a couple of times from Whisper White card stock.

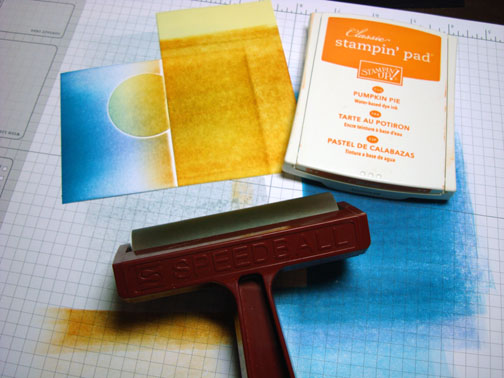
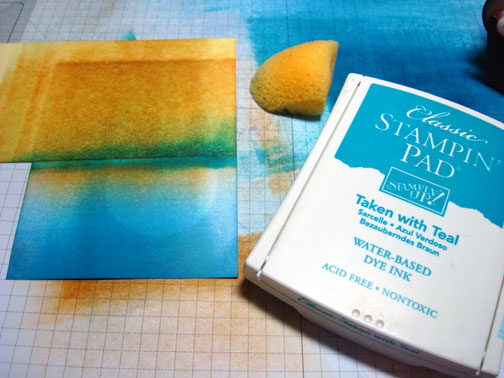
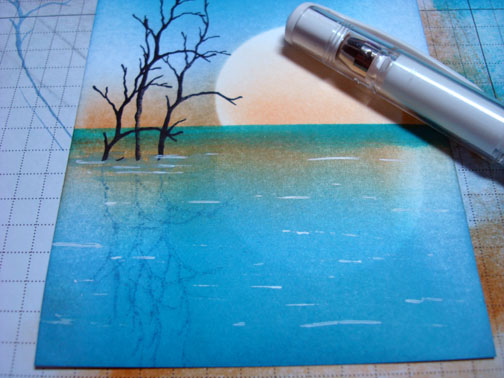
Stamped the grasses again with Bordering Blue ink and then wiped the ink off of the embossed images.


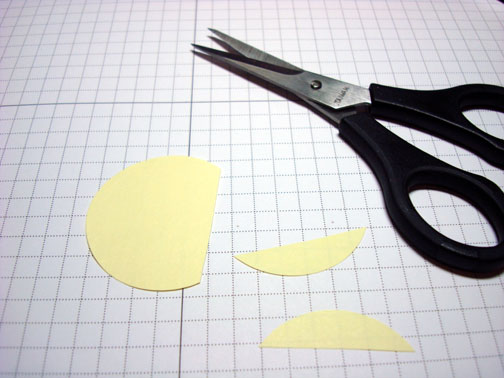
Trimmed the leaves off of the punched branches.

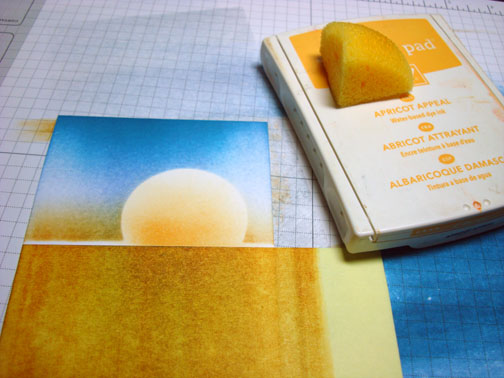
Used my Stampin’ Pastels to color in the bird. Started with So Saffron pastel on the bird’s belly.

Added Going Gray Pastel to the top of the bird.

Added a bit of Basic Black pastel to the very top of the bird.

Colored the birds wing first with Going Gray pastel and then added a bit of Basic Black pastel to the top of the wing.

Added a shadow to the bird and the wing by edging the bottom of the wing and bird with a Sahara Sand Marker.

Added Basic Black marker to the top of the bird, beak, top of the wing and then added an eye on the bird.

Glued the branches, bird and bird wing onto the main image panel.

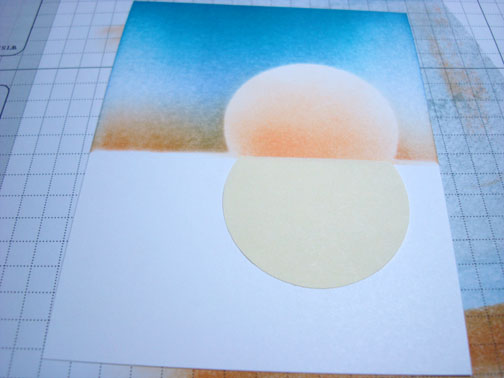
Used the Stampin’ Up Ticket Corner Punch on the main image panel and a Whisper White Panel that will go under the main image panel.

Punched two Stampin’ Up Curly Label Punches for Basic Black card stock and folded them in half.

Added Basic Black marker to the bottom of the branches and a White Gel Pen dot the the bird’s eye. Also, the scene looked a little out of balance so I added another branch in the left corner.


Assembled the card front and added the Curly label punches and Bashful Blue brads.

Here is the finished card measuring 5″ x 6.5″.
I hope you enjoyed this tutorial and will give it a try. 🙂
May you be happy where ever you are today!
Until my next post. . . . . . . . .
Huge Hugs,
Michelle
 Get ready for Brayer Workshops! I am coming to:
Jacksonville, Florida (Sold Out)
St. Louis, Missouri (Sold Out)
Mechanicsville, Virginia
Raleigh, North Carolina (Sold Out)
Colleyville, Texas
Colorado Springs, Colorado
Boise area of Meridian, Idaho
Riverside, California (Southern California)
Salem, Oregon
Wheaton, Illinois
St. Cloud, Minnesota
Rockville, Maryland
North Chili, New York (near Rochester)
New Johnsonville, Tennessee
Kenova (Huntington), West Virginia
Helena, Montana
Middleburg Heights, Ohio
Venice, Florida
Grinnell, Iowa
Piedmont, Alabama (Near GA border close to Cedartown)
Auburn, Washington (near Seattle)
Elk Grove Village, Illinois
Savannah, Georgia
Atlanta, Georgia
North Liberty, Indiana
Saledad, California
Here is a link to my workshop calendar where you can see all of my travel schedule and to get info on beginner and advanced Brayer workshops: http://zindorf.blogs.splitcoaststampers.com/workshop-calendar
Link to my Stampin’ Up website where you can order all of your must have Stampin’ Up products from me 24-7: http://michellezindorf.stampinup.net
Frequently asked questions answers: http://zindorf.blogs.splitcoaststampers.com/frequently-asked-questions/


