
Hey There,
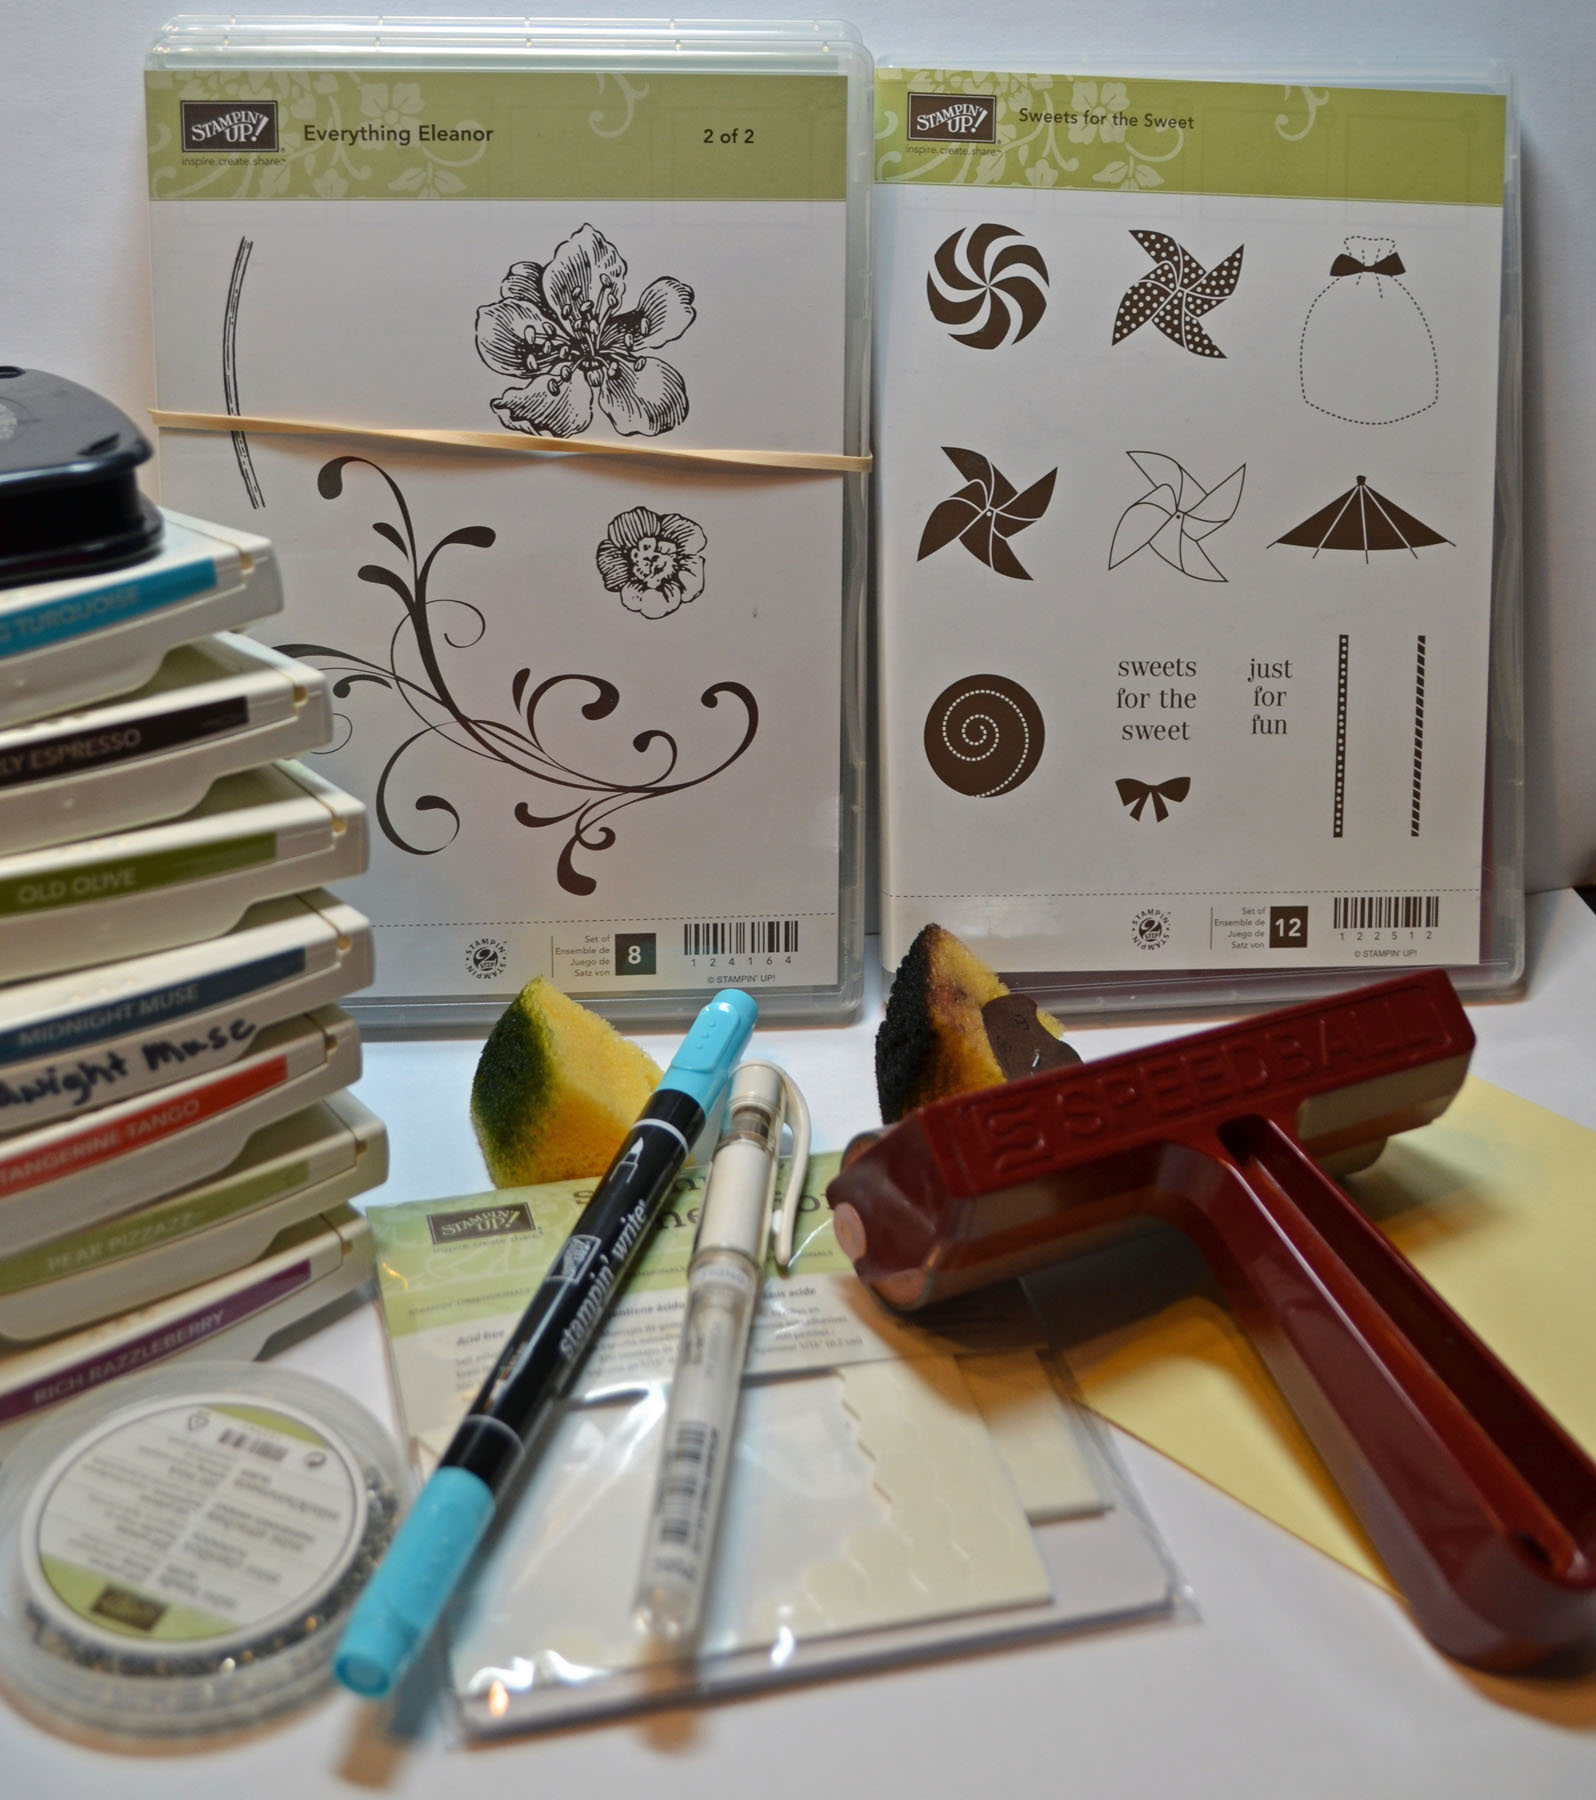
I’m a little over whelmed by all the new Stampin’ Up! things I have here to play with. Do you ever get that way? So many toys, so little time, lol. It’s a terrible problem, not!
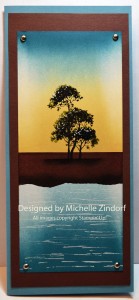
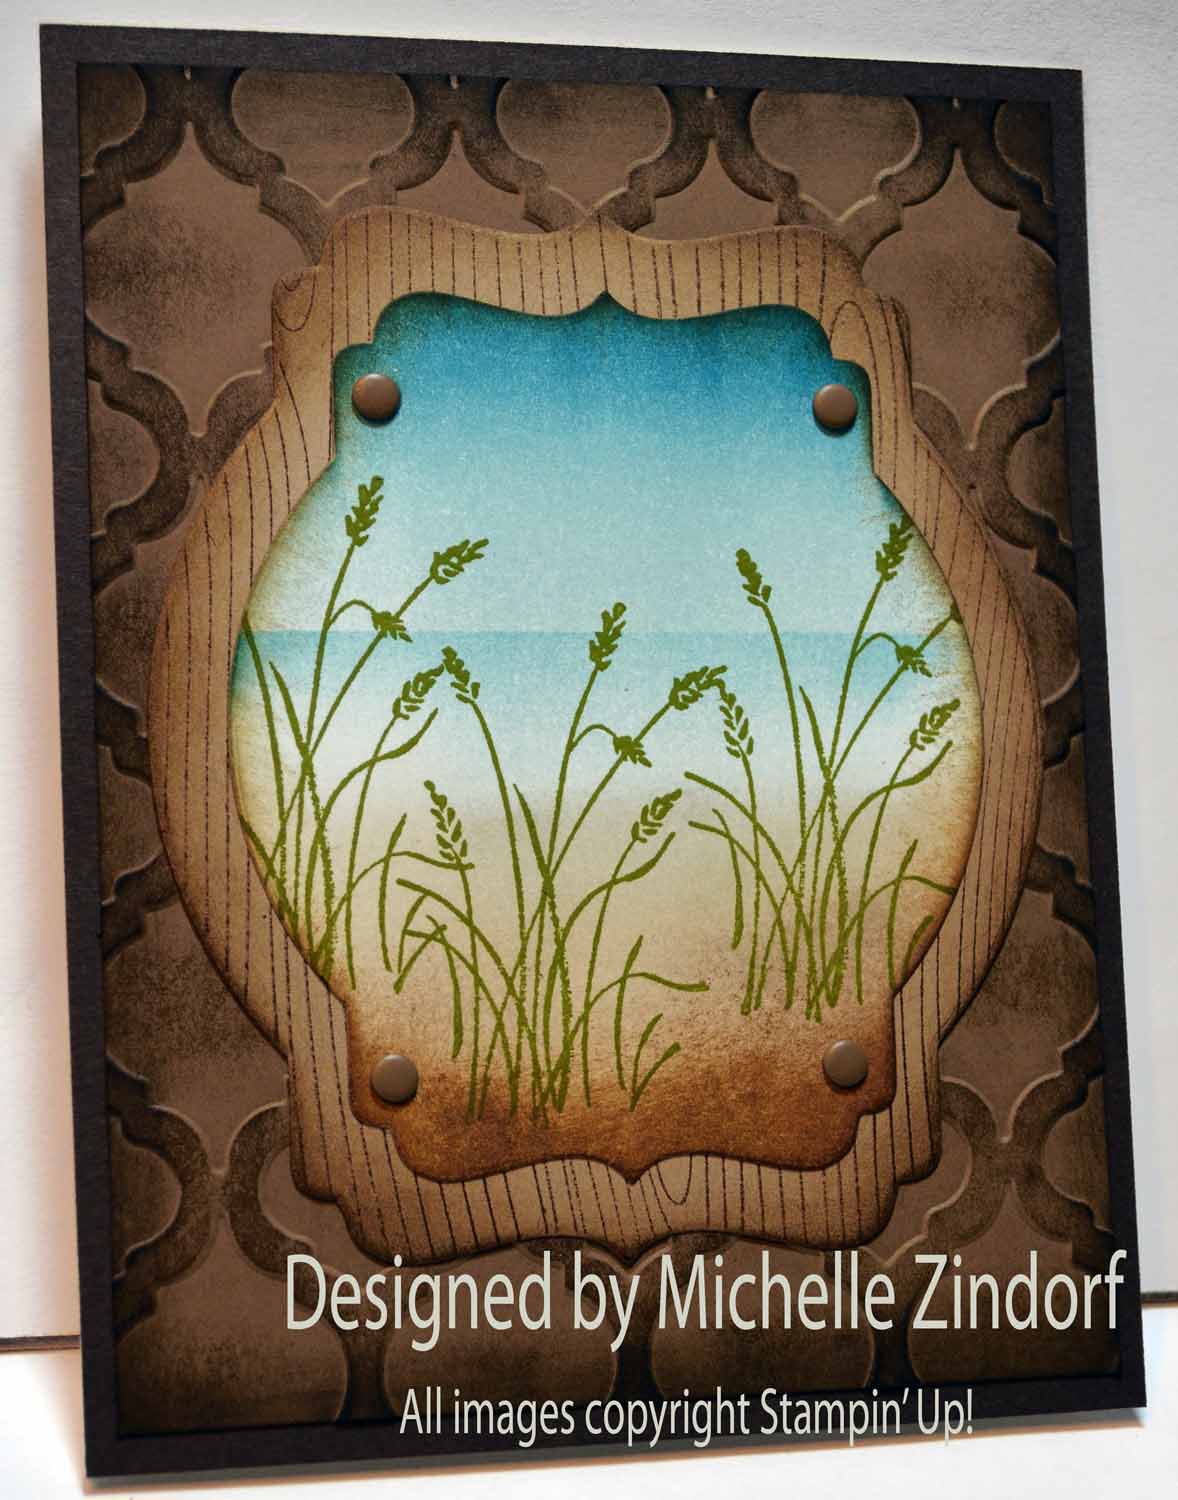
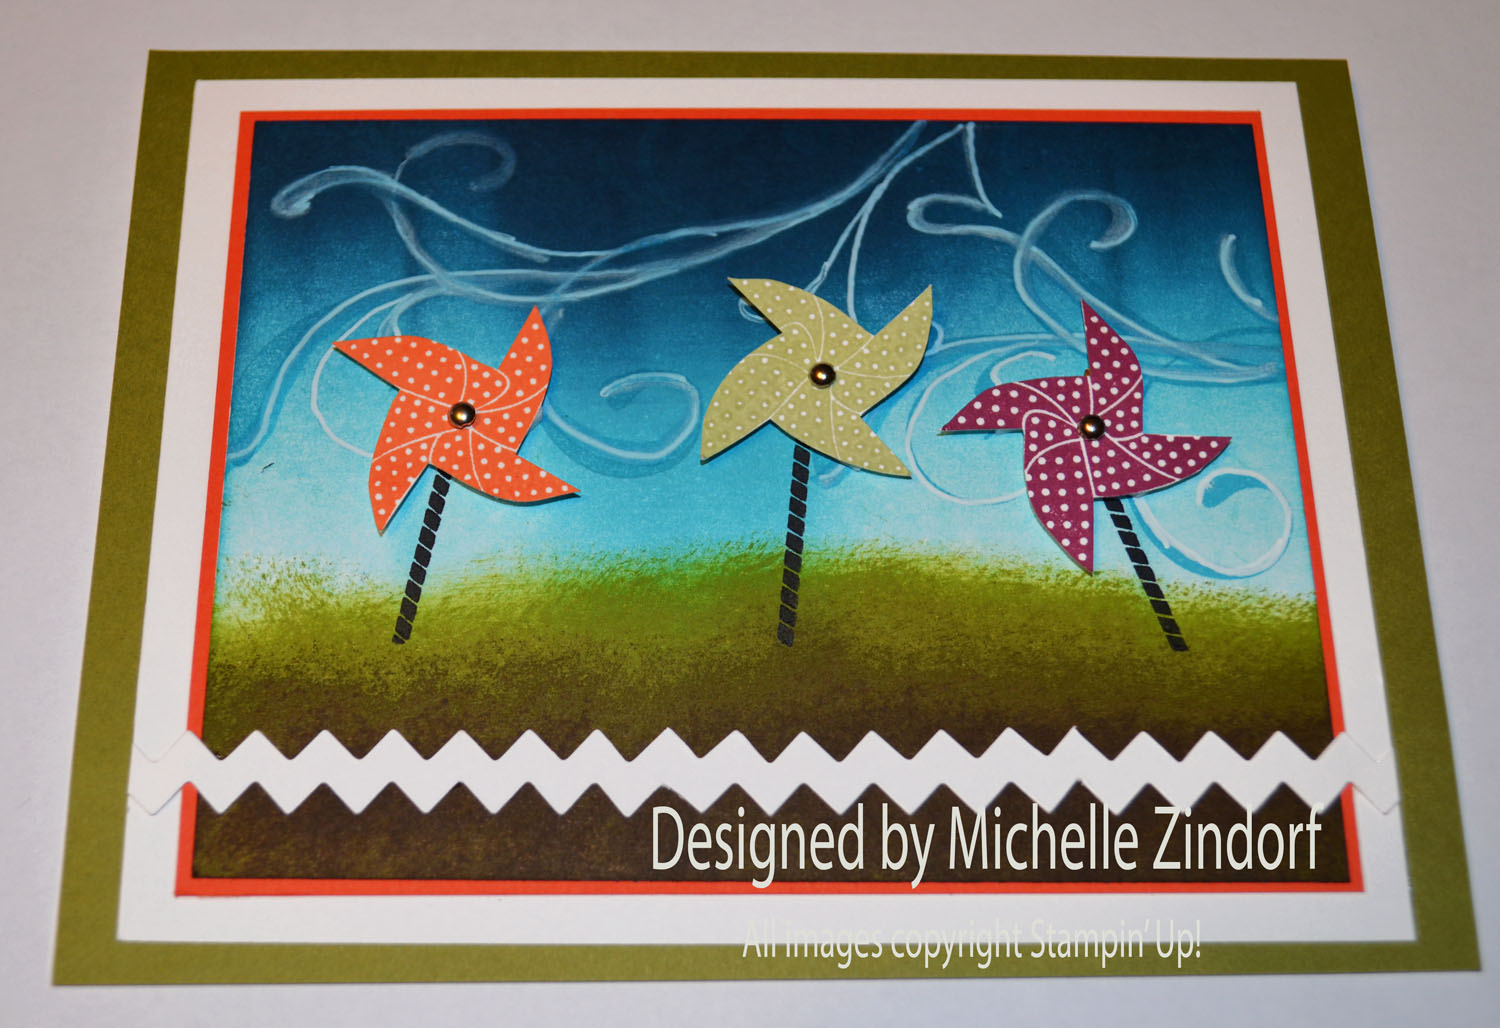
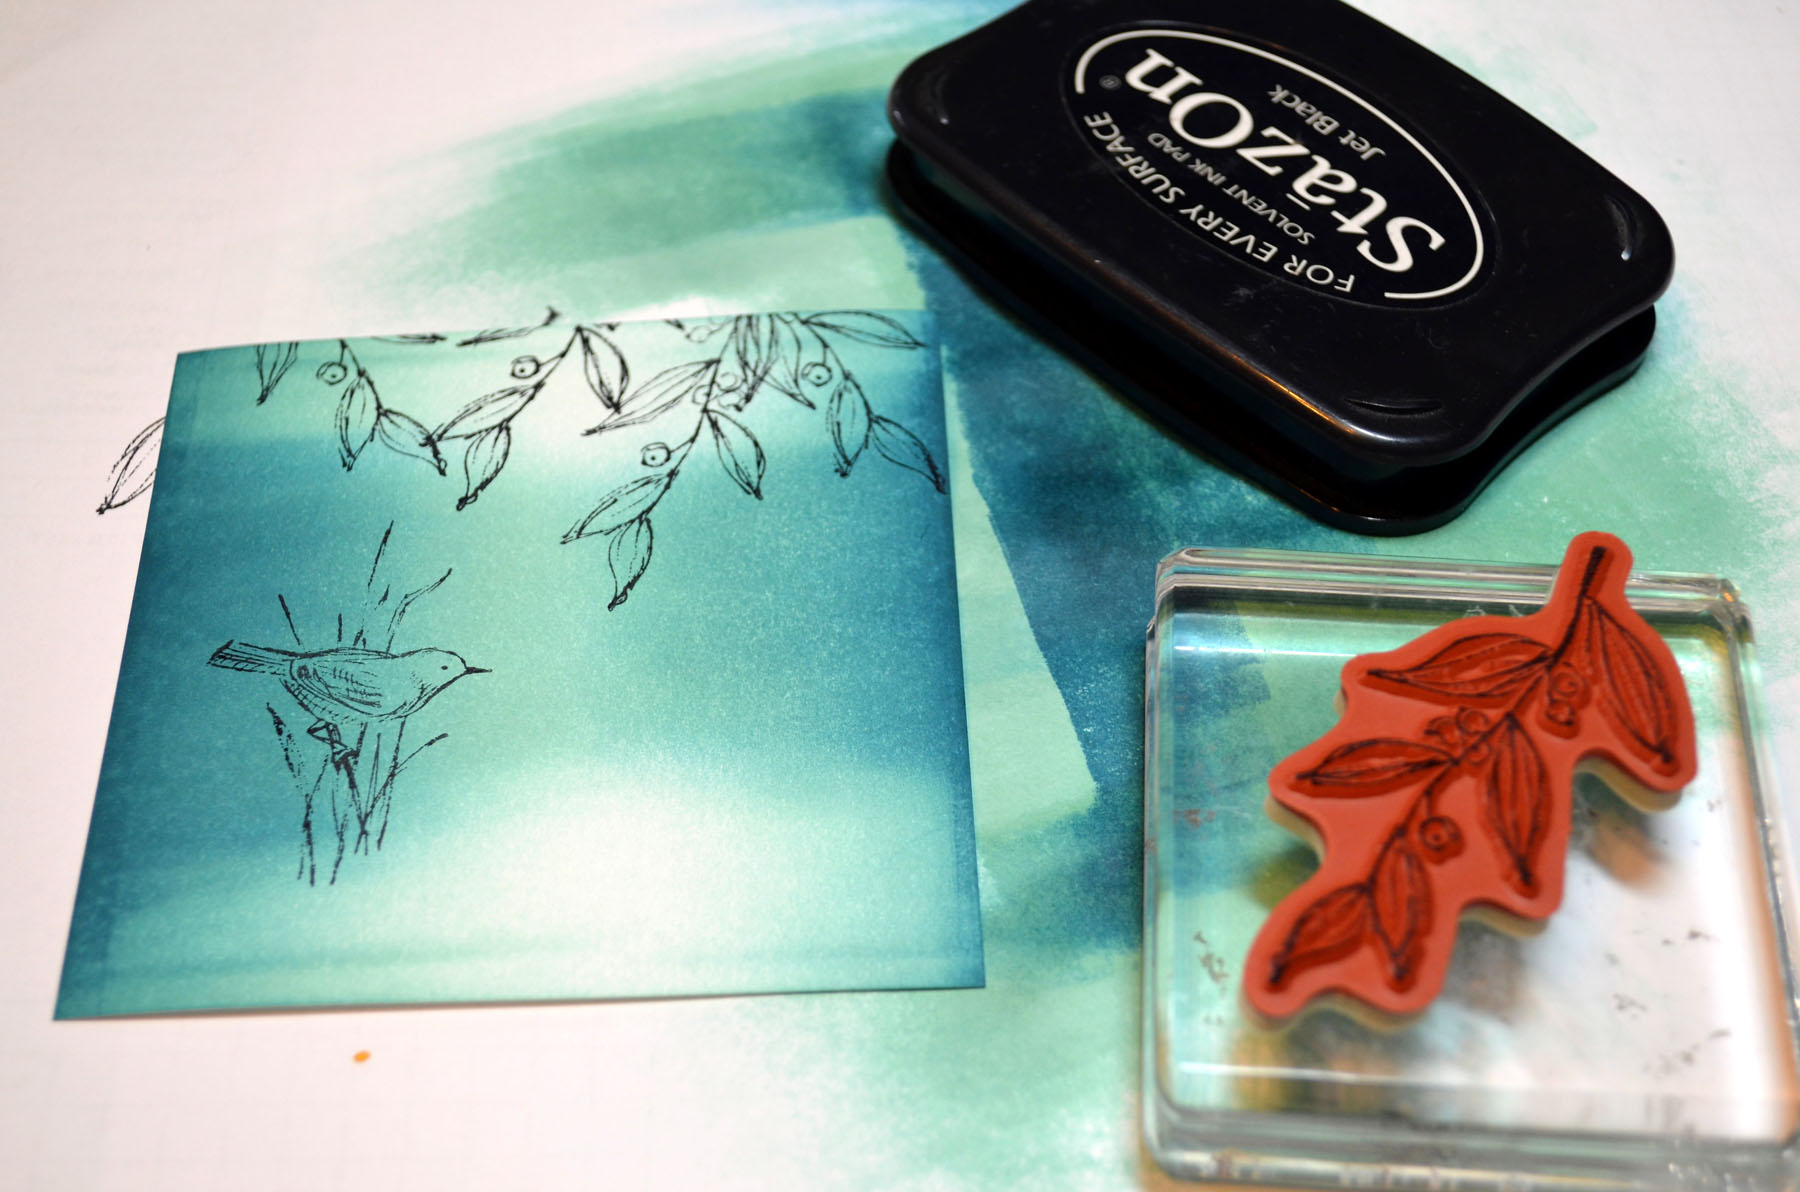
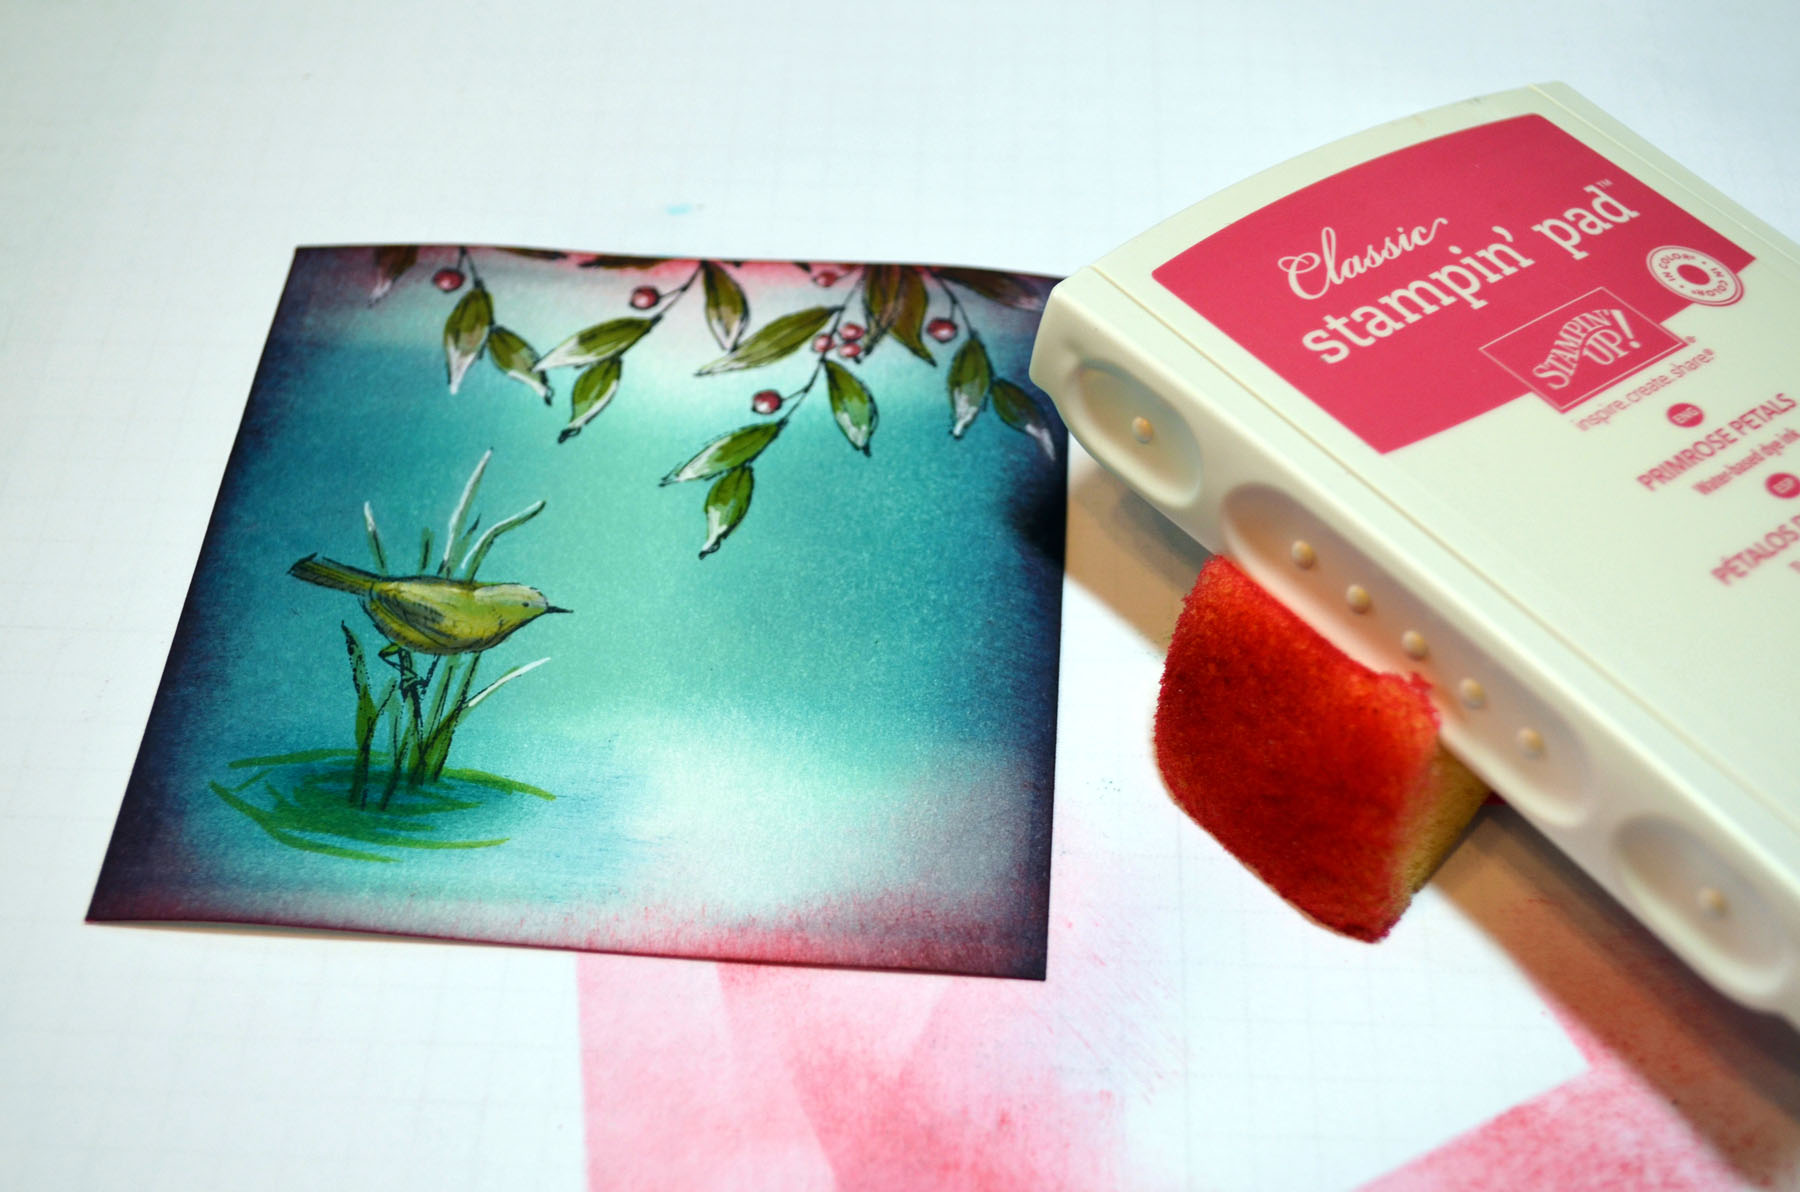
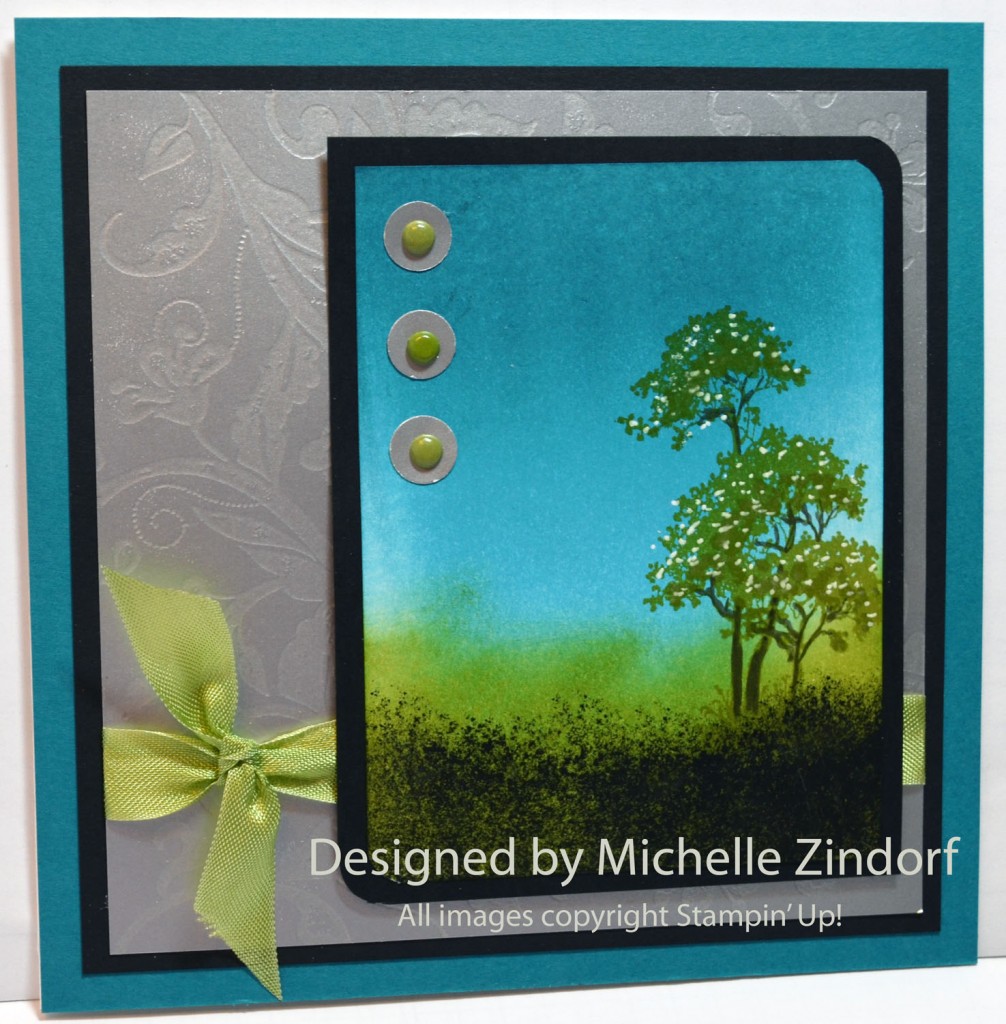
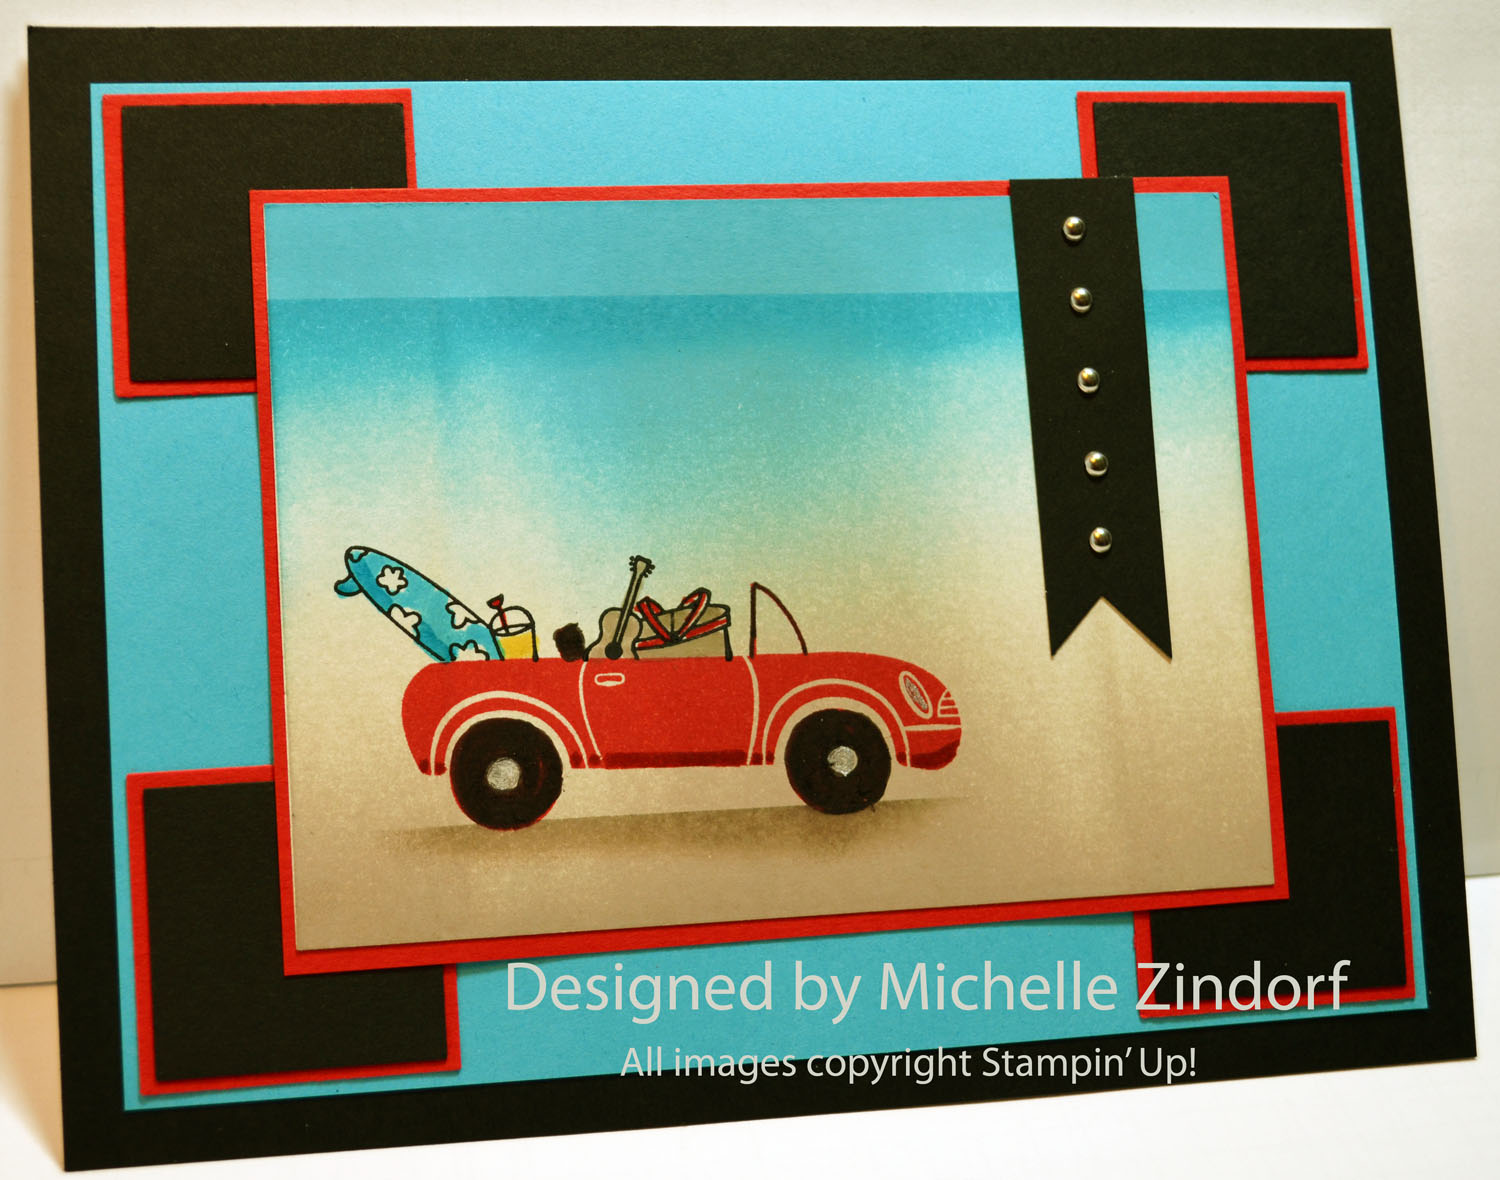
I did finally grab out some of my very favorites from the new catalog and decided we would go to the beach together. At least on paper. Check it out, I used the Stampin’ Up! Wetlands set, LOVE IT!!!! There is not a stamp in this set I could do without. Hope you try this tutorial out. Happy Stamping!
***************************************************************
I’ve added the featured card of the day to my sales page where you will also find some great deals on retired stamp sets and my brayer video. CLICK HERE TO CHECK IT OUT
***************************************************************
Learn How to Brayer

 I now have an online beginner brayer video classes that will teach you how to brayer. CLICK HERE TO GET THEM.
**************************************************
Now on with today’s tutorial. . . . . . .
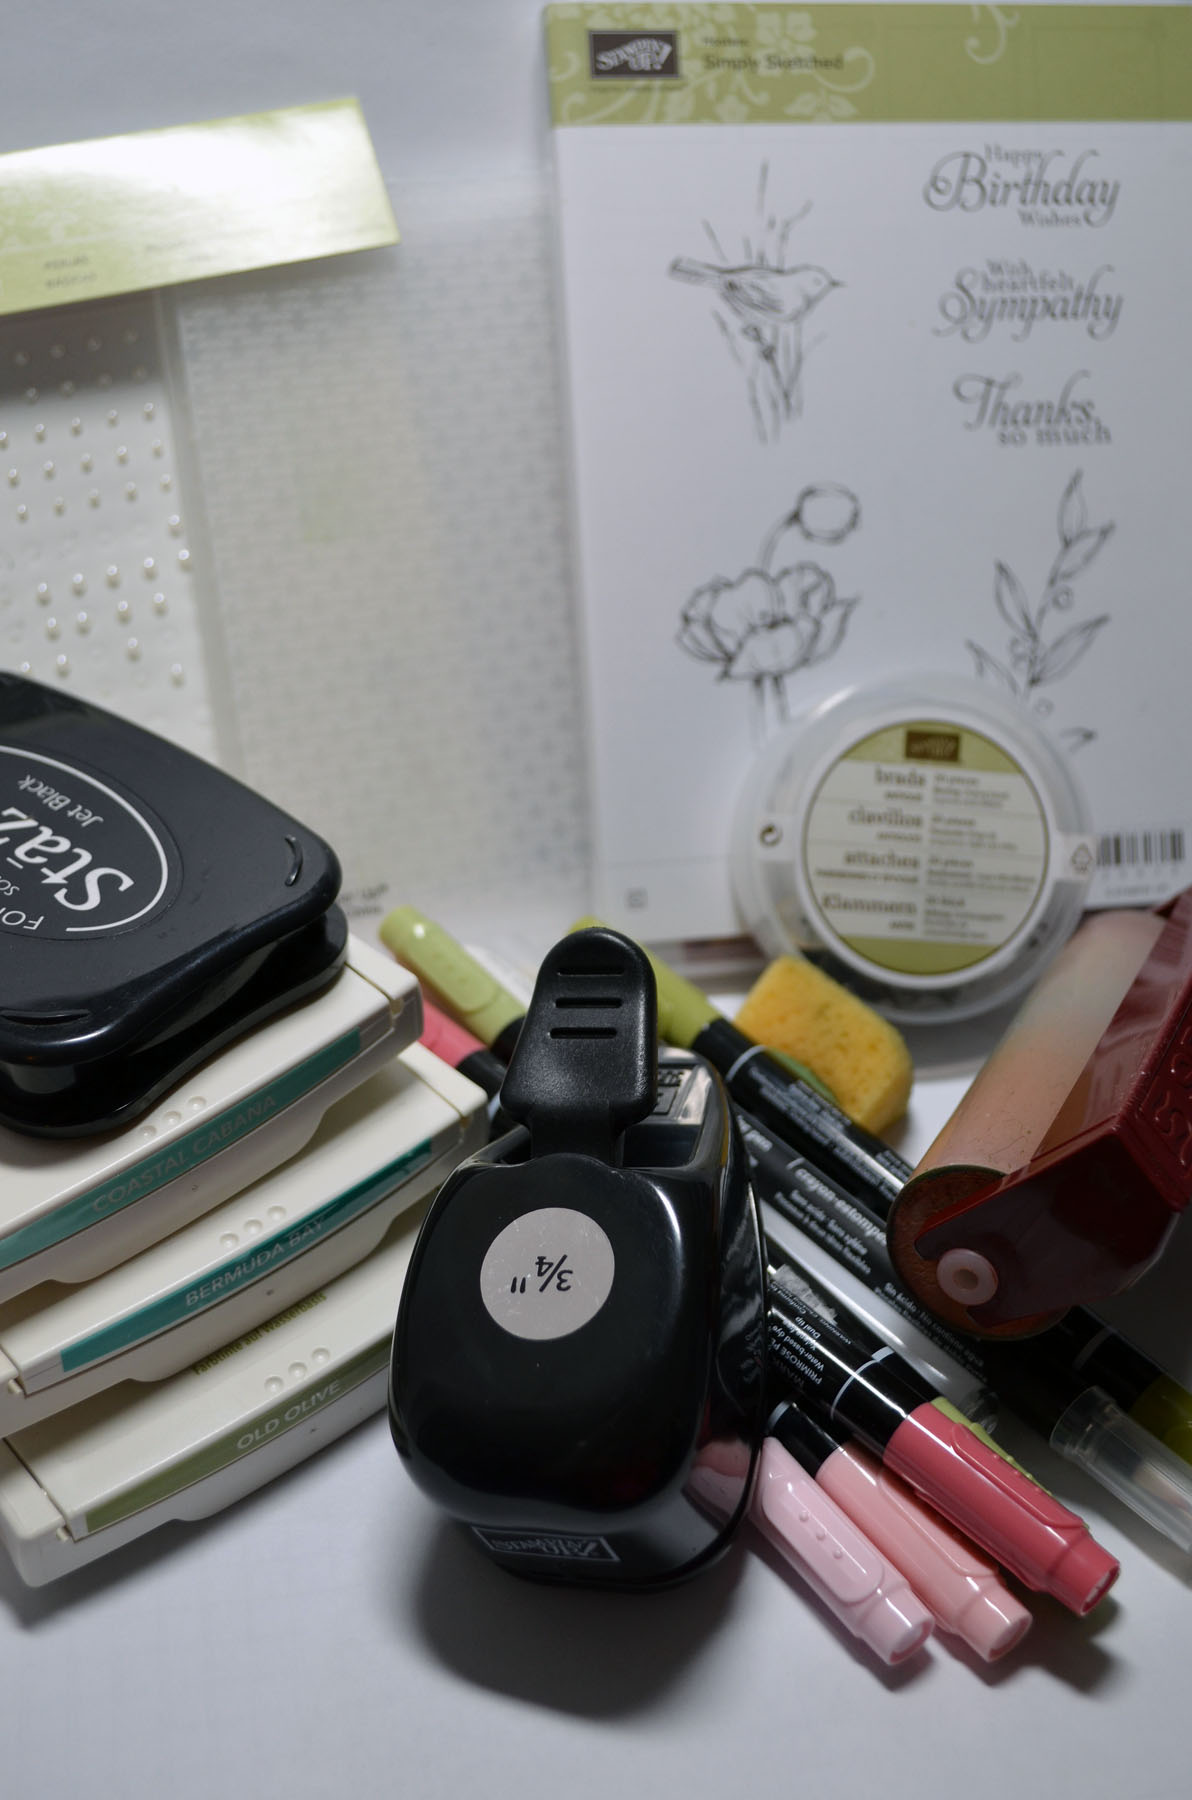
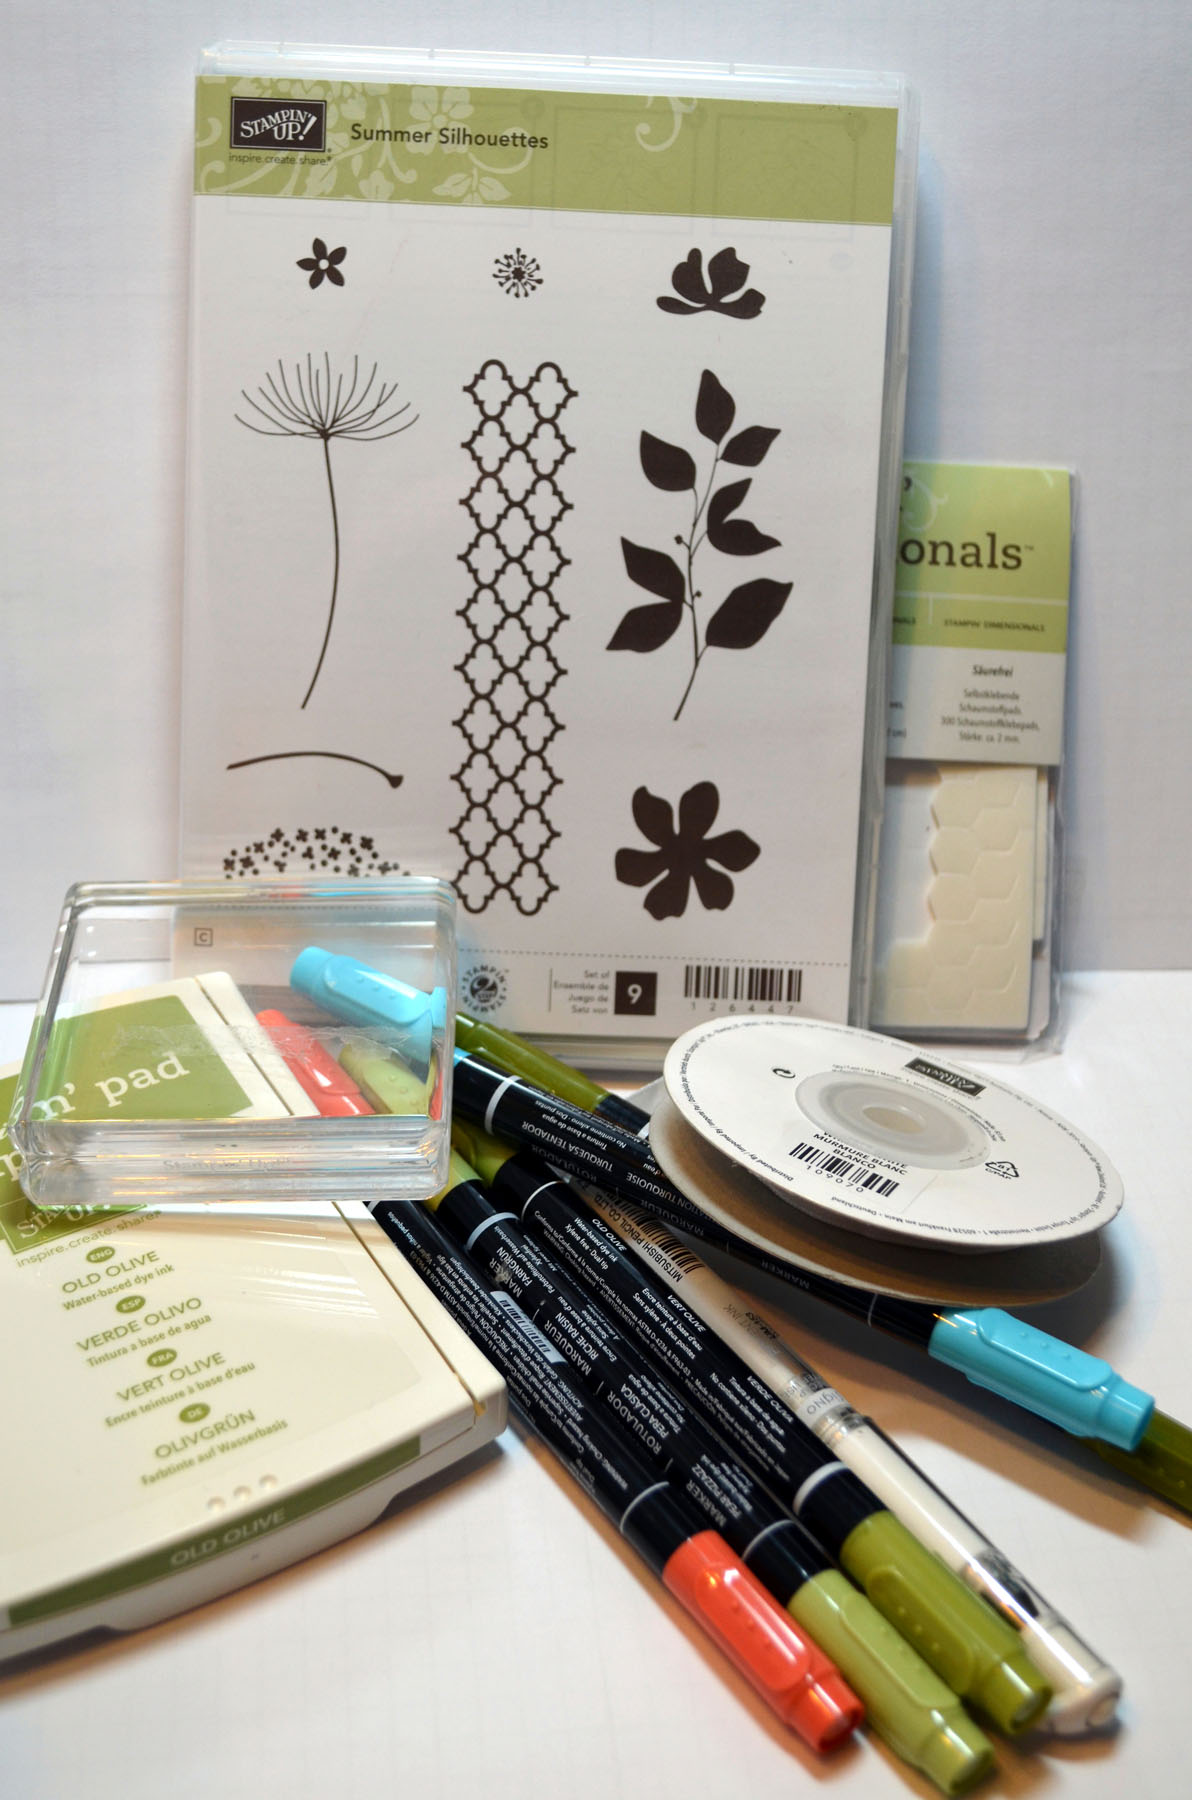
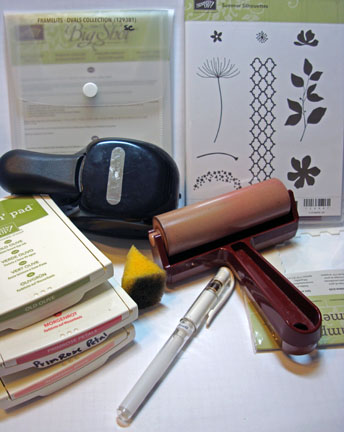
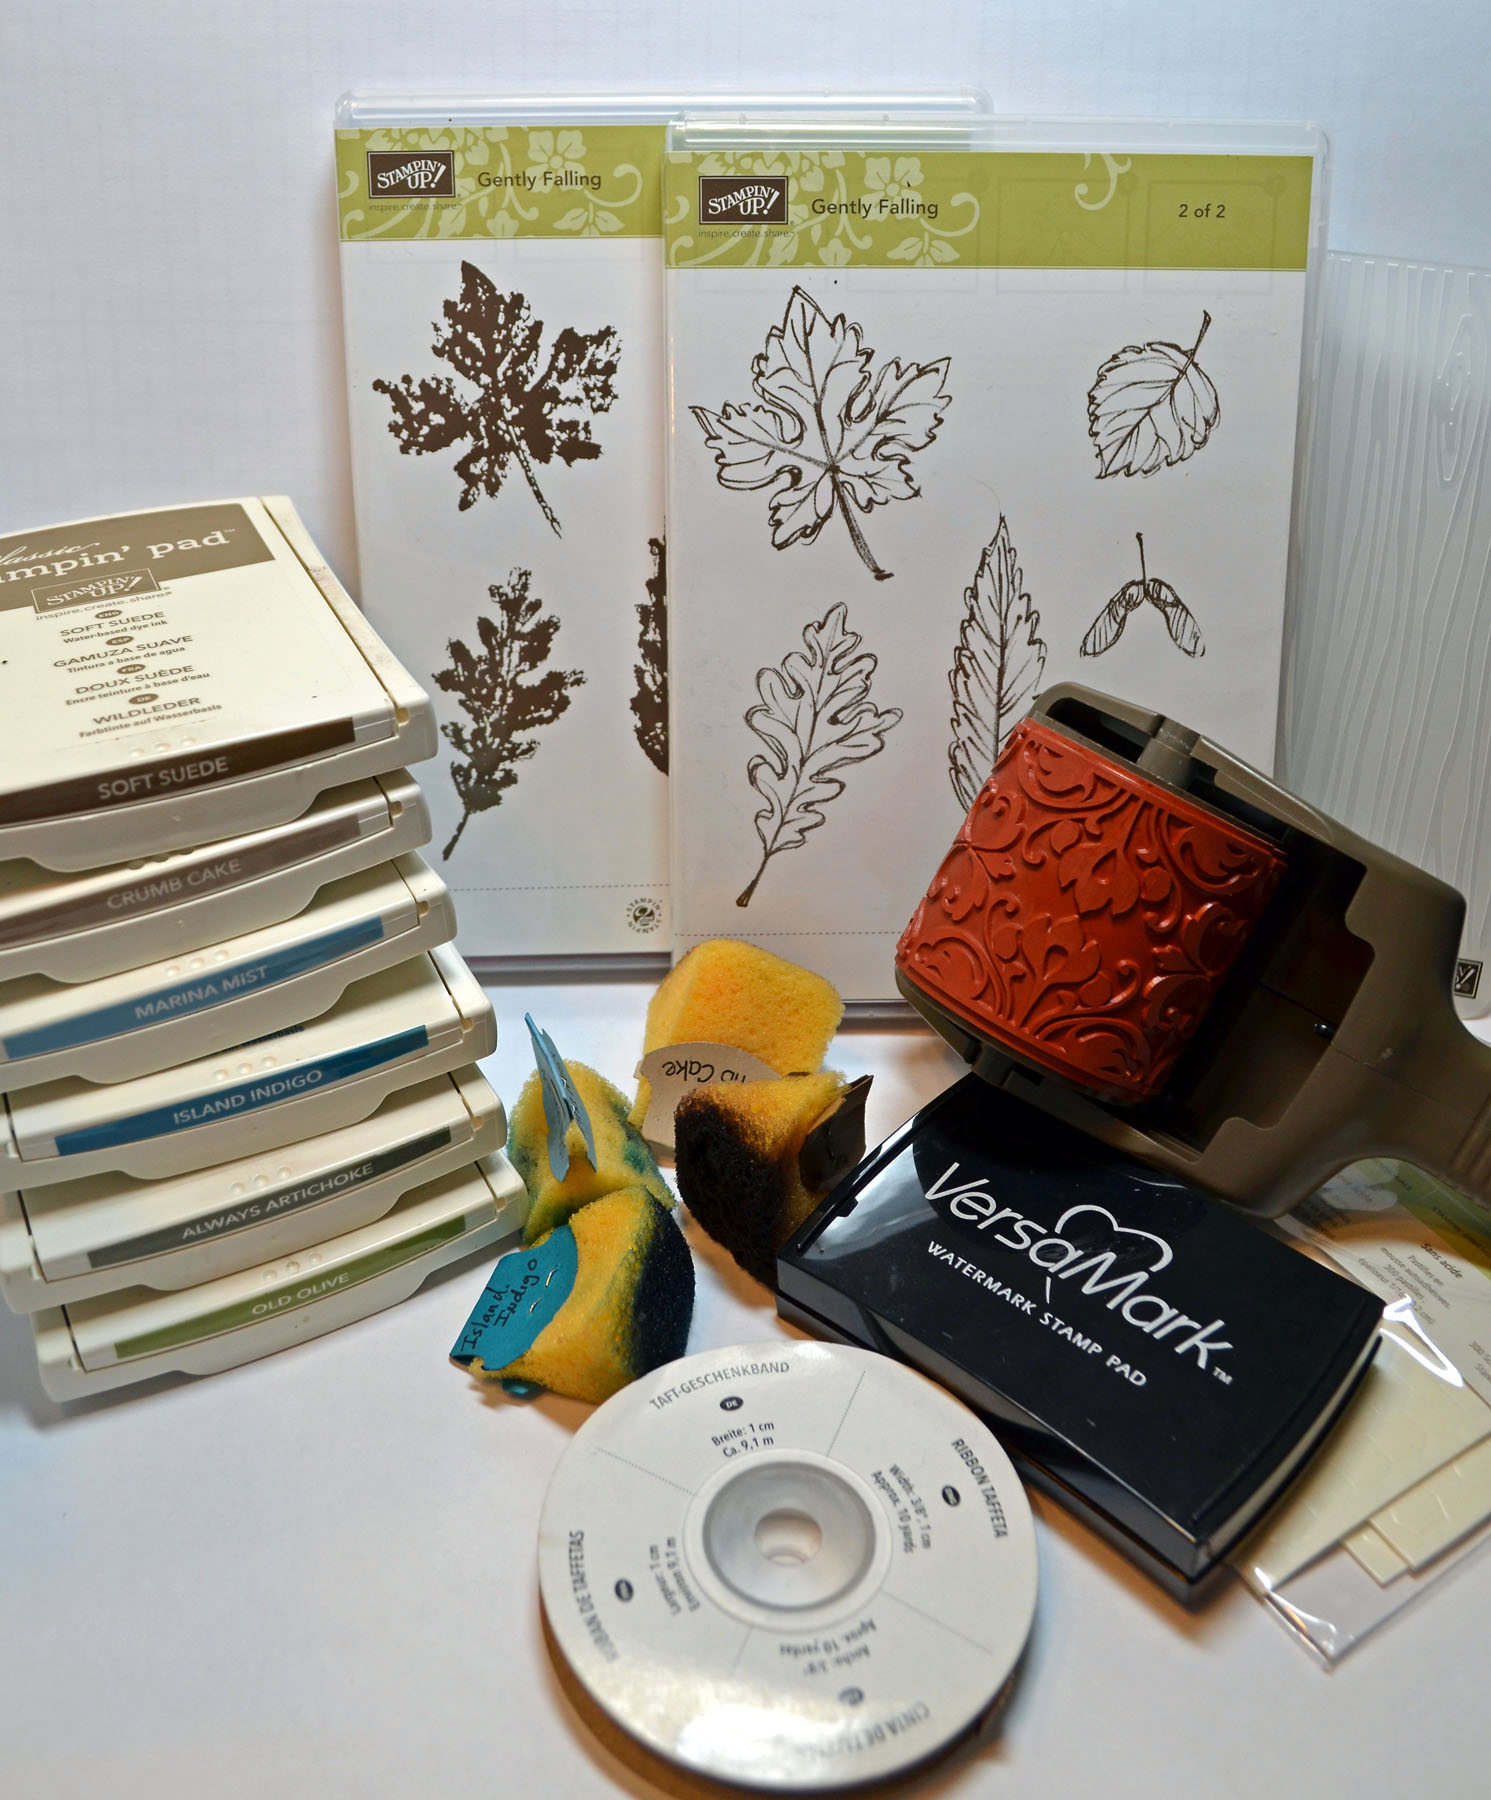
Project Supplies:
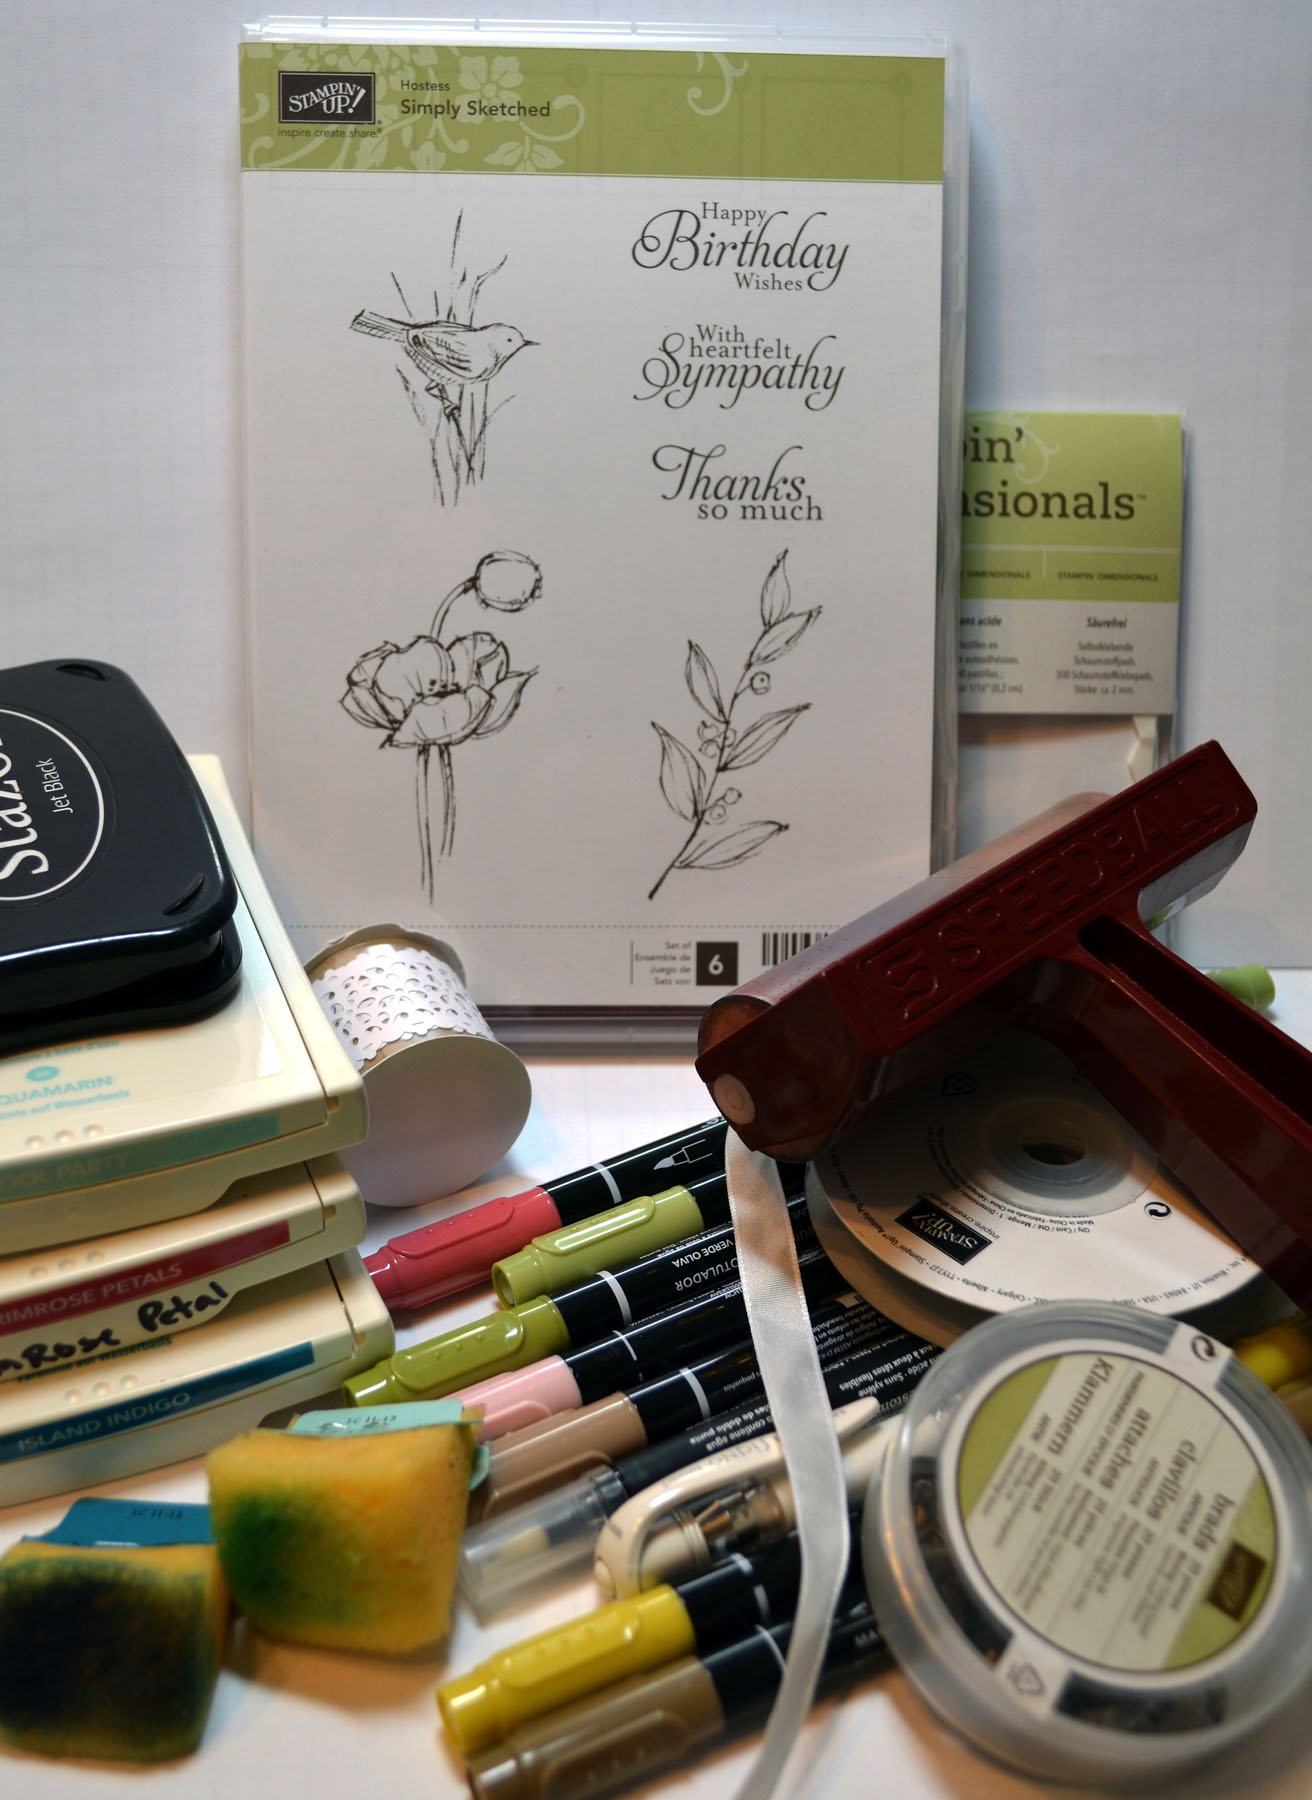
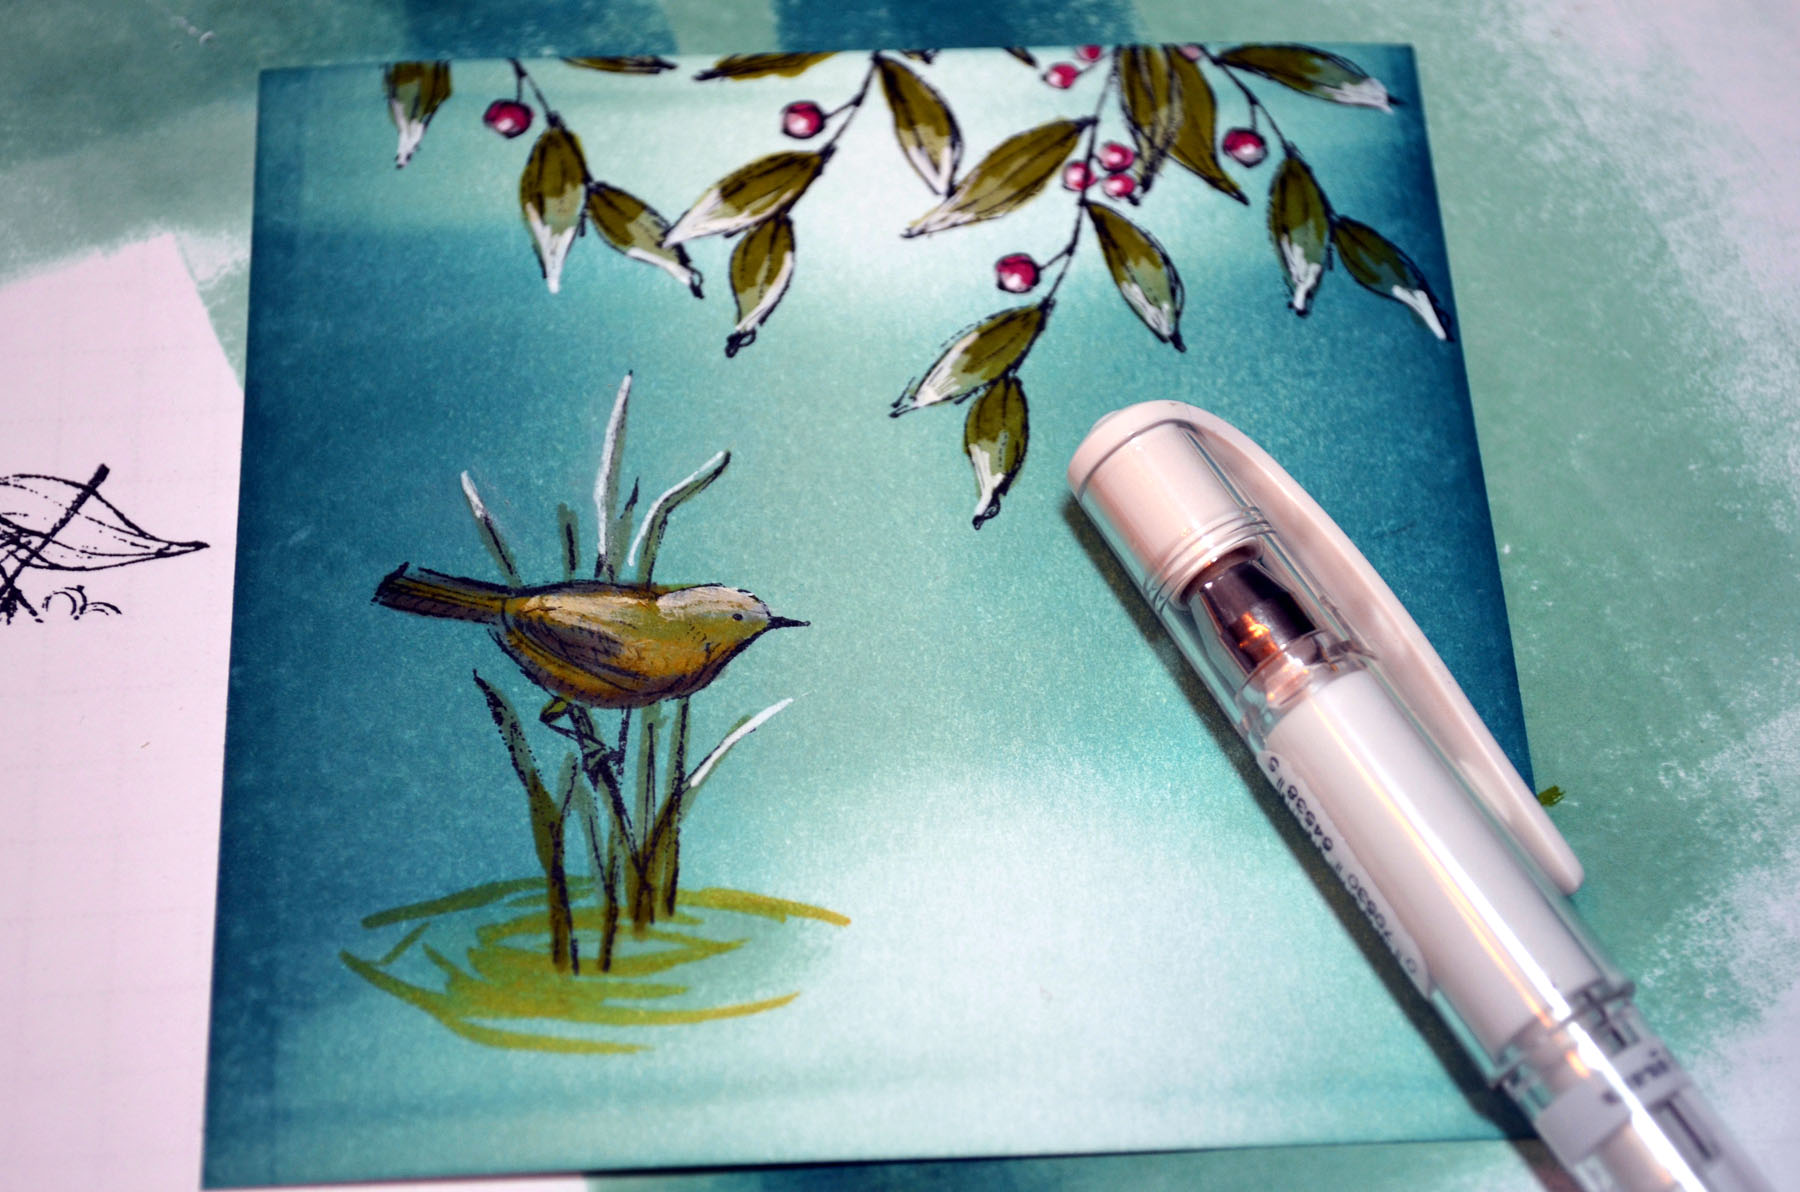
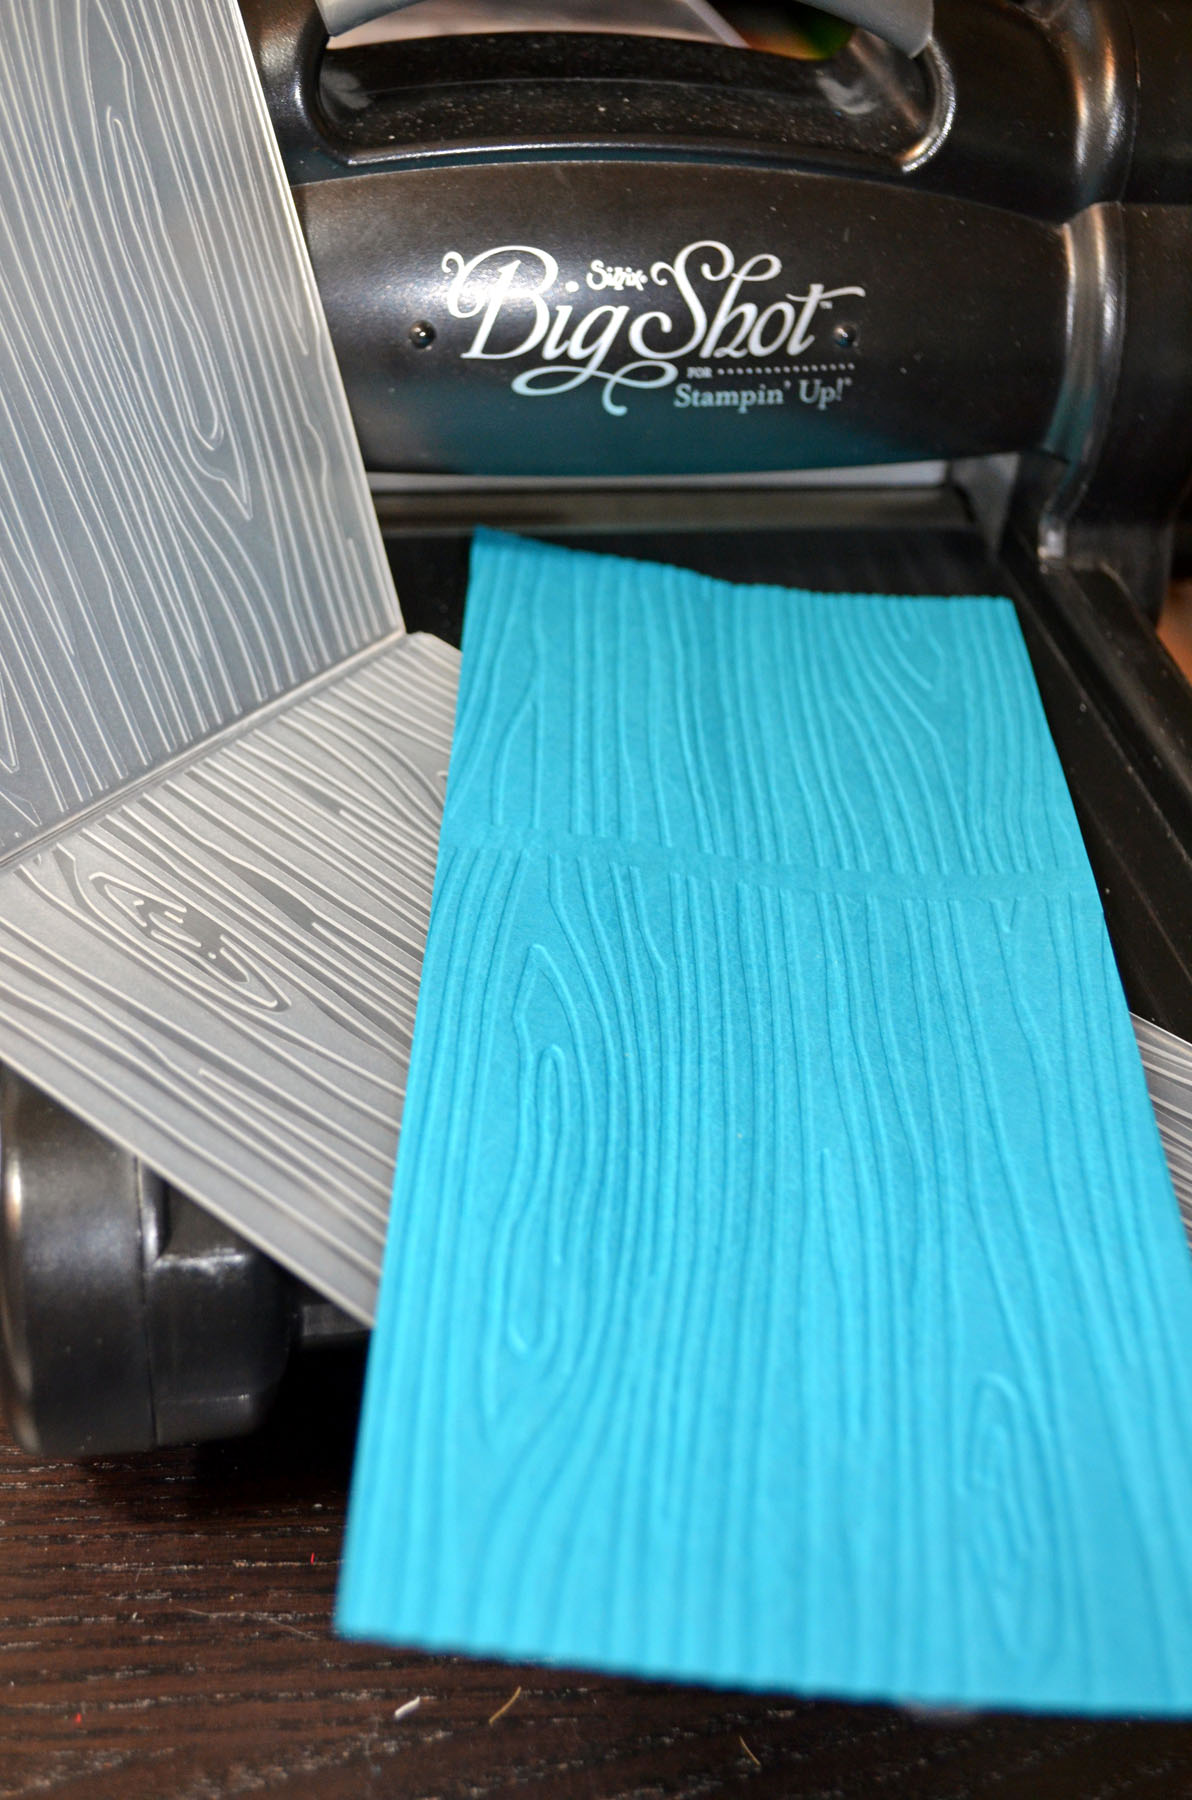
Stamps: Stampin’ Up! Wetlands (item #126697) and Woodgrain (item #128763)
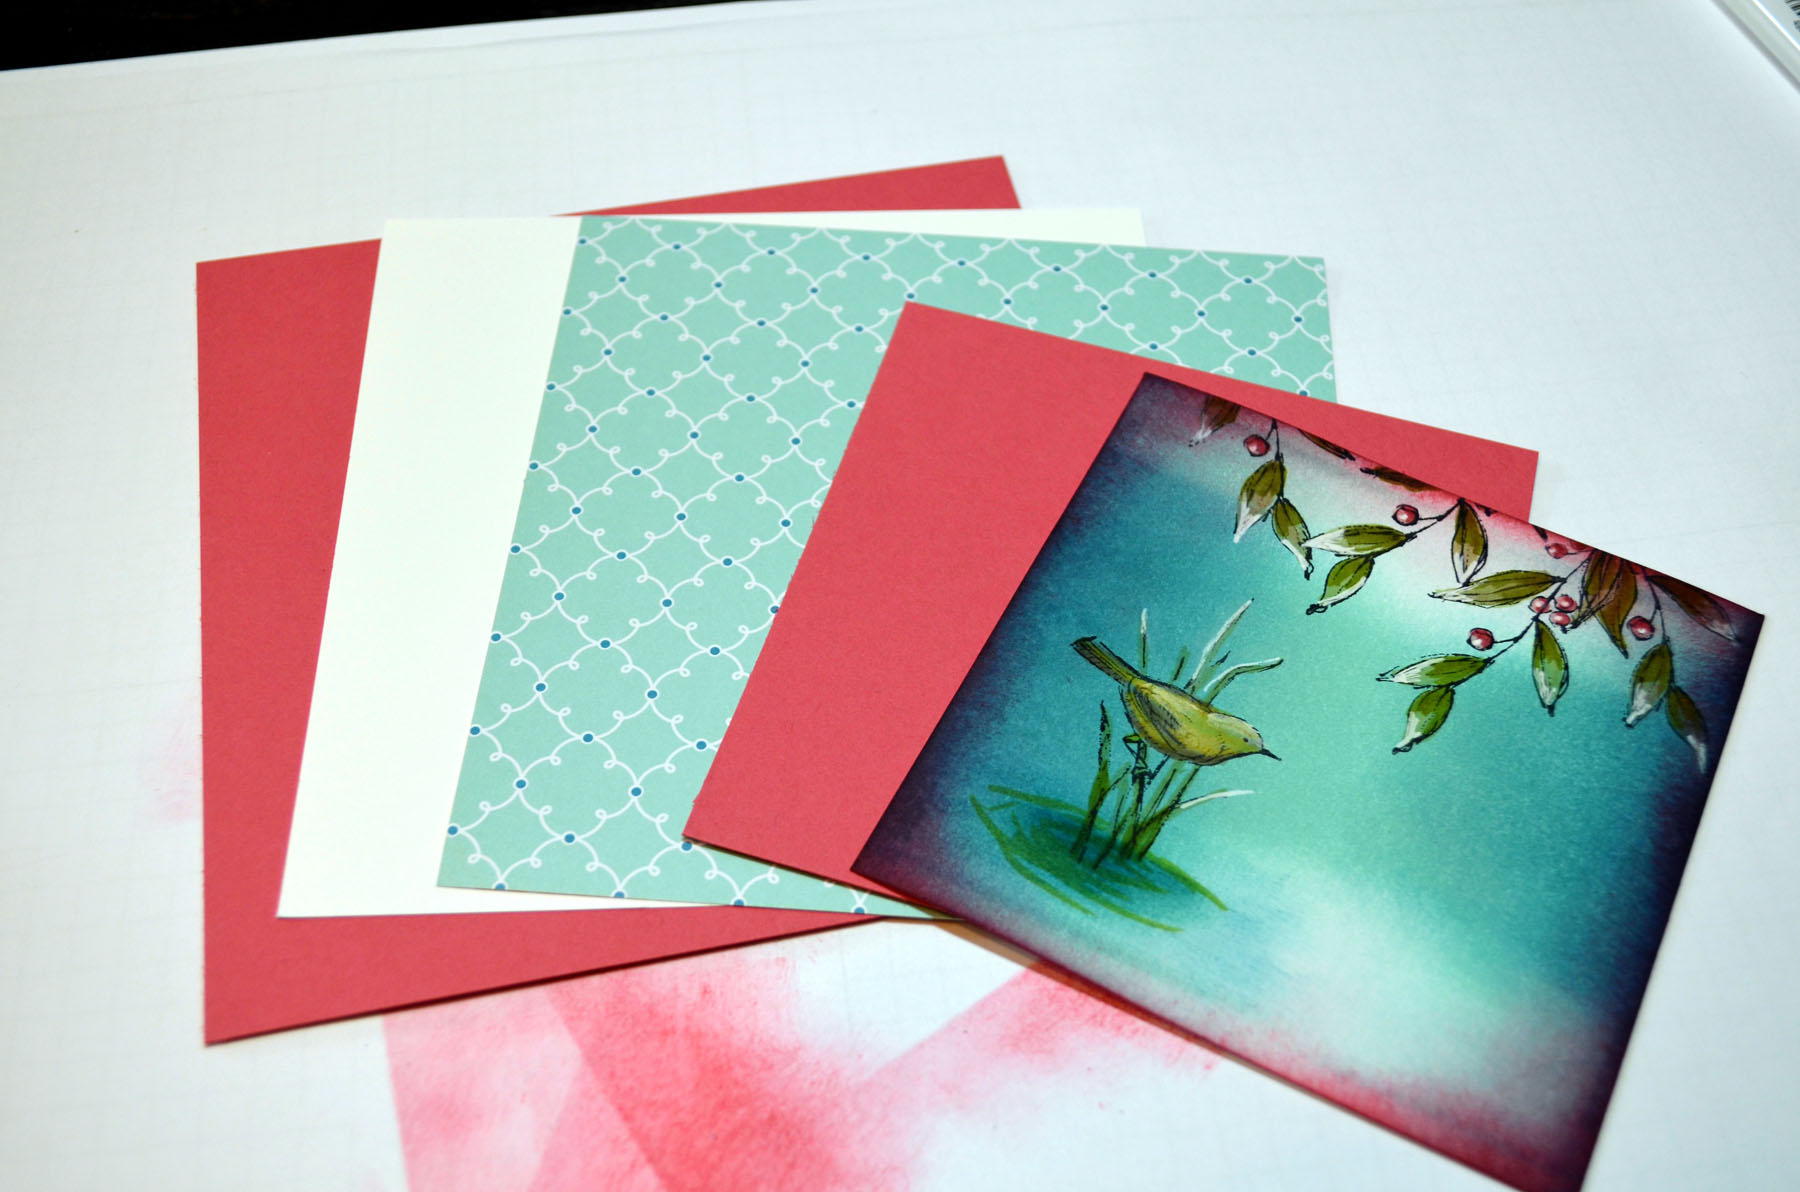
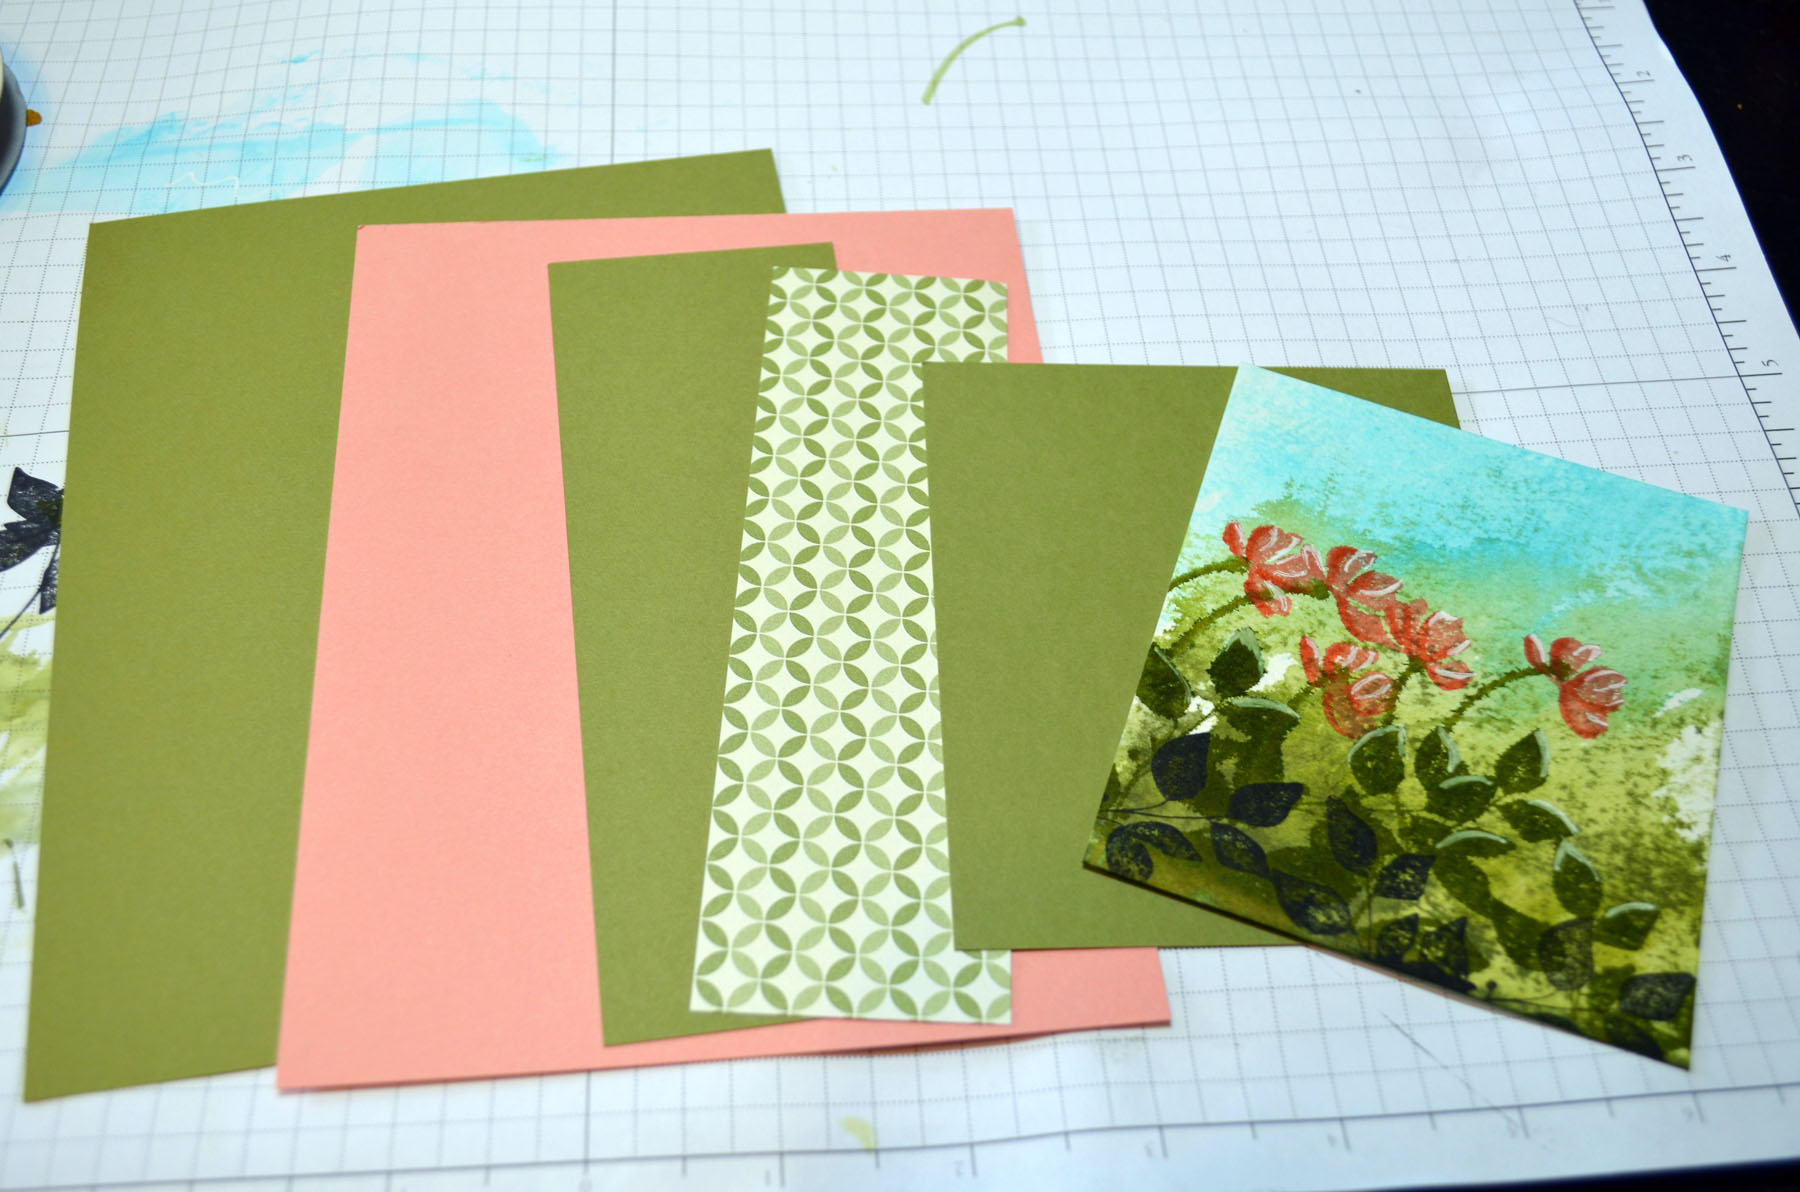
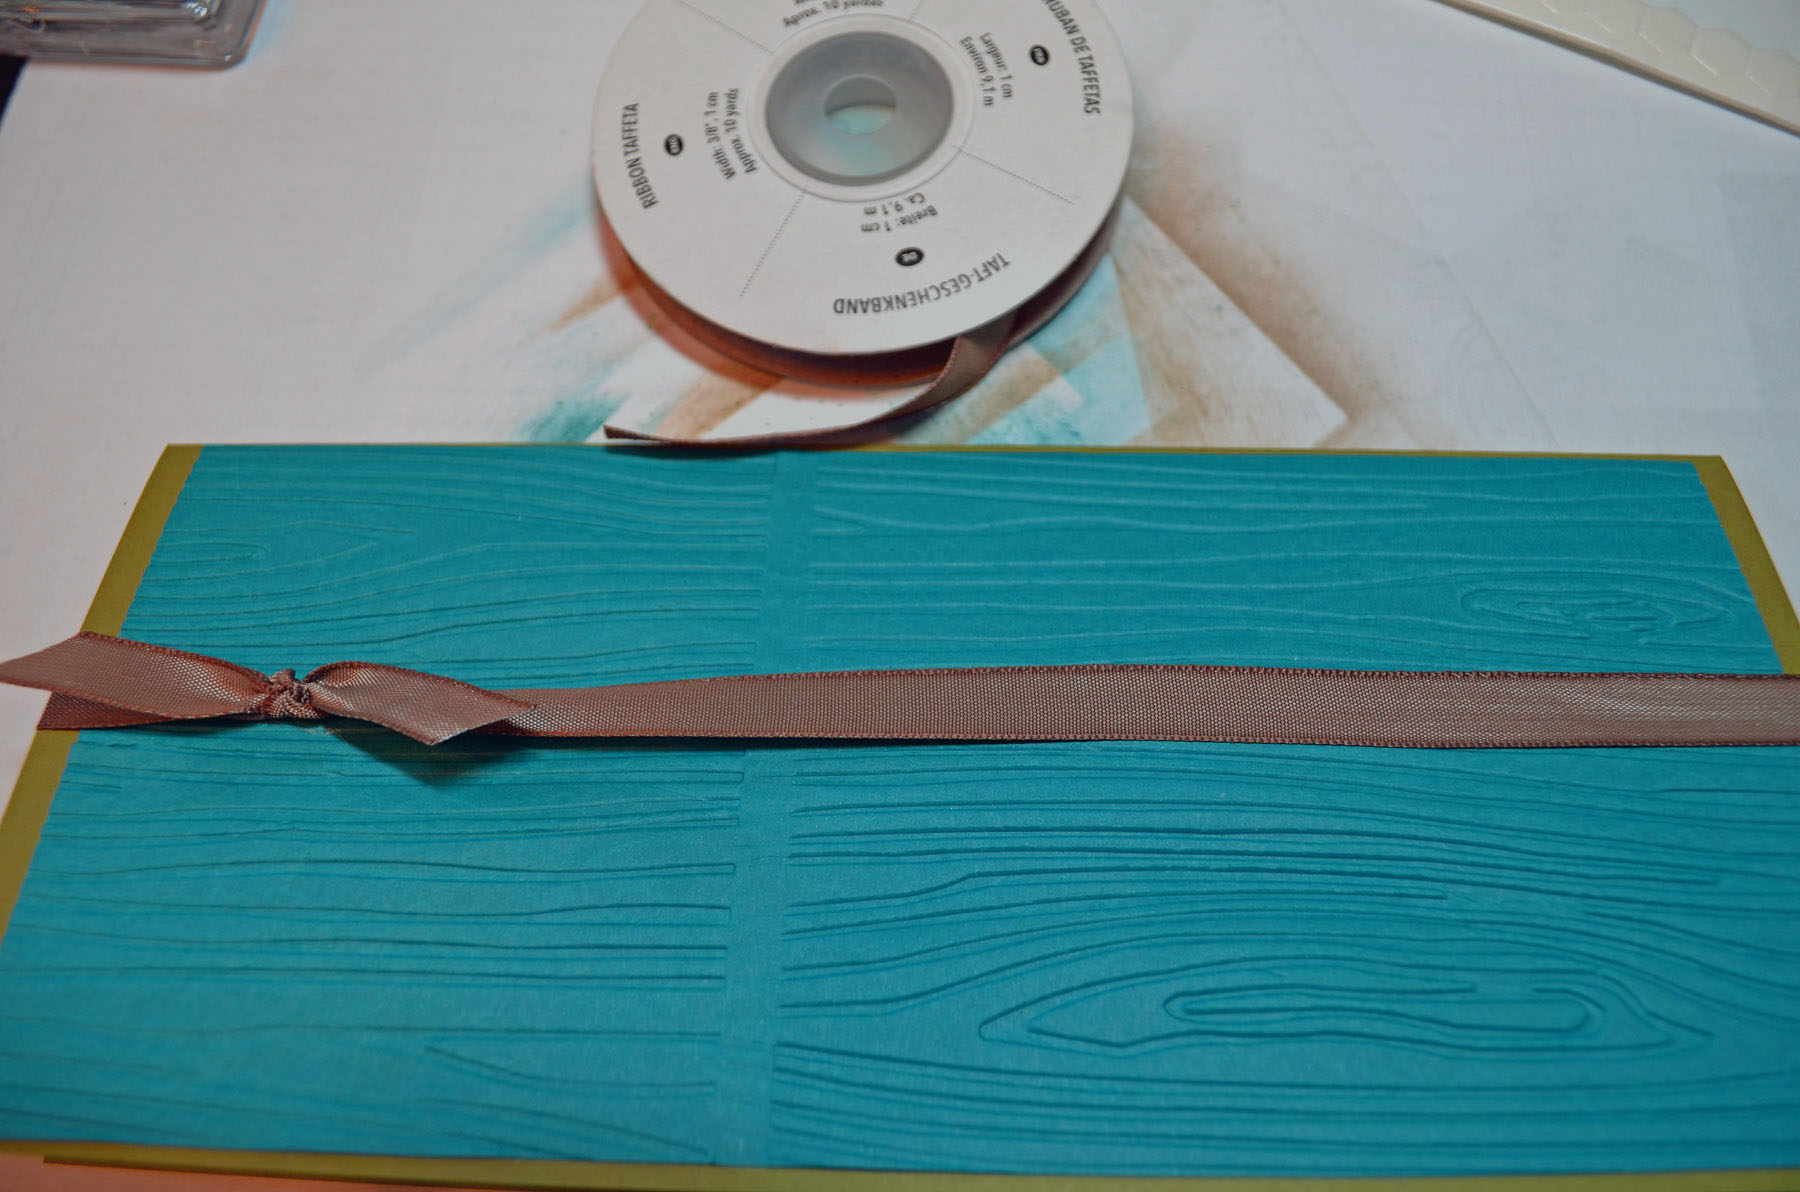
Card Stock: Stampin’ Up! Whisper White, Crumb Cake, Early Espresso and Soft Suede
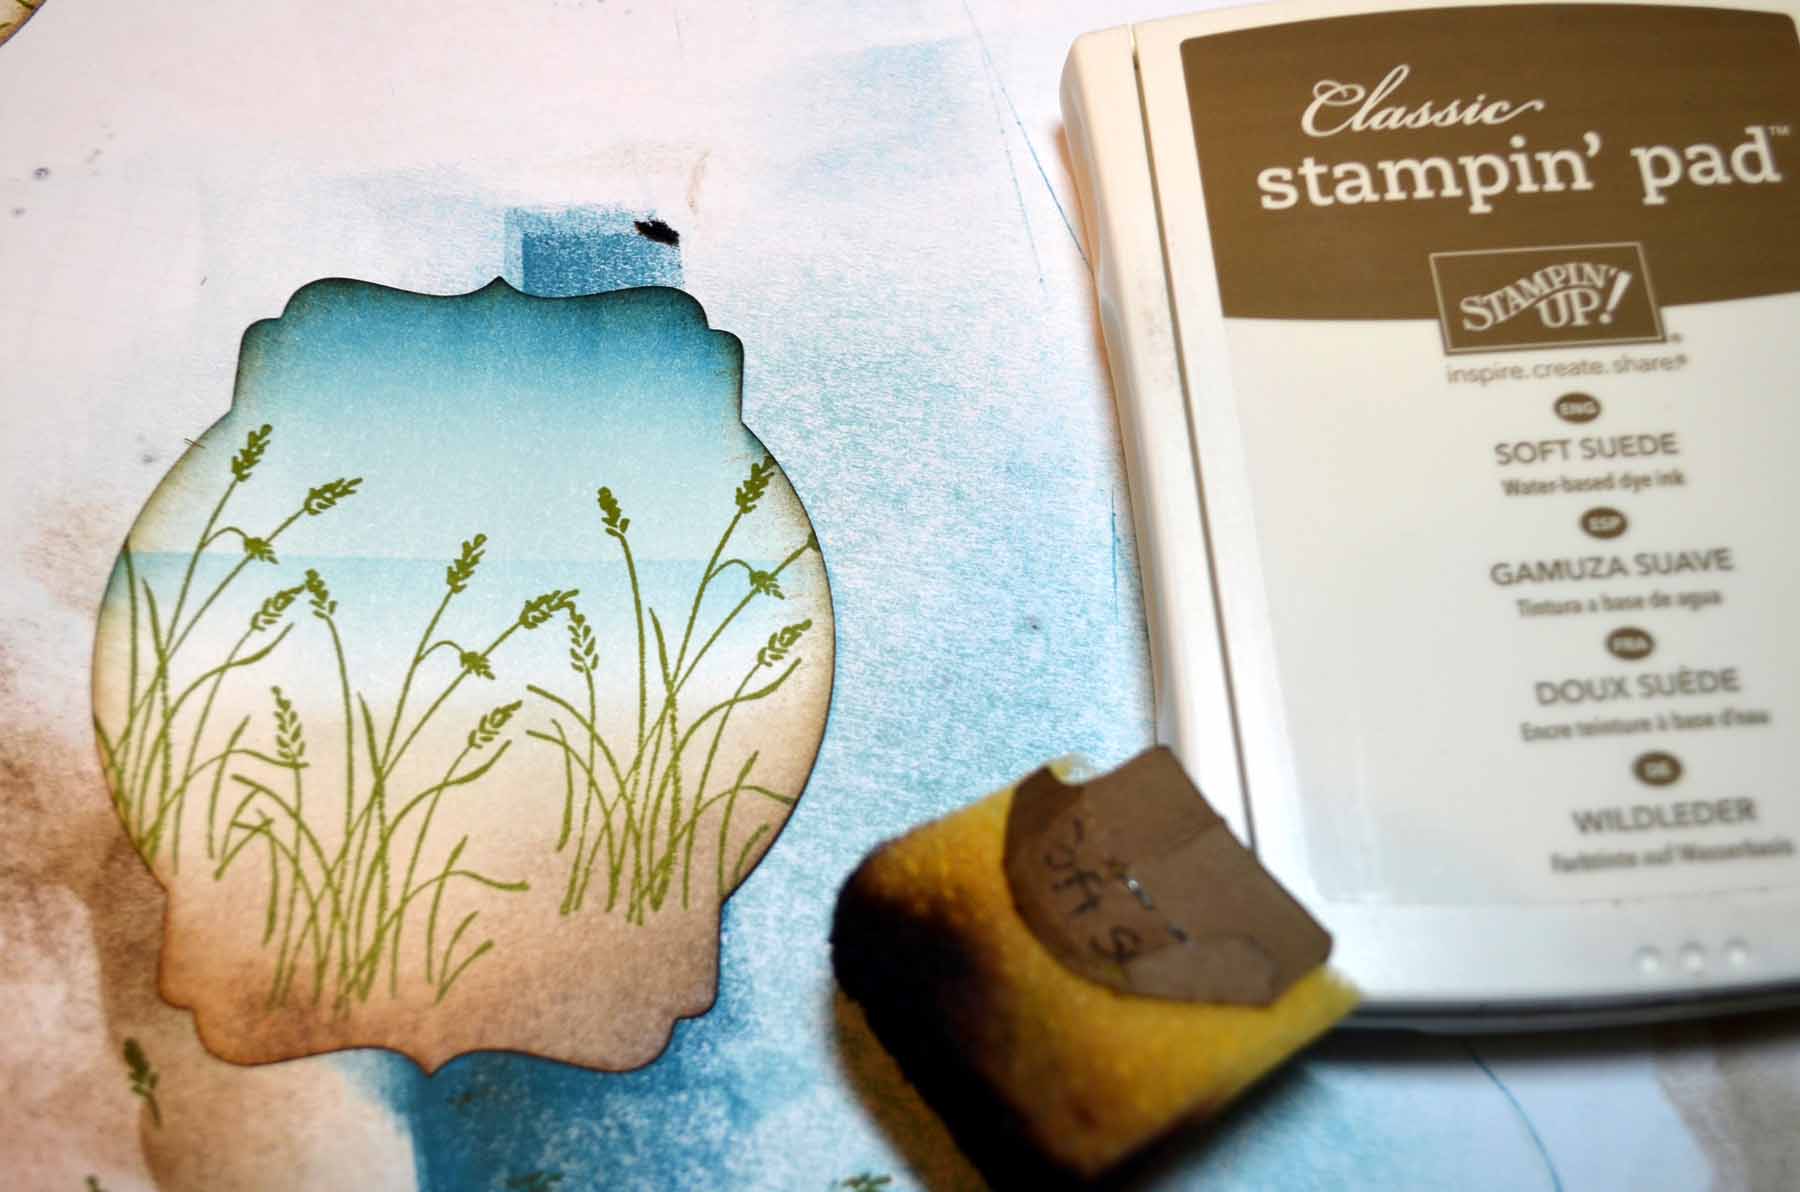
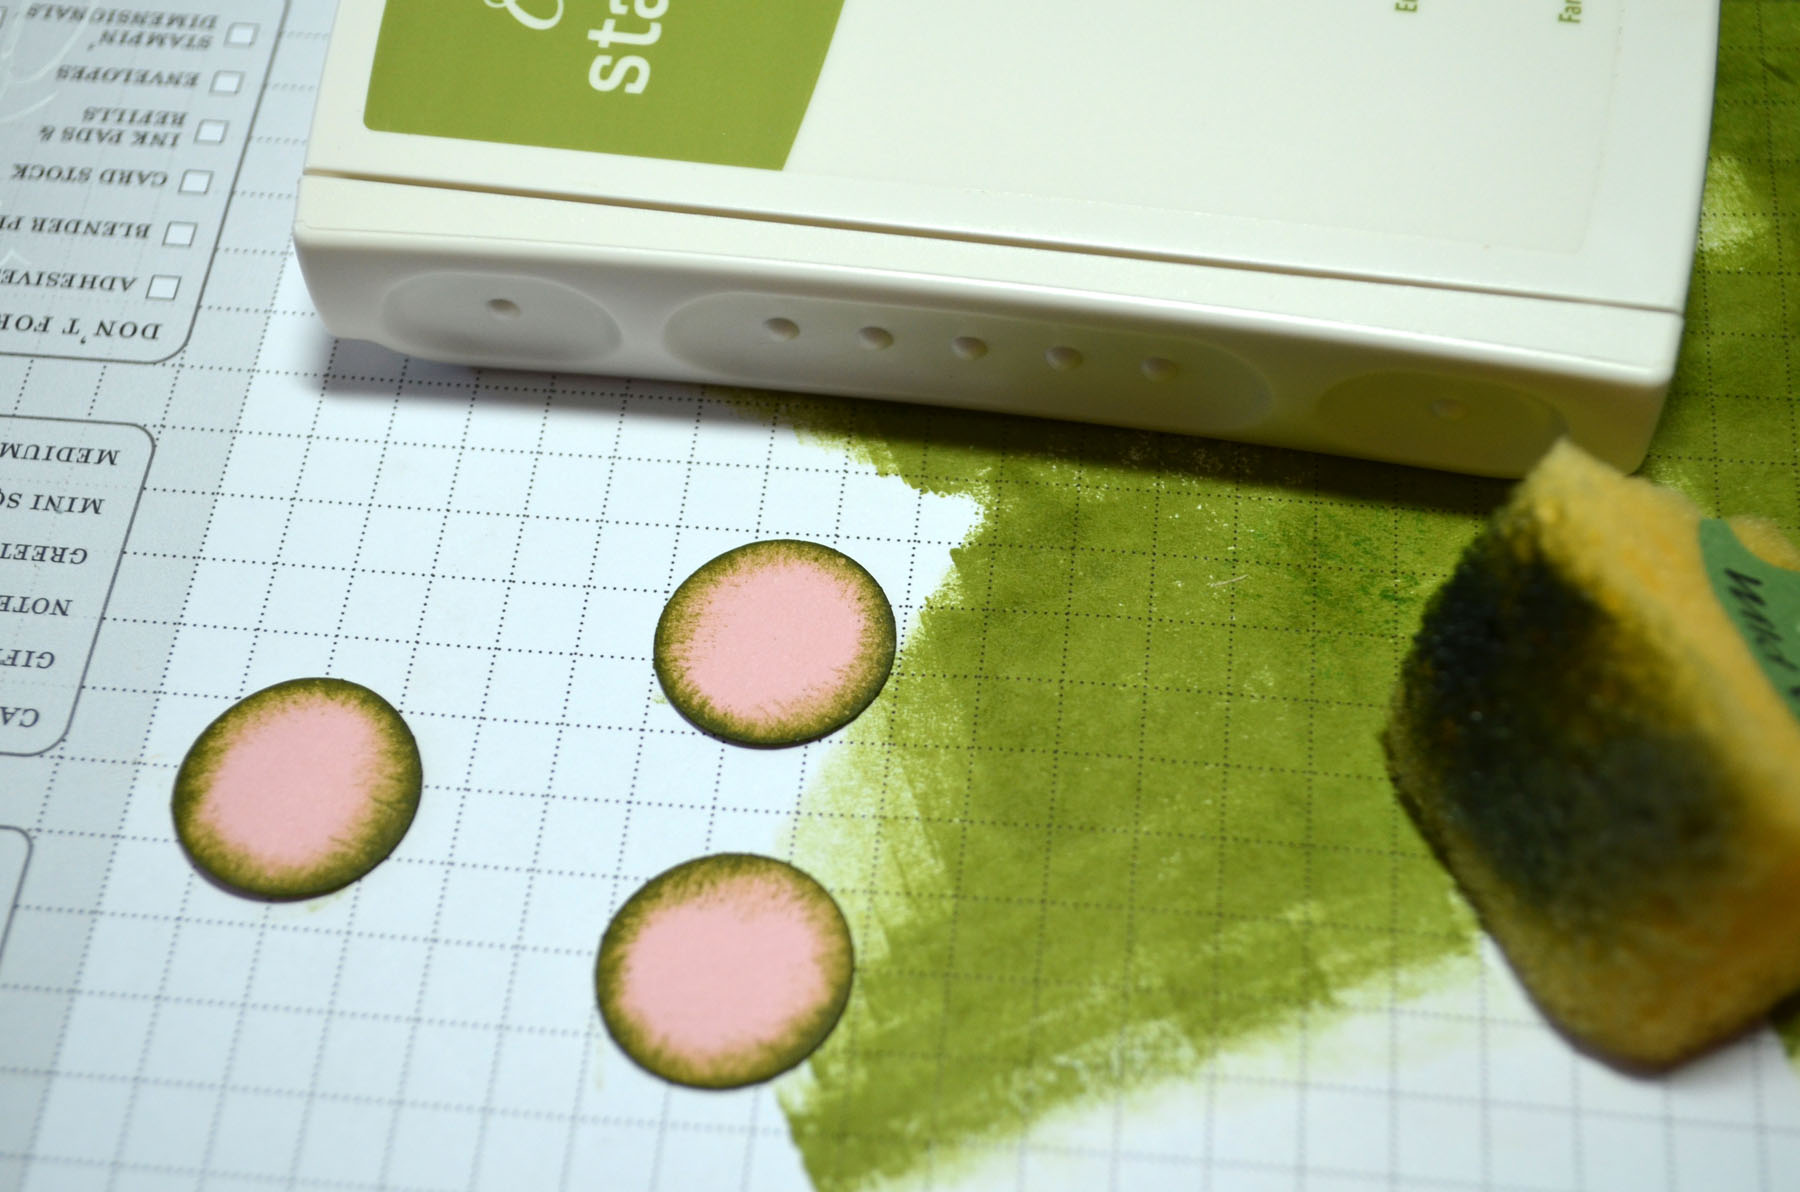
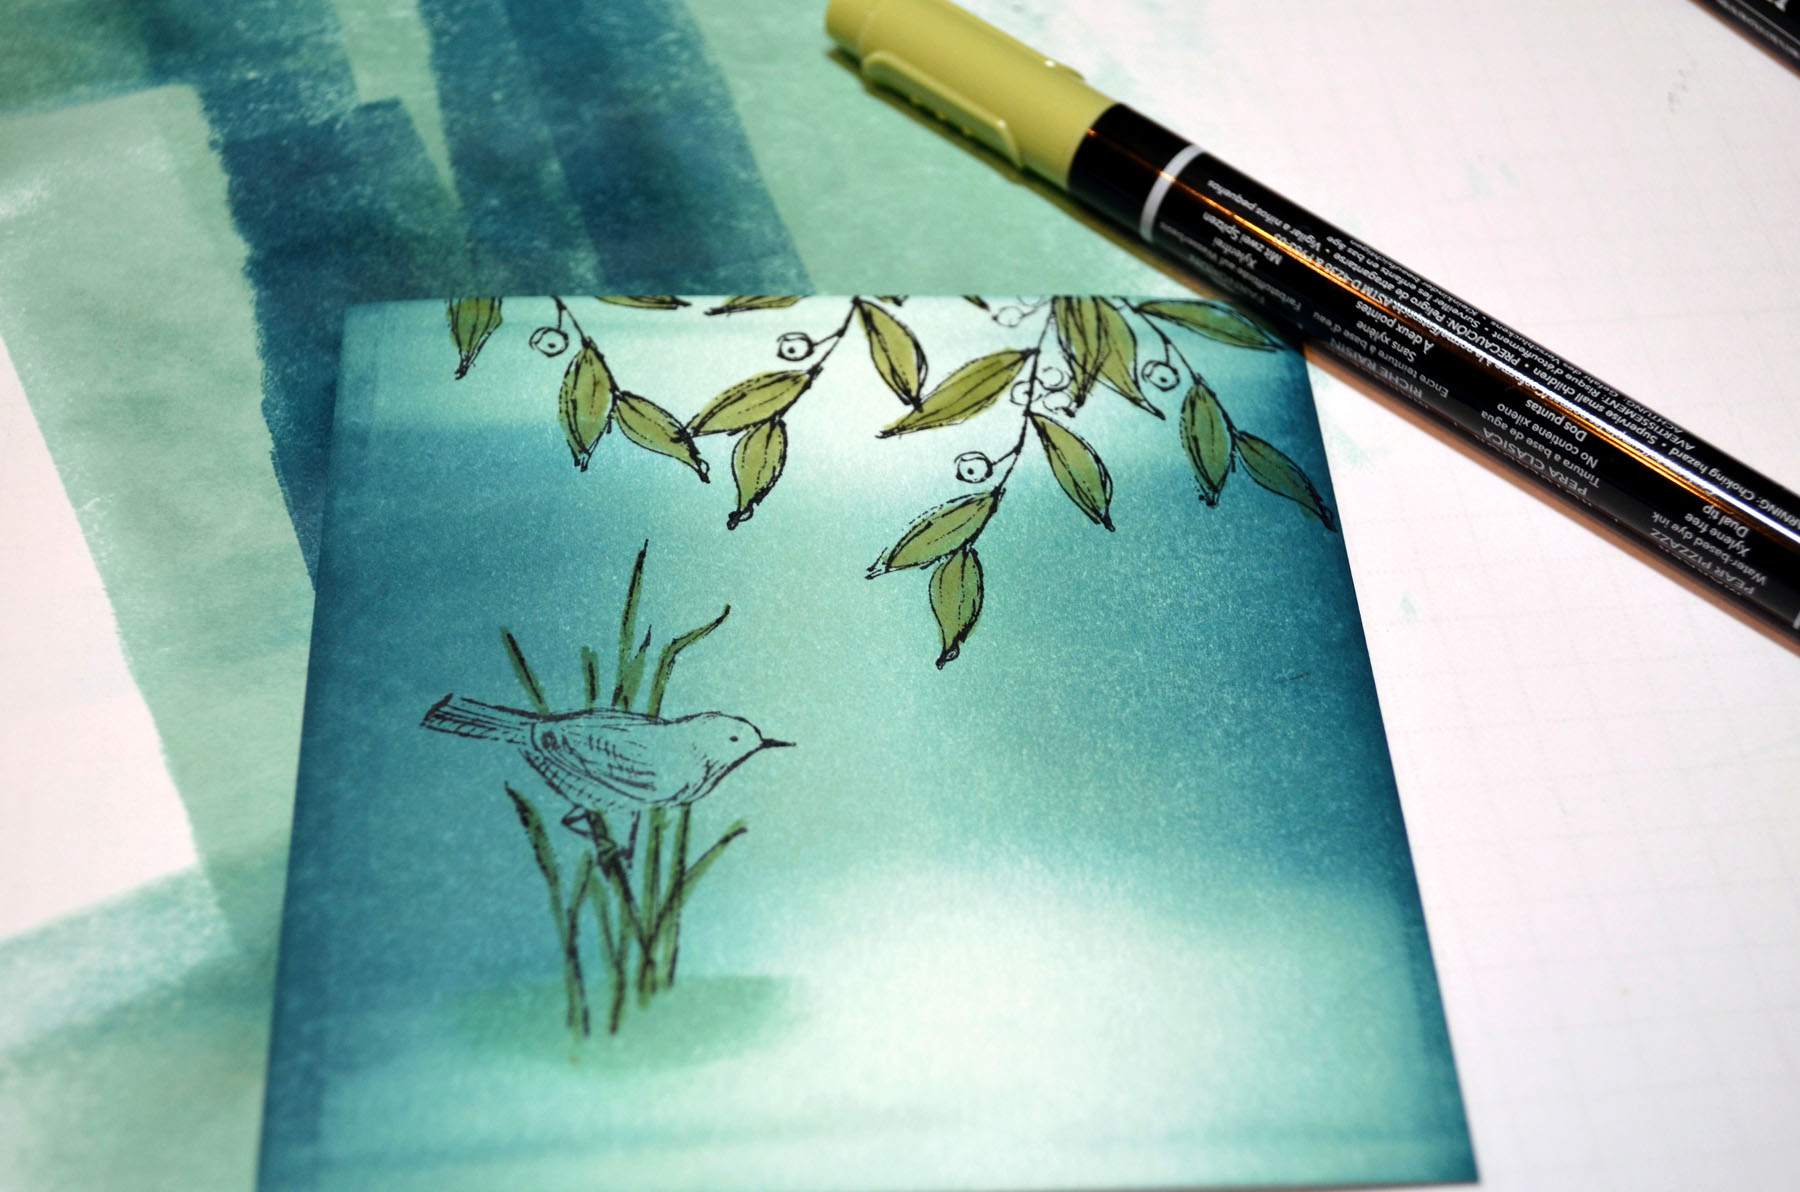
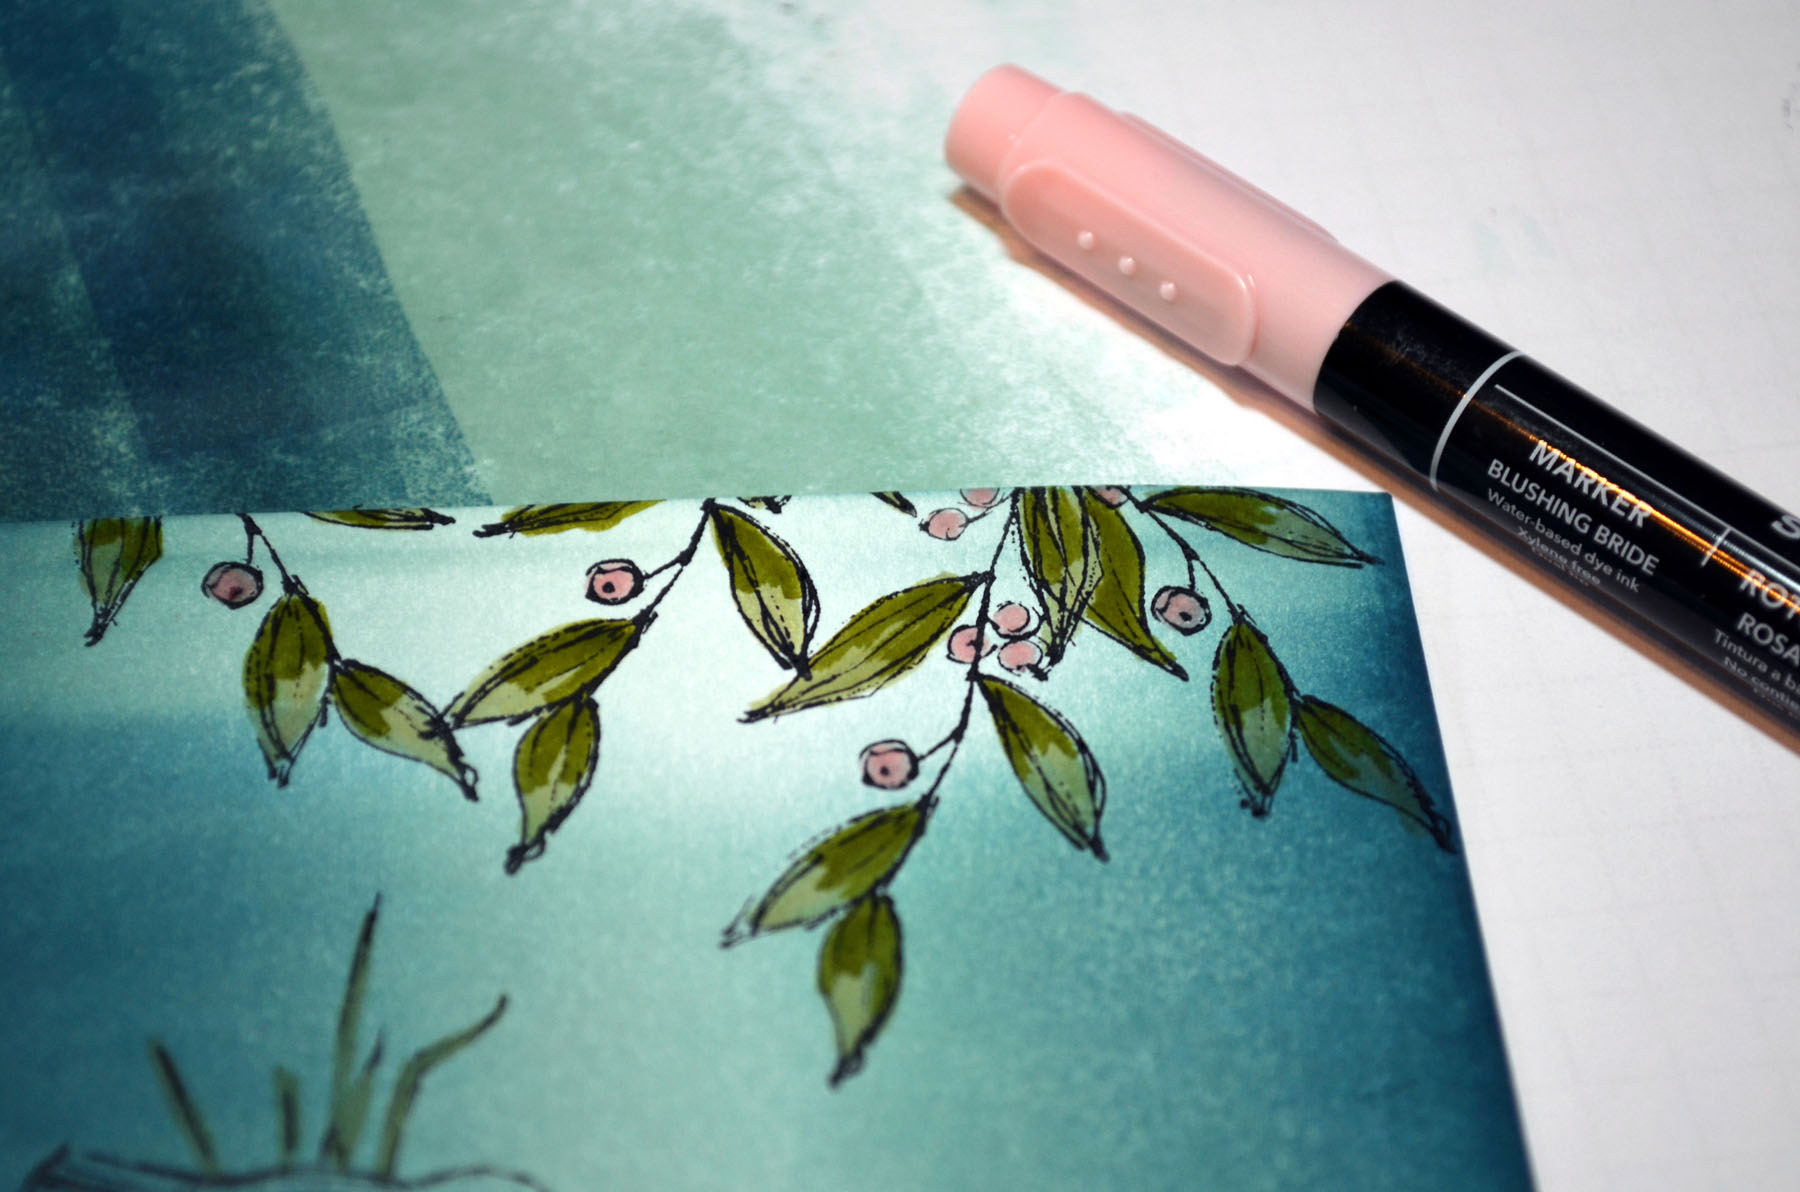
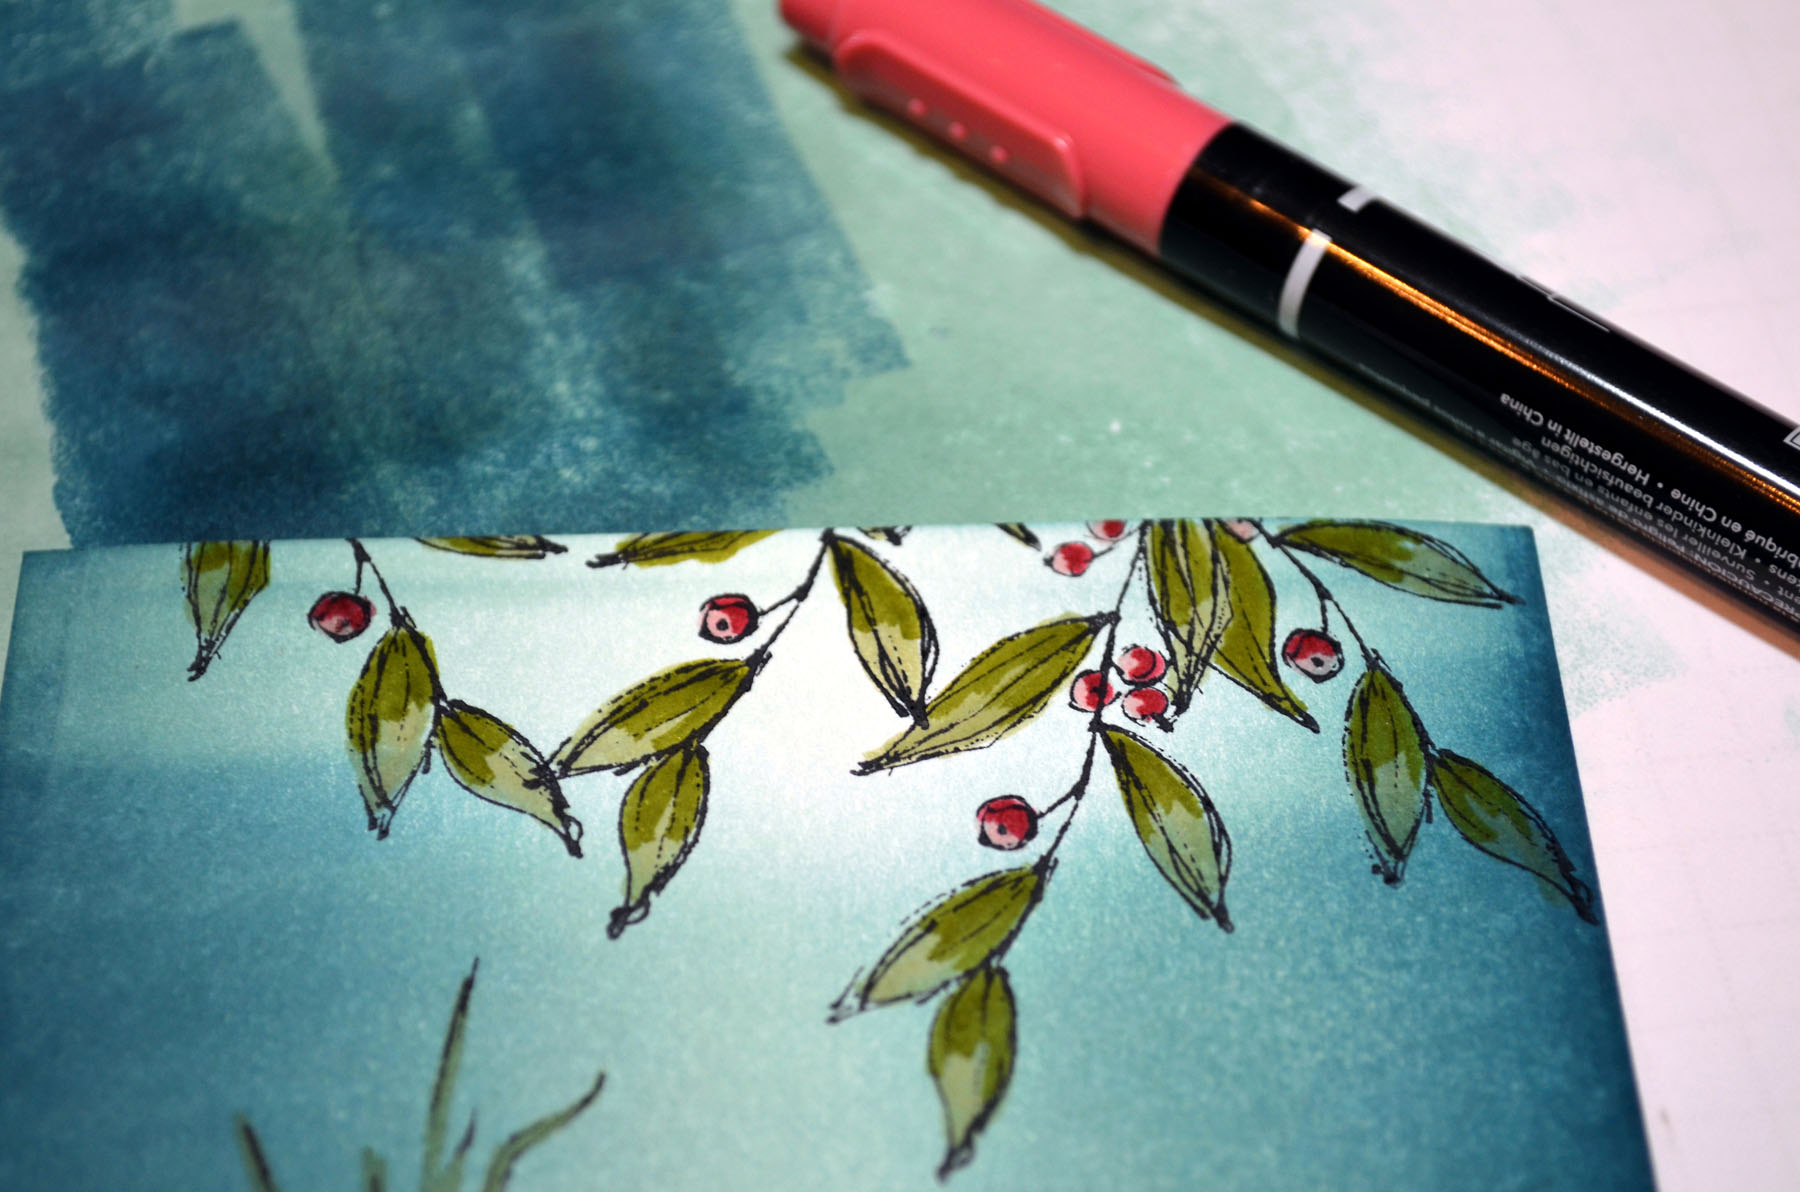
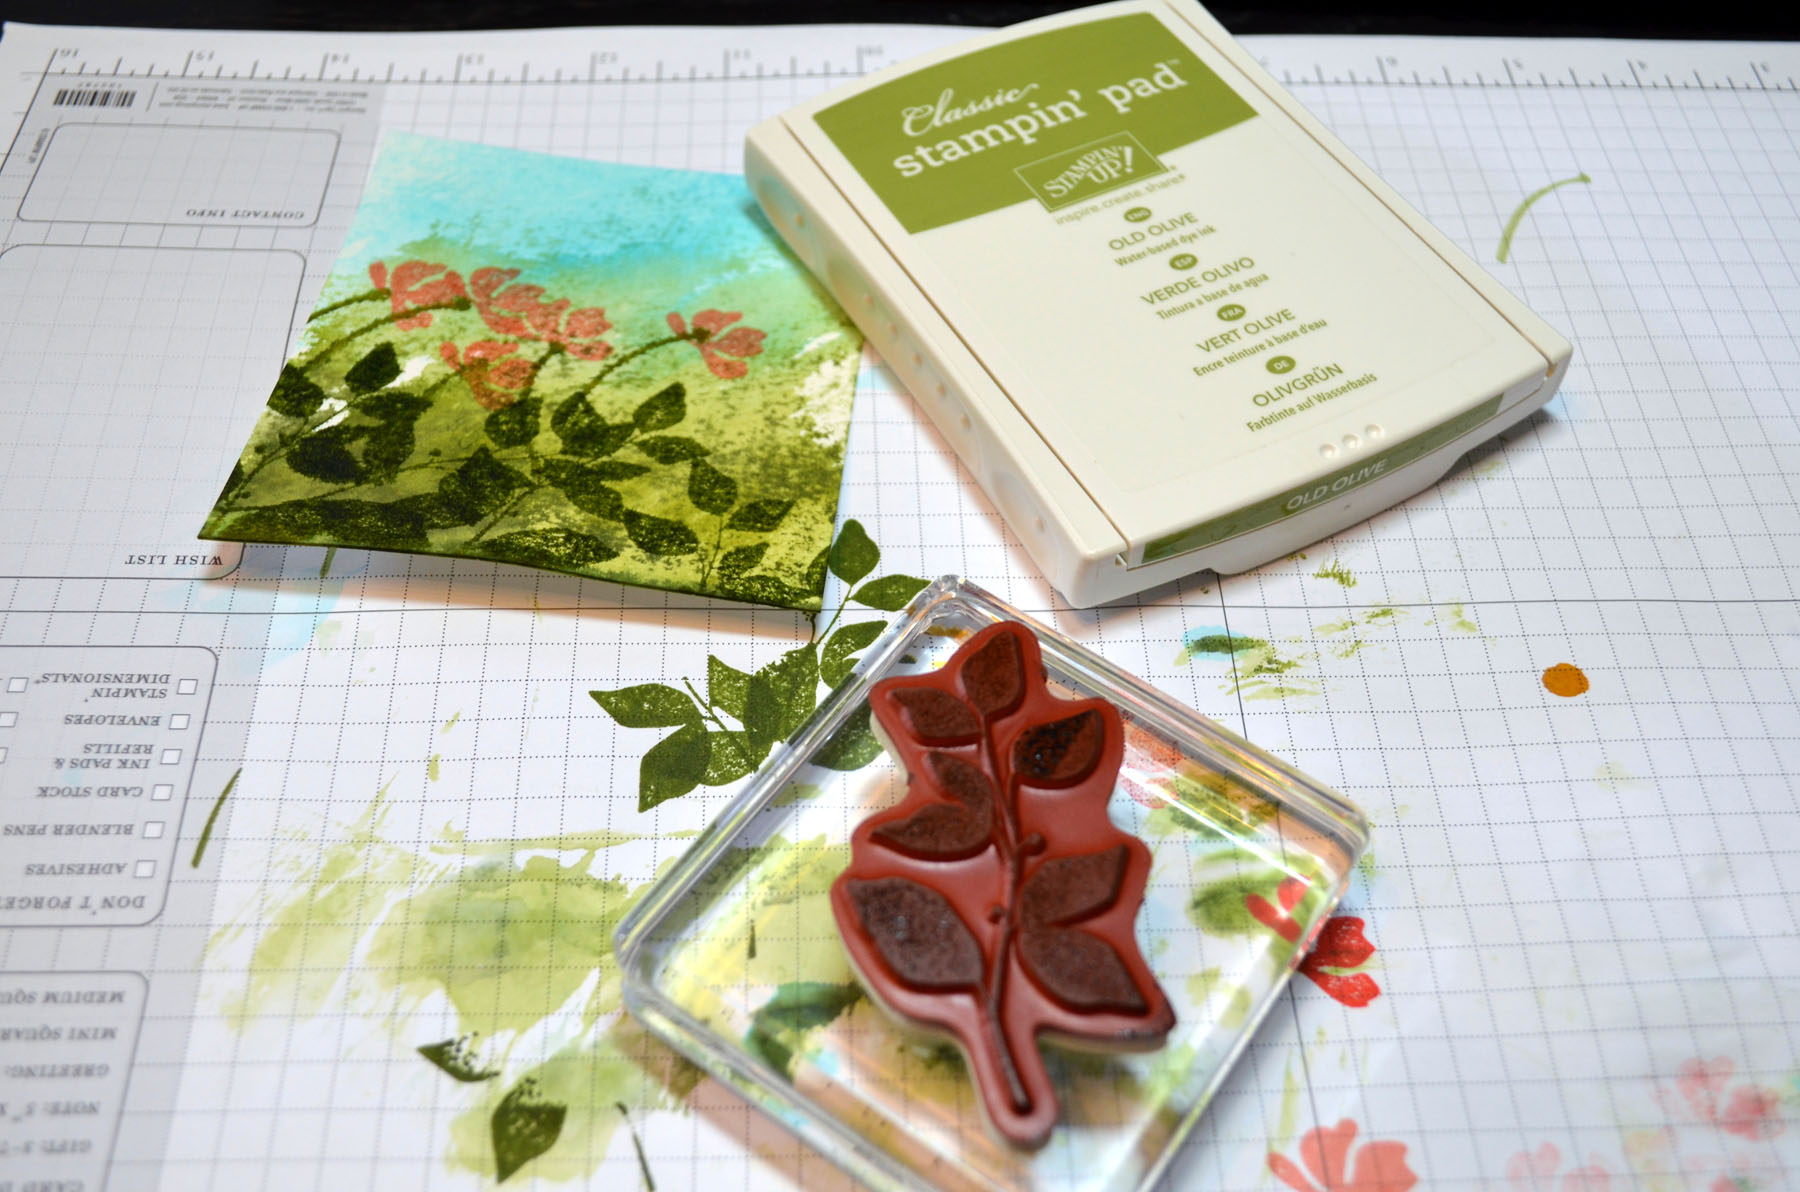
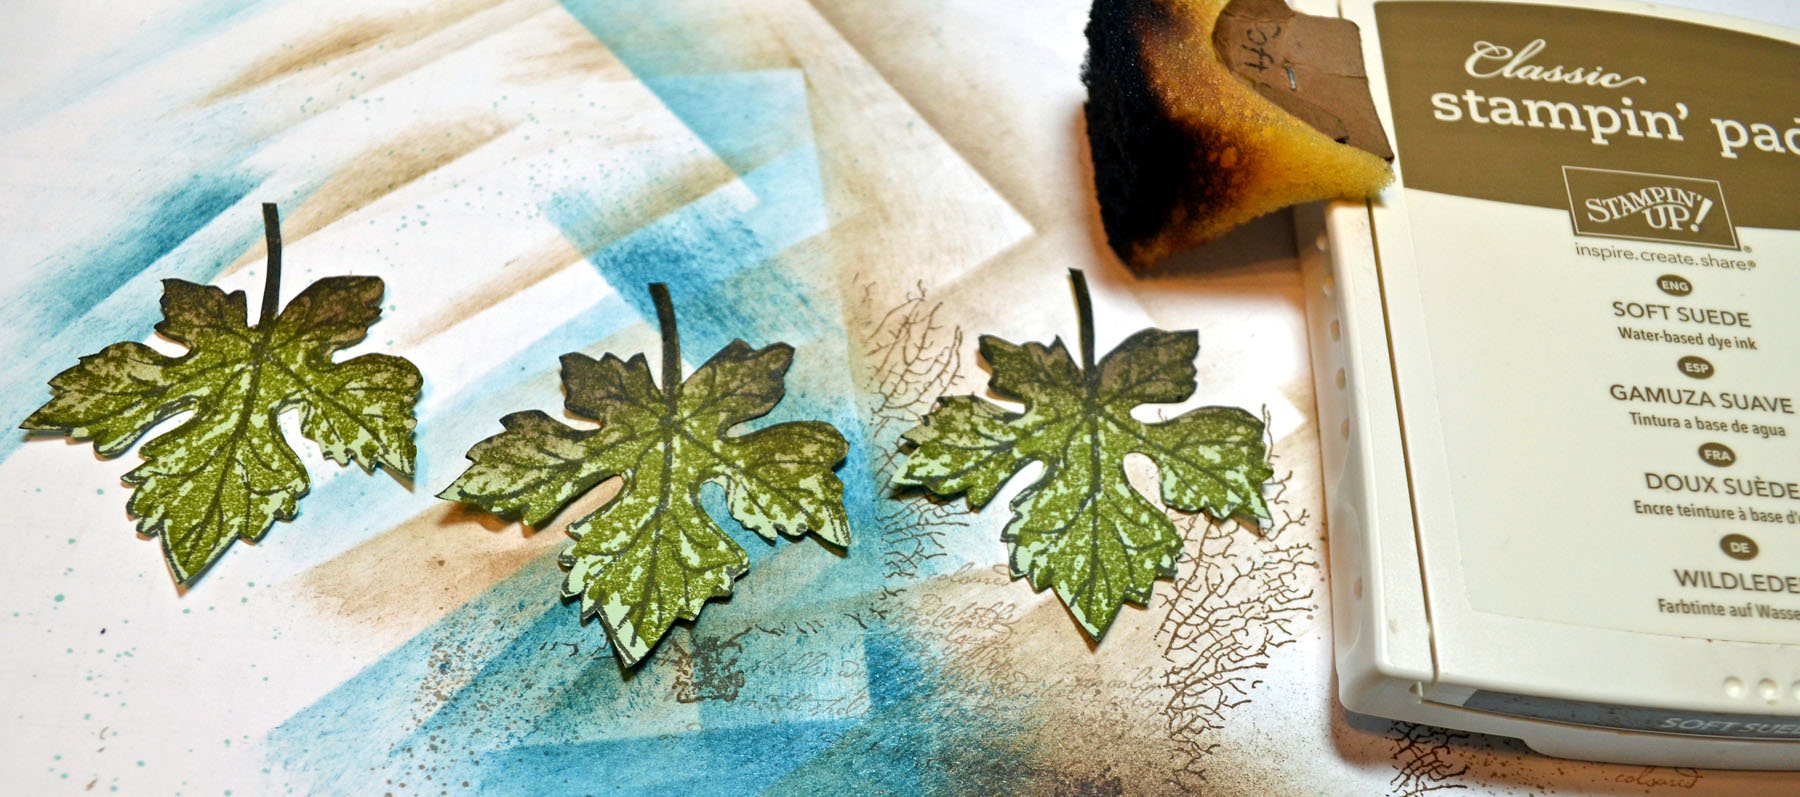
Ink: Stampin’ Up! Old Olive, Soft Suede, Crumb Cake, Early Espresso, Soft Sky and Island Indigo
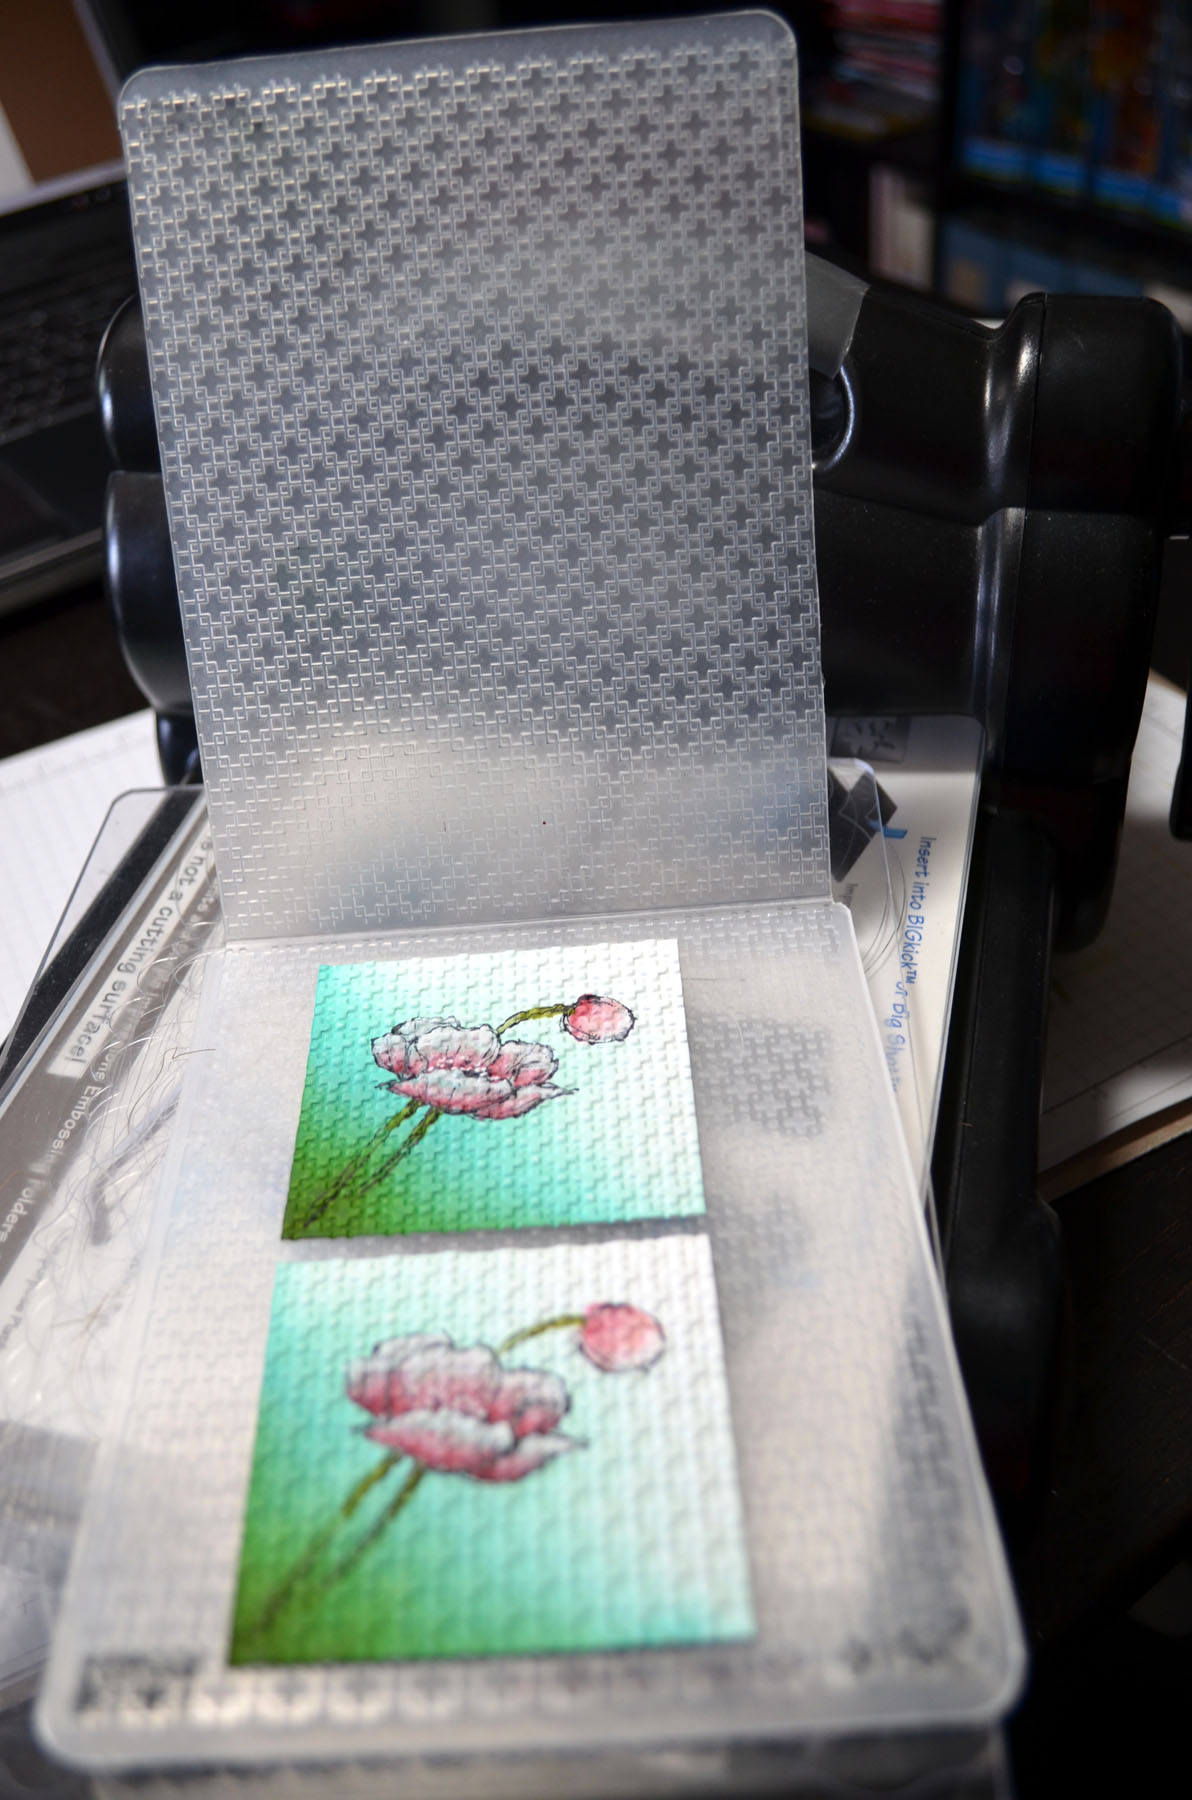
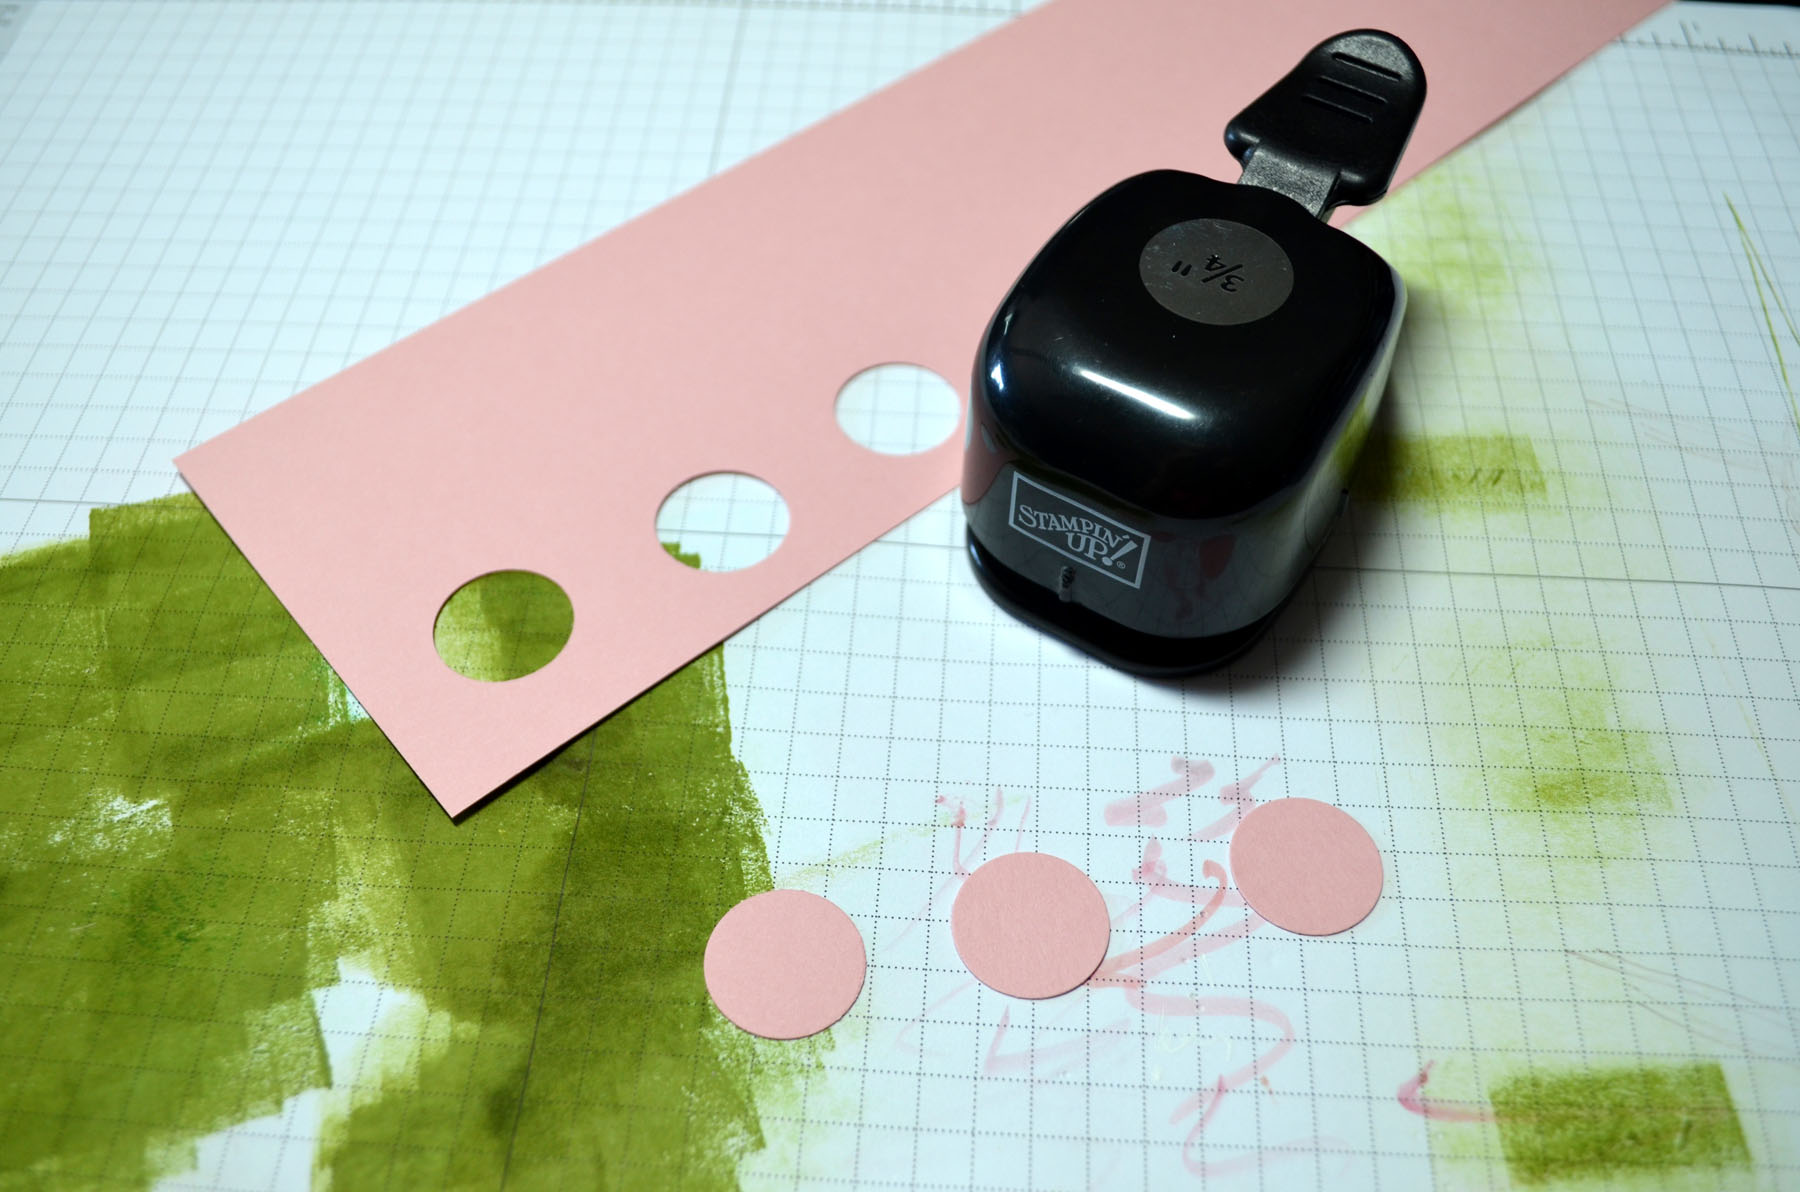
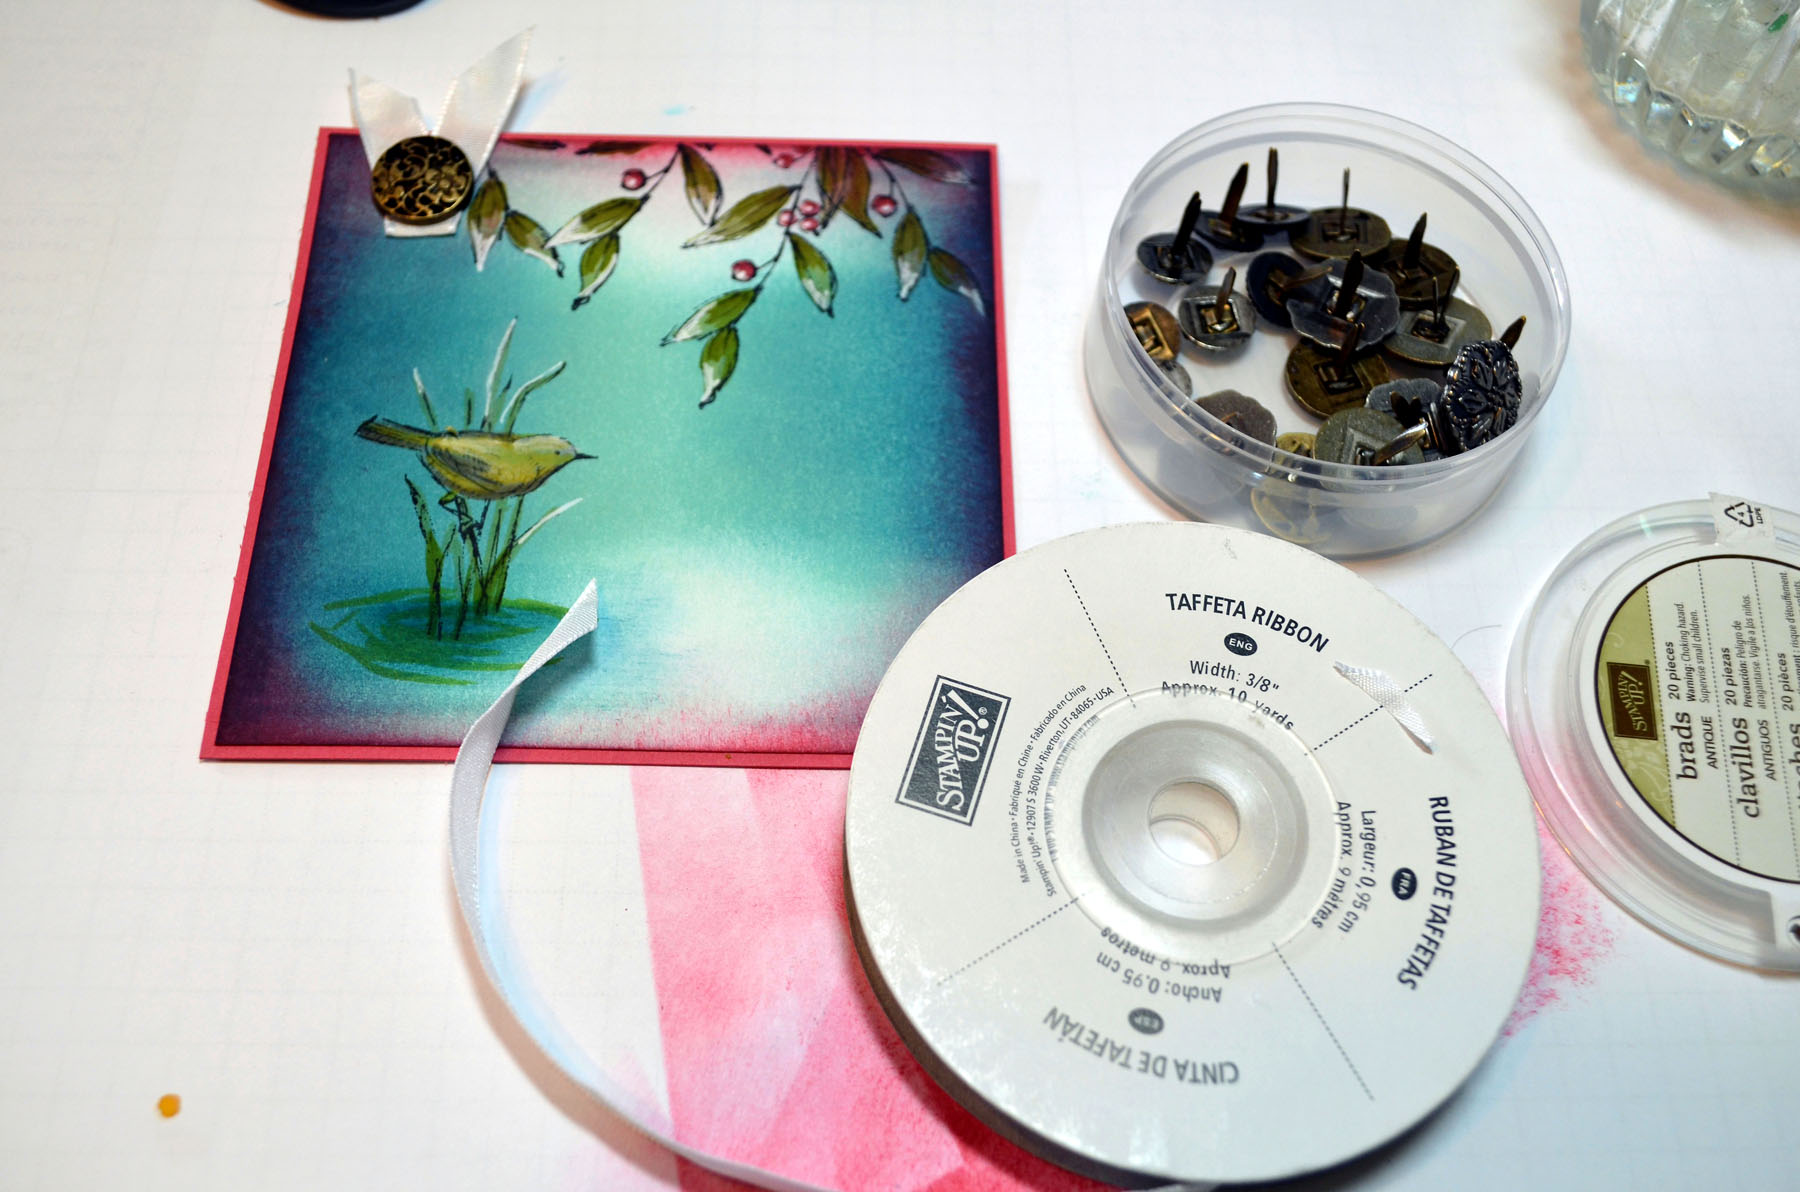
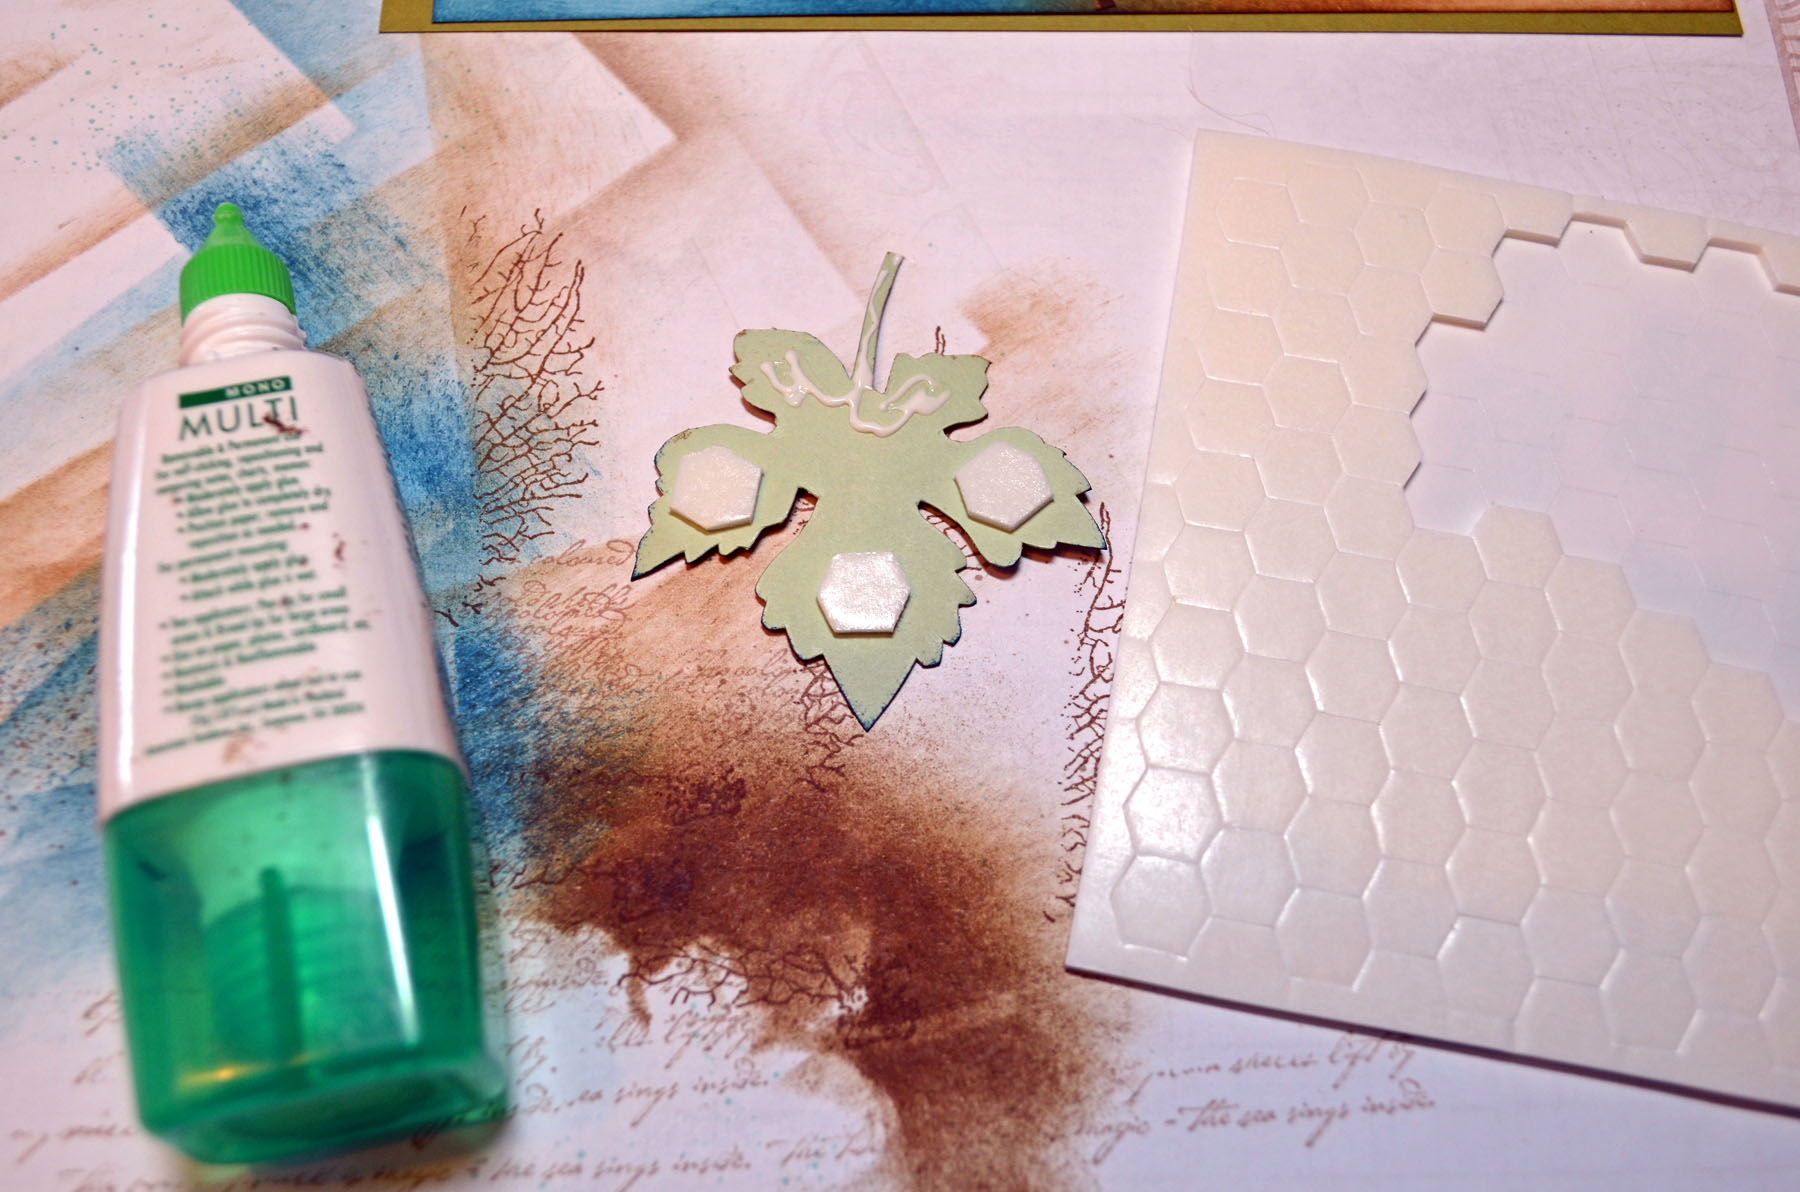
Accessories: Stampin’ Up! Brayer, Neutral Candy Dots, Modern Mosaic Embossing Folder (item #129984), Deco Labels Framelits (item #130102), Sponges and a post it note
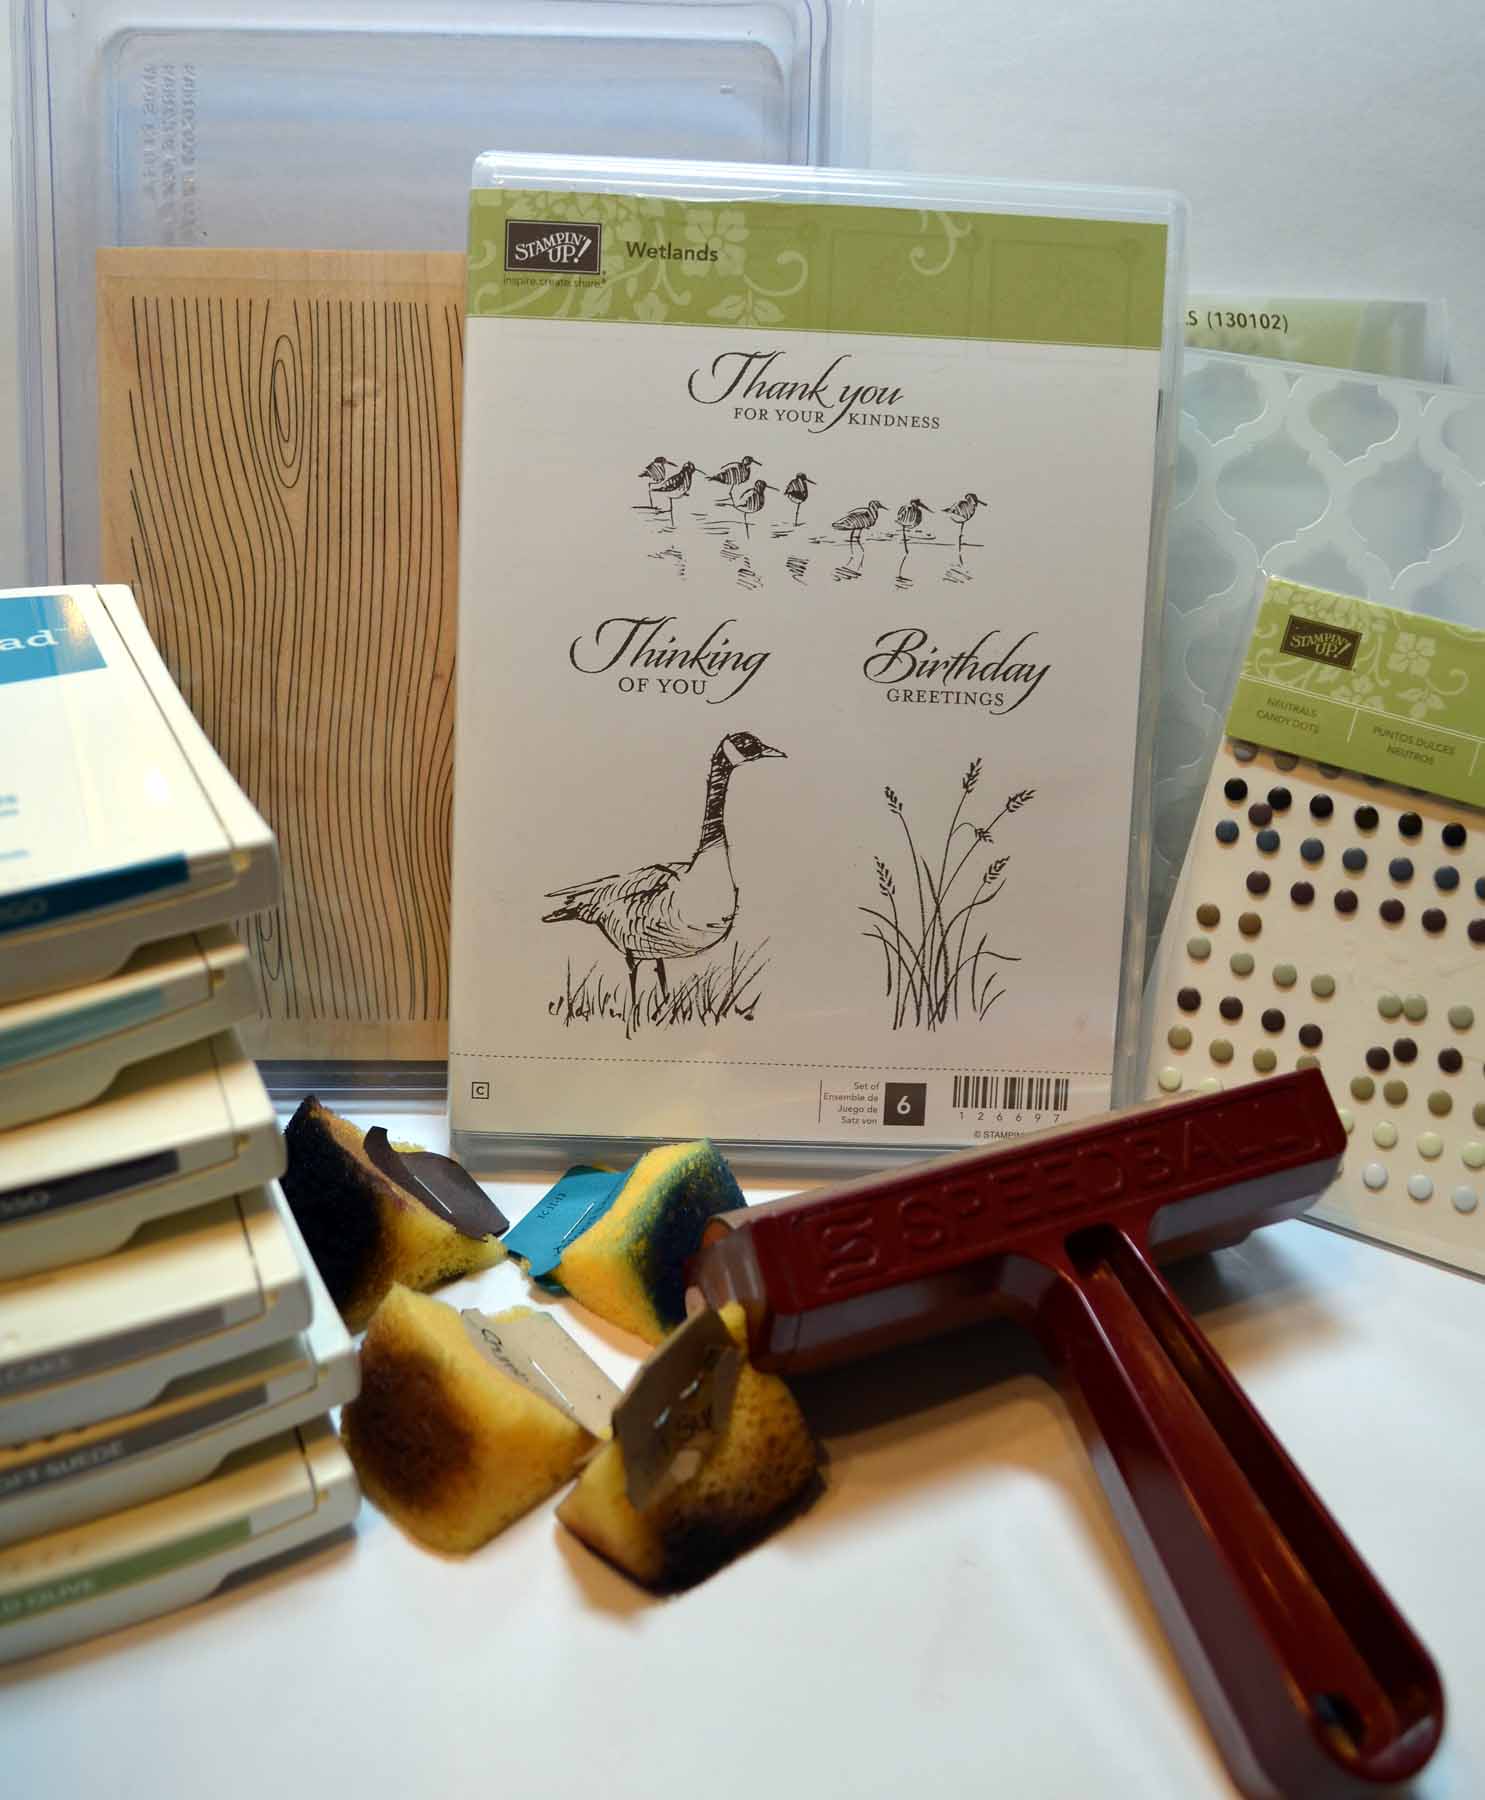
I love Stampin’ Up’s framelits and this new set of Deco Labels is no exception. So I started out this project with them.
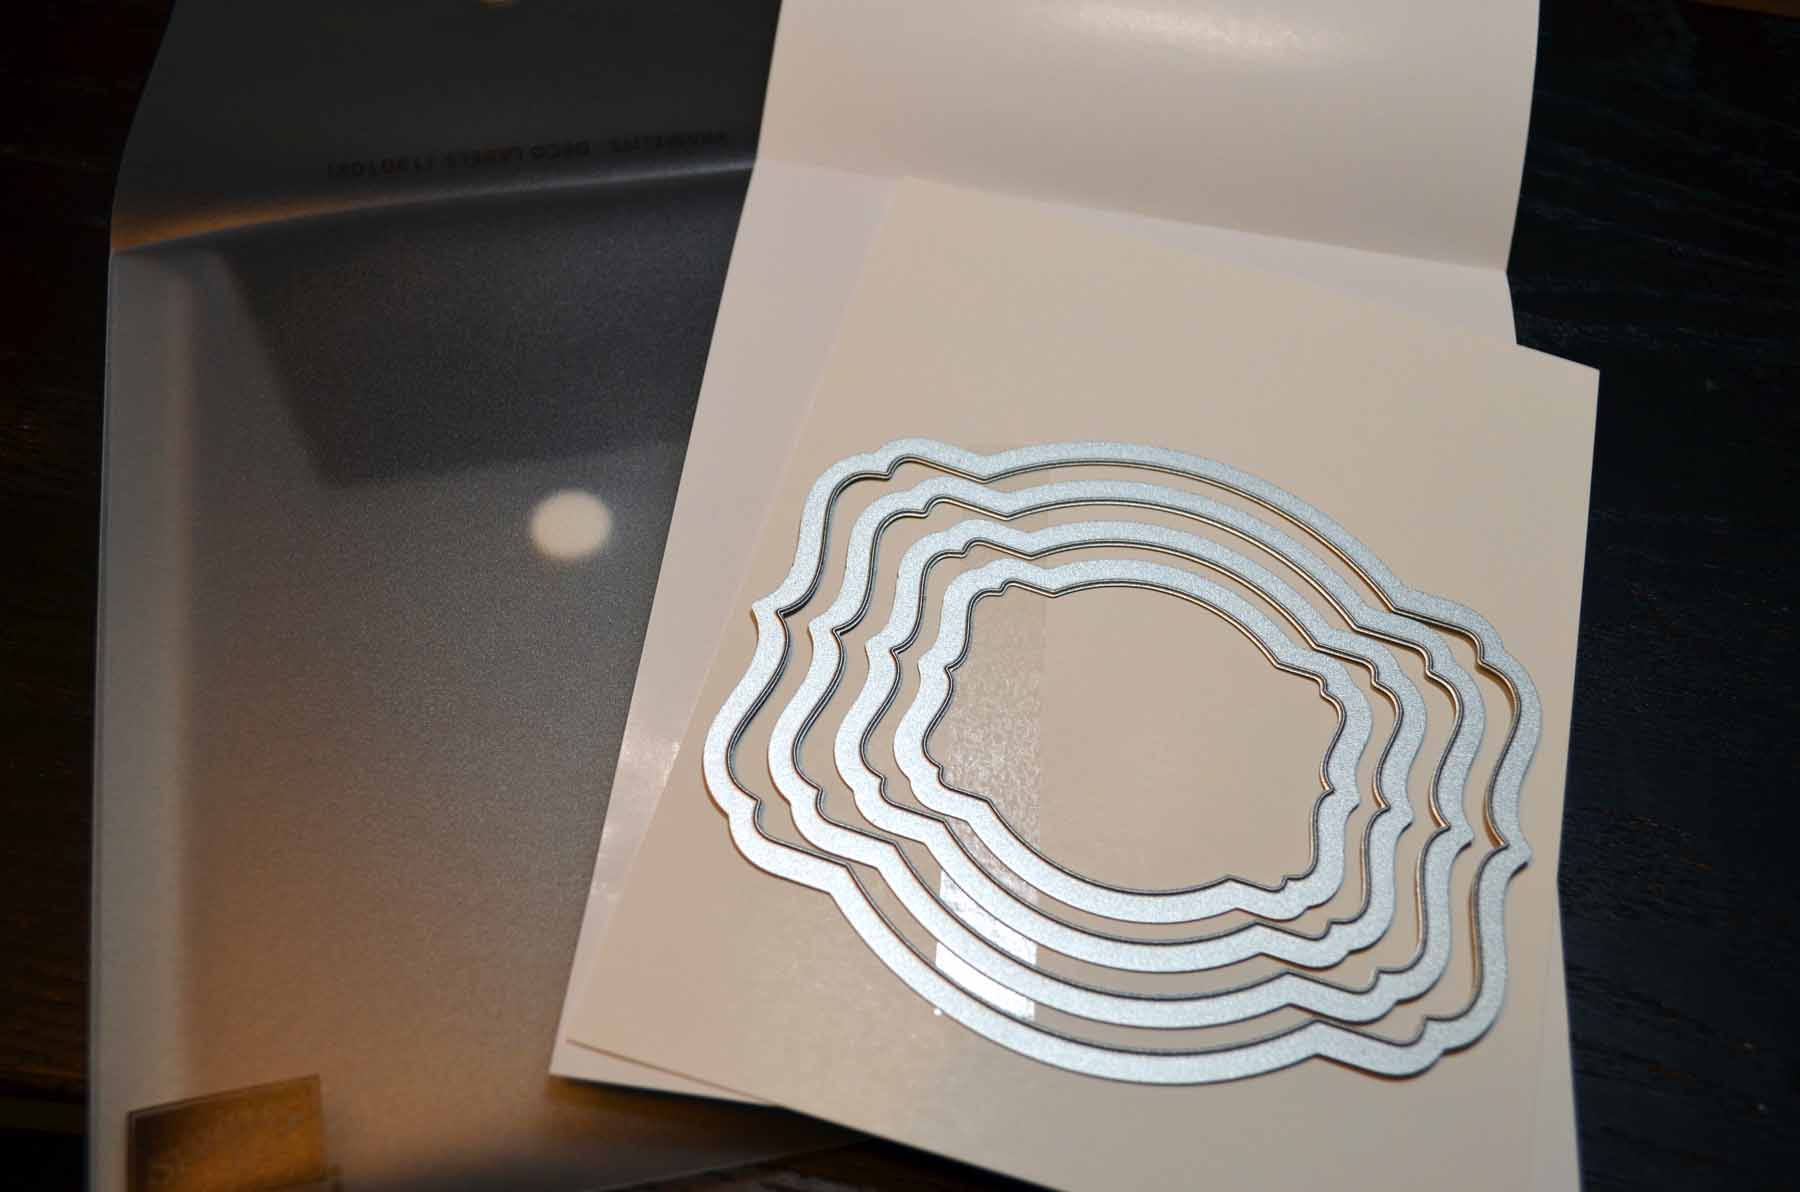
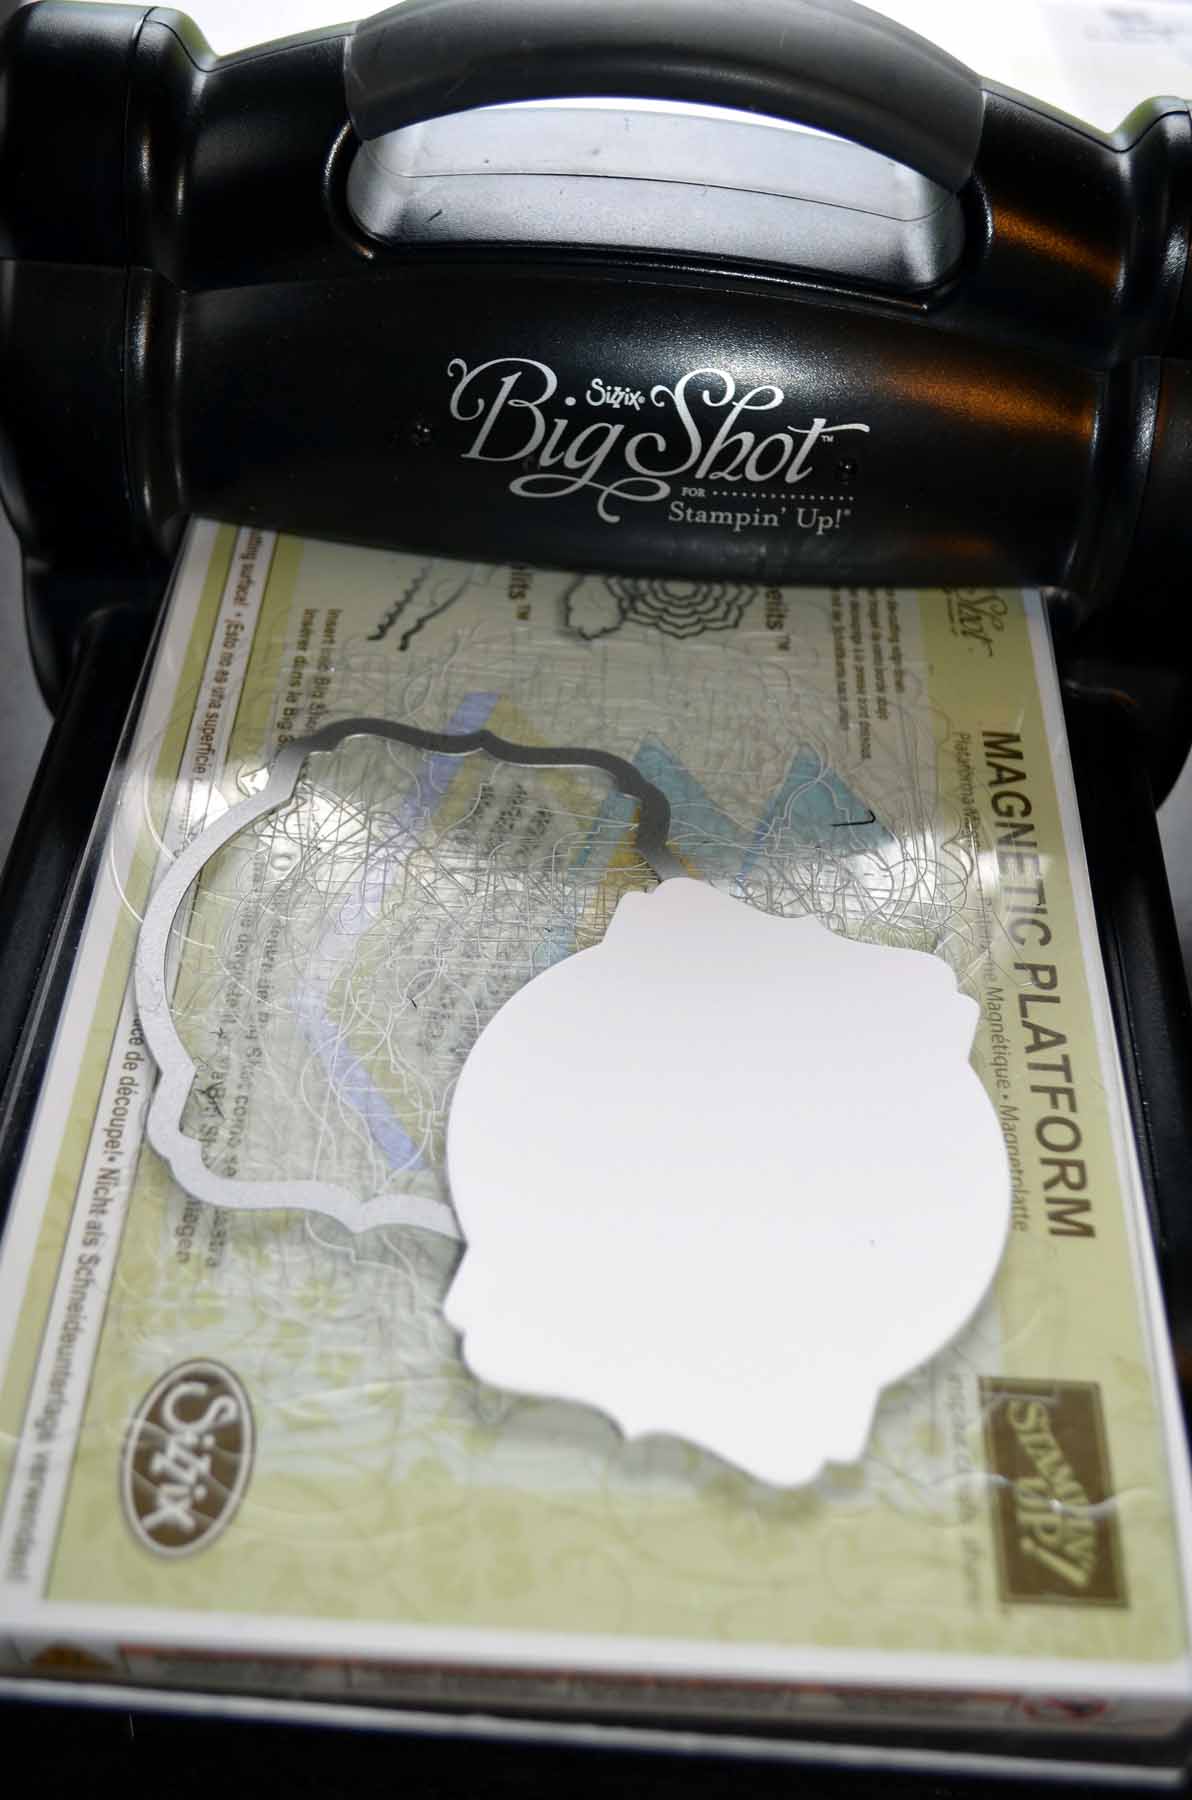
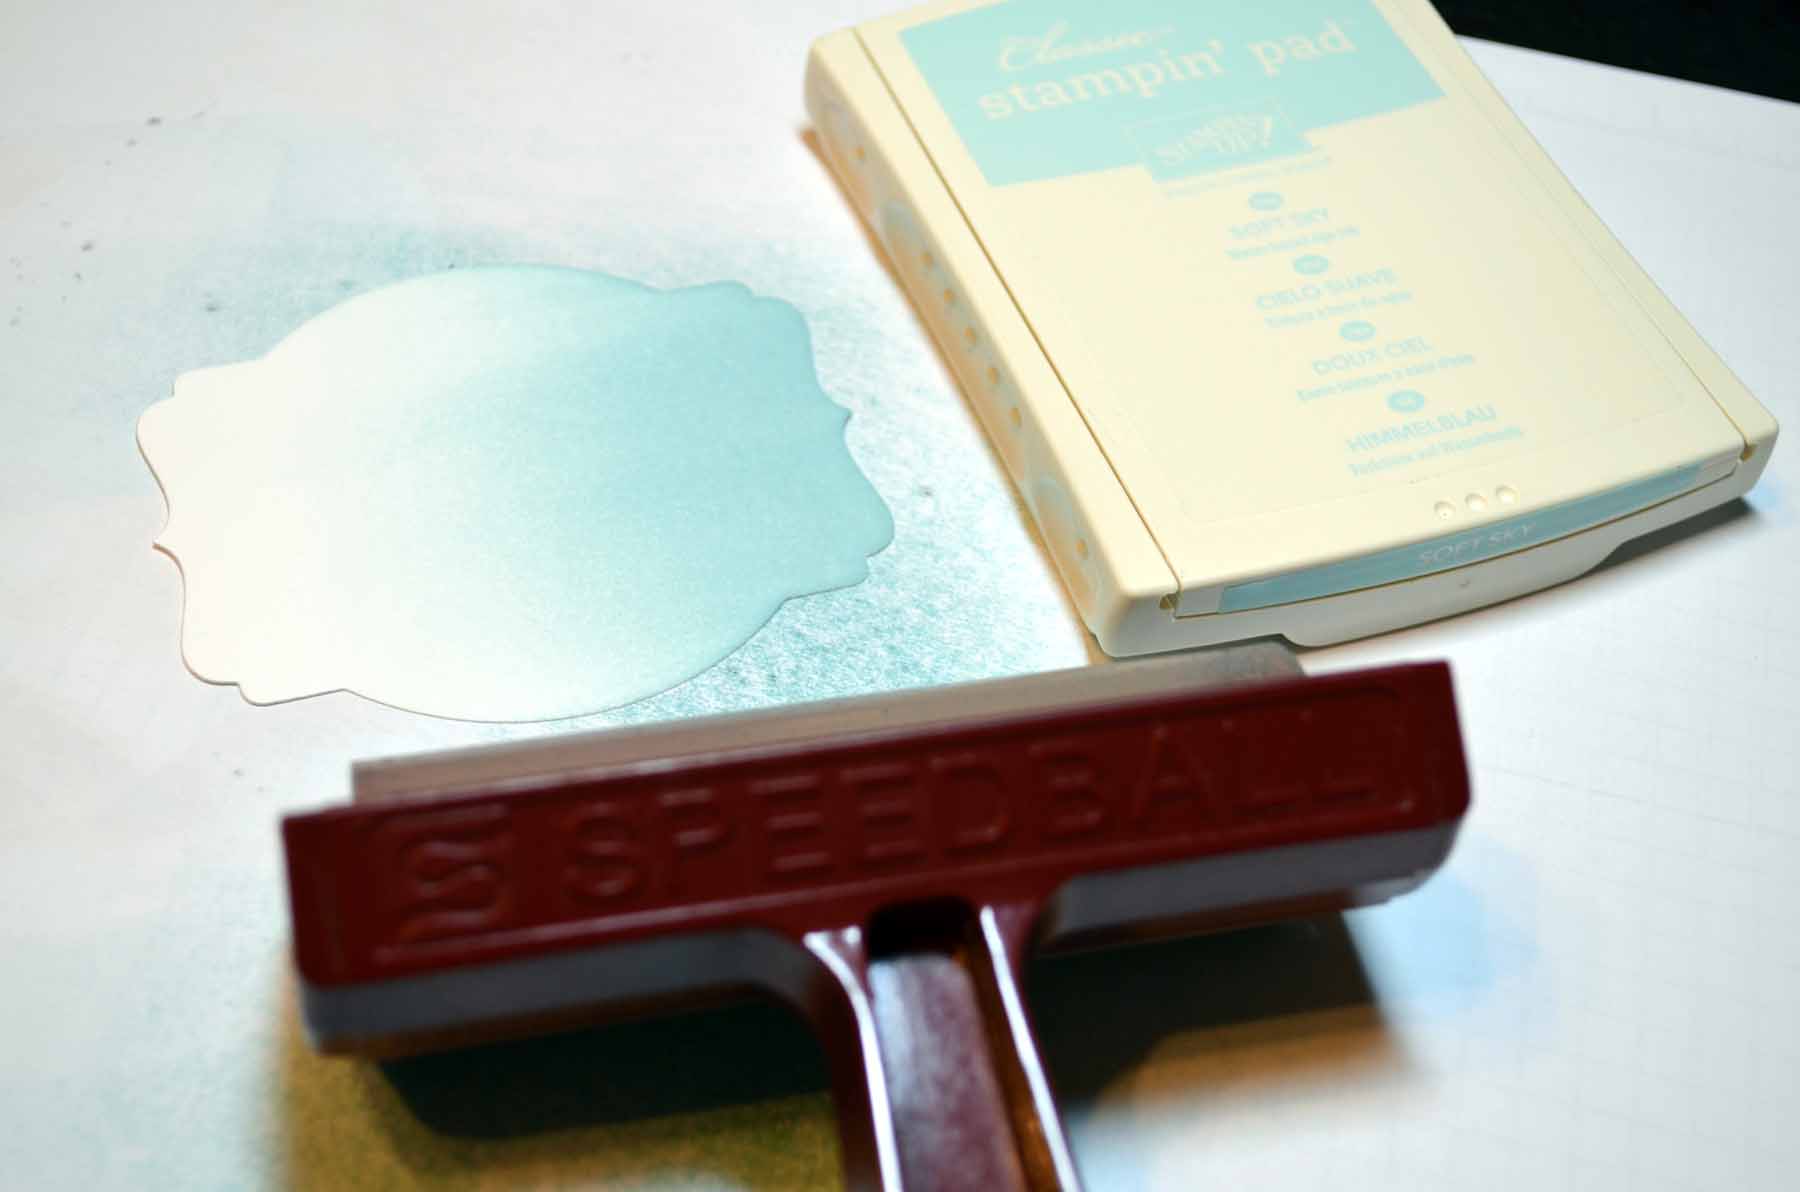
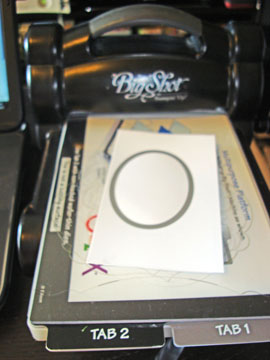
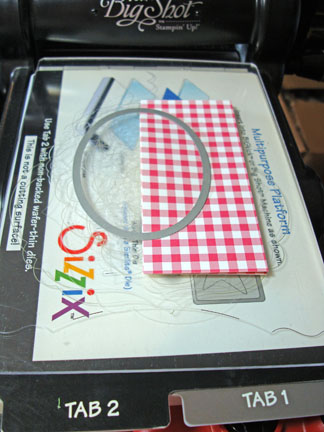
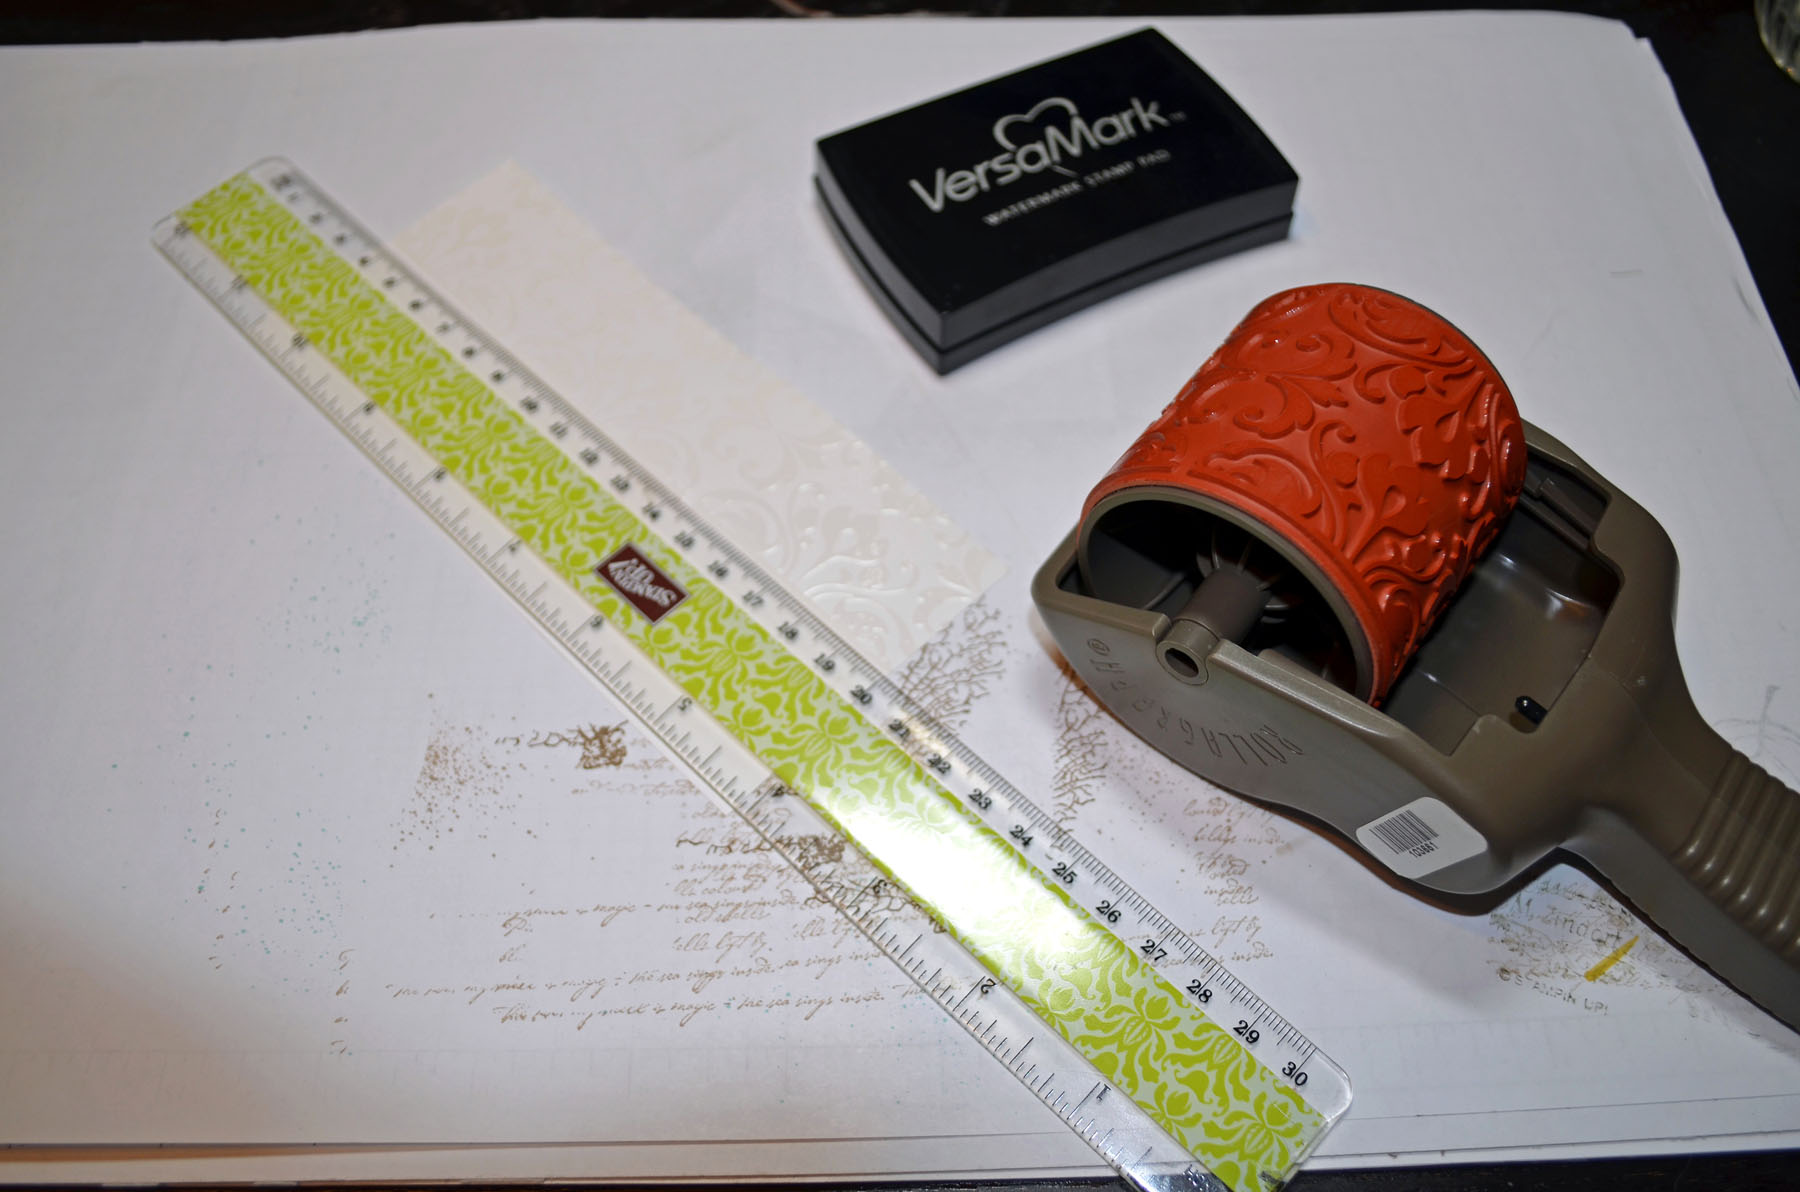
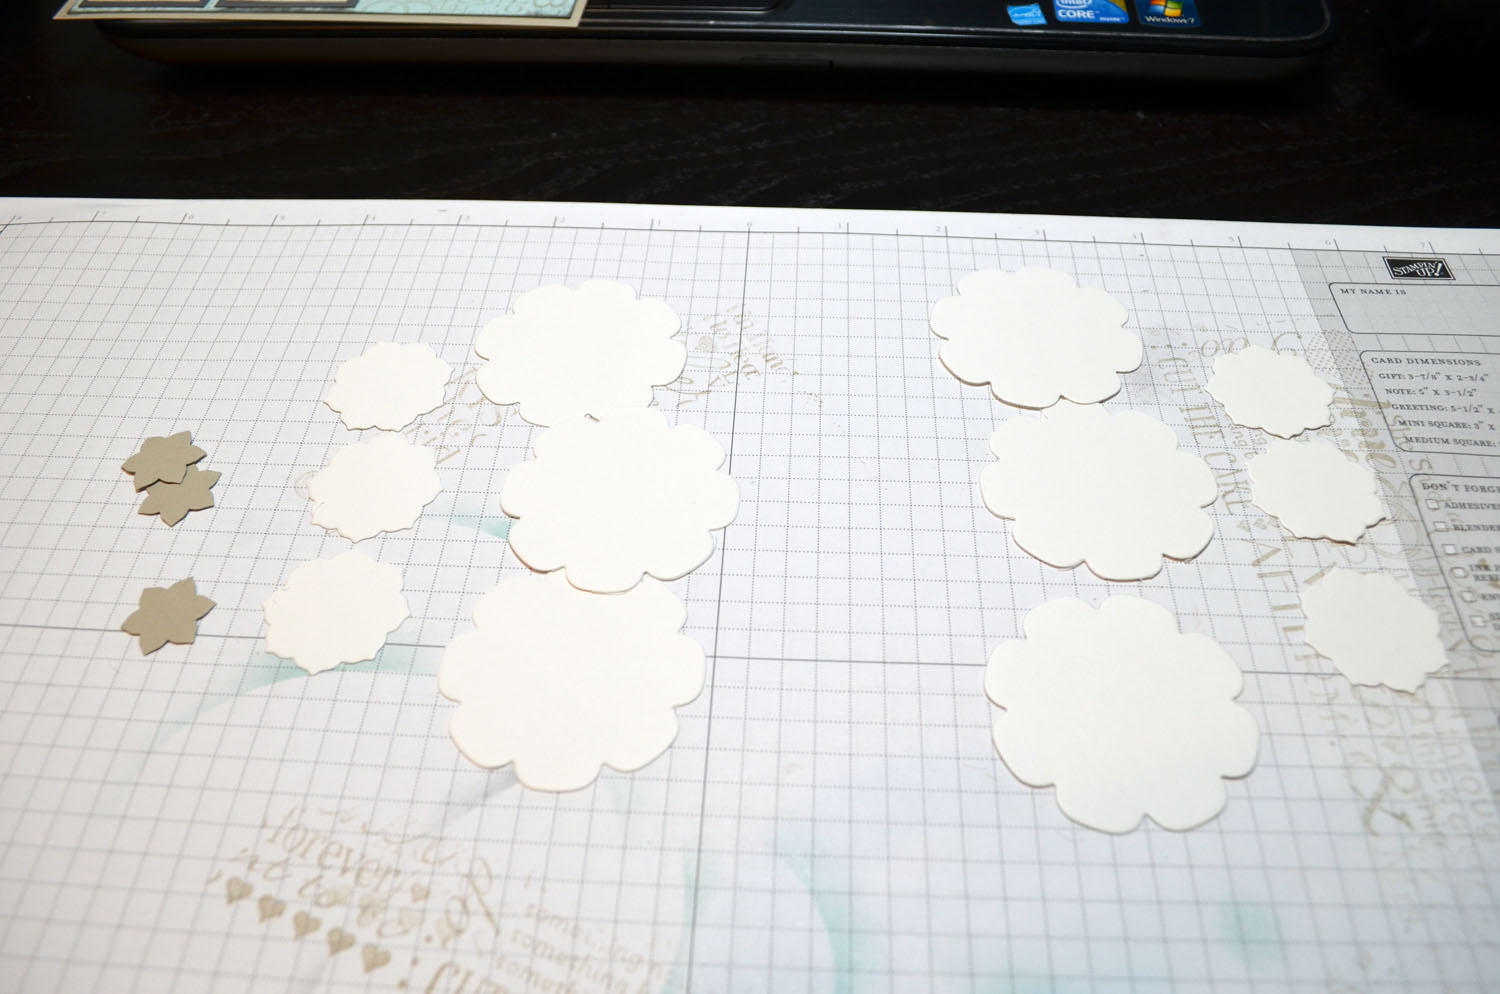
Used the second to the largest framelit to cut out my main image panel with the Big Shot and Whisper White card stock.
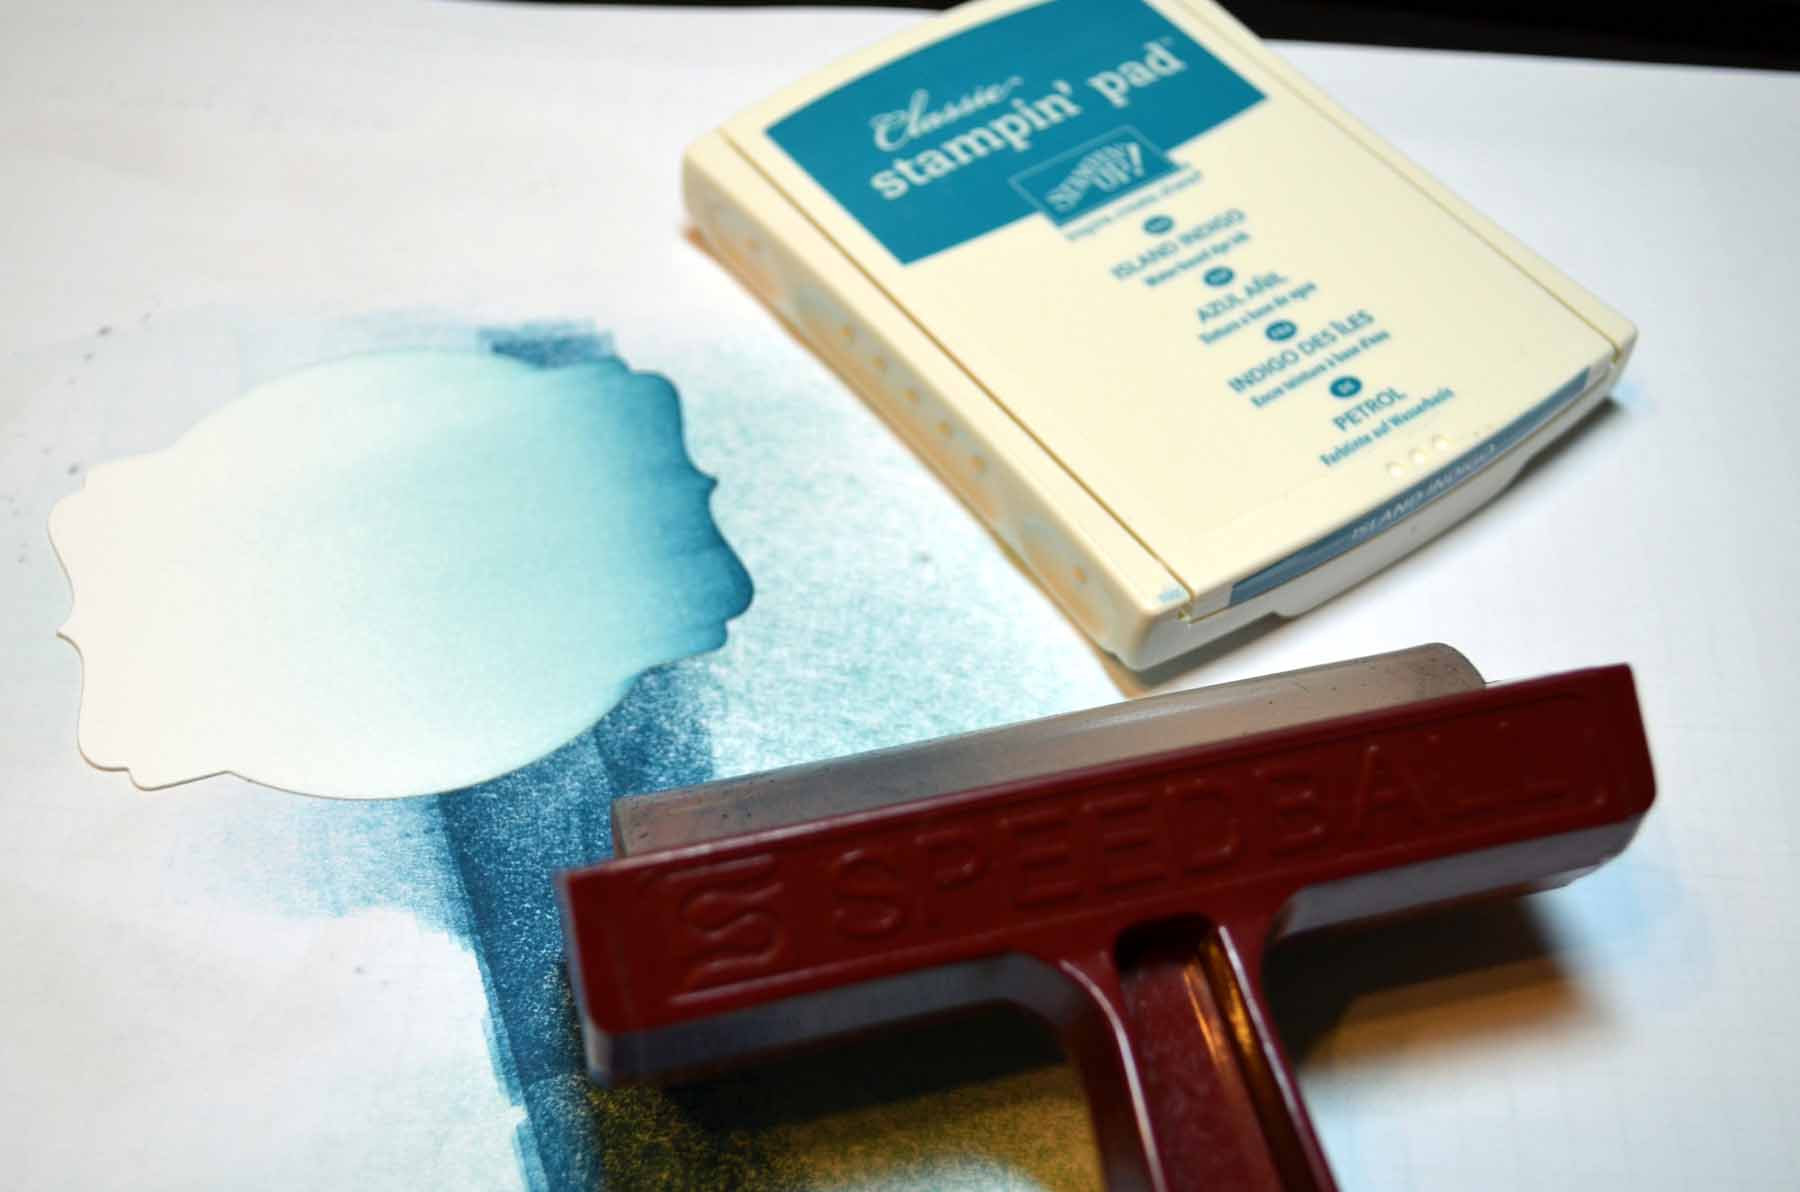
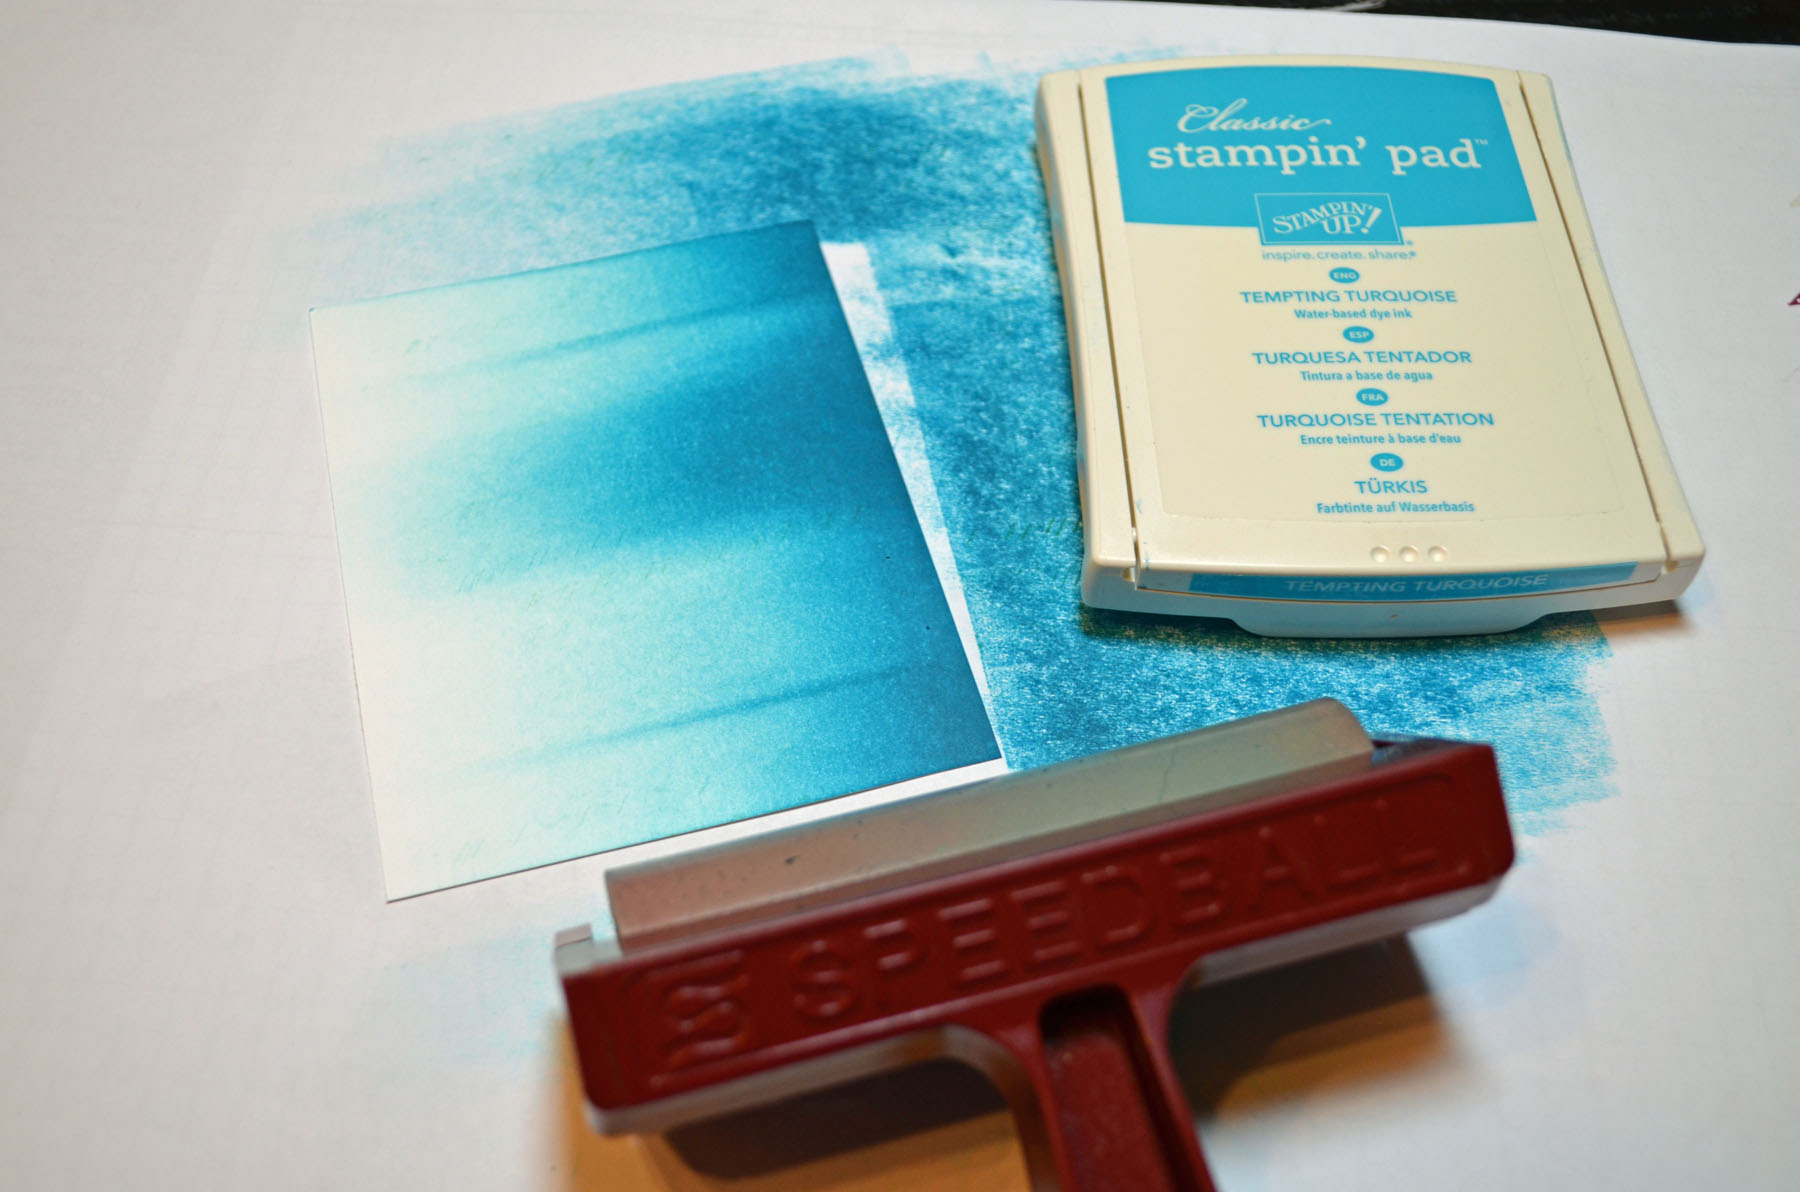
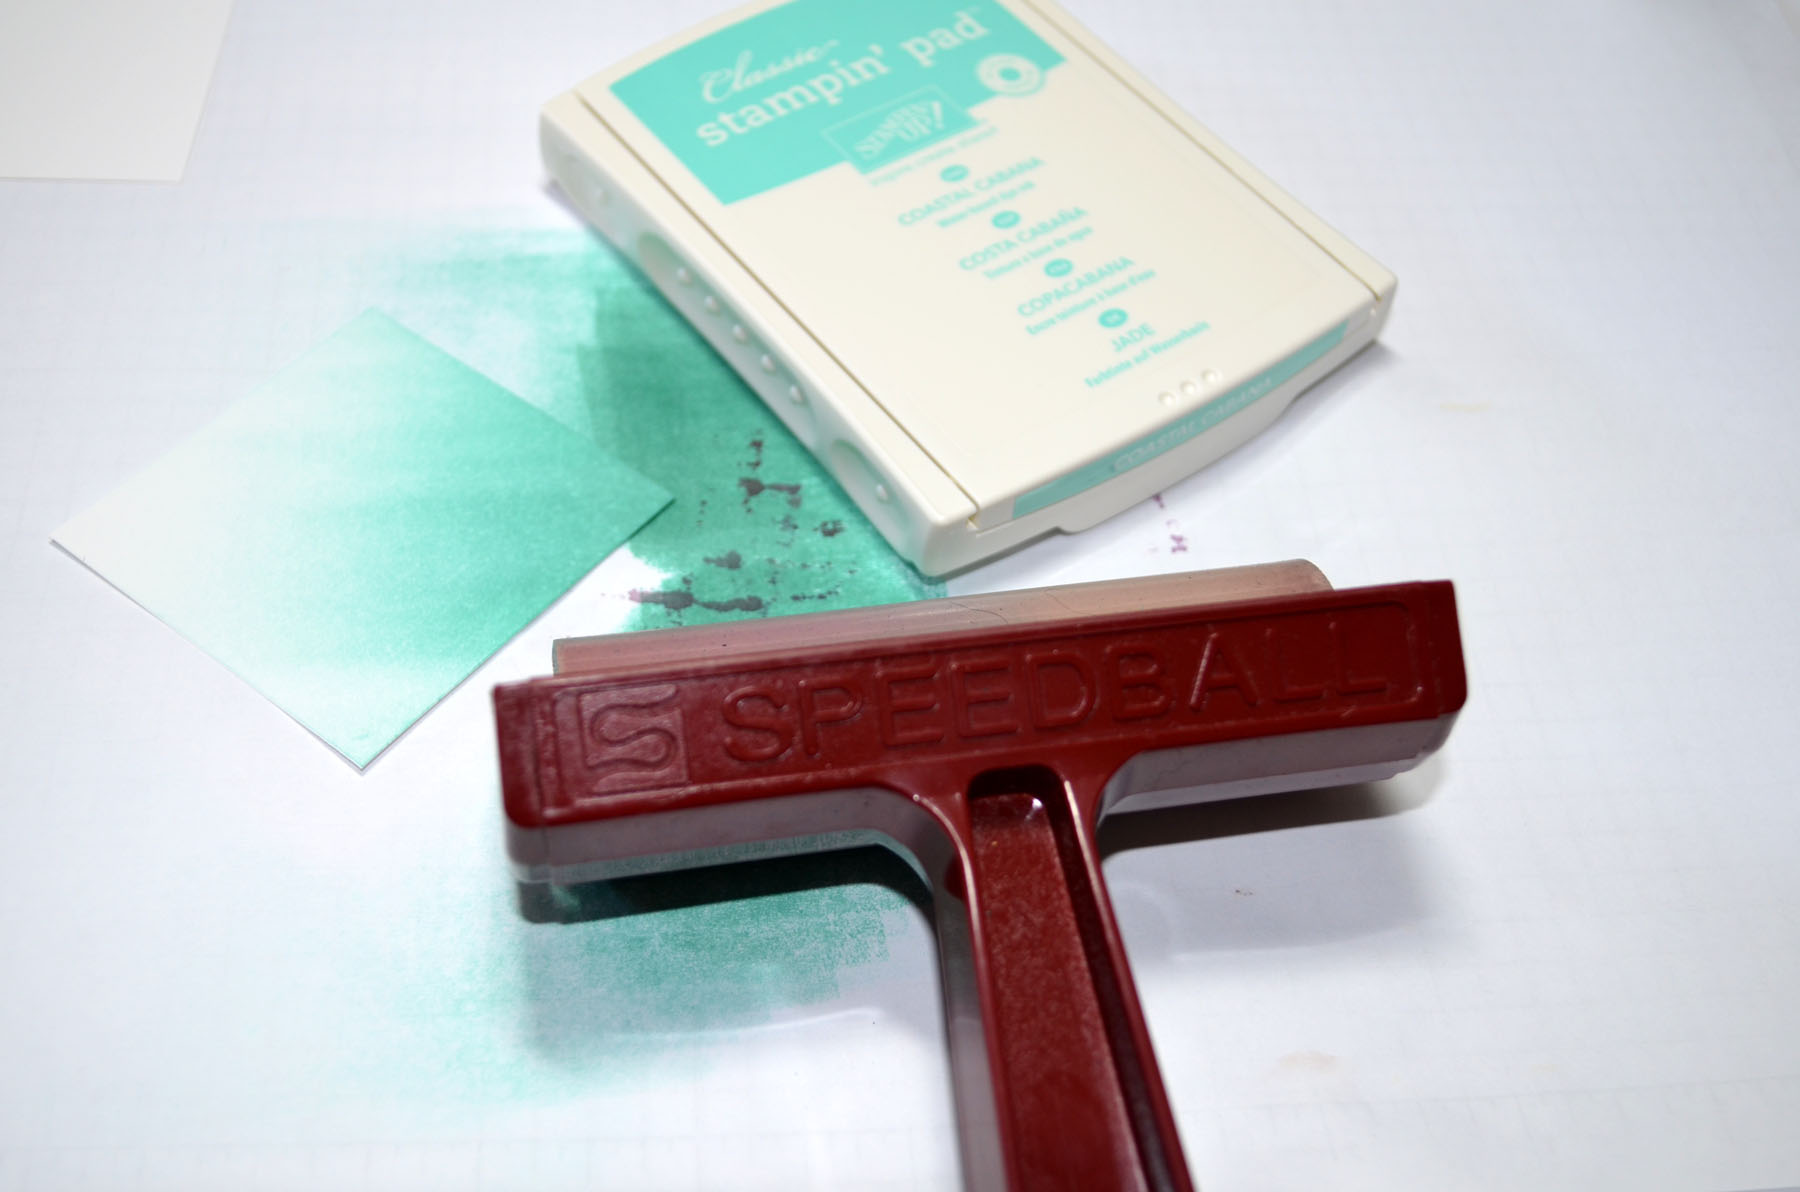
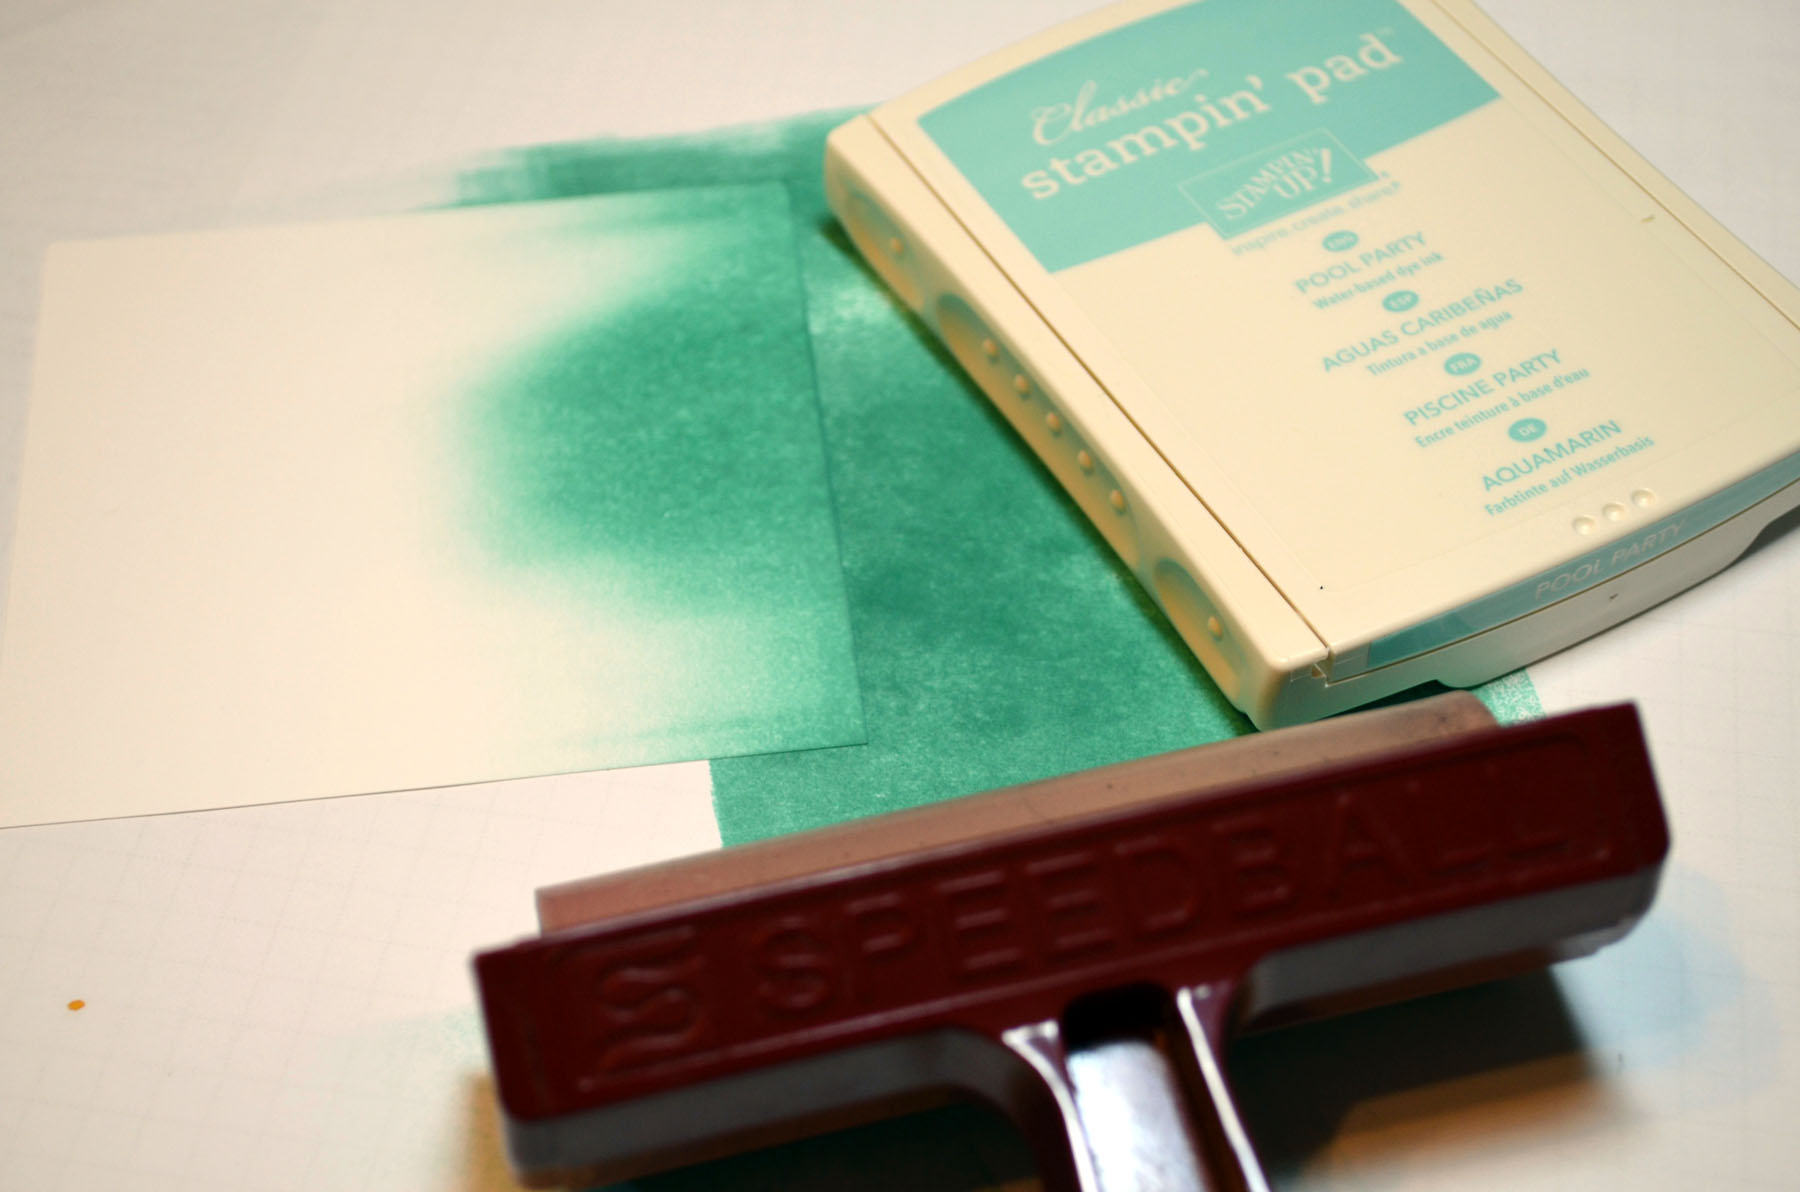
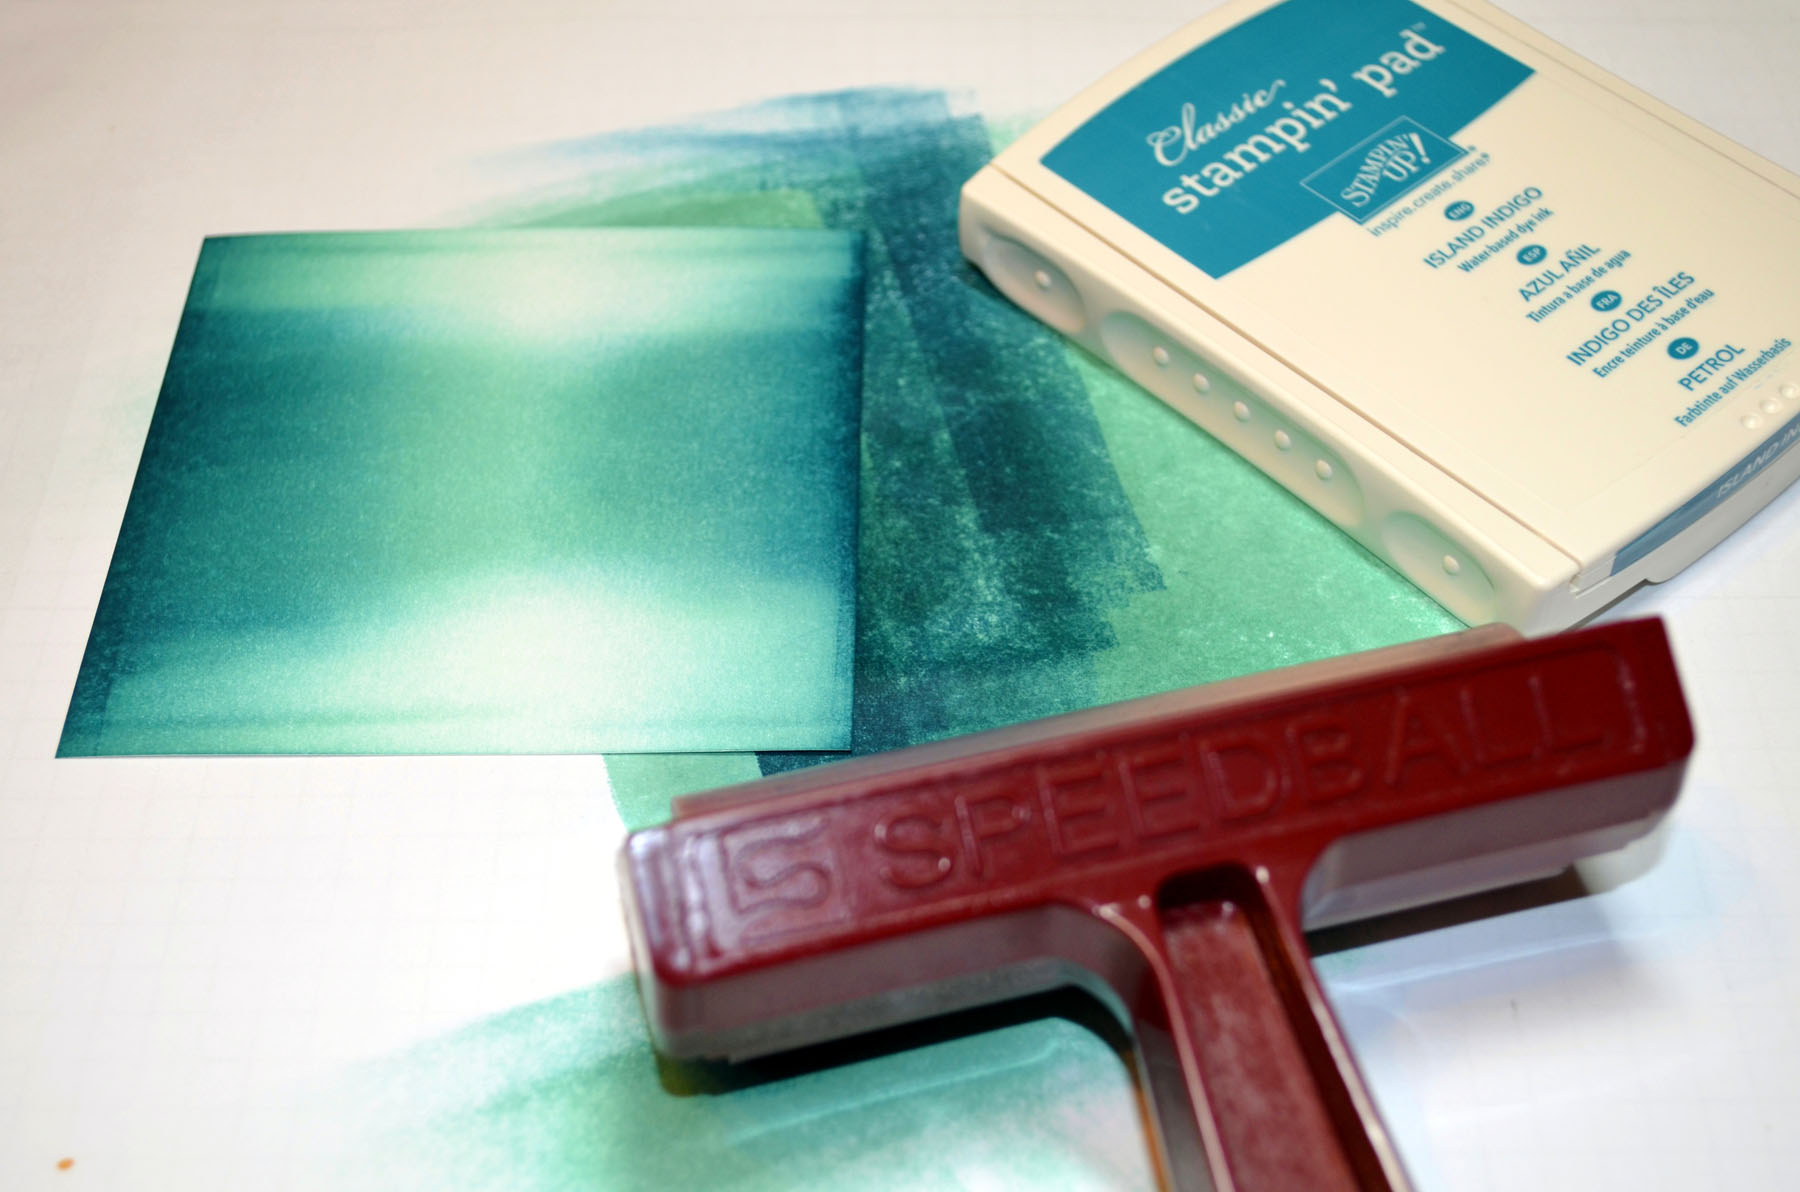
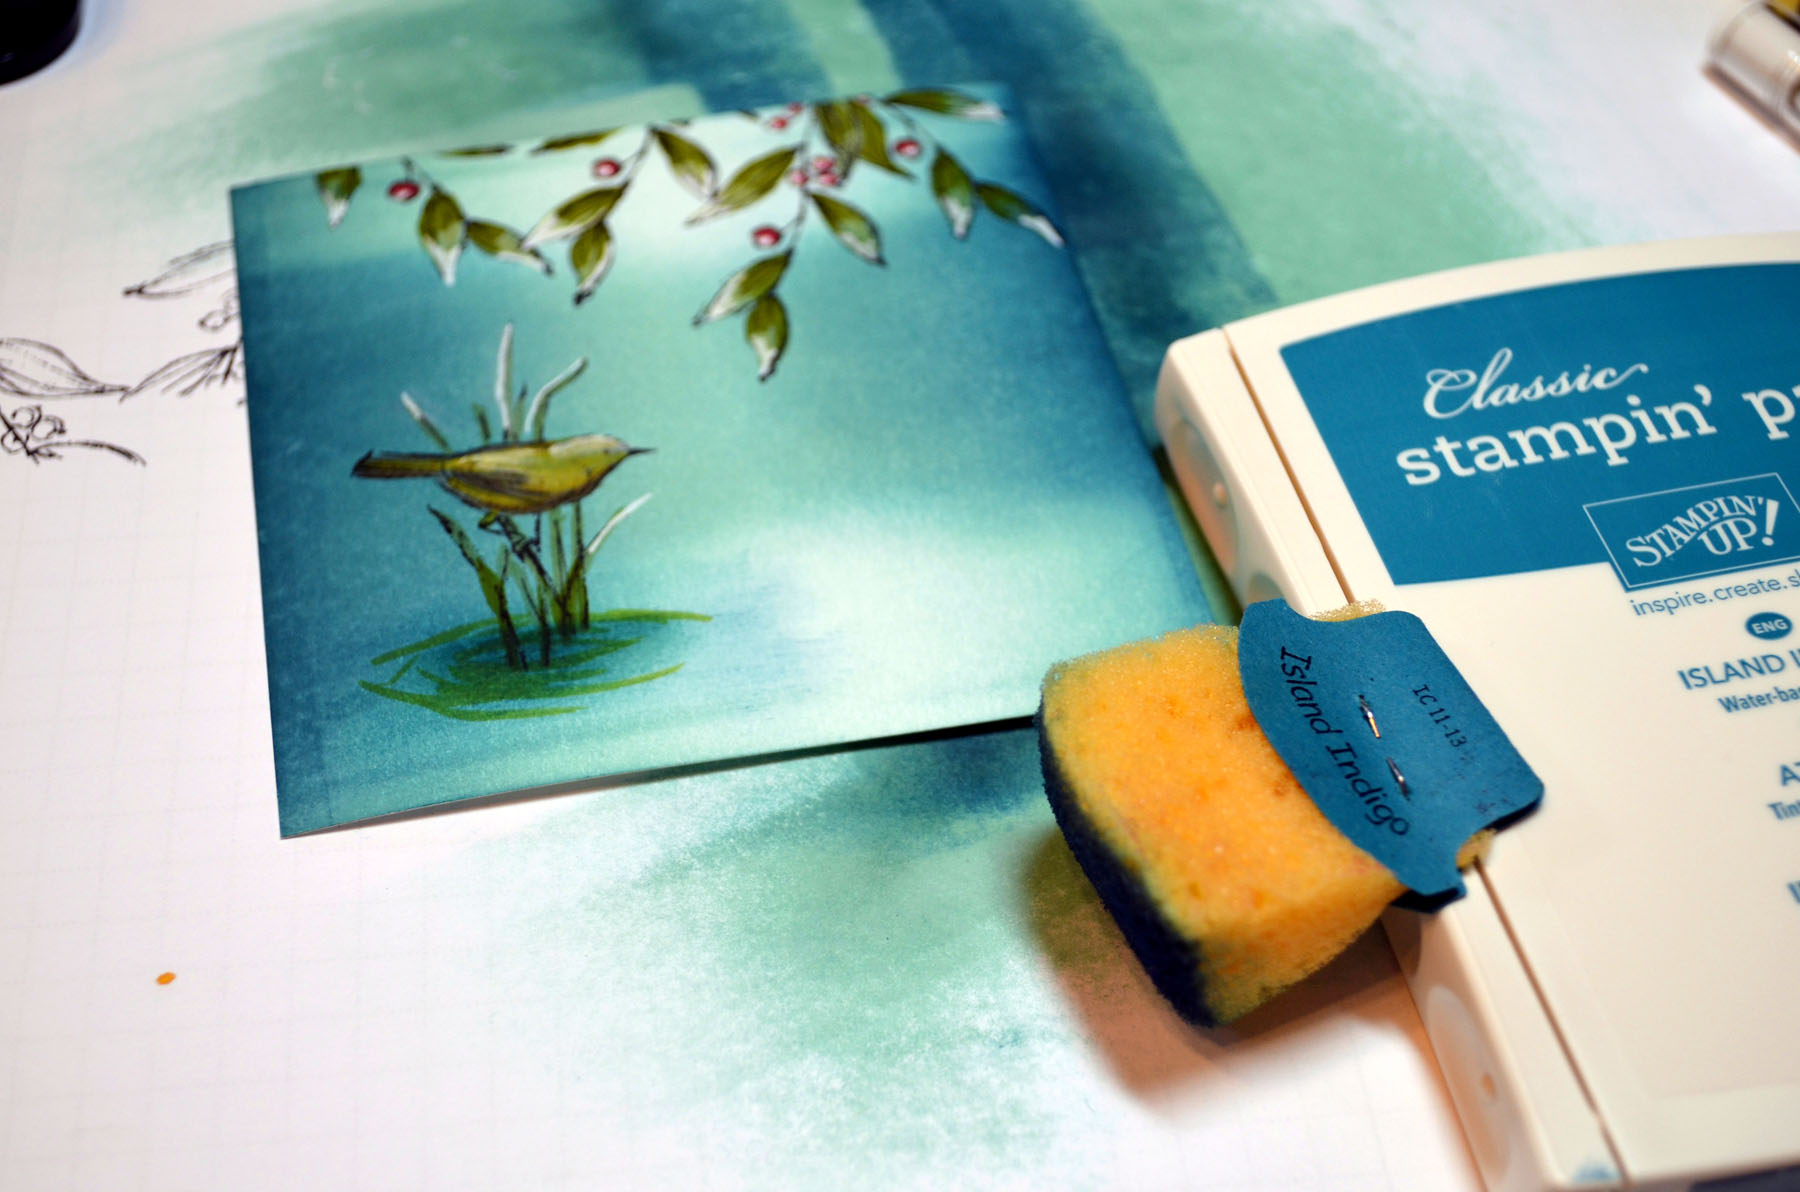
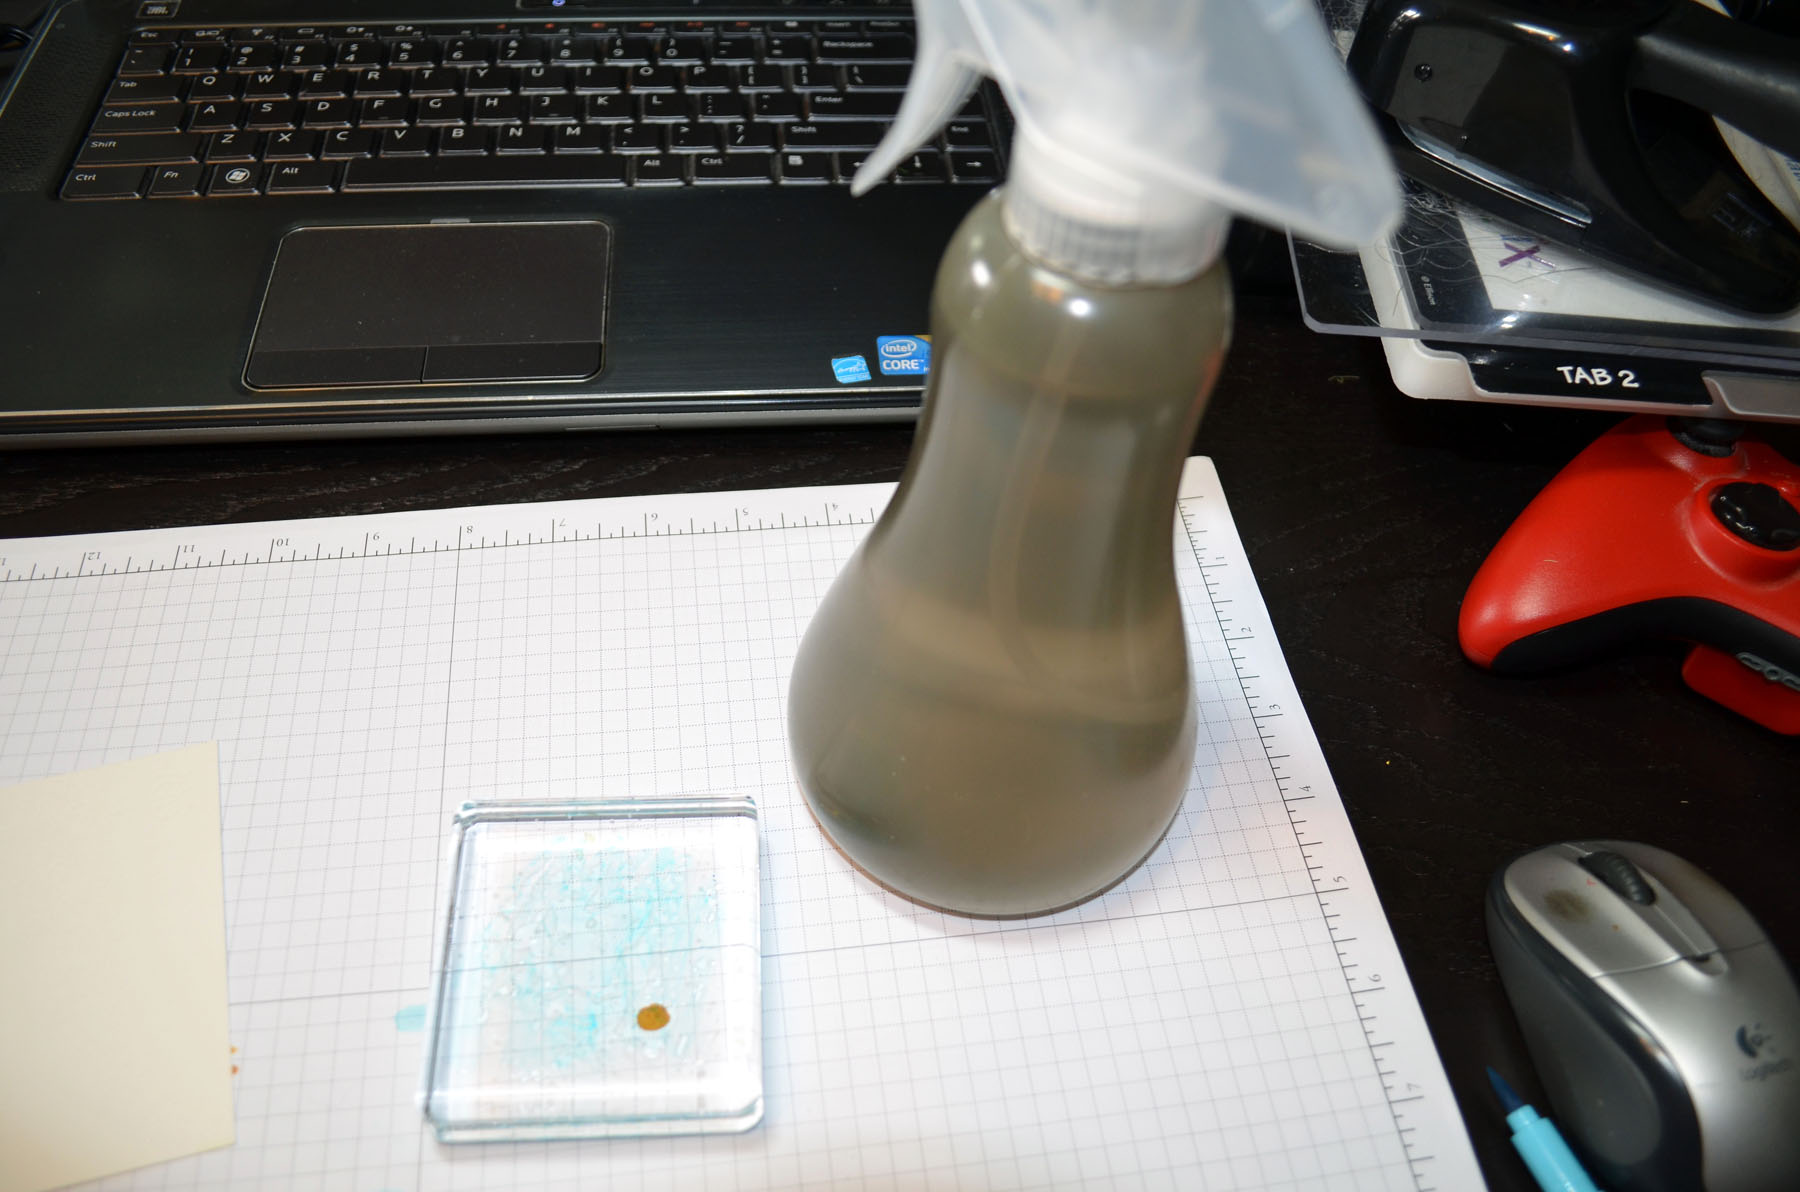
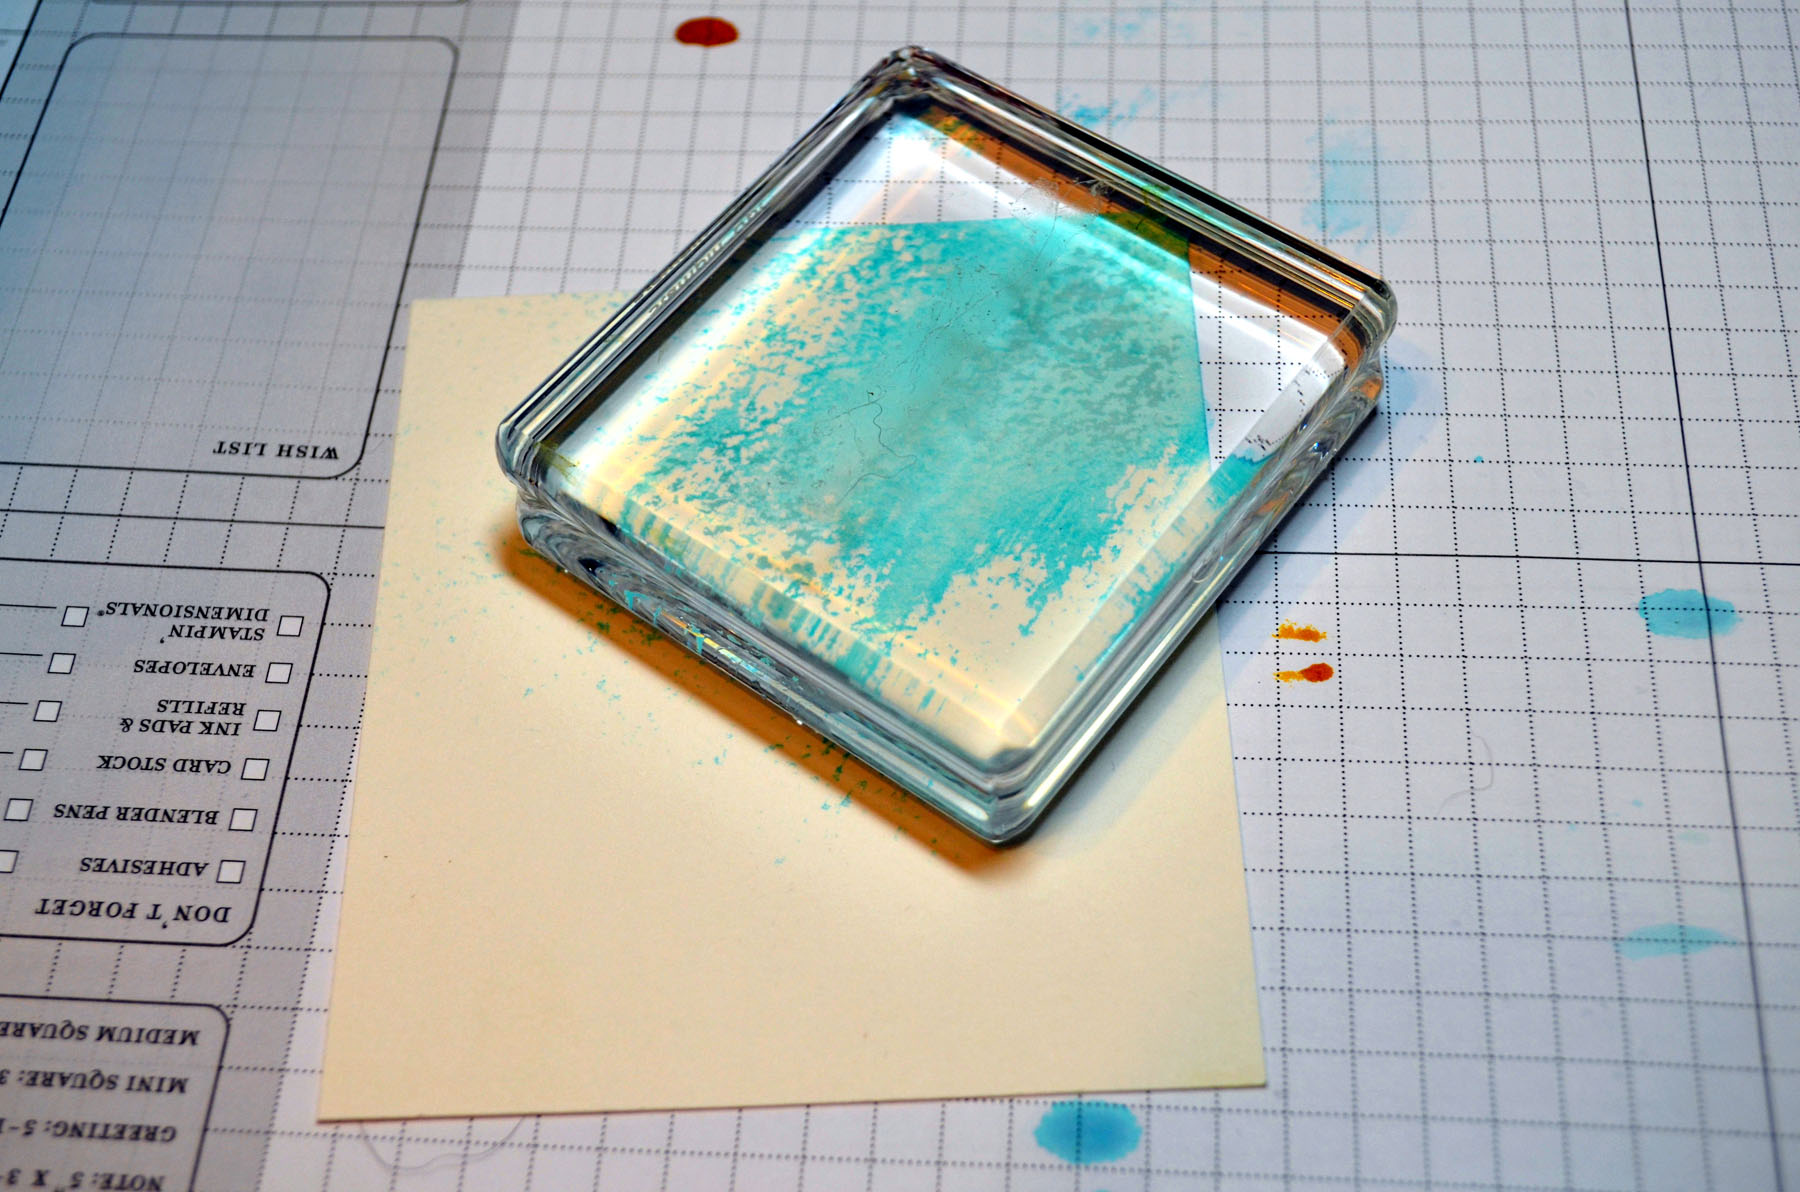
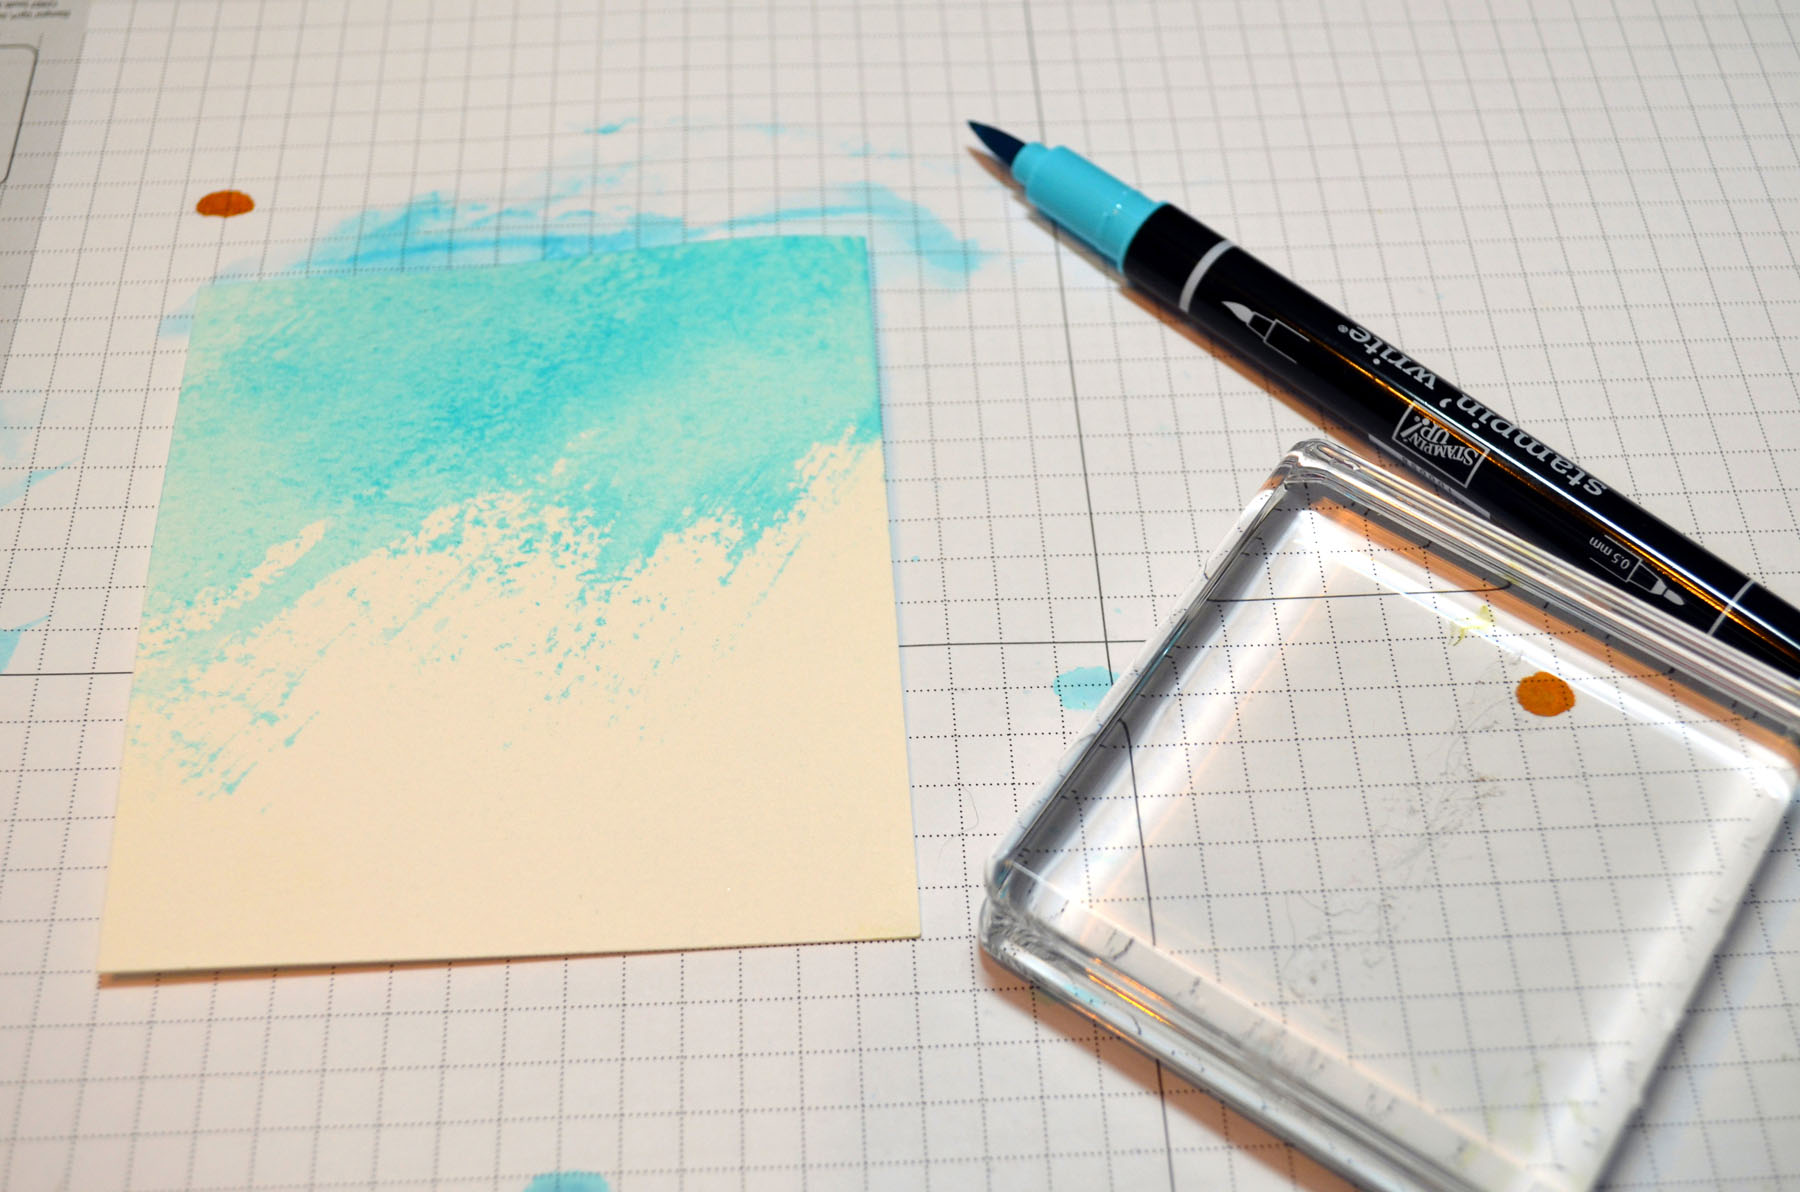
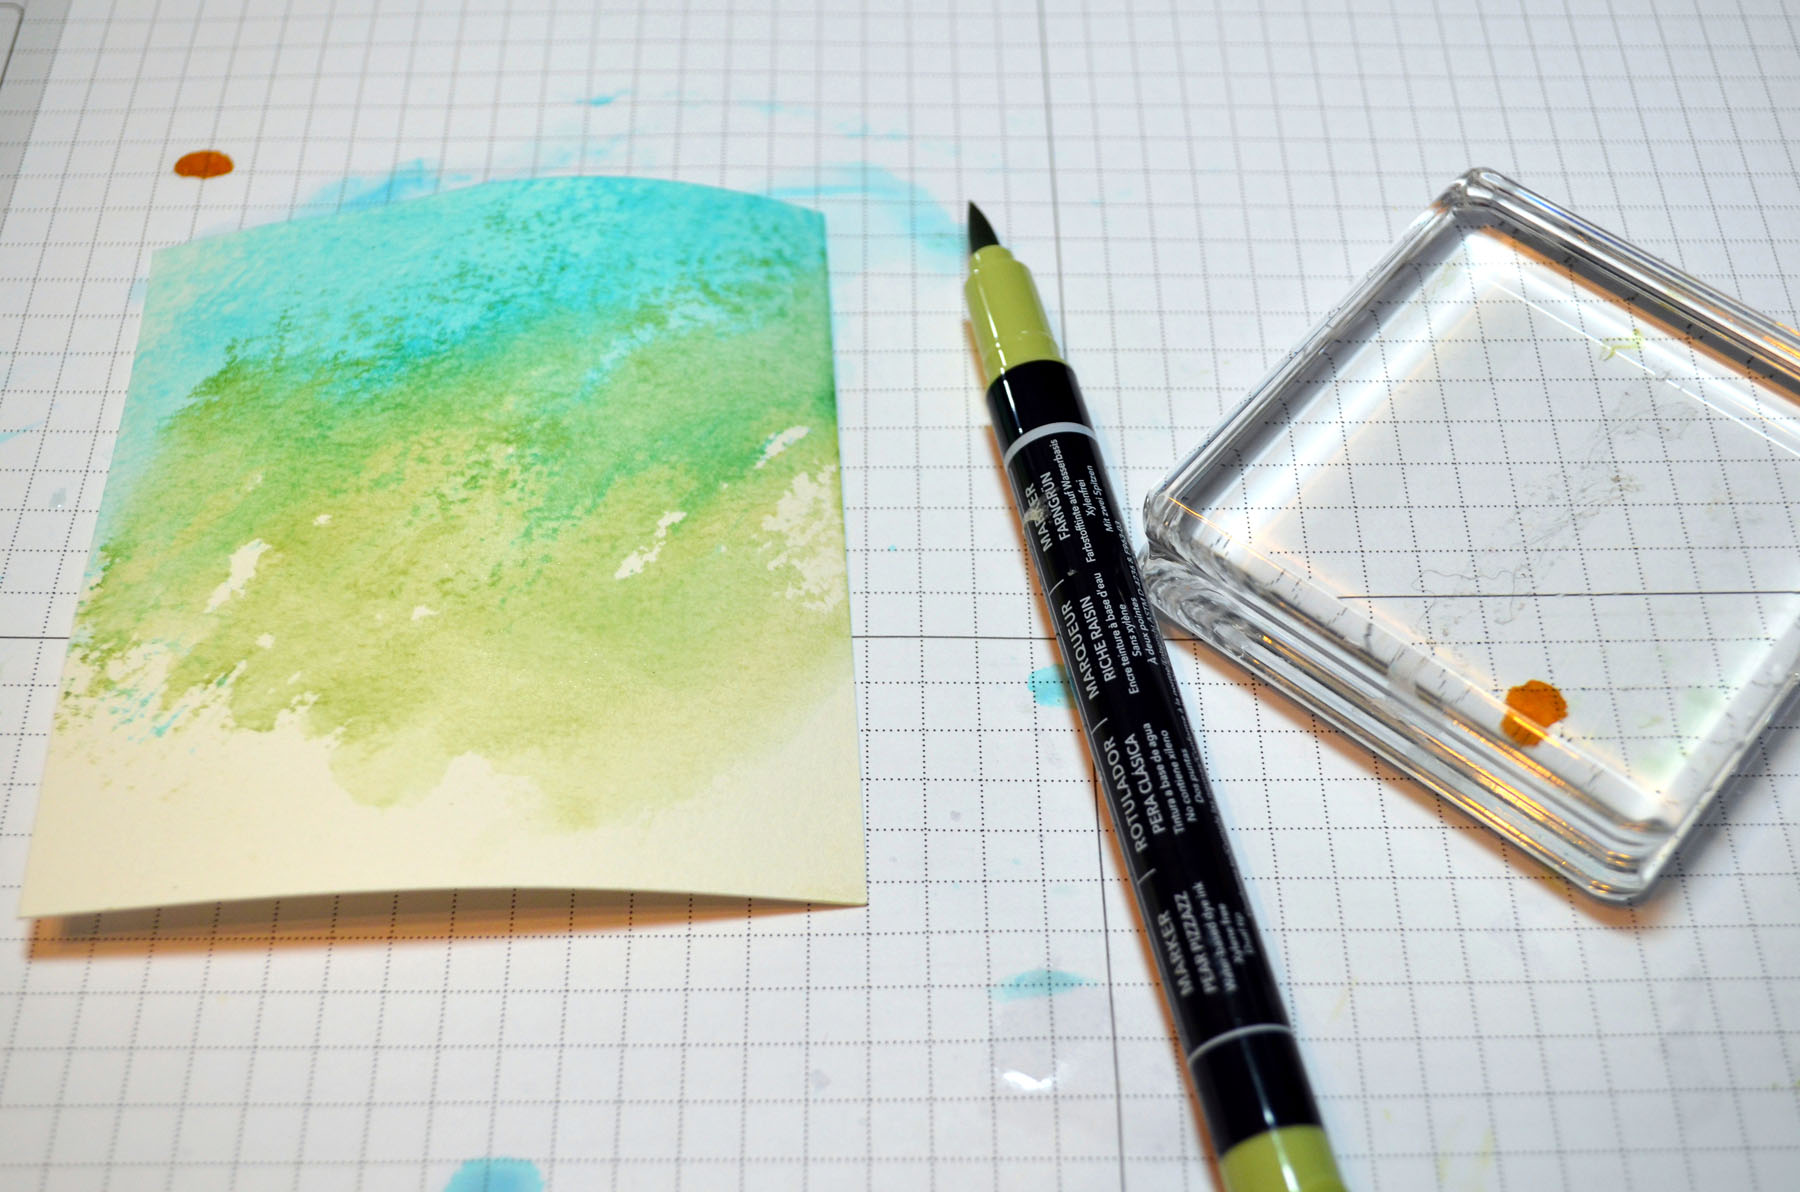
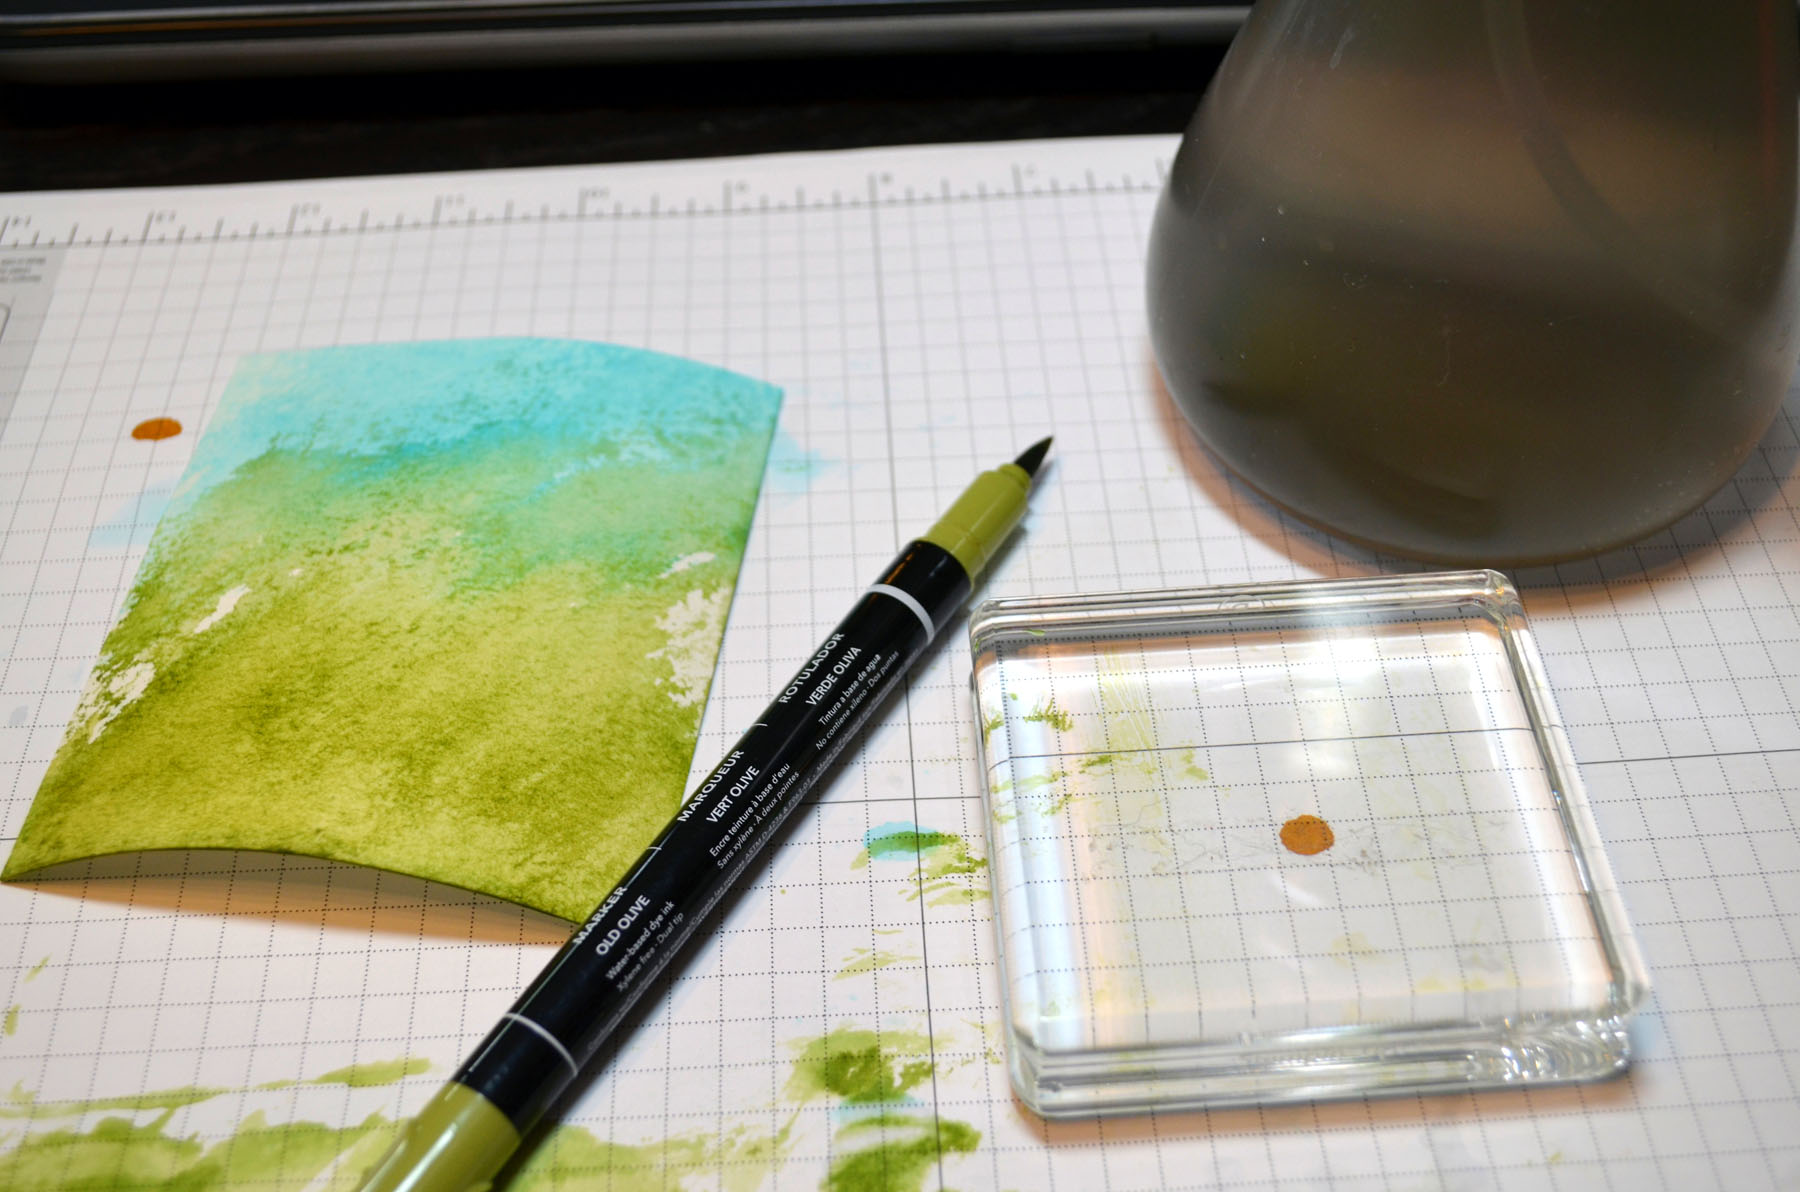
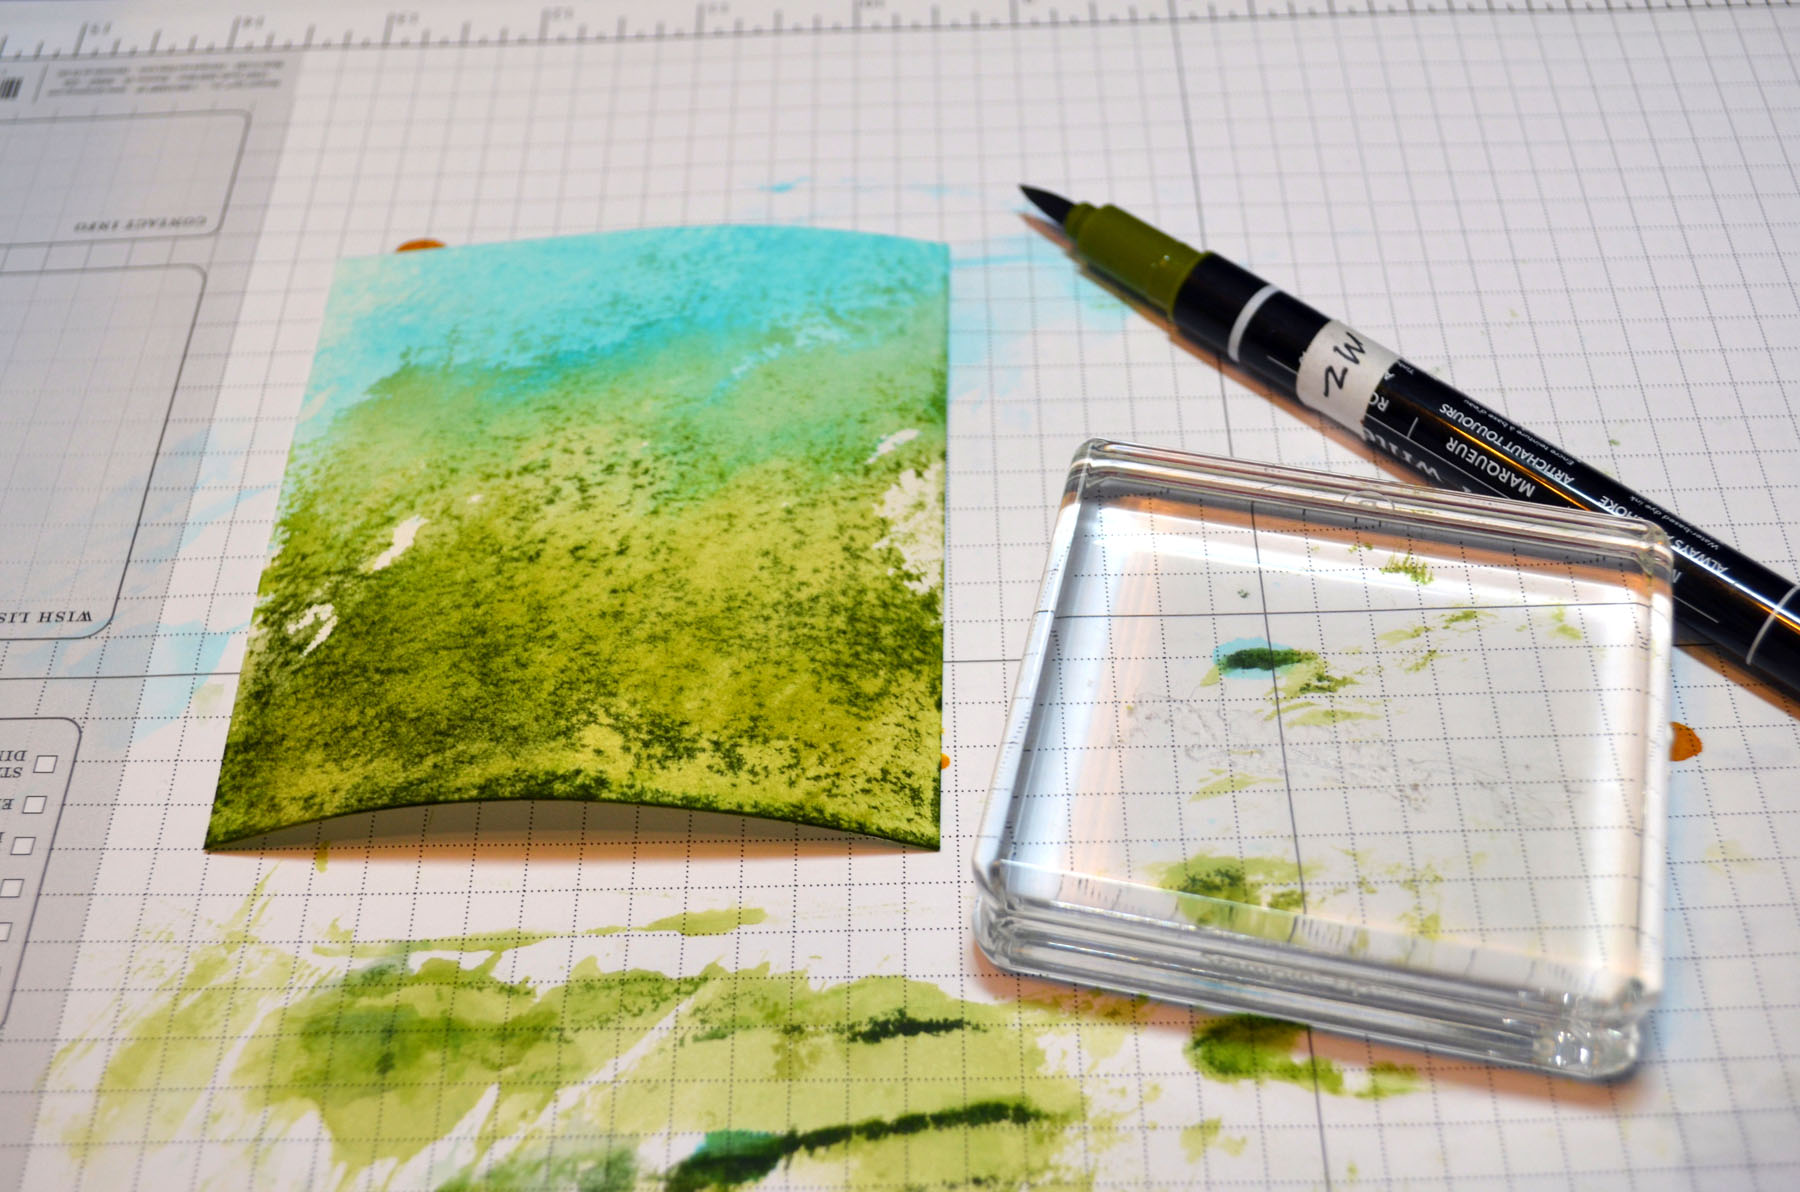
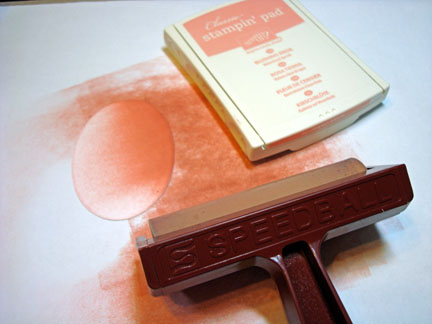
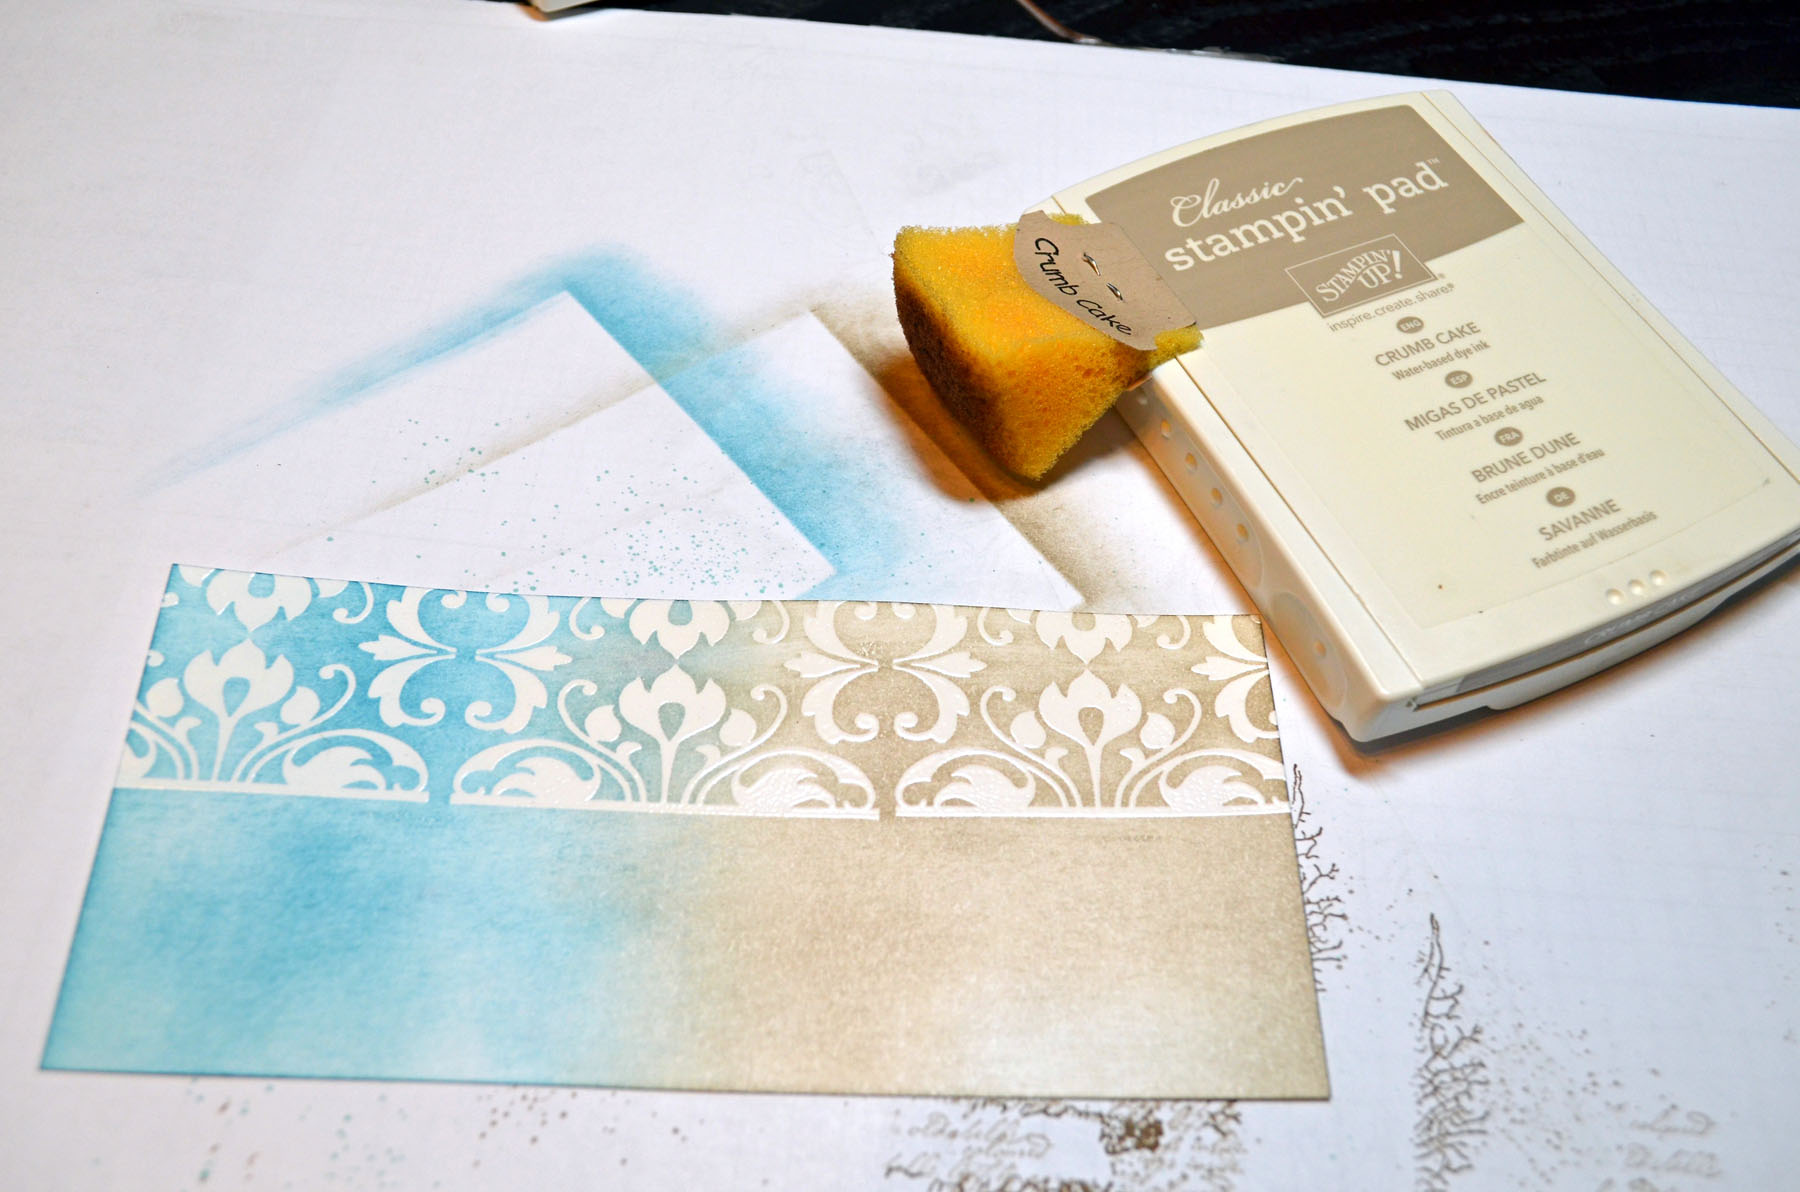
Brayered Soft Sky ink on the top half of the card stock.
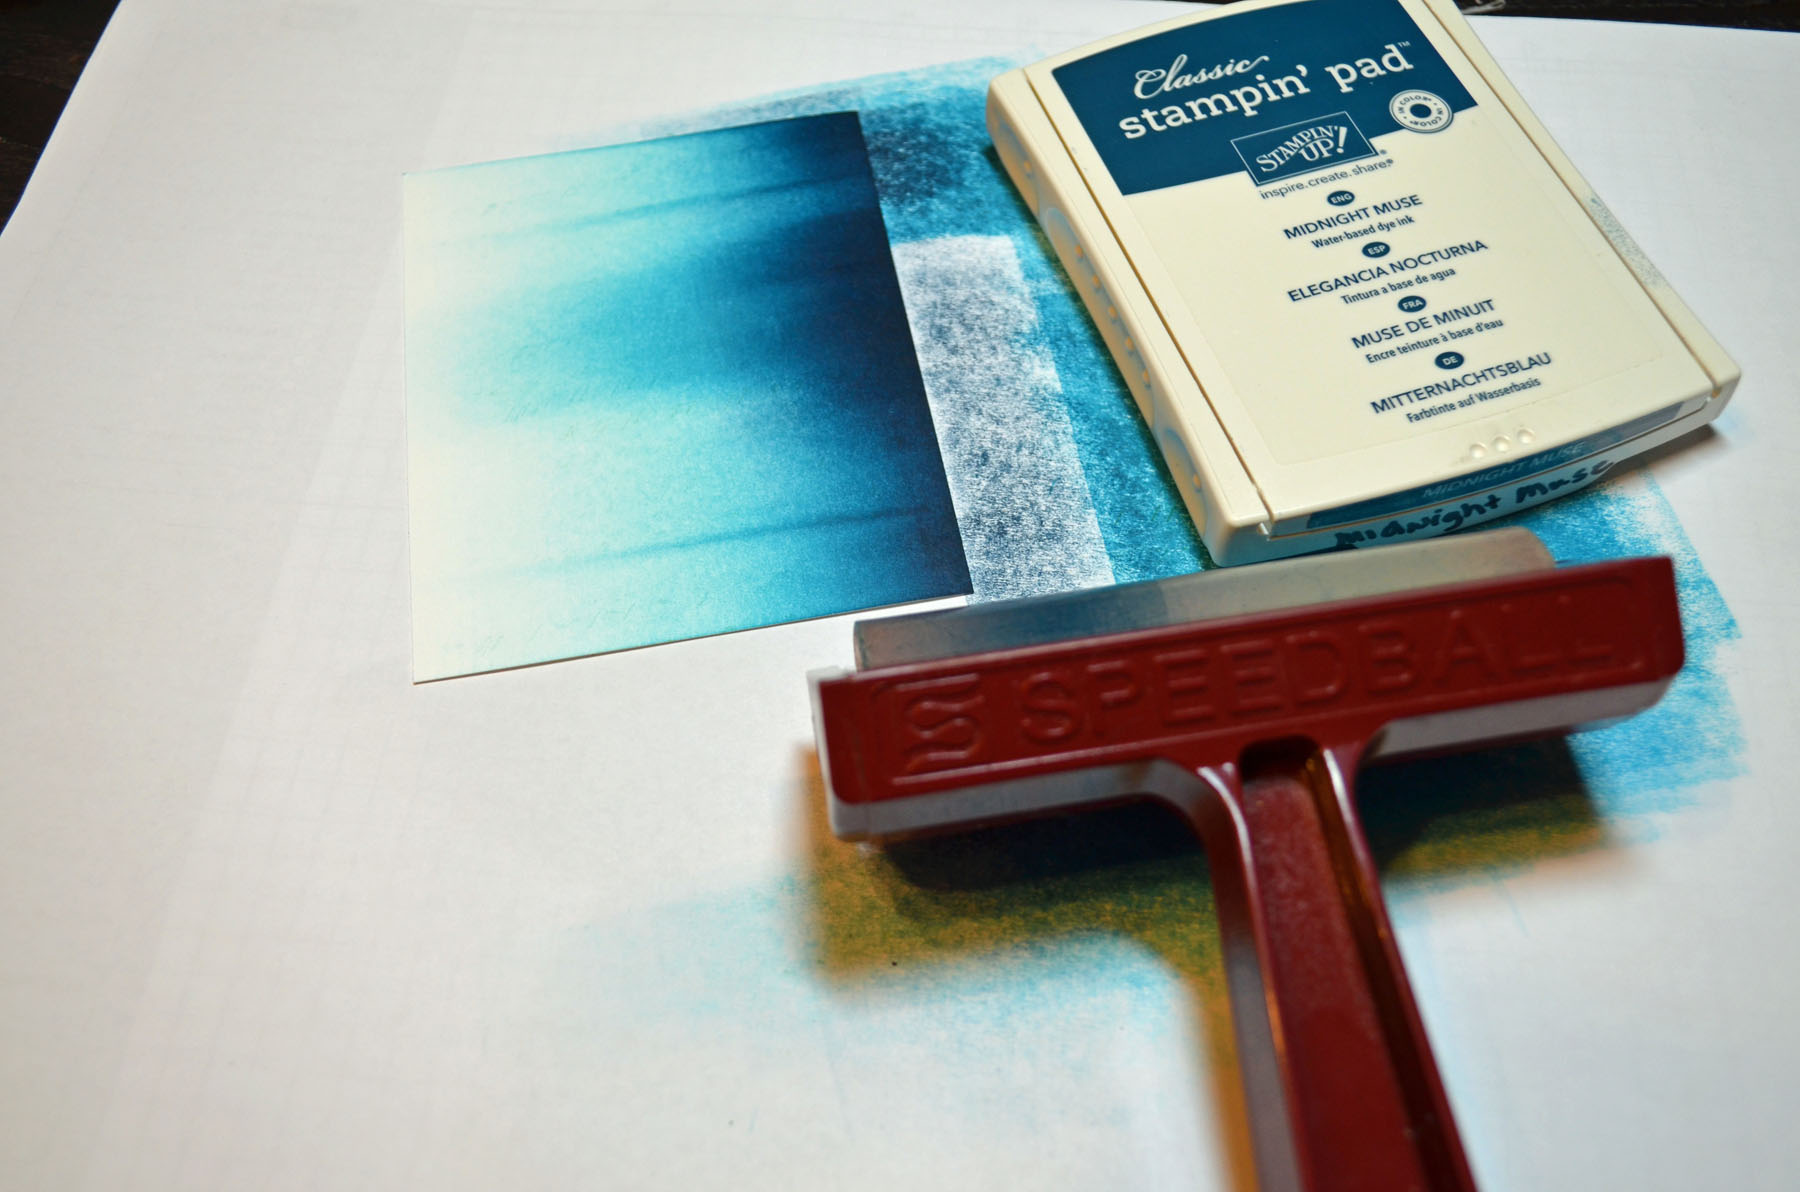
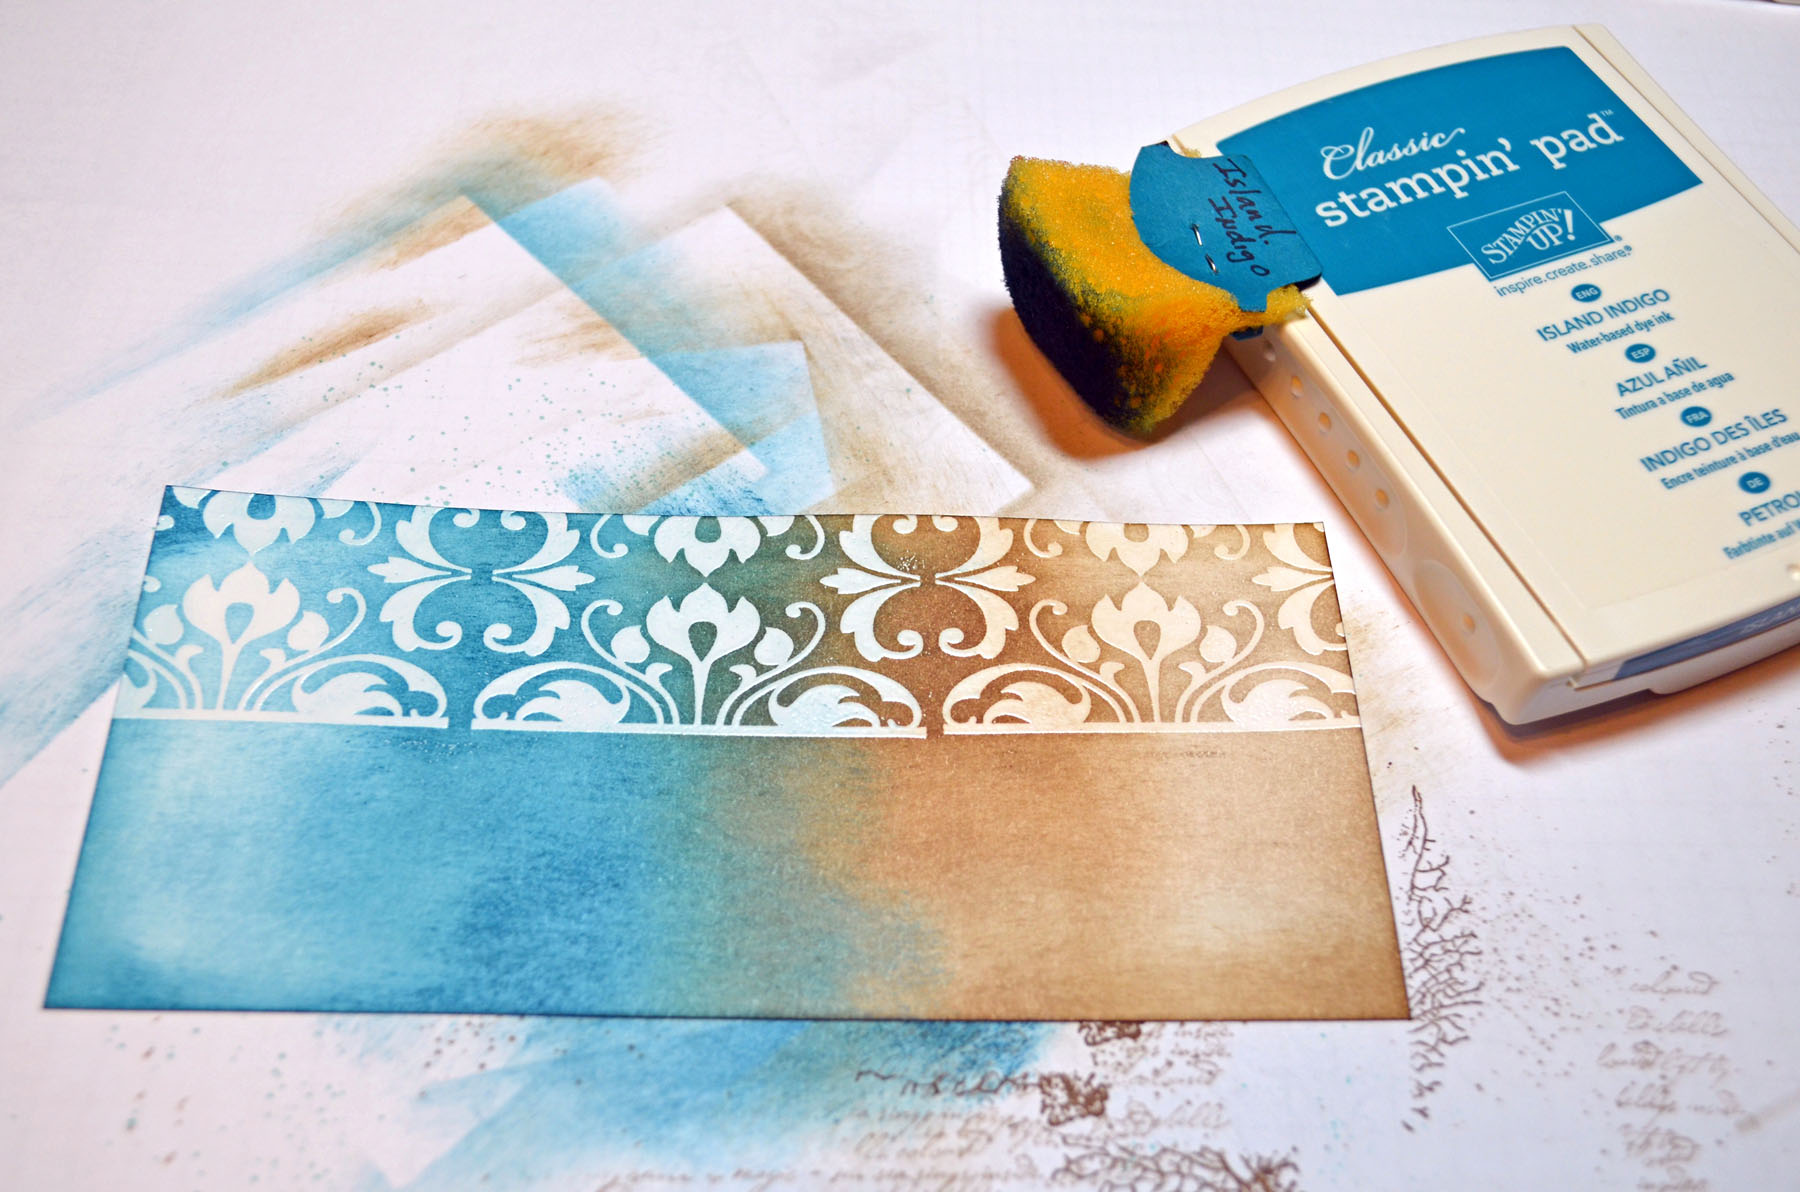
Brayered Island Indigo ink on the very top of the card stock.
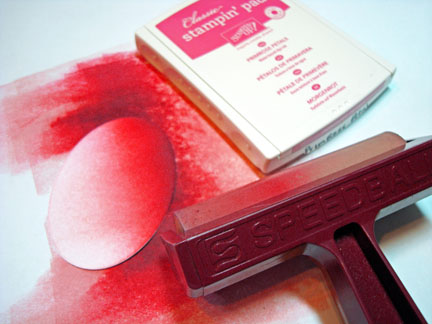
Masked part of the sky area with a post it note and lightly sponged Island ink at the post it note’s edge to create my horizon line.
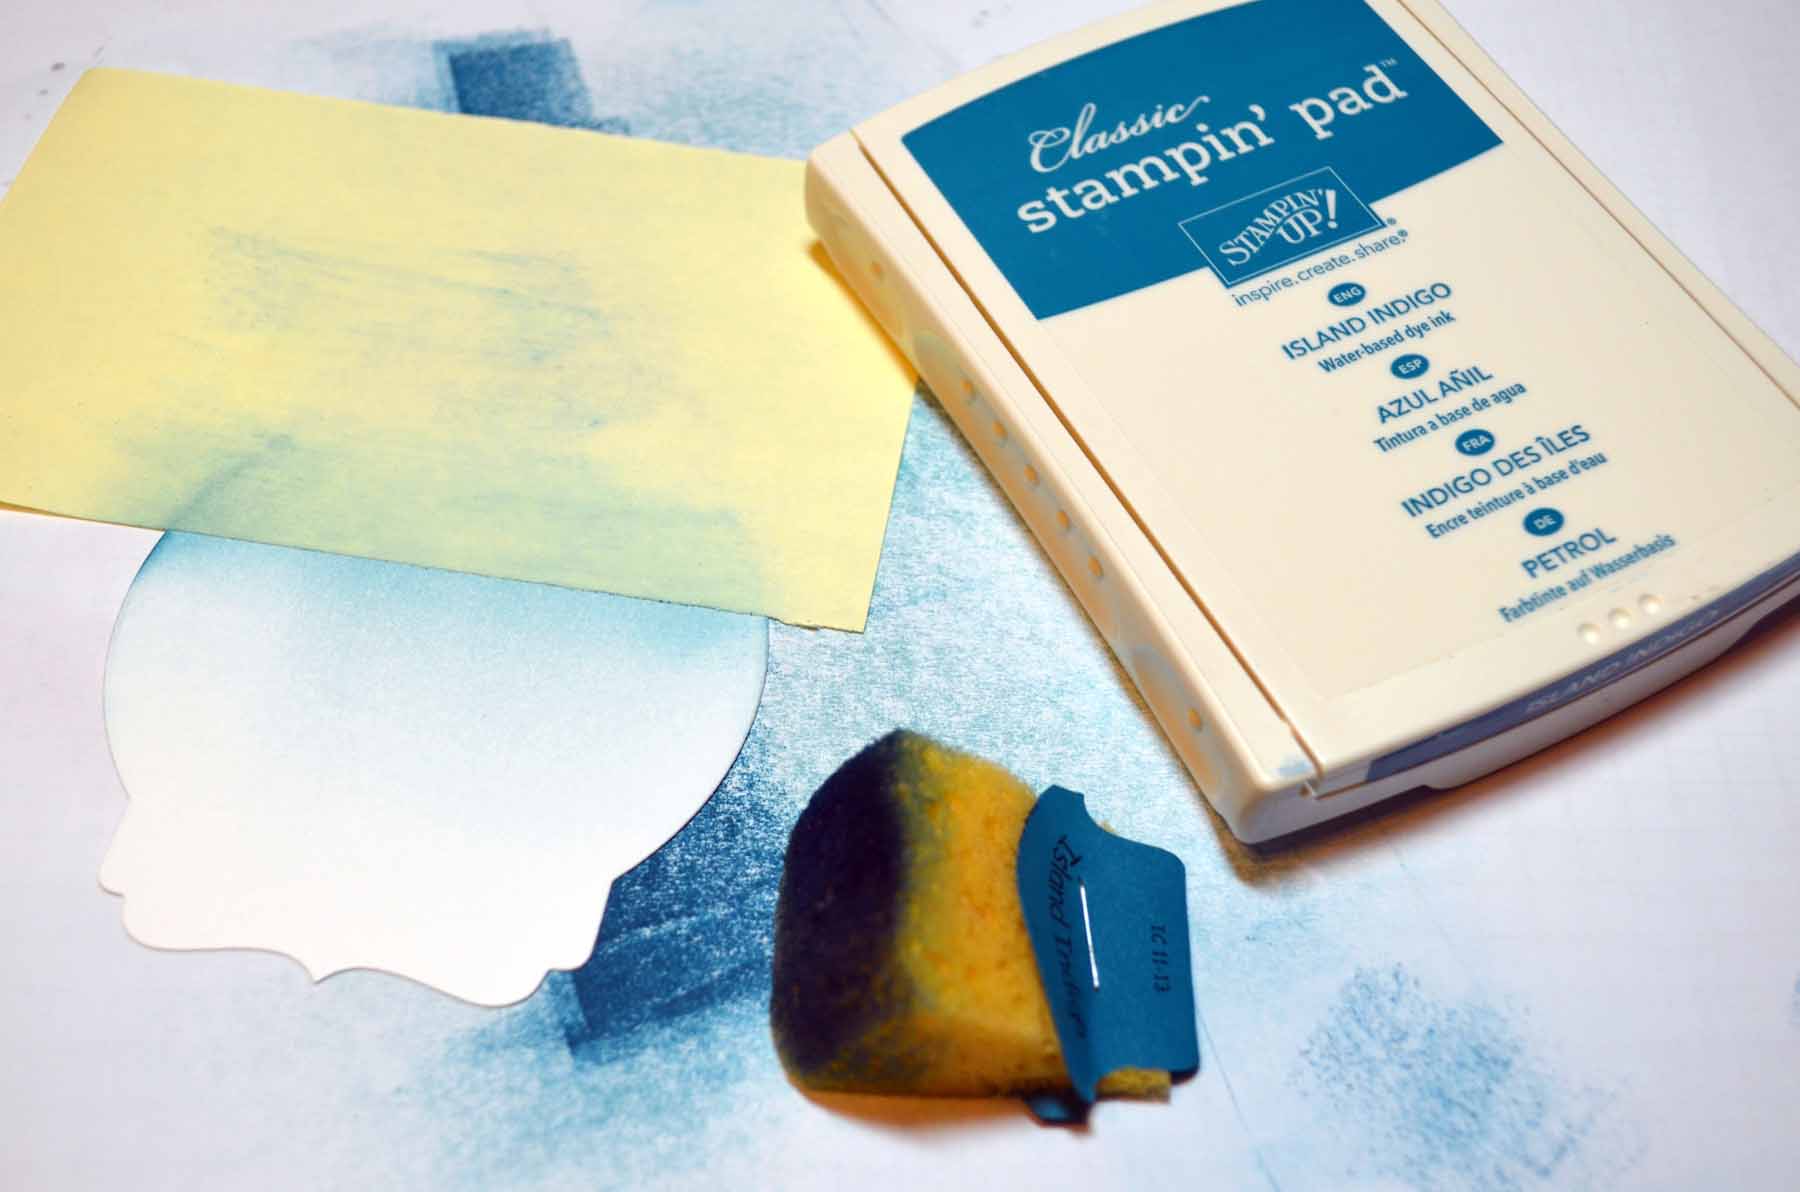
Removed the mask and sponged Crumb Cake ink at the bottom of the card stock to create the sand.
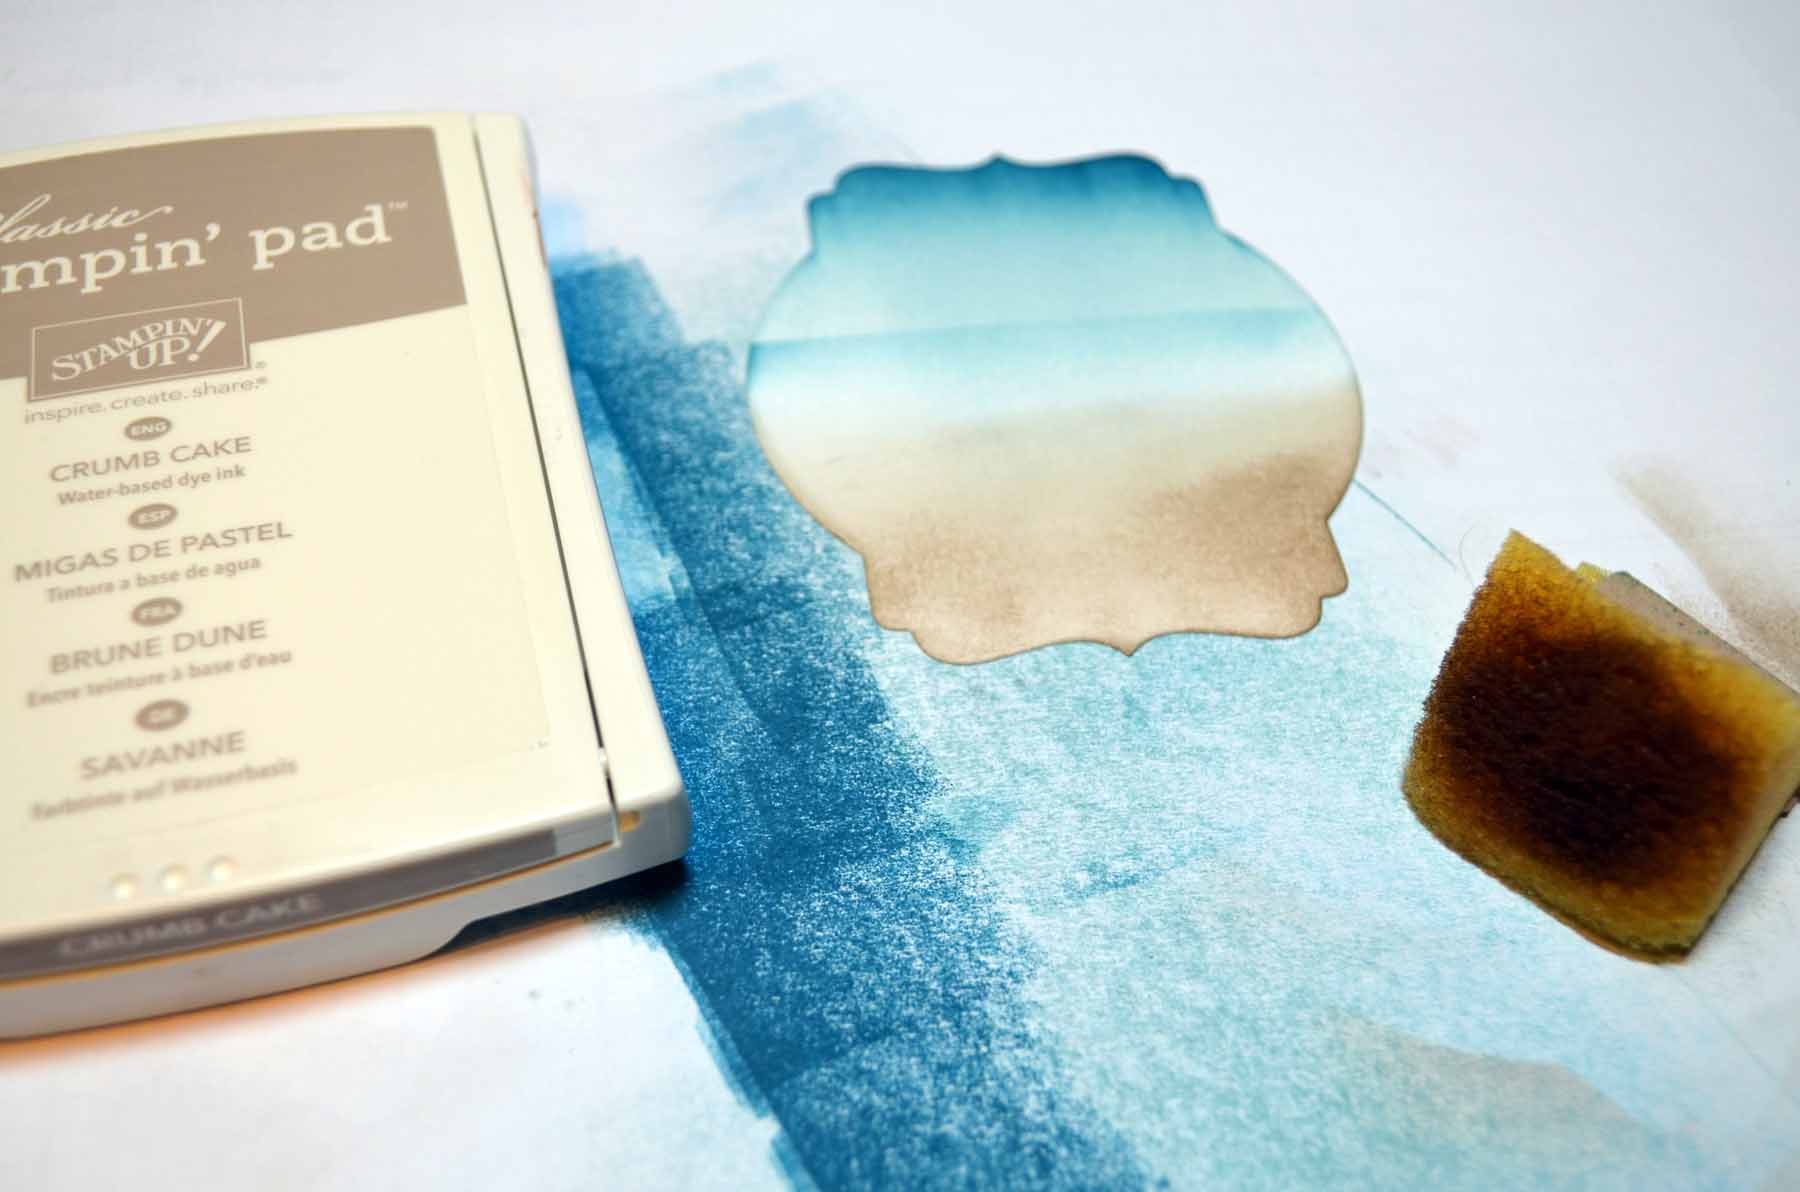
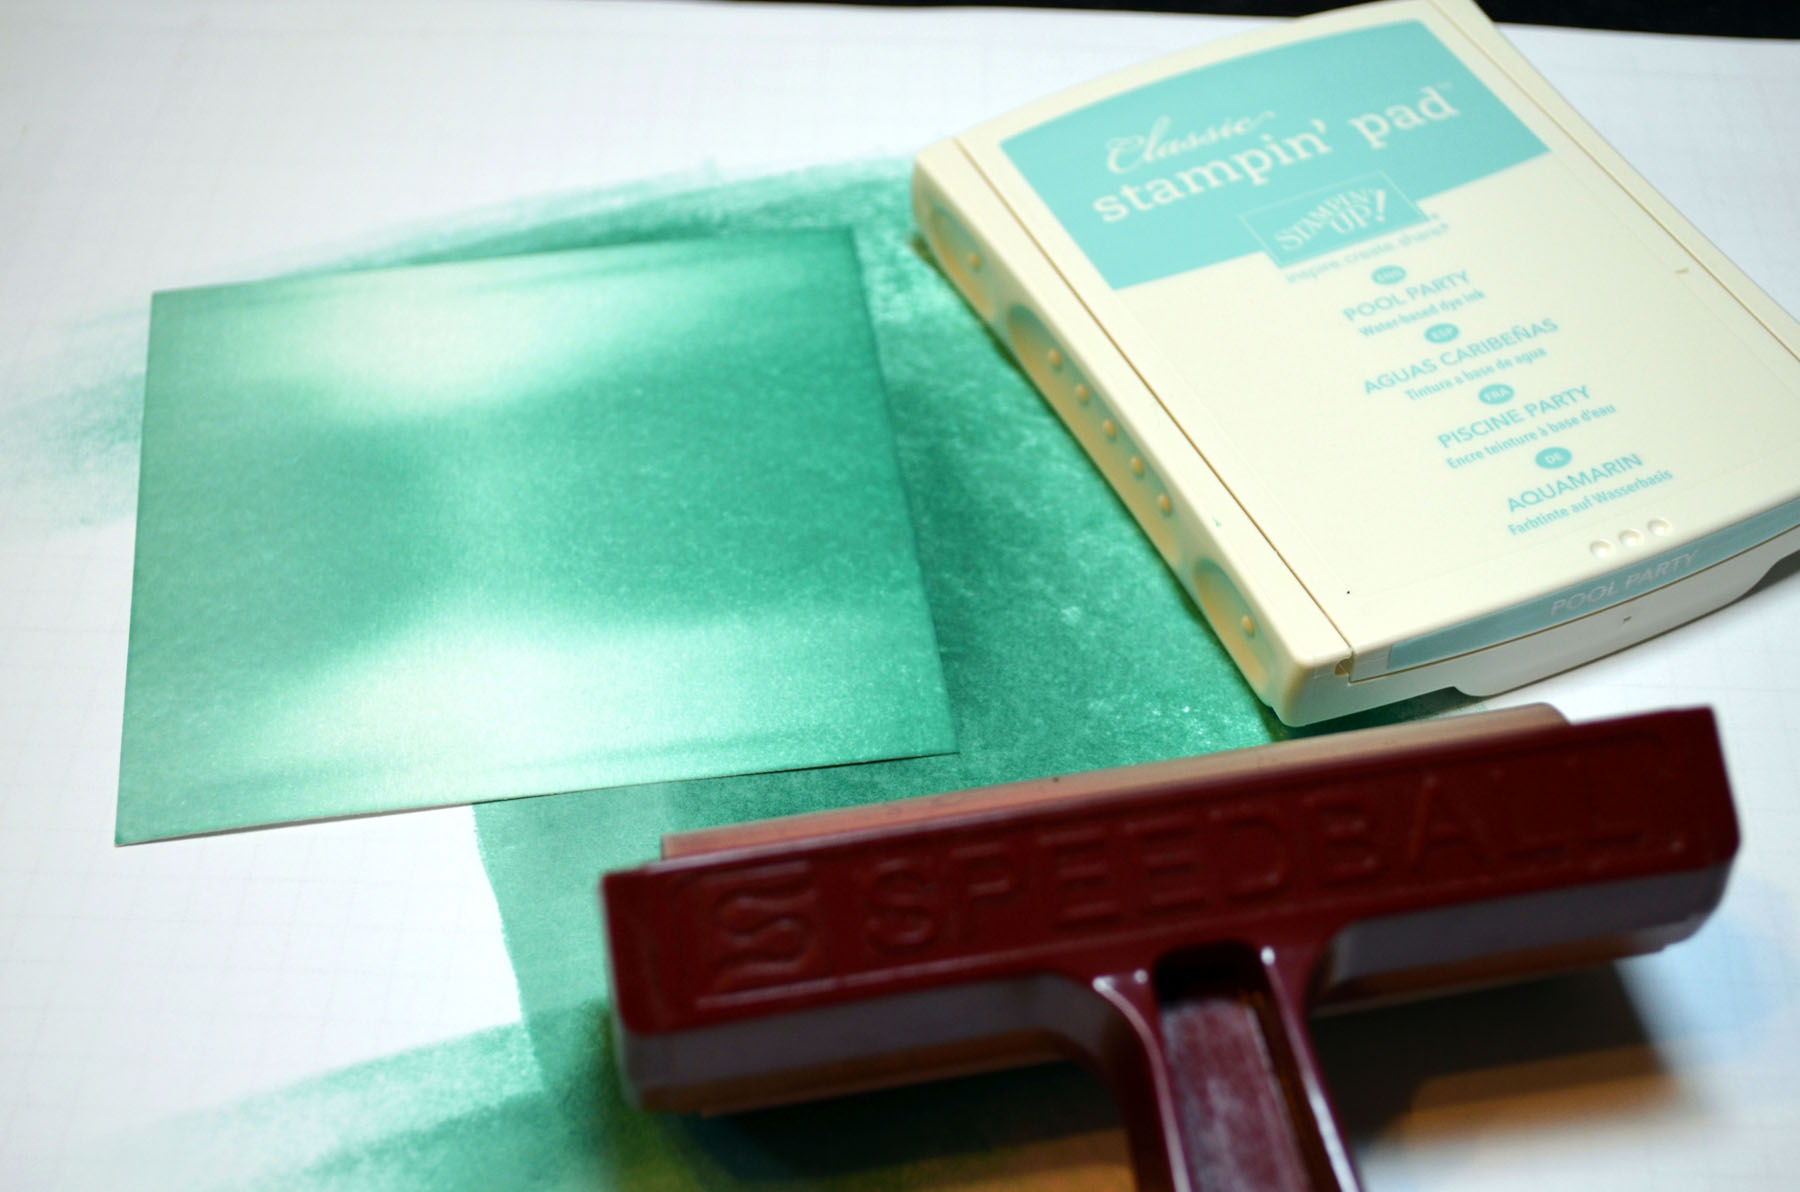
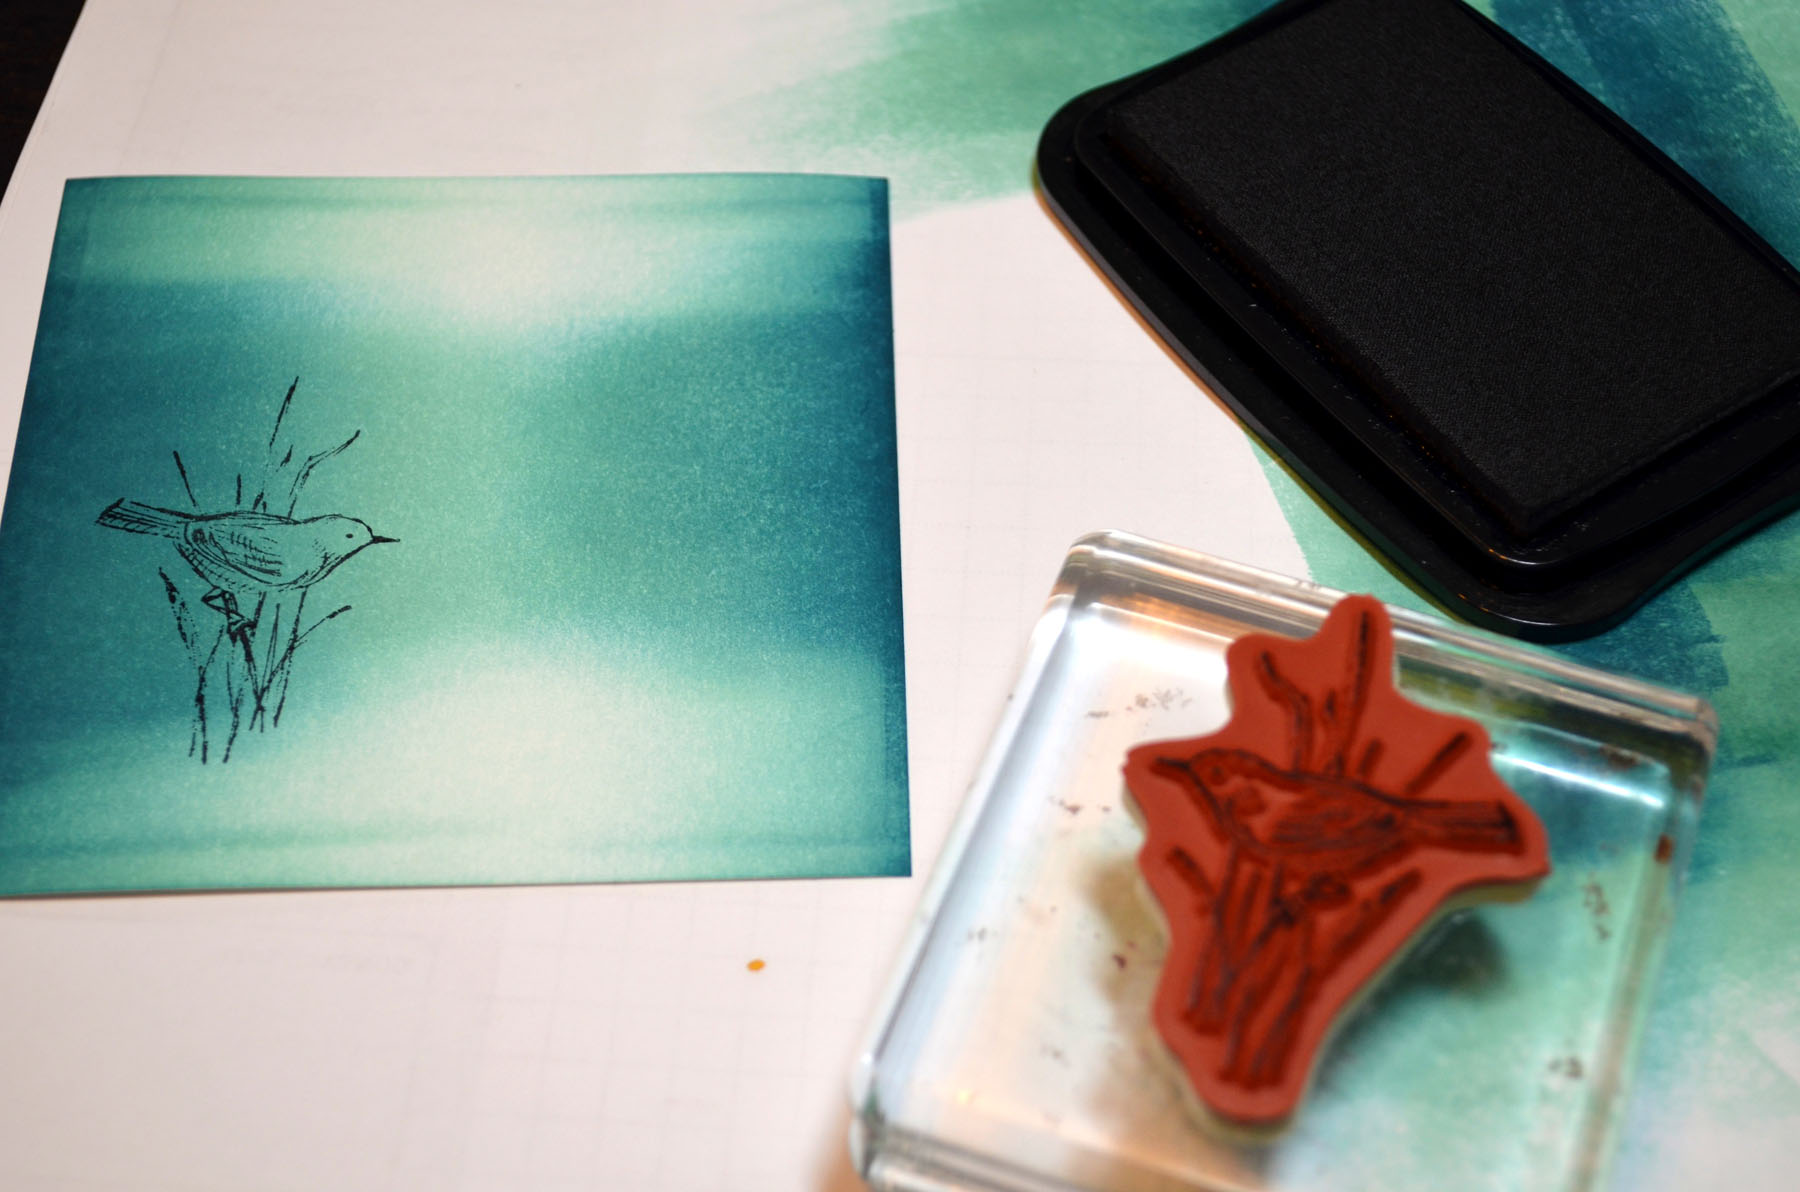
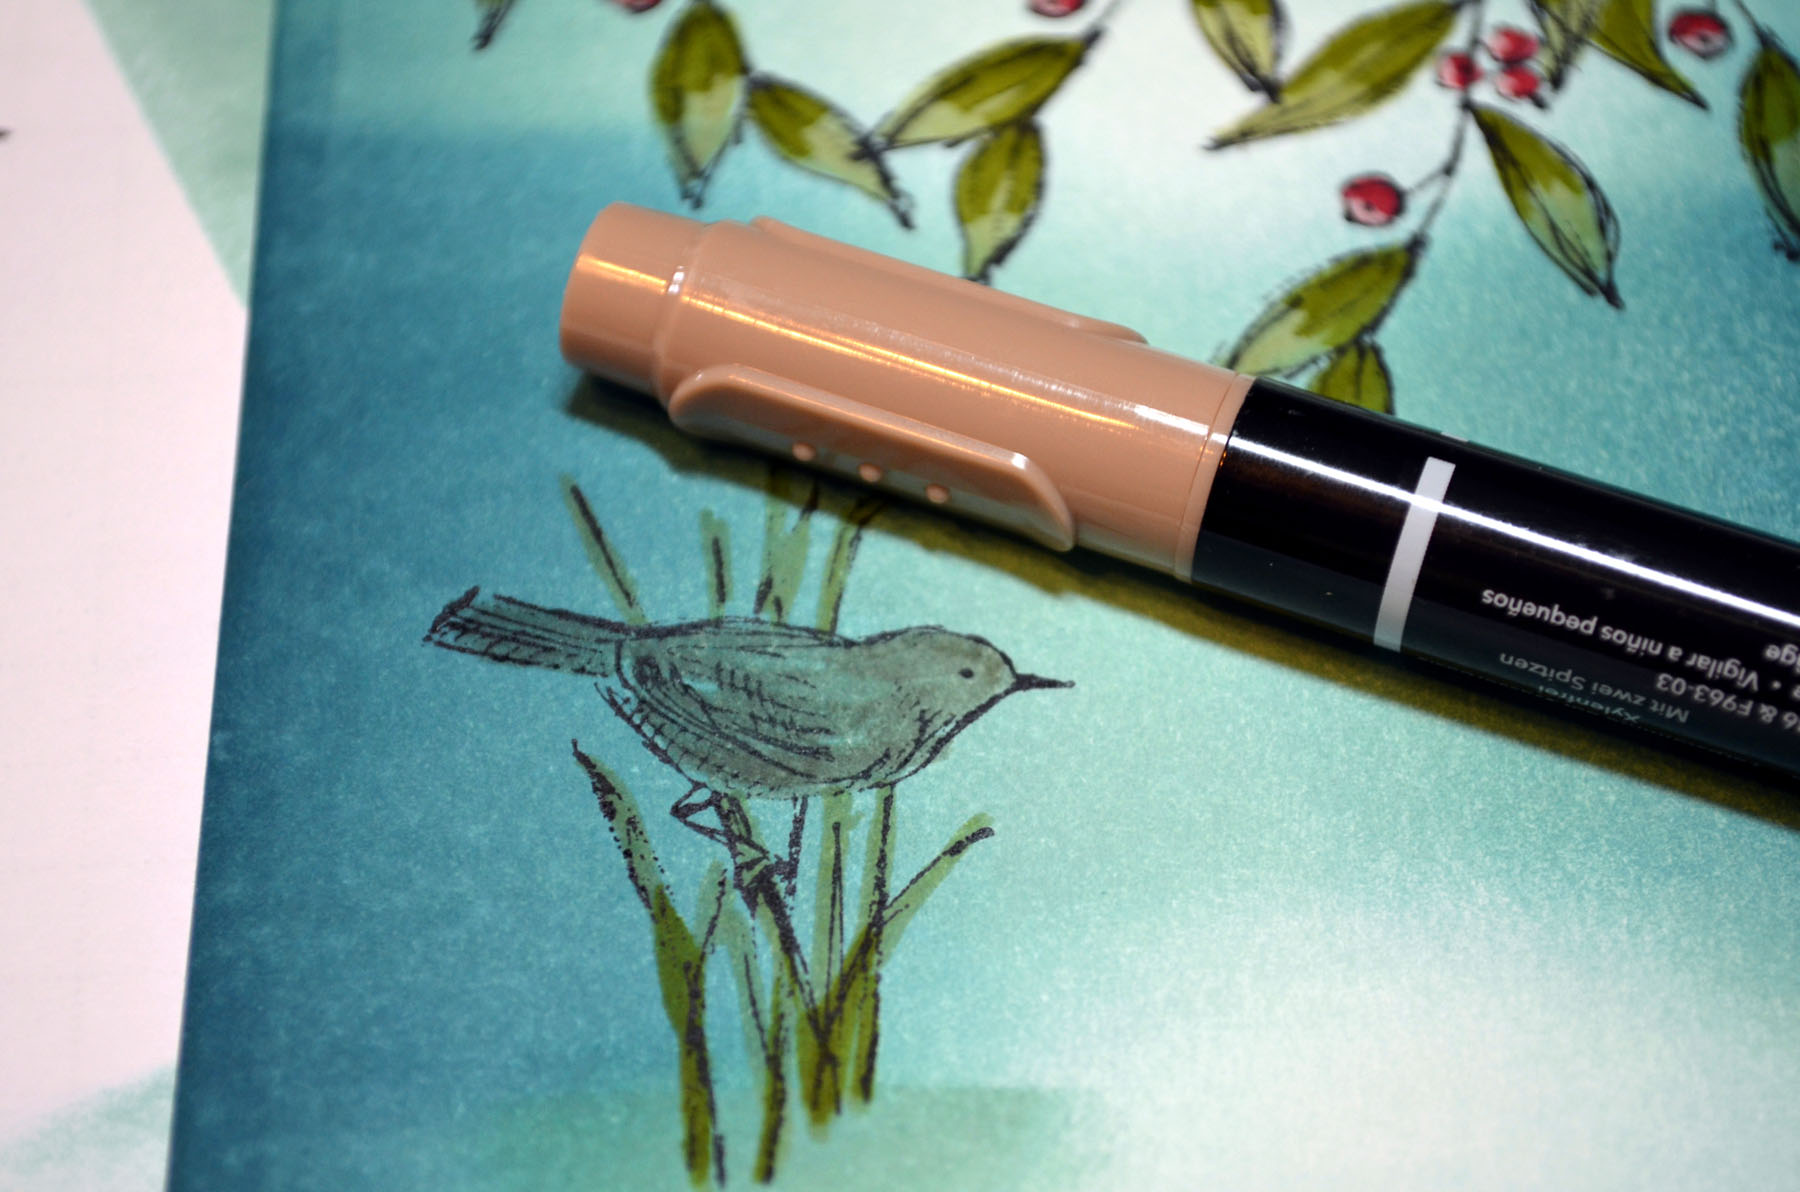
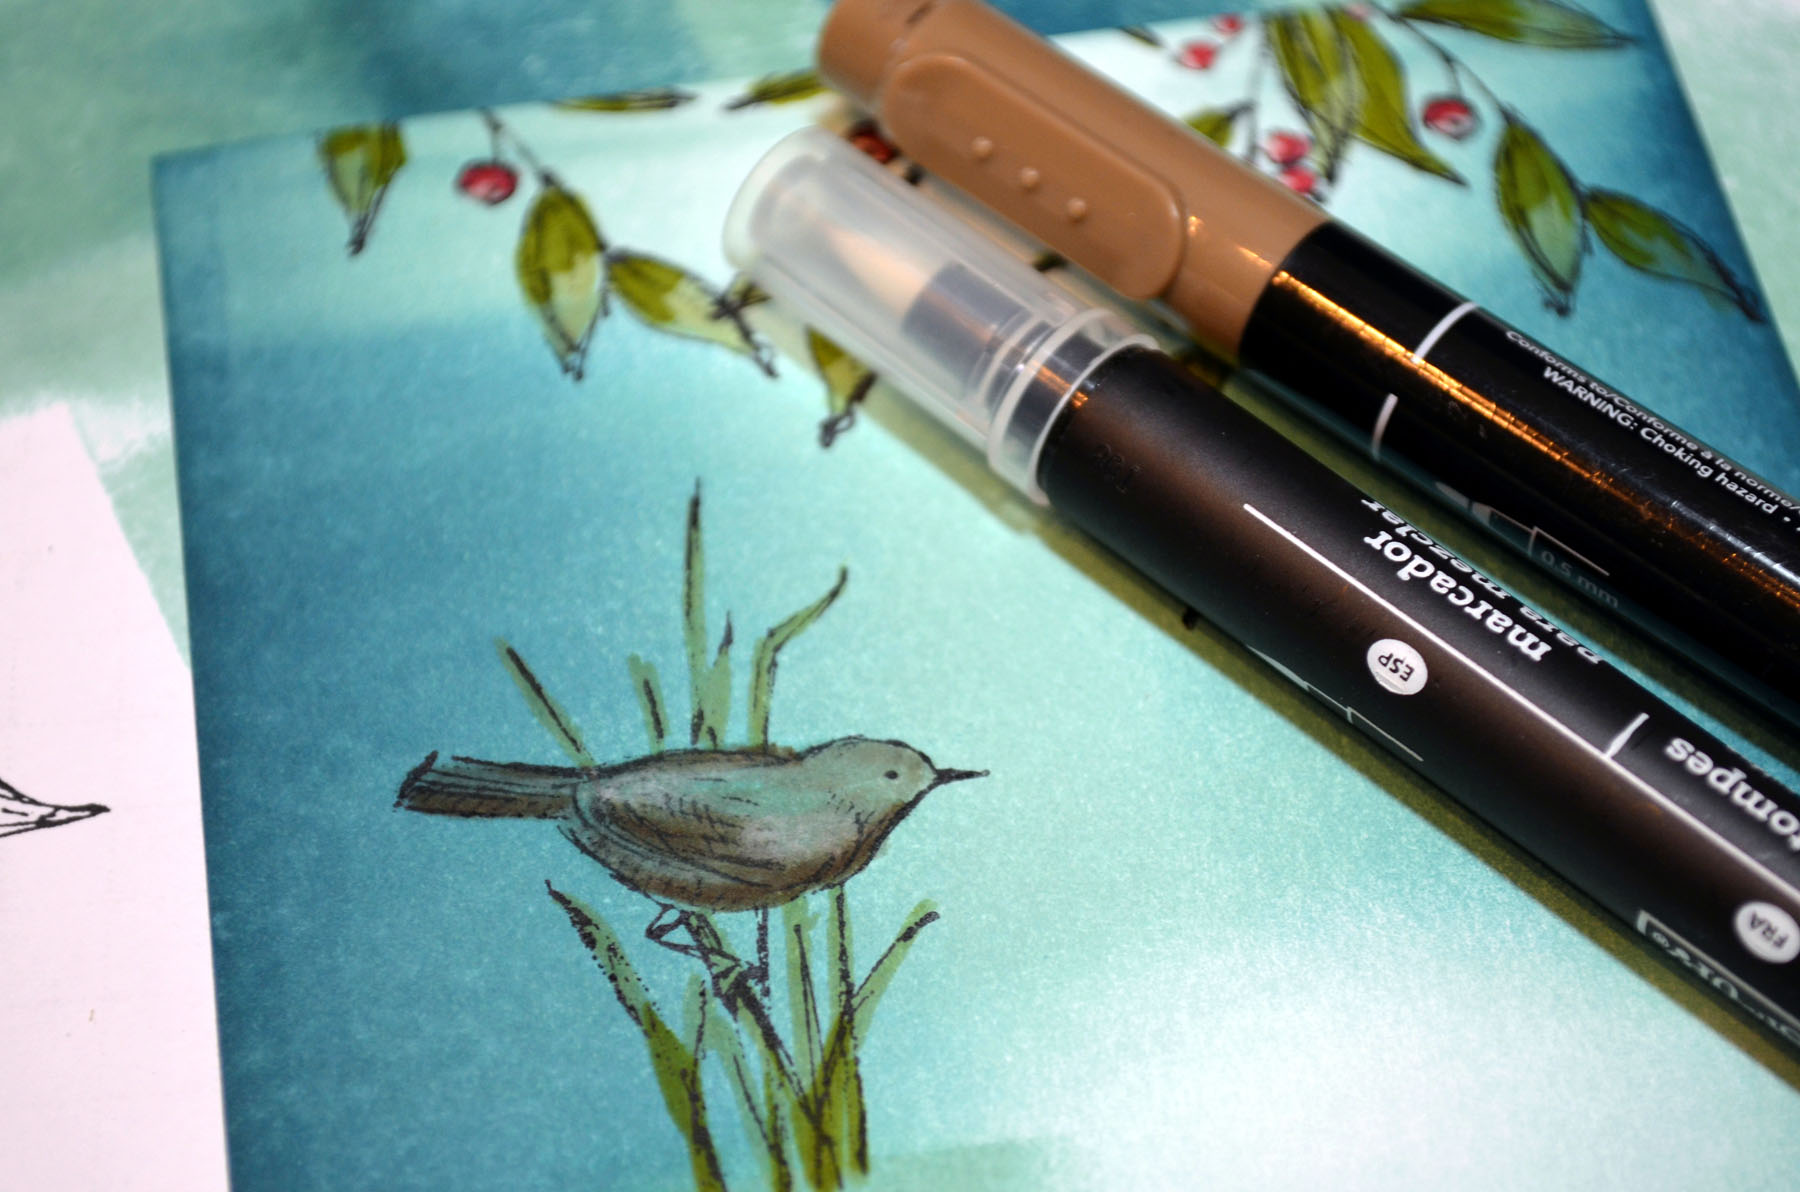
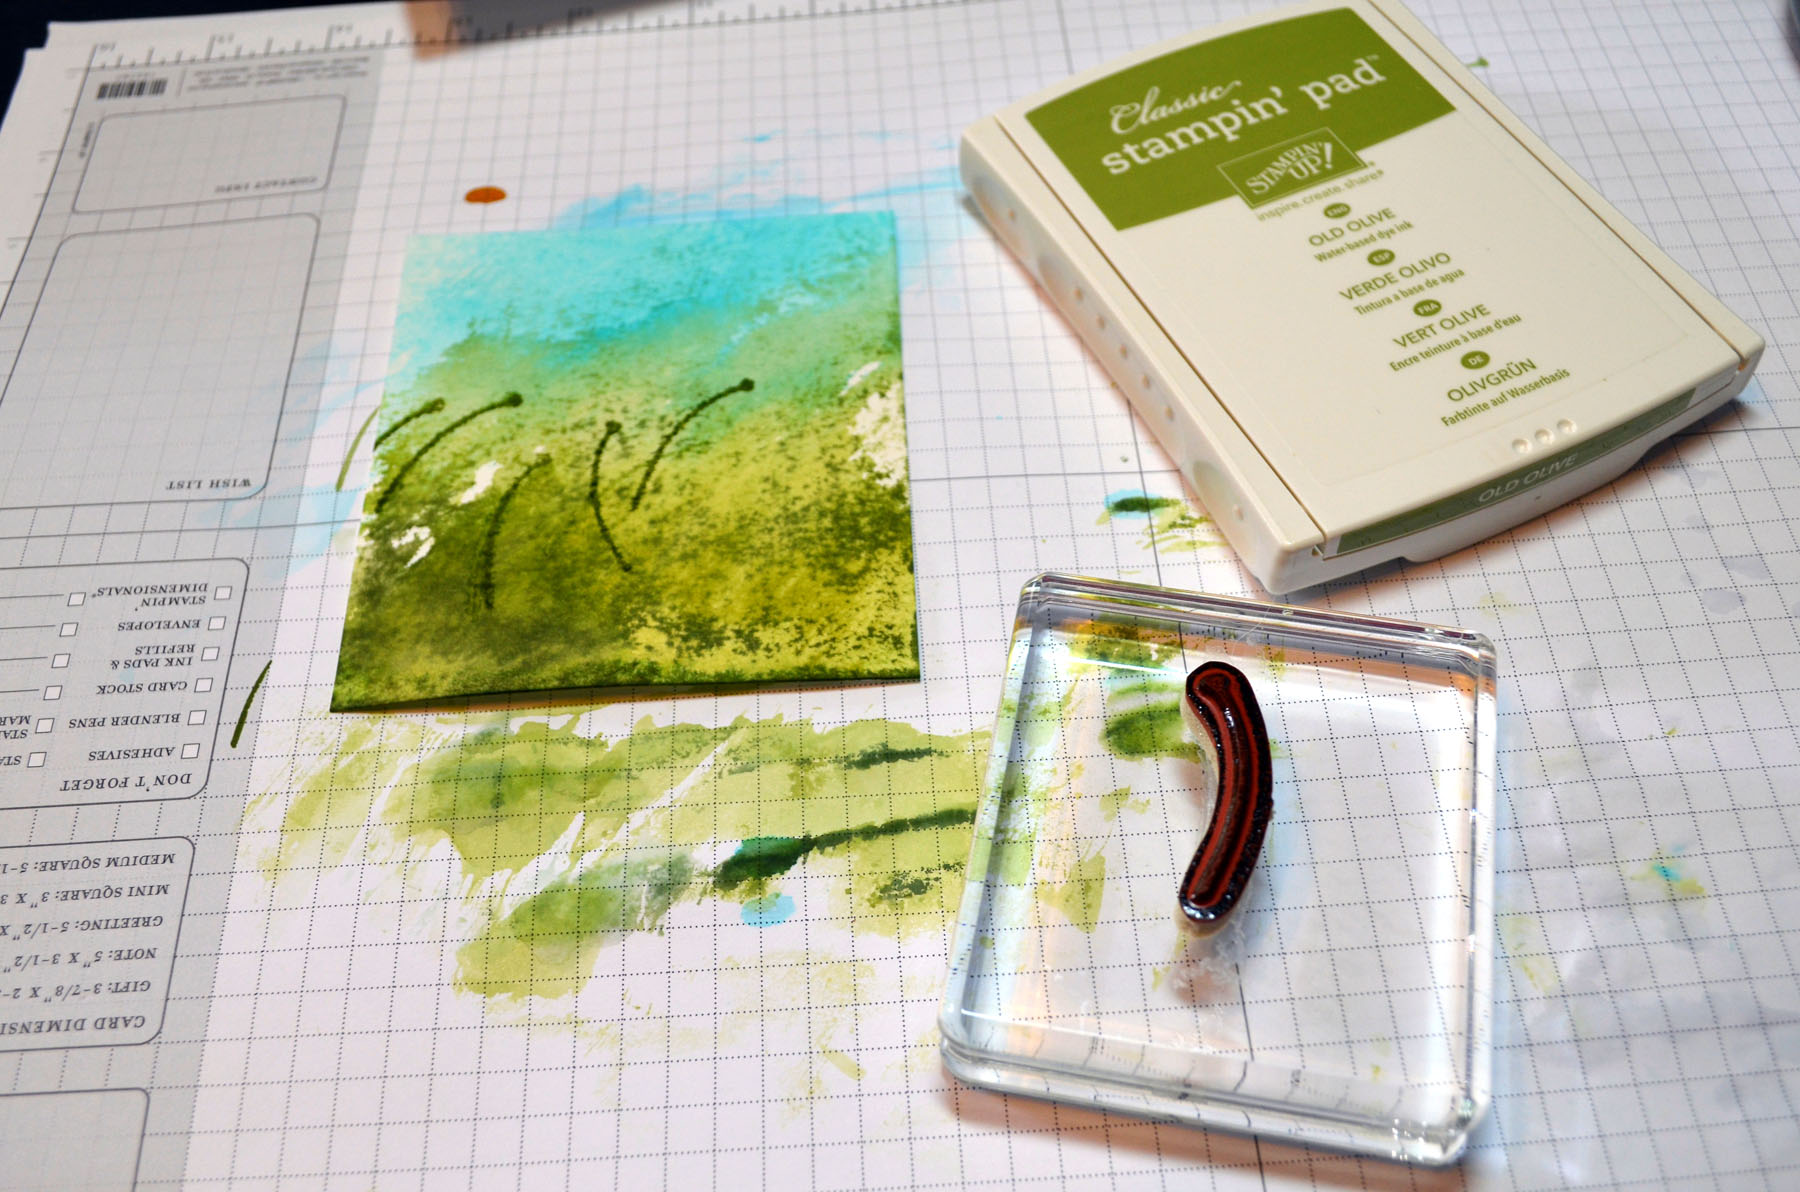
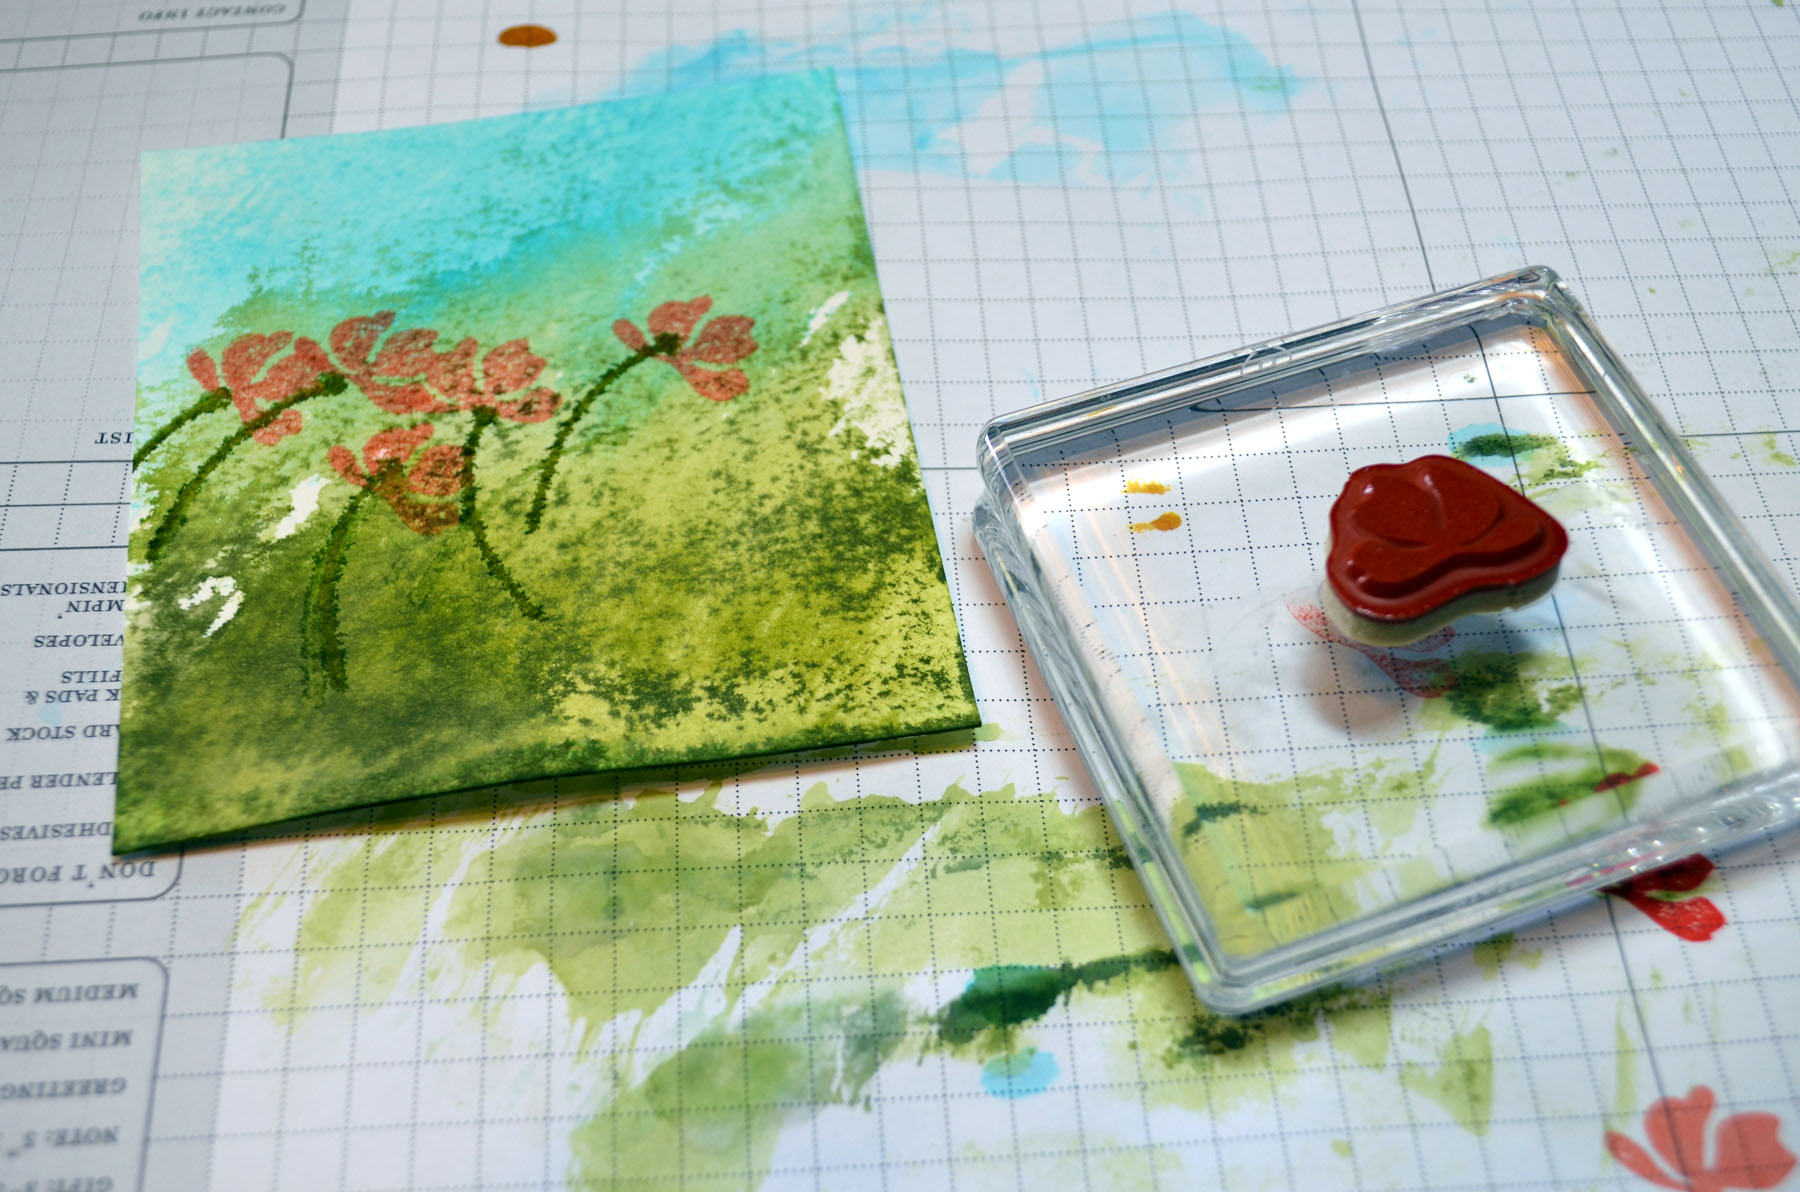
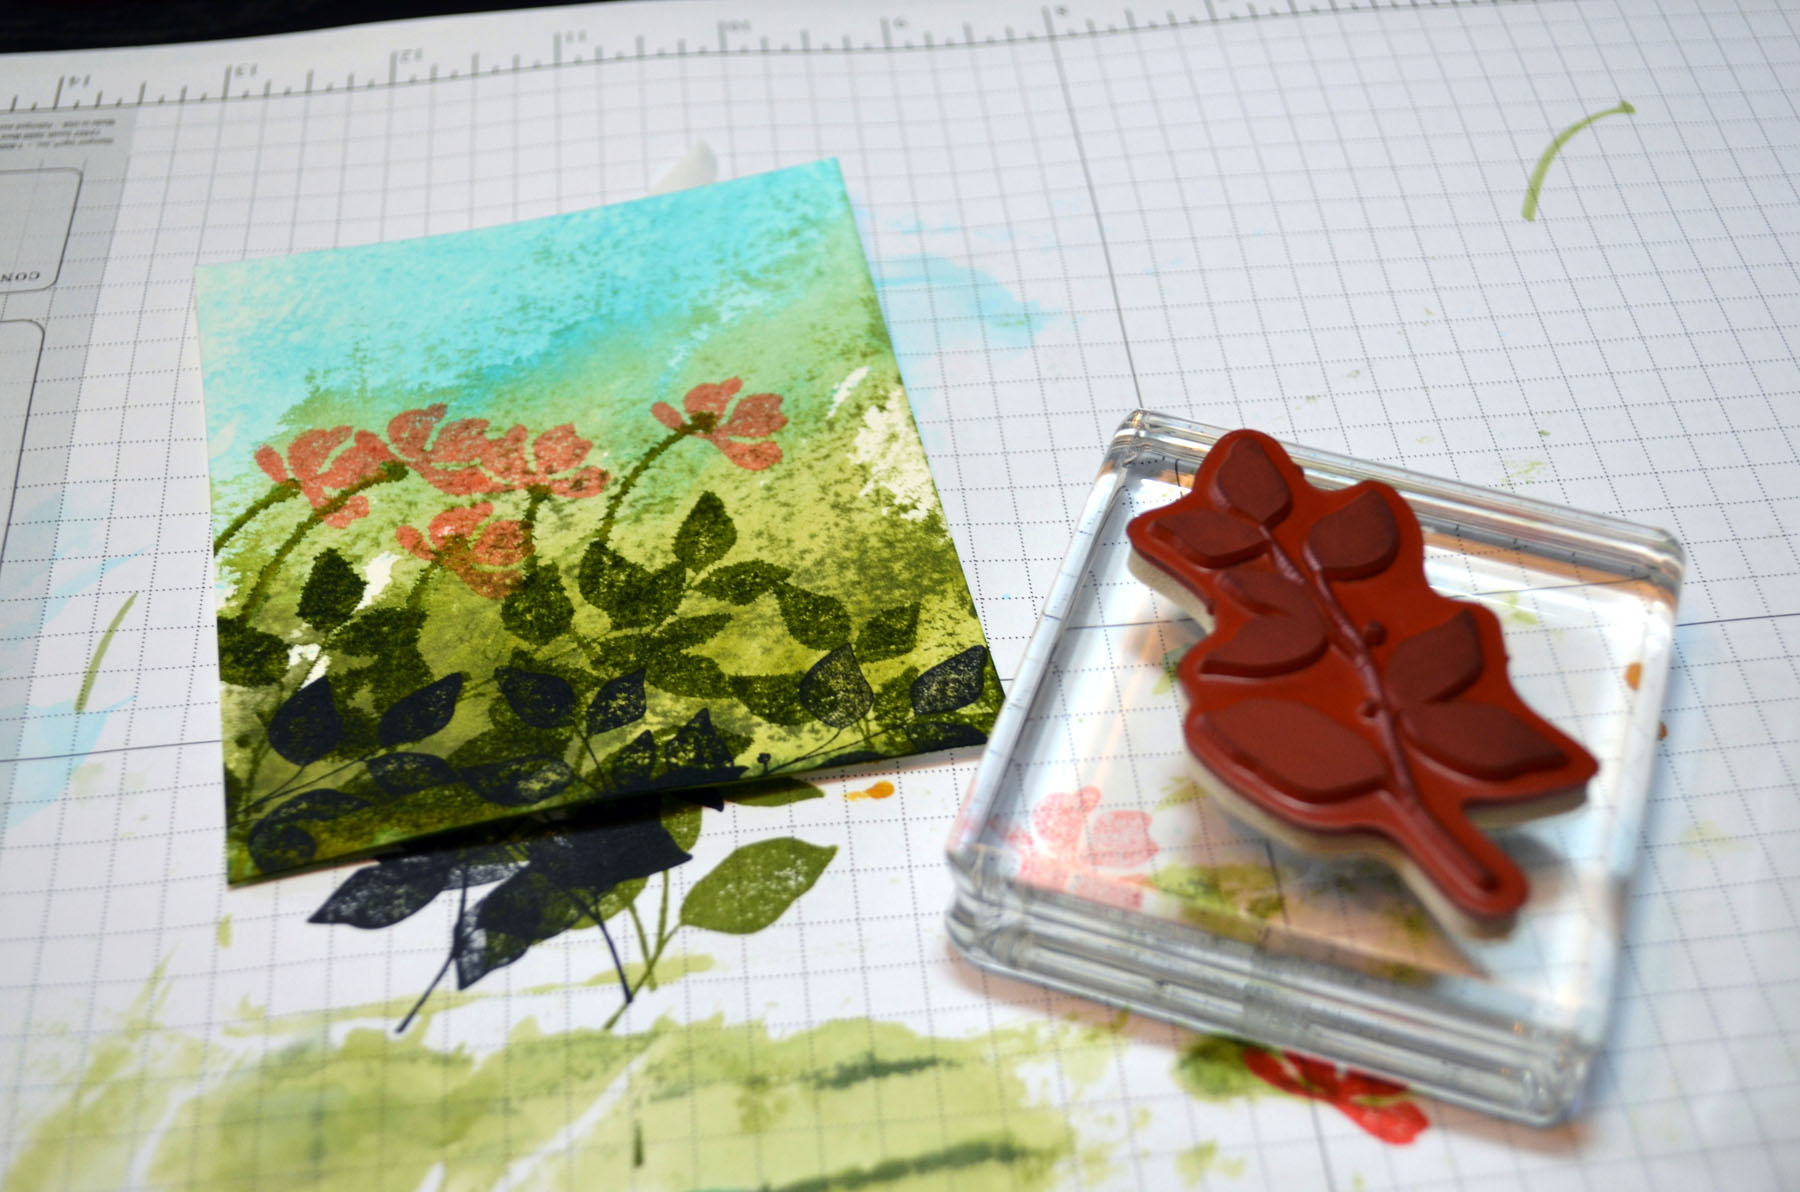
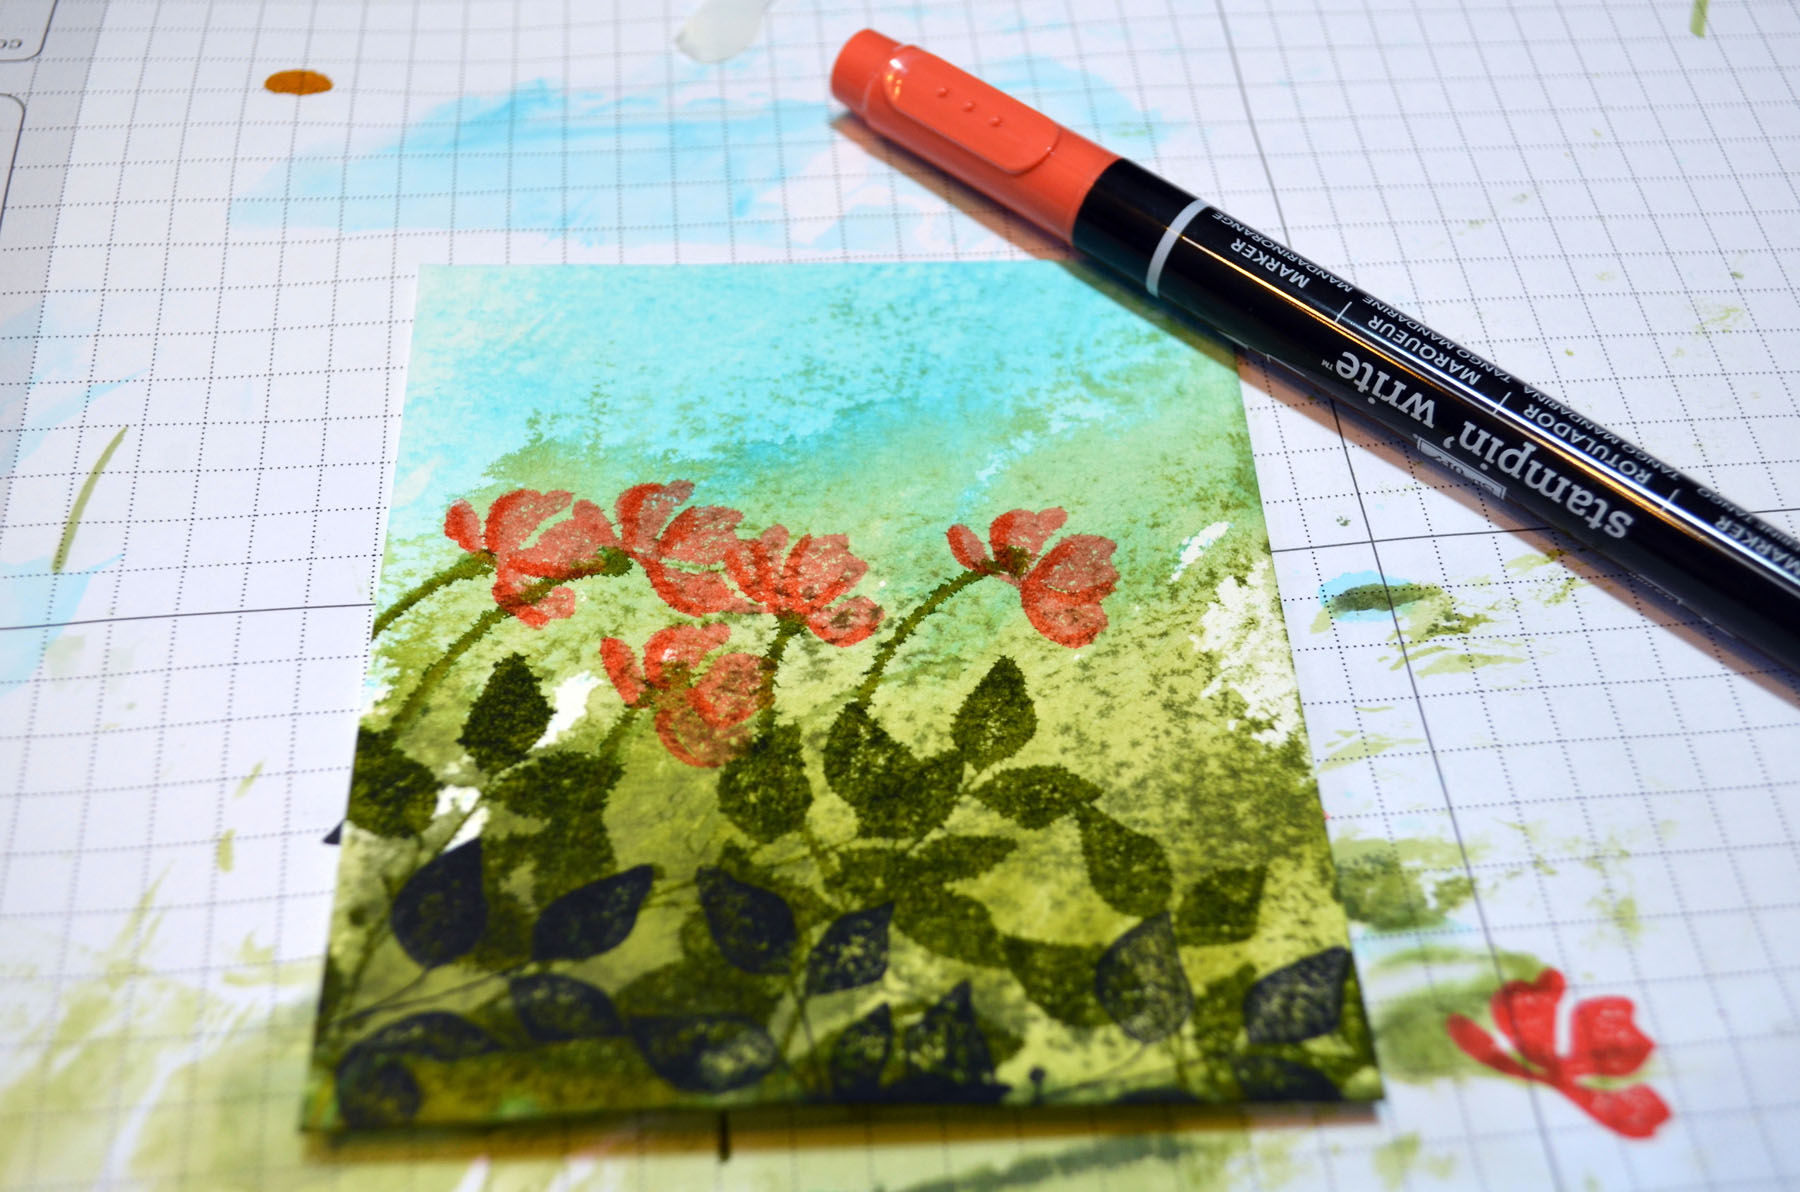
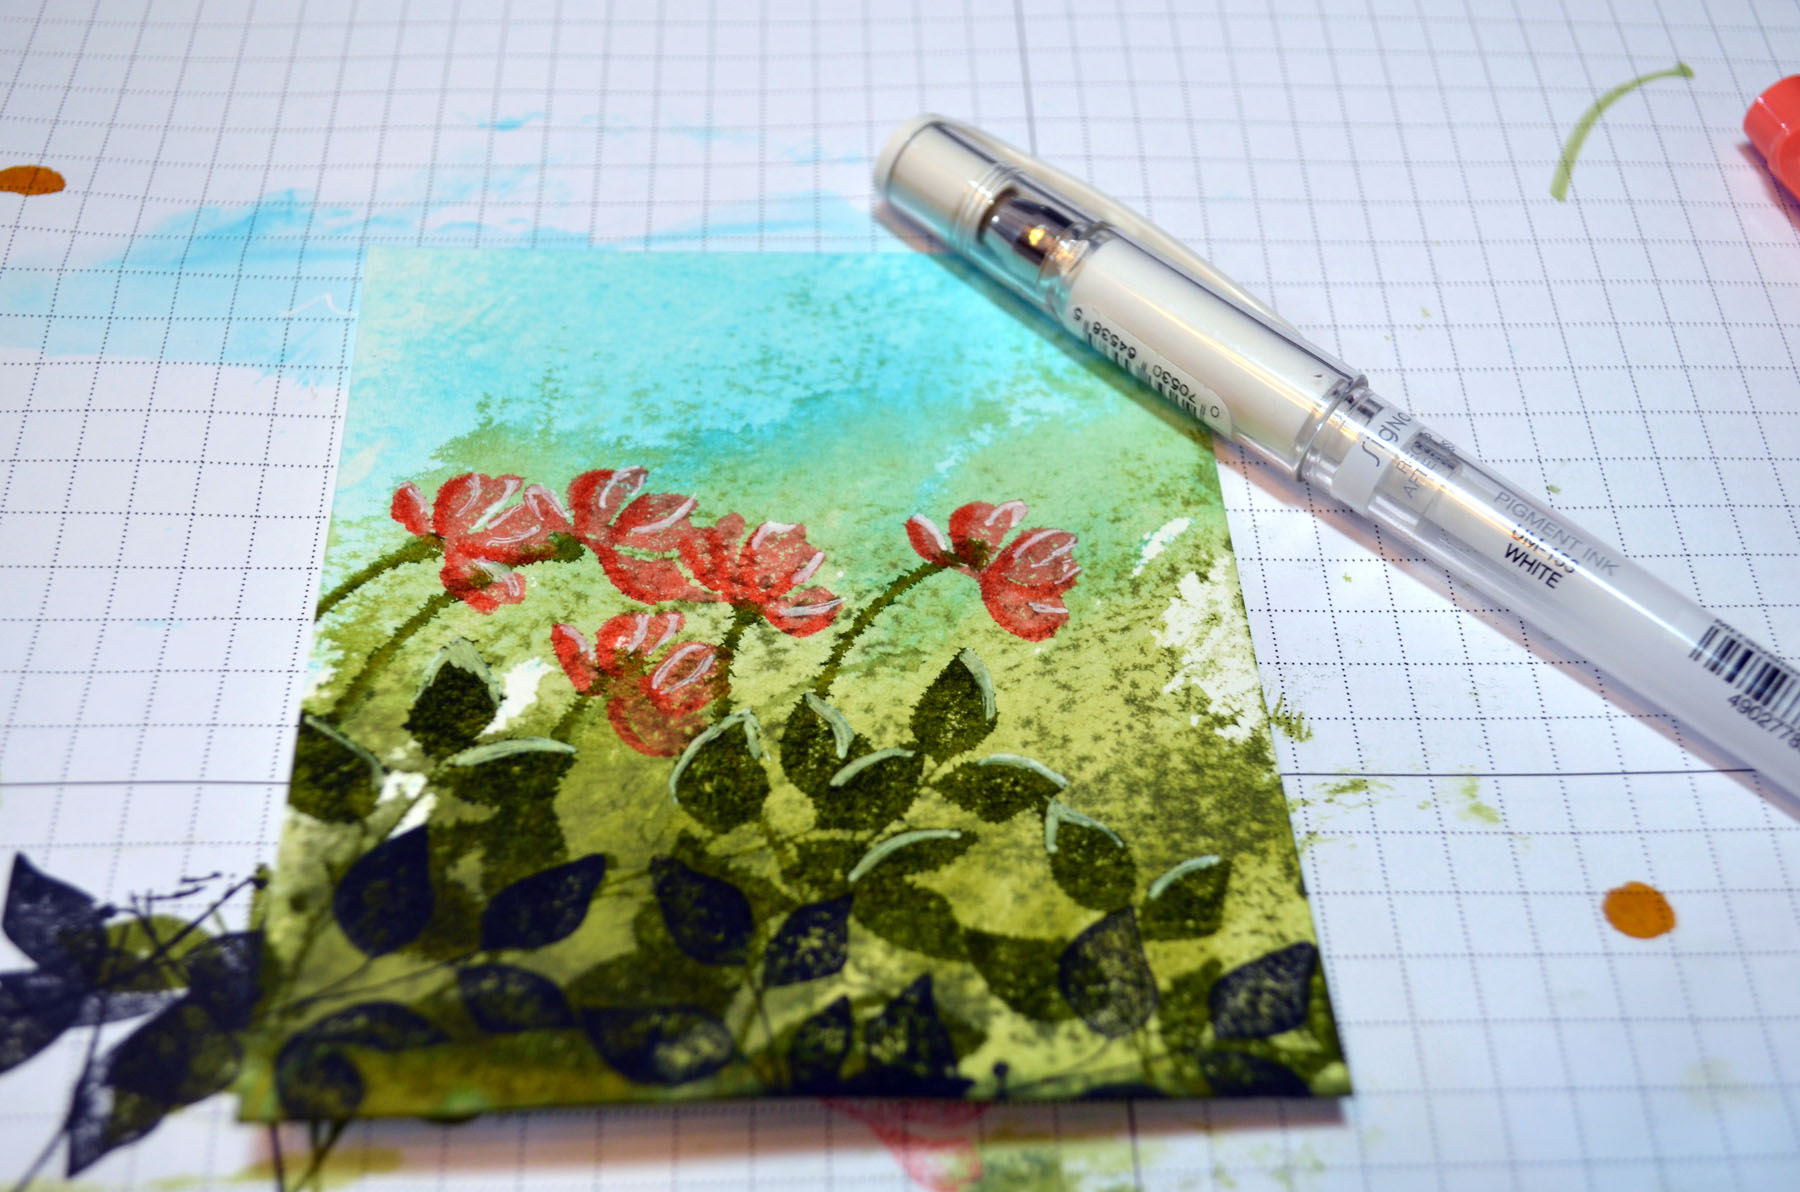
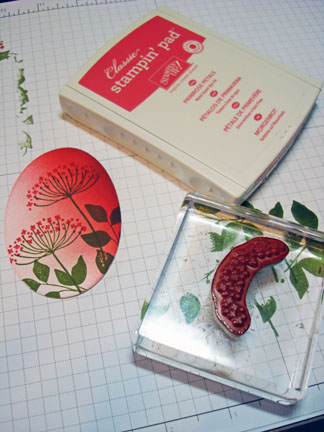
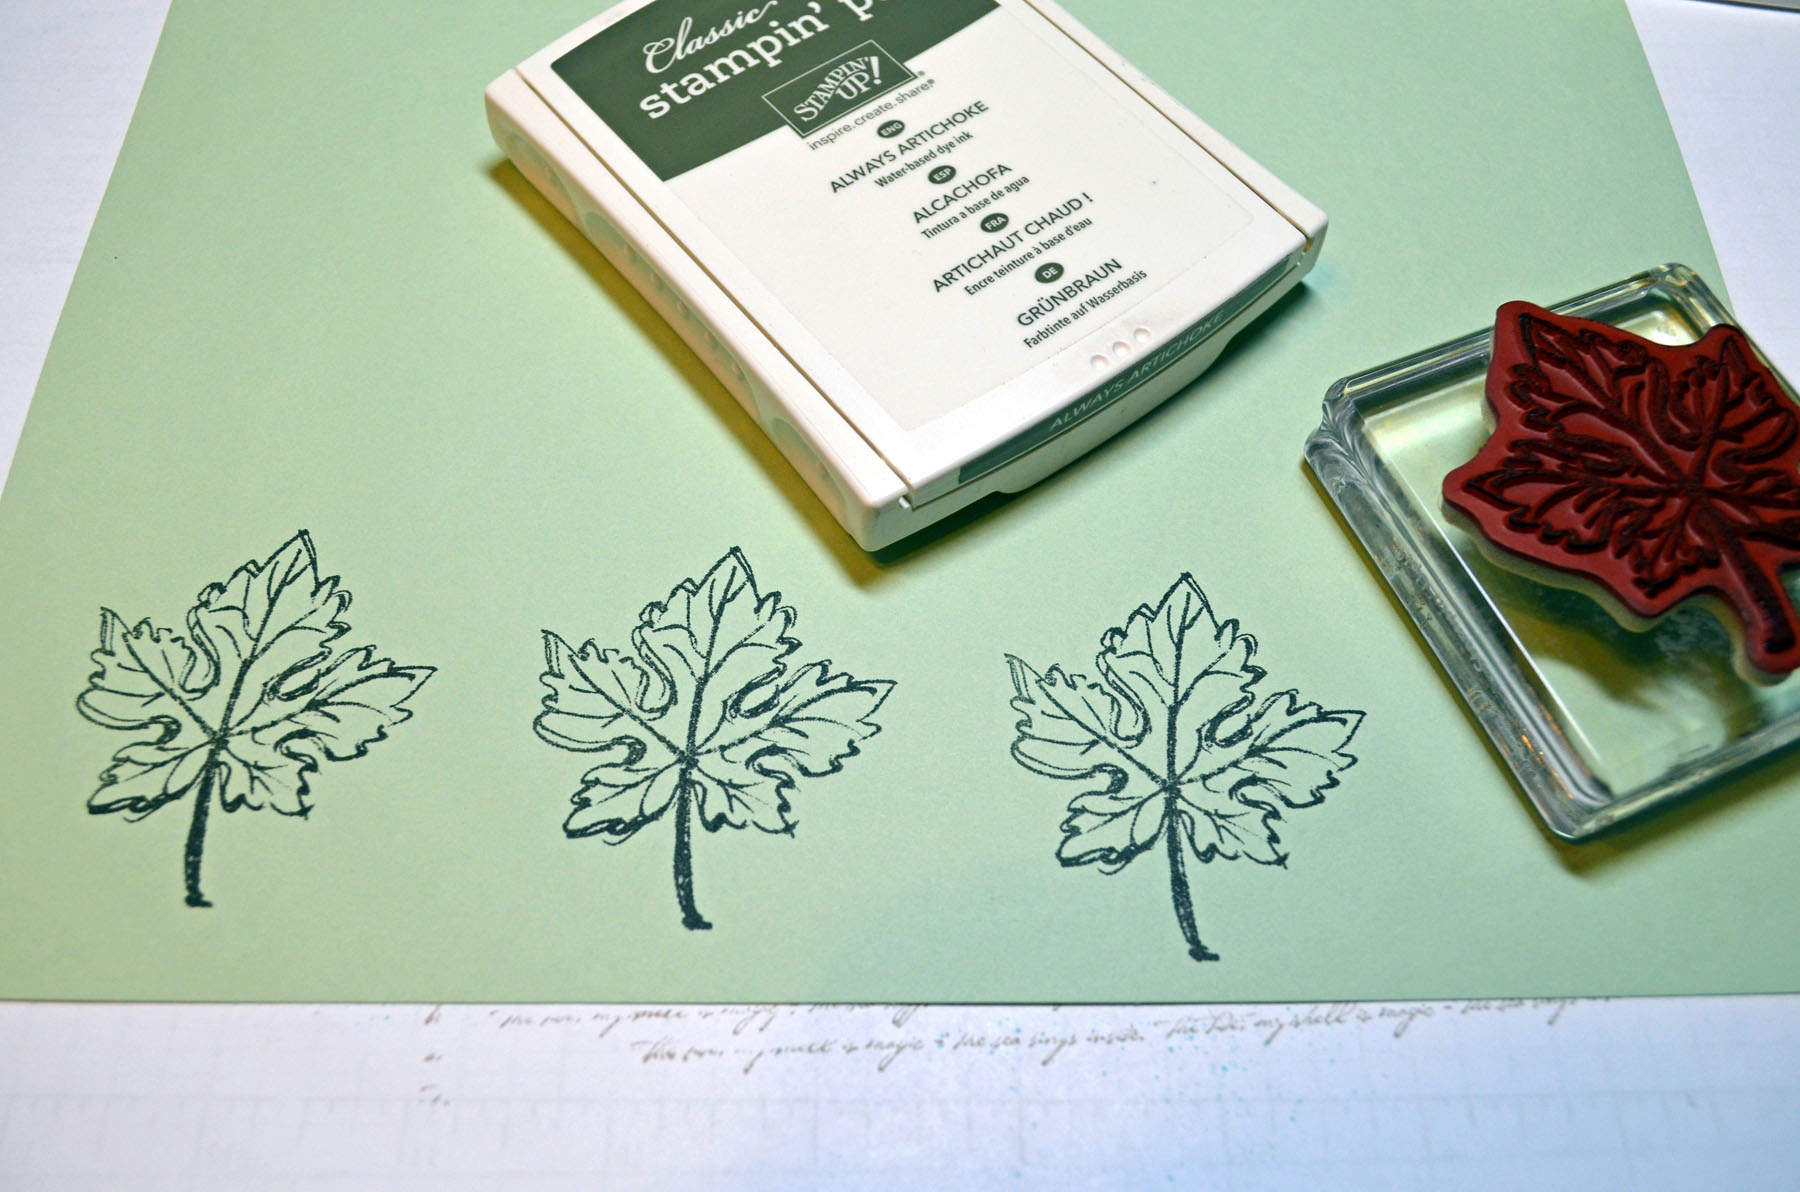
Stamped the grasses stamp from the Wetlands stamp set 3 times using Old Olive ink.
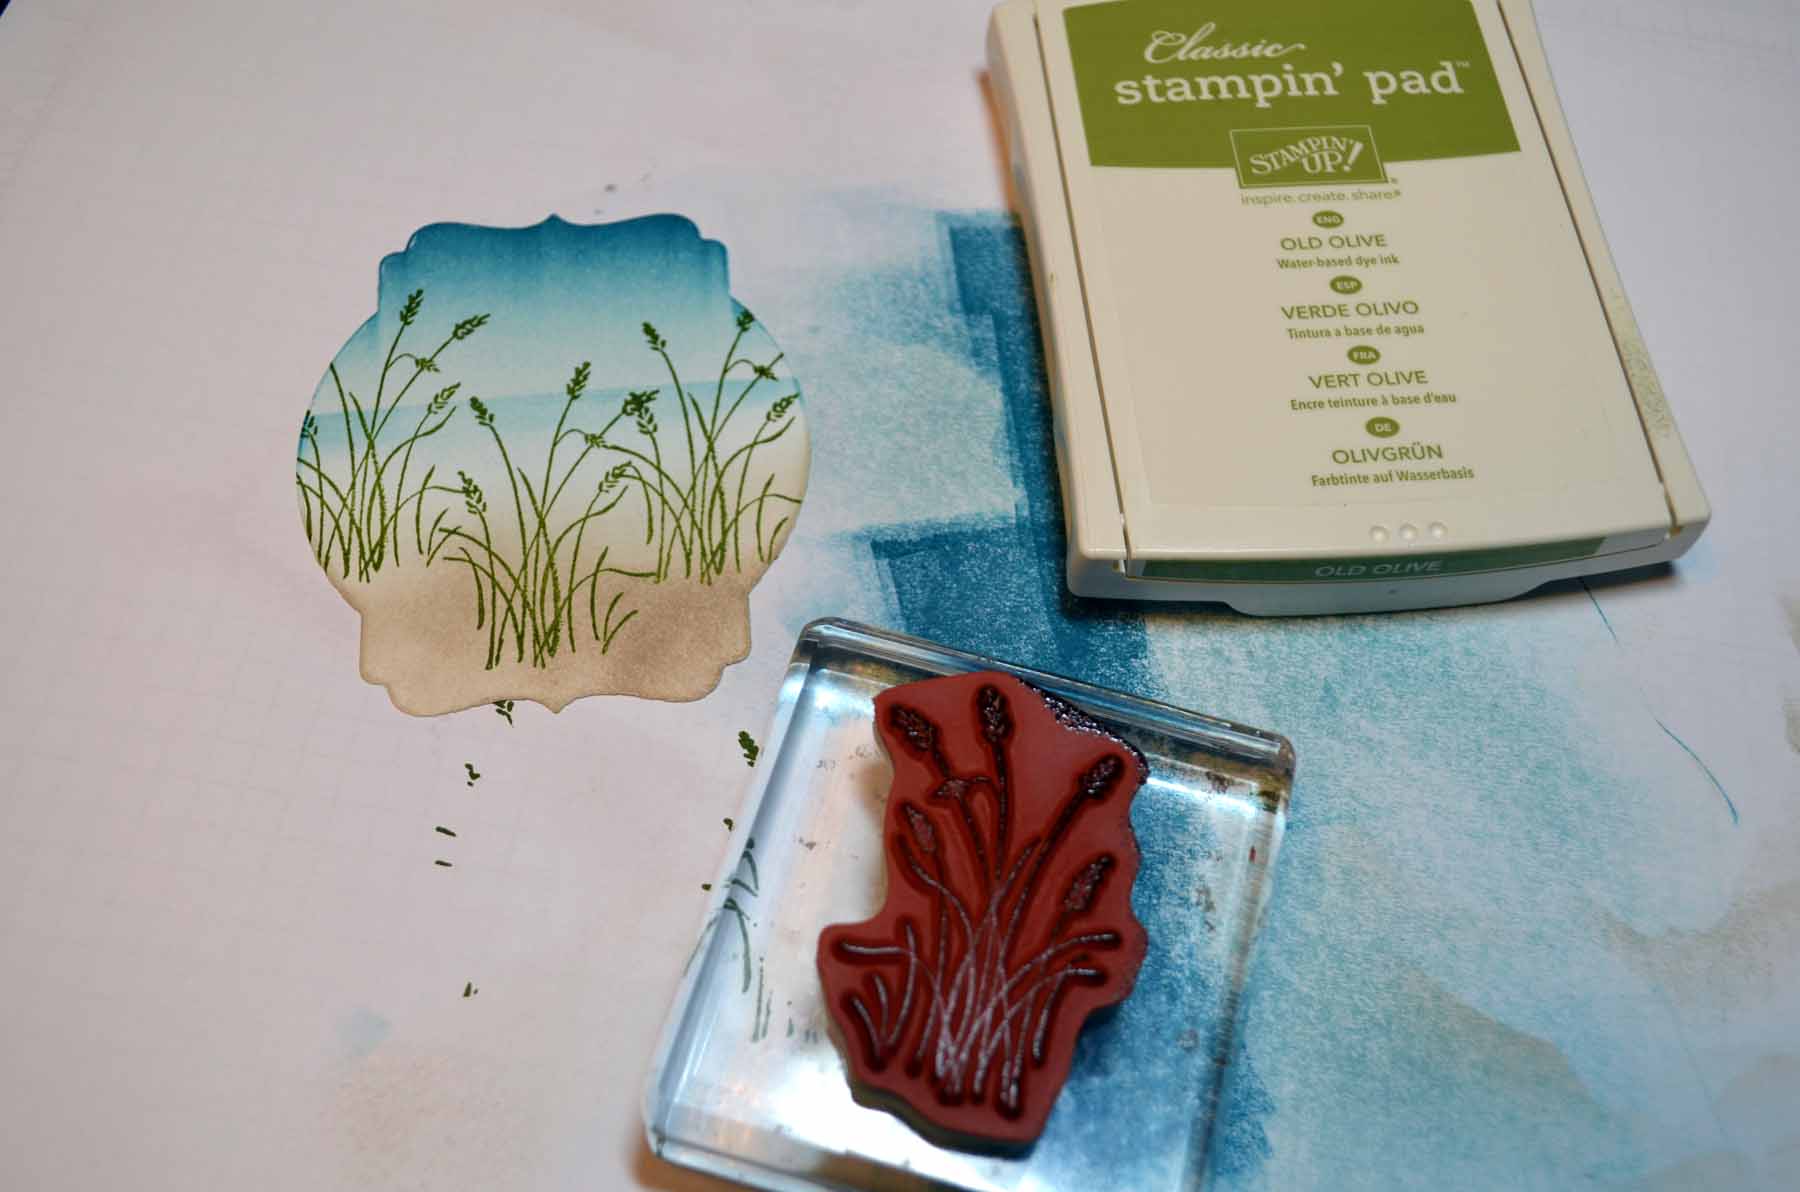
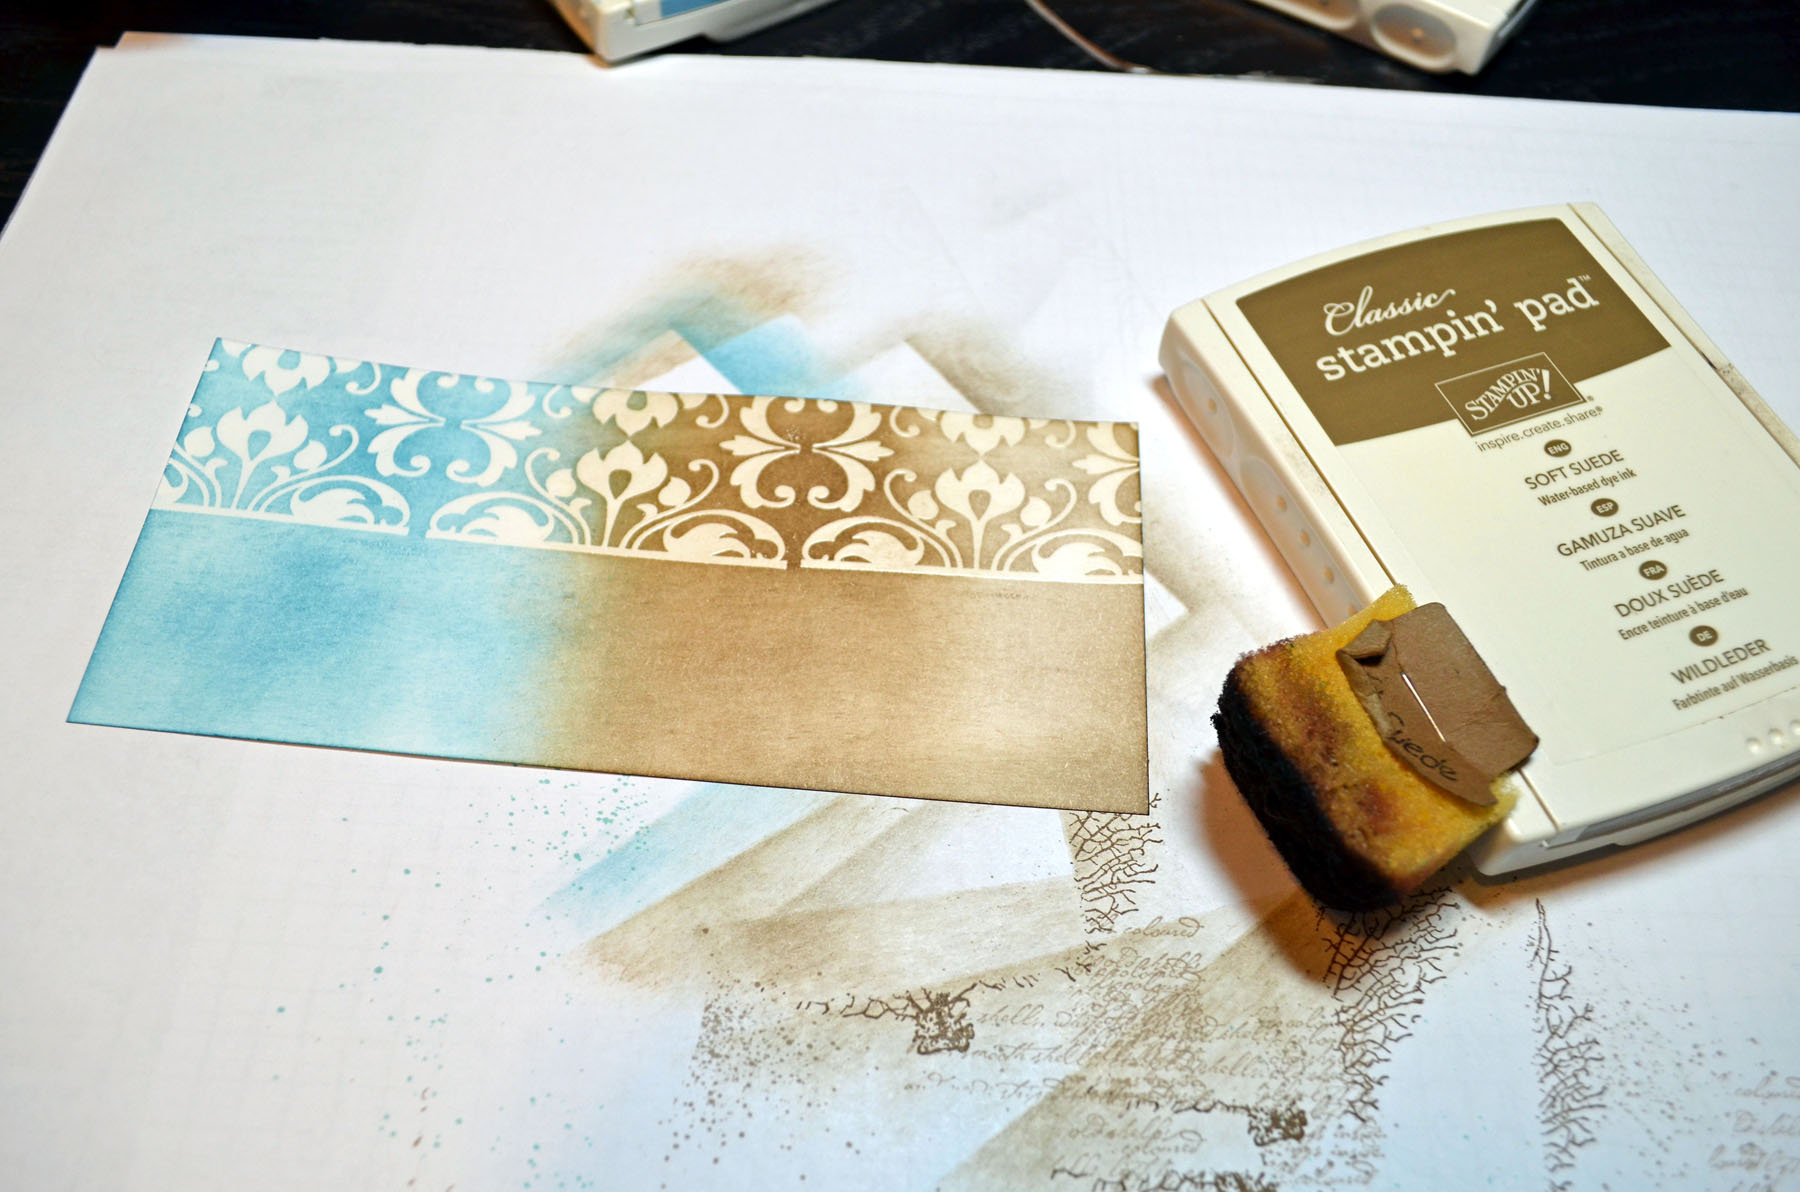
Sponged Soft Suede at the bottom of the card stock and then around the edges.
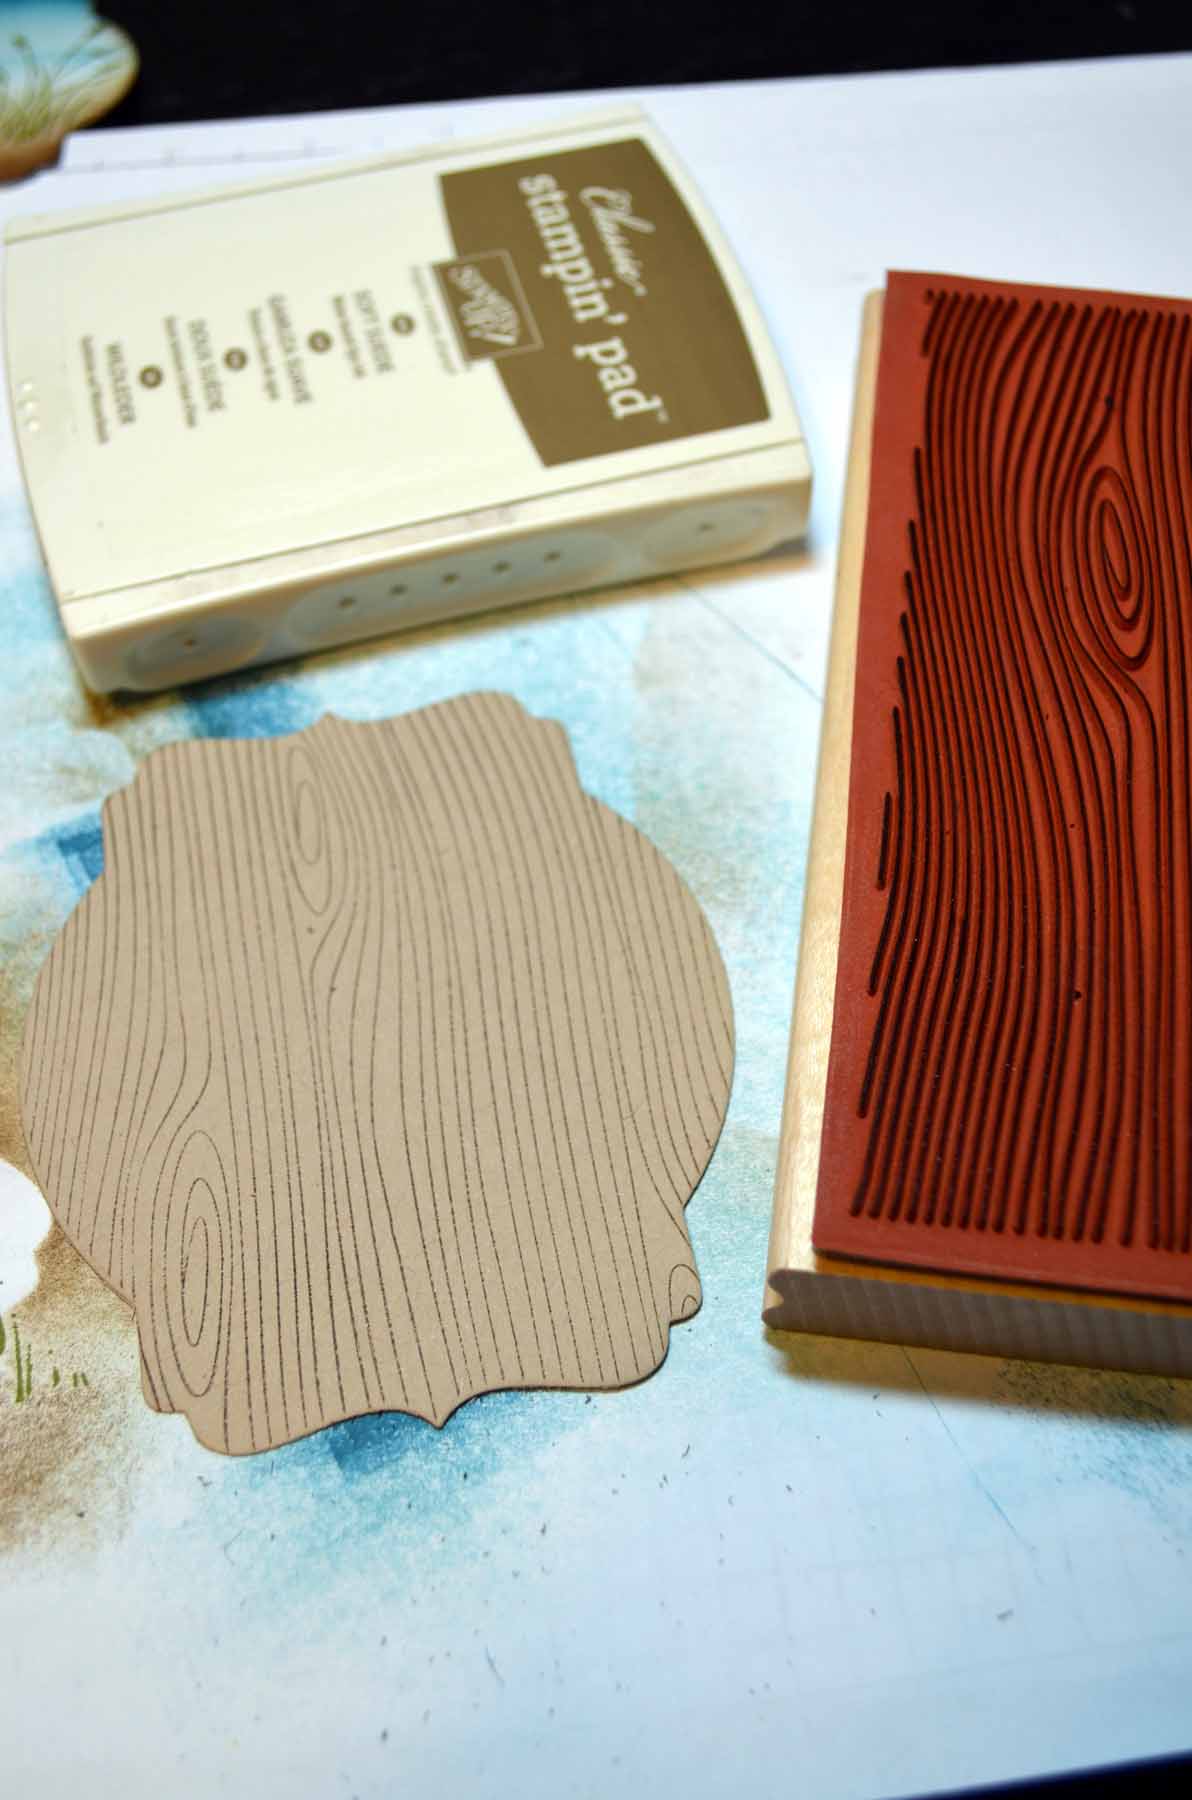
Used the largest Deco Labels Framelit, Big Shot Machine and Crumb Cake card stock and cut out my layer for the back of the main image panel.

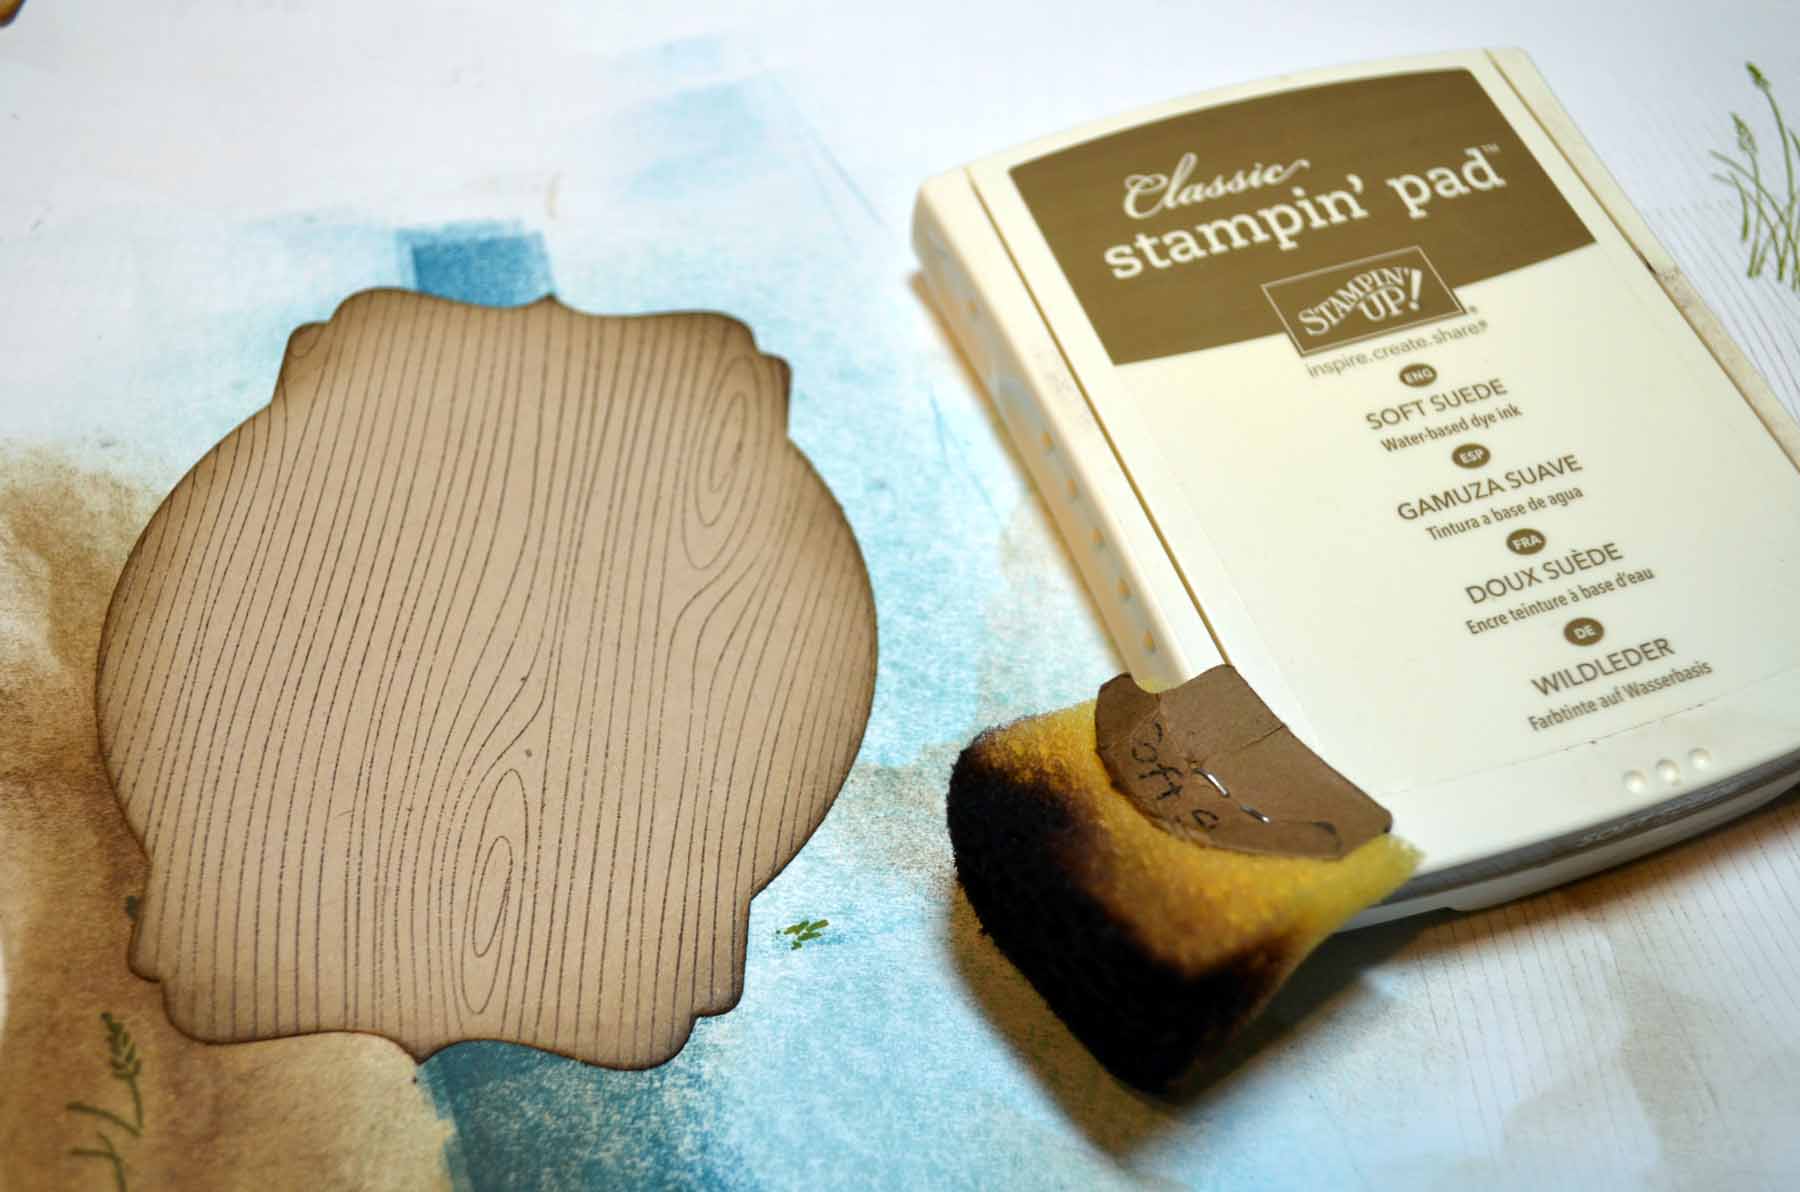
Stamped the Woodgrain stamp on the Crumb Cake panel using Soft Suede ink.
Sponged Soft Suede ink on the edges of the card stock.
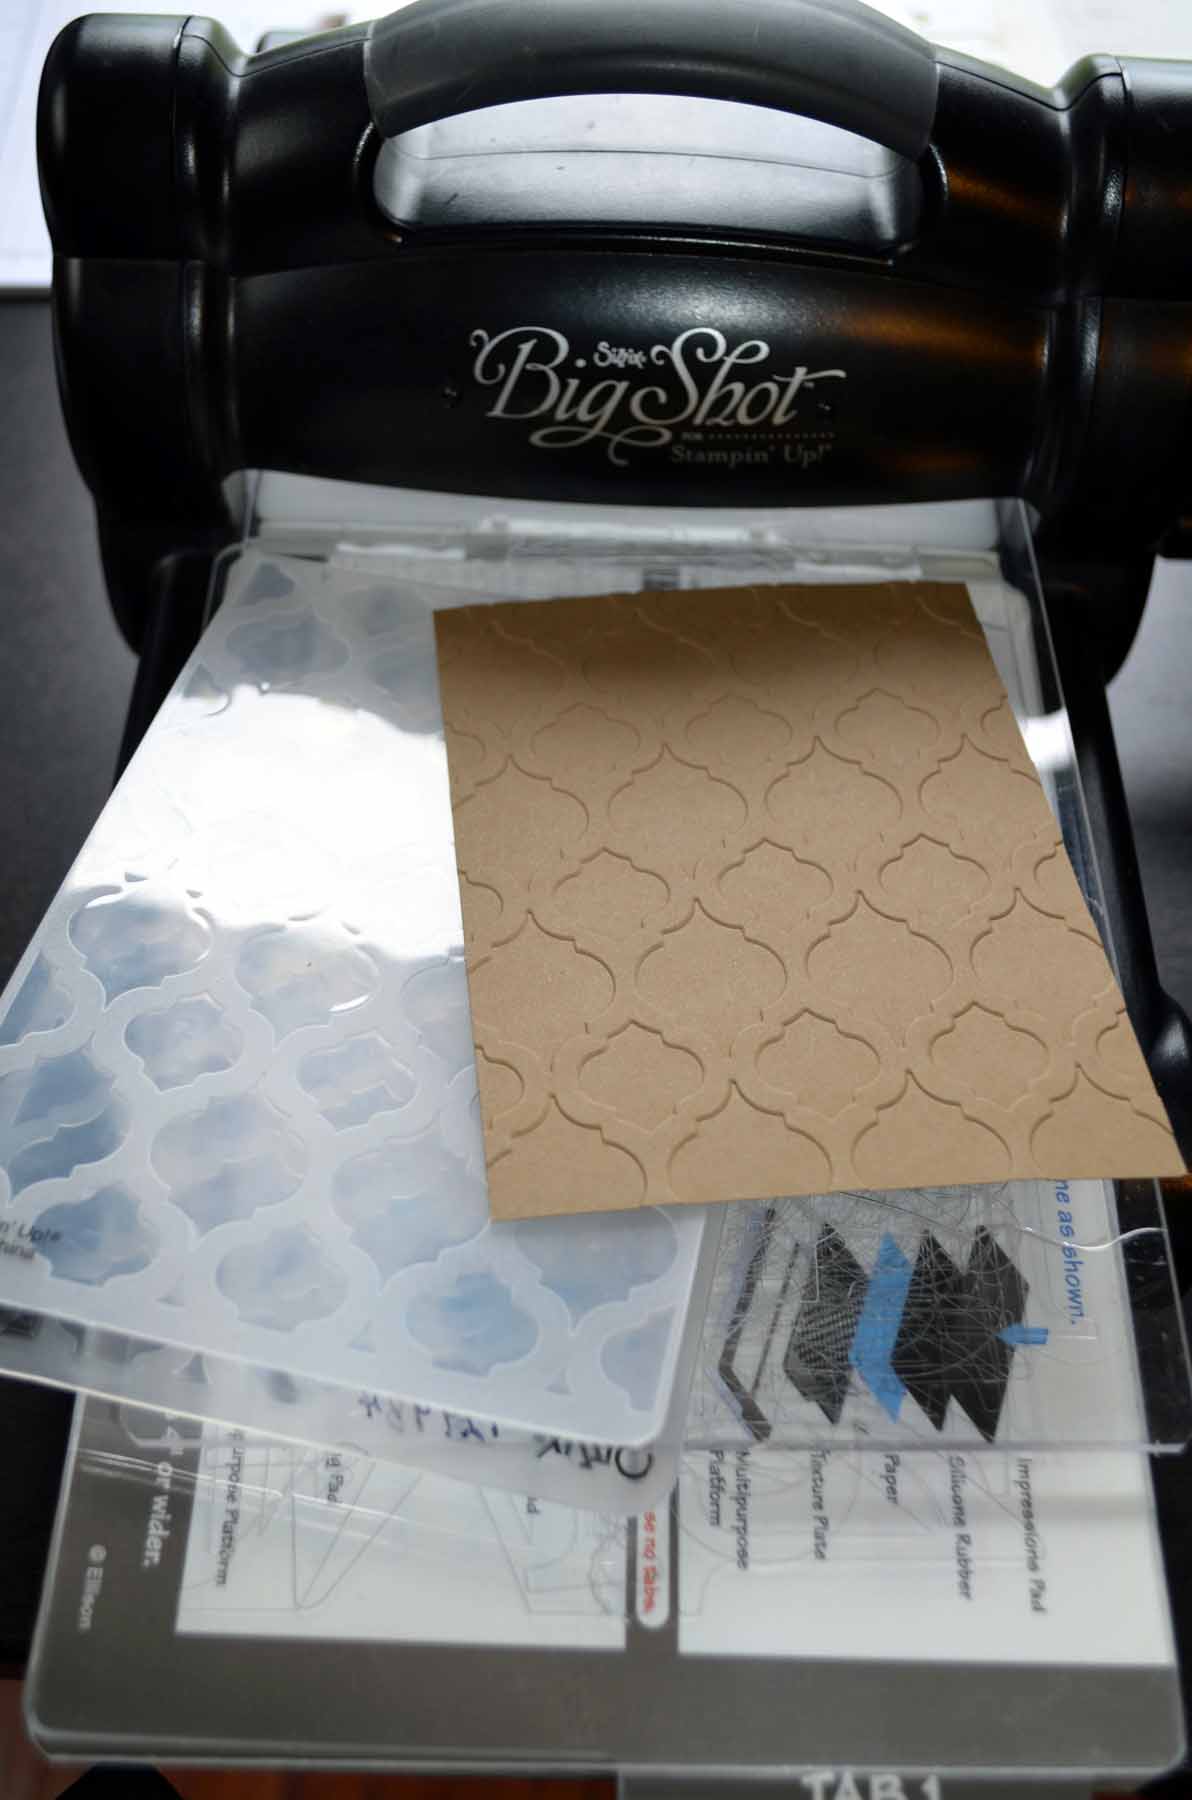
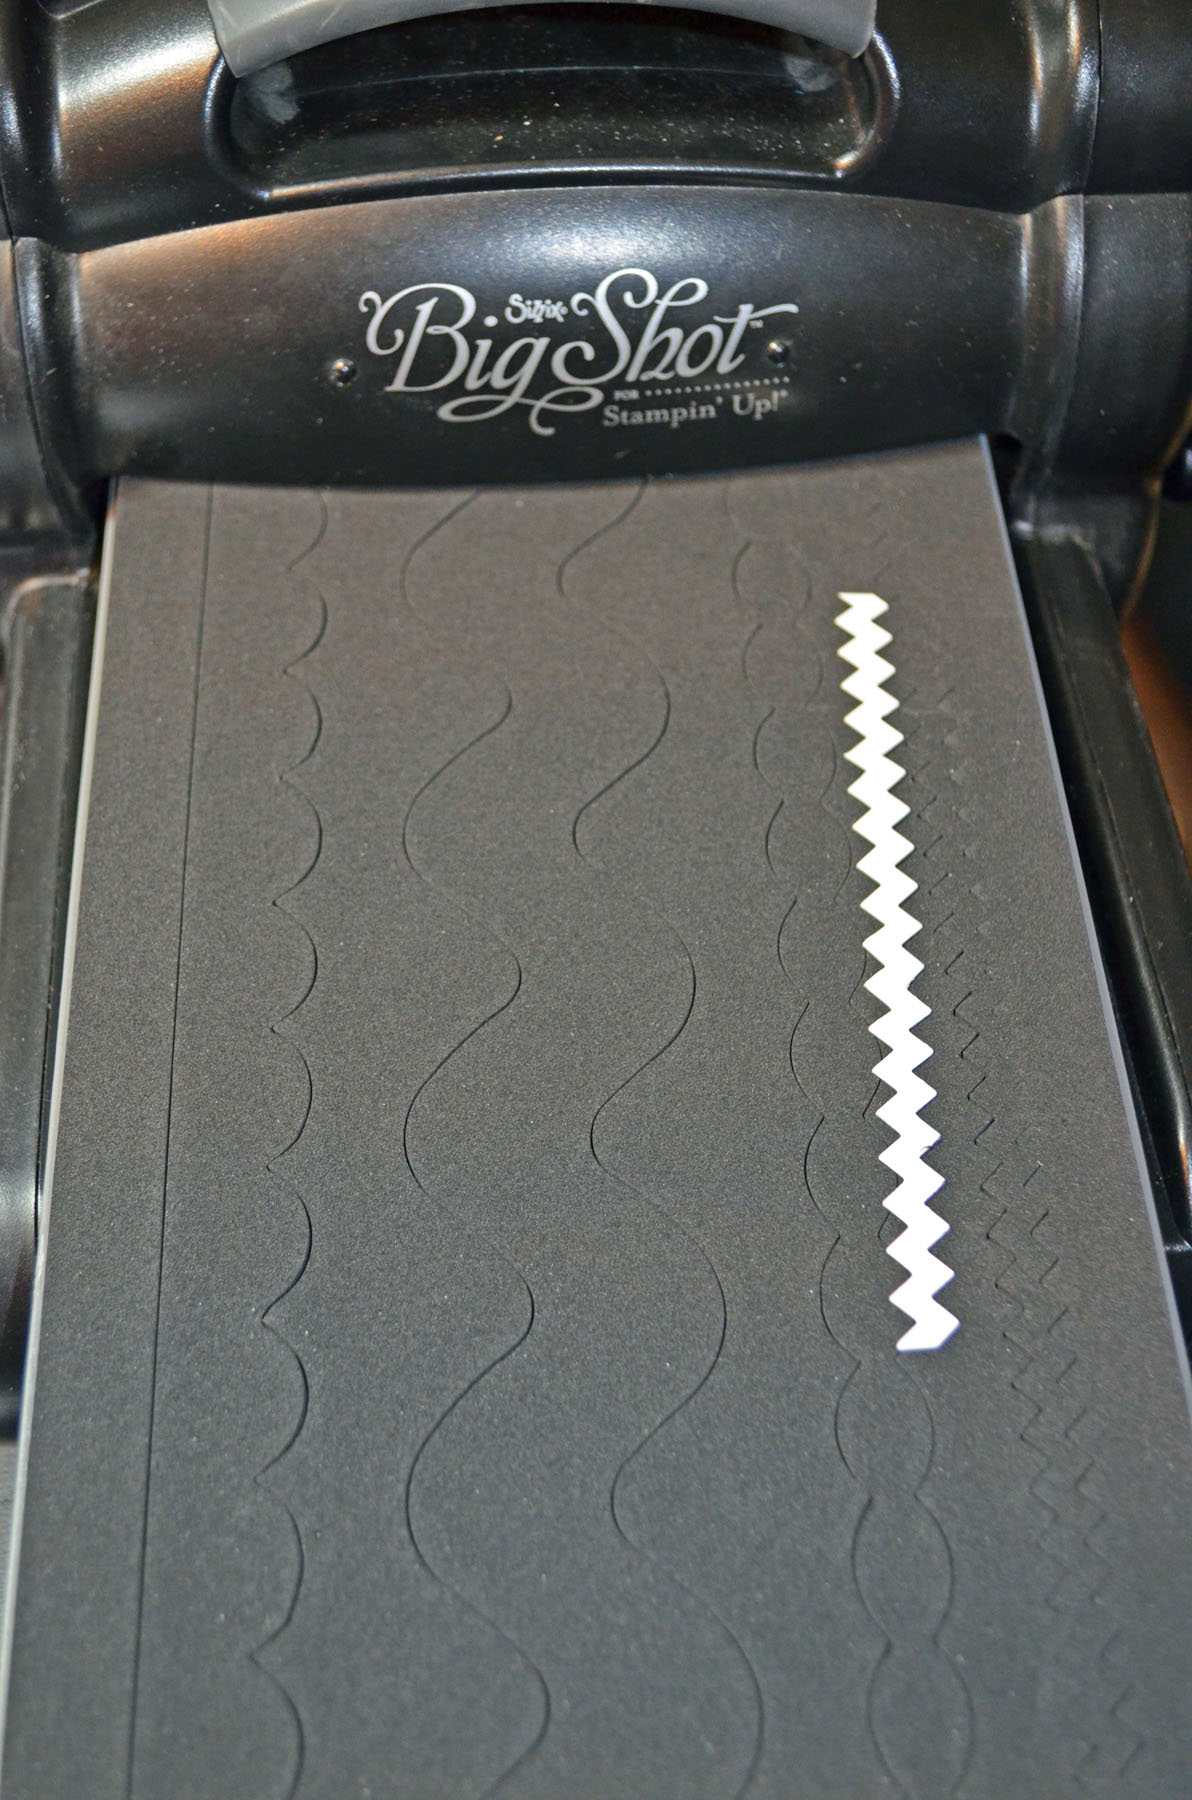
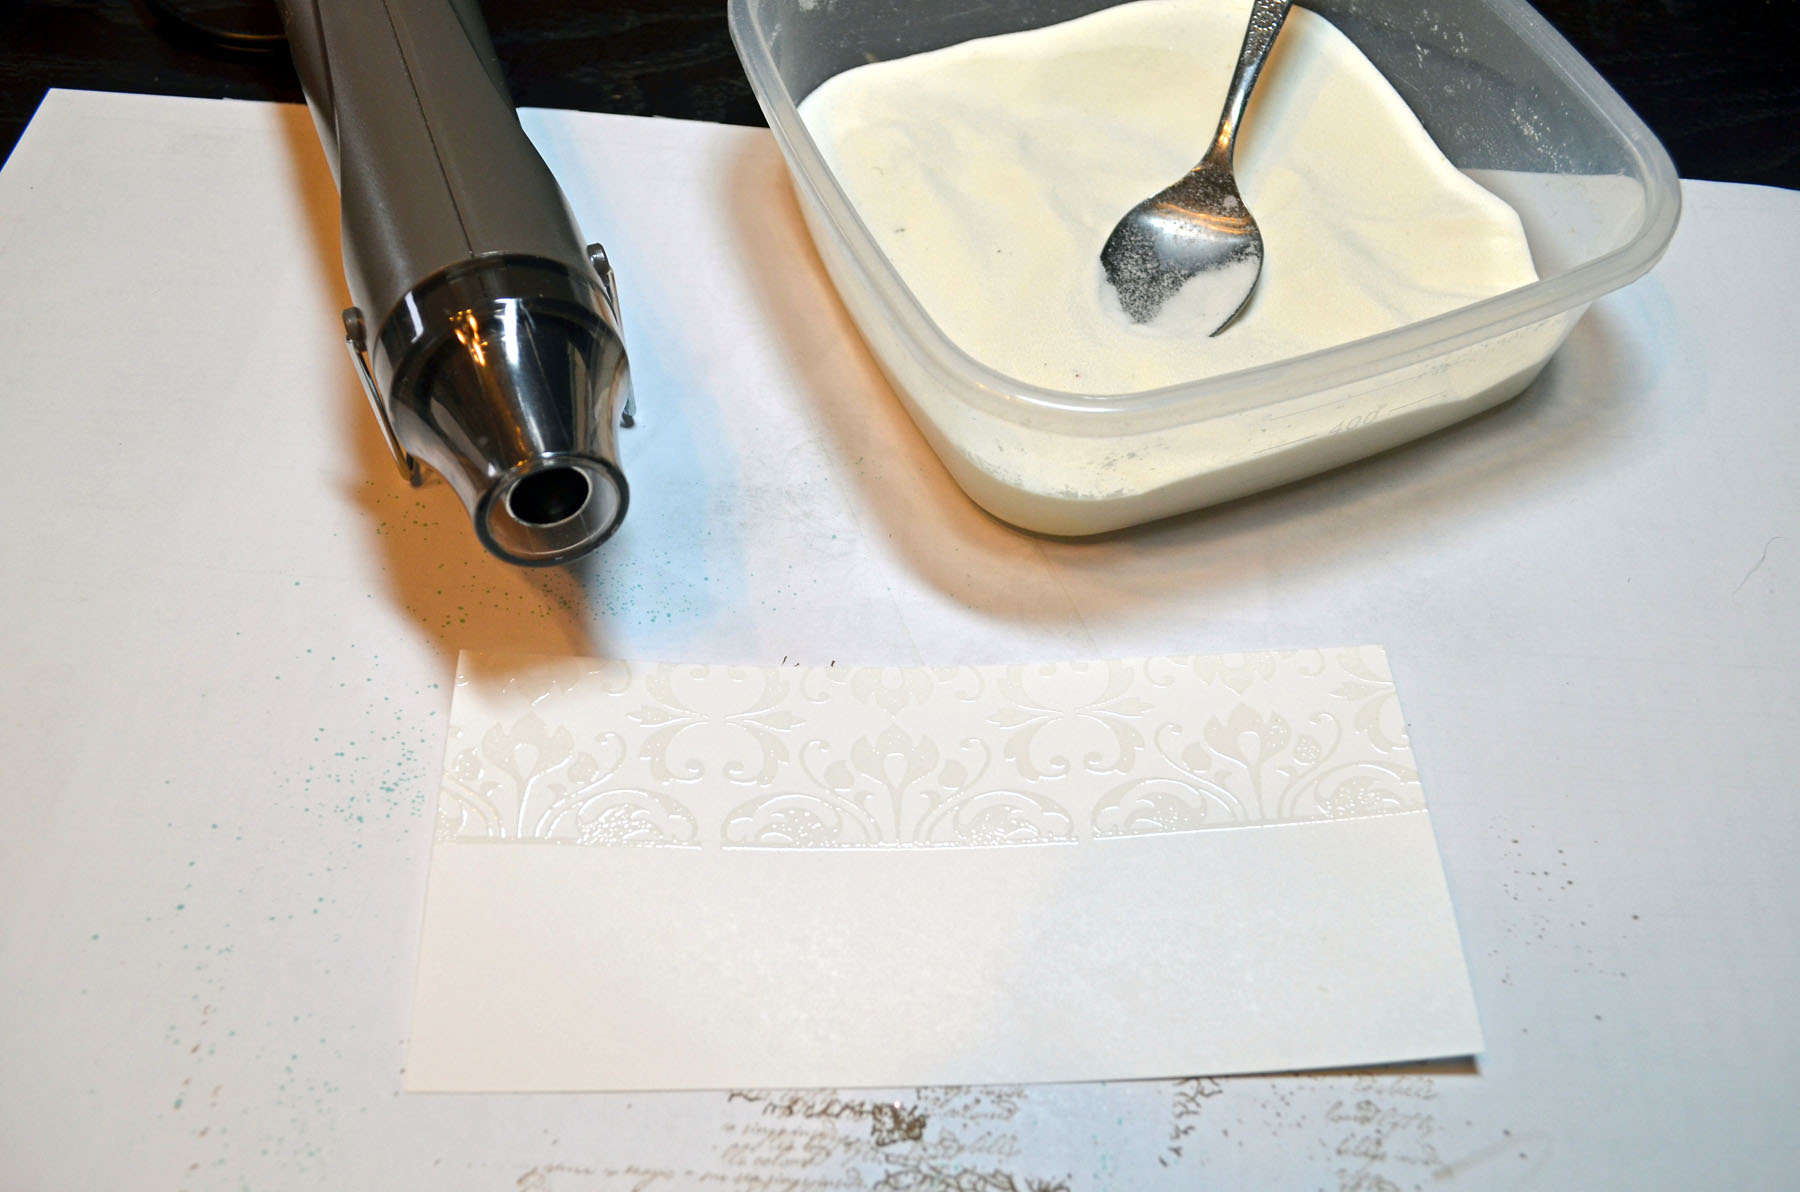
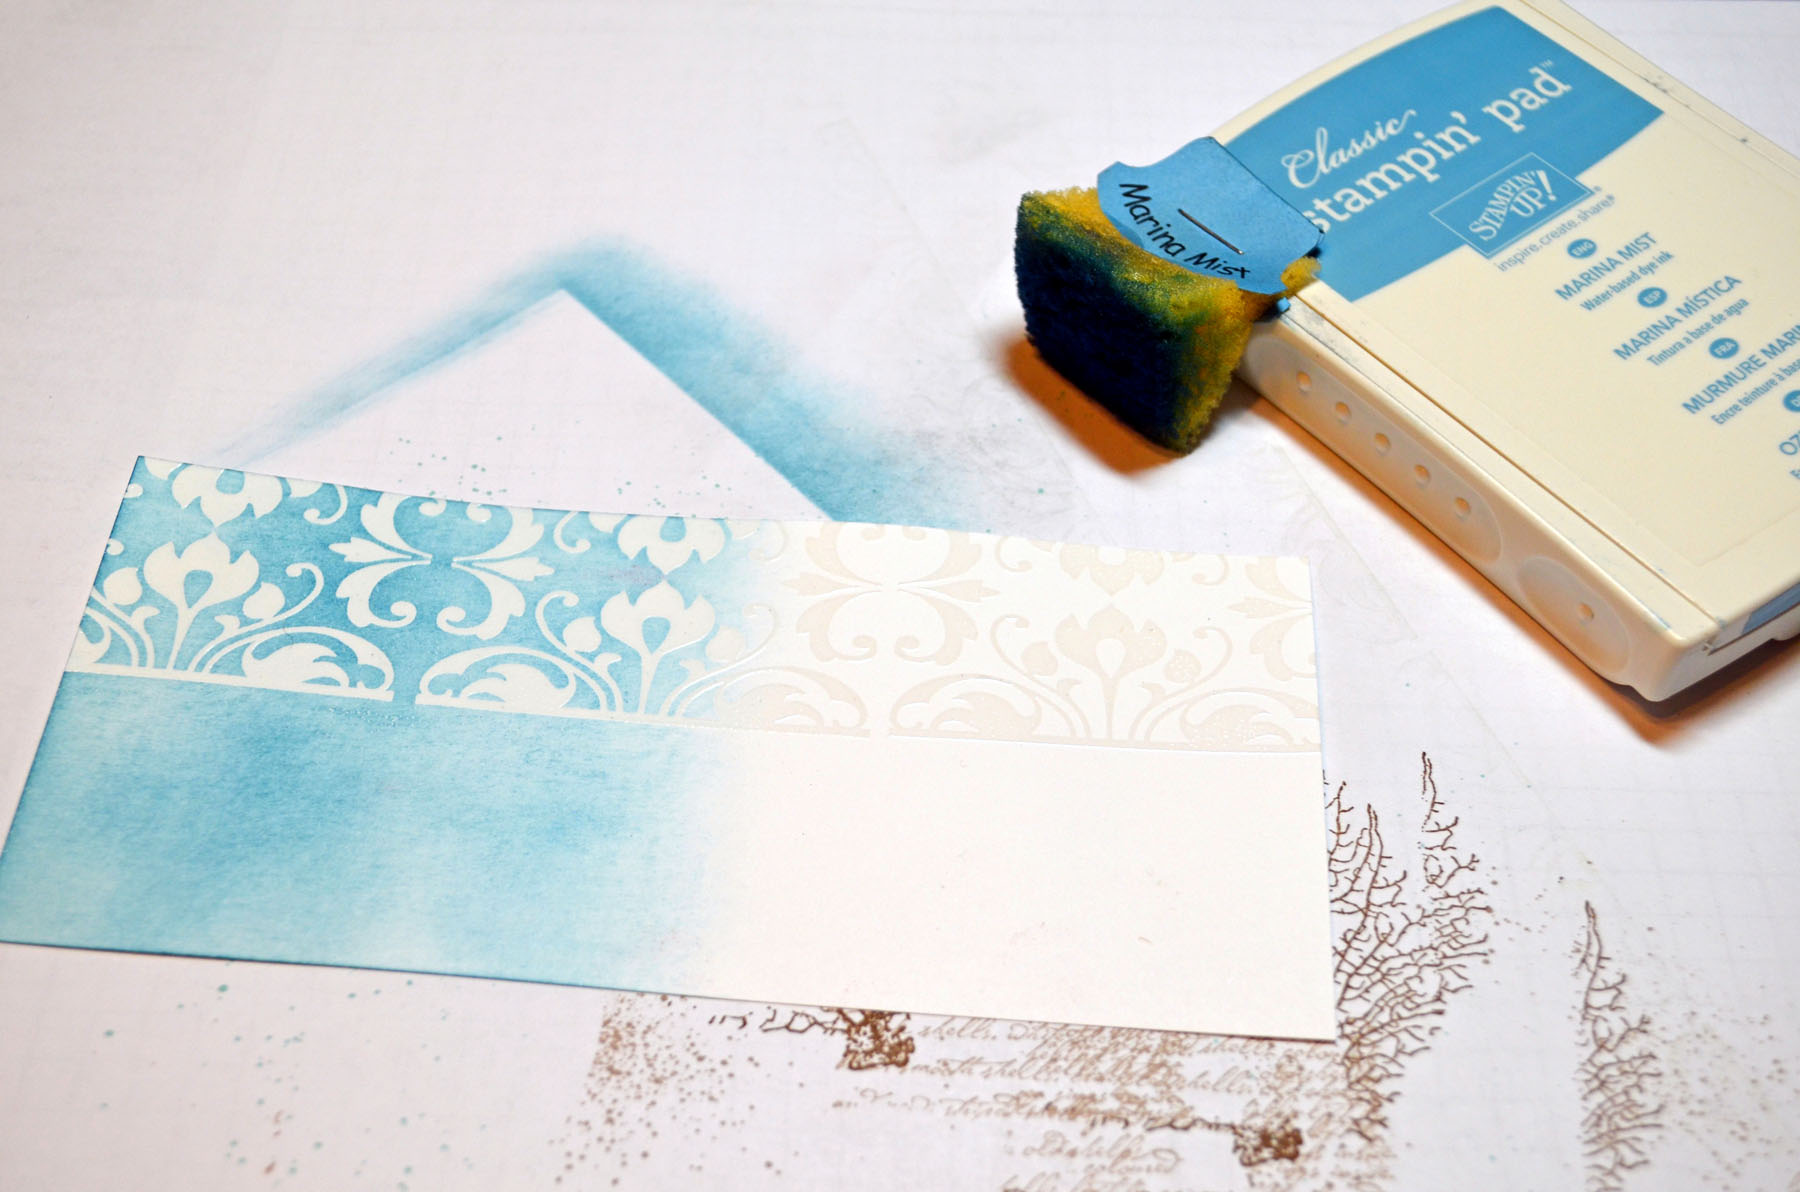
Cut a 4″ x 5.25″ piece of Crumb Cake card stock and embossed it using the new Modern Mosaic Embossing Folder and Big Shot Machine.
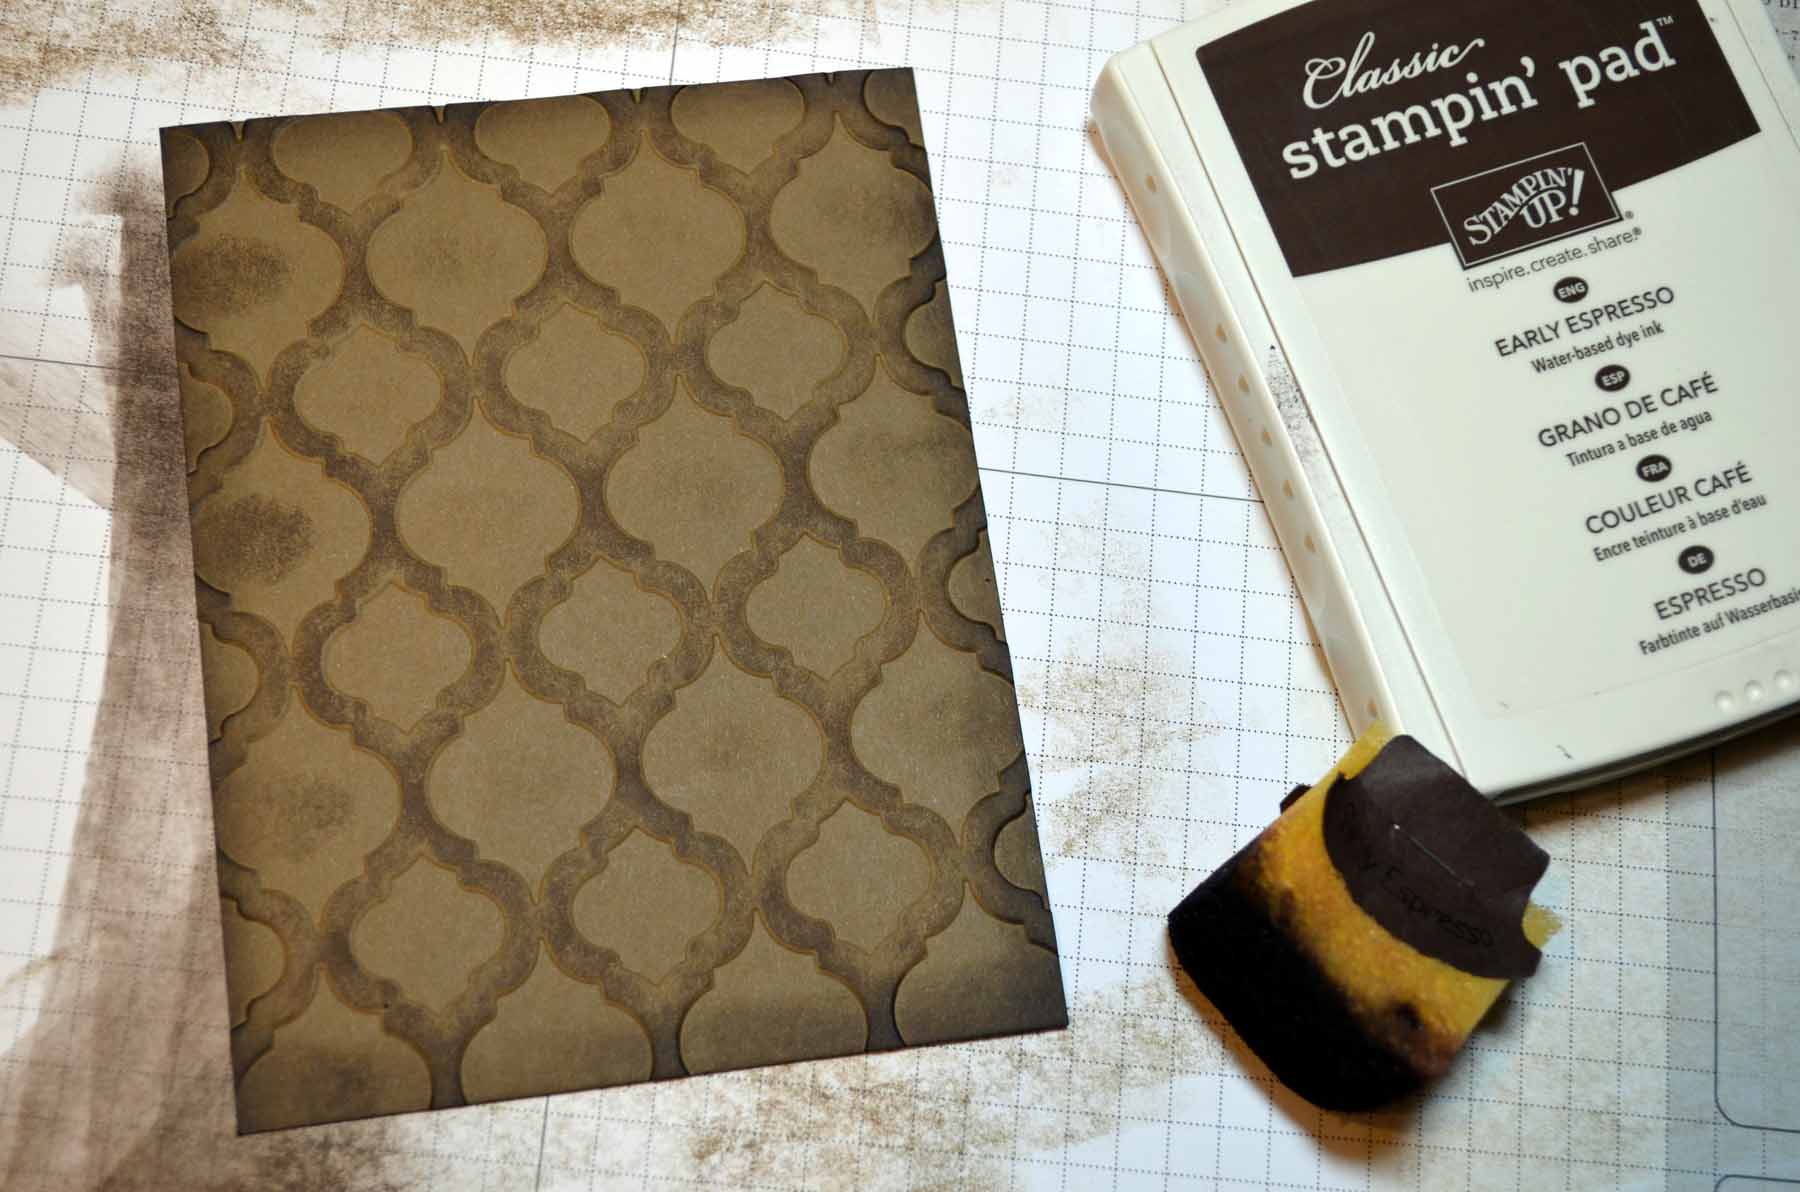
Lightly brayered Soft Suede ink over the embossed image to bring out more and to grunge up the card stock a bit.
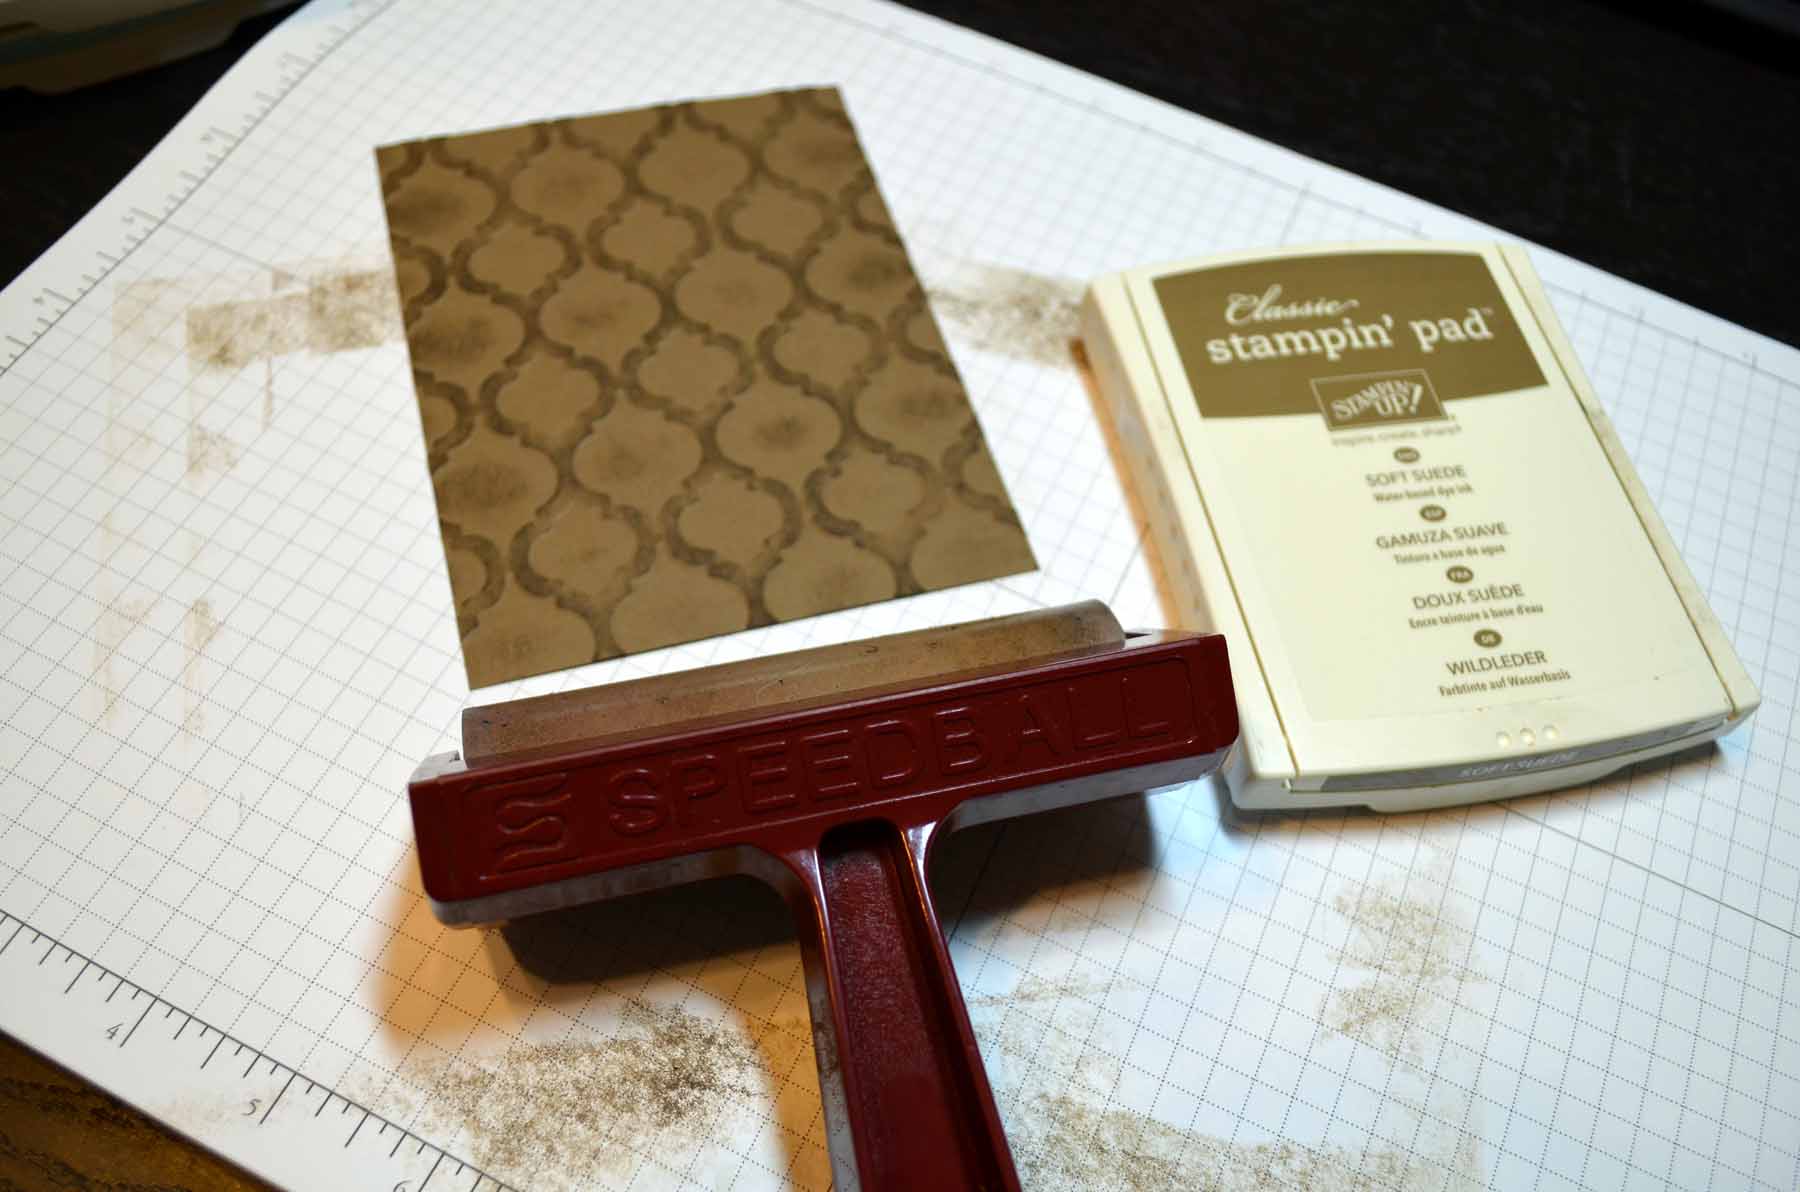
Sponged Early Espresso ink around the edges.
Added a 4.25″ x 5.5″ Early Espesso panel, Whisper White card base and Soft Suede Candy Dots.
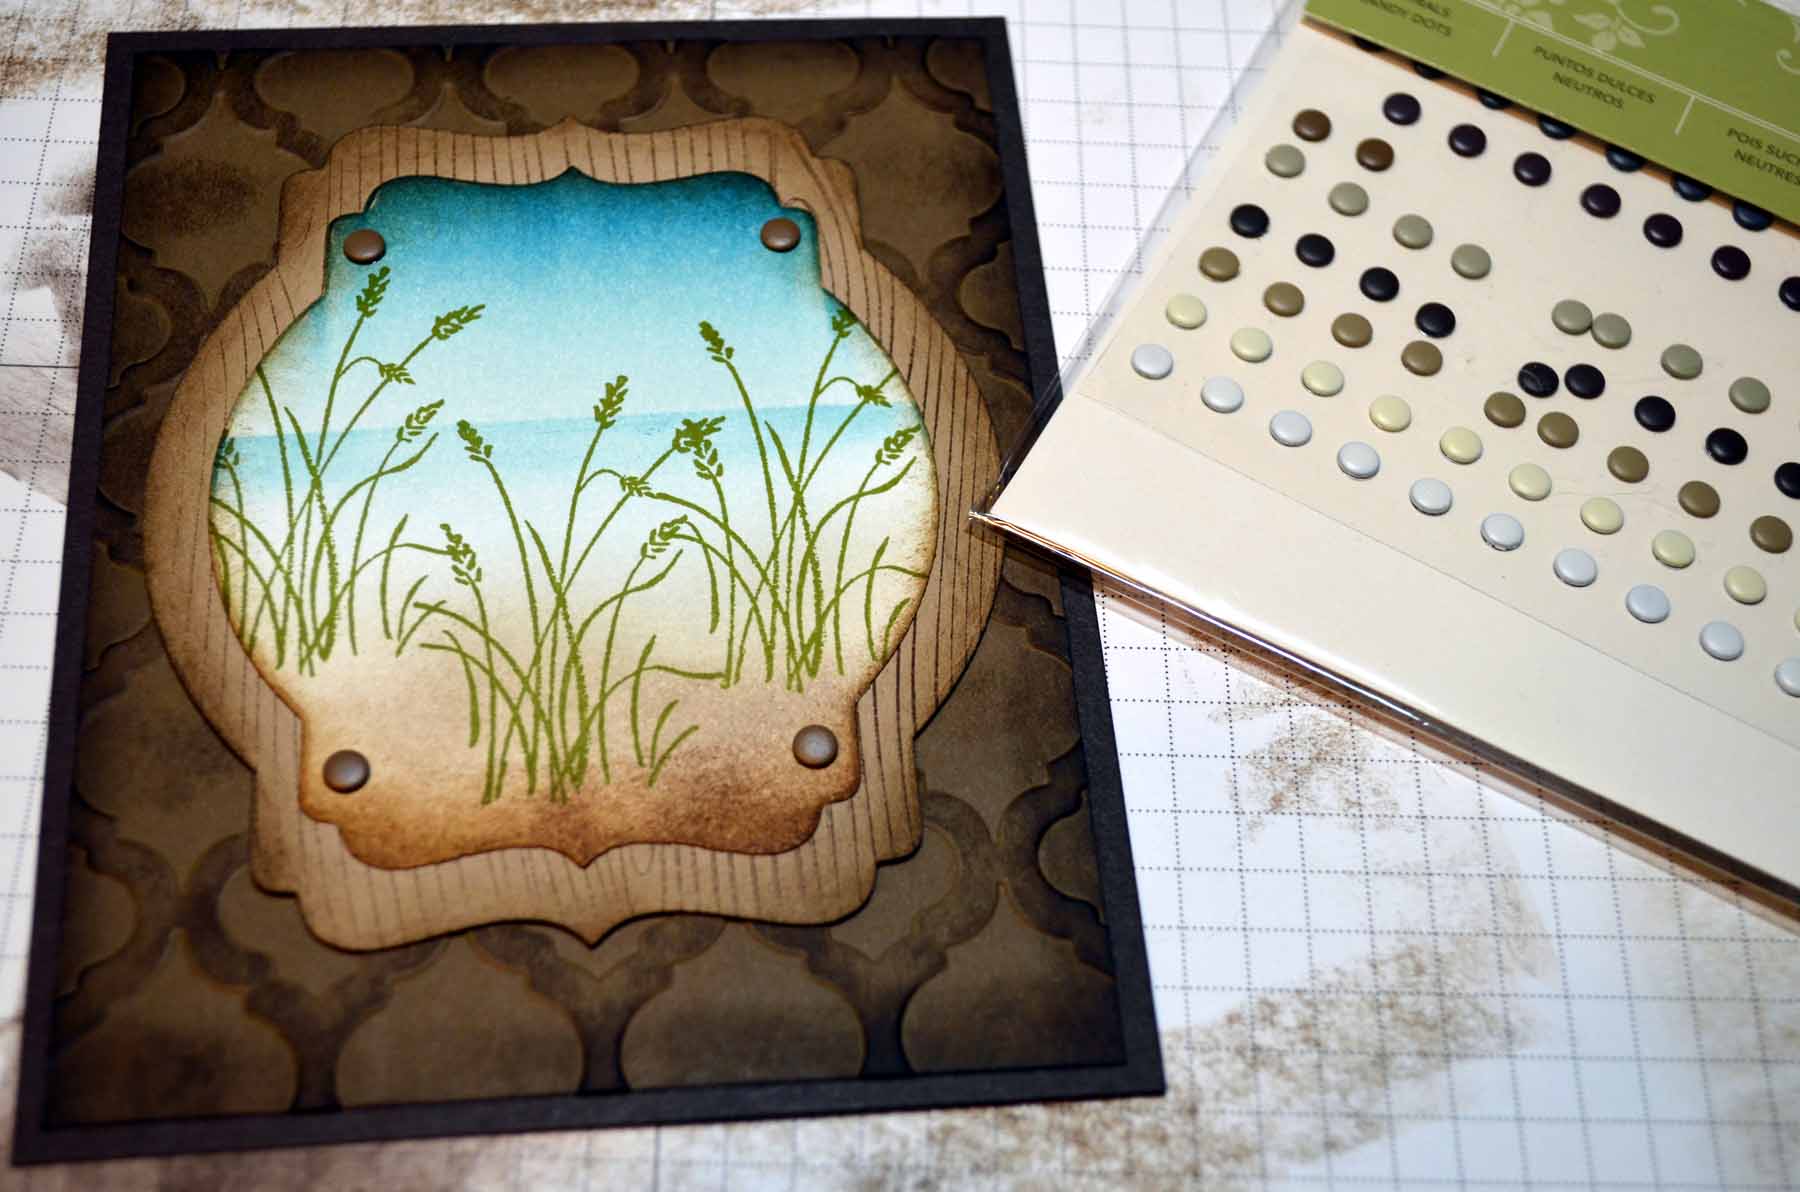
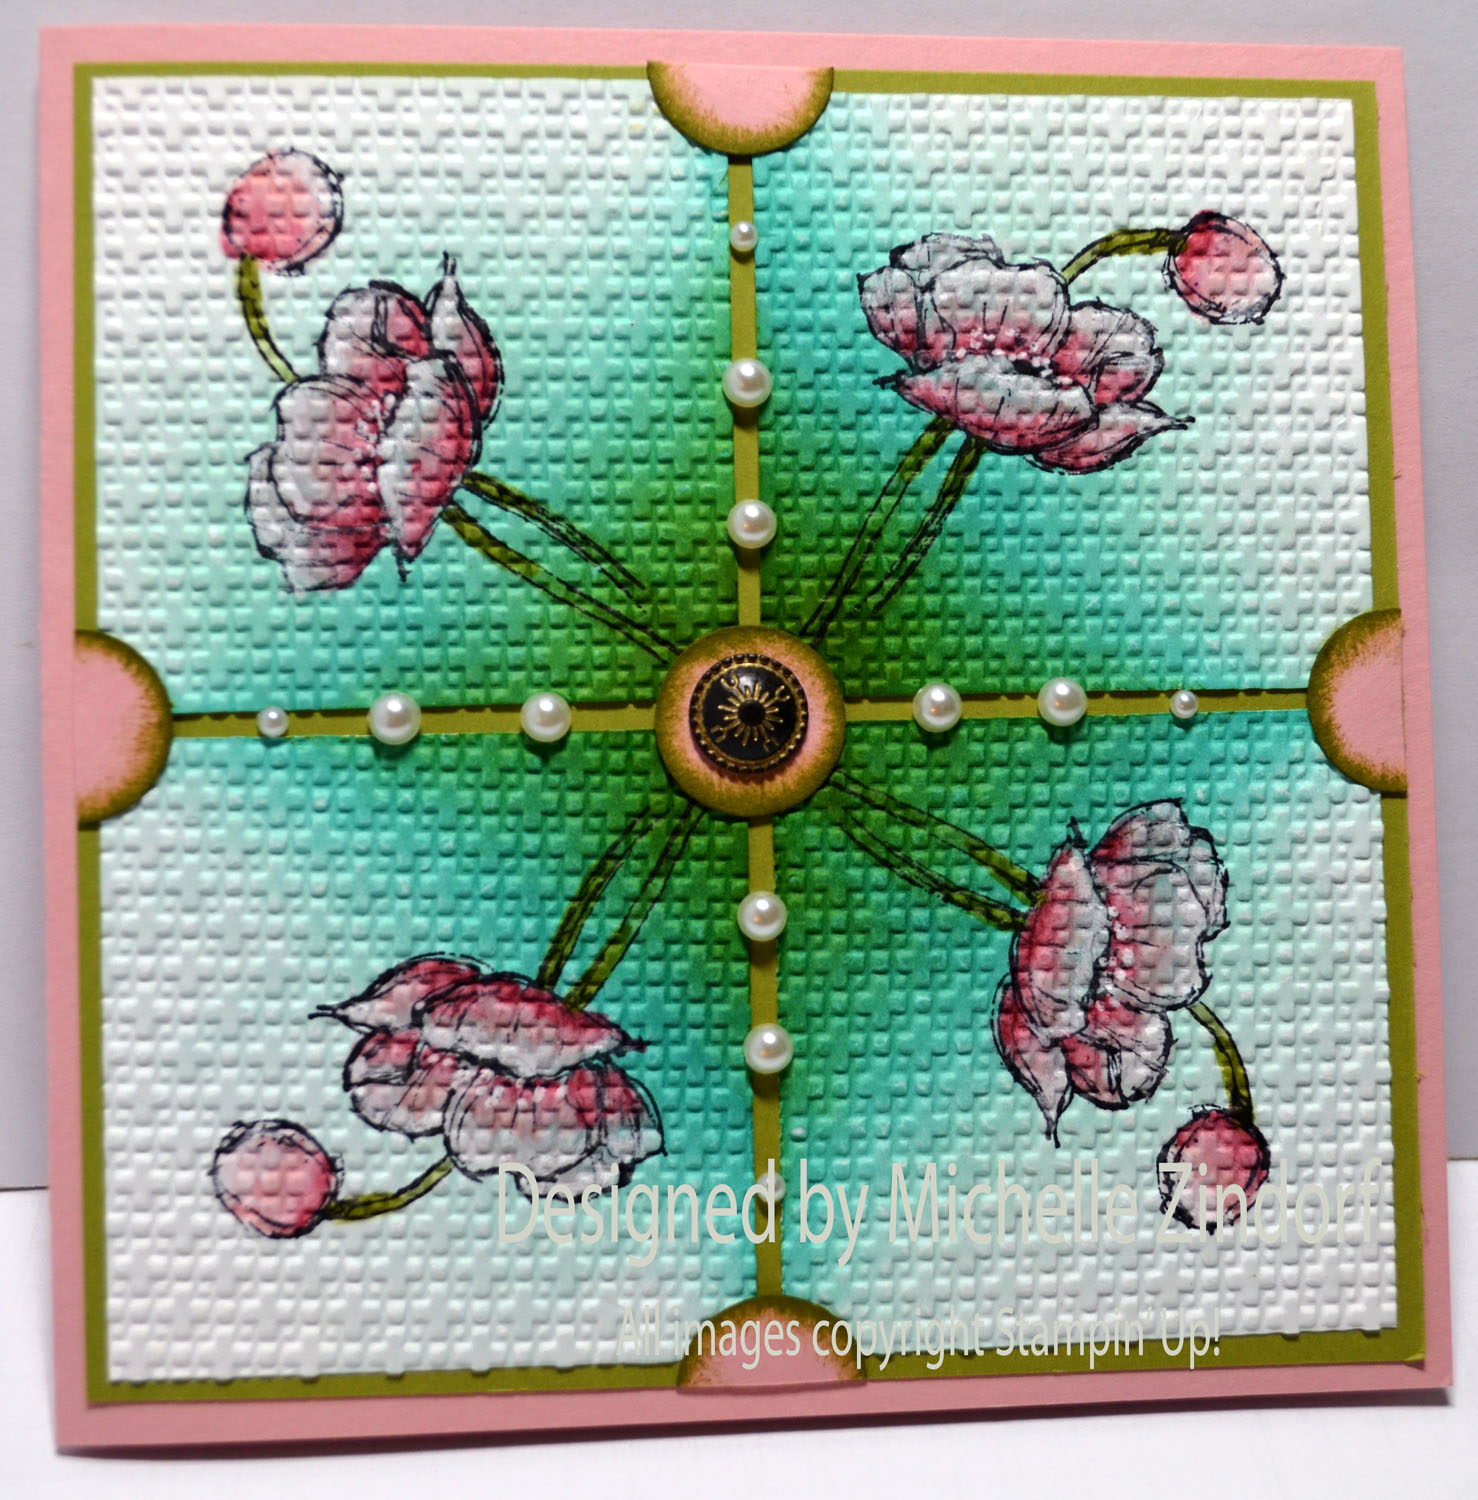
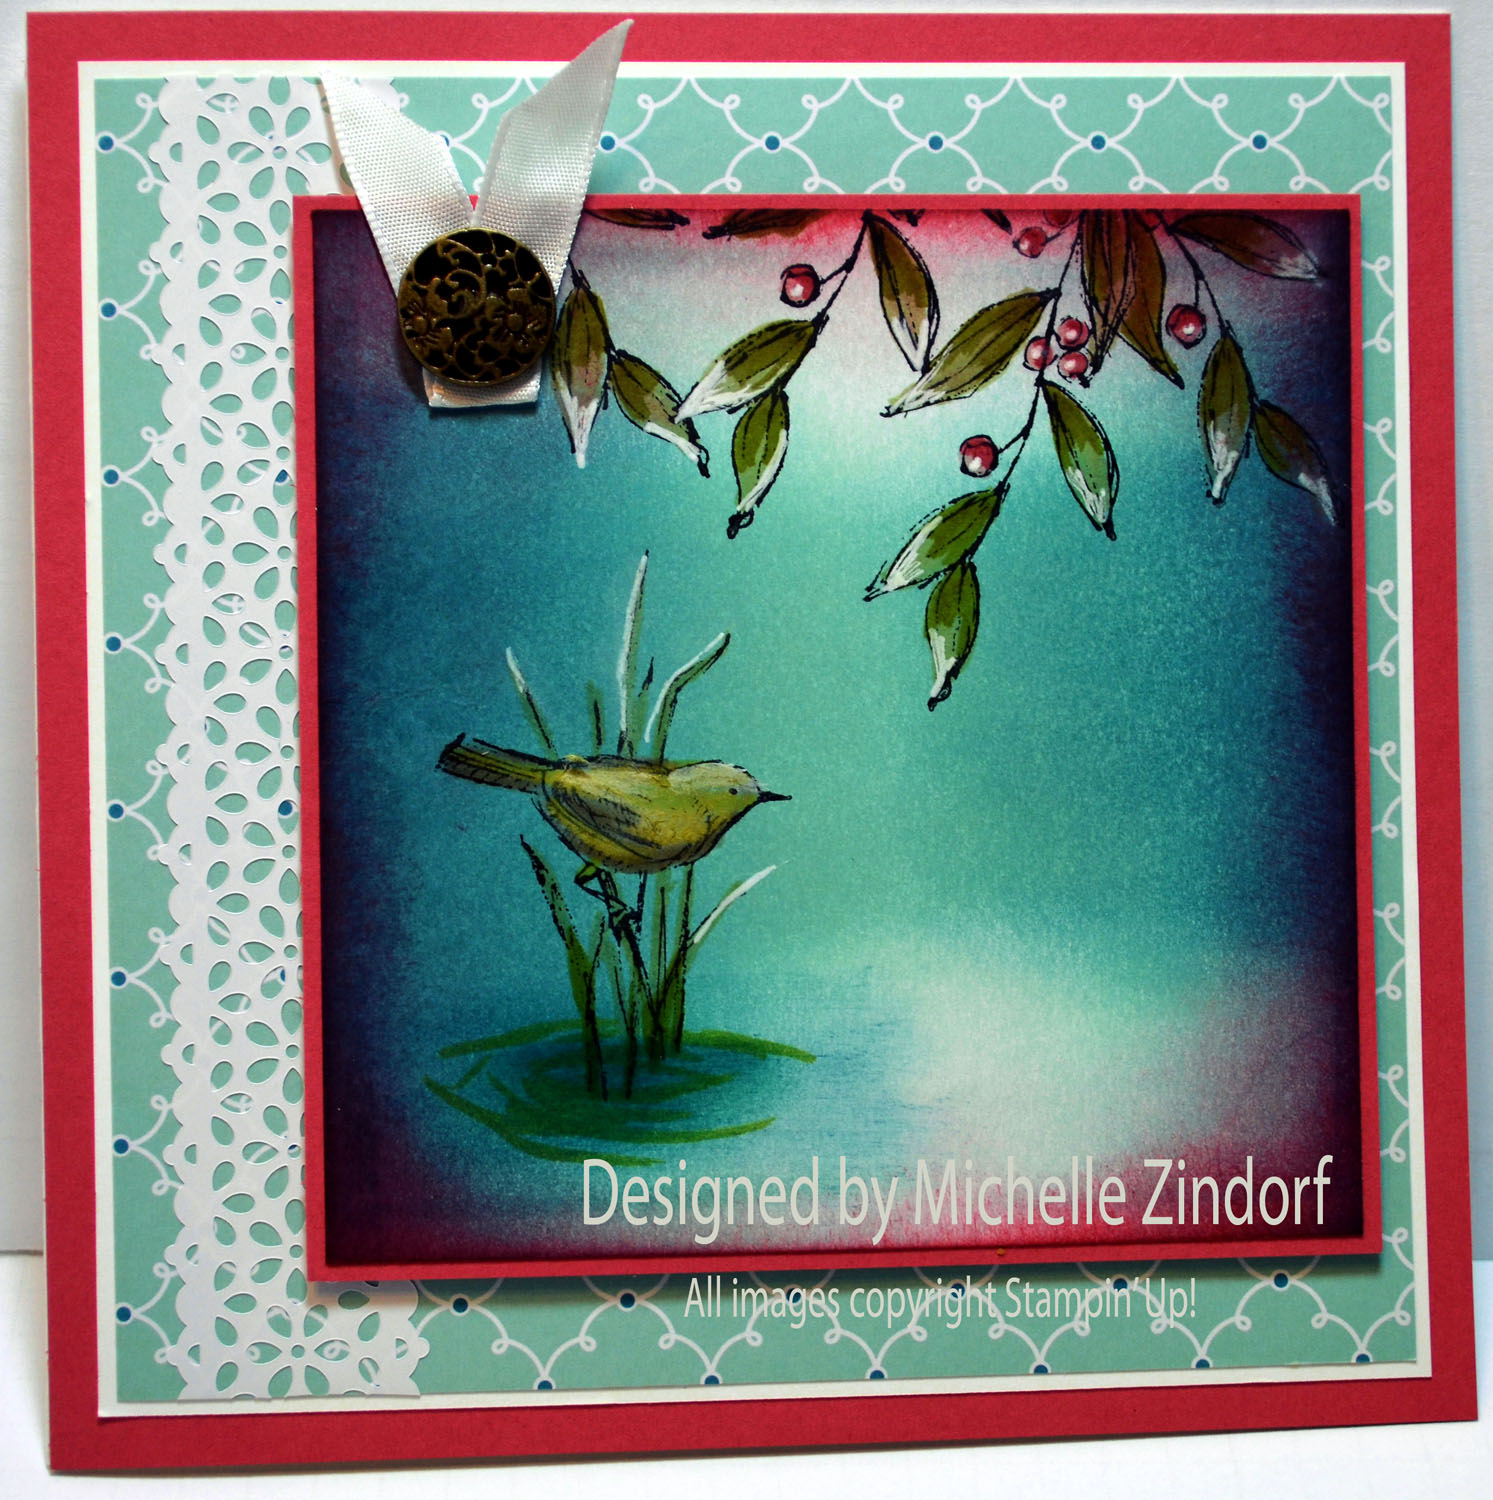
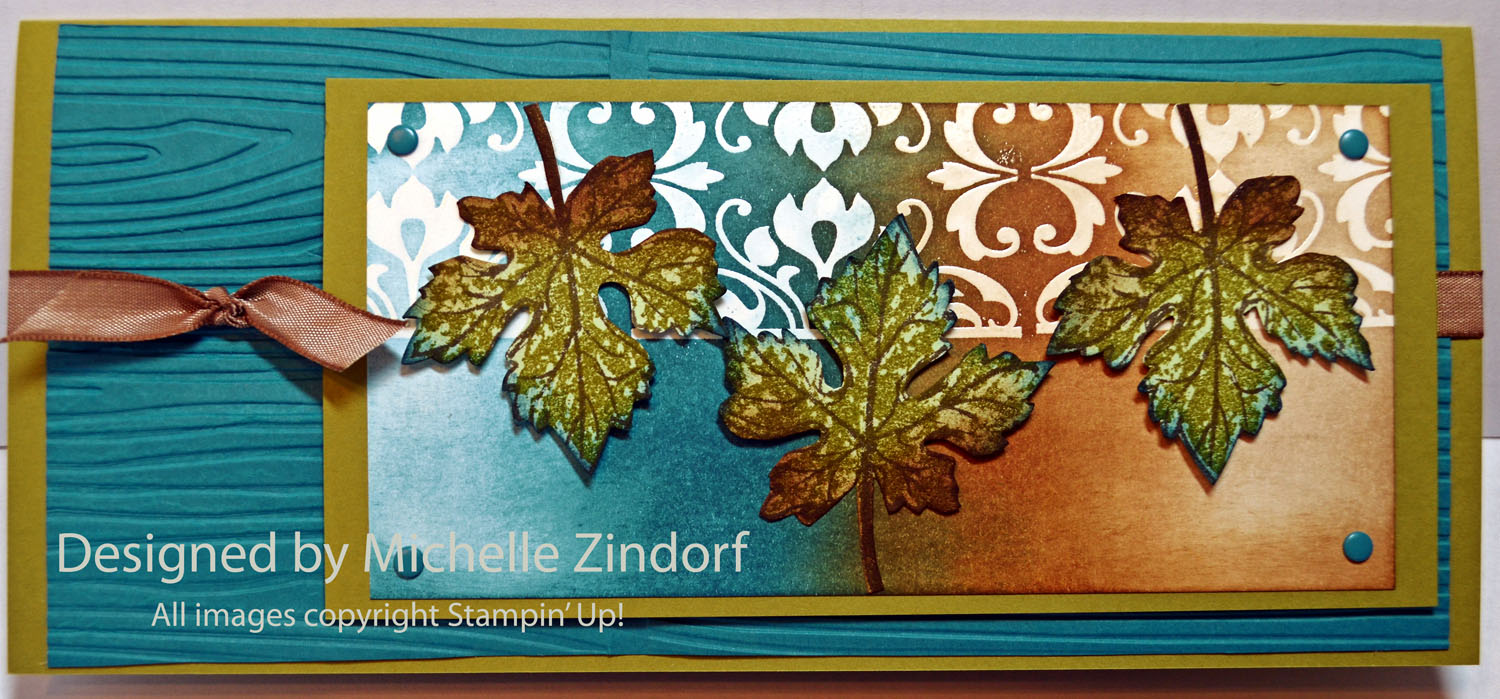
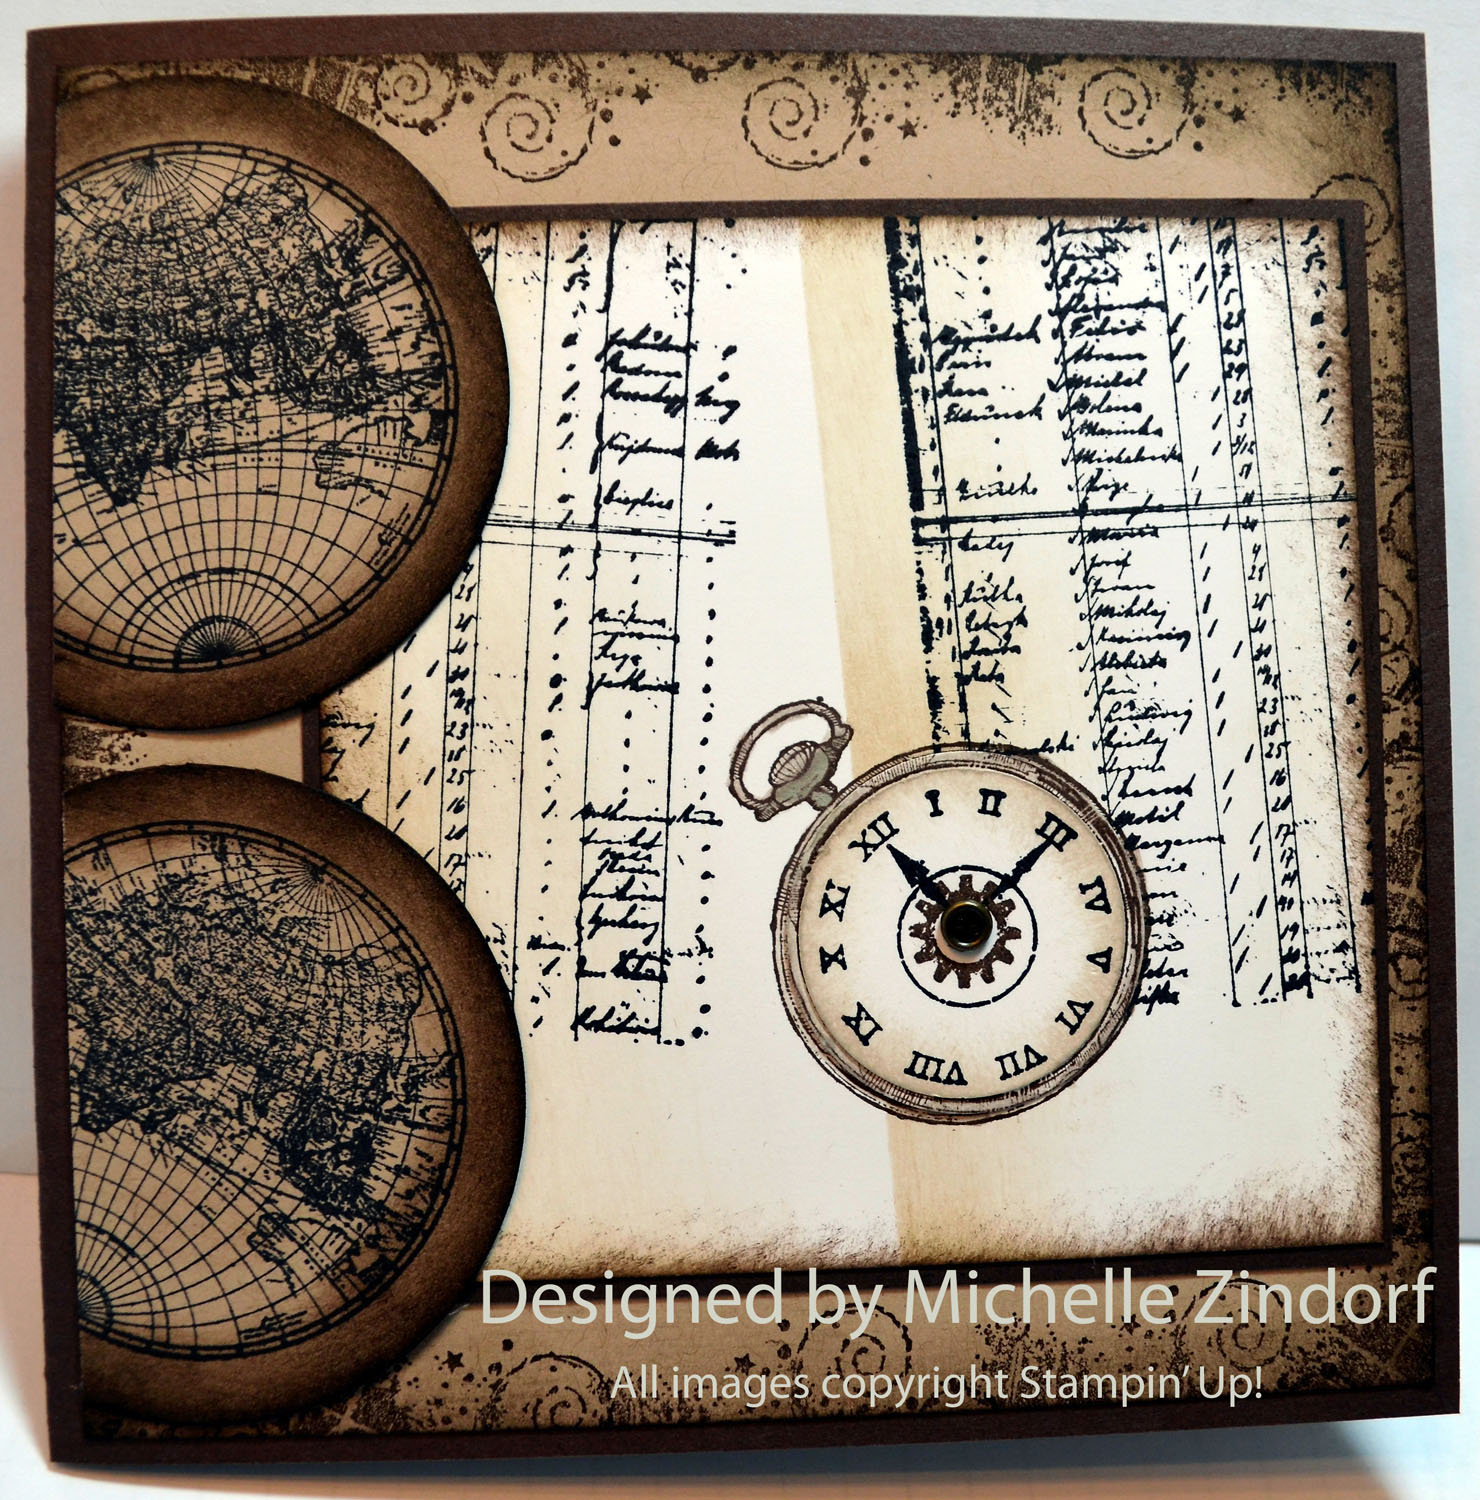
Here is the finished card.
*****************************
May your day be filled with love and laughter!
Until my next post. . . . . .
Huge Hugs!

******************************************************************
Know the Code!!!!
MYSTERY HOSTESS:
With Stampin’ Up!’s announcement of the new Hostess Code, we can now “pool” Online Orders together (place them individually, orders will ship directly to you – within the US only, but use the same hostess code). When smaller orders are put in together, the larger order qualifies for HOSTESS BENEFITS.
******************************************************************
Shop my online store now CLICK HERE
******************************************************************
View the 2013-2014
annual catalog online (Flash)
![]() Annual catalog
Annual catalog
![]() Stampin’ Supplies
Stampin’ Supplies
![]() Product Guide
Product Guide
I have some catalogs on hand that can be ordered. The cost is $6.50 each which includes flat rate priority shipping. Please e-mail me at mzindorf@aim.com if you would like to purchase one click ![]() ***********************************************************
***********************************************************
Michelle’s Free Stamp Program
Don’t miss out on my Customer’s free stamp set program. Check it out! For your order of $50 in product using me as your demonstrator you will receive one virtual token. Order $100 in product receive two virtual tokens, etc. After you have collected 10 virtual tokens you will receive a free current stamp set of your choosing, a value of $30 or less.
Here is a link to my online shopping page that you can shop at 24/7 (from the comfort of your home, even in your pj’s) and the products will be shipped directly to your door step from Stampin’ Up. CLICK HERE TO SHOP. My free stamp set program will be an on going program. ![]()
**************************************************
 Also, check out my new Zindorf Naturals Soap Page. This stuff is oh so good for your skin. CLICK HERE TO CHECK IT OUT.


.jpg)
