Hello There,
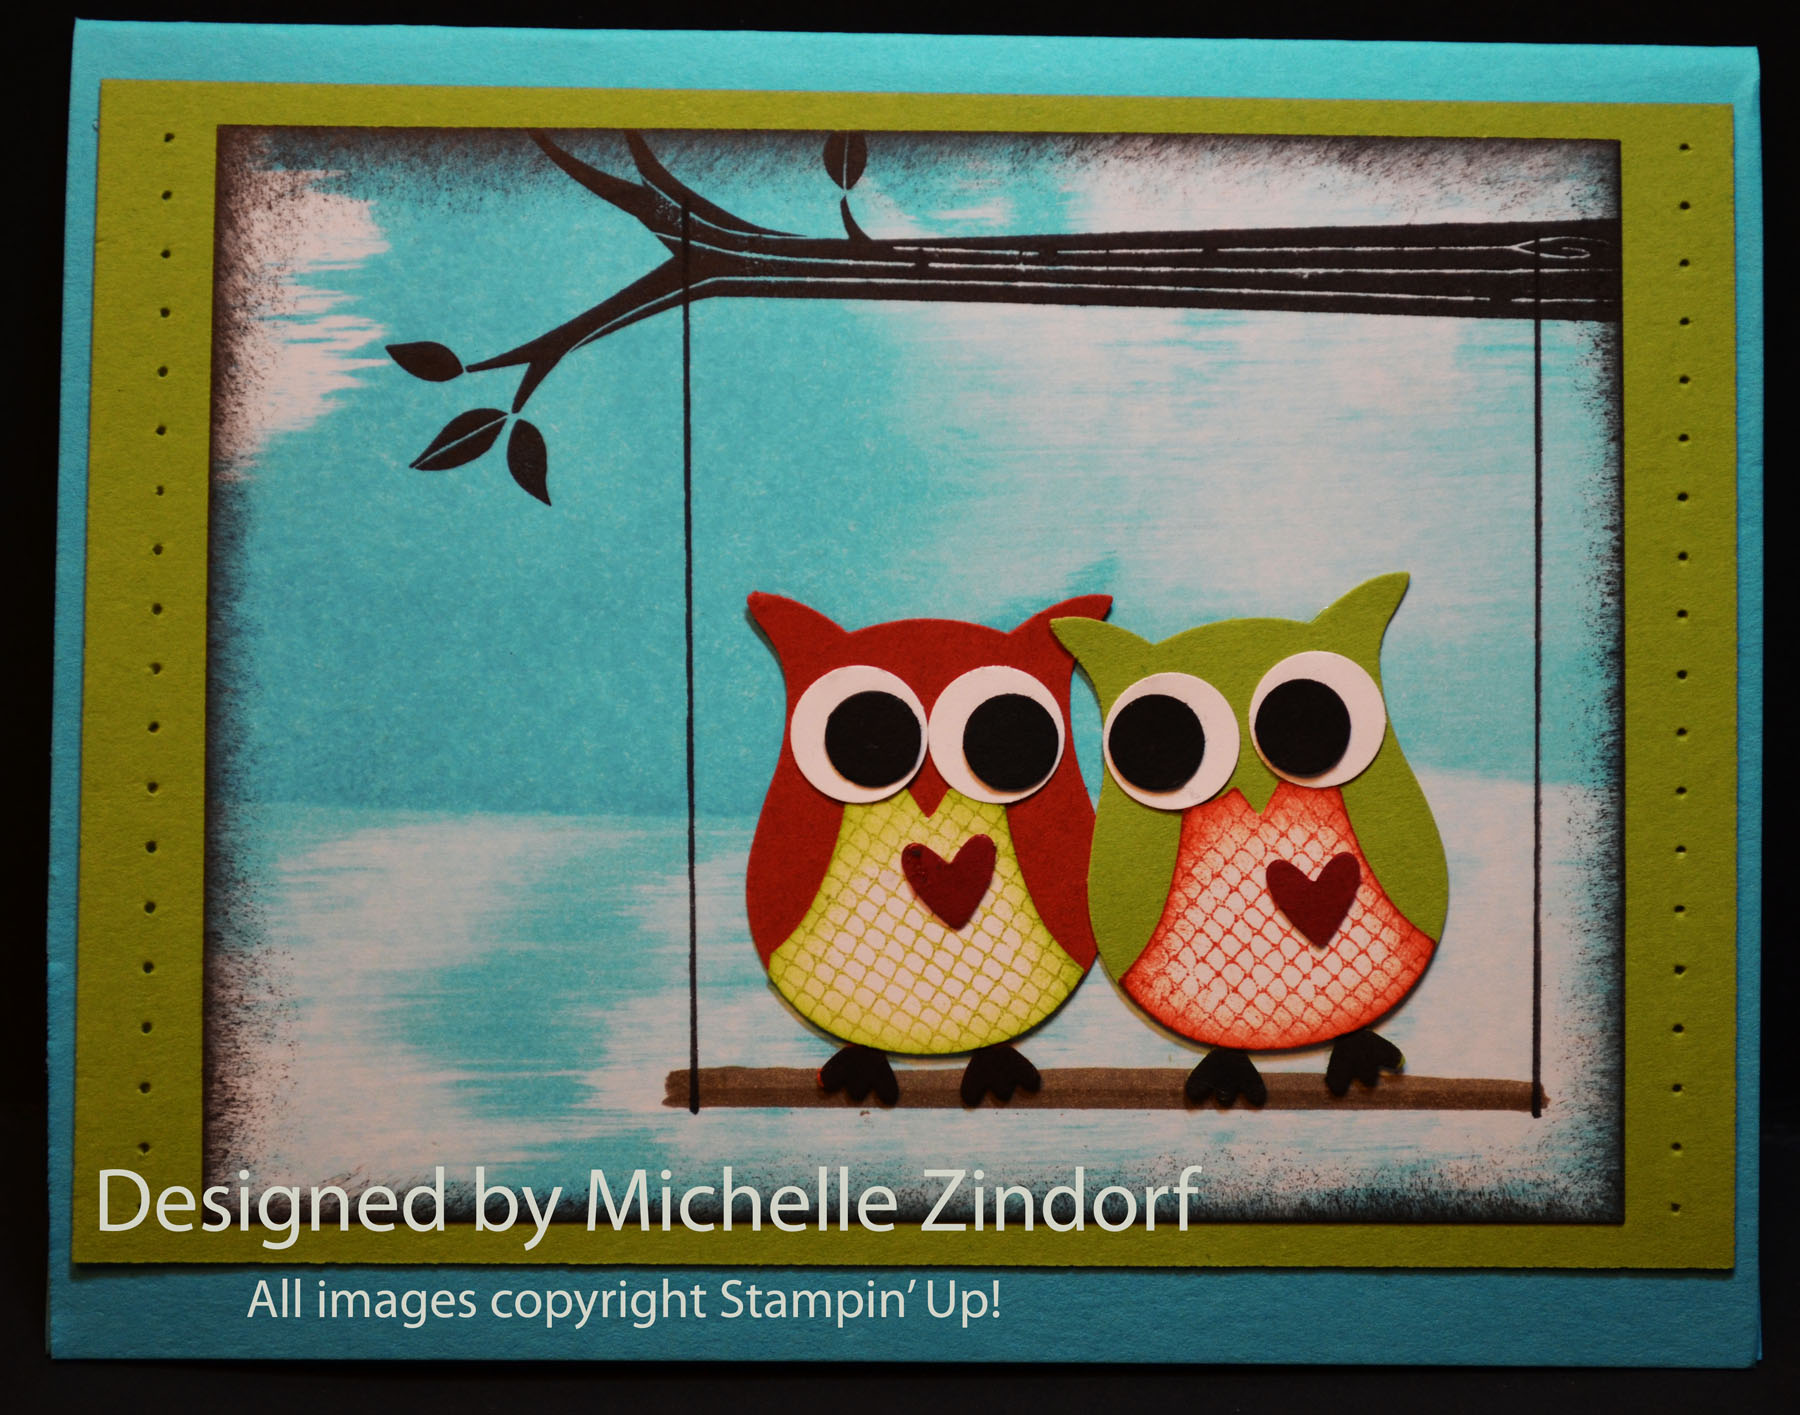
The chill is in the air here in Ohio for sure. We are suppose to see single digit temps in the next few days, burrrrrrrr. This card should warm someone up though, at least their heart, right?
I made 30 of these and the Stampin’ Up! owl punch made quick work of it. One thing about the owl punch that I don’t show here is that you can really customize your owl. I’ve seen the owls created with designer paper and they are super cute. I’m sure there are so many combinations of colors and DSP that you would never get tired of using this little guy.
*******************************************
Here is the link if you wish to enter for a chance to win this great set. CLICK HERE
Winner will be selected on Saturday, January 19, 2013.
********************************************
Now on with today’s tutorial. . . . . . .
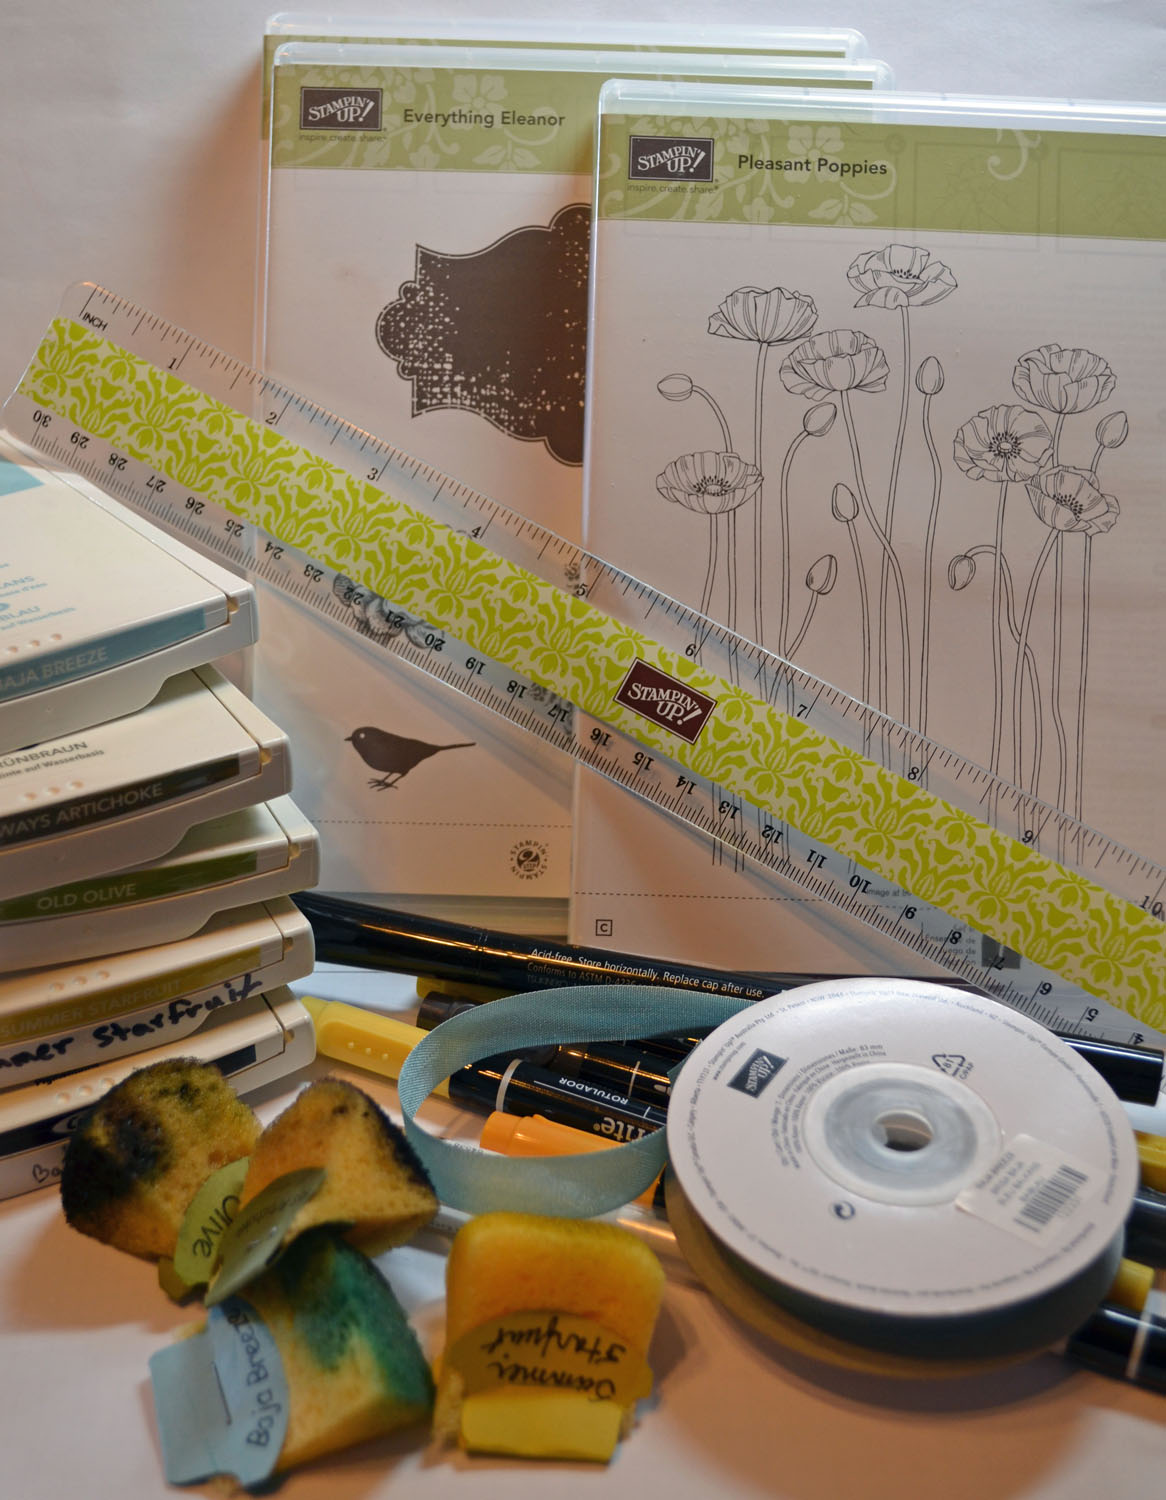
Project Supplies:
Stampin’ Up! Stamps: Take Care (item #126312) and Netting background stamp (item#122655)
Card Stock: Stampin’ Up! Whisper White, Tempting Turquoise, Old Olive, Cajun Craze, Cherry Cobbler and Basic Black
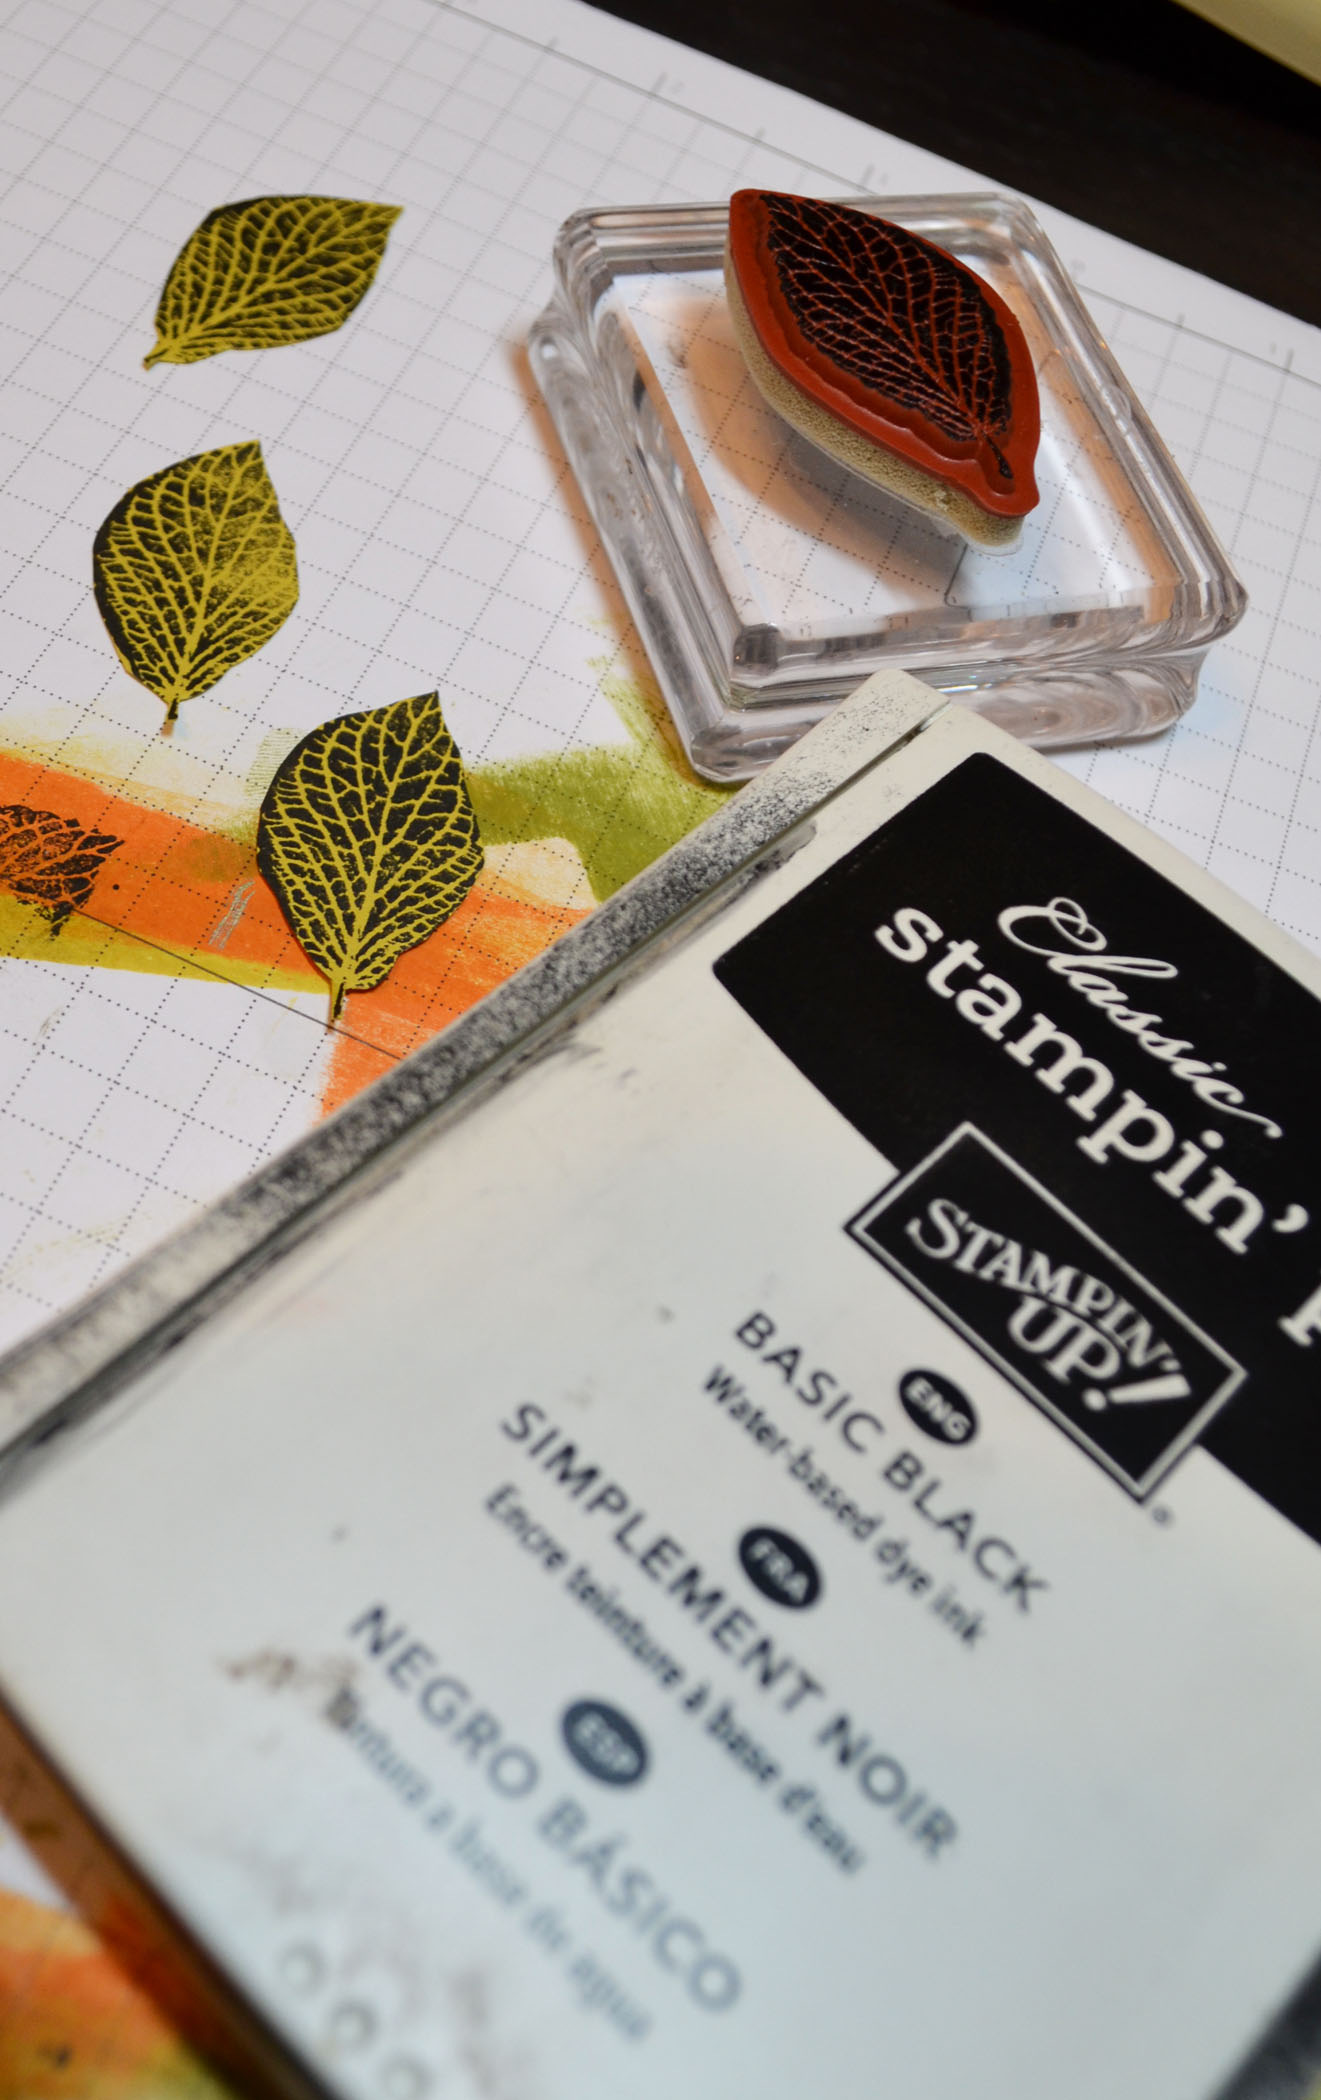
Ink: Stampin’ Up! Basic Black, Tempting Turquoise, Lucky Limeade and Cajun Craze
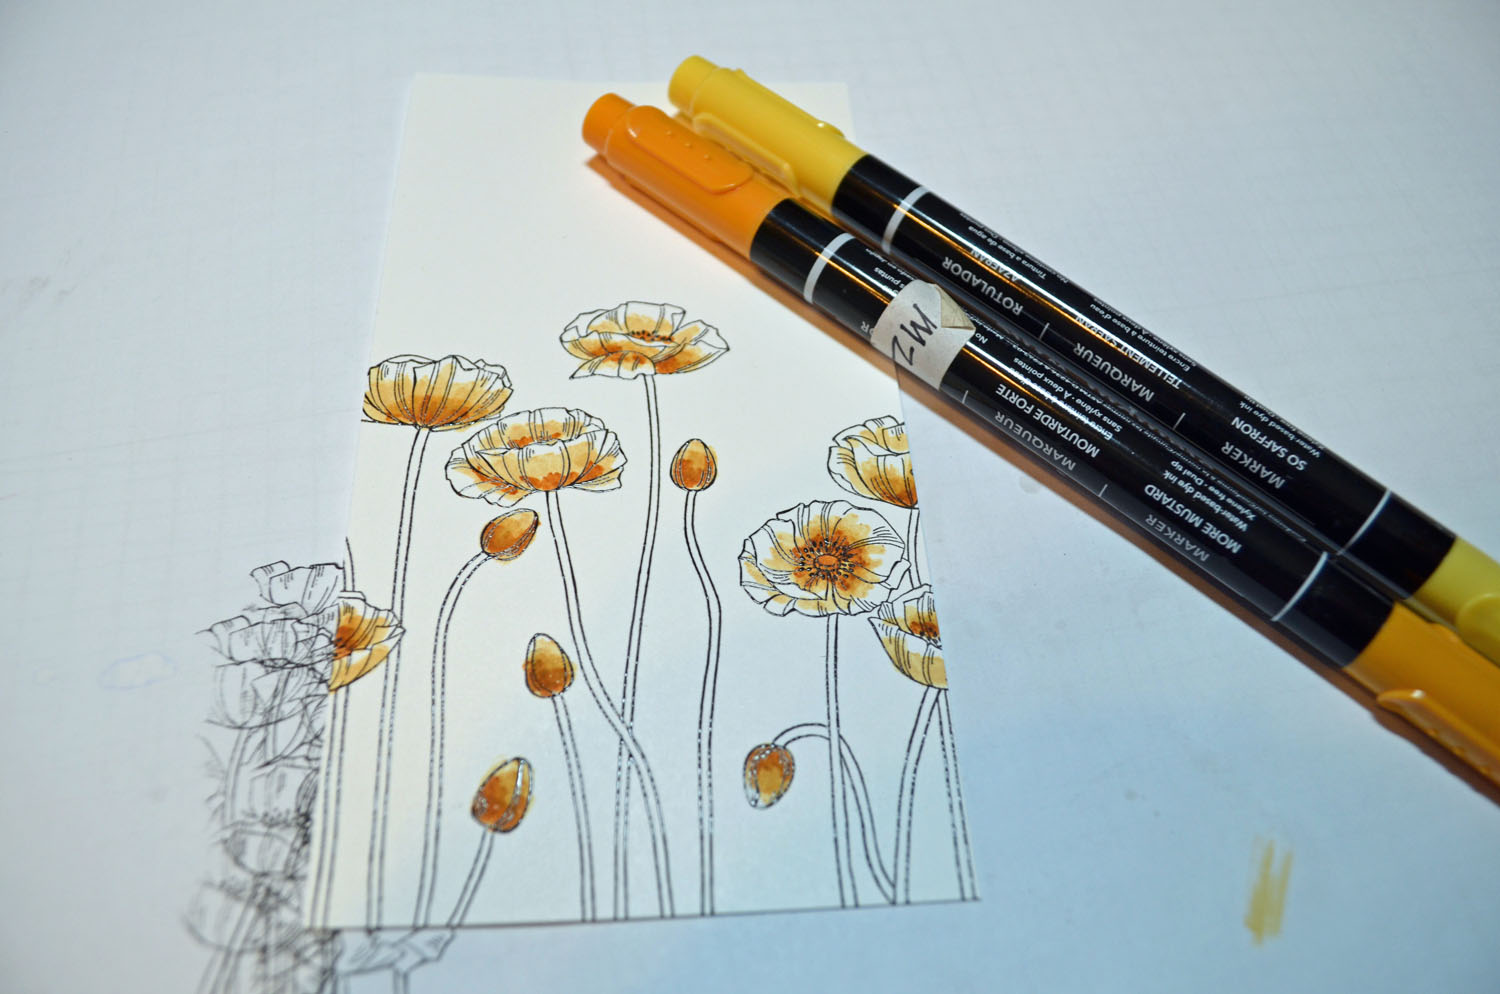
Accessories: Stampin’ Up! sponges, ruler, Stampin’ Up! Owl Builder Punch (item #118074), Piercing tools, Soft Suede and Basic Black markers

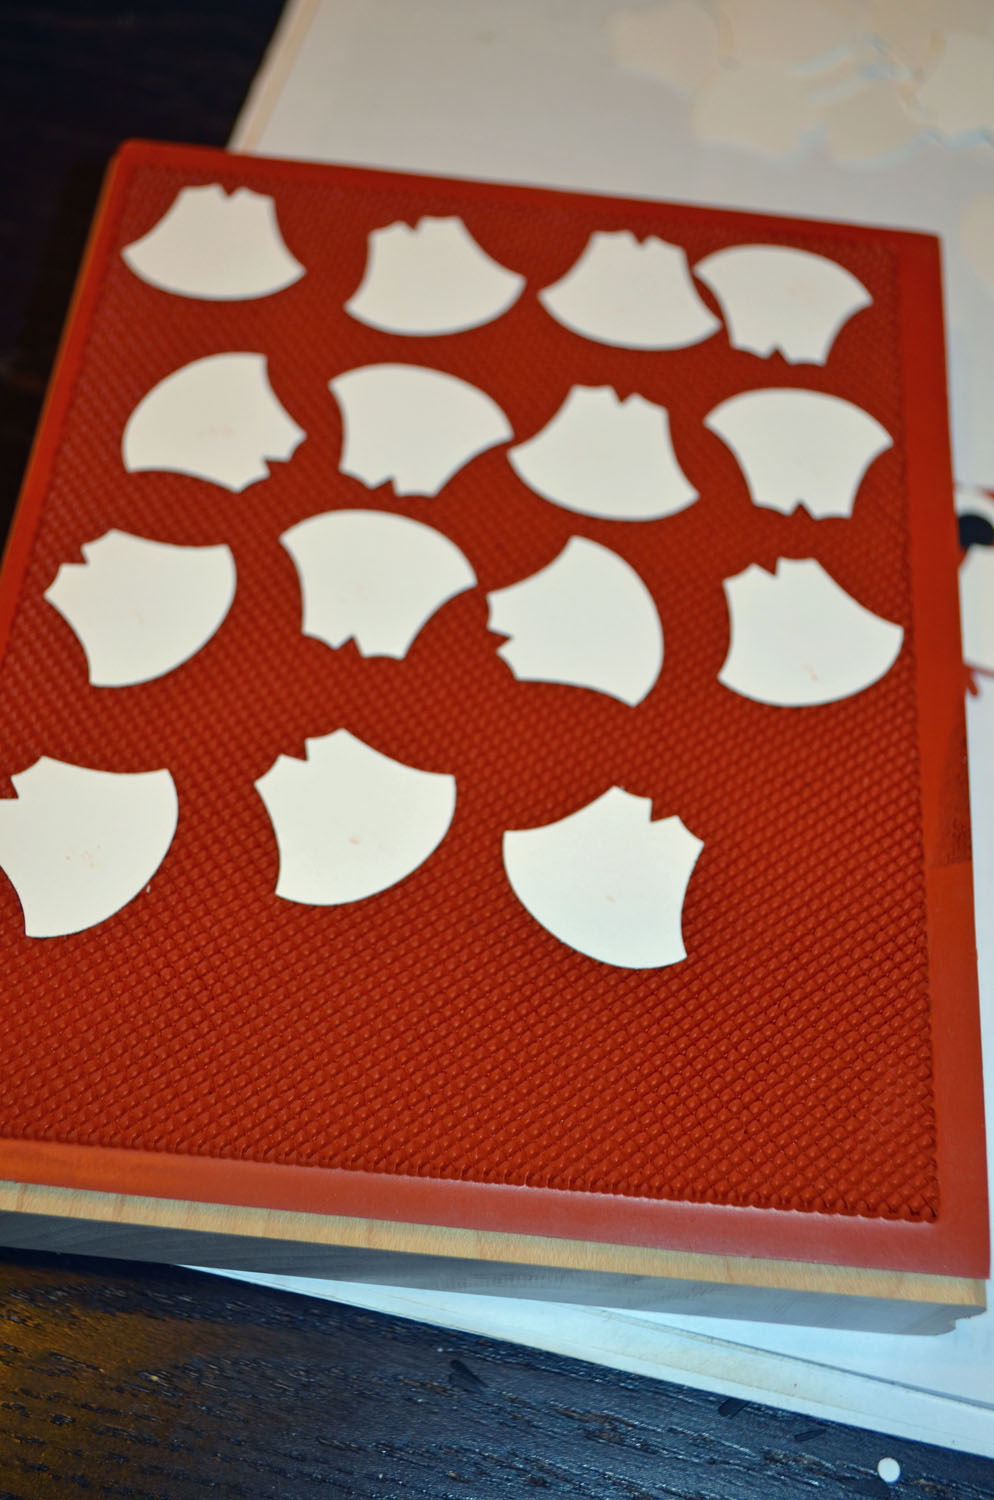
Punched the pieces for the owl using the Owl Builder punch. As you see I am making many of these cards today. I punched the large circle for the eye and the chest piece using Whisper White card stock, the owl in both Cajun Craze and Lucky Limeade, the medium circle using Basic Black card stock and the heart using Cherry Cobbler card stock.

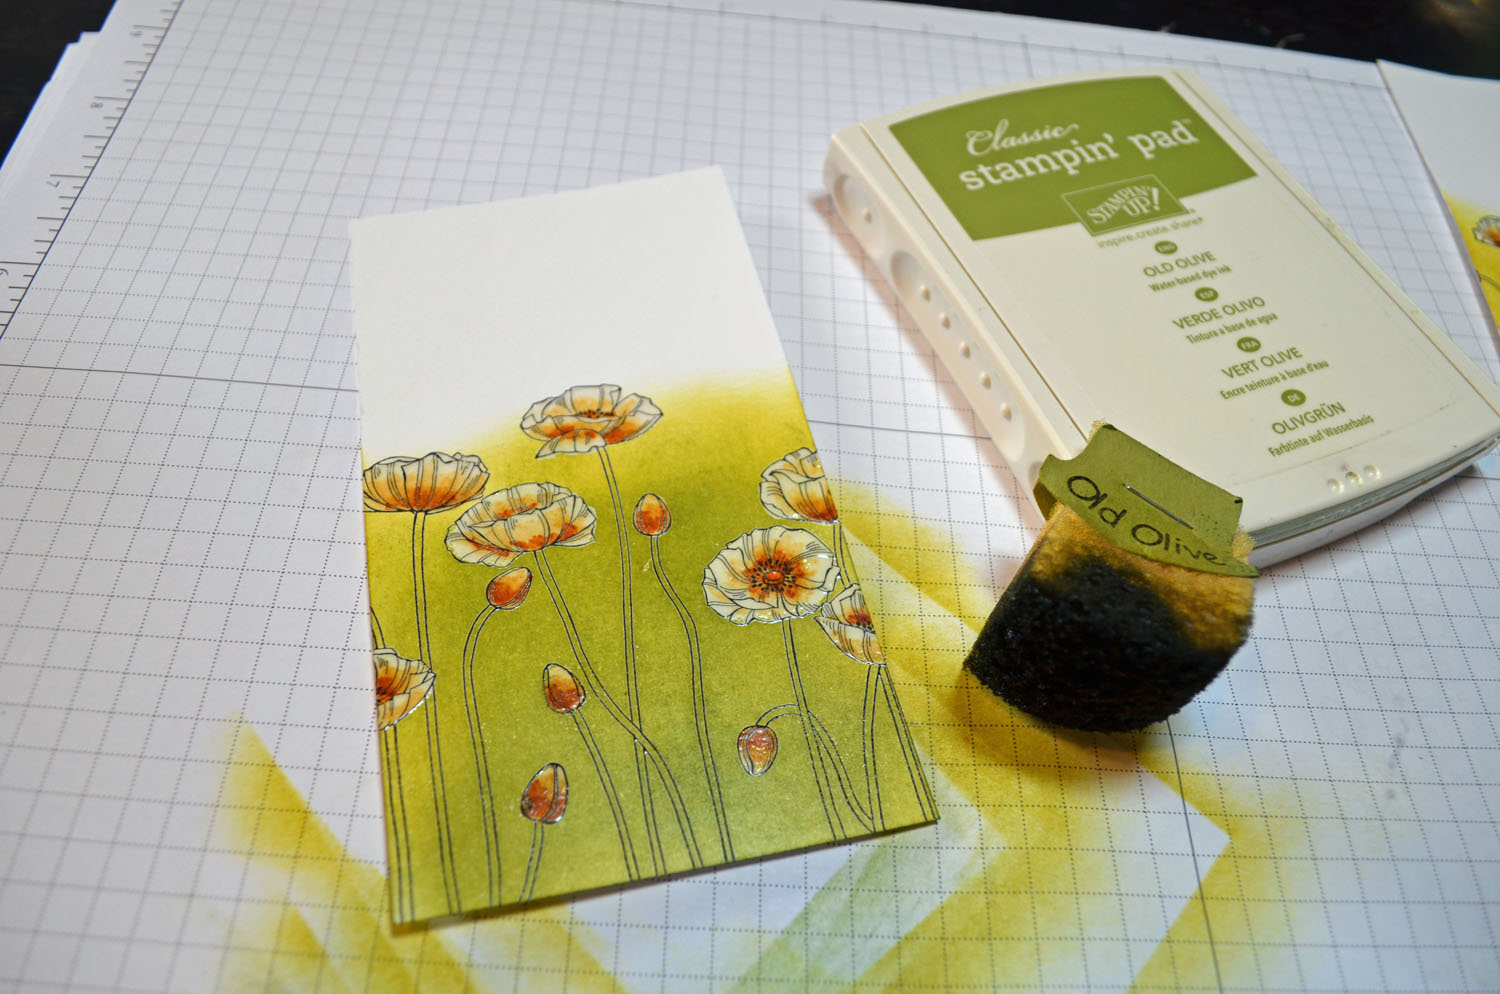
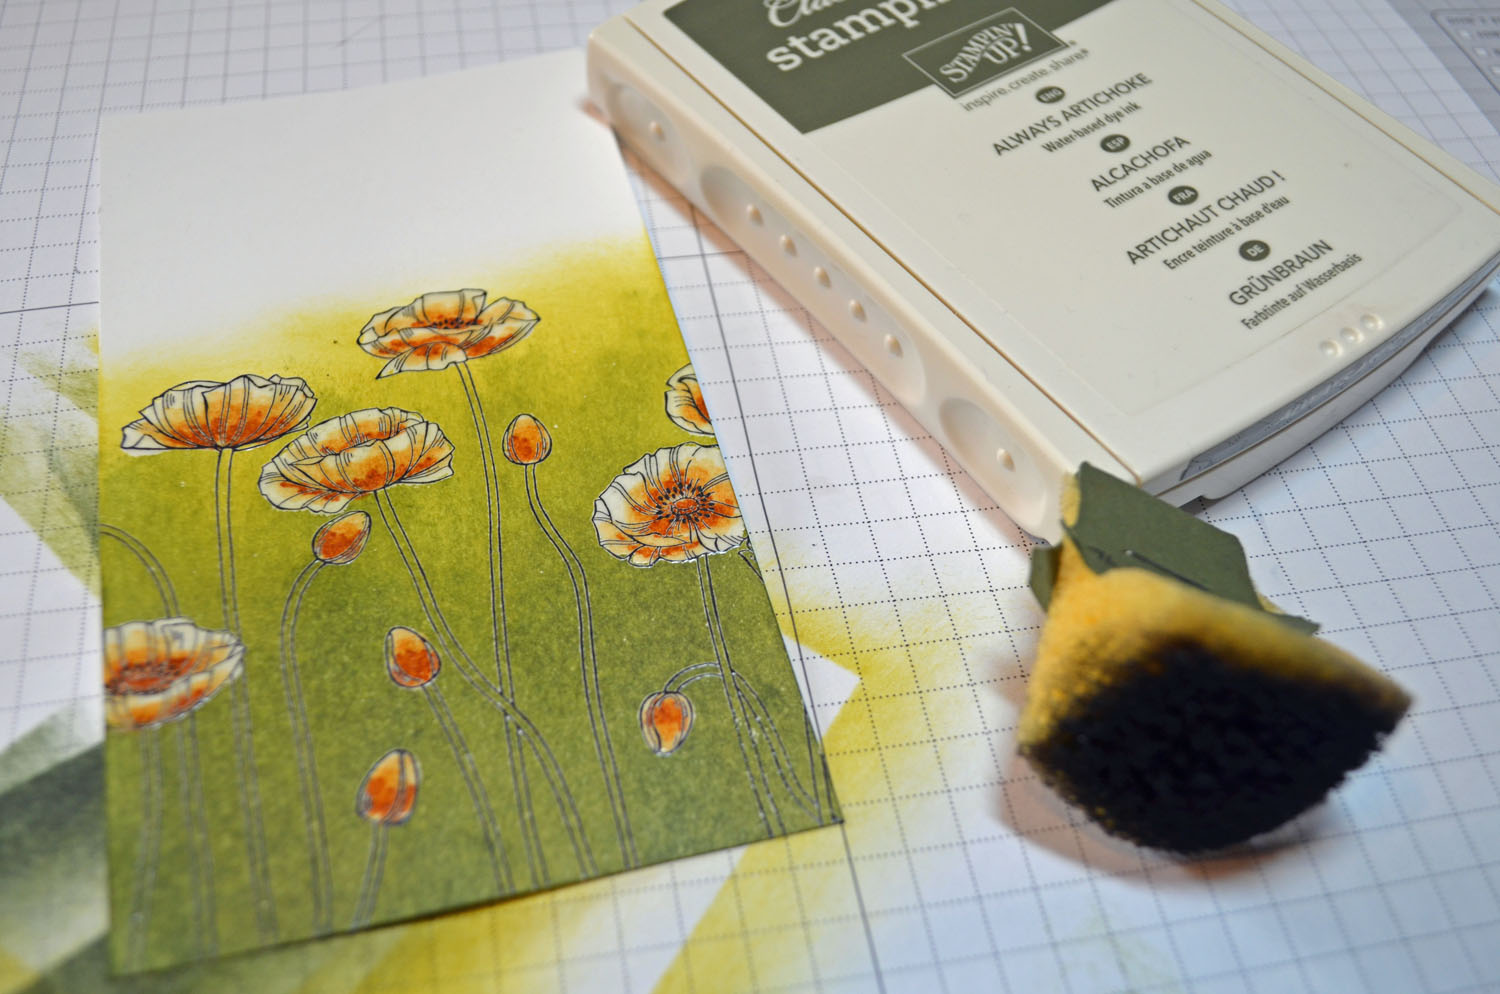
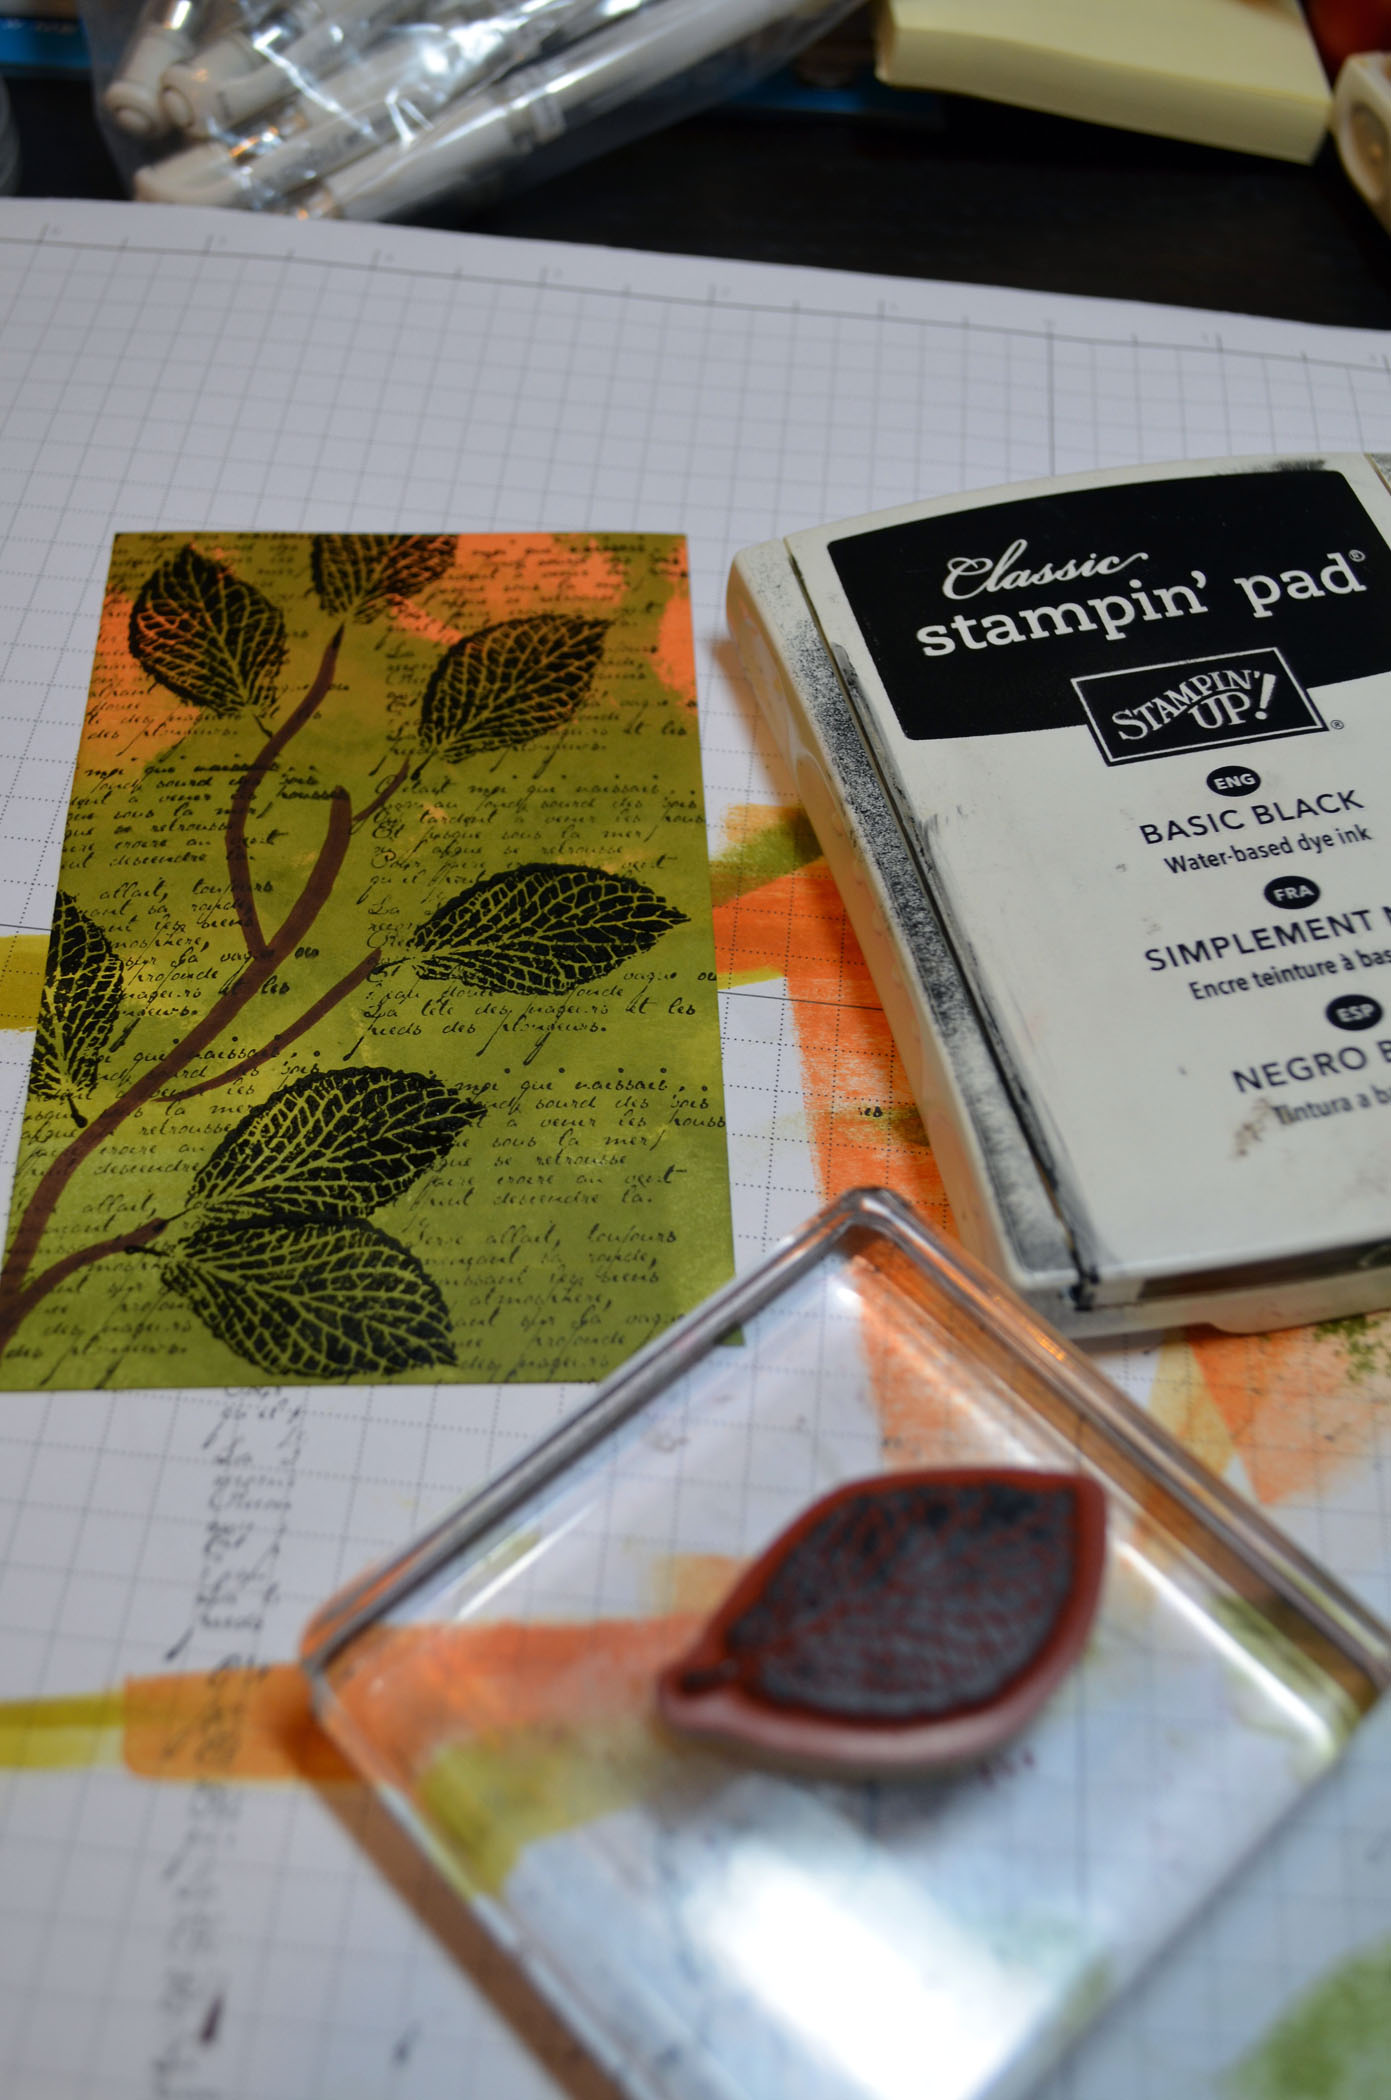
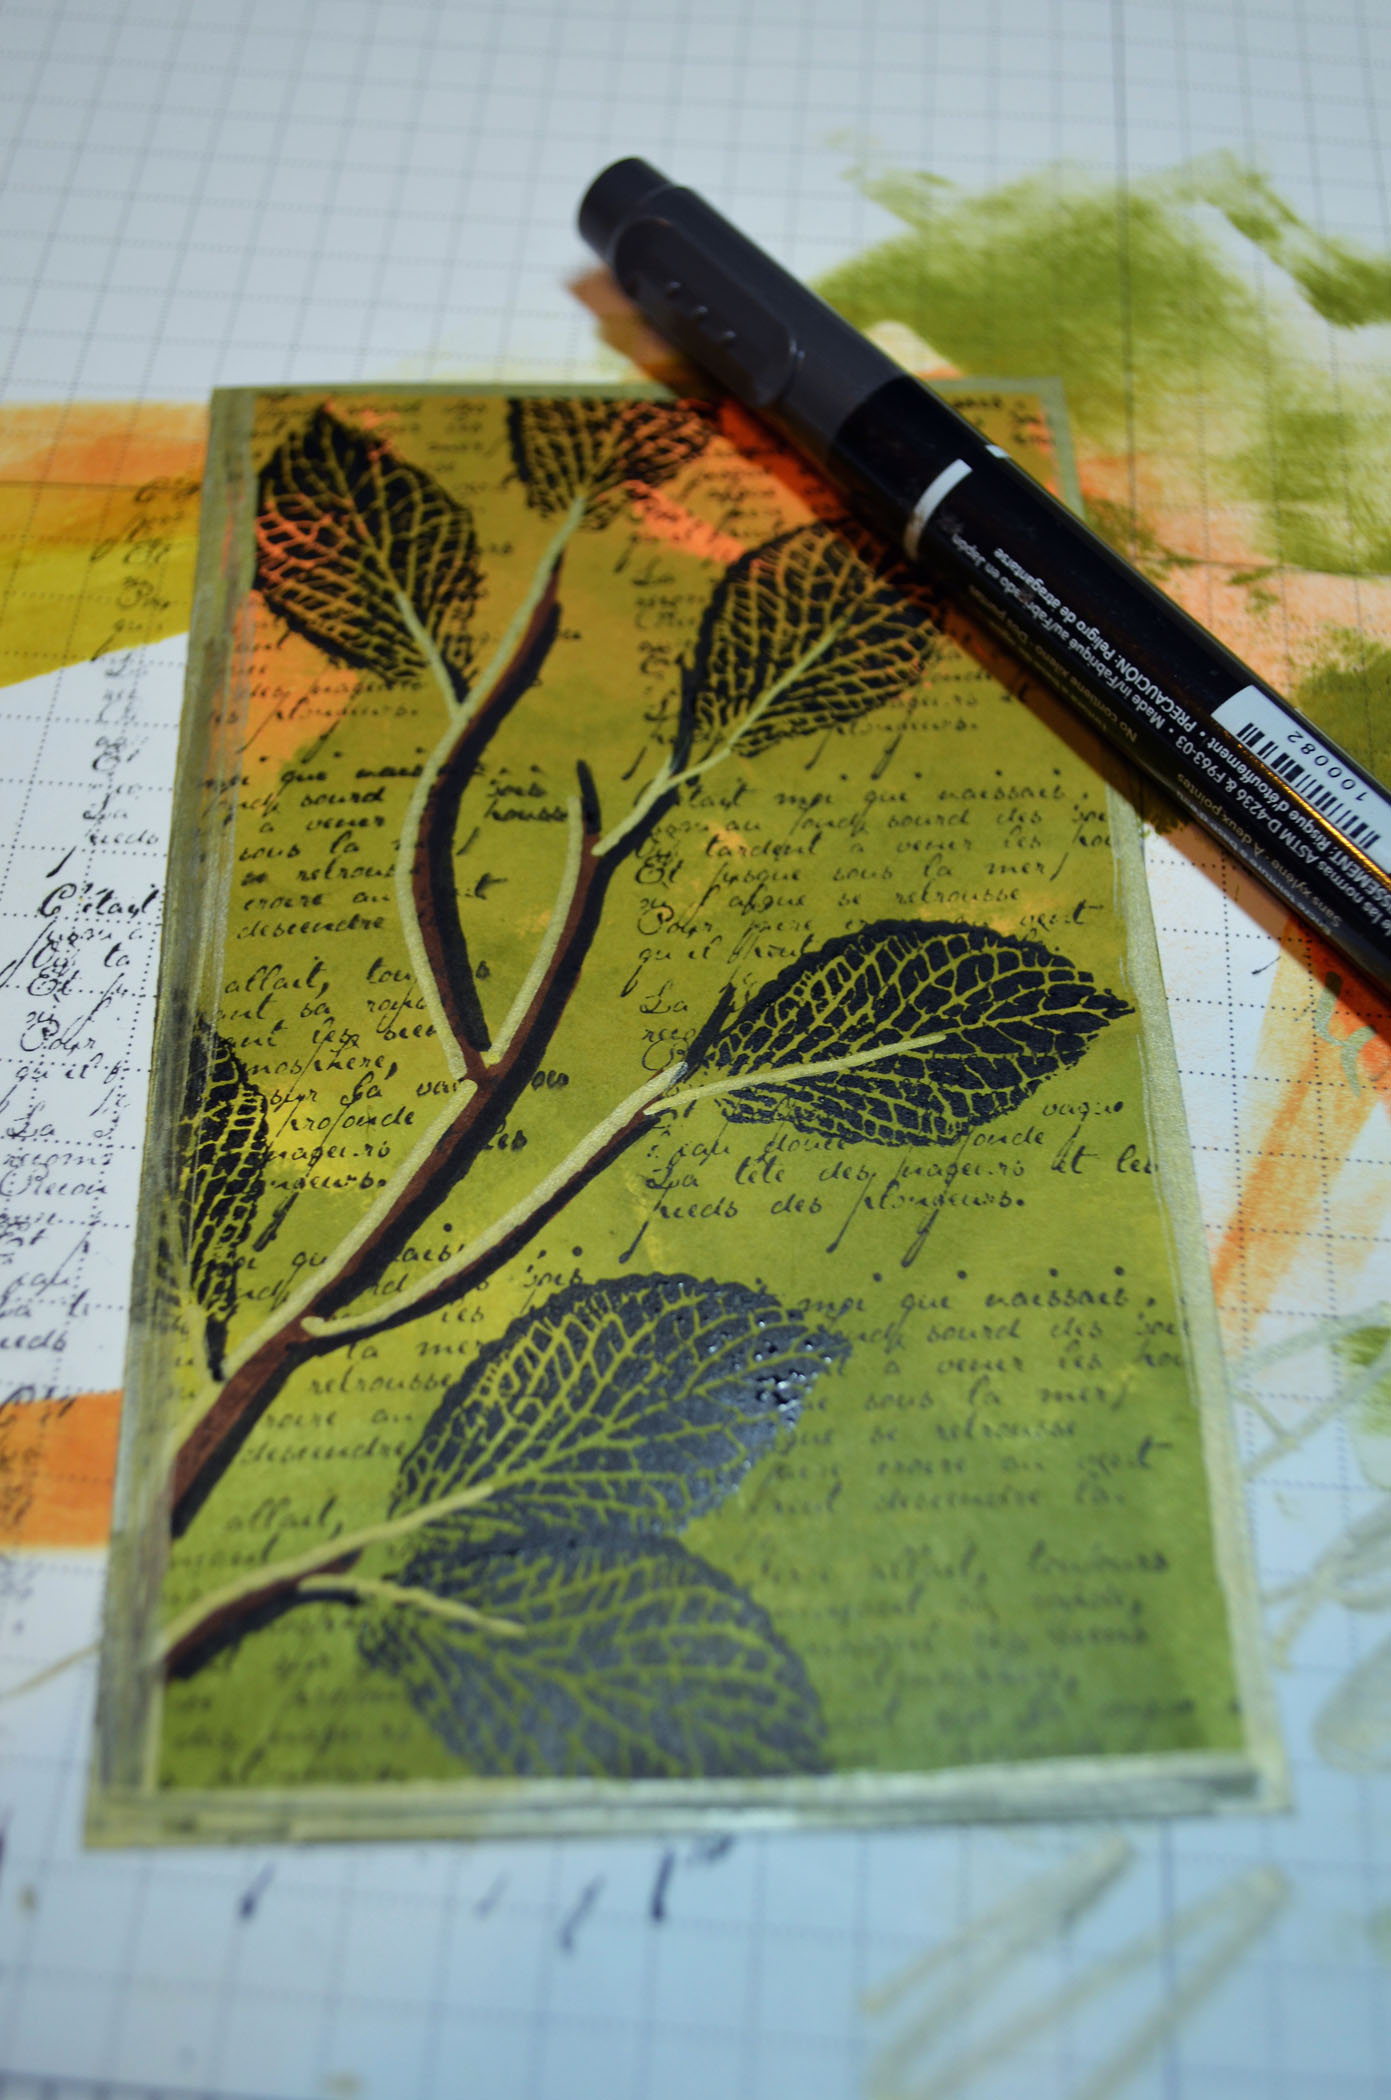
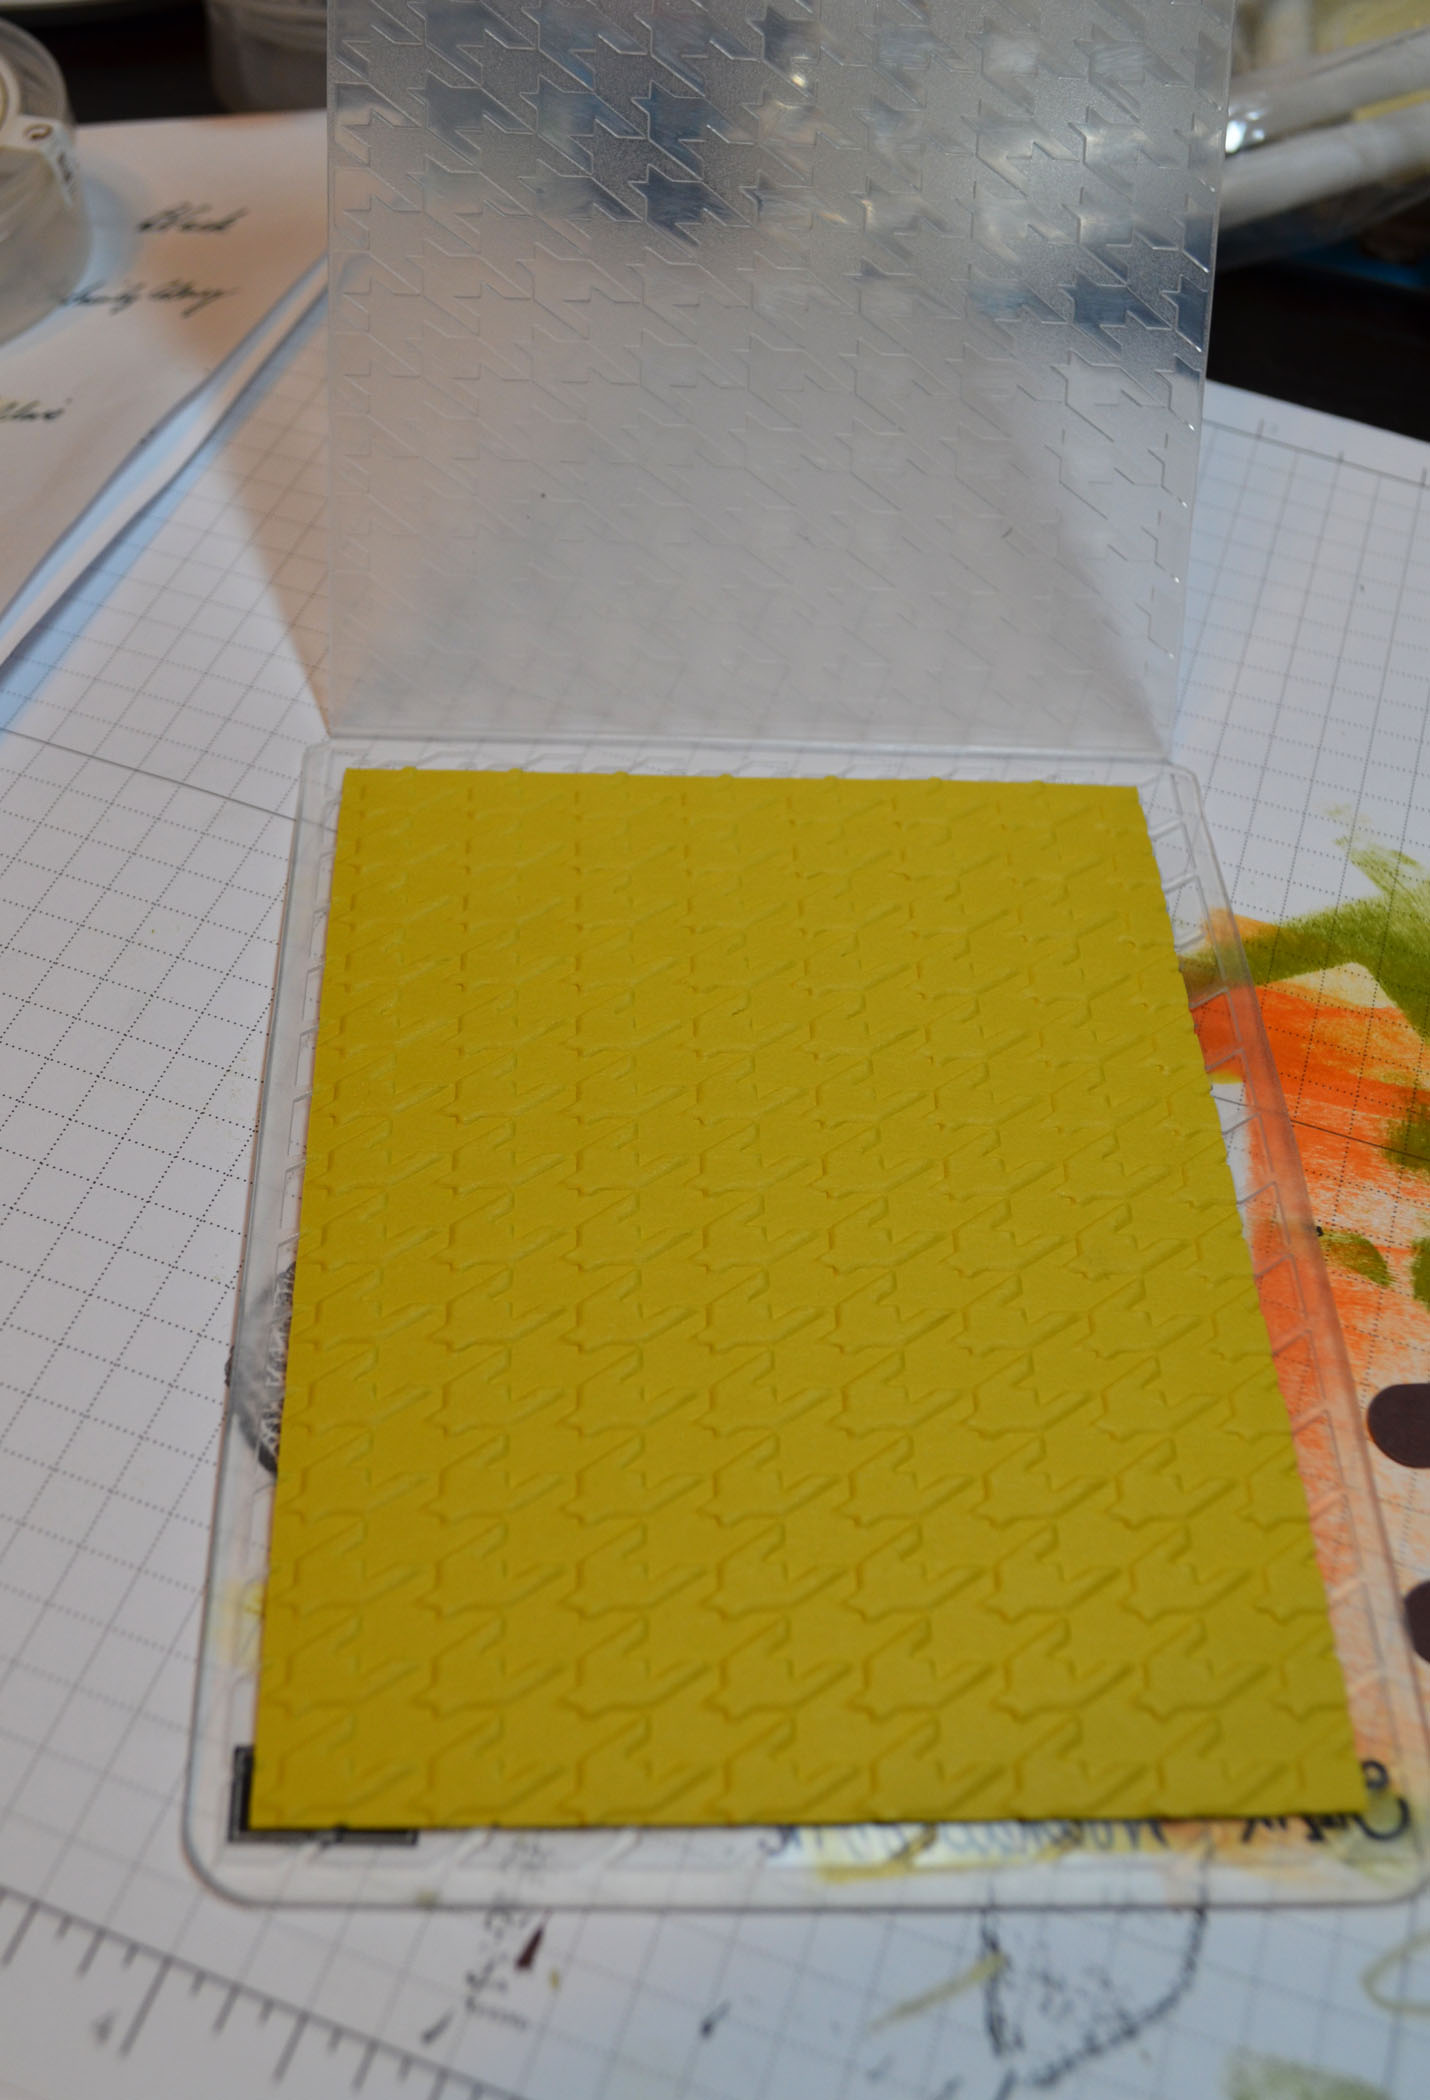
I wanted a design on the chest piece so I inked up my Netting background stamp and put the chest pieces on it and then put a piece of scrap paper over the stamp and rubbed gentle. I did half of the pieces using Cajun Craze ink and half of them with Lucky Limeade ink. I then sponged the edges with the same color they were stamp in.
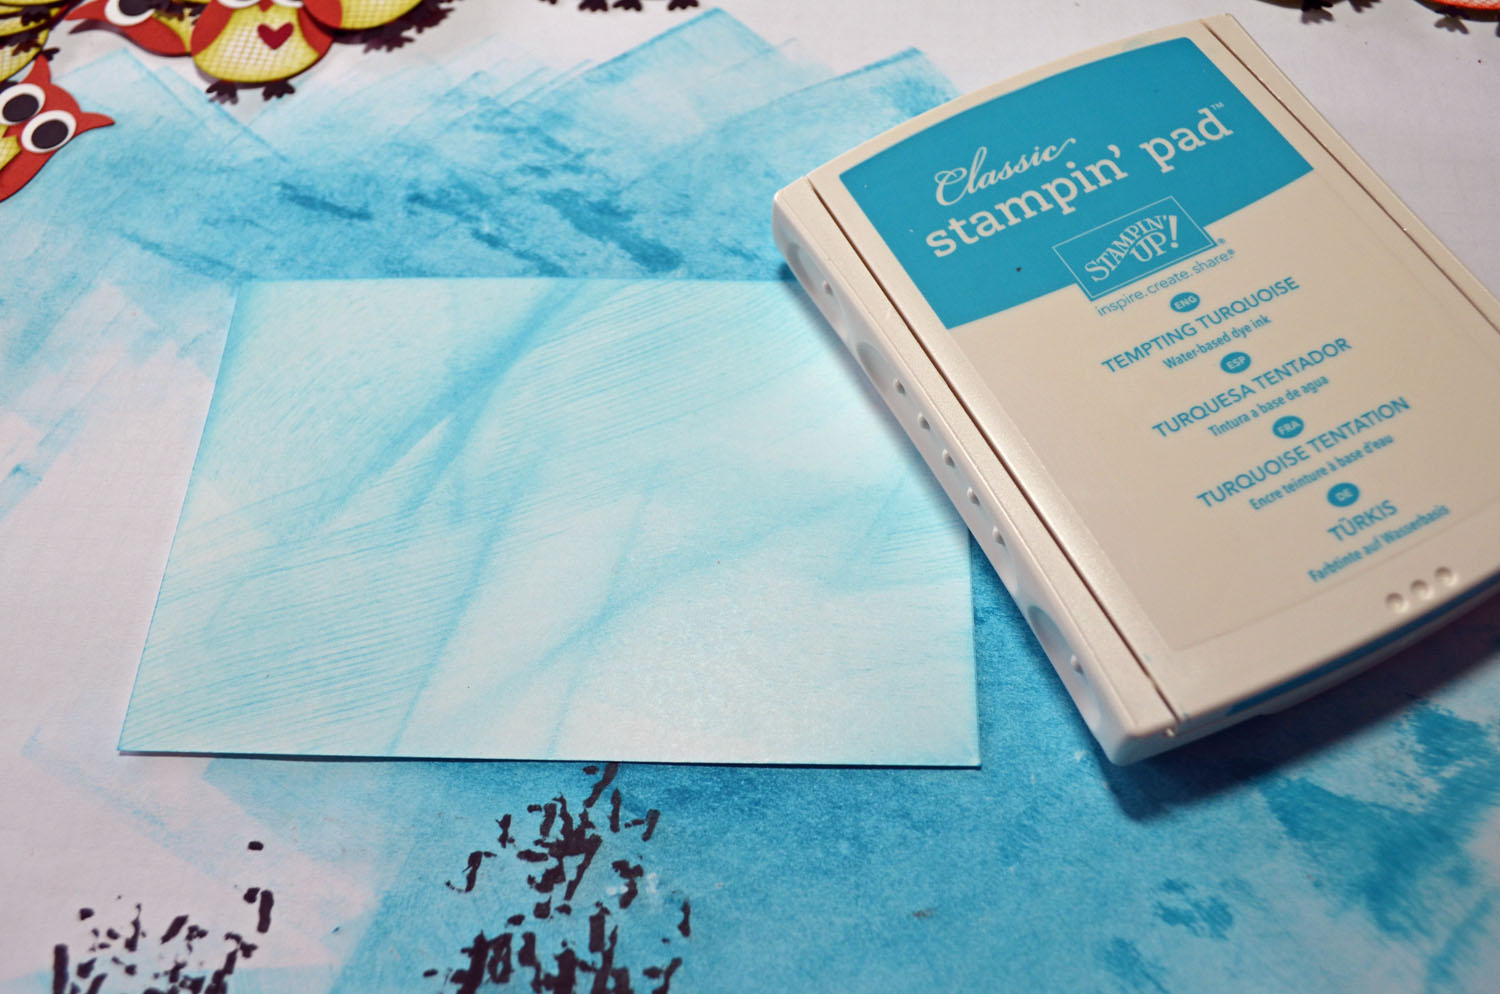
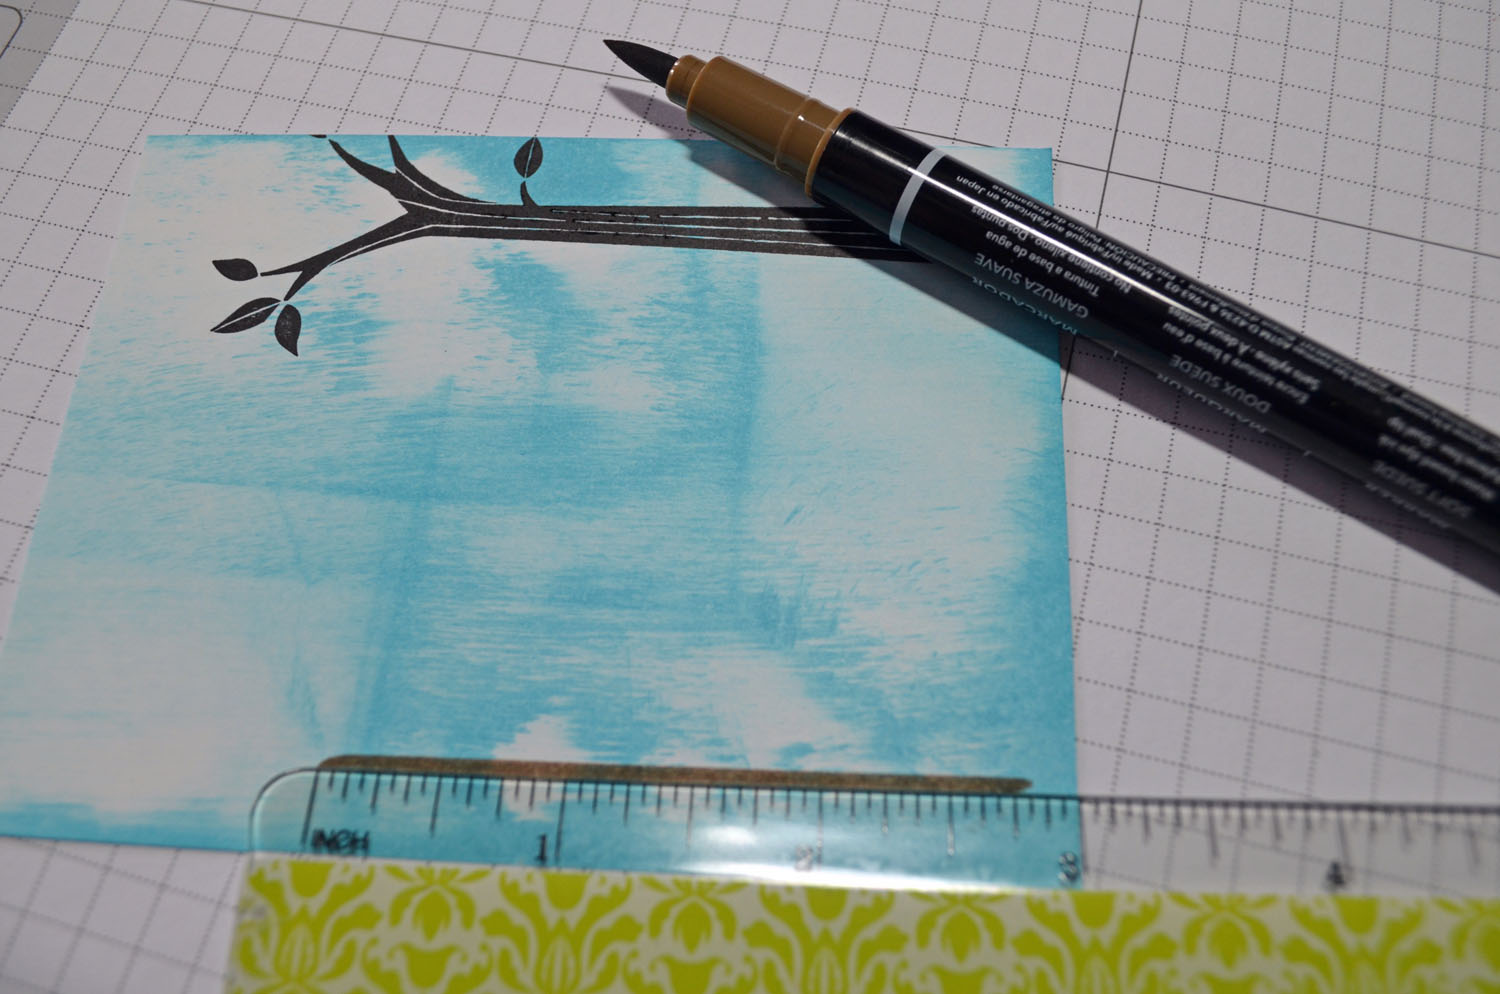
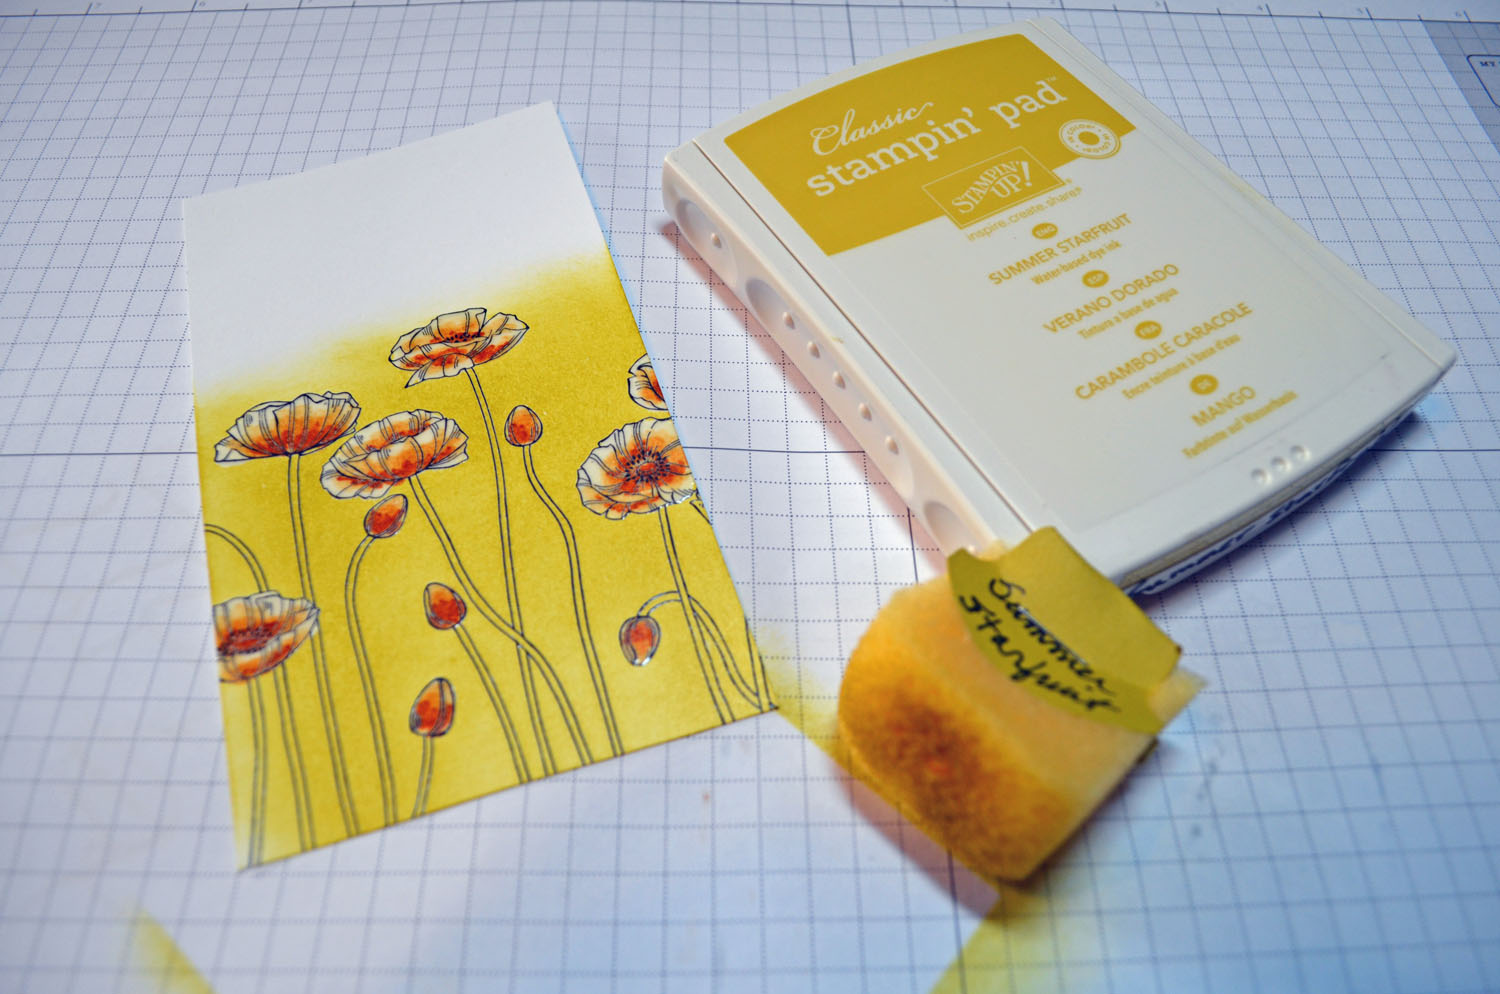
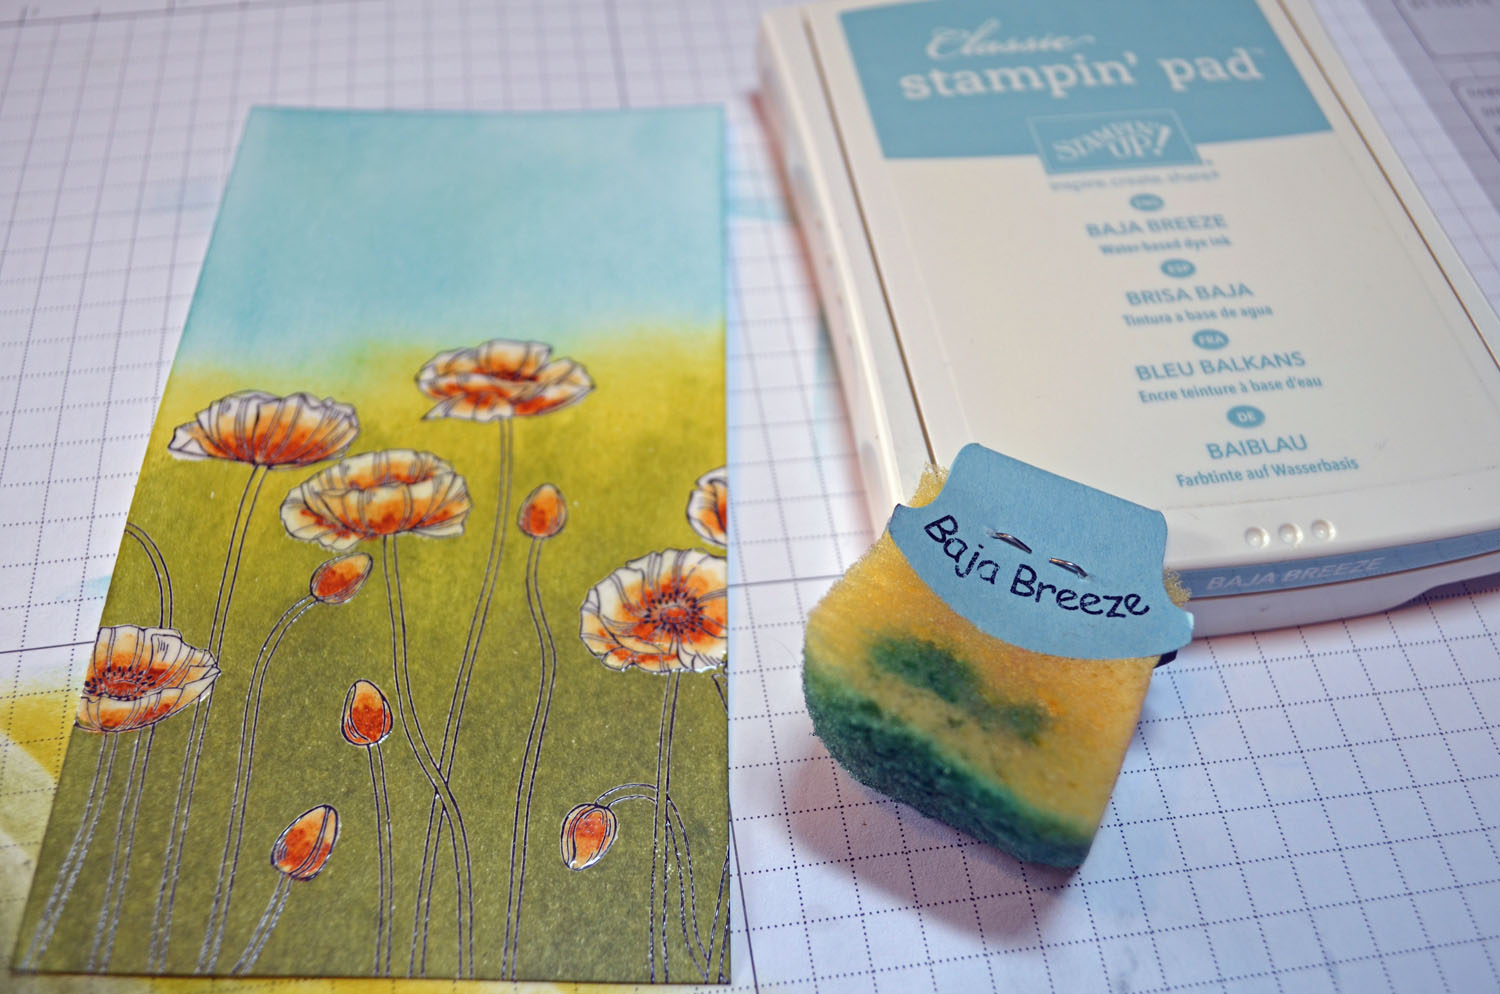
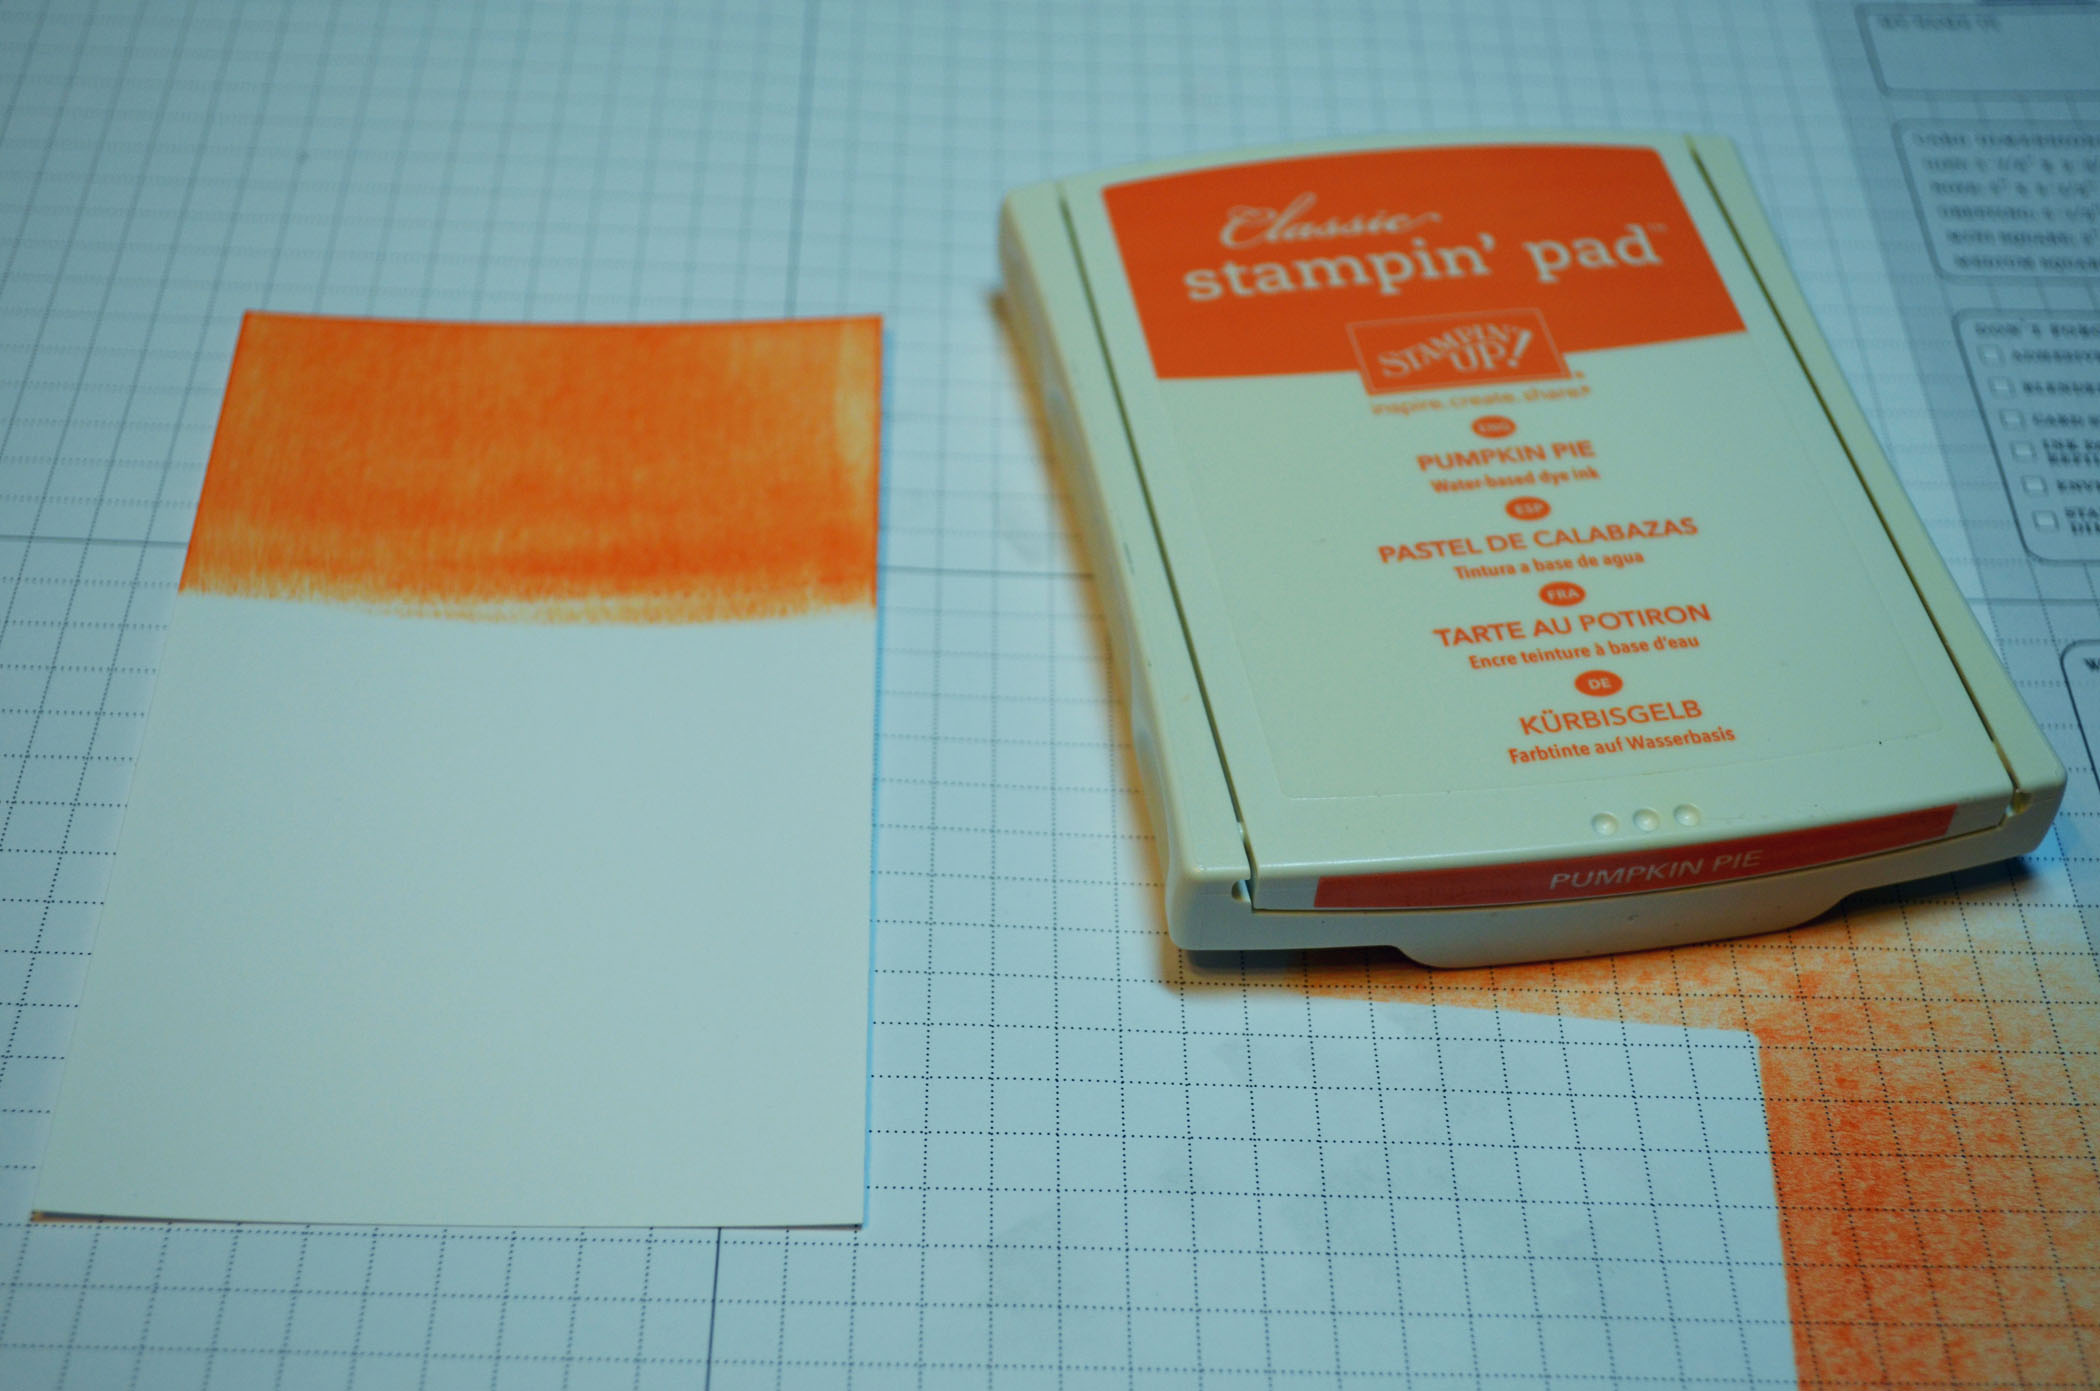
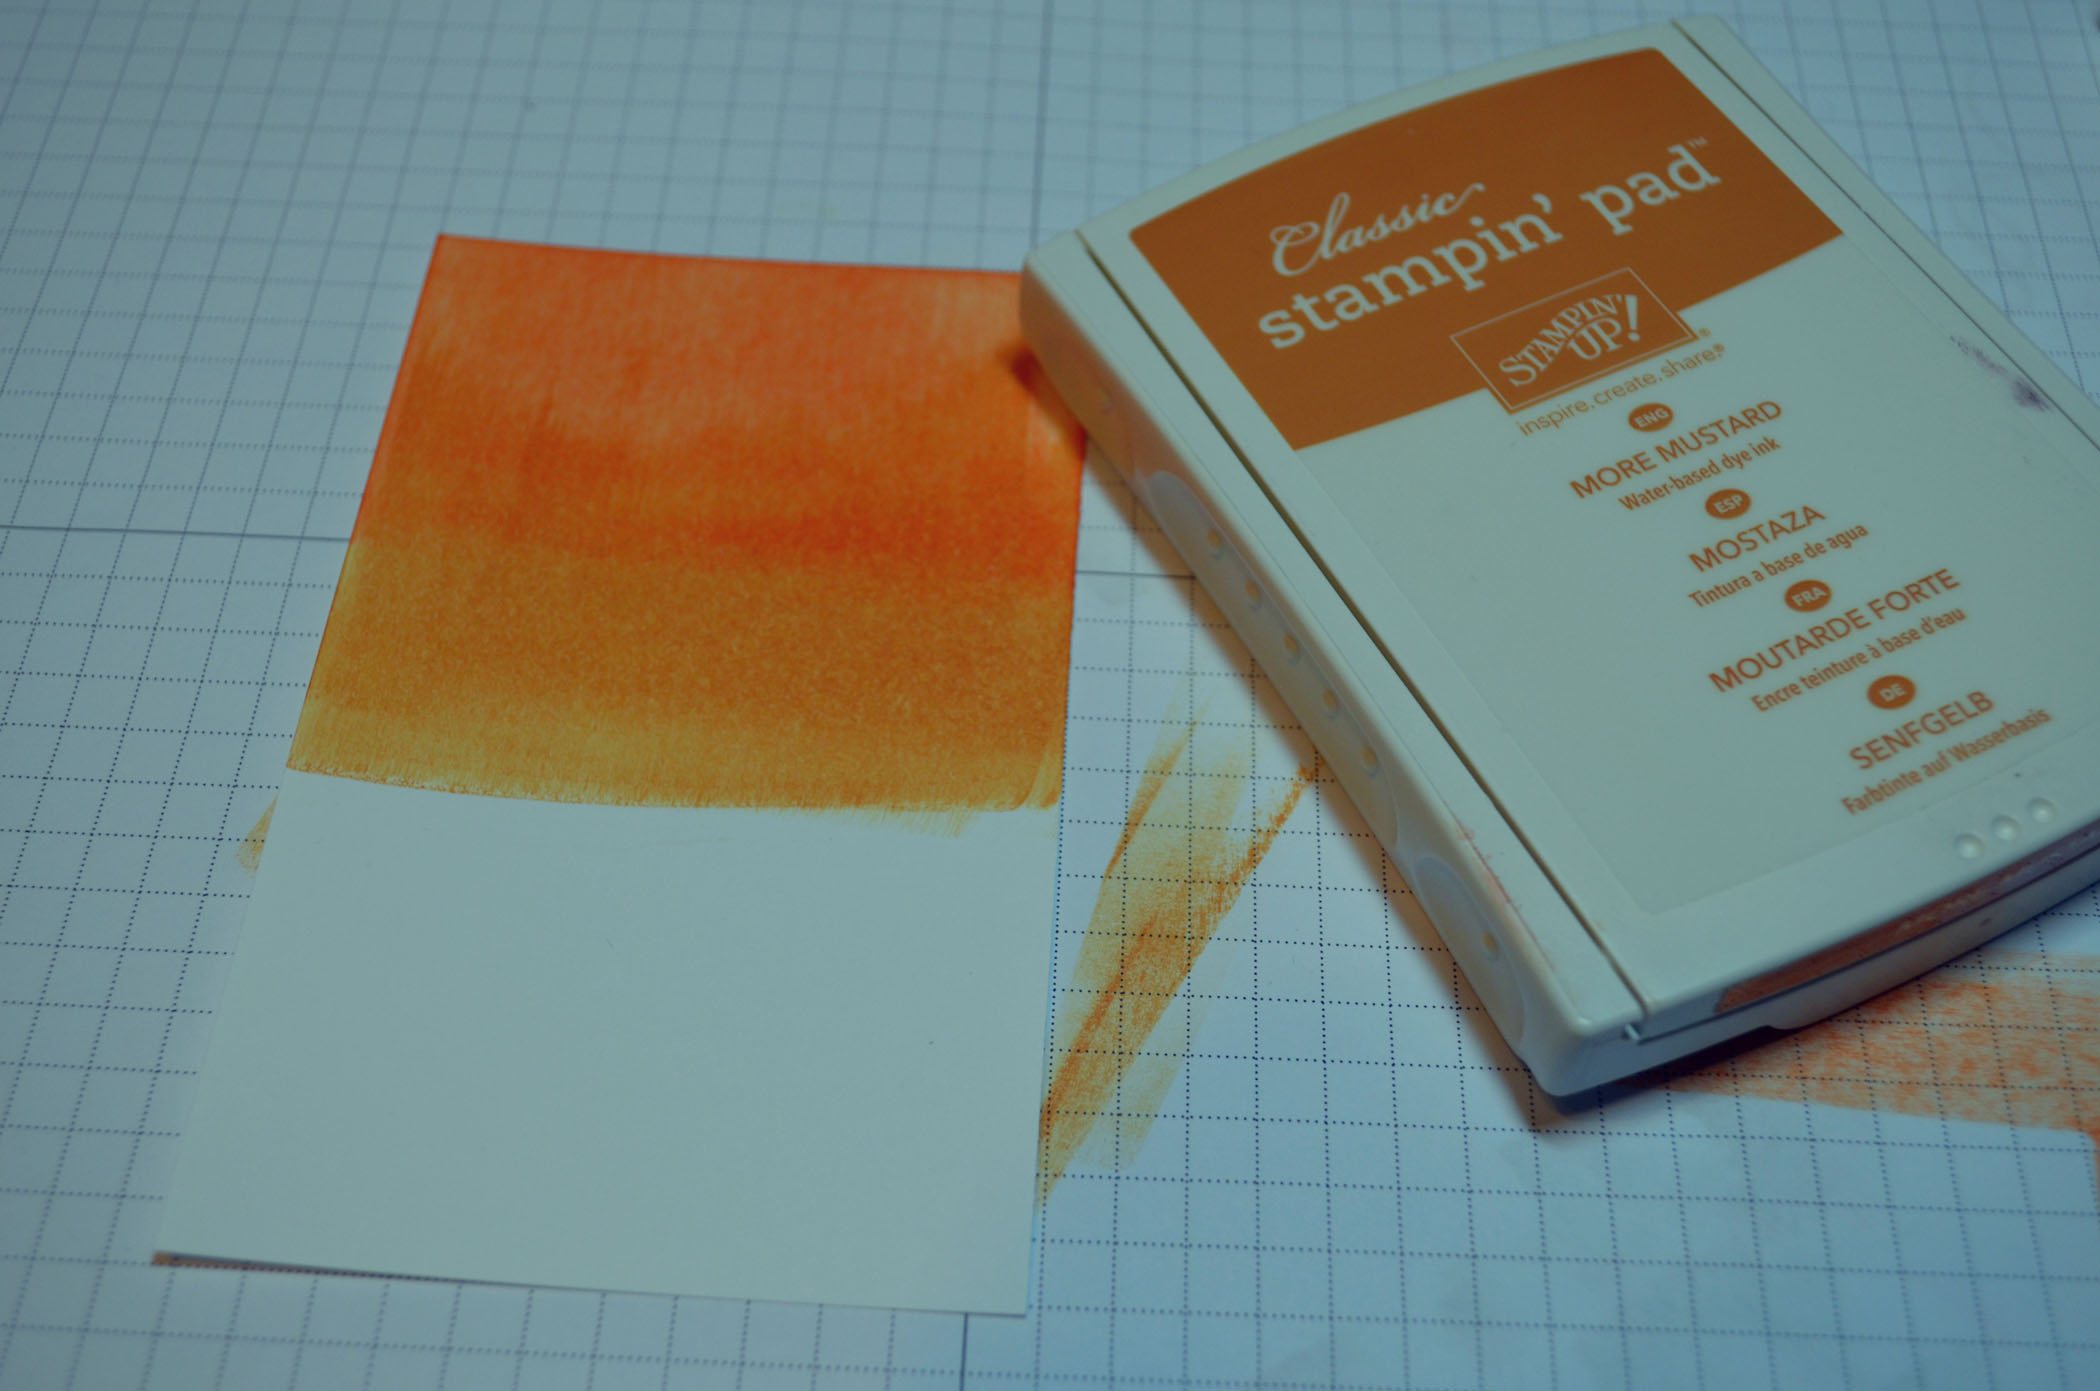
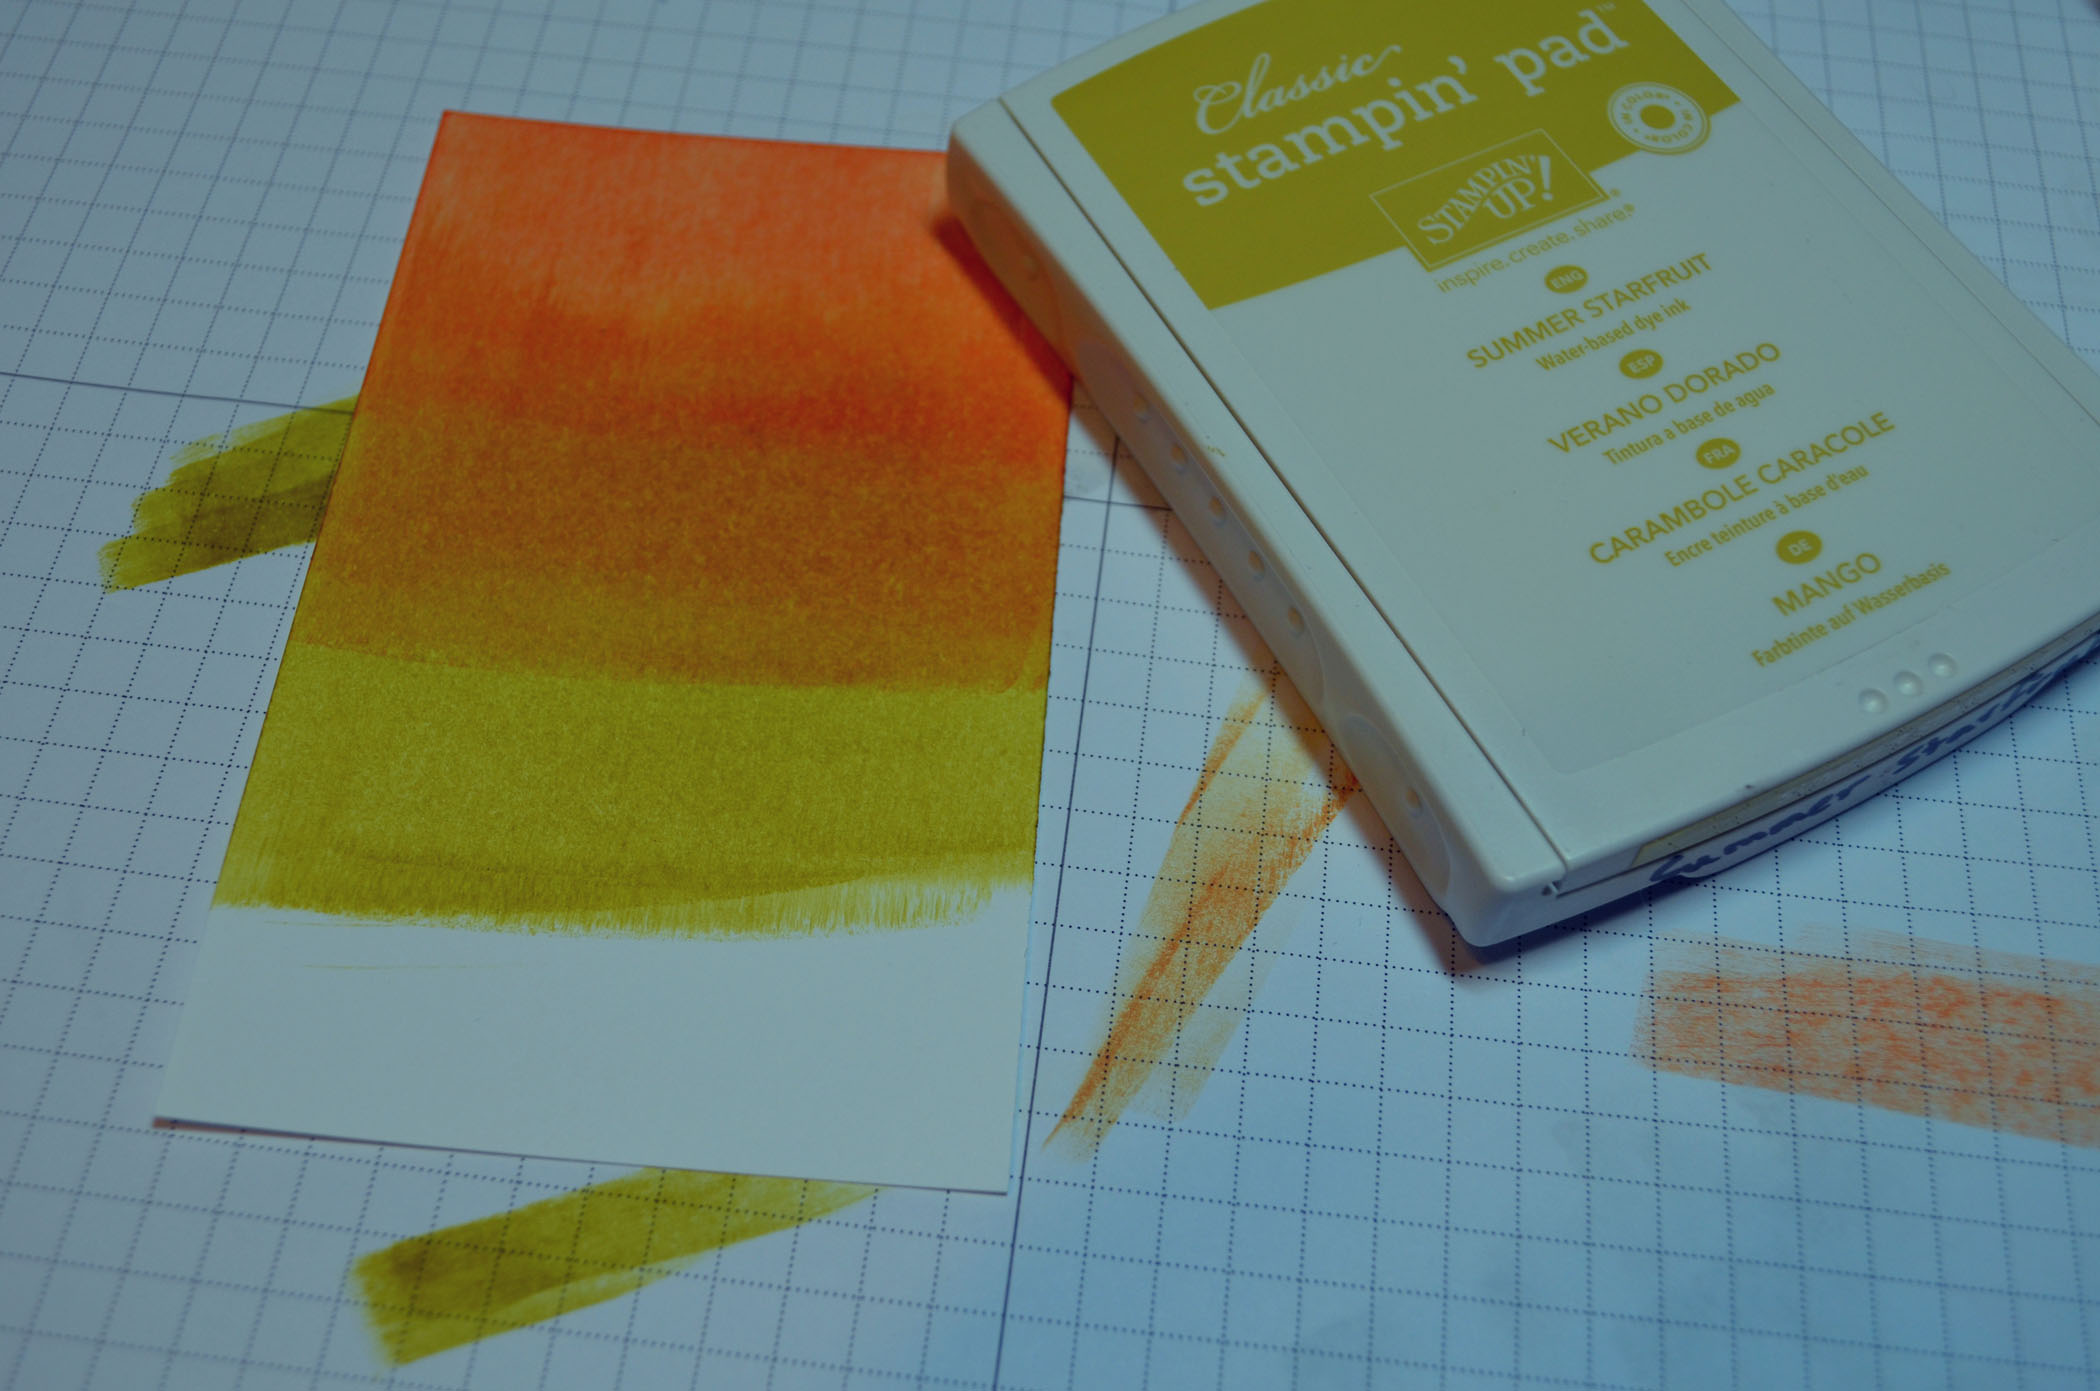
For the sky, I used the direct to paper technique and quickly smeared the ink with the ink pad directly on the card stock. The card stock is 3.5″ x 4.5″ Whisper White. Every background you do with this method will look different.
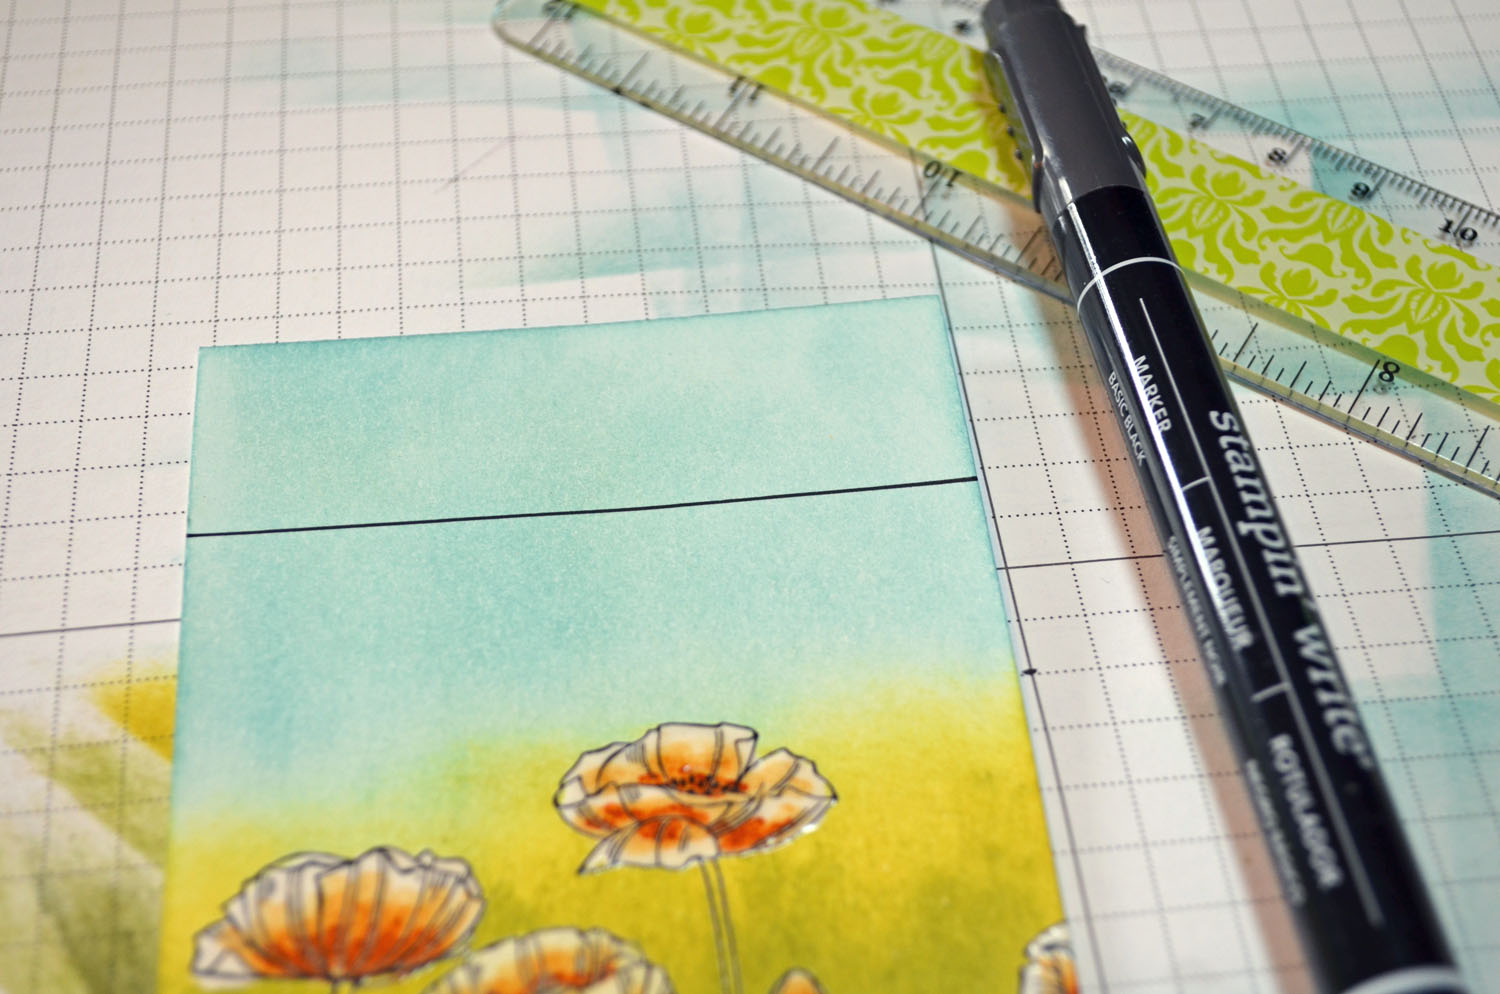
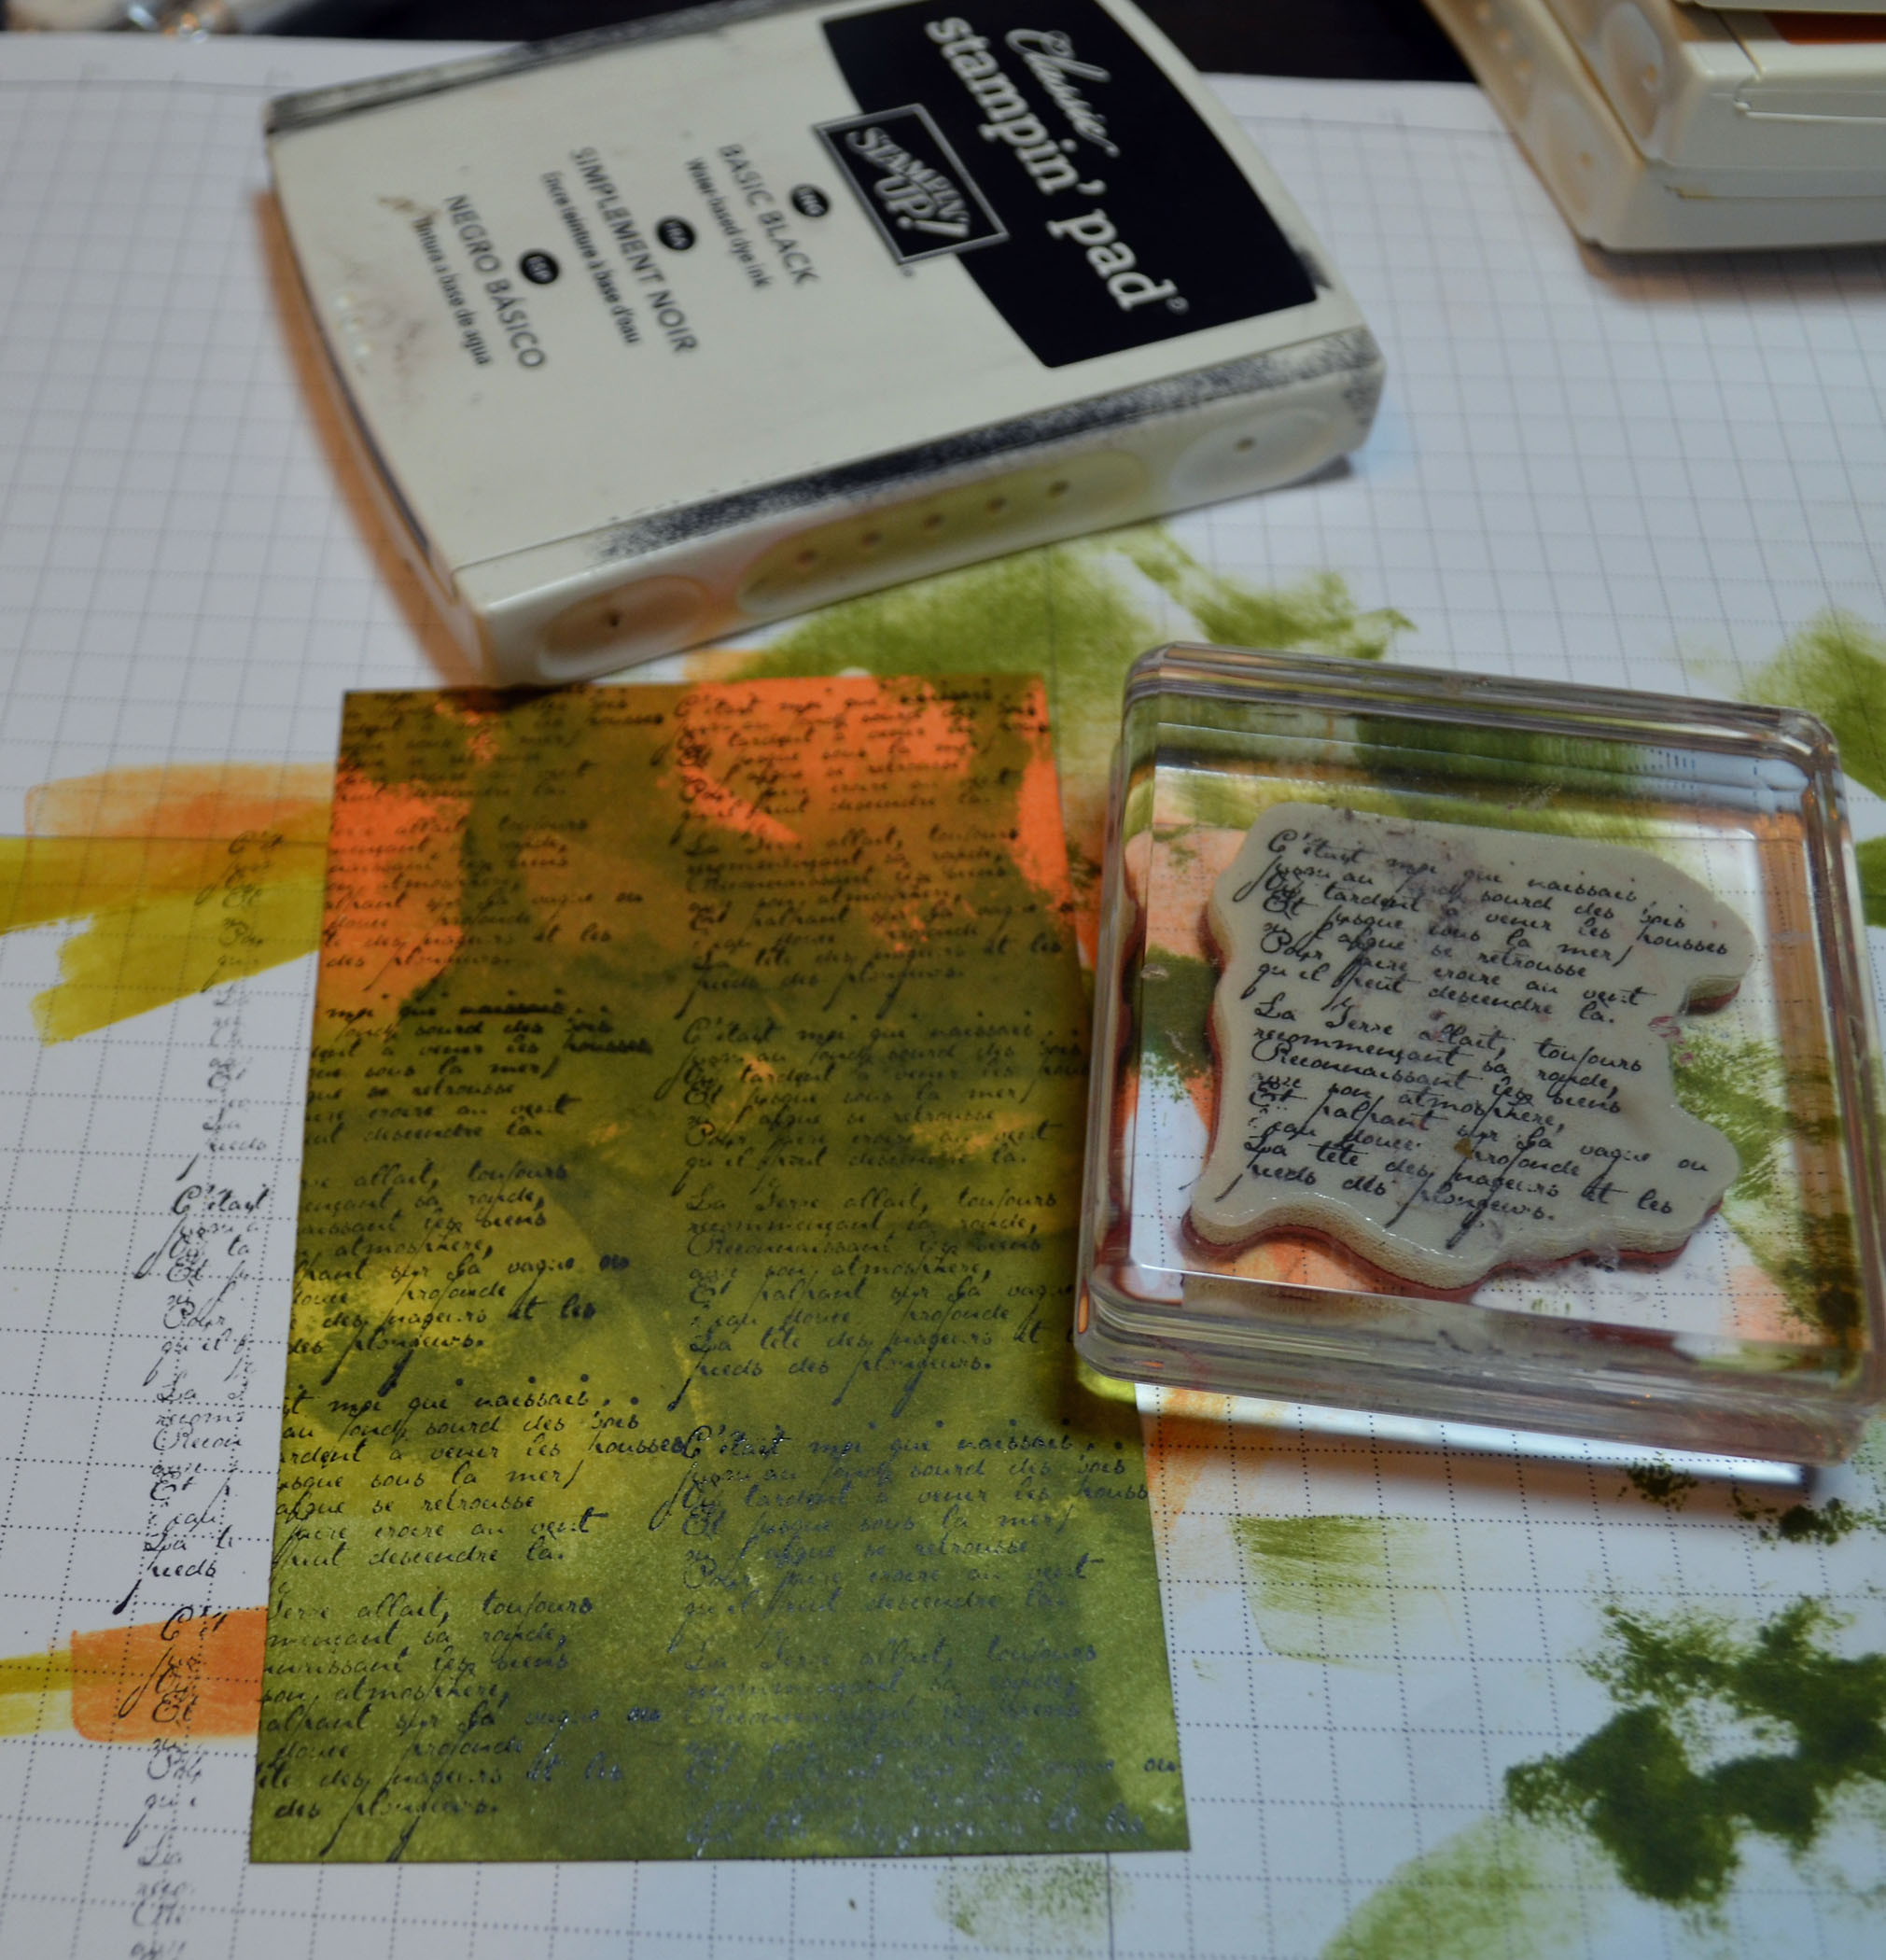
Stamped the limb using Basic Black ink.

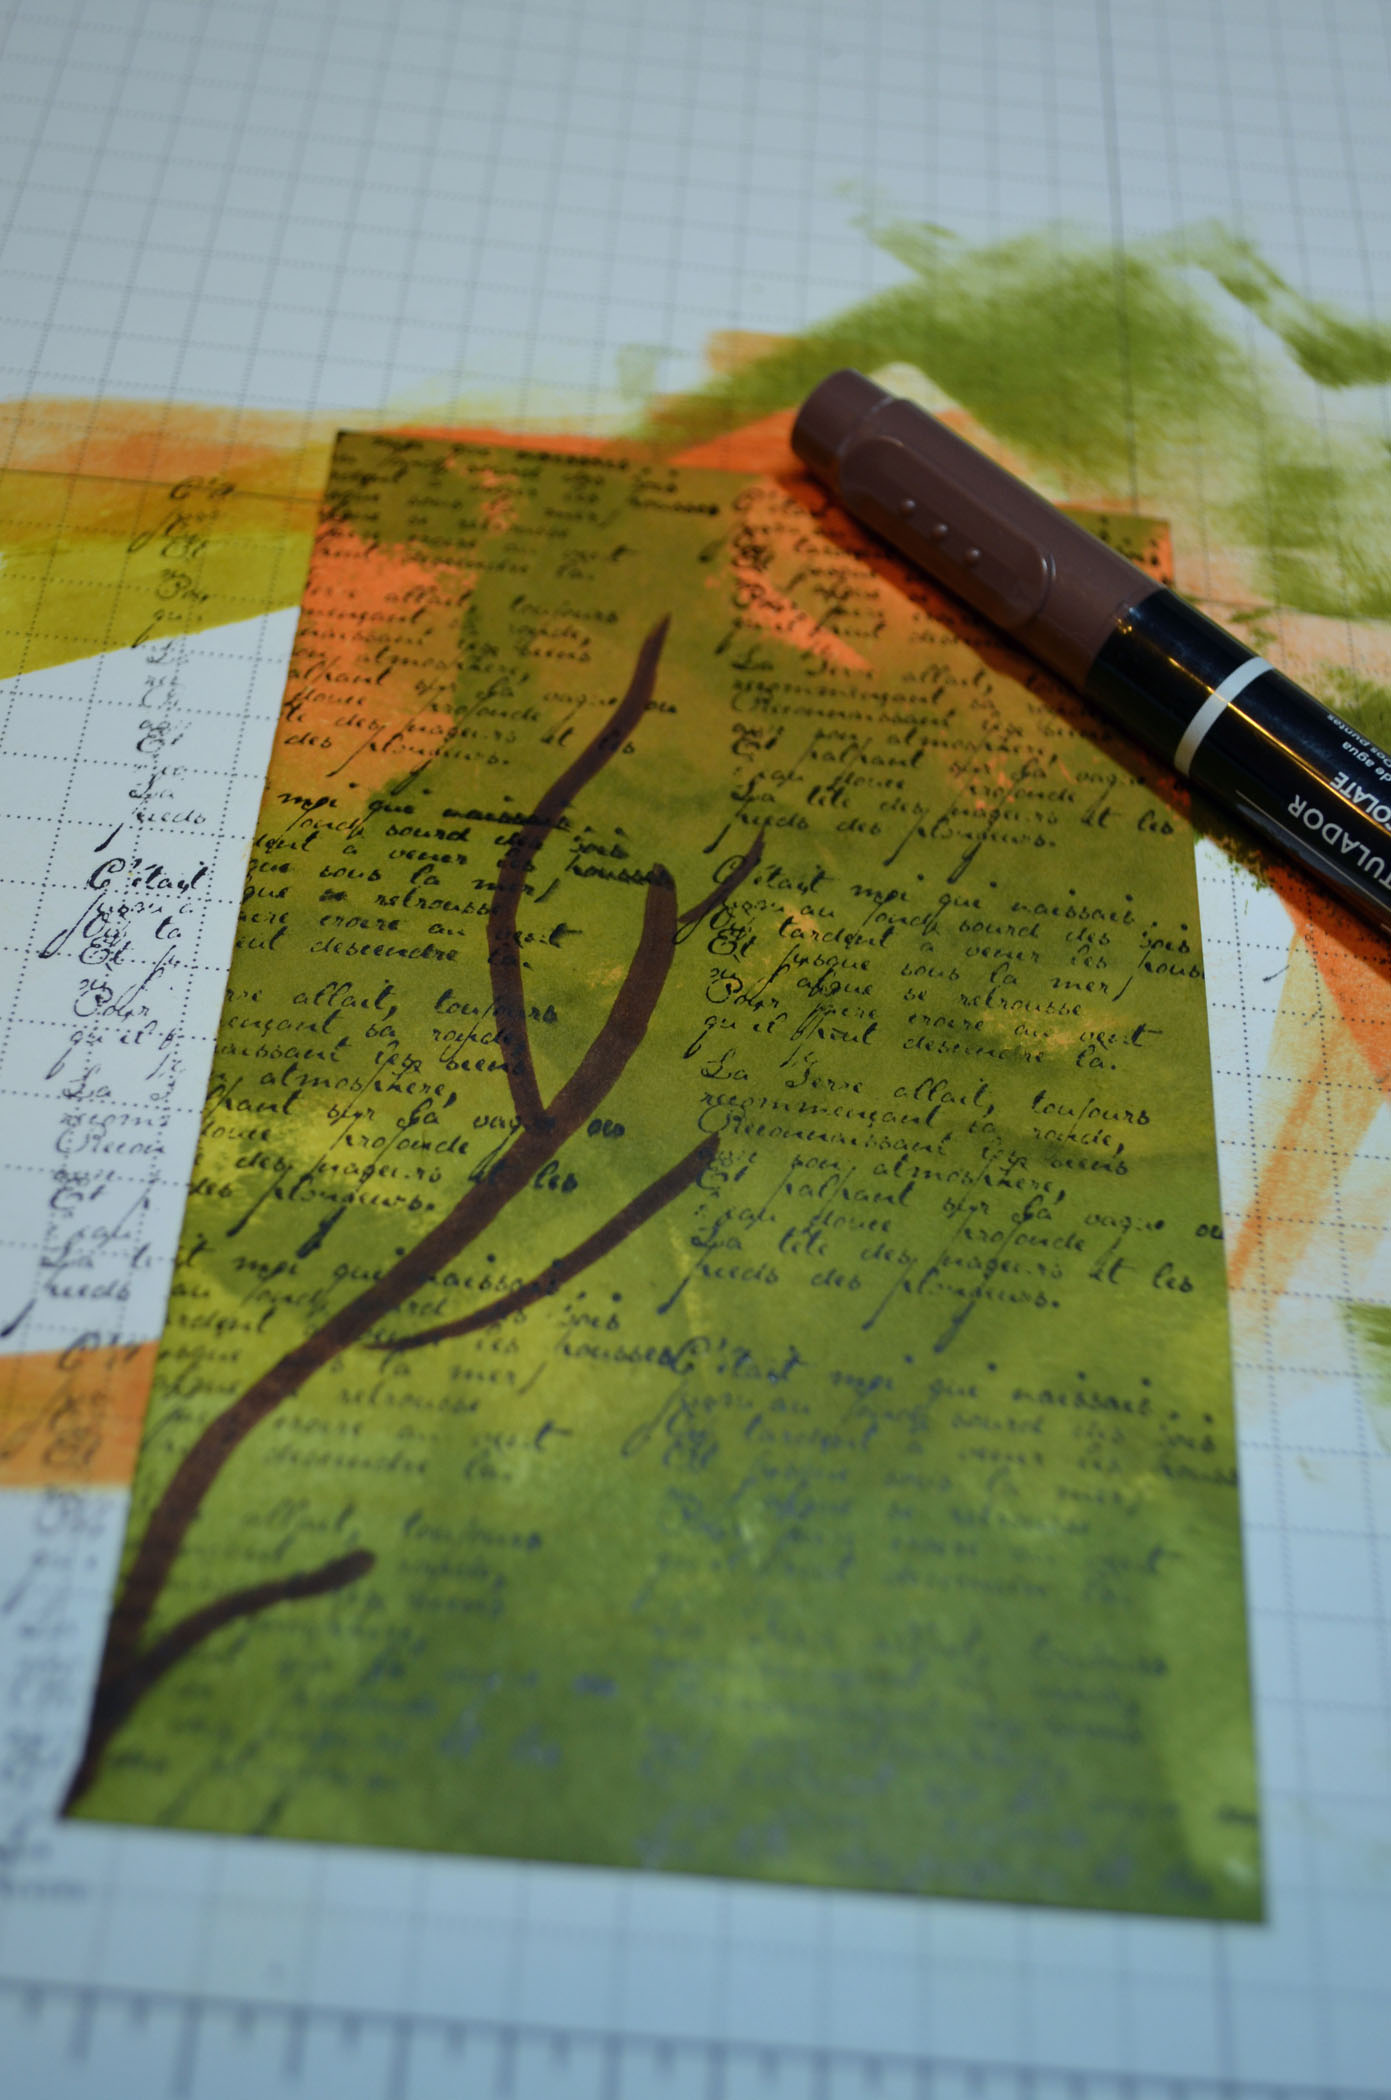
Using a ruler I added the swing seat using a Soft Suede Marker. I drew it to be 2.75″ wide.
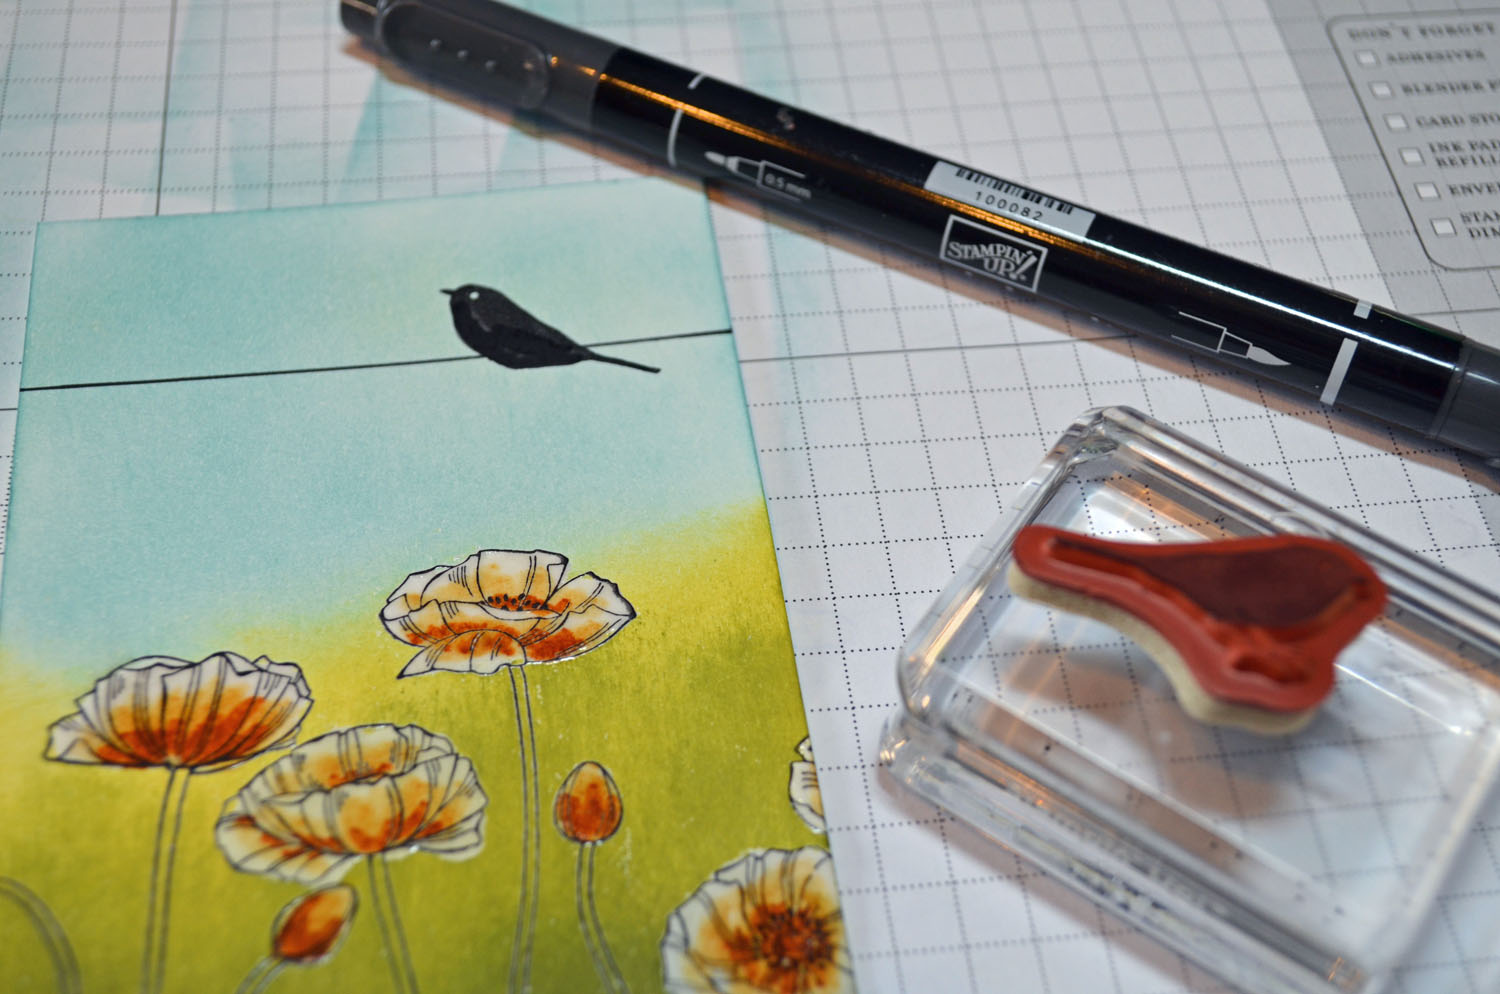
Removed the ruler and made the swing seat a bit thicker with the marker.

added the swing ropes using a ruler and a Basic Black marker.
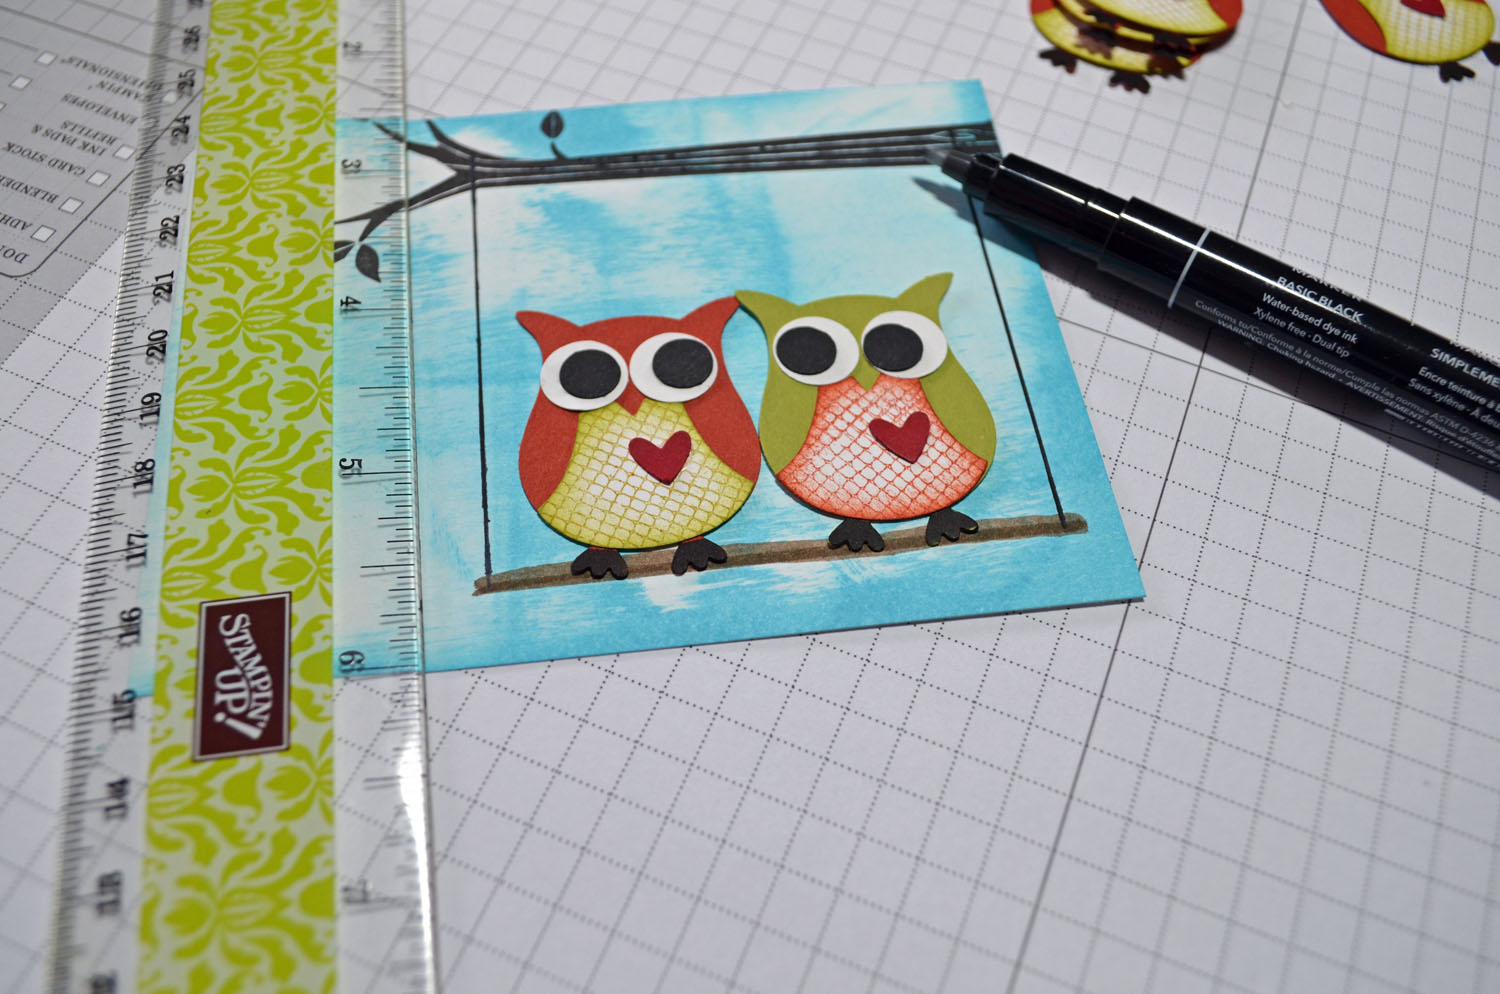
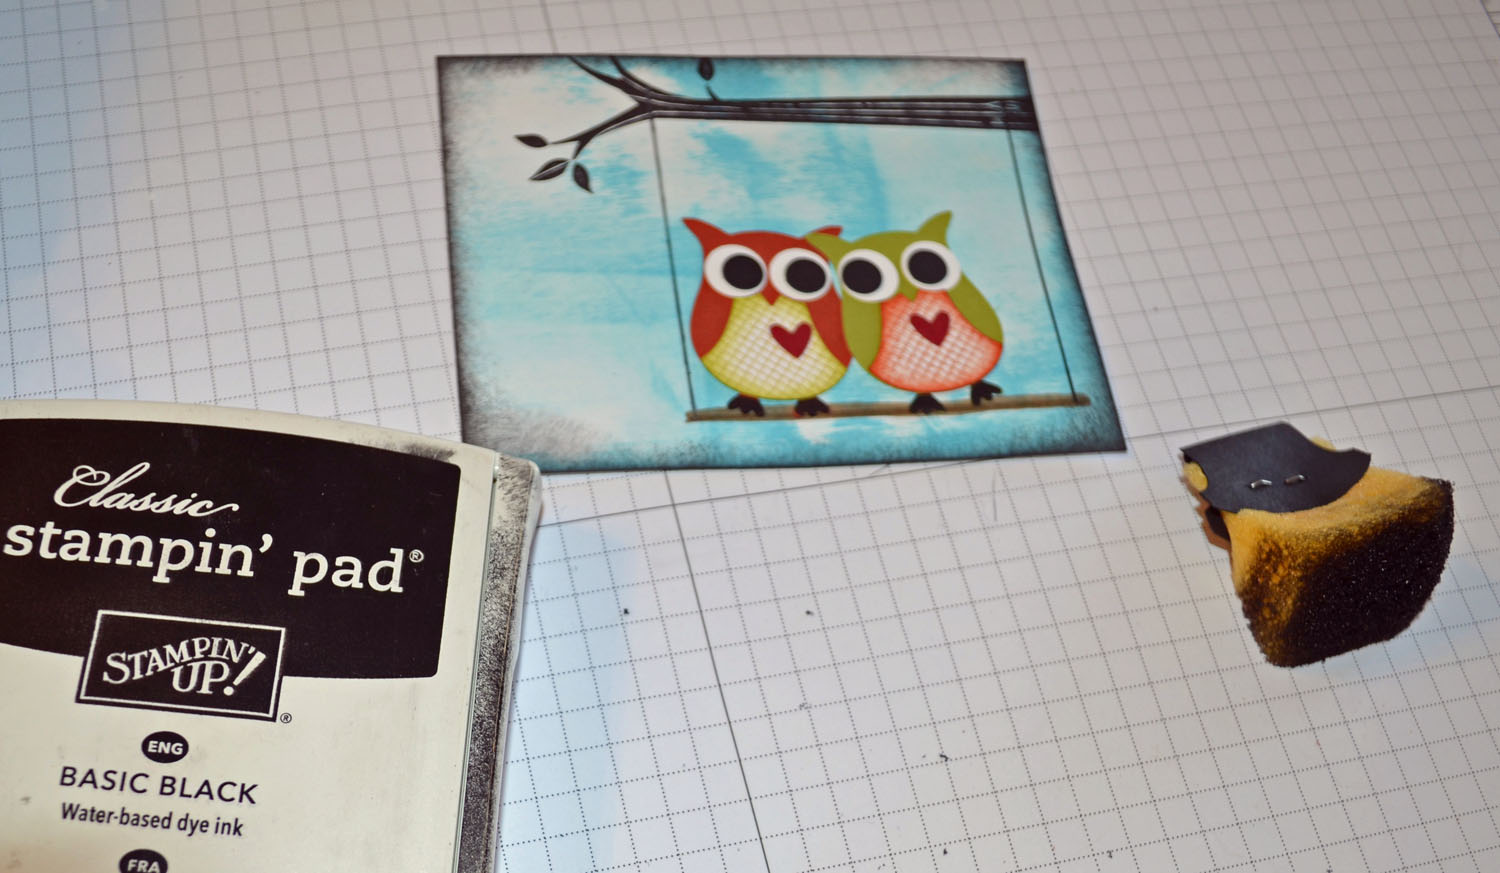
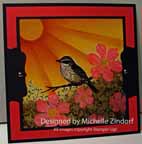
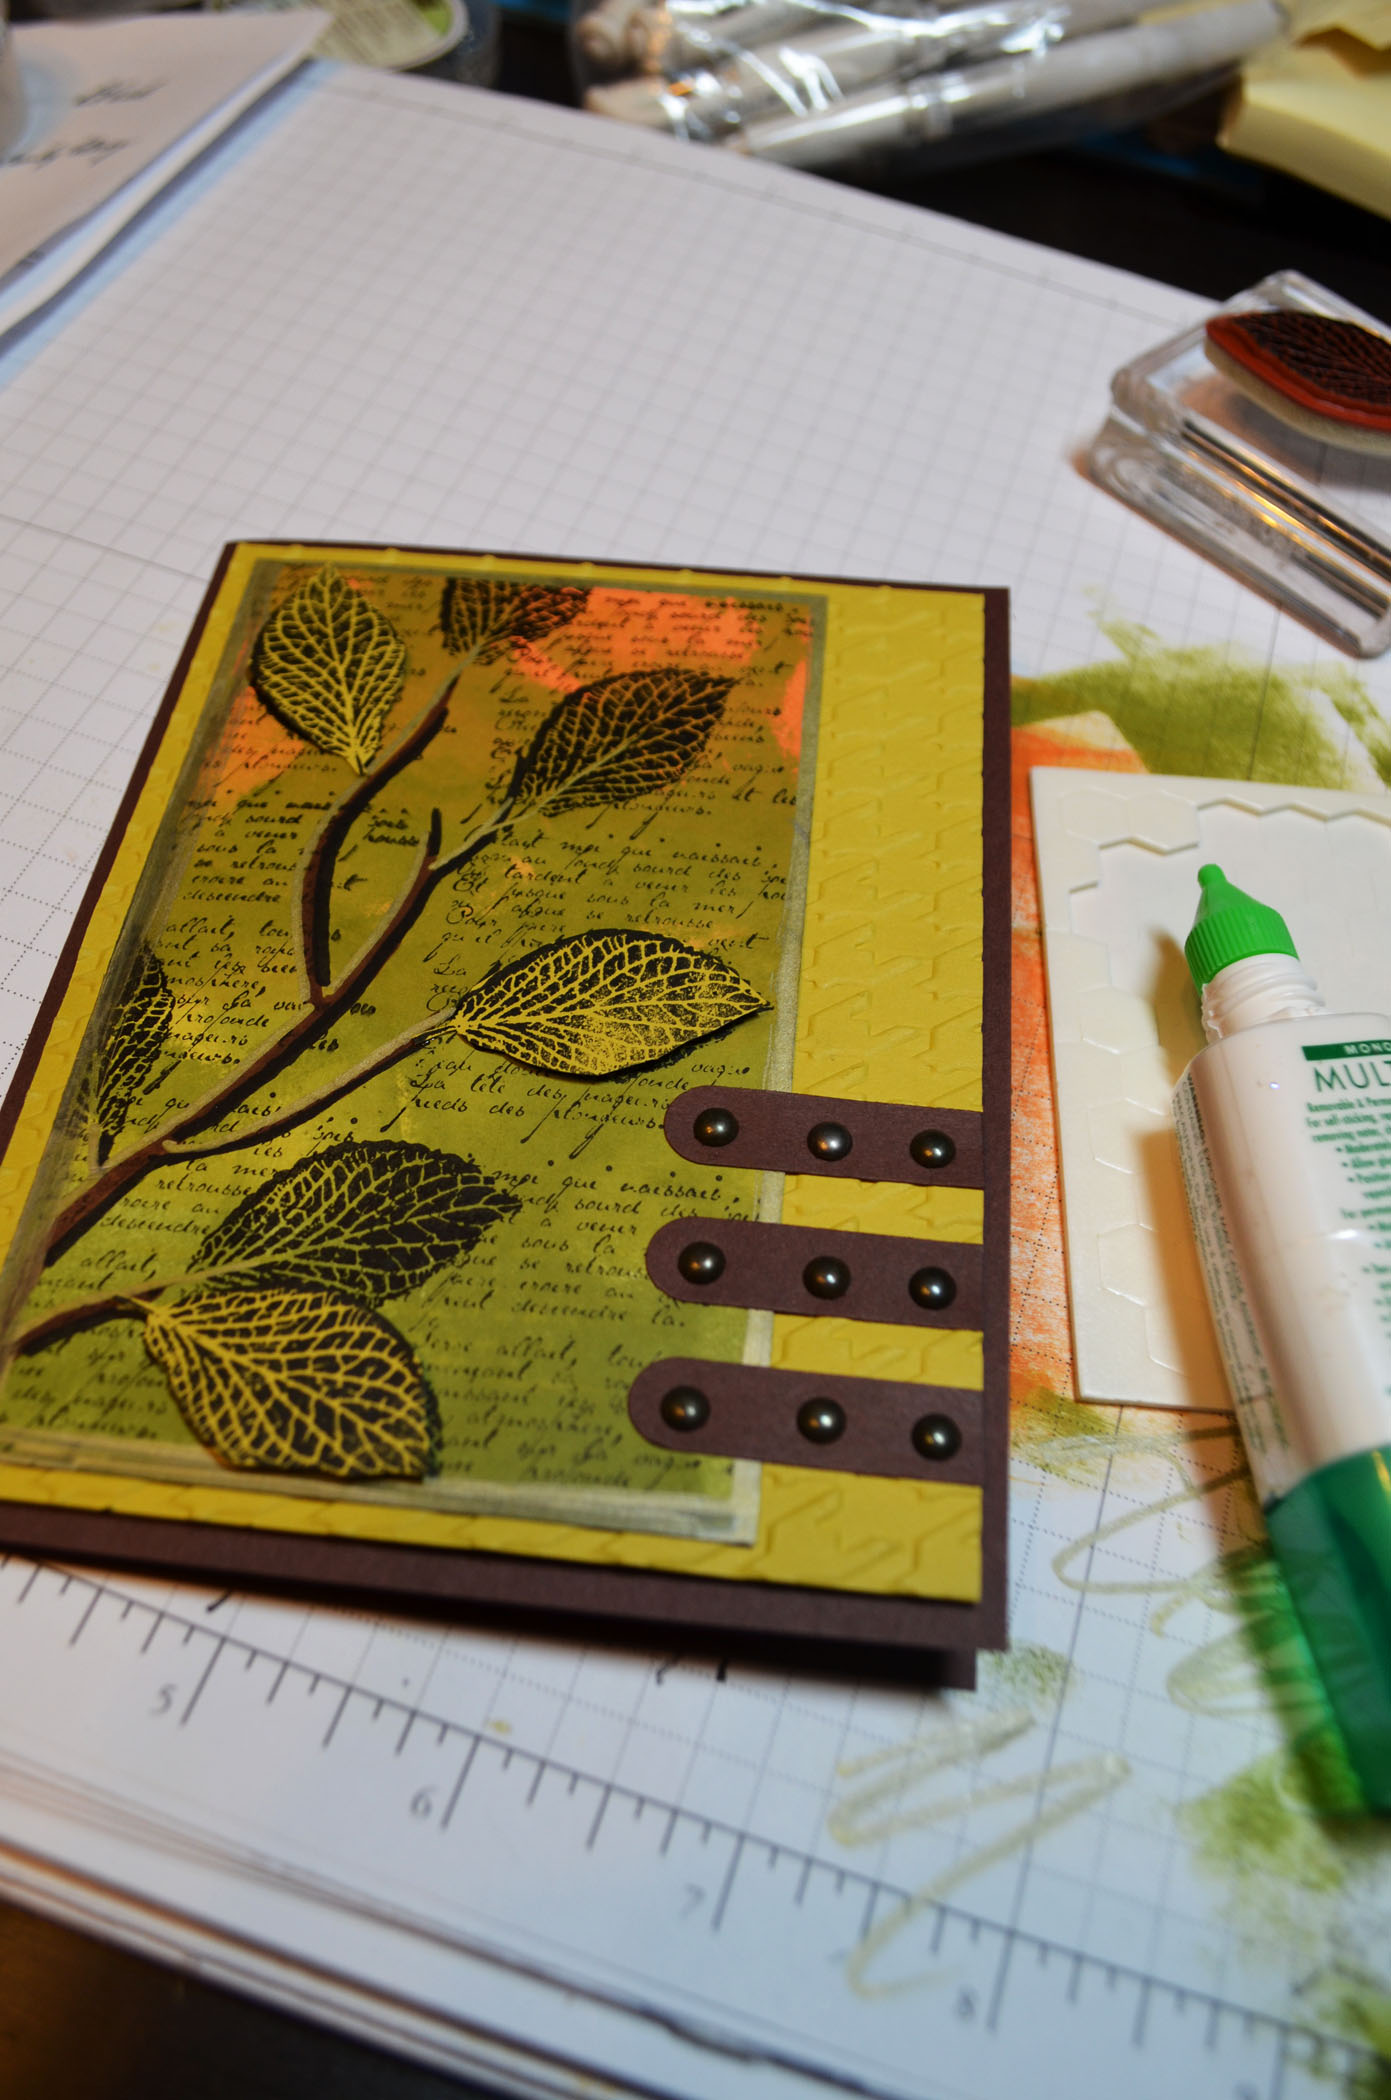
Sponged Basic Black ink around the edge of the card stock and assembled the owls and adhered them to the card stock. I tilted the owl on the right so it looks like it is snuggling up with the one on the left.
Added a 3.75″ x 5.25″ piece of Old Olive card stock and then pierced the right and left side of the Old Olive panel.
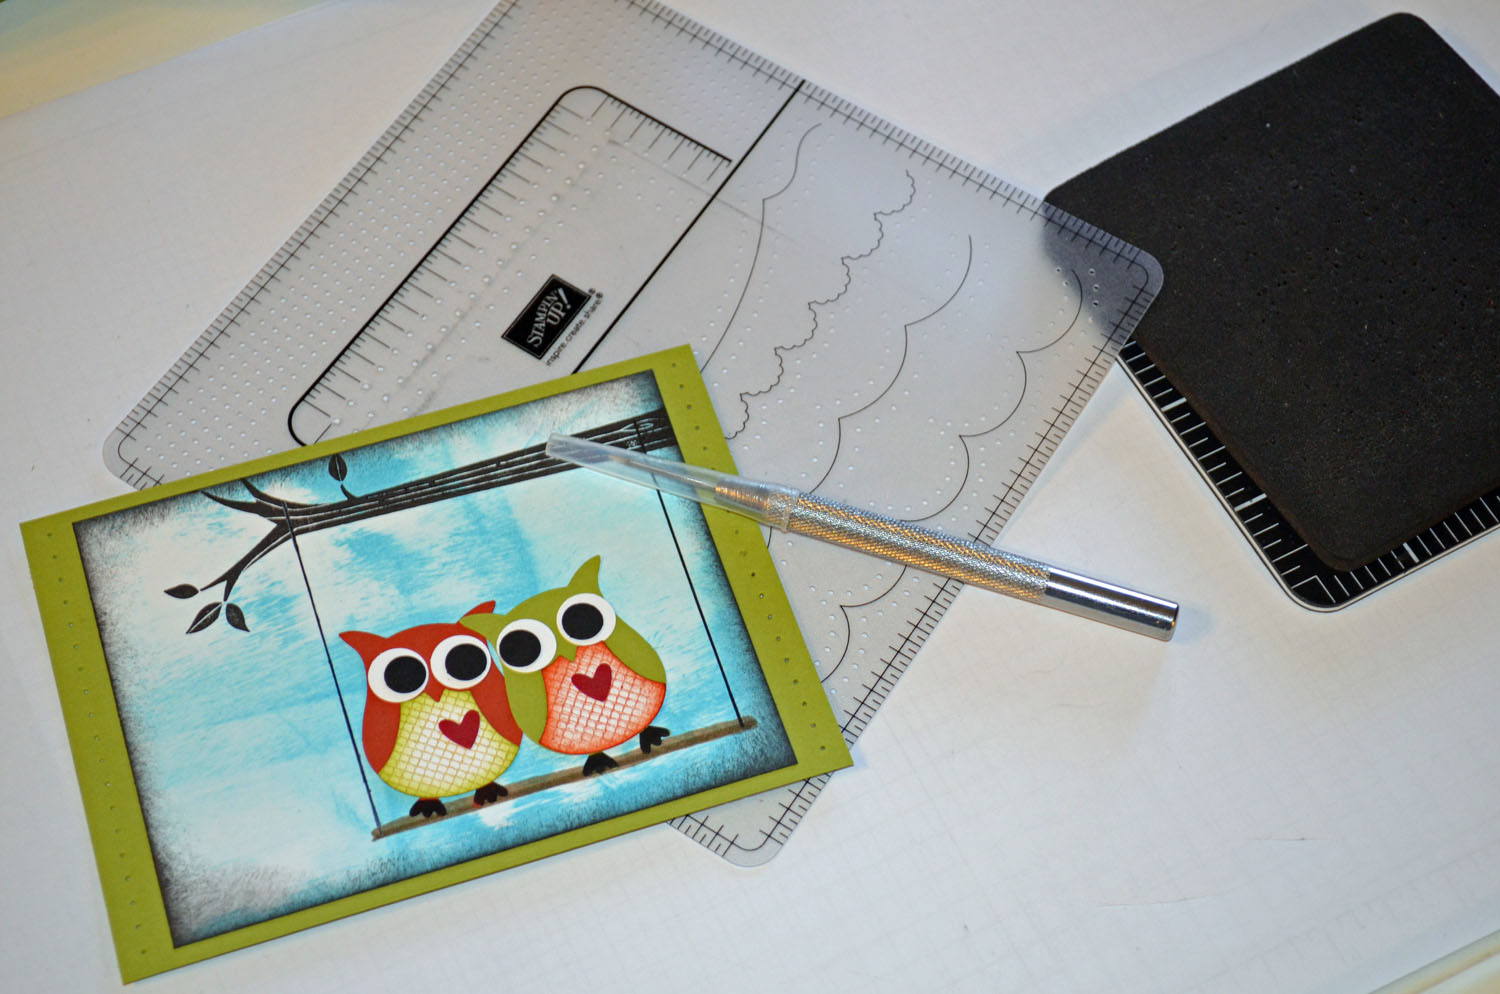
Added a Tempting Turquoise card base measuring 8.5″ x 5.5″ folded in half.
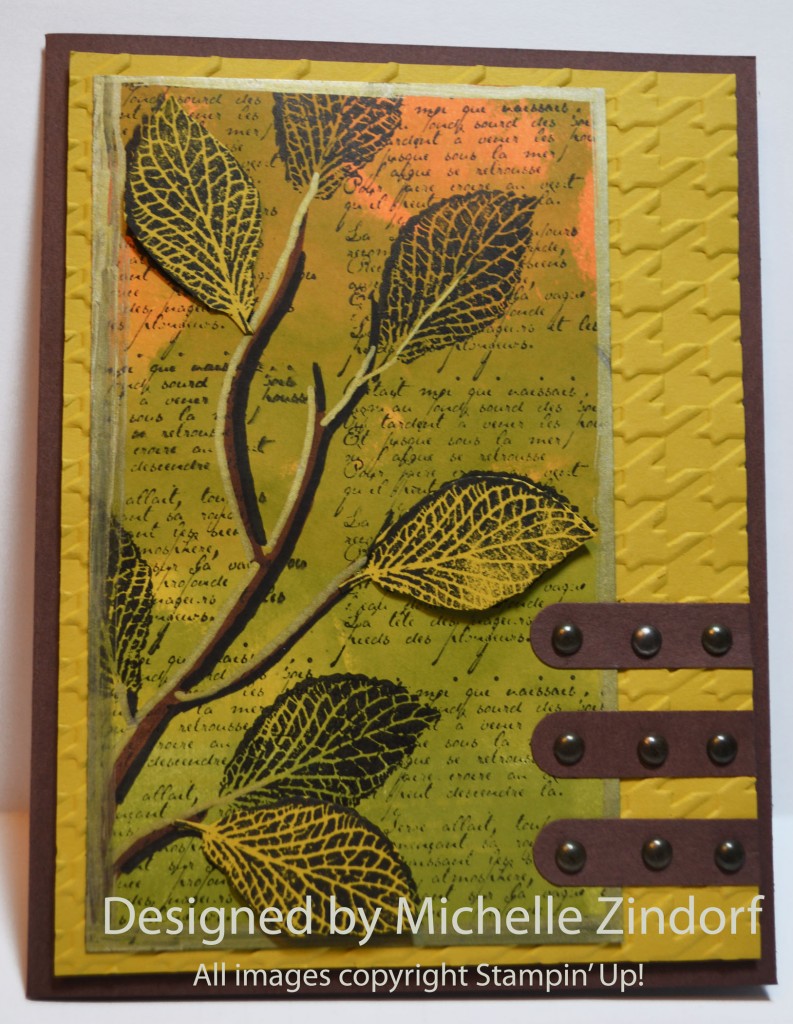
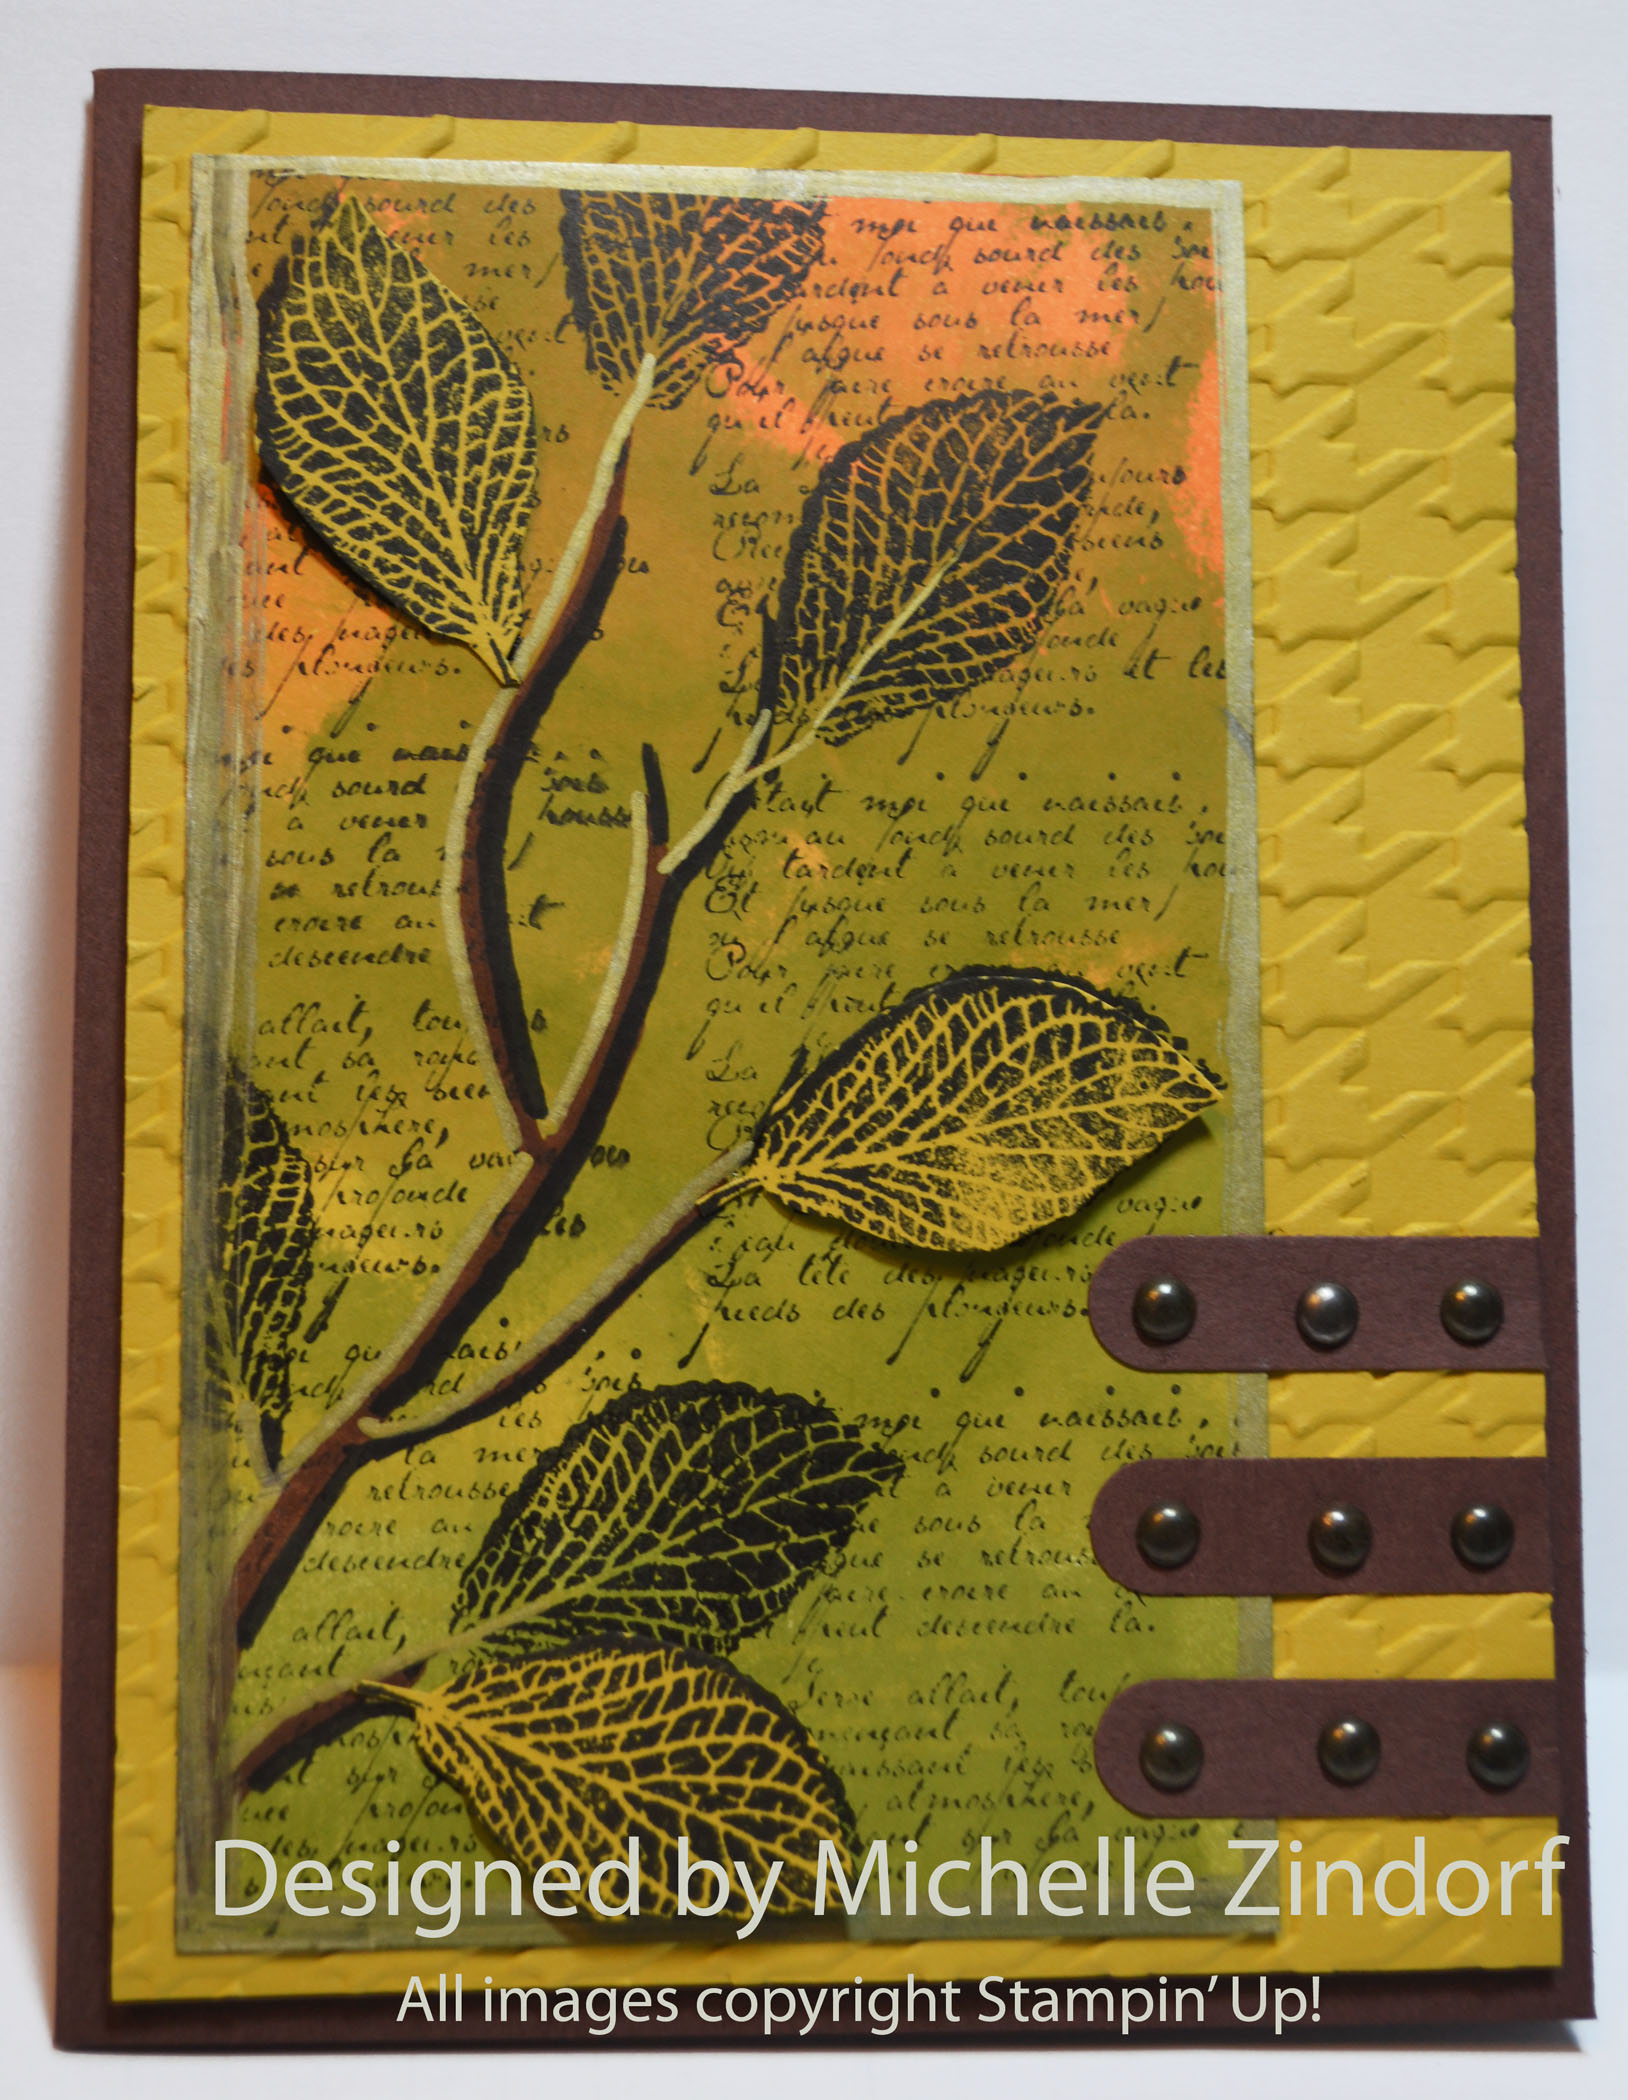
Here is the finished card.

May your day be spent with someone you love.
Check out all the great things happening at Stampin’ Up! below.
Until my next post. . . . . .
Hugs,

*******************************************
Weight loss in 2013: 6.6 lbs
*************************************************
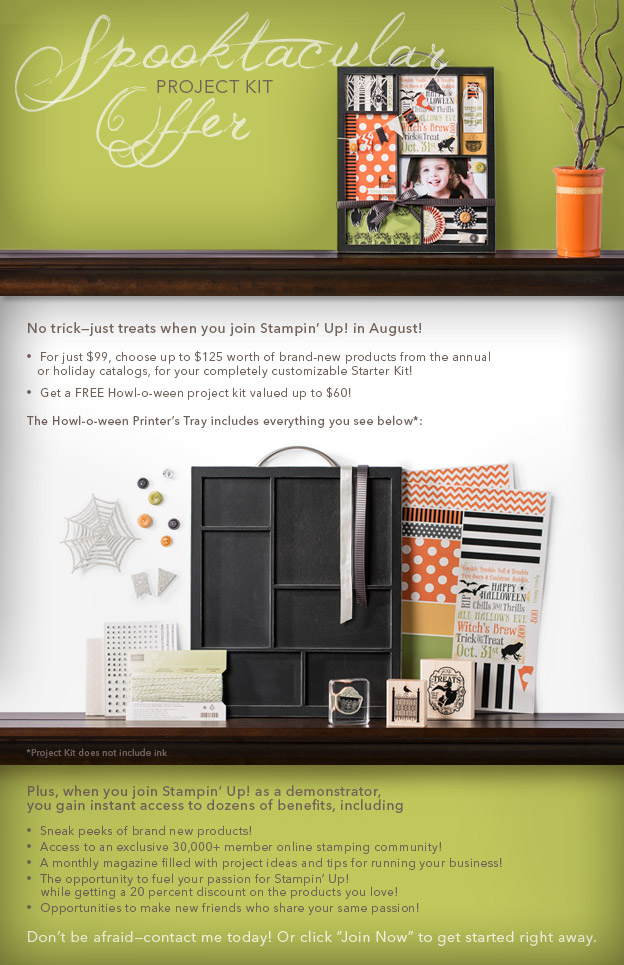
It’s a Magical Paper Escape Every Month!
Check this out, you can now get a monthly kit called Paper Pumpkin from Stampin’ Up! that includes exclusive stamps and everything you will need for a great project. You can get more info on this great product at www.mypaperpumpkin.com They even have a try me kit! You won’t want to miss out on even one of these kits. . . . . . .
Also. . . . . . .
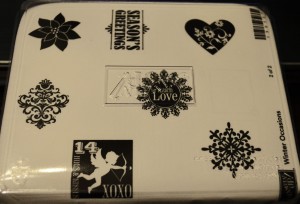
There is now a great stamp kit, Dude Your Welcome, for the men in your life. Check it out!
Guys don’t always have the easiest time expressing themselves, but with the Dude, You’re Welcome! kit, they’ll have
- Four wood-mount stamps (double-mounted) with the perfect sentiment for every occasion
- Twelve 4″ x 6″ postcards in four different (manly) colors
- Twelve gray envelopes
- A Basic Gray Classic Stampin’ Pad
- An instructional guide (for the most novice stamper!)
Basically, the kit includes everything a dude needs to create the perfect manly card that any woman would adore, all packaged in an appropriately masculine box.
This set can be purchased now with item number 132807. Great gift idea!
********************************************
CLICK HERE TO SEE THE LATEST STAMPIN’ UP! PROMOTION AND TO SHOP NOW!


************************************************************
Check out the brand new Spring Catalog and get all those supplies you need for you up coming projects.

**********************************************************
![]()
Have you checked out the great clearance rack at Stampin’ Up! CLICK HERE
New items added!
CHECK OUT MY STAMPING EVENTS Click here to see my event calendar


