
Hi There,
Well life is getting back to normal now that Russ’ ticker is ticking correctly. 🙂 Whew!
Anyhow, my Sis, Sonja is here visiting from Colorado and has been on a mission creating cards. She doesn’t stamp much at her home but when she visits me she likes to take full advantage of my stamp room, grin. It’s always fun seeing your obsession through someone else’s eyes. Makes me realize how blessed I am to have all the crafting supplies that I have. And yes, you really realize what an abundance of stuff you collect. The one with the most stamps at the end wins, right?
Since my Sis wants to hang out in my stamp room I decided to start making my Christmas cards. I’m not one to crank out 150 cards of one design. Mass production is definitely not my thing. So today’s tutorial is one of many Christmas card designs that I will be sending out personally to friends and family. This one comes together very quickly. I hope you enjoy the tutorial below, as much as I enjoyed making it.
Please have a safe and wonderful Thanksgiving week!
***************************************************************************
Looking for retired Stampin’ Up! stamp sets? Check out my sales page, CLICK HERE.
***************************************************************************
Reminder. . . . .
I have something to give away to one of my Stampin’ Up! customers. For the month of November, 2o11, when you place a Stampin’ Up! order using me as your Demonstrator, you will receive one entry toward a full set of Stampin’ Up! Many Marvelous Markers a $109.95 value, for each $25 increment in merchandise purchased. Place an order for $50 and get two chances and so on and so on.

About the Many Marvelous Set of Markers:
■ Dual tipped markers: .5 mm fine point and flexible brush
■ Set of 38, packaged in rigid plastic case with handle
■ Includes colors from all 4 color collections
■ Odorless, water-based dye ink
■ Coordinate with Classic Stampin’ Pads and exclusive Stampin’ Up! card stock
■ Finger grips on cap aid in easy cap removal
I hope you can get excited about this, I am! I cannot rave enough about these markers. Not sure what I would do without my set. I use them pretty much every time I create something.
I will select the winning customer on December 1, 2011 using a Random number generator. Good Luck!
CLICK HERE SHOP AT my Stampin’ Up! web site where you can shop 24/7 for all of your Stampin’ Up! products. Your order will be shipped directly to your door step straight from Stampin’ Up! You will also receive a special card made by me in appreciation for your order. My customers mean the world to me. If you would like assistance with your order, please contact me at 937-344-1312 or e-mail me at mzindorf@aim.com. I will be glad to assist you.
*****************************************************************************
Now on with the tutorial. . . . .
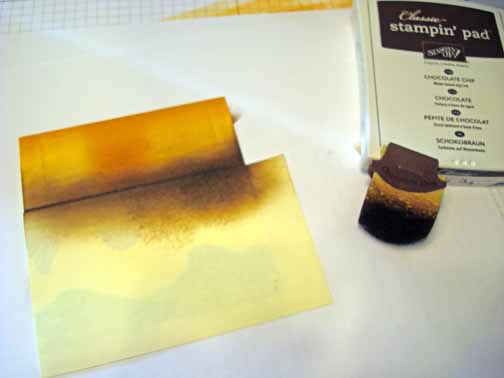
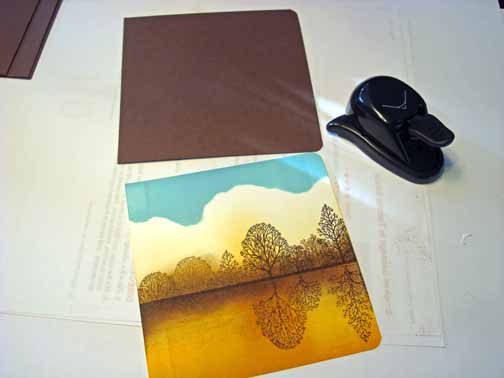
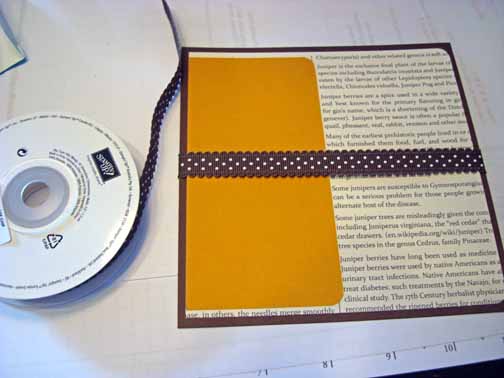
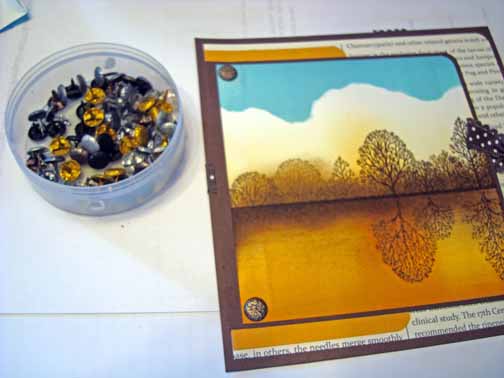
Supplies:
Stamps: Stampin’ Up! Winter Post
Card Stock: Stampin’ Up! Letters to Santa Designer Series Paper, Early Espresso, Cherry Cobbler and Soft Suede card stock.
Ink: Stampin’ Up! Early Espresso and Basic Black
Accessories: Stampin’ Up! Cherry Cobbler Ribbon, Snowflake punch, sponge, post it note.
Want a free copy of the brand new Stampin’ Up! Holiday Mini Catalog? Just e-mail your address and I will get one right out to you. Get your copy of the new 2011-2012 Stampin’ Up! Idea Book & Catalog by sending $9.95 to me at P.O. box 116, West Alexandria, Ohio 45381 or via paypal to mzindorf@aim.com, shipping is free. ![]() Are you getting inspiration from this blog? One way you can help support it is to order your Stampin’ Up products through me. Click HEREto place an order and have your ordered delivered directly to your door step from Stampin’ Up! Want to become a Stampin’ Up Demonstrator , receive a 20% discount on product and earn instant income on orders? Consider being part of my Stampin’ Up Team and start your own business or become a Hobby Demo just for the discount. Click HERE for more information.
Are you getting inspiration from this blog? One way you can help support it is to order your Stampin’ Up products through me. Click HEREto place an order and have your ordered delivered directly to your door step from Stampin’ Up! Want to become a Stampin’ Up Demonstrator , receive a 20% discount on product and earn instant income on orders? Consider being part of my Stampin’ Up Team and start your own business or become a Hobby Demo just for the discount. Click HERE for more information.

Cut my card stock layers, the picture show layers largest to smallest with measurements (Early Espresso, Cherry Cobbler, Letters to Santa Designer Paper and Soft Suede.

Sponged two Early Espresso ink spots on the Soft Suede main image panel. The spots are where I will be punching out the snowflakes.

Punched out 2 snowflakes.

Ripped a hill shape in a post it note and put it on my card stock as a mask to create the hill shape by sponging in Early Espresso ink.

Stamped the deer using Basic Black ink.

Adhered the main image panel to the Designer Series paper.

Assembled the rest of my card and added Cherry Cobbler ribbon. Here is the finished card measuring 4.25″ x 5.5″.
May your week be filled with the people you love.
Until my next post. . . . .
Hugs,

 Get ready for Brayer and Direct to Paper Workshops! I am coming to the following locations, click the location name for more information.
Dayton, Ohio – Direct to Paper Workshops
Post Falls, Idaho (outside of Coeurd’Alene)
Sand Lake, Michigan (just North of Grand Rapids)
Longmont (Gunbarrel), Colorado
Here is a link to my workshop calendar where you can see all of my travel schedule and to get info on beginner and advanced Brayer workshops, along with the newly added Direct to Paper Workshop: http://zindorf.blogs.splitcoaststampers.com/workshop-calendar
Don’t see a workshop in your State? Interested in hosting the workshops in your area Click HERE to get hostess information.
Link to my Stampin’ Up website where you can order all of your must have Stampin’ Up products from me 24-7: http://michellezindorf.stampinup.net


