
I’m in a sunny mood today, can you tell? This tutorial features the Stampin’ Up! stamp set, Awash with Flowers that will be in the upcoming Stampin’ Up Idea Book and Catalog that will be out July 1, 2010. I cannot wait!
This is a two step stamping set with lots of stamps in it, 18 to be exact. Love these big sets. 🙂
Let’s get started. . . . . . .
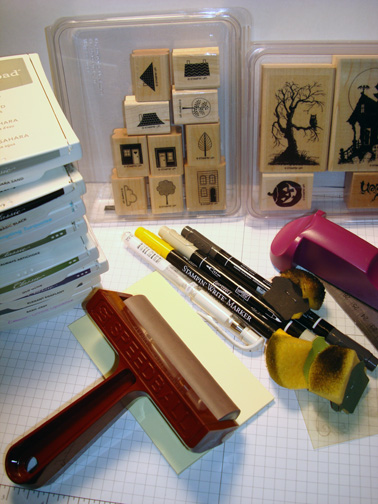
Supplies:
| Stamps: Stampin’ Up! Awash With Flowers and Medallion |
| Paper: Stampin’ Up! Whisper White, Summer Sun, Dusty Durango and Always Artichoke |
| Ink: Stampin’ Up! Dusty Durango, Really Rust, Always Artichoke, Old Olive, Pumpkin Pie, Basic Black, Green Galore and Summer Sun |
| Accessories: Stampin’ Up Markers, White Gel Pen, sponge, Brayer, Photo corner Punch, Circle Die, Big Shot and Old Olive brads |
Live in the USA and need a copy of the Summer Mini Catalog? E-mail your mailing address to mzindorf@aim.com and I will get one in the mail to you. ![]() Are you getting inspiration from this blog? One way you can help support it is to order your Stampin’ Up products through me. Click HERE to place an order. Want to become a Stampin’ Up Demonstrator , receive a 20% discount on product and earn instant income on orders? Consider being part of my Stampin’ Up Team and start your own business. Click HERE for more information.
Are you getting inspiration from this blog? One way you can help support it is to order your Stampin’ Up products through me. Click HERE to place an order. Want to become a Stampin’ Up Demonstrator , receive a 20% discount on product and earn instant income on orders? Consider being part of my Stampin’ Up Team and start your own business. Click HERE for more information.

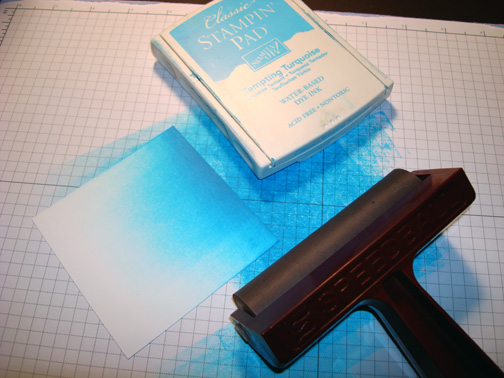
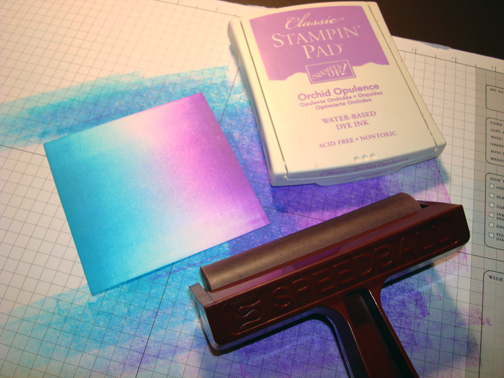
Started by using my Big Shot Die cut machine and the circle die to cut a circle from Whisper White card stock.  Brayered Summer Sun ink on the circle.
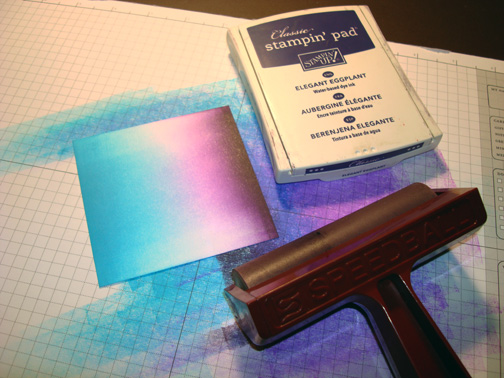
Brayered Pumpkin Pie ink on the circle, not covering the Summer Sun ink entirely.

Brayered Green Galore ink at the bottom of the circle.

Used the edge of the pad to swipe in some Summer Sun ink grasses.

Used the edge of the pad to swipe in some Green Galore ink grasses.

Used the edge of the pad to swipe in some Old Olive ink grasses.

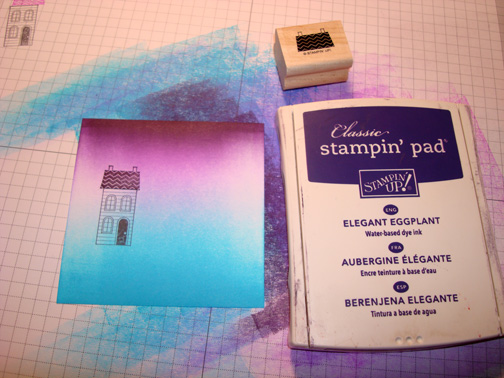
Stamped two of the outline flower stamps using Basic Black ink.

Stamped the corresponding stamps using Pumpkin Pie ink and Dusty Durango ink.


Stamped the stems using Old Olive ink and then colored them in with an Old Olive marker.

Added Really Rust marker to the bottom of the buttercup flowers and Pumpkin Pie marker to the tops of the other three flowers.

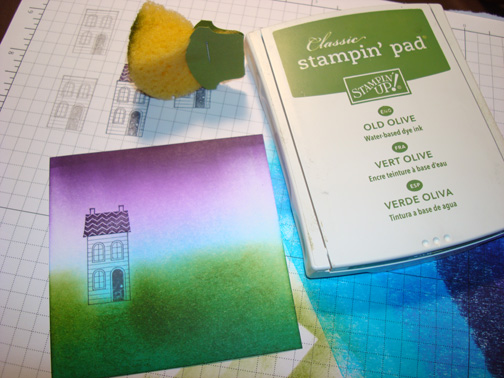
Stamped somemore foliage in the scene using Always Artichoke ink.

Stamped the corresponging stamp using Always Artichoke ink to fill them in.

Added Always Artichoke ink to the bottom of the foliage and Glorious Green marker to the tops of the foliage.


Added Ruby Red marker to the very bottoms of the flowers for shadow.

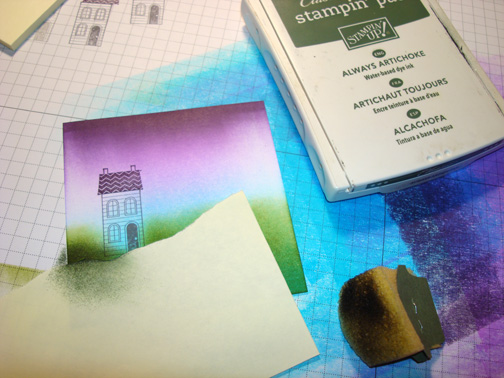
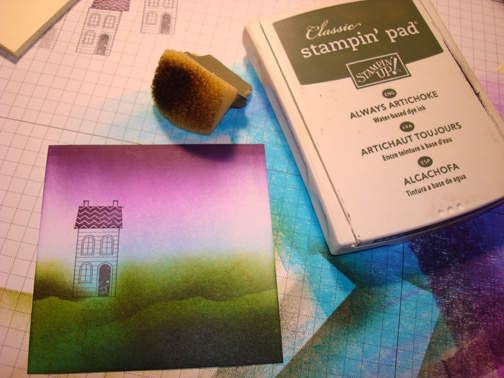
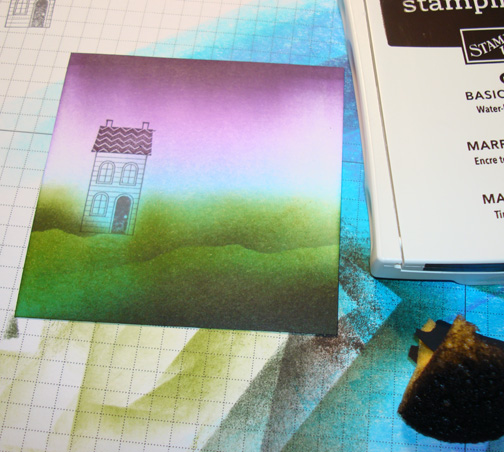
Sponged Dusty Durango ink around the edge of the card stock.

Added White Gel Pen highlights to the flowers and leaves.

Added Always Artichoke ink grasses using the edge of the ink pad.

Stamped the Medallion stamp on a 4.5″ square piece of Summer Sun card stock using Dusty Durango ink. Also sponged around the edges of the card stock using Dusty Durango ink.

Added Always Artichoke and Dusty Durango panels and Always Artichoke photo corners.

Added Old Olive brads.

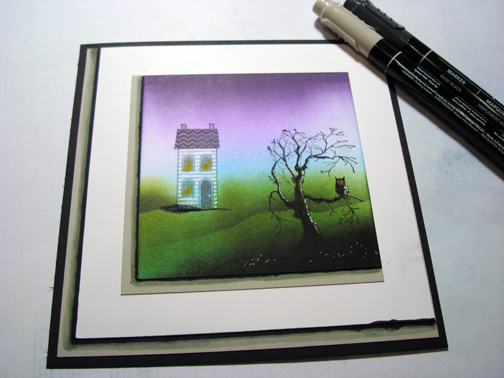
Here is the finished card measuring 5.25″ square.
May your day be filled to overflowing with sunshine.
Until my next post. . . . . . . . . . . . .
 Get ready for Brayer Workshops! I am coming to:
St. Cloud, Minnesota (2 spots available)
Rockville, Maryland (Sold Out)
North Chili, New York (near Rochester) (Sold Out)
Kenova (Huntington), West Virginia
Piedmont, Alabama (Near GA border close to Cedartown)
Auburn, Washington (near Seattle)
Here is a link to my workshop calendar where you can see all of my travel schedule and to get info on beginner and advanced Brayer workshops: http://zindorf.blogs.splitcoaststampers.com/workshop-calendar
Link to my Stampin’ Up website where you can order all of your must have Stampin’ Up products from me 24-7: http://michellezindorf.stampinup.net
Frequently asked questions answers: http://zindorf.blogs.splitcoaststampers.com/frequently-asked-questions/


