
Hey There,
I bet you thought I have fell off of the plant since I haven’t posted for so long. Well, in the last 3 weeks I had 3 trips. Two out of state brayer workshop locations and a fantastic Stampin’ Up Incentive trip to Disney with my family. Let me tell you this girl is wore out!
Here is a picture of Russ, Hailie (my grand daughter) and me in front of the magic castle. I think the clouds worked in our favor for this shot!

I have a super fun tutorial for you today. This one has a bit of Southwest feel, thanks to the Cricut Horse Die Cuts from the Yee Haw Cartridge. That’s right I have a Cricut machine. I resisted and resisted for years and then my wonderful Husband, Russ bought me the Cricut Imagine this past Christmas. Like stamps I have been collecting cartridges (over 200 now), lol. I know, I know, I have major issues. I keep my cartridges stored in these Art Bin boxes. Each box holds 16 cartridges with the books.

Anyhow, for you Cricut fans I will try to put some cricut projects up on this blog for you. Plus, I will get to use some of my stash, grin.
Reminders before I start the tutorial:
The Stampin’ Up stamp and accessory lists are out. Hop on over to my Stampin’ Up! sales page to check it out.
. . . . Check out what’s going, going, going by clicking here.
Don’t miss out on my Customer free stamp set program. Check it out! Along with a handmade thank you card from me for your order you will receive a token for each $50 in product you ordered using me as your demonstrator. After you have collected 10 tokens you will receive a free current stamp set of your choosing, a value of $39 or less. Here is a link to my online shopping page that you can shop at 24/7 (from the comfort of your home, even in your pj’s) and the products will be shipped directly to your door step from Stampin’ Up: CLICK HERE TO SHOP. My free stamp set program will be an on going program. ![]()
Now on with today’s tutorial. . . . . . .
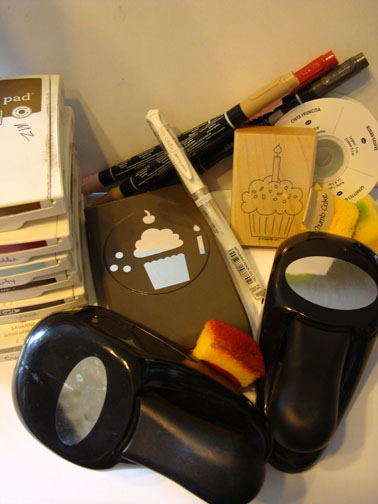
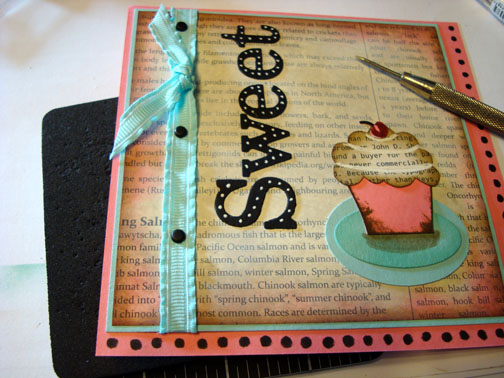
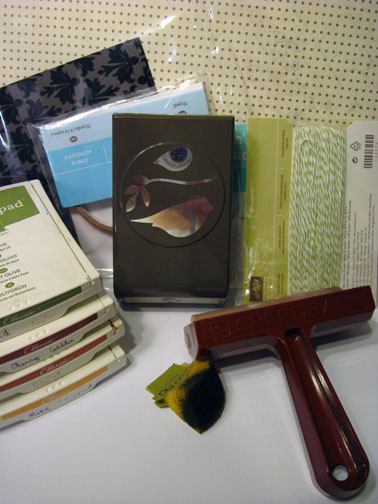
Supplies:
Stamps: None
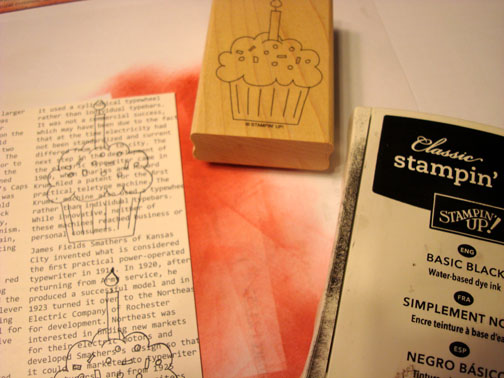
Card Stock: Stampin’ Up! Basic Black, Whisper White and Crumb Cake
Ink: Stampin’ Up! Basic Black, Soft Suede, More Mustard, Cherry Cobbler and Cajun Craze
Accessories: Stampin’ Up! Sponges, 2.5″ Circle Punch, Decorative Label Punch, Brayer, Antique Brads, Gold Brads, Post it Notes, Cricut Imagine Machine, Yee-haw Cricut Cartridge.
![]() Are you getting inspiration from this blog? One way you can help support it is to order your Stampin’ Up products through me. Click HEREto place an order and have your order delivered directly to your door step from Stampin’ Up! Want to become a Stampin’ Up Demonstrator , receive a 20% discount on product and earn instant income on orders, get to purchase products before they are released to the public? Consider being part of my Stampin’ Up Team and start your own business or become a Hobby Demo just for the discount. Click HERE for more information.
Are you getting inspiration from this blog? One way you can help support it is to order your Stampin’ Up products through me. Click HEREto place an order and have your order delivered directly to your door step from Stampin’ Up! Want to become a Stampin’ Up Demonstrator , receive a 20% discount on product and earn instant income on orders, get to purchase products before they are released to the public? Consider being part of my Stampin’ Up Team and start your own business or become a Hobby Demo just for the discount. Click HERE for more information.

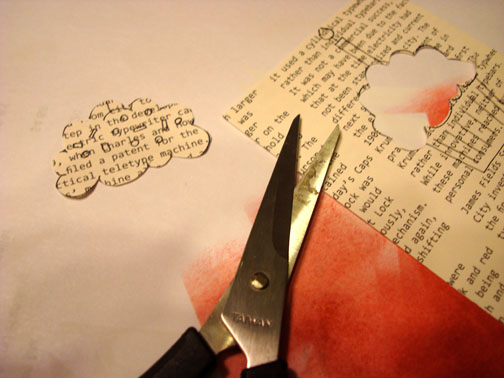
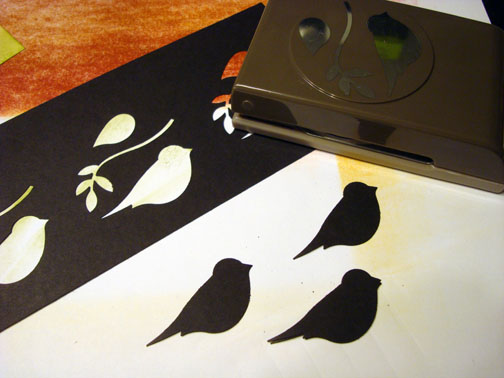
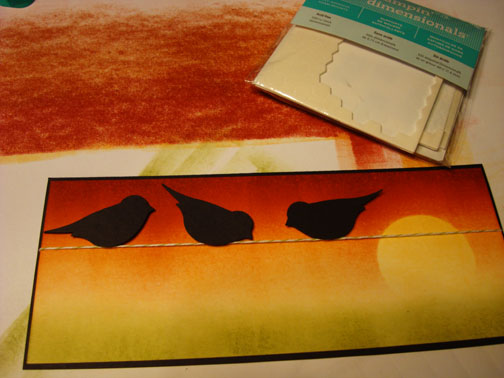
Cut two, 2.5″ horses out of Basic Black card stock using the Cricut machine and Yee-haw Cartridge.

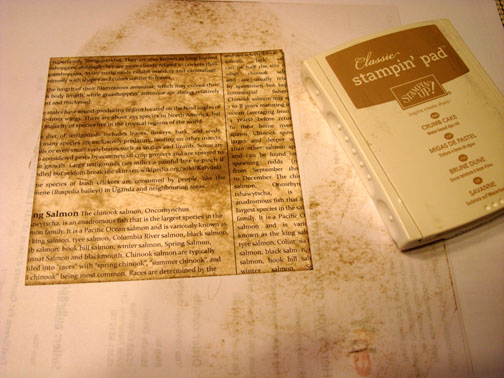
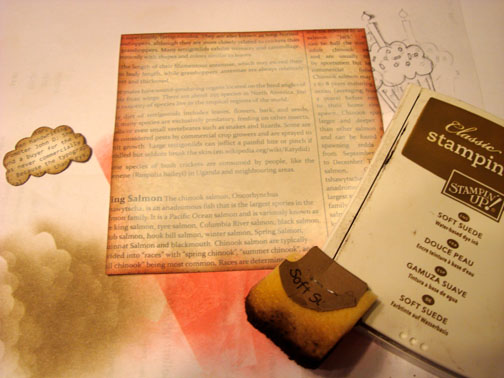
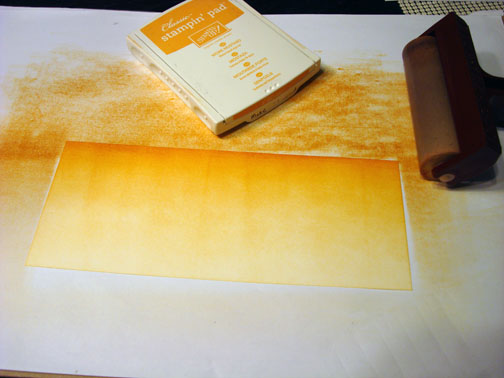
Punched a 2.5″ circle from a Post it Note and used it as a mask for the sun. Put the mask on a 4″ x 4.5″ piece of Whisper White card stock.

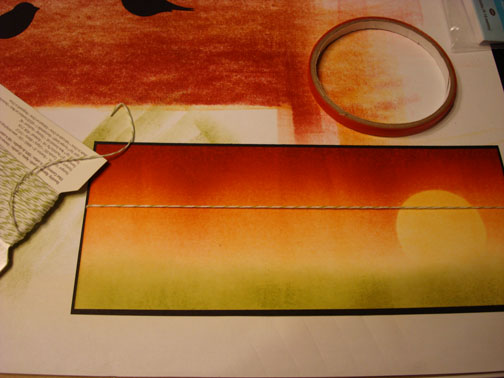
Brayered More Mustard ink, Cajun Craze ink and Cherry Cobbler ink on the card stock in the order shown below.


Took the sun mask off and brayered More Mustard ink over the card stock again.

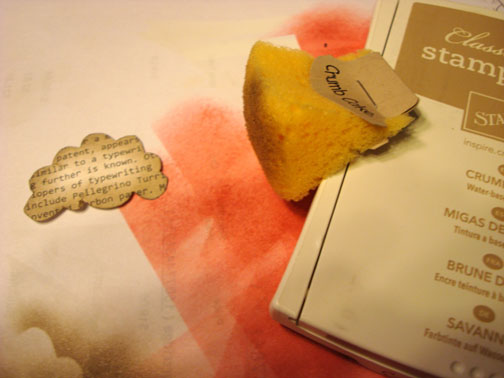
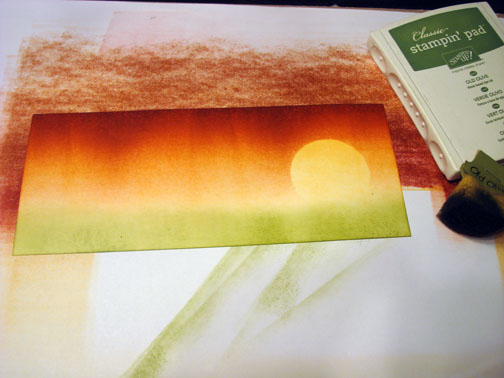
Roughly sponged Soft Suede ink at the bottom of the card stock using a pouncing motion.

Sponged Basic Black ink at the bottom of the card stock using a pouncing motion.

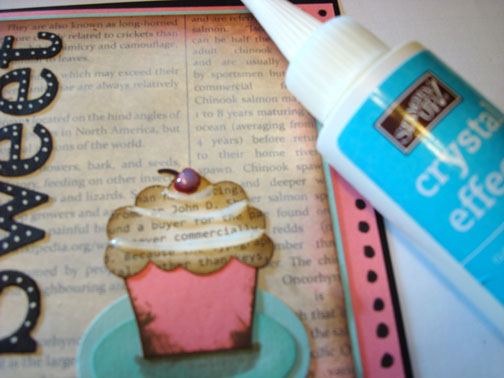
Glued the horses on the card stock, centering them over the sun.

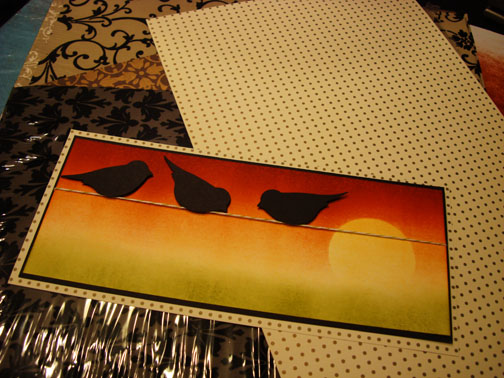
Punched a Decorative label from Basic Black card stock and cut it in half. Added the punch, a 5″ x 6.5″ Basic Black panel, 4.75″ x 6.25″ Soft Suede Panel and a 4 1/8″ x 4 5/8″ Basic Black panel.

Added 2 Antique Brads and 4 Gold Brads.

Here is the finished project measuring 5″ x 6.5″.
May your day be filled with blessings.
Until my next post. . . . . . . .
Hugs,


 Get ready for Brayer and Direct to Paper Workshops! I am coming to the following locations, click the location name for more information.
Sand Lake, Michigan (just North of Grand Rapids)
I hope you can make it to one of my workshops in 2012. I have decided not to travel full time after this year, so be sure to catch one this year!
Link to my Stampin’ Up website where you can order all of your must have Stampin’ Up products from me 24-7: http://michellezindorf.stampinup.net


