
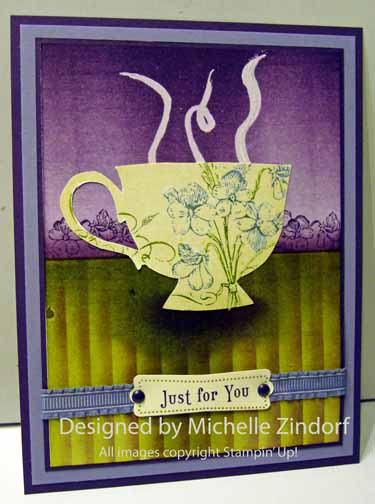
I feel like celebrating this week so here is one of my quicker cards that features a Martini Glass made from triangles. This project could easily be transformed into a Happy New Year card. I needed a few girlfriend cards so I kept with a hot pink theme. Check it out, the tutorial is below. 🙂
********************************************************************
Reminder!
The brand new Stampin’ Up! Occasions Mini Catalog will be out January 4, 2011. My current customers will automatically get the mini. If you would like one mailed to you, please e-mail your address to mzindorf@aim.com and I will pop one in the mail to you.
Also, My customer drawing for December 2011 is a full set of Stampin’ Up! Clear Mount Acrylic Blocks and a rockin’ Stampin’ Up! Clear Block Storage Caddy to store them in. The block set includes 9 different block sizes. Total prize package is an $86.90 value. How do you enter? For the month of December, 2o11, when you place a Stampin’ Up! order using me as your Demonstrator, you will receive one entry toward this months prize for each $25 increment in merchandise purchased. Place an order for $50 and get two chances and so on and so on. CLICK HERE TO PLACE AN ORDER OR TO BROWSE. Your order will be shipped directly to you from Stampin’ Up!.
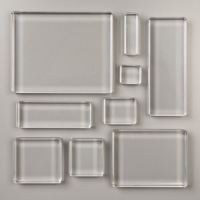
If you stamp with clear-mount stamps, you’ll need a clear block to adhere your stamps to. Stampin’ Up’s blocks are a clear choice. Made from high-quality, sturdy acrylic, these blocks can hold one stamp or multiple stamps if you want to create a collage of images.
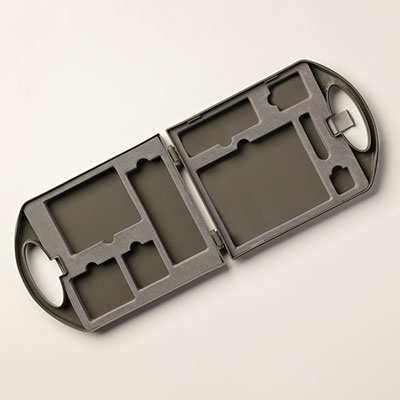
This compact storage caddy holds one of each size of our clear-mount blocks. The foam insert securely holds the blocks in place; an additional foam insert sits between the blocks to protect them when the caddy is closed.
■ Opens flat for easy access
■ Locks shut
■ Built-in handle makes it easy to carry
■ 8-1/16″ x 10-5/8″ x 1-13/16″
I will use a random number generator to determine the winner on January 1, 2012.
*****************************************************************************
Now on with the tutorial. . . . .
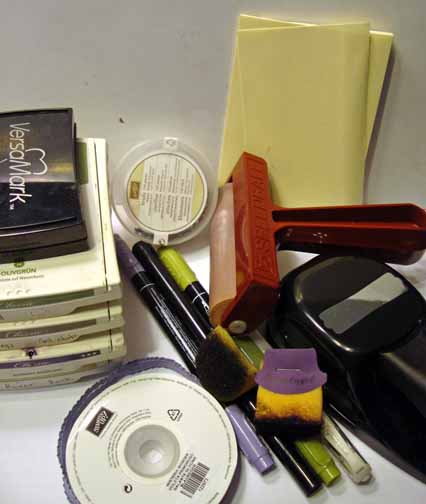
Supplies:
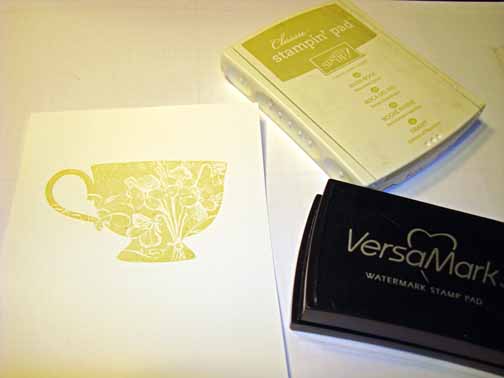
Stamps: Stampin’ Up! Cottage Garden and Friendly Phrases
Card Stock: Stampin’ Up! Melon Mambo, Basic Black and Whisper White
Ink: Stampin’ Up! Melon Mambo, Rose Red, Not Quite Navy, Tempting Turquoise and Basic Black
Accessories: Stampin’ Up! Top Note Die, Big Shot Machine, Brayer, White Gel Pen, Basic Black marker, Sponges 1 3/8″ circle punch and 1 3/8″, 1″, 1 1/4″ Square punches.
Want a free copy of the current Stampin’ Up! Mini Catalog? Just e-mail your address to mzindorf@aim.com and I will get one right out to you. Get your copy of the 2011-2012 Stampin’ Up! Idea Book & Catalog by sending $9.95 to me at P.O. box 116, West Alexandria, Ohio 45381 or via paypal to mzindorf@aim.com, shipping is free. ![]() Are you getting inspiration from this blog? One way you can help support it is to order your Stampin’ Up products through me. Click HEREto place an order and have your order delivered directly to your door step from Stampin’ Up! Want to become a Stampin’ Up Demonstrator , receive a 20% discount on product and earn instant income on orders, get to purchase products before they are released to the public? Consider being part of my Stampin’ Up Team and start your own business or become a Hobby Demo just for the discount. Click HERE for more information.
Are you getting inspiration from this blog? One way you can help support it is to order your Stampin’ Up products through me. Click HEREto place an order and have your order delivered directly to your door step from Stampin’ Up! Want to become a Stampin’ Up Demonstrator , receive a 20% discount on product and earn instant income on orders, get to purchase products before they are released to the public? Consider being part of my Stampin’ Up Team and start your own business or become a Hobby Demo just for the discount. Click HERE for more information.

Punched a 1 3/8″ square and a 1″ square from Basic Black card stock. Cut the two squares in half.


Punched a 1 1/4″ square from Pretty in Pink card stock and then cut it in half.

Sponged Melon Mambo and then Rose Red on the triangle of Pretty in Pink.


Glued the colored triangle onto the largest Basic Black triangle.

Die cut a Top note from Whisper White card stock using the Big Shot Machine. Punched a 1 3/8″ circle from the sticky part of a post it note and used it as a mask for my moon.

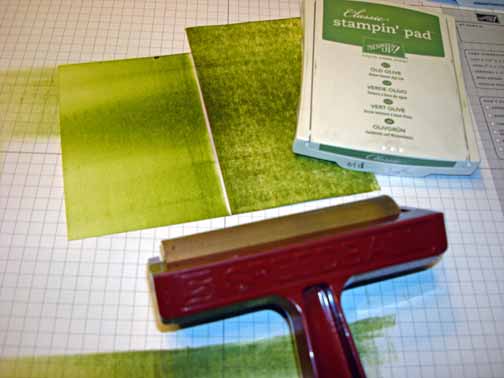
Brayered Tempting Turquoise on the card stock.

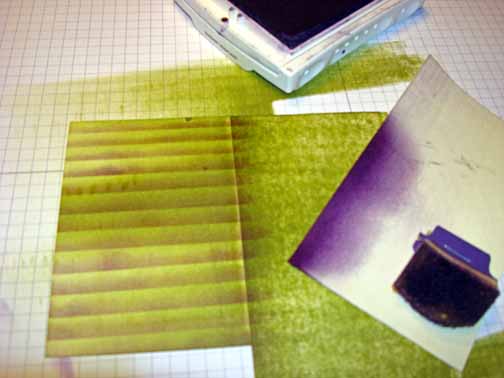
Brayered Not Quite Navy ink at the top of the card stock, not covering the Tempting Turquoise ink entirely.

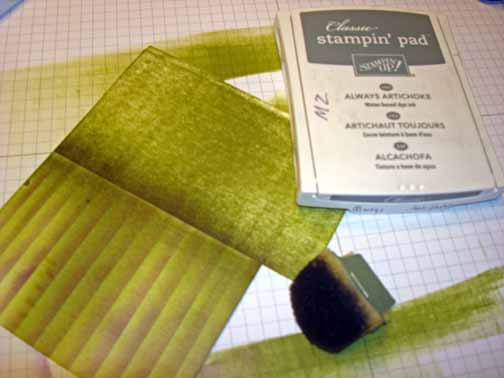
Removed the moon mask and put a 3″ x 5″ post it note on so only about 1/2″ of the top note is showing at the bottom. Sponged Basic Black ink on the un-masked portion of the card stock.

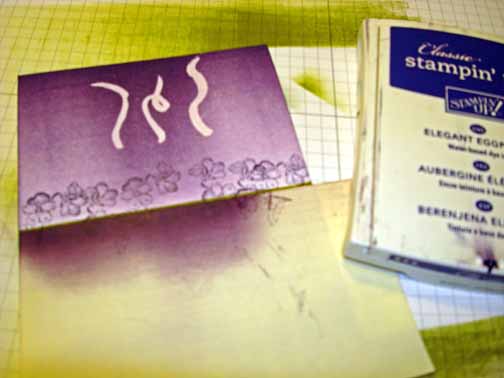
Adhered my two triangles on the top note and drew a line for the glass stem using a Basic Black marker.

Stamped two small flowers on using a Basic Blacker marker to load my stamp.

Added a stem for my flowers using a Basic Black marker and then added centers to the flowers using a White Gel Pen.

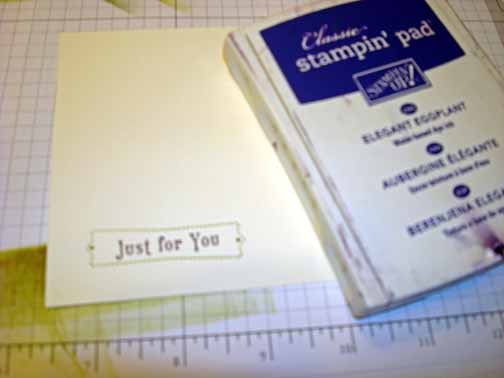
Stamped my sentiment using Rose Red ink.

Added 2 Melon Mambo panels and 2 Basic Black panels.
Here is the finished card measuring 5.25″ square.
May you have many things to toast about in the coming year!
Until my next post. . . . . . .
Hugs,


 Get ready for Brayer and Direct to Paper Workshops! I am coming to the following locations, click the location name for more information.
Dayton, Ohio – Direct to Paper Workshops
Dayton, Ohio – Brayer Workshops
Post Falls, Idaho (outside of Coeurd’Alene)
Sand Lake, Michigan (just North of Grand Rapids)
Longmont (Gunbarrel), Colorado
Here is a link to my workshop calendar where you can see all of my travel schedule and to get info on beginner and advanced Brayer workshops, along with the newly added Direct to Paper Workshop: http://zindorf.blogs.splitcoaststampers.com/workshop-calendar
Don’t see a workshop in your State? Interested in hosting the workshops in your area Click HERE to get hostess information.
Link to my Stampin’ Up website where you can order all of your must have Stampin’ Up products from me 24-7: http://michellezindorf.stampinup.net


