
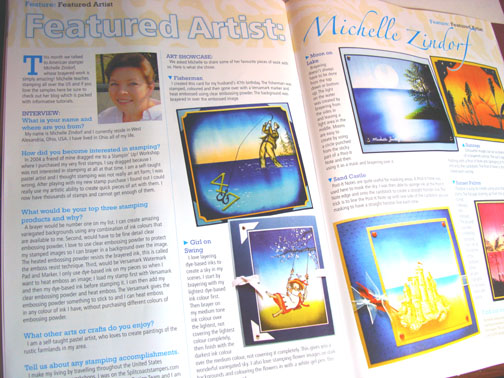
Hey Everyone, I am on cloud nine! I returned home yesterday from teaching some terrific ladies in Columbia, Missouri to find this in my mailbox. I am the Featured Artist in the September 2009 issue of the Craft Stamper Magazine. I’m grinning from ear to ear, lol. I knew it was coming but to see it in print is a real thrill.
I don’t seek out publication, but I don’t turn it down when asked either, lol. Anyway, it was a nice return home gift. 🙂 If you are not familiar with the Craft Stamper Magazine it is the United Kingdom’s Number 1 Stamping Magazine. Here is their website if you want more information: www.craftstamper.com
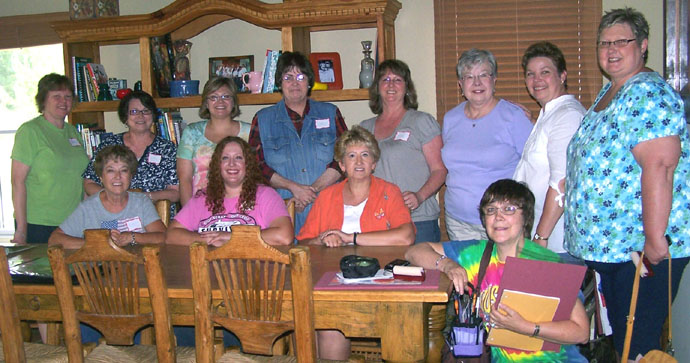
Here are a couple of photos that were taken at the workshops this weekend in Columbia, Missouri. Just look at those happy stampers!

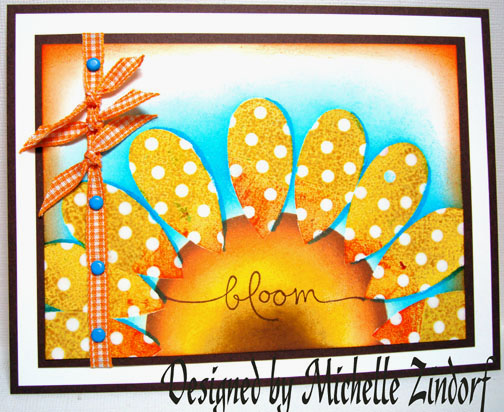
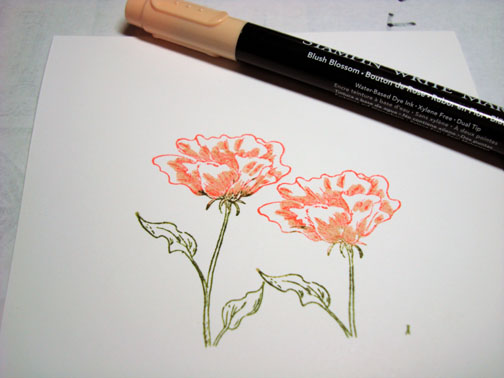
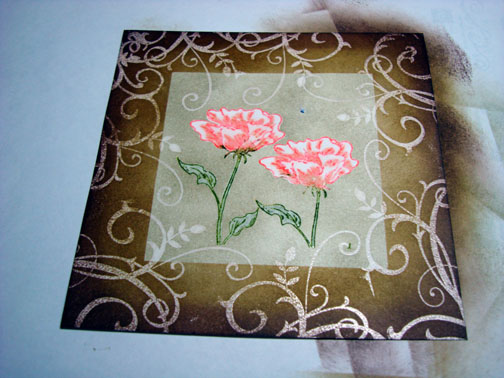
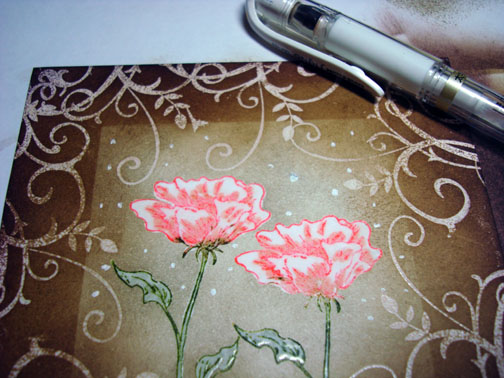
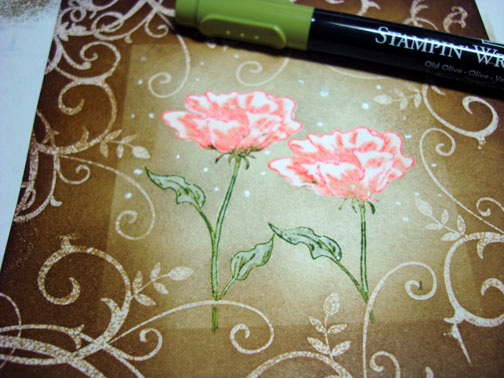
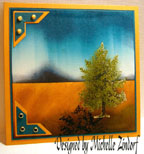
Now about today’s tutorial, when I seen this Medallion stamp in Stampin’ Up’s new catalog I just had to have it and my mind immediately told me to use it as a sun. So here it is on paper teamed up with the Stampin’ Up set Branch Out, which is on the dormant list and still available under item number 113200. 🙂
Let’s get crankin on this tutorial. . . . .
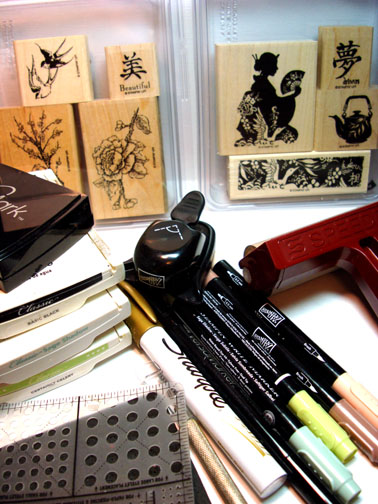
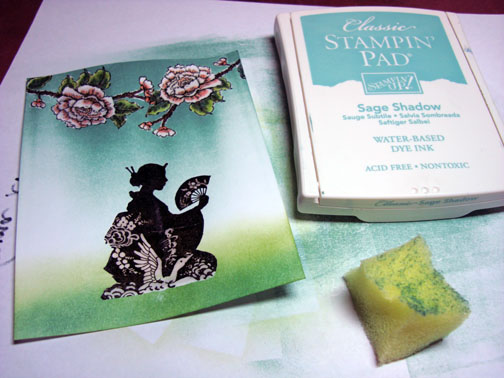
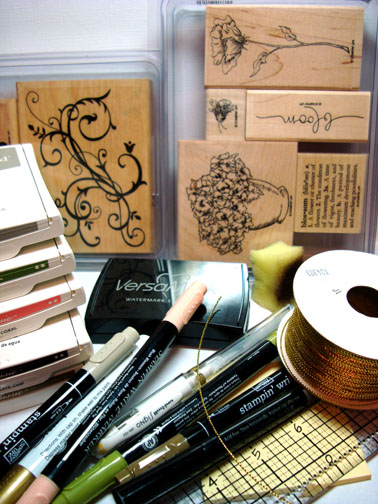
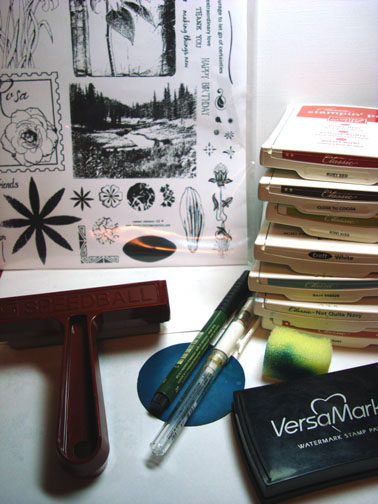
Supplies:
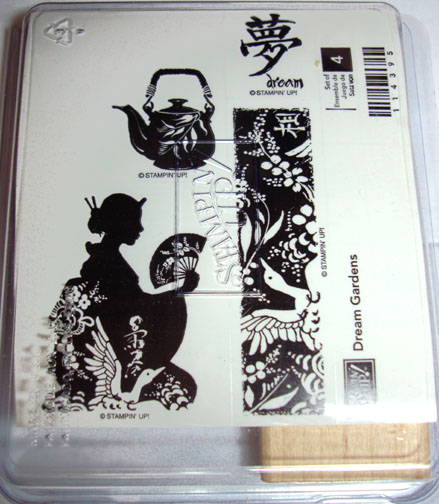
| Stamps: Stampin’ Up Medallion and Branch Out |
| Paper: Stampin’ Up Whisper White, Tempting Turquoise and Basic Black |
| Ink: Stampin’ Up Basic Black, Pumpkin Pie, Chocolate Chip, Not Quite Navy, Tempting Turquoise and Apricot Appeal |
| Accessories: Stampin’ Up Piercing Tools, Gold Brads, Brayer, Clear embossing powder, Heat Gun, Sponges, Post it notes |
Are you inspired by this Blog? One way you can help support this blog is by ordering your Stampin’ Up products through me. You can order from me 24-7 from this link: http://michellezindorf.stampinup.net or e-mail me at mzindorf@aim.com If you are within the United States. Want a copy of the brand new 2009-2010 Stampin’ Up Catalog for $9.95, just e-mail me at mzindorf@aim.com and I will get one in the mail to you. Want to become a Stampin’ Up Demonstrator and earn instant income? Consider being part of my Stampin’ Up Team. Through August 31 you can become a Stampin’ Up Demonstrator for as little as $85 with the mini kit. Also check out the Stampin’ Up specials, click this link to check it out: http://www.stampinup.net/esuite/home/michellezindorf/promotions

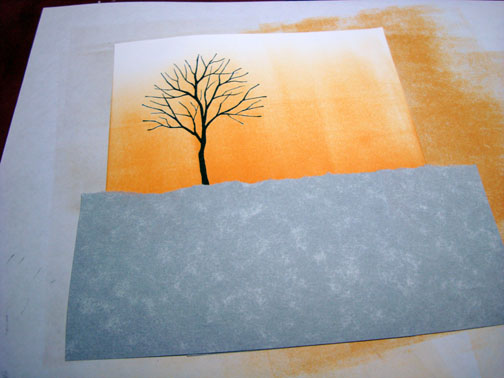
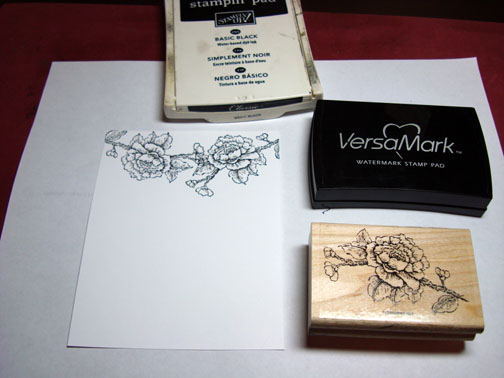
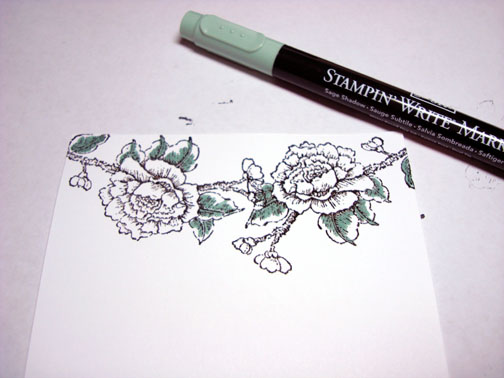
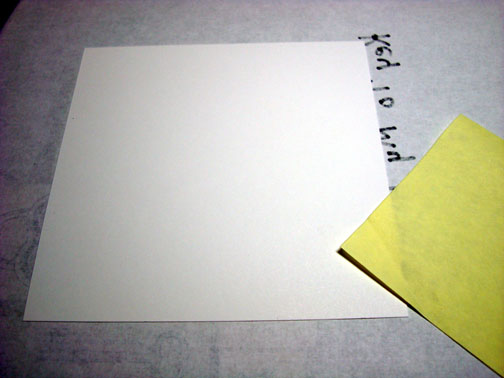
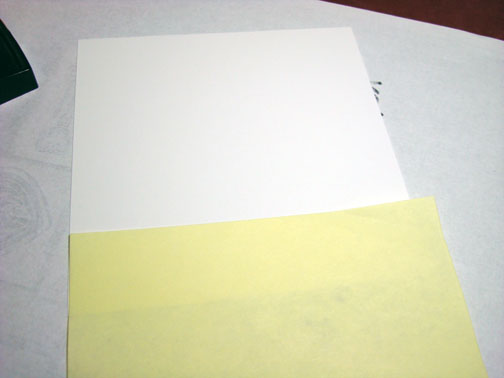
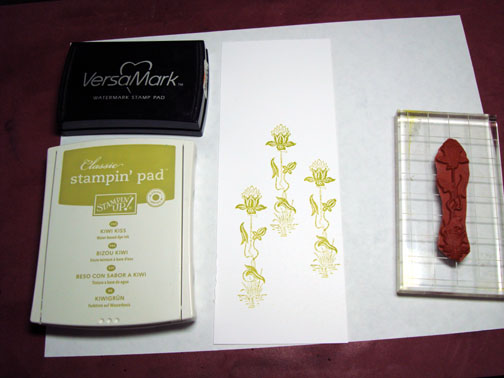
Stamped Tree on a 4.5″ x 5.5″ piece of Whisper White Card Stock by first loading the stamp with Versamark and then with Basic Black ink before stamping it.
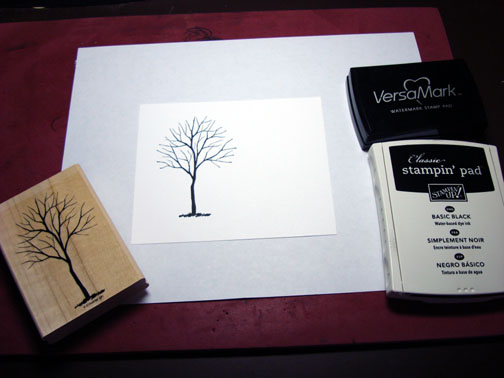
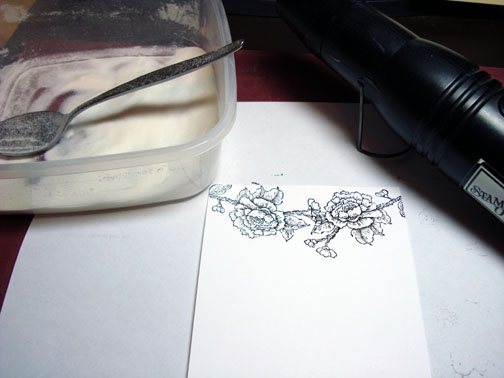
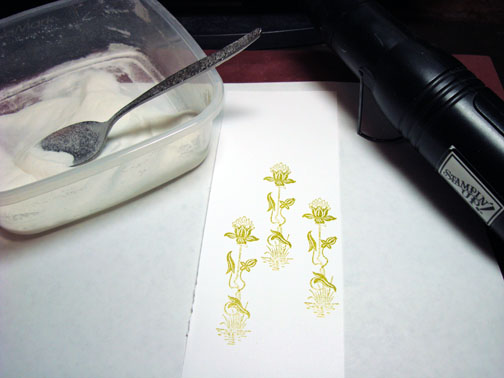
Heat embossed the image using clear embossing powder and a heat gun.

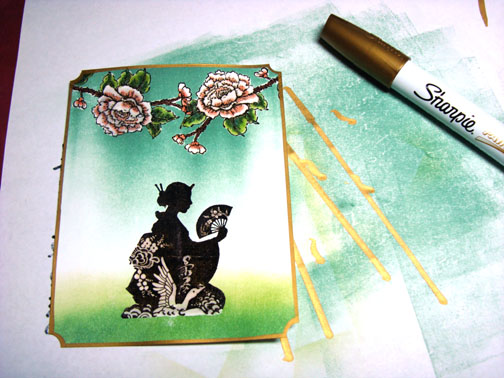
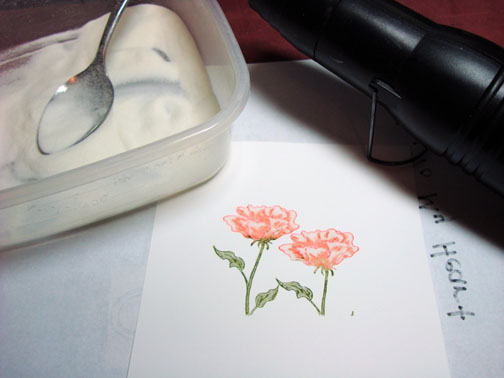
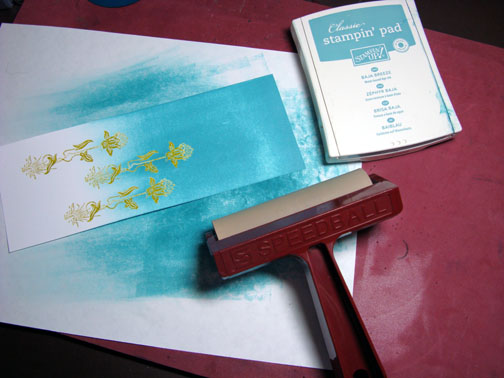
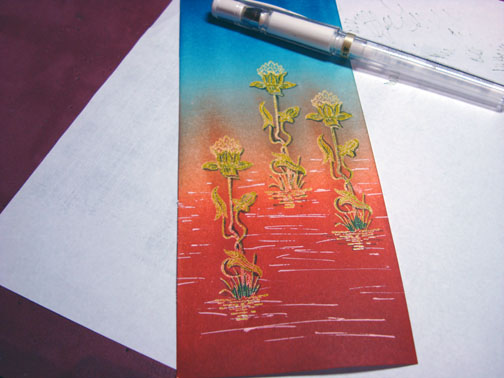
Brayered Apricot Appeal ink at the bottom of the card stock.
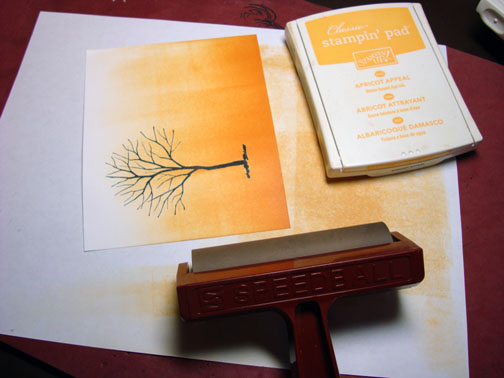
Ripped through the sticky part of two post it notes and used them to mask the ground area of the piece.
Now you will want to make sure you brayered ink is completely dry before going on to this step.
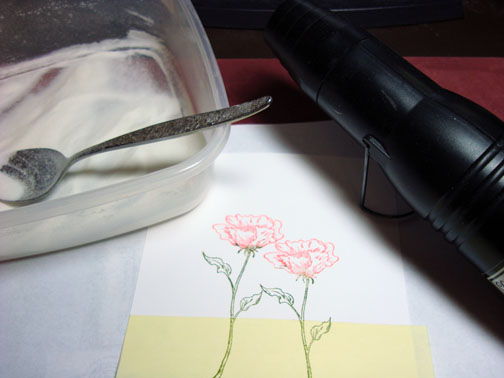
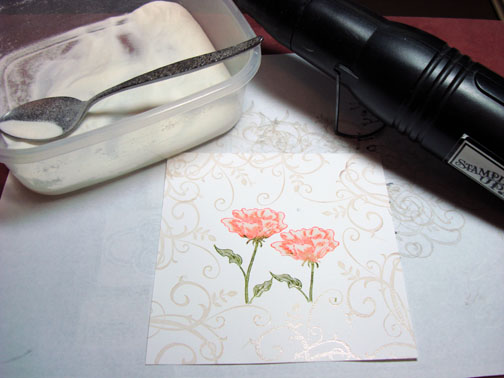
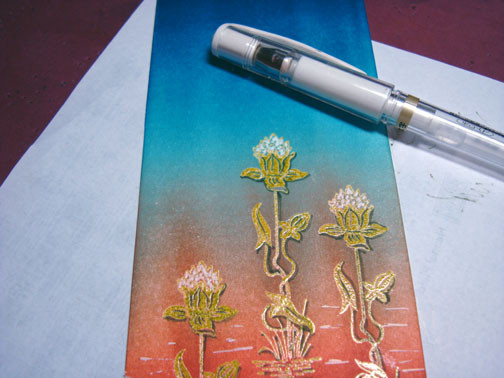
Stamp the medallion stamp with Versamark on to your main image panel.
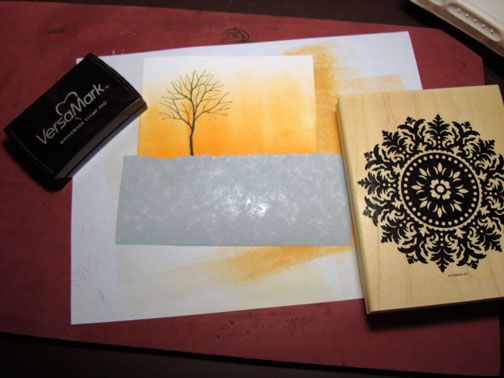
Heat emboss it using clear embossing powder and a heat gun.

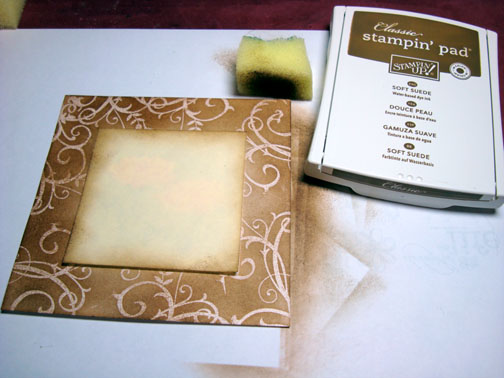
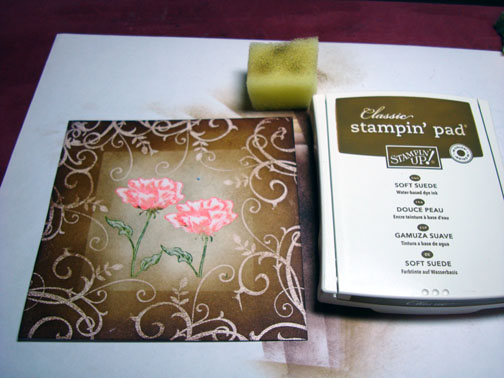
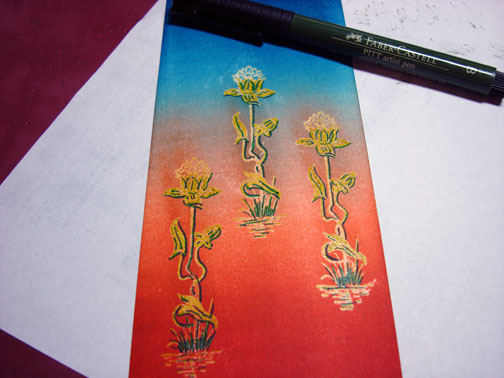
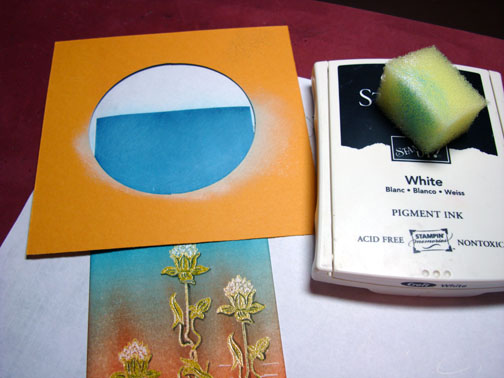
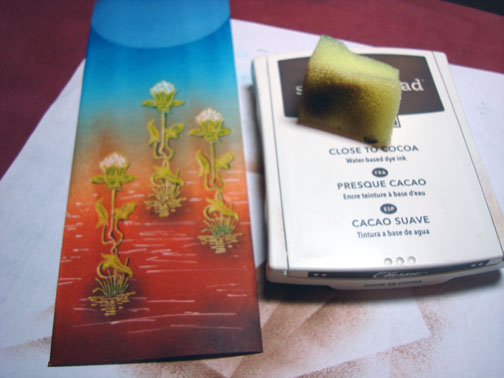
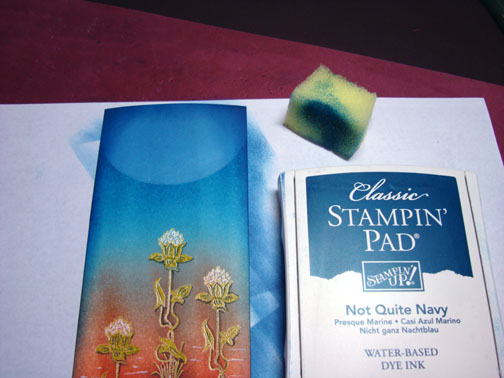
Sponged Tempting Turquoise ink around the Medallion image.
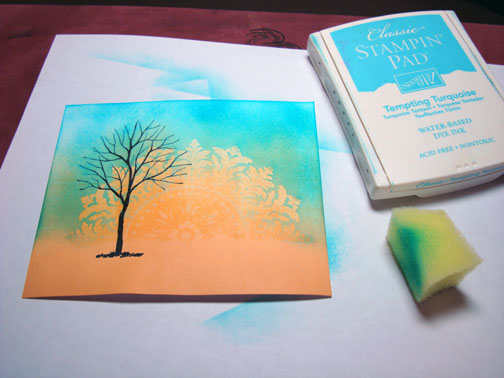
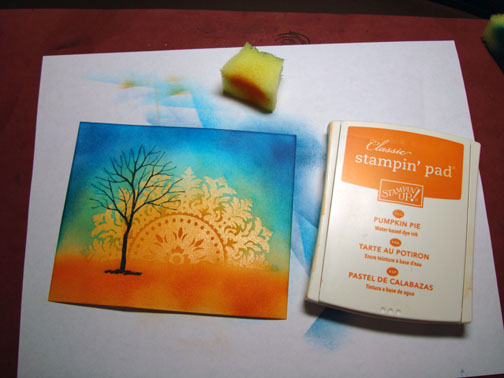
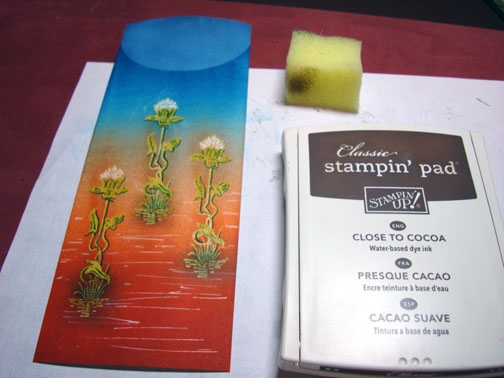
Sponged Pumpkin Pie ink in the middle area of the Medallion.

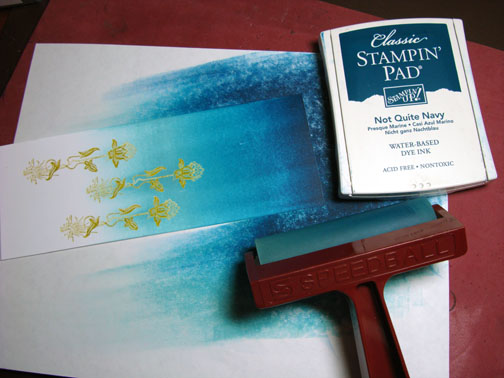
Sponged Not Quite Navy ink in the sky area, not covering the Tempting Turquoise ink entirely.
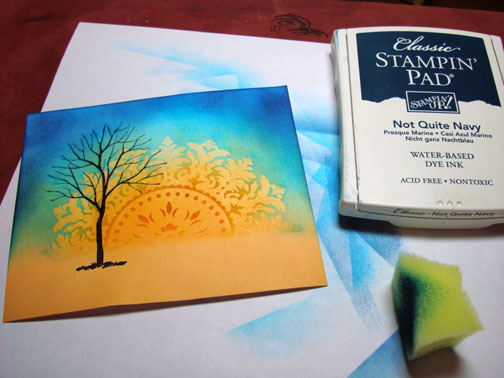
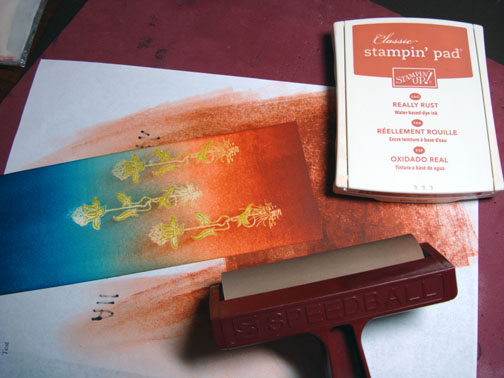
Sponged Pumpkin Pie ink in the ground area.
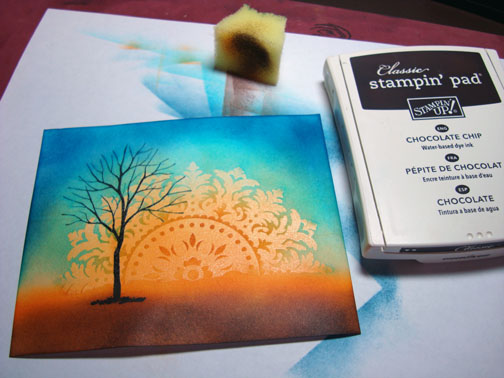
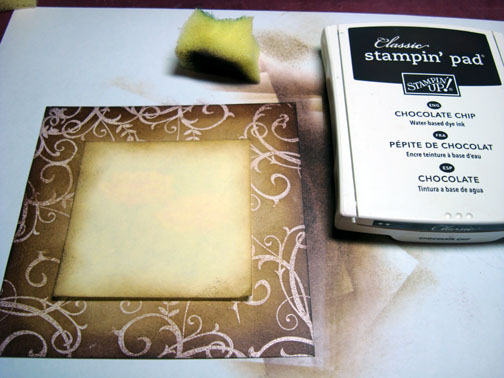
Sponged Chocolate Chip ink at the bottom of the card stock, not covering the Pumpkin Pie ink entirely.
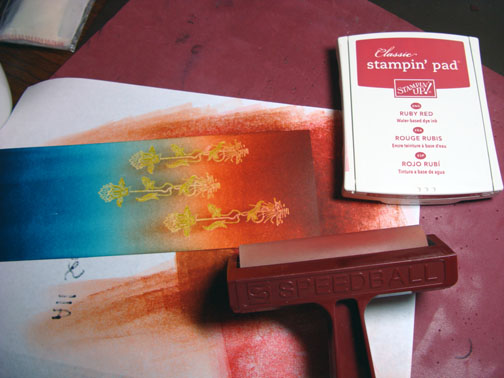
Sponged Basic Black ink around the edges of the card stock and in the ground area.

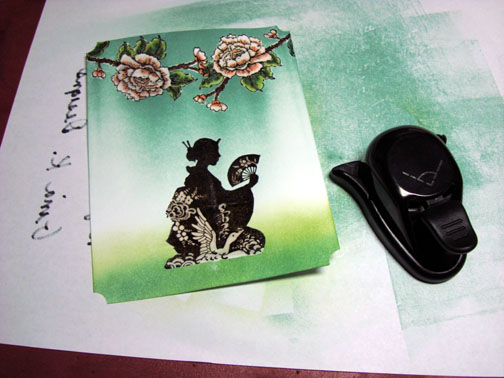
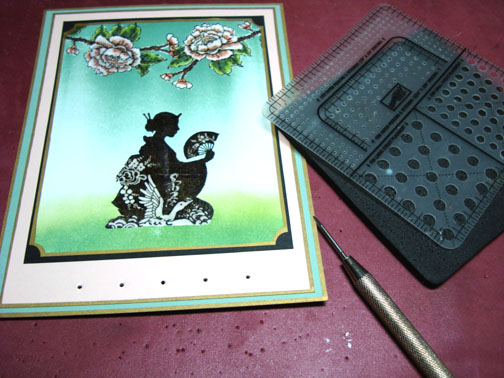
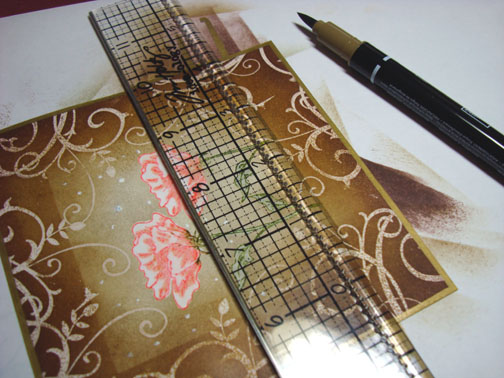
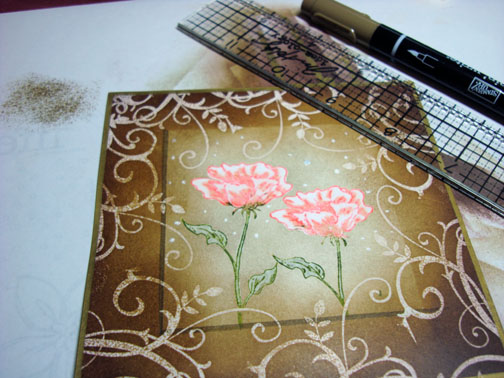
Used my Stampin’ Up Piercing tool and mats to make holes for my Brads. This really helps to keep them straight.
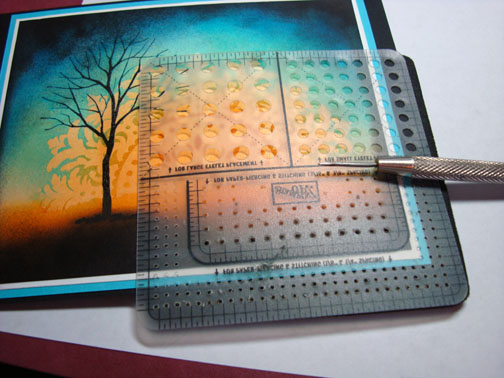
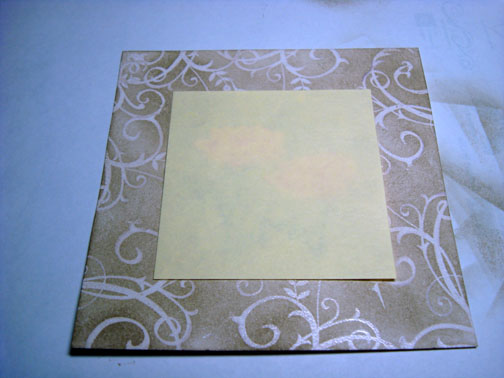
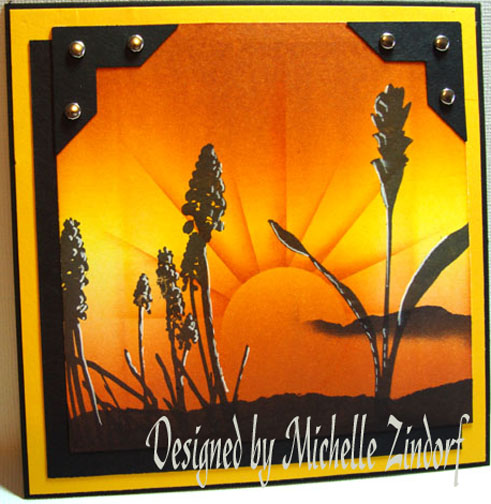
Here is the finished card measuring 5″ x 6.5″.
May your day be filled with awesome light.
Until my next post. . . . . . . . . . . . . . . . . . ..
Huge Hugs,
Michelle
 Get ready for Brayer Workshops! I am coming to:
Lynchburg, Virginia
Greenwood, Indiana
Castro Valley, California
Yardley, Pennsylvania (near Philadelphia)
Knox, Maine
Akron, Ohio
Broomfield, Colorado
Moore, Oklahoma
Nashville, Indiana
Portland, Michigan
2010
Phoenix, Arizona
Monroe, Louisiana
Jacksonville, Florida
St. Louis, Missouri
Mechanicsville, Virginia
Raleigh, North Carolina
Colleyville, Texas
Colorado Springs, Colorado
Boise area of Meridian, Idaho
Riverside, California (Southern California)
Salem, Oregon
Wheaton, Illinois
St. Cloud, Minnesota
Rockville, Maryland
North Chili, New York (near Rochester)
New Johnsonville, Tennessee
Helena, Montana
Middleburg Heights, Ohio
Venice, Florida
Here is a link to my workshop calendar where you can see all of my travel schedule and to get info on beginner and advanced Brayer workshops: http://zindorf.blogs.splitcoaststampers.com/workshop-calendar
Link to my Stampin’ Up website were you can order all of your must have Stampin’ Up products from me 24-7: http://michellezindorf.stampinup.net
Frequently asked questions answers: http://zindorf.blogs.splitcoaststampers.com/frequently-asked-questions/


