I hope everyone had a super Mother’s Day yesterday. I know I did. My tw0 Sons & my Future Daughter-n-Law, Jamie came over and cooked my Mother and me a fantastic Steak dinner, with just a bit of help from my Husband, Russ. It was yummy and was all the better because we were all together sharing it. The only thing missing was my Sister who resides in Colorado. Sis, hope your Mother’s Day was fantastic!
Now about today’s piece.
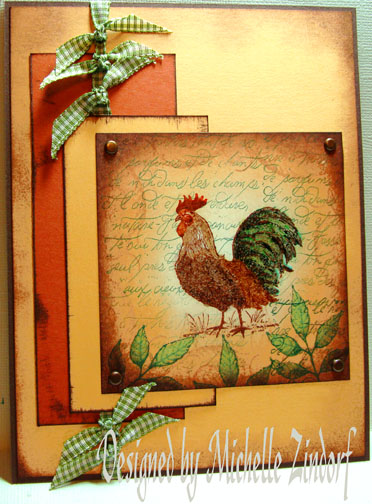
I love this Rooster from Stampin’ Up’s Hostess set “Rustic Rooster”. This set has all the elements to make a French Country Style card.
Let’s get started. 🙂
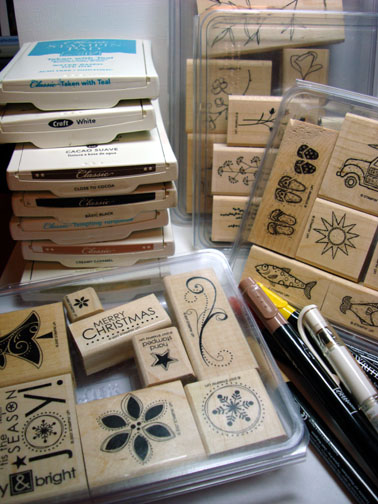
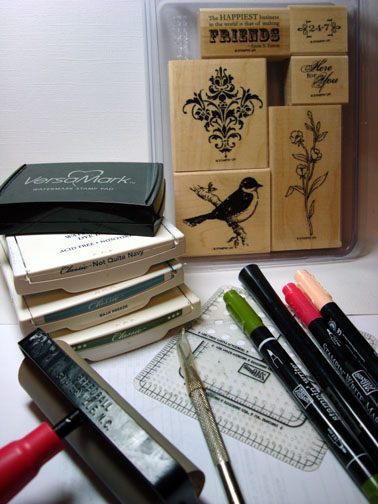
Supplies:
| Stamps: Stampin’ Up Rustic Rooster, Lexicon of Leaves |
| Paper: Stampin’ Up Whisper White, Apricot Appeal, Really Rust & Chocolate Chip |
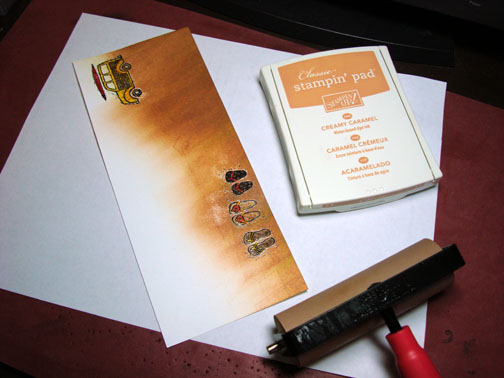
| Ink: Stampin’ Up Creamy Caramel, Apricot Appeal, Really Rust, Chocolate Chip ink, Handsome Hunter, Close to Cocoa |
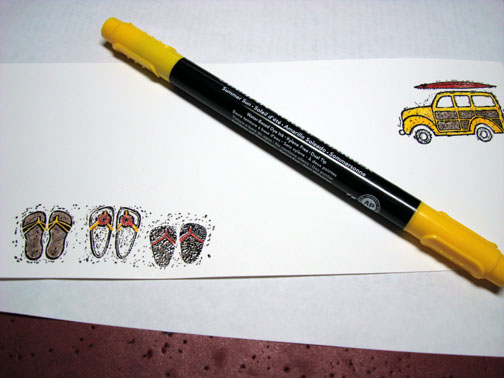
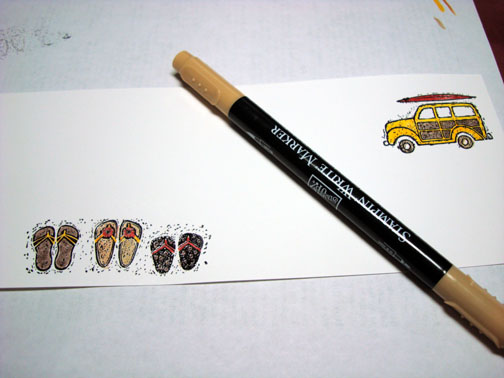
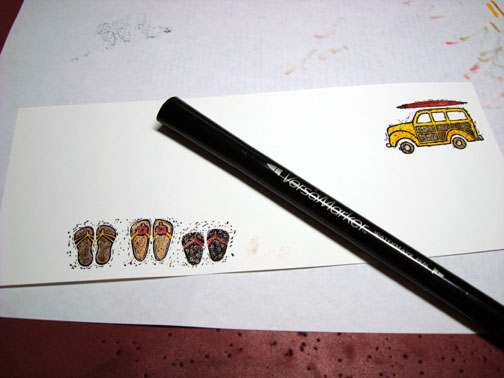
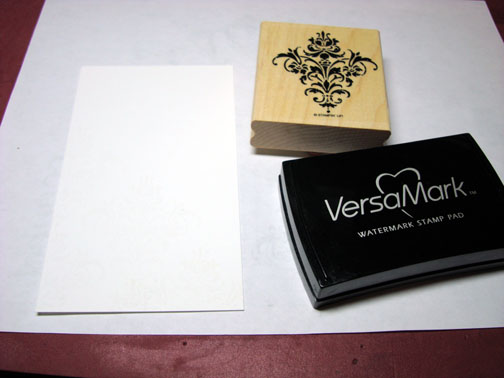
| Accessories: Stampin’ Up Markers, Checkered Ribbon, Brads, Sponge, Versamark Pad and Marker, Clear embossing Powder & Heat Gun |
Are you inspired by this Blog? One way for you can help support this blog is by ordering your Stampin’ Up products through me. You can order from me 24-7 from this link: http://michellezindorf.stampinup.net or e-mail me at mzindorf@aim.com if you are within the United States. Want to become a Stampin’ Up Demonstrator and earn instant income? Consider being part of my Stampin’ Up Team.

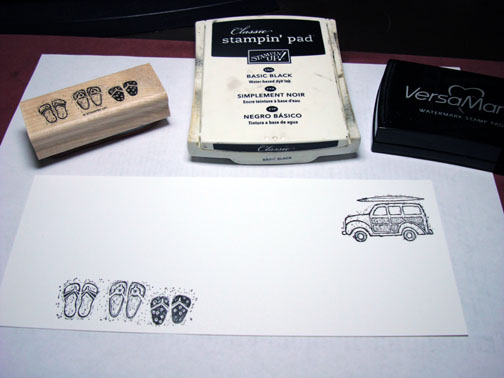
Loaded my Rooster Stamp with Versamark, patted the my Really Rust Colored ink pad on the rooster’s head, loaded the rest of the stamp with Close to Cocoa ink before stamping the image on a 3.5″ square piece of Whisper White card stock.


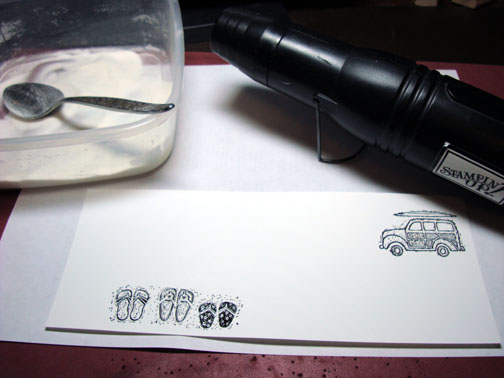
Heat embossed the image using clear embossing powder and a heat gun.

Added Certainly Celery marker to the Rooster.

Added a bit of Handsome Hunter marker.

Added More Mustard Marker.

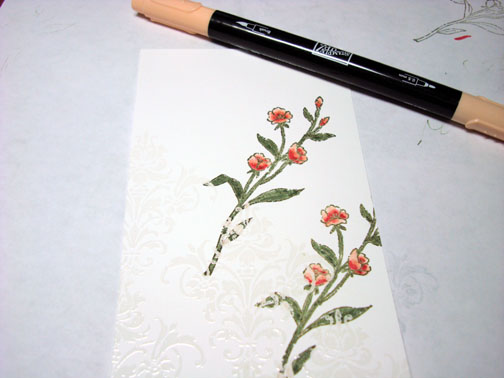
Added Creamy Caramel marker to his neck area.

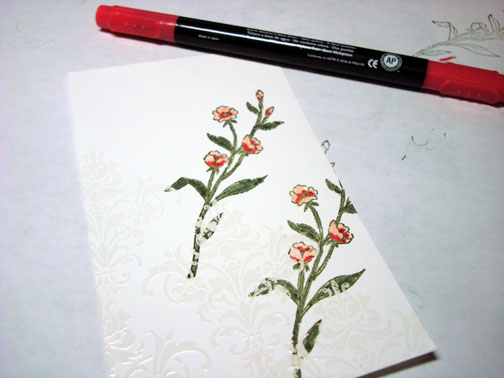
Added Really Rust Marker over some of the More Mustard marker.

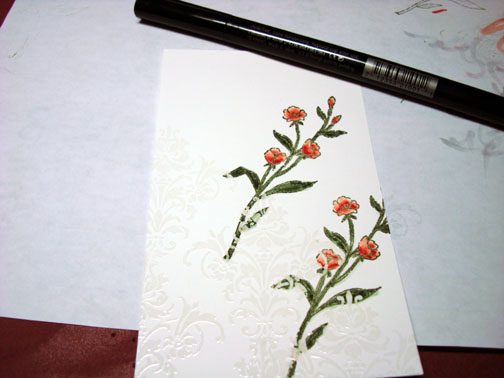
Added Close to Cocoa marker.

Added just a touch of Chocolate Chip marker over the Close to Cocoa marker.

Carefully patted the excess marker off of the embossed areas of the Rooster with an old Cotton cloth. Be careful with this step. Try not to smear the ink from one area of the Rooster to the next.

Colored over the Rooster with a Versamark Marker and then heat embossed it with clear embossing powder and a heat gun.


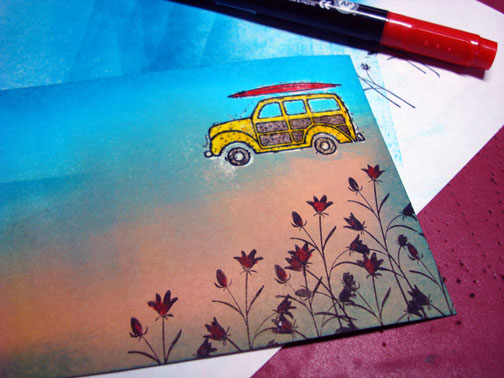
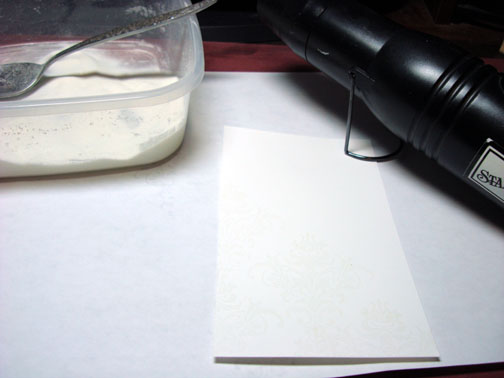
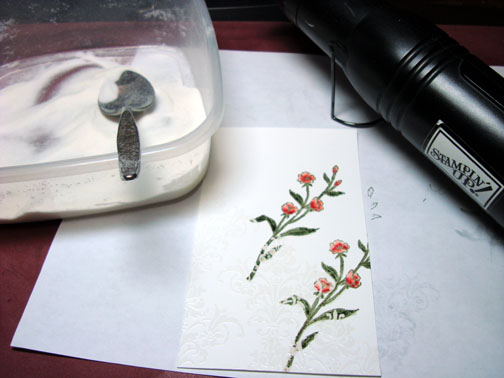
Sponged Creamy Caramel ink on the card stock working from the outside edge with a circular motion and moving into the center so the outside edge is darkest and the inside of the card stock is very light in color.

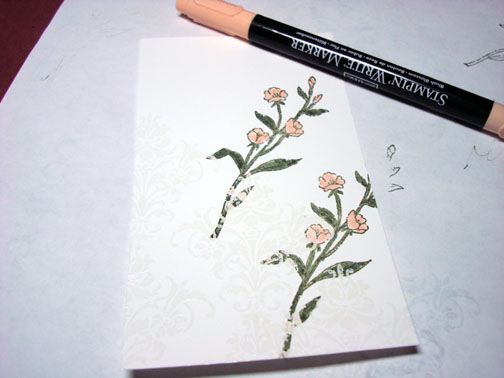
Added Apricot Appeal ink with a sponge working in a circular motion around the edge of the card stock.

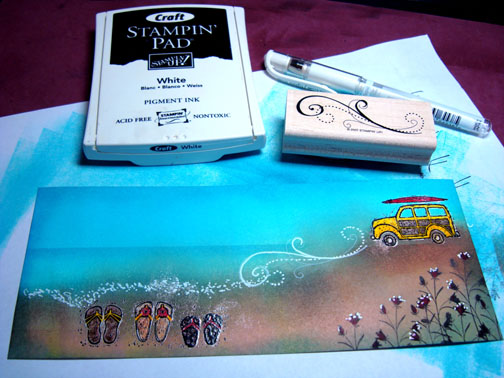
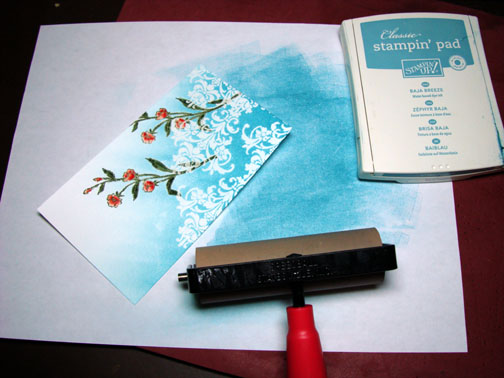
Stamped the Flourish with Creamy Caramel ink around the edge of the card stock.

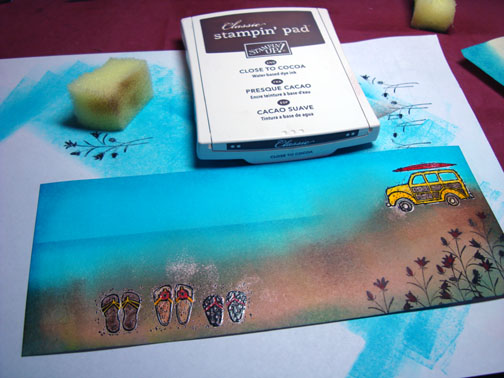
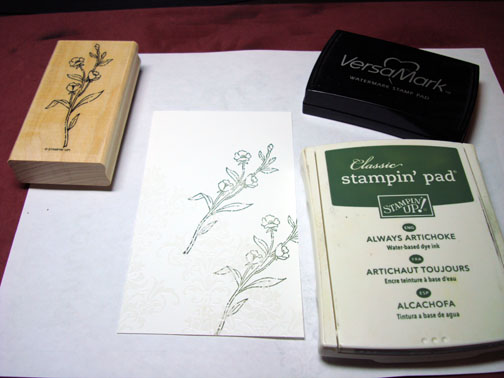
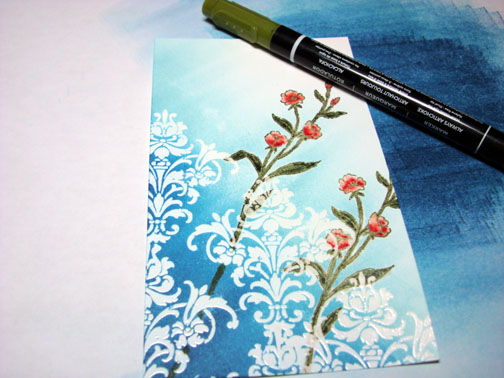
Stamped the leaves from the Stampin’ Up Lexicon of Leaves set at the bottom of the card stock with Handsome Hunter ink.

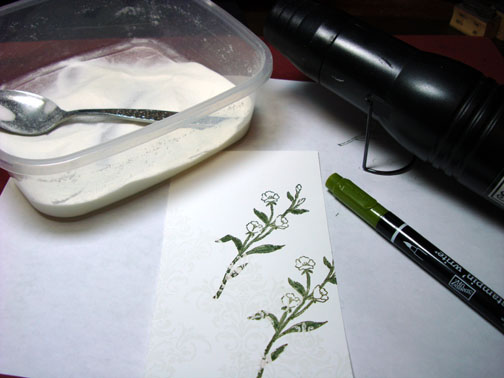
Colored the leaves in with the Certainly Celery marker.

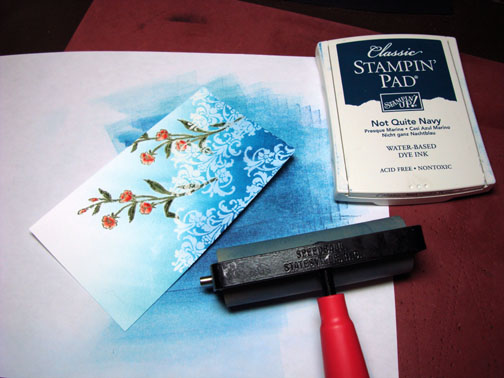
Sponged Chocolate Chip ink around the very edges of the card stock.

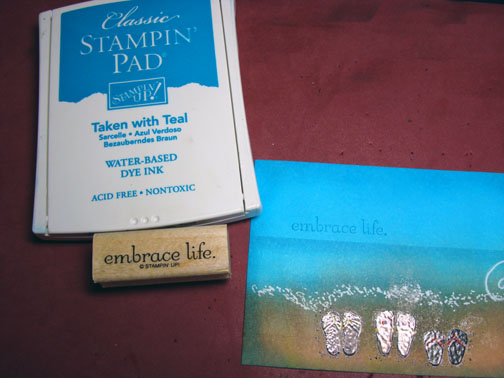
Stamped the french writing stamp with Handsome Hunter ink over the entire card stock by first stamping off on my scrap paper first so it would not be very dark.

Cut my panels and sponged Chocolate Chip ink around the outside edges of them. Assembled the card adding ribbon and brads.

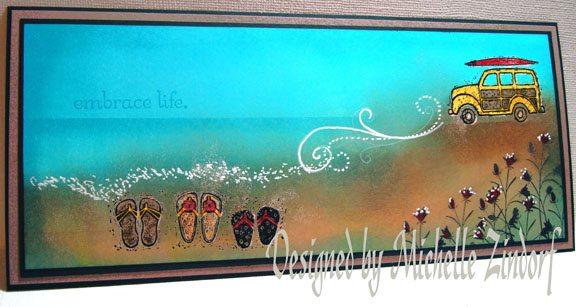
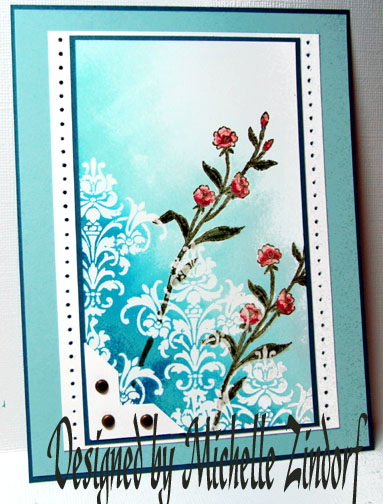
Here is the finished card measuring 5″ x 6.5″.
Hope your day today is filled with joy and laughter.
Until my next post. . . . . . . . . . . . . . .
Hugs,
Michelle
Get ready for Brayer Workshops! I am coming to:

Dayton, Ohio
Covington, Indiana
Buffalo, Minnesota
Webster, New York
New Johnsonville, Tennessee
Stoughton, Wisconsin
Columbia, Missouri
Lynchburg, Virginia
Castro Valley, California
Yardley, Pennsylvania (near Philadelphia)
Knox, Maine
Broomfield, Colorado
Moore, Oklahoma
Portland, Michigan
2010
Jacksonville, Florida
Pocatello, Idaho
Salem, Oregon
Here is a link to my workshop calendar where you can see all of my travel schedule and to get info on beginner and advanced Brayer workshops: http://zindorf.blogs.splitcoaststampers.com/workshop-calendar
Link to my Stampin’ Up website were you can order all of your must have Stampin’ Up products from me 24-7: http://michellezindorf.stampinup.net
Here is a link to all of my tutorials: http://zindorf.blogs.splitcoaststampers.com/tutorials-ive-written/
Frequently asked questions answers: http://zindorf.blogs.splitcoaststampers.com/frequently-asked-questions/