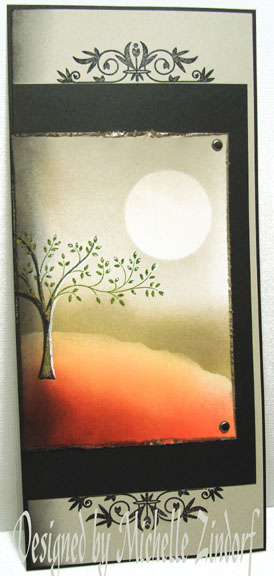
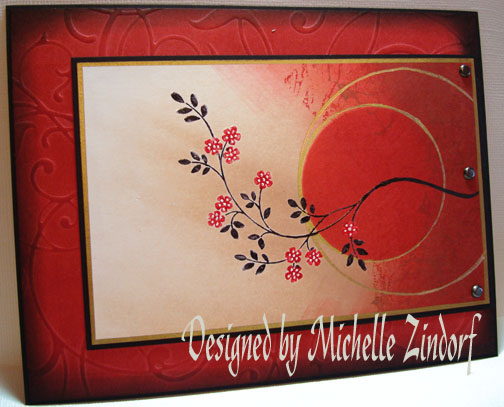
I love, love, love shades of grey. Grey is a great neutral color. One thing about greys, there are warm greys and cool greys. I used Sahara Sand ink and card stock in this project and Sahara Sand is a warm grey. The warmer grey went better with the warm color of Apricot Appeal. It would not have look as good, in my opinion, if I would have used a cool grey such as Going Gray.
Let’s get started. 🙂
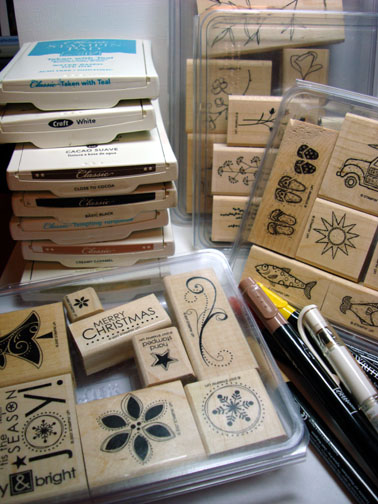
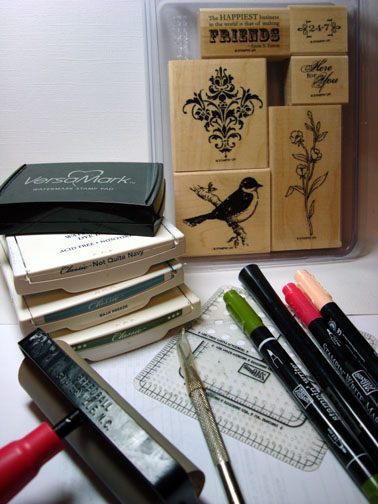
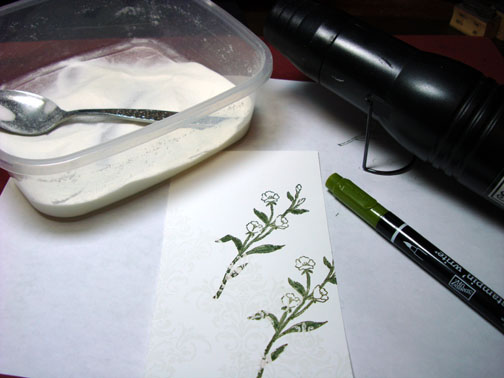
Supplies:
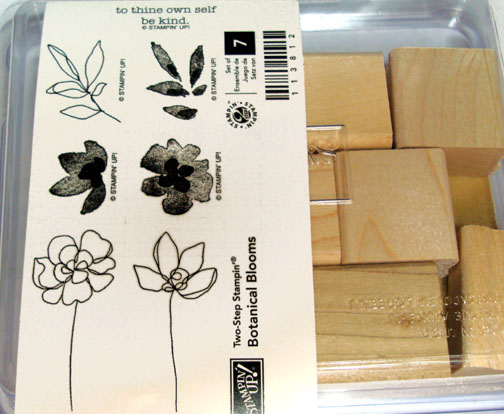
| Stamps: Stampin’ Up Thoughts & Prayers & Frames with a Flourish |
| Paper: Stampin’ Up Whisper White, Sahara Sand & Basic Black |
| Ink: Stampin’ Up Old Olive, Cameo Coral, Bravo Burgundy, Apricot Appeal, Basic Black & Sahara Sand |
| Accessories: Basic Black marker, White Gel pen, Tim Holtz Distressing Tool, Post it notes, Sponges, Brayer, 1 3/8″ circle punch, Clear embossing powder and a heat gun, Versamark Pad, Brads |
Are you inspired by this Blog? One way for you can help support this blog is by ordering your Stampin’ Up products through me. You can order from me 24-7 from this link: http://michellezindorf.stampinup.net or e-mail me at mzindorf@aim.com if you are within the United States. Want a copy of the current mini catalog, just e-mail me your address and I will pop one in the mail to you.
Want to become a Stampin’ Up Demonstrator and earn instant income? Consider being part of my Stampin’ Up Team.

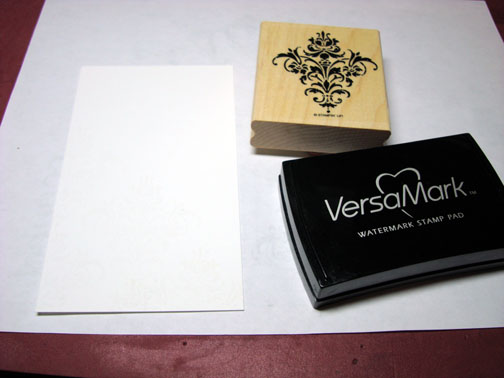
Stamped the Tree on a 3.5″ x 5″ piece of Whisper White card stock by first loading my stamp with Versamark, then Old Olive and then patted my Basic Black ink pad on the trunk of the tree before stamping it.

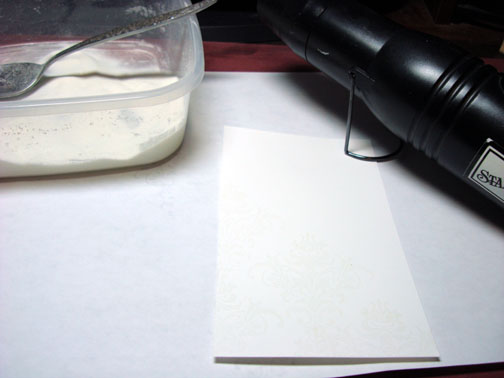
Heat embossed the image using fine detail clear embossing powder and a heat gun.

Punched 1 3/8″ circles from the sticky part of some post it notes.
Note: I have 3 layers of post it notes, other wise I find they are to thin and will jam my punch. The extra circles I put a side for later projects.

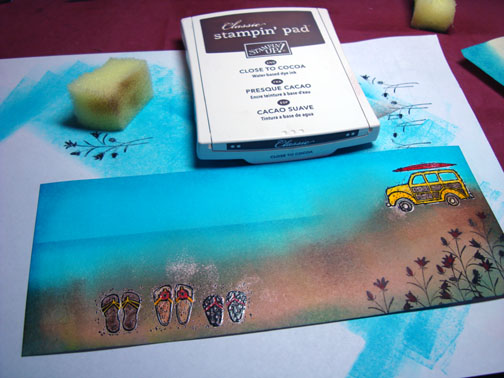
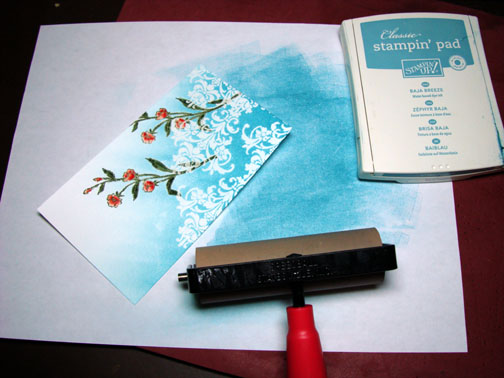
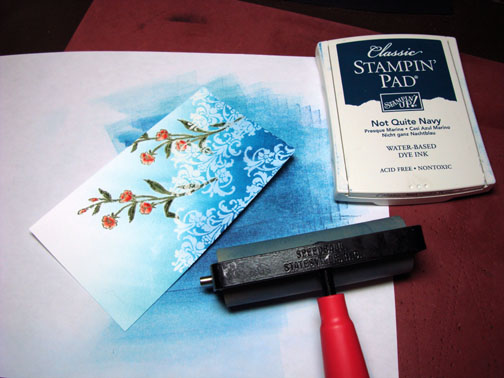
Put one of my circle masks where I want the moon to be in my scene and brayered Sahara Sand ink in the sky area.

Removed the moon mask and brayered Sahara Sand ink lightly over the sky again to reduce the starkness of the white moon a bit.

Brayered Apricot Appeal ink at the bottom of the card stock.

Brayered Cameo Coral ink at the bottom of the card stock, not covering the Apricot Appeal ink entirely.

Ripped a post it note and used it as a mask to create a hill.

Sponged Sahara Sand heavily at top of the post it note mask and on to the card stock.

Sponged a bit of Bravo Burgundy at the lower left corner of the card stock.

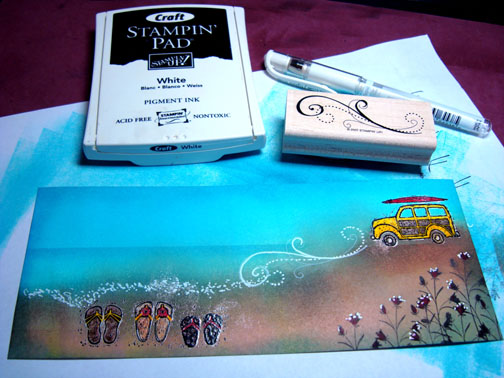
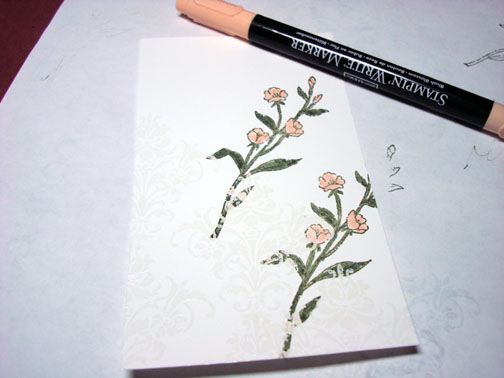
Added some black marker outlines to the left side of some of the limbs and the trunk of the tree.

Added highlights to the tree with a white gel pen.

Distress the edges of the panel with the Tim Holtz distressing tool.

Dragged the card stock edges across the Sahara Sand ink pad to darken the edges.

Assembled my panels and stamped the Flourish at the top and bottom of the card with Basic Black ink. Also added two brads.

Sponged Basic Black ink on the left side of the card front.

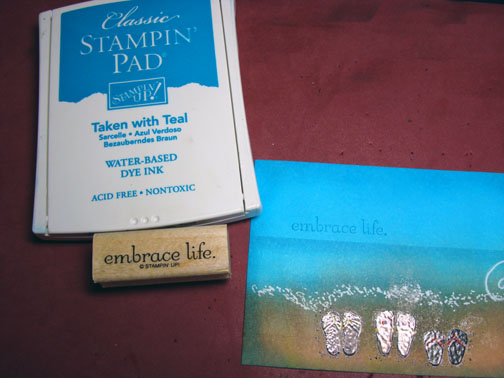
Here is the card completed measuring 4″ x 9″. This card size fits wonderfully in a #10 size business envelope, which you can pick up at any office supply store at a reasonable price.
I hope this project has inspired you to get out your gray inks and give them a whirl.
May your day be calm and joyful.
Until my next post. . . . . . . . . . . . . . .
Hugs,
Michelle
 Get ready for Brayer Workshops! I am coming to:
Dayton, Ohio
Buffalo, Minnesota
Webster, New York
New Johnsonville, Tennessee
Stoughton, Wisconsin
Columbia, Missouri
Lynchburg, Virginia
Greewood, Indiana
Castro Valley, California
Yardley, Pennsylvania (near Philadelphia)
Knox, Maine
Broomfield, Colorado
Moore, Oklahoma
Portland, Michigan
2010
Jacksonville, Florida
Pocatello, Idaho
Salem, Oregon
Here is a link to my workshop calendar where you can see all of my travel schedule and to get info on beginner and advanced Brayer workshops: http://zindorf.blogs.splitcoaststampers.com/workshop-calendar
Link to my Stampin’ Up website were you can order all of your must have Stampin’ Up products from me 24-7: http://michellezindorf.stampinup.net
Here is a link to all of my tutorials: http://zindorf.blogs.splitcoaststampers.com/tutorials-ive-written/
Frequently asked questions answers: http://zindorf.blogs.splitcoaststampers.com/frequently-asked-questions/


