Good morning, good morning, good morning! I love Sundays! I always try to make Sunday a complete down day for me. A day to sit back relax a while and try to re-energize before starting another week. But before I go and turn into a complete couch potato I made this tutorial for you.
I love bird watching and have quite a few bird feeders in the yard. Sometimes I think the birds are eating better than my husband and I when I look at our shopping bill, but that’s another story. 🙂
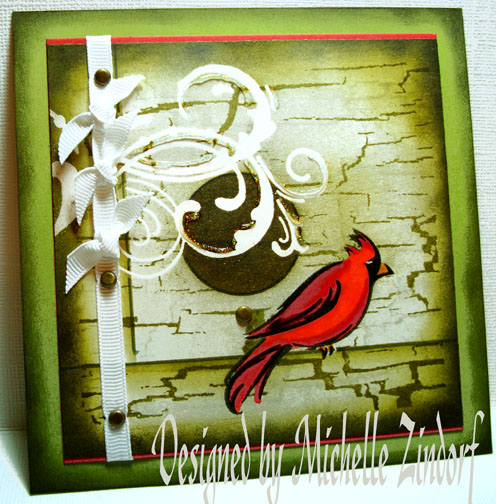
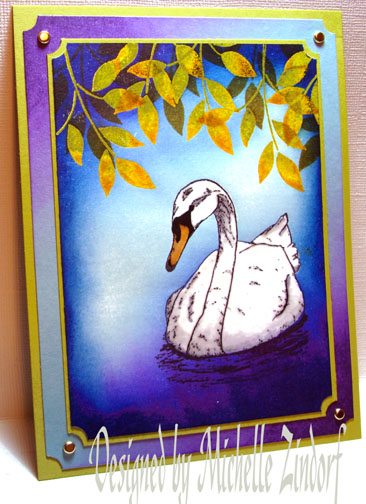
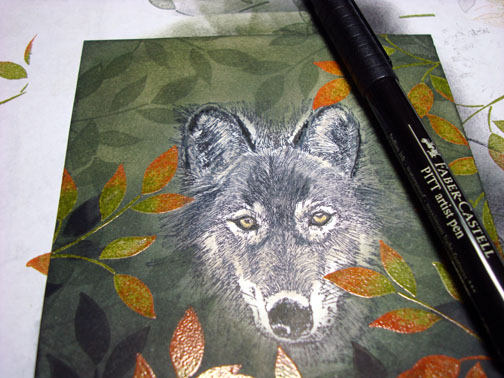
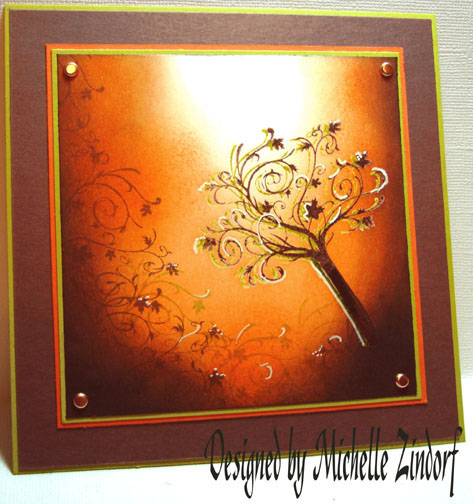
Male Cardinals are all over our area here in Ohio and a welcome splash of color at our feeders. This Cardinal stamp by Close to My heart is turning out to be one of my favorite. I’ve pair the cardinal up with some great images by Innovative Stamp Designs also. Check out that wood grain and flourish. Terrific together! Here is a link to Innovative Stamp Creations web store: http://www.innovativestampcreations.com/ischomepage.html
One announcement before I get into the tutorial. We have a blog candy winner!!!!!  Drum roll please. .. . . . . . . . . . . . and the winner is . . . . . .
Debbie Stelton who wrote “Michelle I as so glad you enjoyed your trip and teaching your classes. As usual your card is awesome. Thank you for another chance to win some blog candy you are always so generous with your talent and great blog candy. Have a great week and TFS.”
Debbie, please e-mail your address to mzindorf@aim.com and I will get this terrific set in the mail to you. Congrats!
Thanks to everyone else who played along!
Now for the Tutorial. 🙂
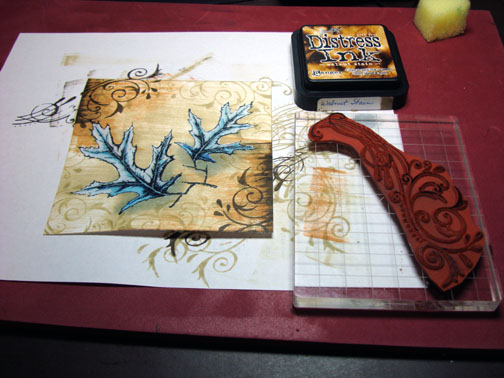
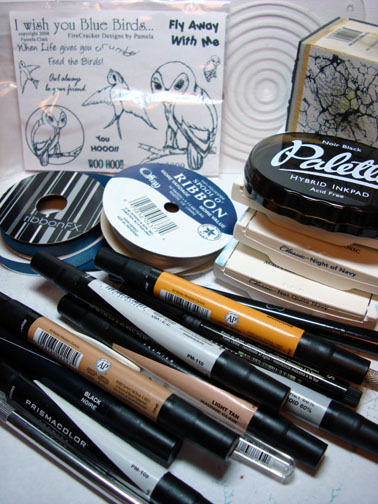
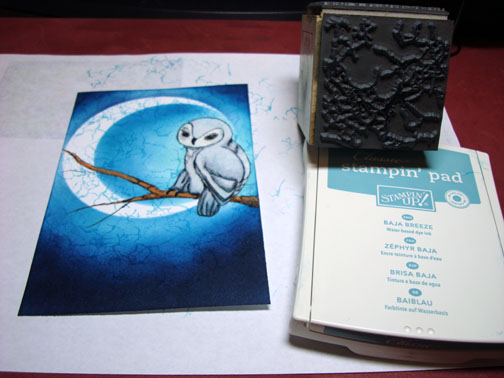
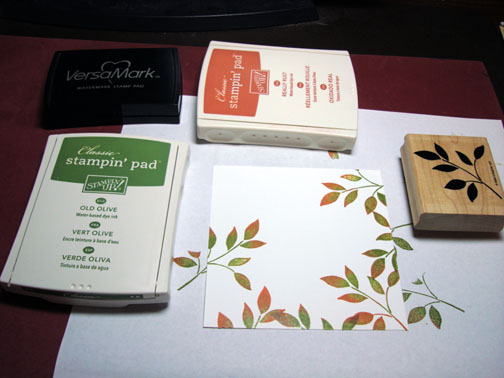
Supplies:
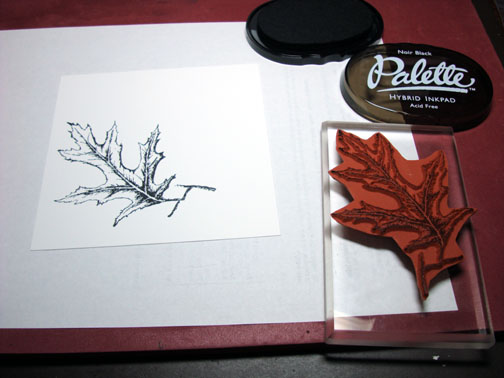
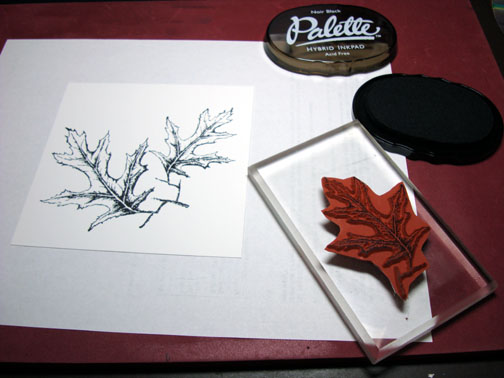
| Stamps: Innovative Stamp Creations “Nature Silhouettes I” & “Textures”, Close to My Heart “Season of Splendor” |
| Paper: Stampin’ Up Whisper White, Real Red & Old Olive |
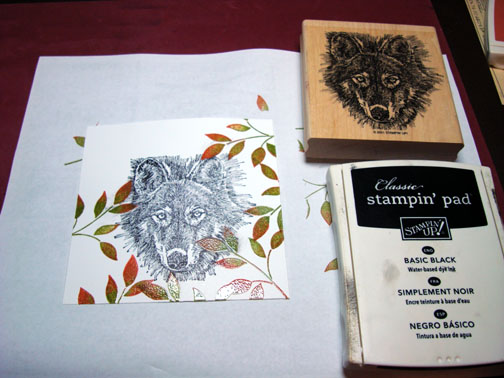
| Ink: Adirondack Pesto & Lake Mist, Palette Noir Black & Stampin’ Up Basic Black |
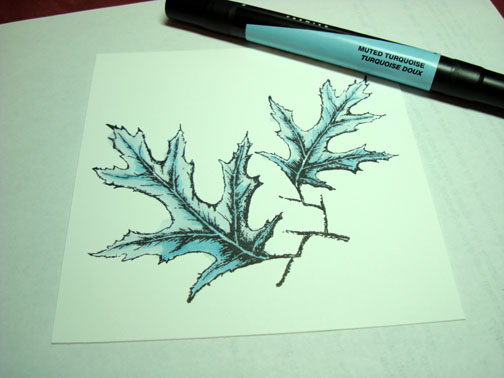
| Accessories: Prismacolor Markers, Grey and Black marker, Versamark pad and marker, sponge, brayer, ruler, post it notes, Diamond Stickles, fine detail clear embossing powder, heat gun, brads, white ribbon |

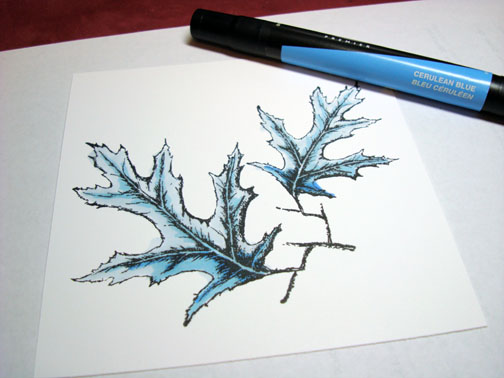
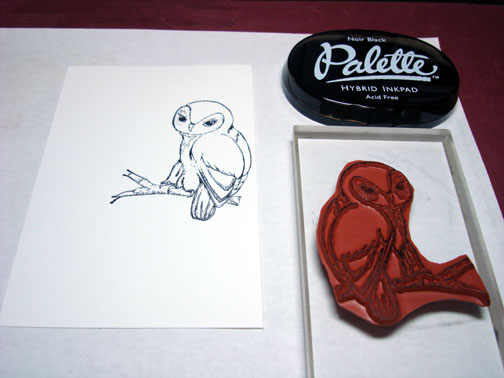
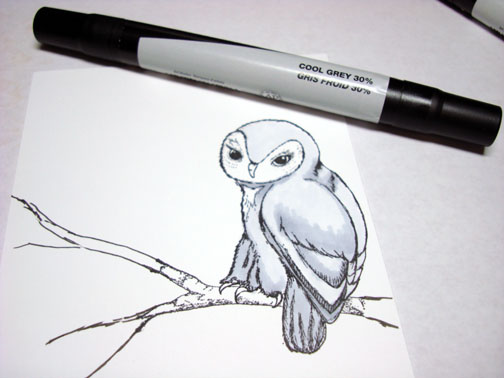
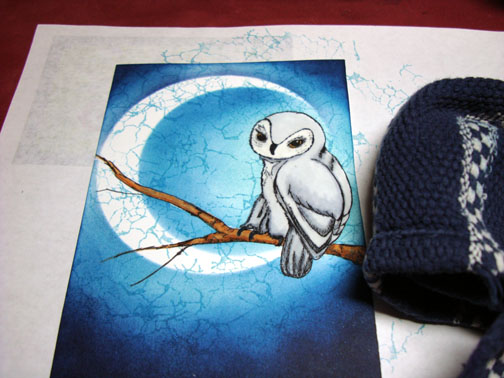
Stamped Cardinal with Palette Noir Black ink on a 4.5″ square piece of Whisper White card stock.

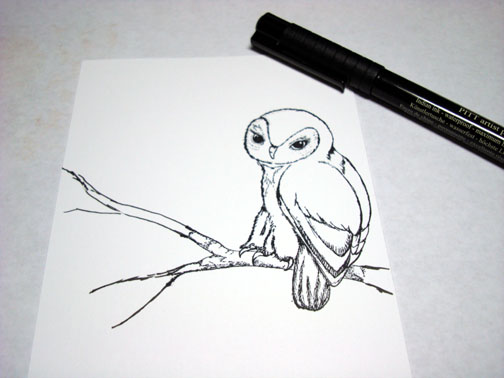
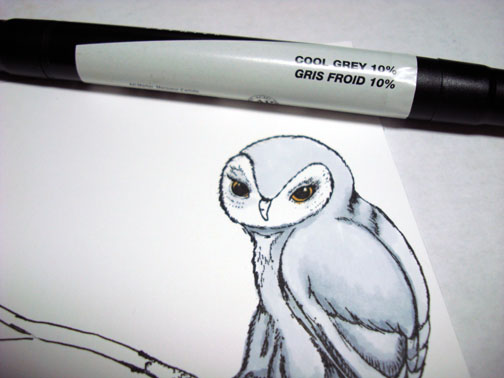
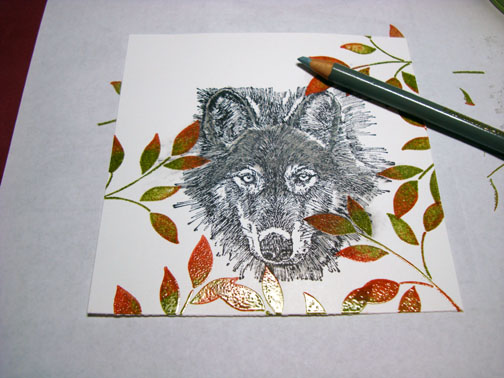
Colored the bird with a Prismacolor Scarlet Lake Marker.

Added Crimson Red to the dark areas.

Went over the entire bird again with the Scarlet Lake marker to blend.

Added Tuscan Red to the top of the back and underside.

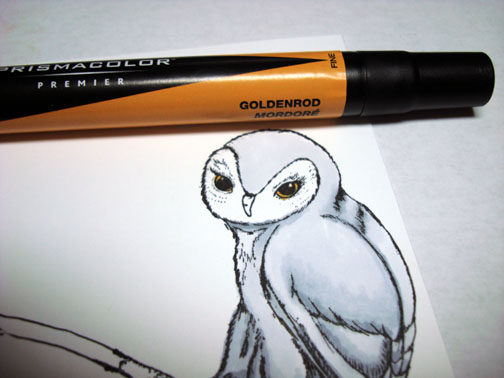
Colored the beak Burnt Ochre.

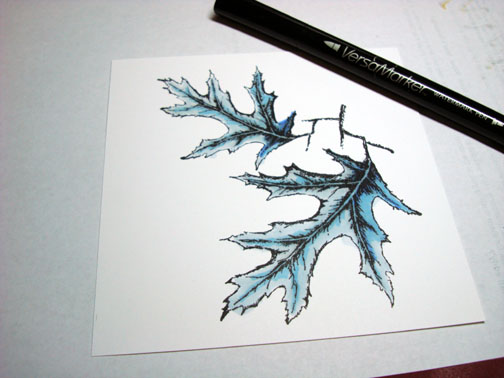
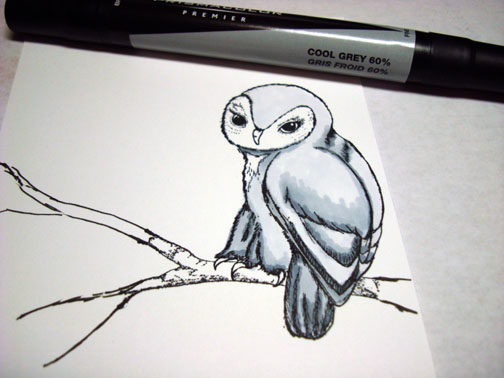
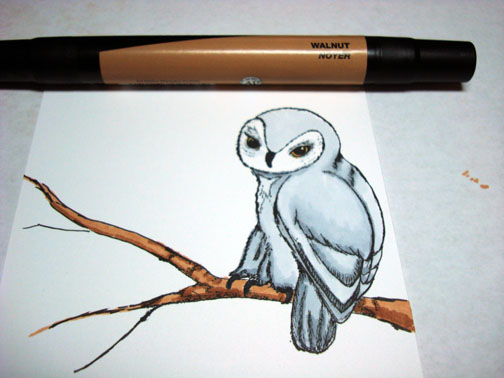
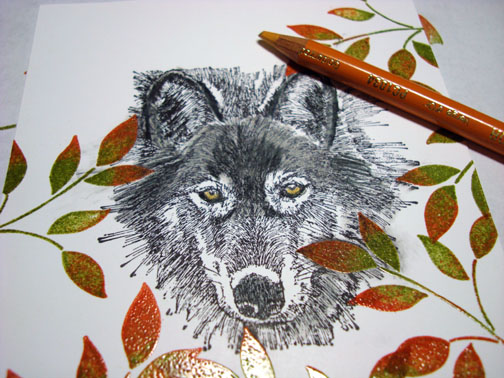
Colored over the entire bird with a Versamark marker, being very careful to stay inside the lines.

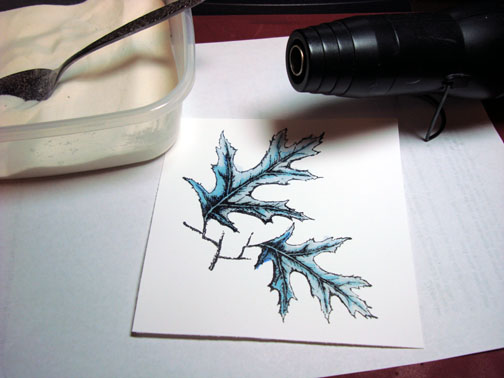
Heat embossed the image using clear embossing powder and a heat gun.

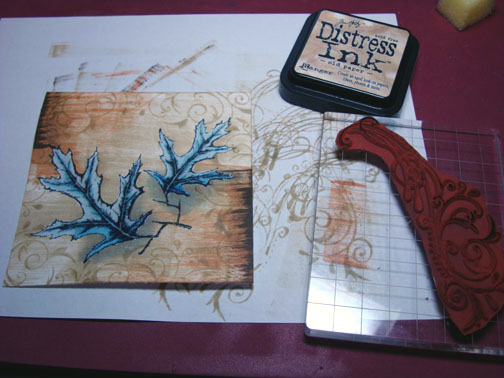
Stamped the flourish at the top of the card stock using Versamark only.

Heat embossed the image using clear embossing powder and a heat gun.

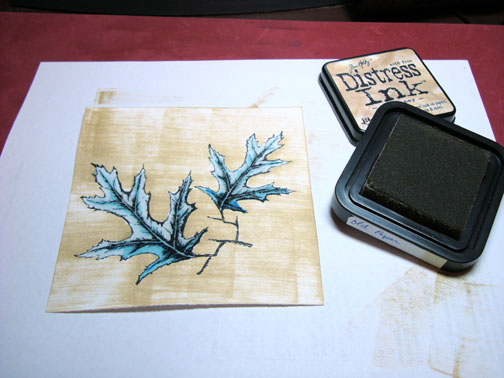
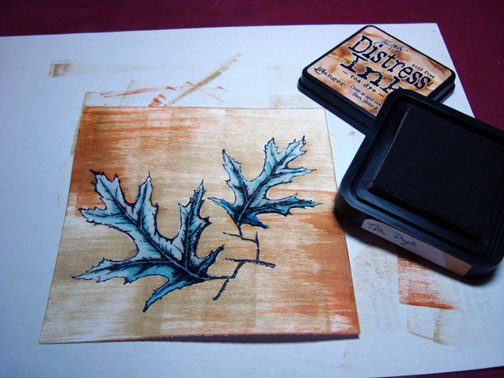
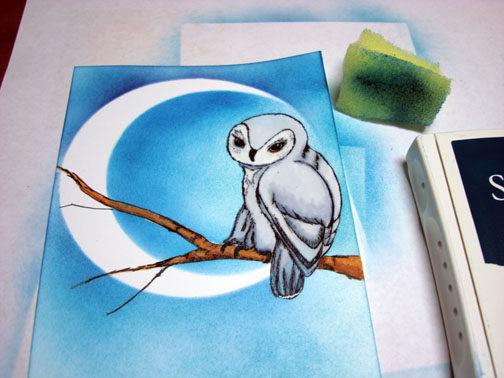
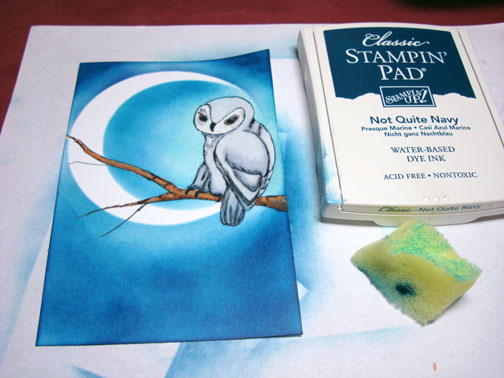
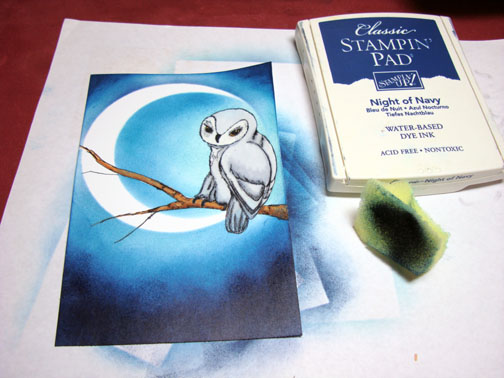
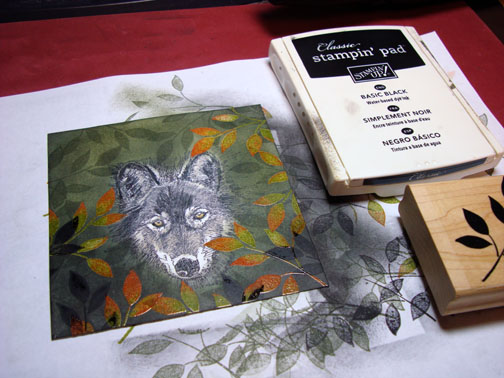
Brayered in Lake Mist ink all over the card stock.

Stamped wood grain with Lake Mist ink.

I decided I wanted the wood grain to show up better so I restamped it with Pesto ink.

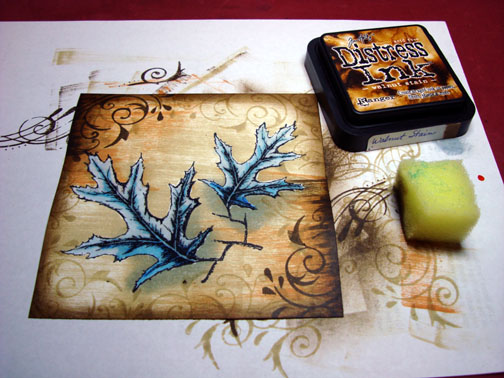
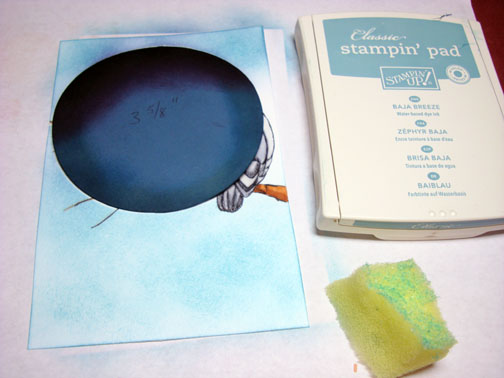
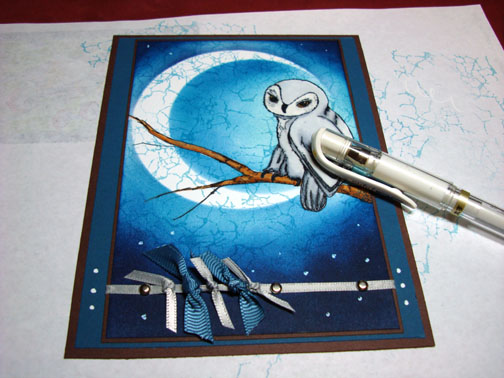
Masked the Top of the card stock with a post it note and sponged Pesto ink right at the post it note edge to create a shelf for the bird to sit on.


Switched the direction of the post it note to create a board running from top to bottom by sponging Pesto at the post it notes edge.

Removed the post it notes and sponged Pesto ink around the outside of the card stock.
Also used a ruler to add a line of Grey marker to really define the boards I created.


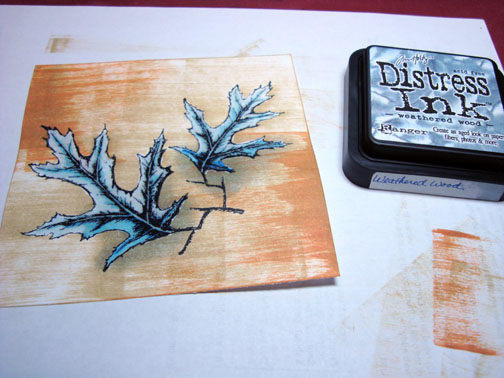
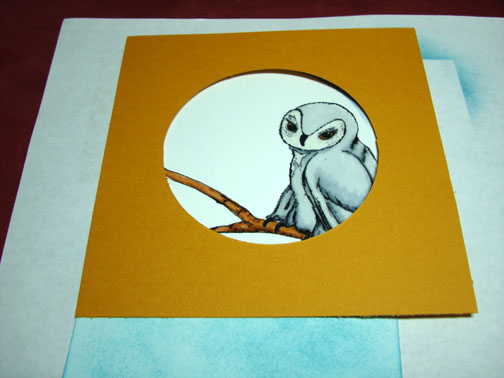
Punched a circle in a piece of card stock and held it on the main image panel and sponged Pesto ink inside the circle to create a hole in the bird house.


Drew a black line around the inside of the circle skipping over the flourish showing. The black line gives a bit of dimension to the whole.

Sponged Black ink on the very edge of the card stock.

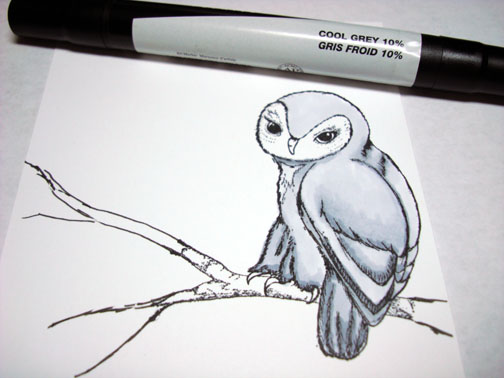
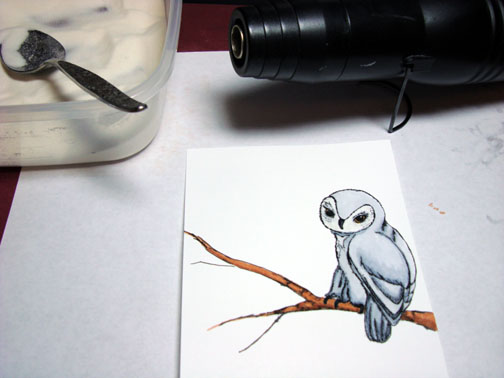
Wiped the ink off of my embossed images using a soft paper towel.

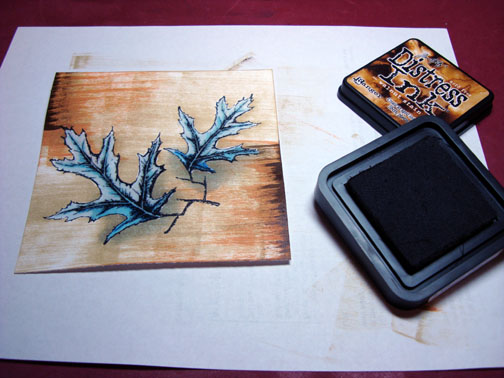
Sponged Black ink on a 5.25″ square panel of Old Olive card stock.

Added Ribbon, Brads & Stickles to the flourish.

Here is the complete card measuring 5.25″ Square.
May your day be filled with Peace and Joy.
Until my next post. . . . . . . . .. . . . .
Hugs,
Michelle
Links to all my tutorials can be found here: http://zindorf.blogs.splitcoaststampers.com/tutorials-ive-written/
Here is a link to my workshop calendar if you want to get info on beginner and advanced Brayer workshops: http://zindorf.blogs.splitcoaststampers.com/workshop-calendar
Frequently asked questions answers: http://zindorf.blogs.splitcoaststampers.com/frequently-asked-questions/


