
Hello! I have a tutorial for you on emboss resist, resist. That is what I call it anyway. 🙂
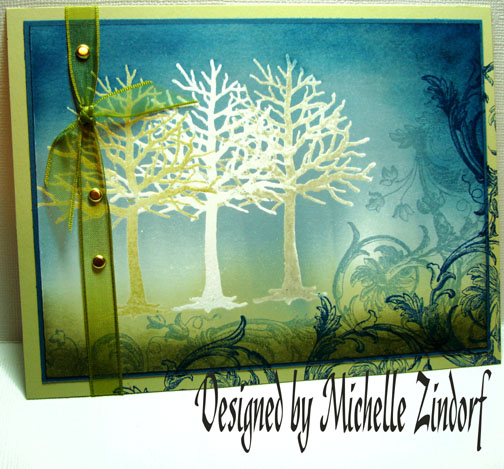
I used the embossed resist technique, but did it in layers. When creating a scene with this technique, you will want to keep in mind to work from the foreground to the background. Meaning you will want to stamp the images in the foreground before you stamp the images in the background.
Let’s get started:
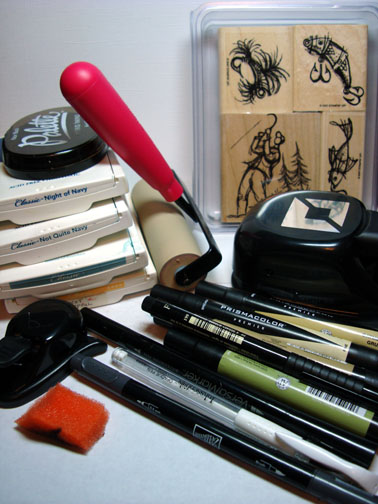
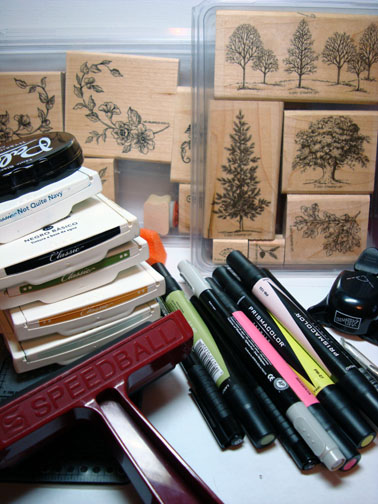
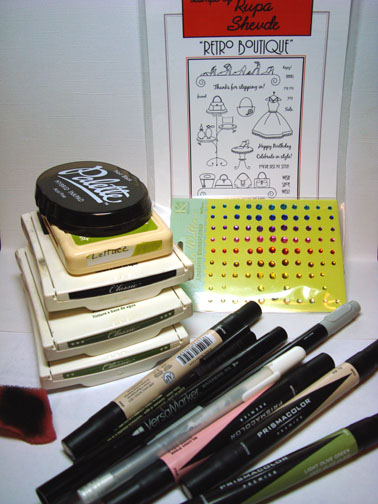
Supplies:
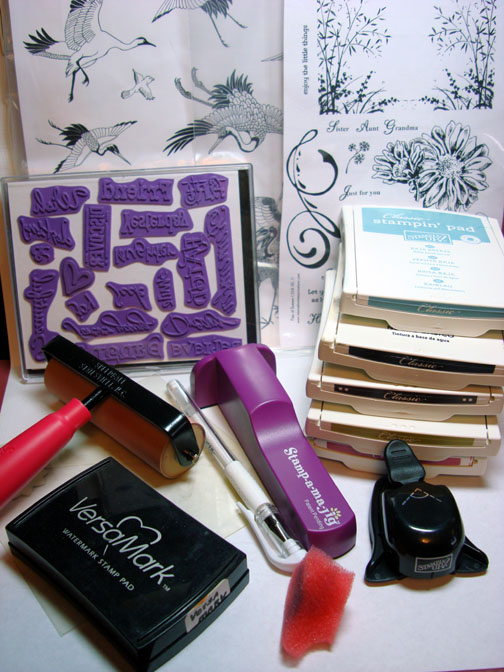
| Stamps: Stampin’ Up Always, Stem Silhouettes, Brocade Basics |
| Paper: Stampin’ Up Whisper White, Bashful Blue & Basic Black |
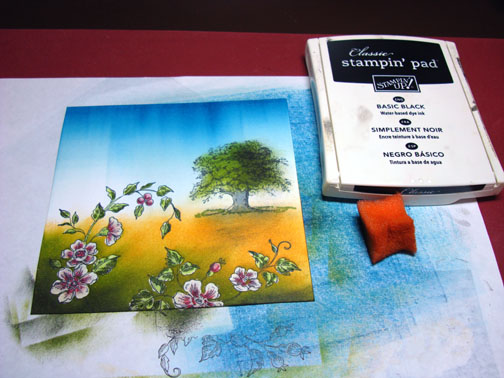
| Ink: Adirondack ink Pitch Black, Lake Mist, Oregano, Pebble & Aqua |
| Accessories: Versamark pad and marker, Black Faber Castell marker, Coluzzle Circle Template, Brayer, Fine Detail Embossing Powder, Heat Gun, Ribbon, 2 brads, Sponge, Post it Notes |

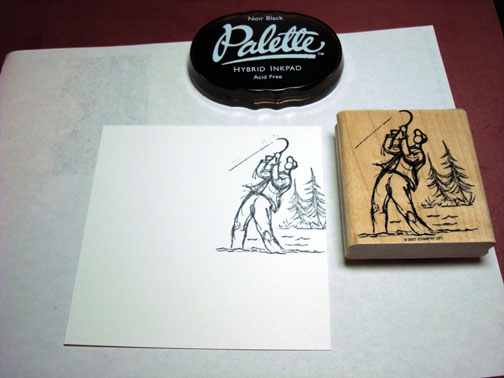
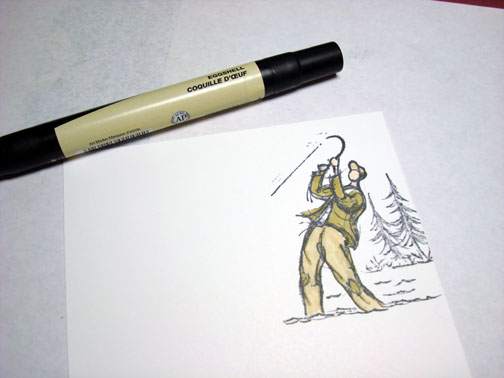
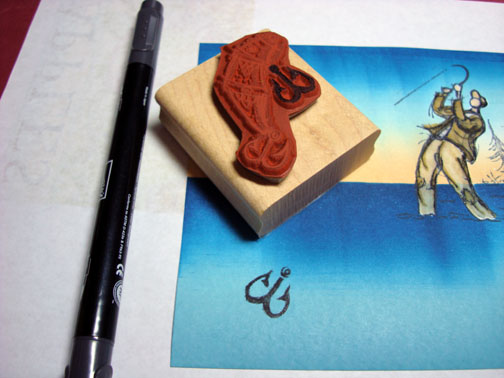
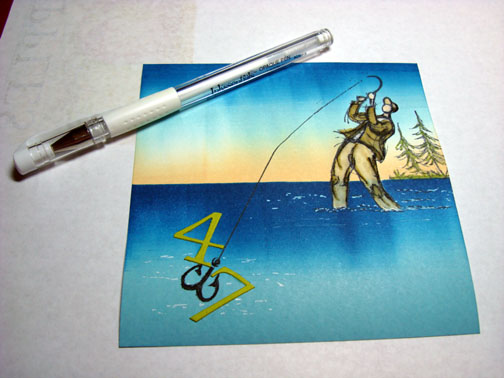
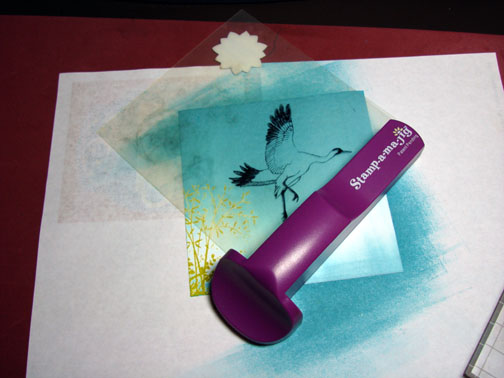
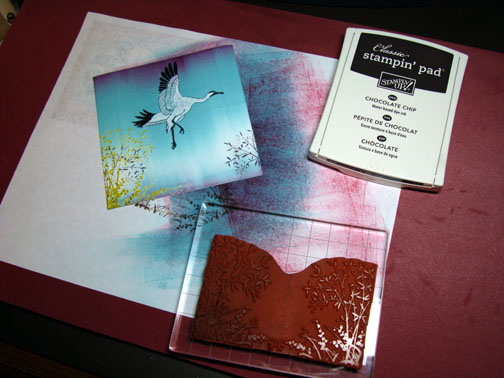
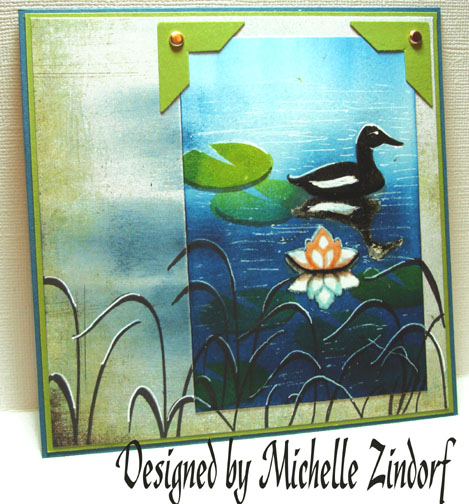
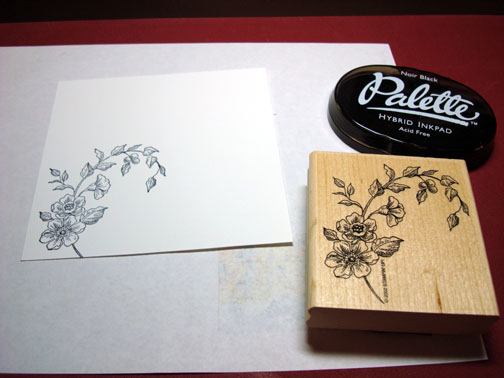
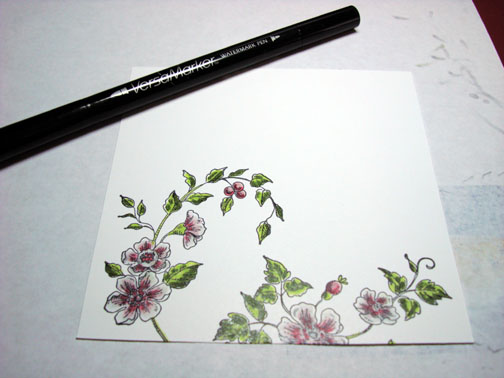
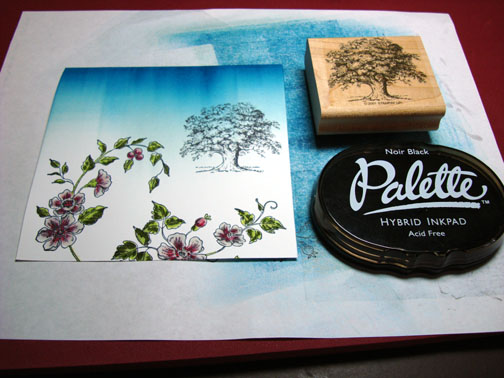
Stamped bird by first loading the stamp with Versamark and then Pebble ink before stamping it on a 5″ x 5″ piece of Whisper White card stock. Heat embossed the image with clear embossing powder and a heat gun.


Colored over the design on the bird with a Versamark marker and then heat embossed the image again with clear embossing powder and a heat gun.


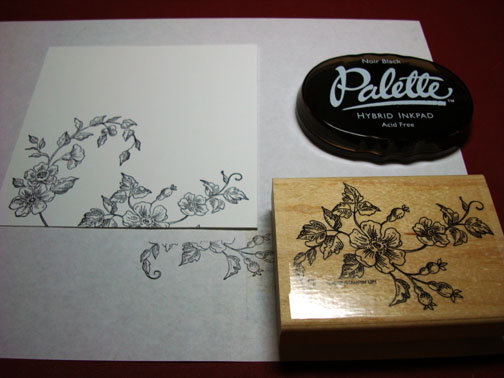
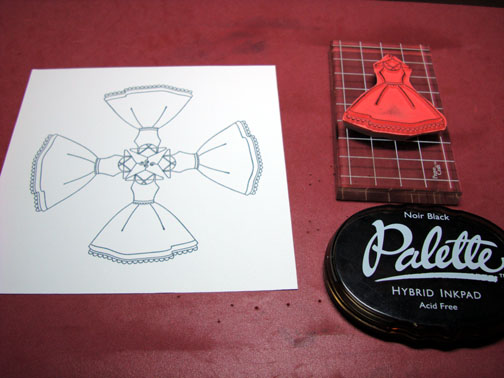
Stamped the Brocade flourish by first loading my stamp with versamark and then Pebble ink before stamping. Heat embossed image with clear embossing powder and a heat gun.


Filled in the White spaces on the leaves with a Versamark marker and the heat embossed the image again with clear embossing powder and a heat gun.


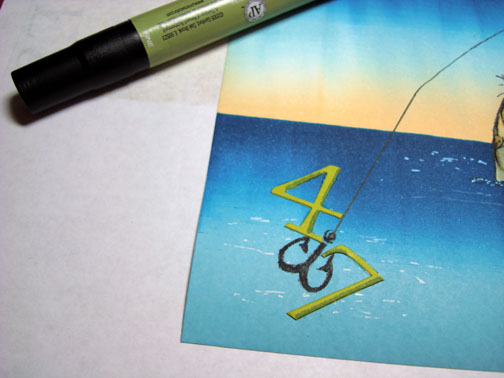
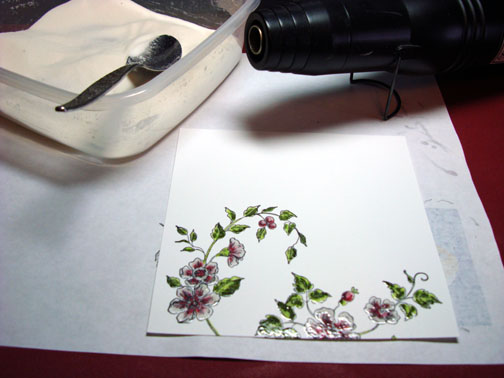
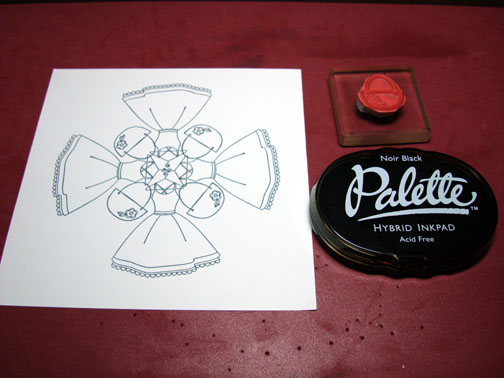
Stamped the Brocade flourish again by loading the stamp with Versamark and then Pitch Black ink before stamping. Heat embossed the image using clear embossing powder and a heat gun. Filled in the white spaces of the leaves with a Versamark marker and then heat embossed the image again.


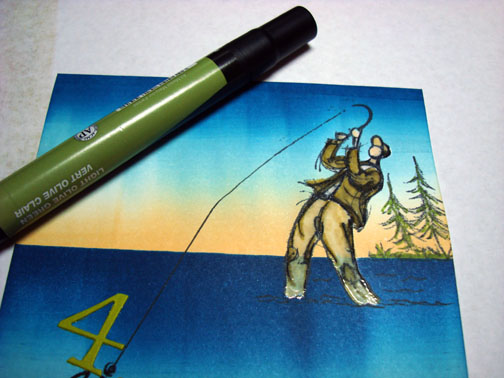
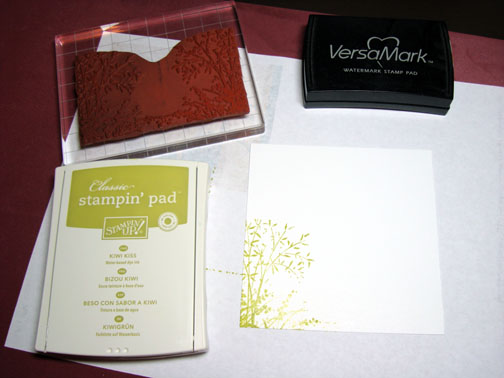
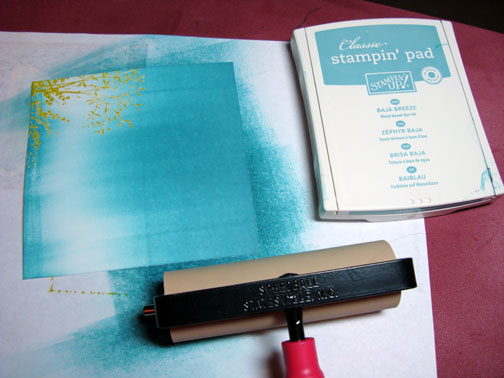
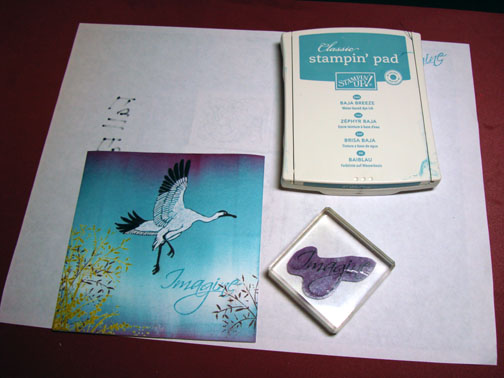
Stamped the Stem Silhouettes three times using just Versamark and heat embossed the stems with clear embossing powder and a heat gun.


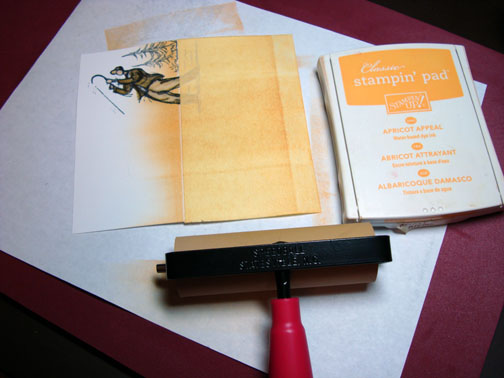
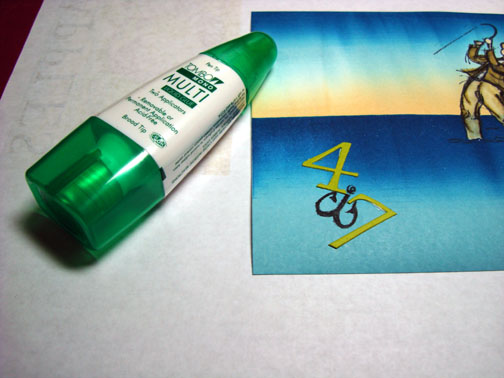
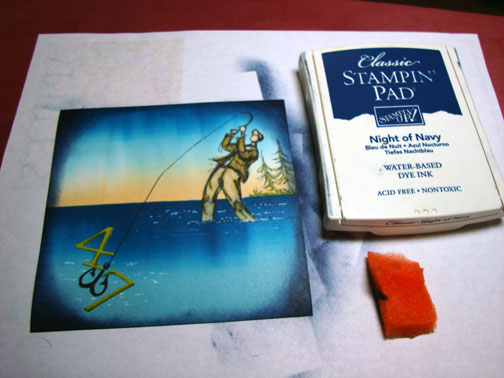
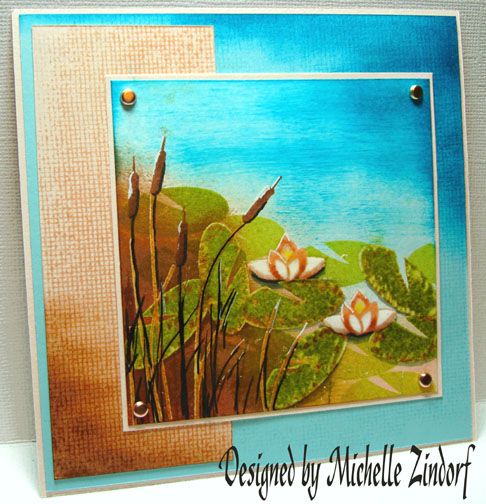
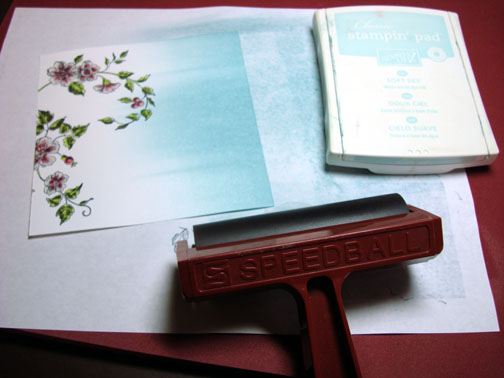
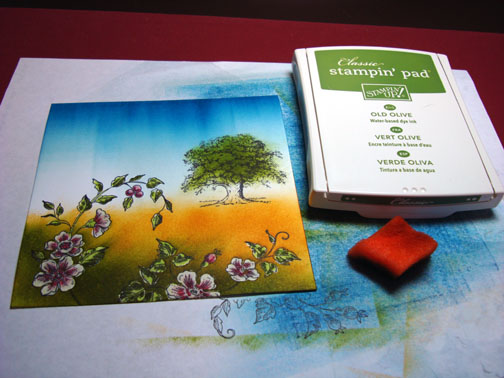
Masked half of the panel with a Post it note.

Brayered Lake Mist ink over the uncovered half.

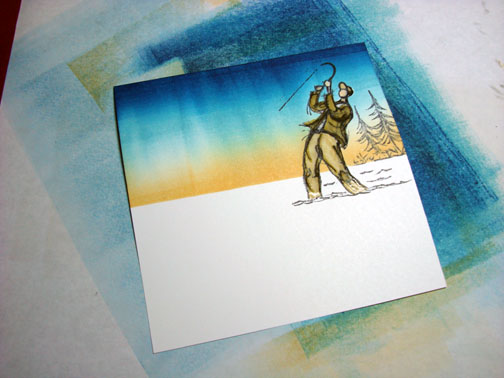
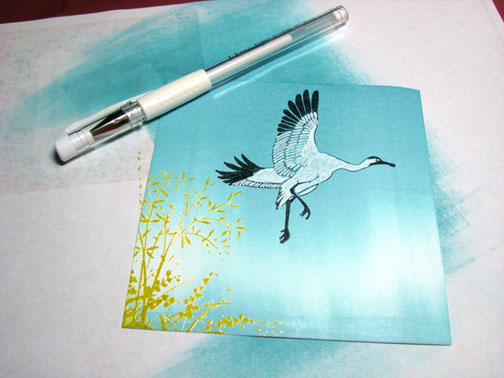
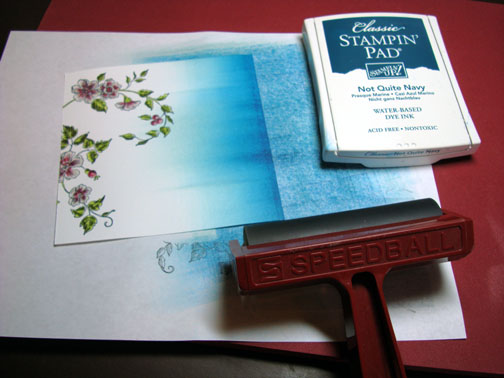
Removed the Post it Note make and put a fresh Post it note mask on, this time masking the Lake Mist half of the panel. Brayered on Aqua ink on the unmasked side.

Removed the post it note mask.

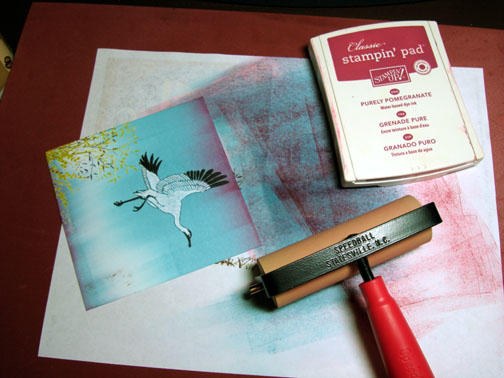
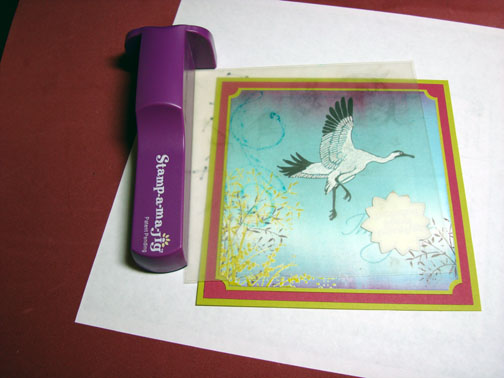
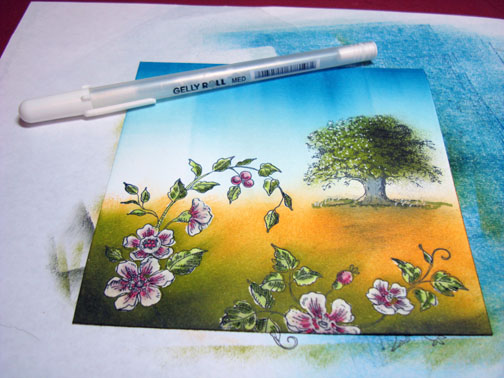
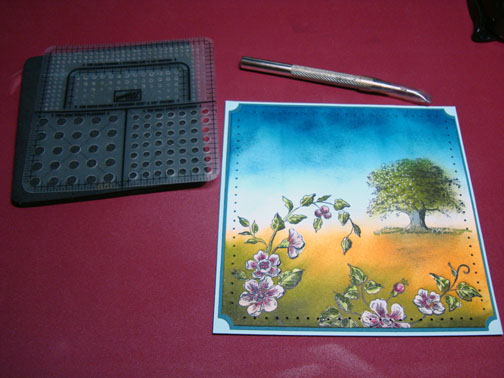
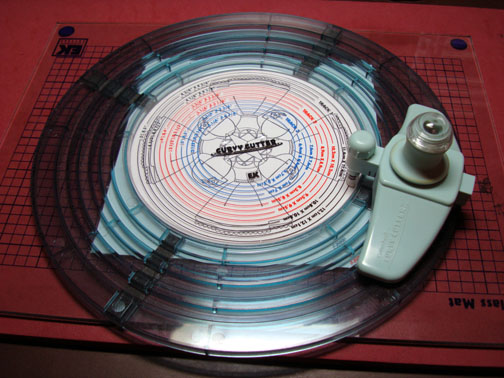
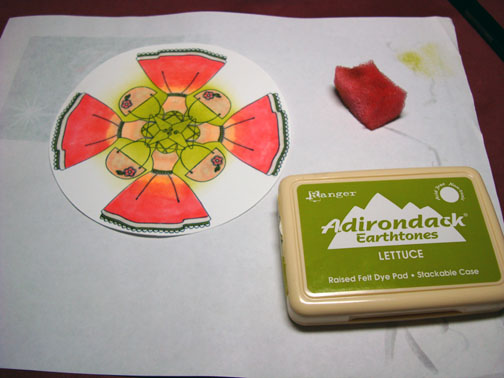
Cut a circle with my Coluzzle to use as a mask and sponged Pebble ink around the outside of the mask.


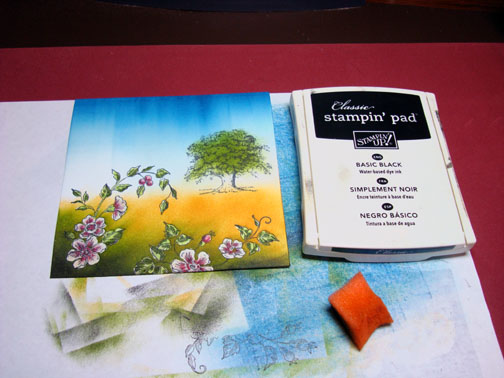
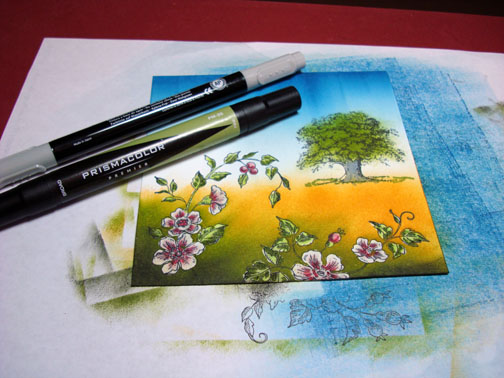
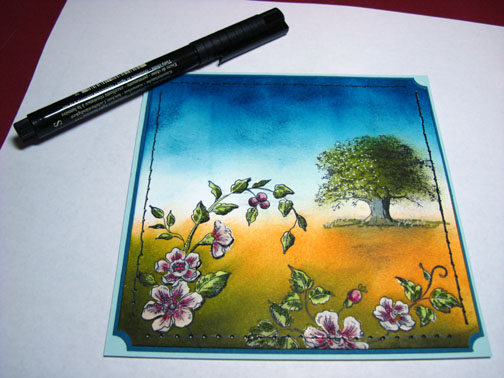
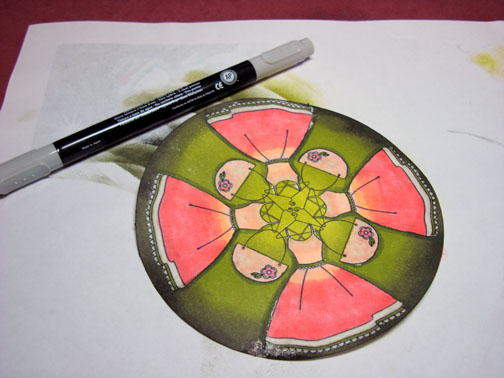
Used a Faber Castell fine point marker and drew an outline around the circle mask.
Note: If I were to do this again, I would not have drawn the black line across the embossed images. We live and we learn. 🙂


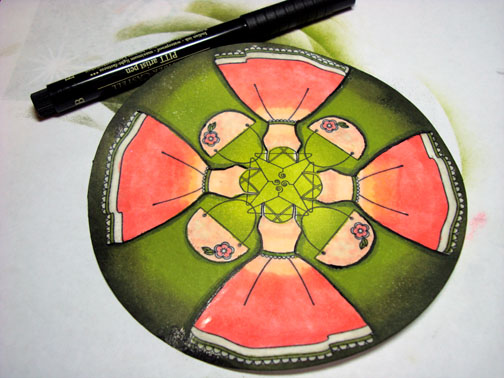
I also used the same black marker to define the bottom sides of the Bird and Brocade Flourishes.
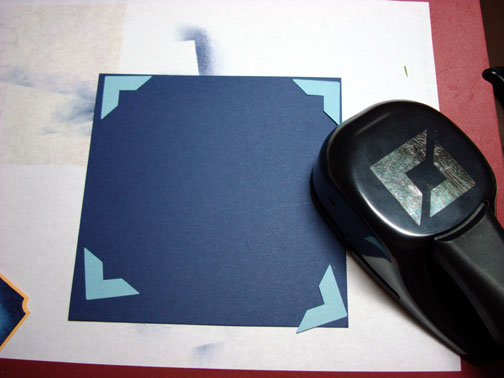
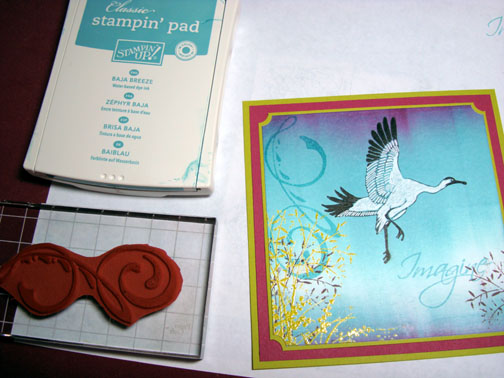
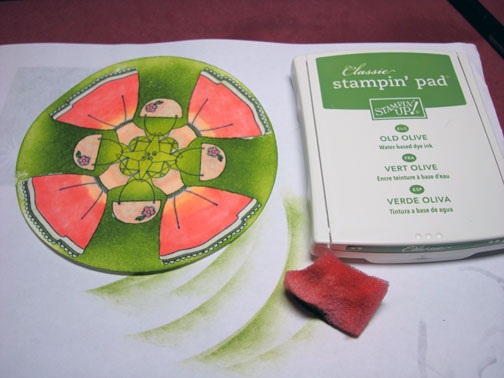
Sponged Oregano ink around outside edge of the panel.

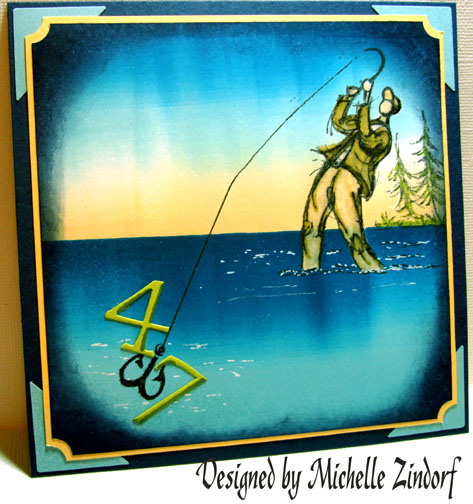
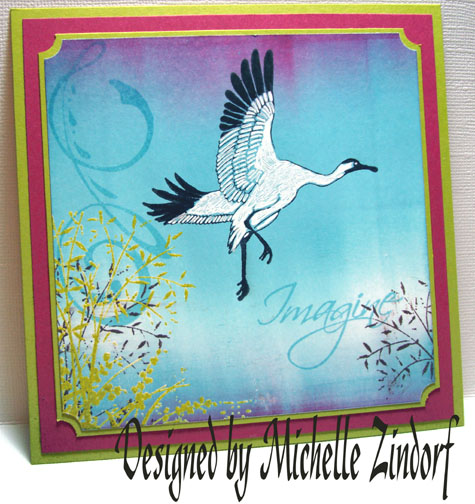
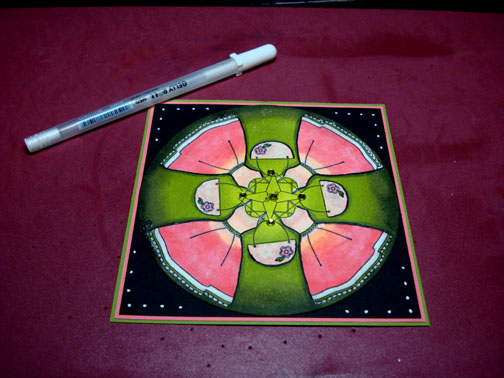
Assembled card front and added a ribbon and two brads. Here it is finished measuring 5.25″ x 5.25″.
Hope you enjoyed this tutorial on emboss resist, resist and will want to give it a try.
May your day be filled with the sweet sounds of sing birds and sunshine.
Until my next post. . . . . . . . .
Hugs,
Michelle
Note: Links to all my tutorials and be found here: http://zindorf.blogs.splitcoaststampers.com/tutorials-ive-written/


