
Hey There,
Whew! Did that weekend ever go by quickly. I feel like I spent the entire weekend picking up branches brought down by the thunder storm that rolled through with it’s 70 mile an hour winds and just generally trying to keep the dog, chickens and myself cool during this blasted heat wave. Someone, please turn off the heat!
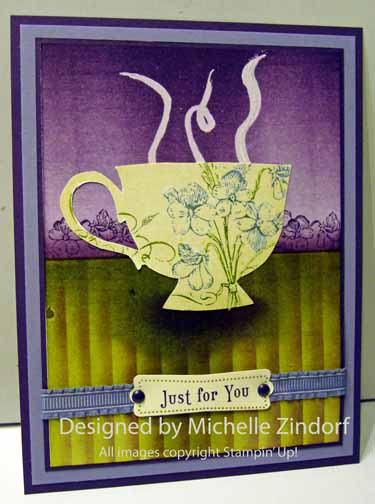
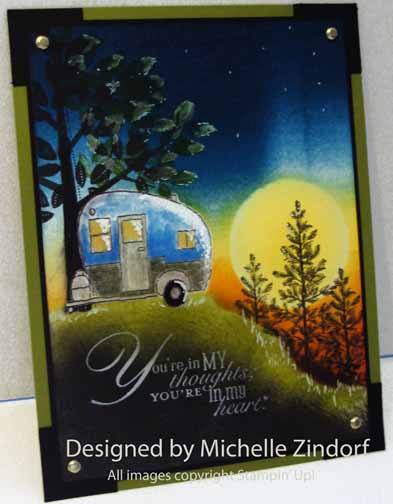
My project today is a hot one, using warm colors and the very fun Stampin’ Up set, Zoo Review. This is an old workshop project of mine. I usually don’t share my workshop projects here on my blog, in fact this is the first time I have. This is one of my favorites and I’m no longer teaching this card so here it is. You wouldn’t believe the stash of old workshop projects I have piled up. I change the projects in my workshops frequently to keep the workshops fresh. Maybe little by little I’ll share them here.
The tutorial that follows will show you how to get that reflection in the water for the zebra and for the mountains. Hope you enjoy it. If you do, let me hear from you. I love reading your comments, suggestions and general chit chat.
Other card tutorials using the Zoo Review stamp set:


Here are a few Stampin’ Up Reminders before I start the project.

Check out what’s new at Stampin’ Up! The brand new Annual Catalog has been released. CLICK HERE TO LOOK AT THE CATALOG ONLINE. I got my order in and I’m ecstatic about the new products and, of course, the new stamps! CLICK HERE TO PLACE AN ORDER. Contact me at mzindorf@aim.com or 937-344-1312 with product questions.
Want a new annual catalog shipped to you? I will be happy to send you one. The catalog is free, but there is a $5 shipping charge. Note, I will only sell or ship within the United States do to Stampin’ Up! policies. Please contact me at mzindorf@aim.com. Payment can be sent via Paypal or check.
You can join my Stampin’ Up! team and become a Stampin’ Up! Demonstrator now for the great new price of $99, CLICK HERE TO CHECK IT OUT. Contact me whether you want to start your own business or just enjoy the 20% discount on products.
Want to purchase one of my original cards or some Stampin’ Up! retired sets CLICK HERE. I’ll be updating the sales page all this week. So check back daily.
Now on with today’s tutorial. . . . . . .
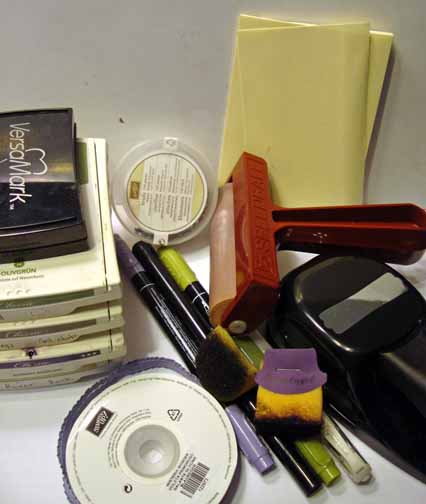
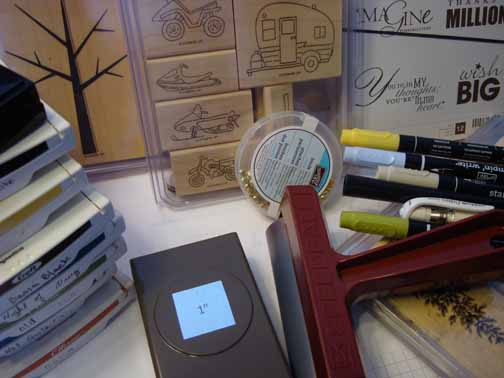
Supplies:
Stamps: Stampin’ Up! Zoo Review
Card Stock: Stampin’ Up! Whisper White, Basic Black and Old Olive
Ink: Stampin’ Up! Old Olive, More Mustard, Cajun Craze, Cherry Cobbler, Basic Black and Soft Suede
Accessories: Stampin’ Up! Sponges, Versamarker, Versamark Pad, Sahara Sand Marker, 4 Silver Brads, Decorative Label Punch, White Gel Pen, 1/2″ circle Punch, post it notes, Brayer, Clear Embossing Powder, Heat Gun and Heavy Window Sheet.
![]() Are you getting inspiration from this blog? One way you can help support it is to order your Stampin’ Up products through me. Click HERE to place an order and have your order delivered directly to your door step from Stampin’ Up!
Are you getting inspiration from this blog? One way you can help support it is to order your Stampin’ Up products through me. Click HERE to place an order and have your order delivered directly to your door step from Stampin’ Up!

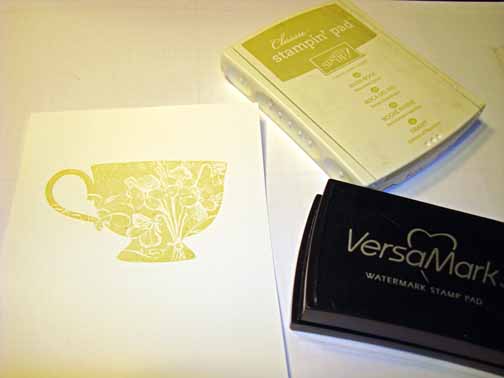
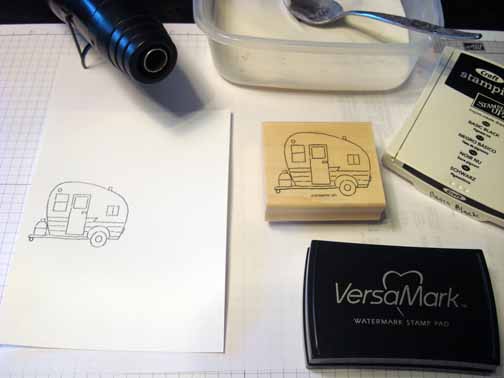
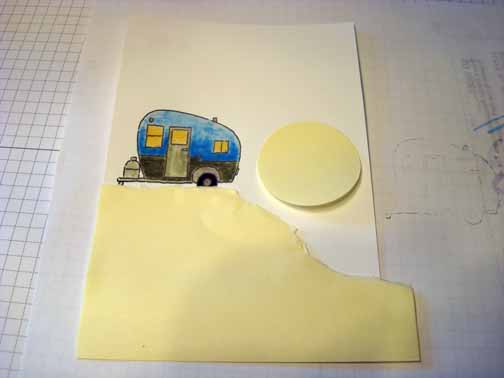
Loaded the Zebra stamp with Versamark and then Basic Black ink before stamping it on a 3.5″ x 6.5″ piece of Whisper White card stock. Heat embossed the image using clear embossing powder and a heat gun.

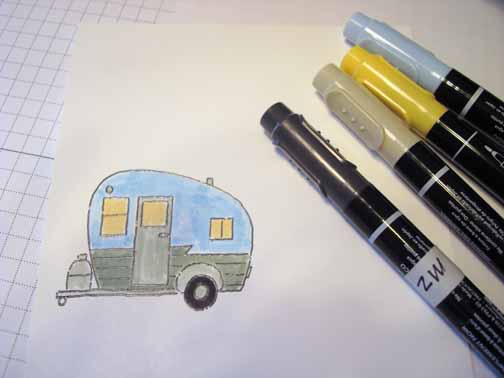
Colored the dark stripes in with a Sahara Sand marker.

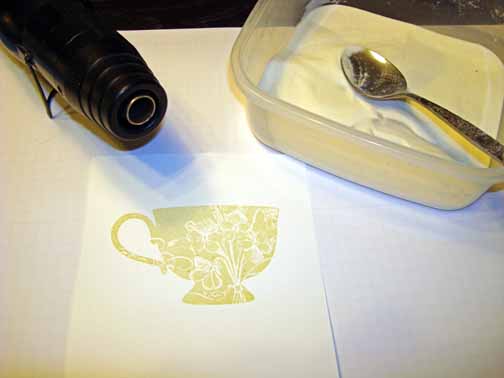
Colored over the zebra using a Versamarker and then heat embossed the image using clear embossing powder and a heat gun. Now you image should be completely covered with embossing and will look like glass.

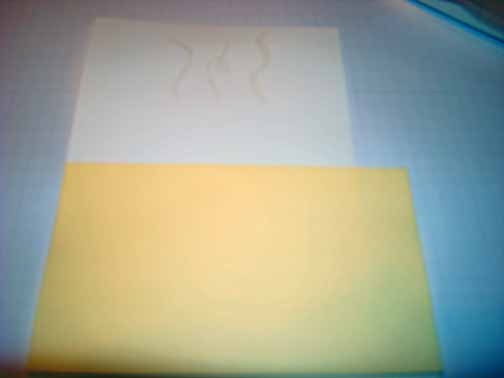
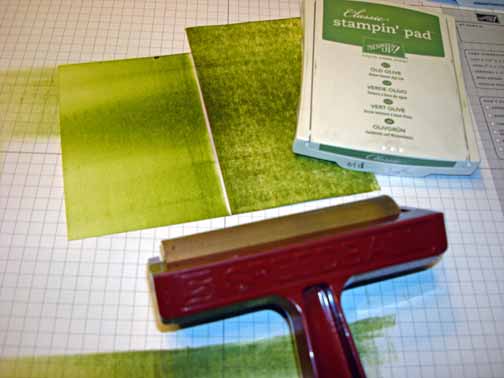
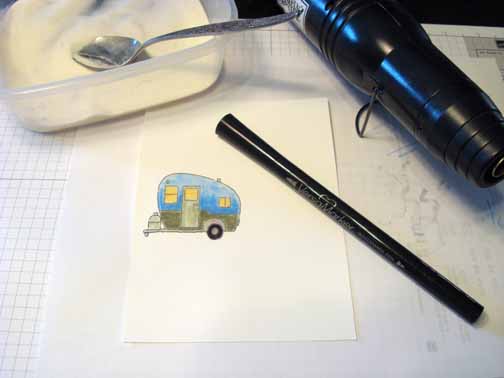
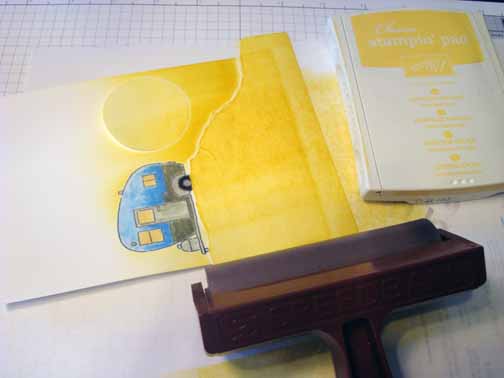
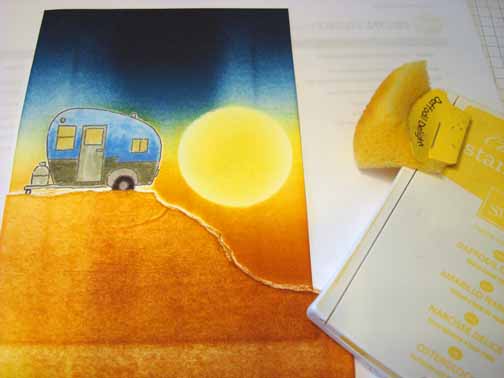
Brayer More Mustard ink at the top and bottom of the card stock.

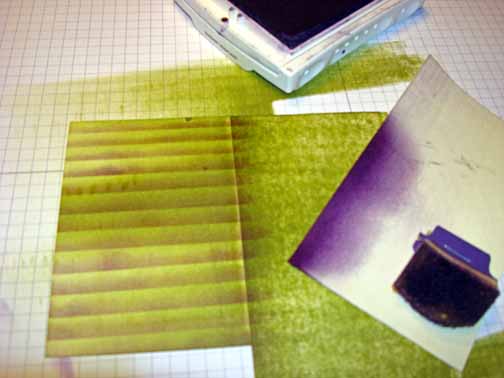
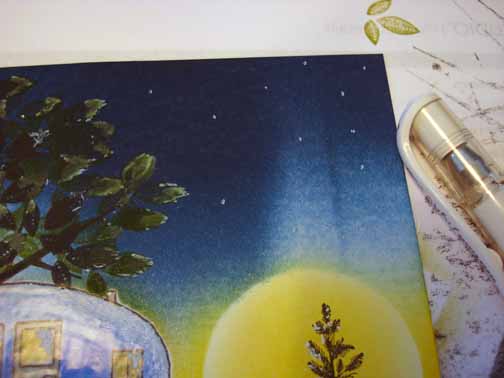
Punch a 1/2″ circle from a post it note and use it as the mask for your sun.

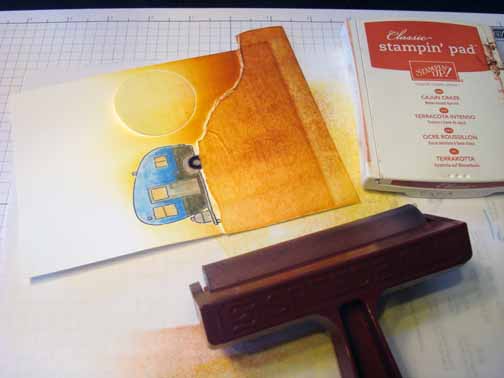
Brayer Cajun Craze ink at the top and bottom of the card stock.

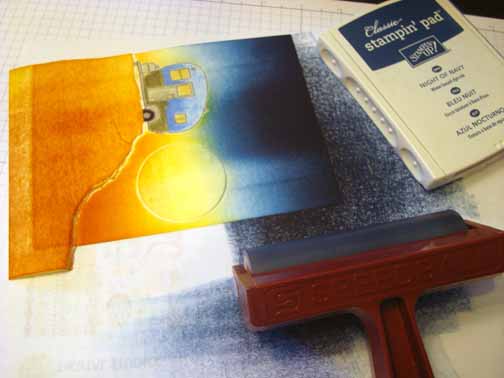
Brayer Cherry Cobbler ink at the very top and bottom of the card stock.

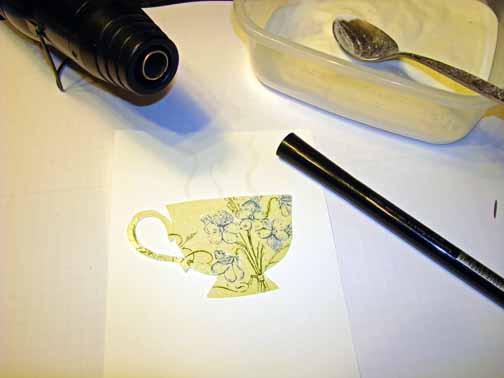
Stamp the zebra with Basic Black ink on a clear window sheet and then quickly turn it over onto the card stock (be sure to line up the zebra’s feet) and then brayer over the clear plastic sheet to transfer the zebra. This creates the reflection.

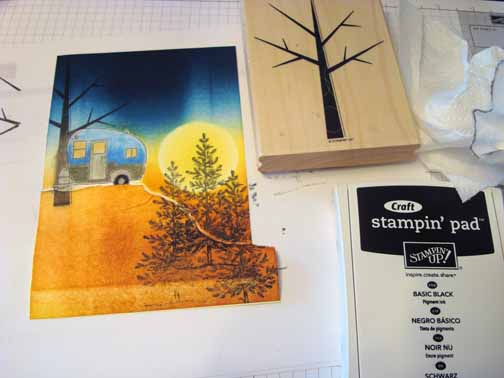
Now to create the mountains: Take two post it notes and stick the sticky sides together, so the sticky is sticking to the other sticky (back to back). This way when you tear the post it note to mask for the mountains you will have one for the top and one for the reflection.

Put the post it notes on the card stock. Make sure the post it notes and the same distance from each of the zebras.

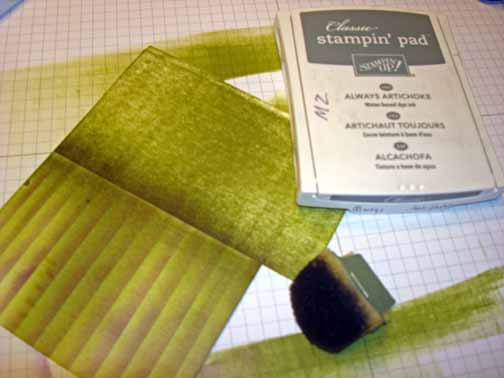
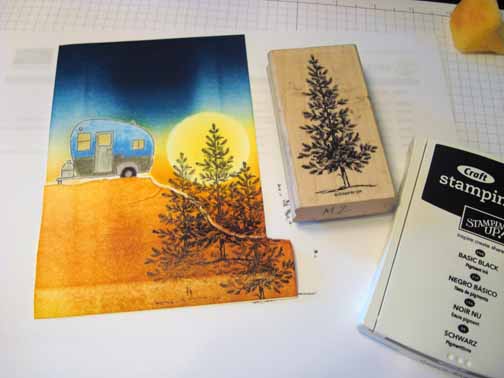
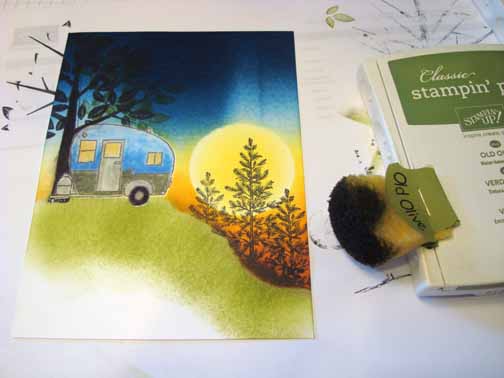
Sponge Cajun Craze ink in for the mountains on both the top and bottom.

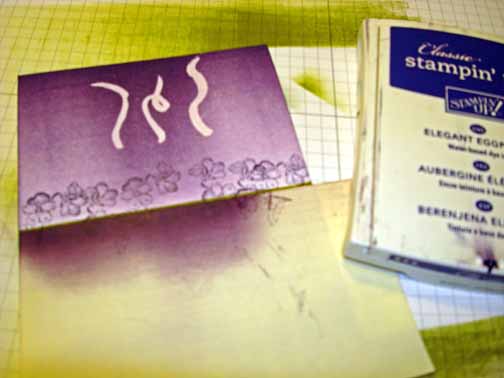
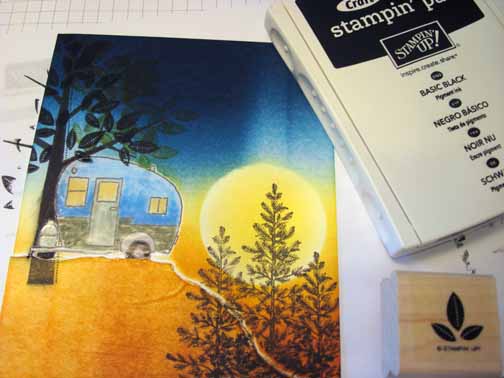
Take the masks off and put a straight post it note between the zebras. Sponge Soft Suede ink and Old Olive ink at the post it note edge. Then flip the post it note around and sponge the ground in on the reflective side (Soft Suede and Old Olive). A little lighter on the reflective side.


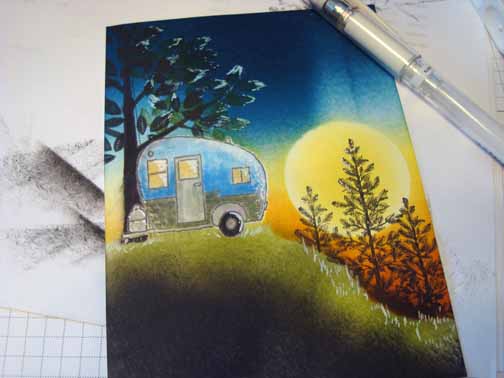
Remove the mask and added White Gel Pen water lines to add some sparkle.

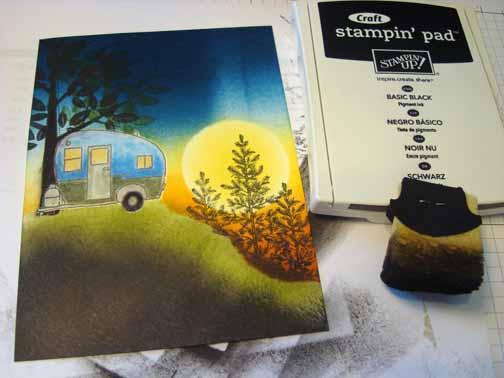
Sponge Basic Black ink around the edge of the card stock.

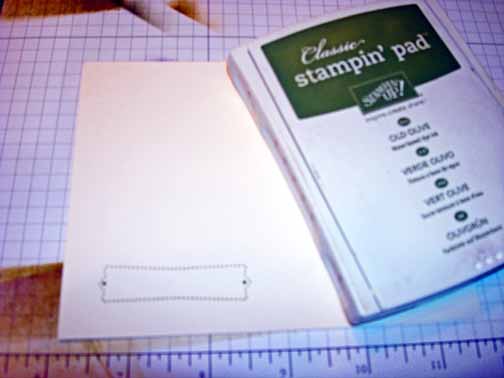
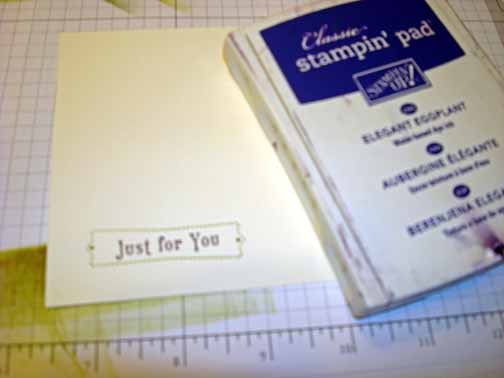
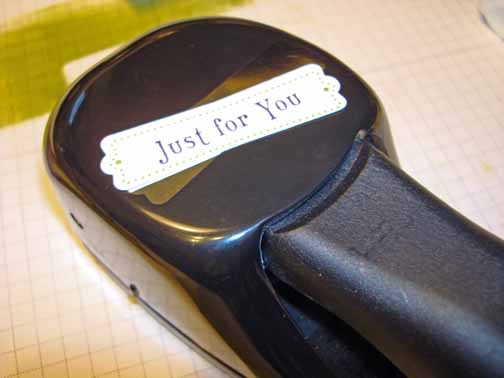
Punch a Decorative Label Punch from Basic Black card stock and cut it in half.

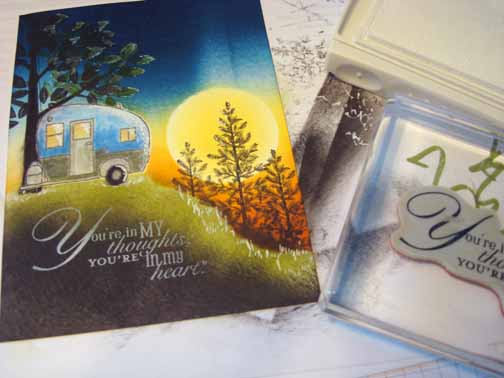
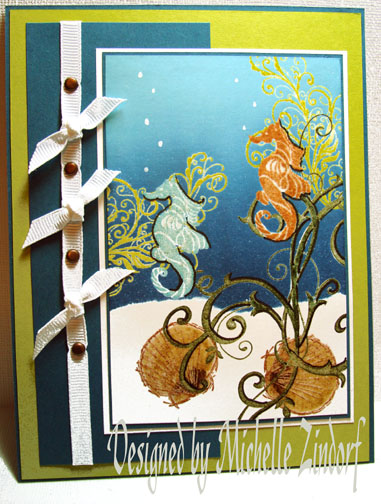
Add a 3.75″ x 8″ Basic Black panel and a 4″ x 9″ Old Olive Panel. Add the two halves of the label and 4 silver brads. Also add a 8″ x 9″ Whisper White Panel folded in half as the card base.
Here is the completed card.
May your day be one of pure delight!
Until my next post. . . . . . .
Hugs,


 Get ready for Brayer and Direct to Paper Workshops! I am coming to the following locations, click the location name for more information.
I hope you can make it to one of my workshops in 2012. I have decided not to travel after this year, so be sure to catch one this year!
Link to my Stampin’ Up website where you can order all of your must have Stampin’ Up products from me 24-7: http://michellezindorf.stampinup.net


