
Hey There,
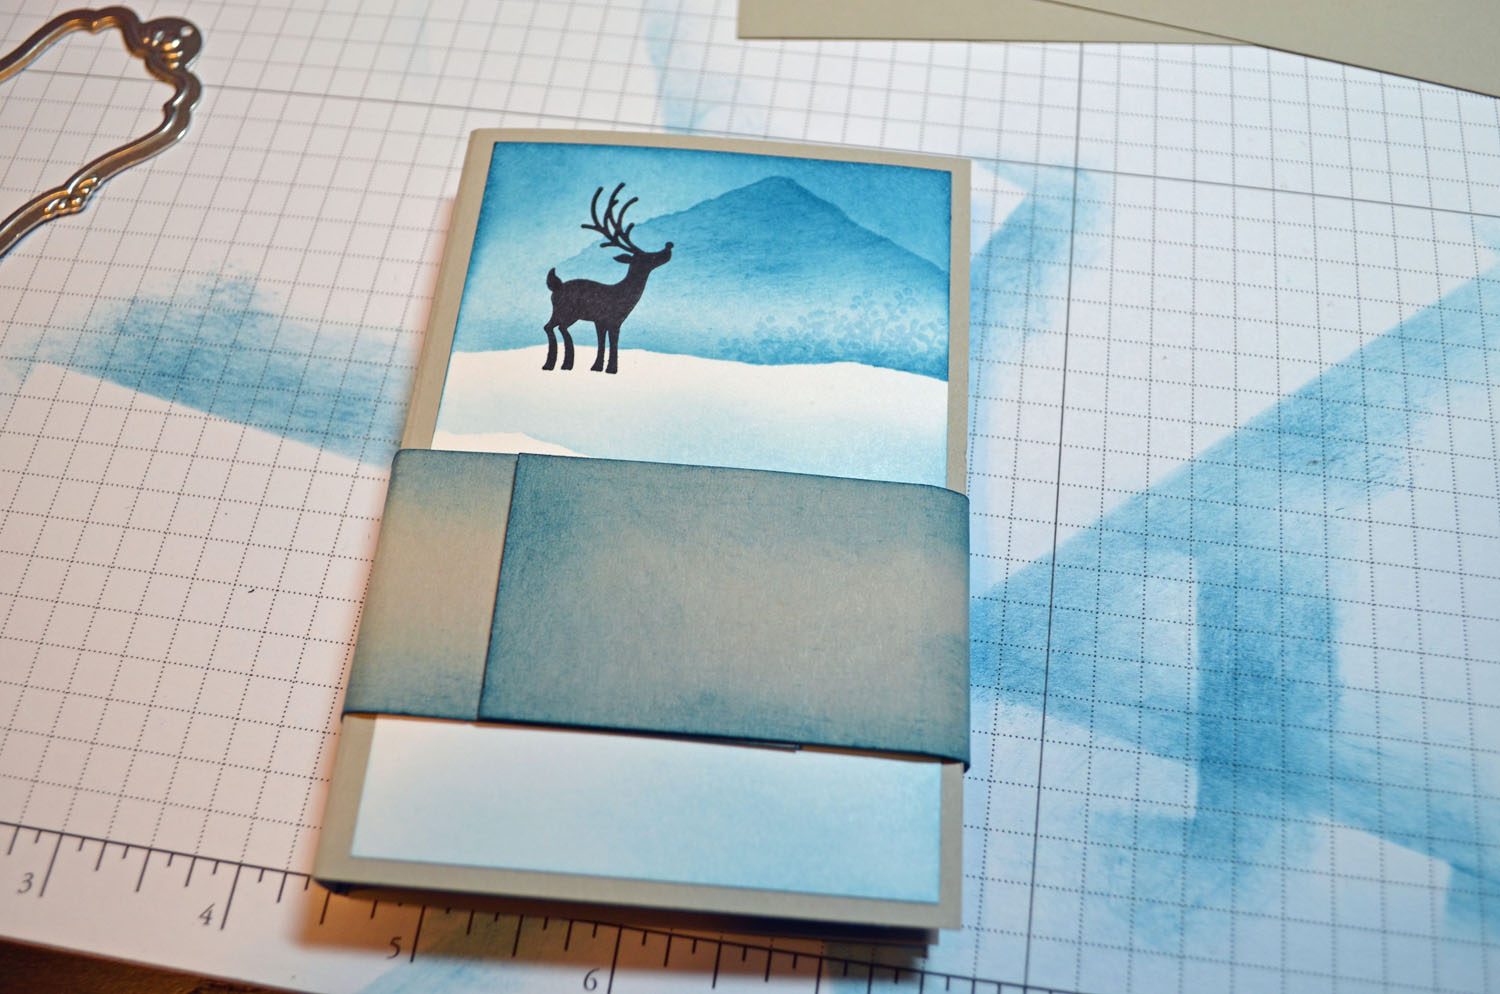
Thought I would warm things up today with this Winter coffee card. This would be a great little card to stuff a coffee gift card in.
This card shows how to do a reverse image and emboss resist. Hang out a while and check out the tutorial for this card below.
****************************************
Now on with today’s tutorial. . . . . . .
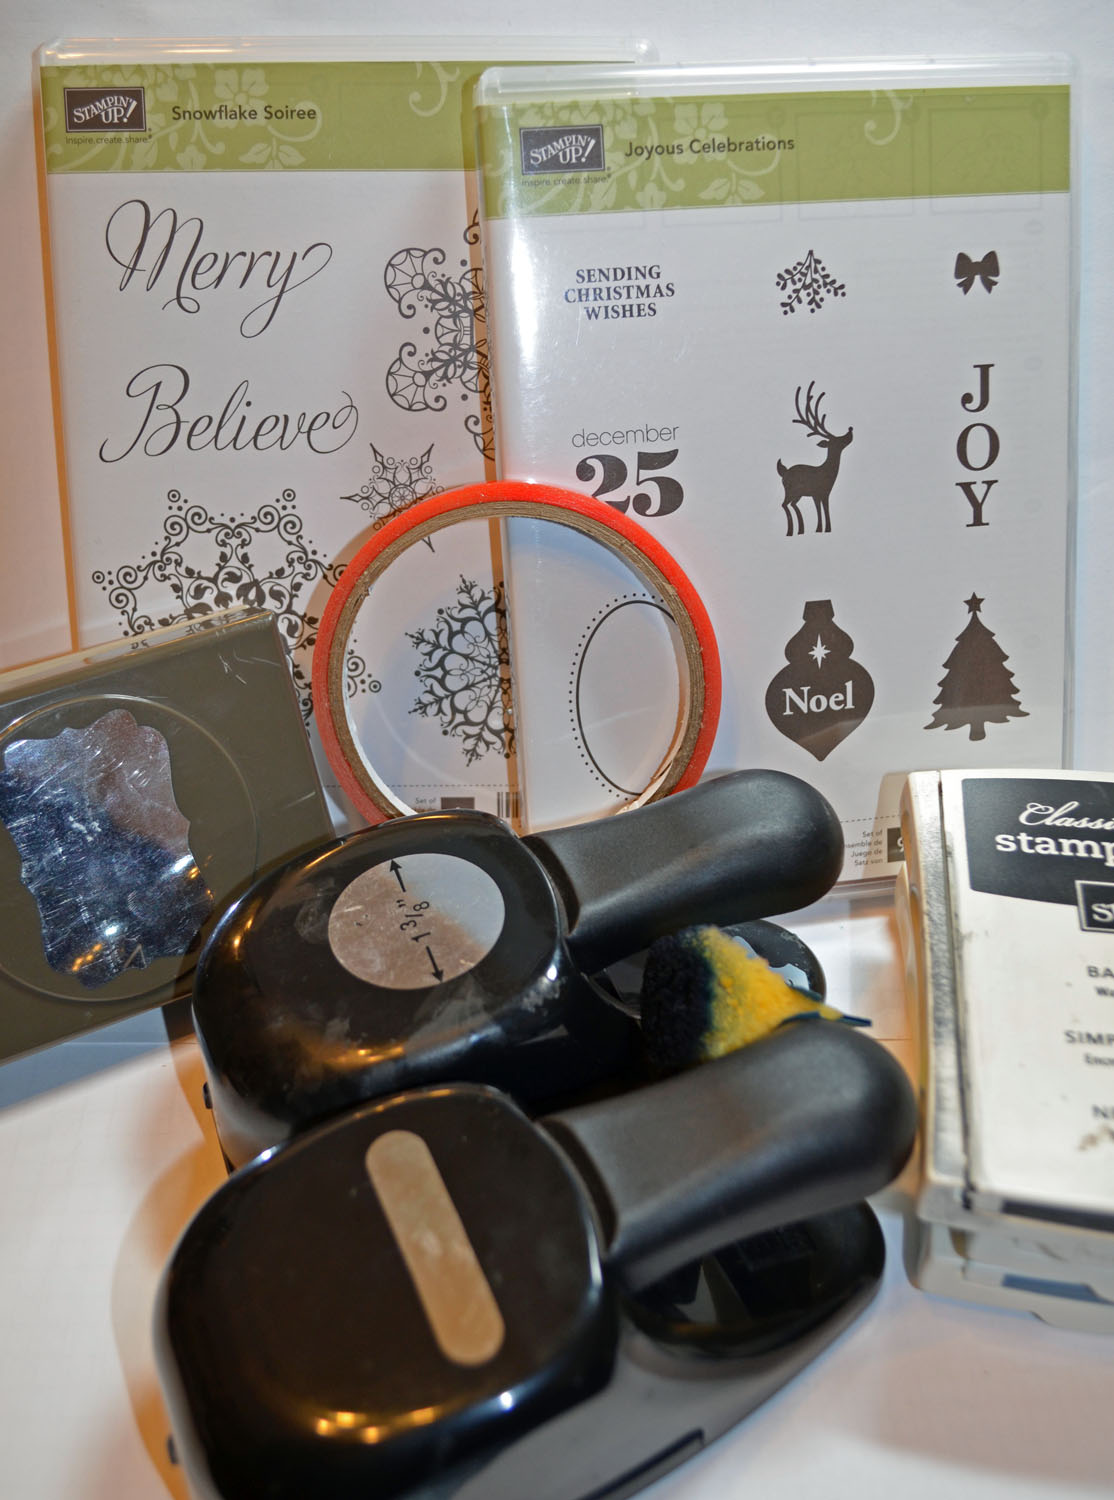
Project Supplies:
Stampin’ Up! Stamps: Scentsational Season (121190)and Winter Memories (127937)
Card Stock: Stampin’ Up! Whisper White, Chocolate Chip and Cherry Cobbler
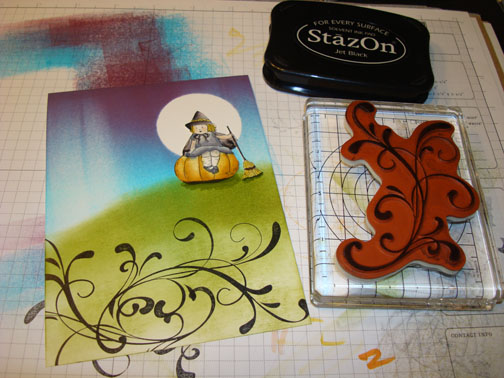
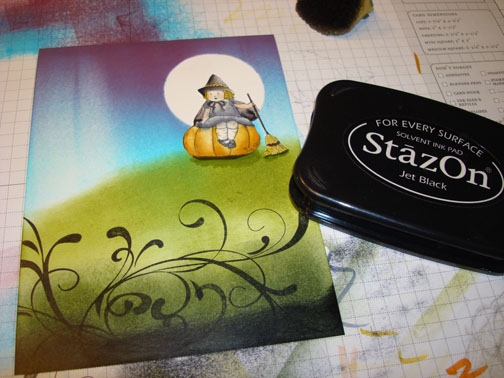
Ink: Stampin’ Up! Cherry Cobbler, Chocolate Chip, Basic Black, Always Artichoke, Old Olive and Soft Suede
Accessories: Stampin’ Up! Sponges, Gold Brads, Cherry Cobbler Quilted Satin Ribbon, Square Lattice Embossing Folder, Labels Collection Framelits (125598), Black Marker, Cherry Cobbler Marker, Chocolate Chip Marker, Big Shot Machine, Heat Gun and Clear embossing Powder

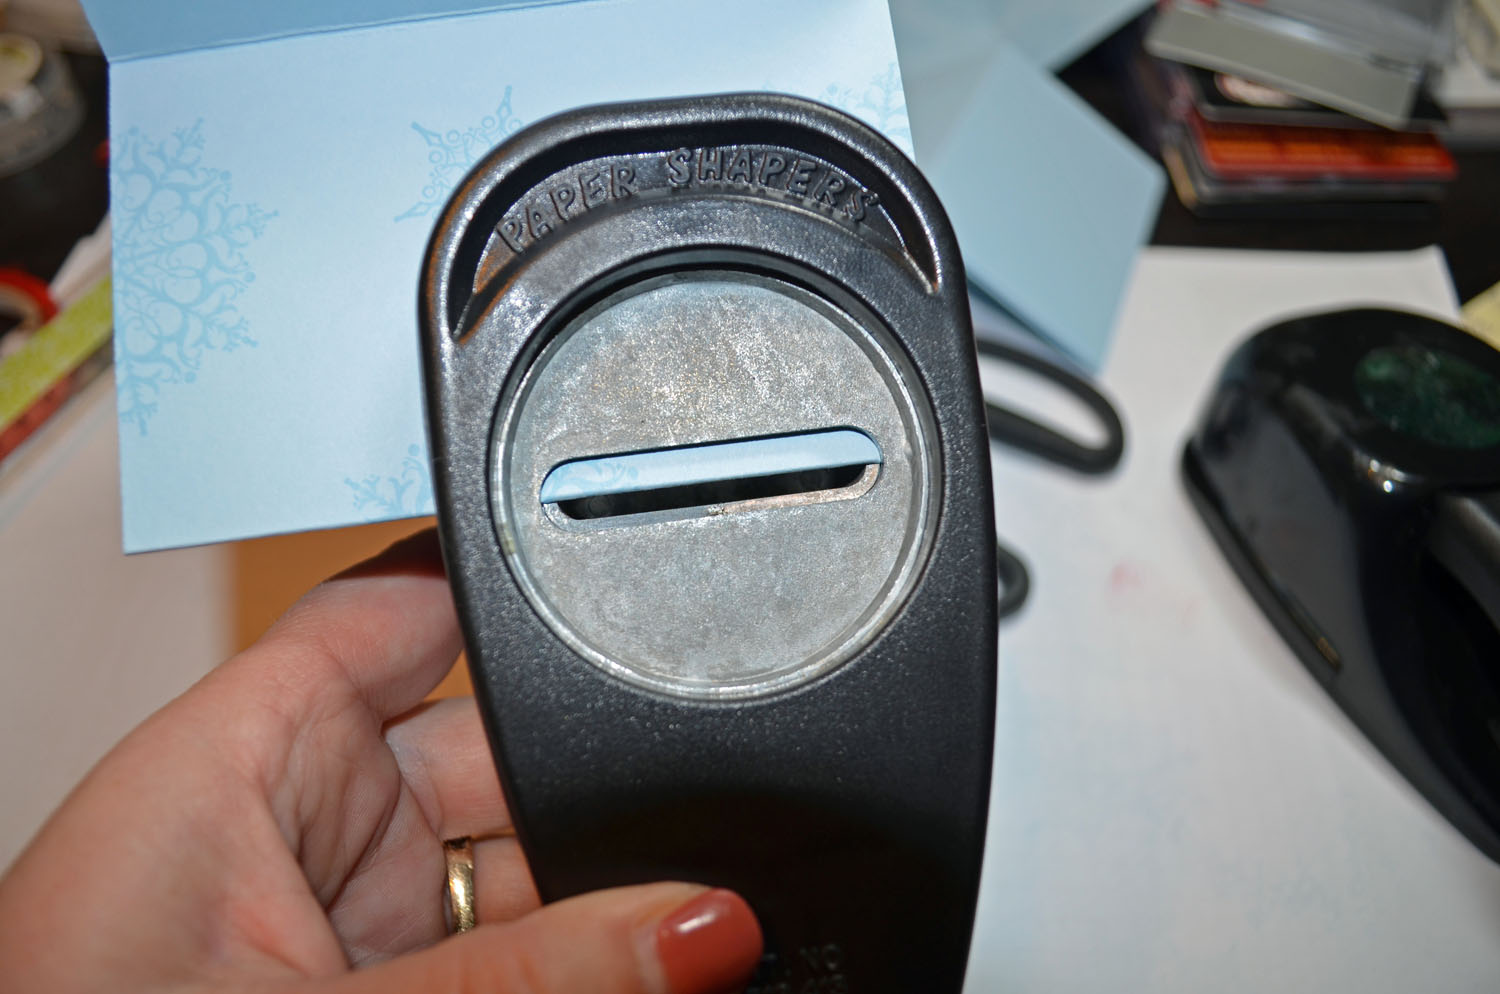
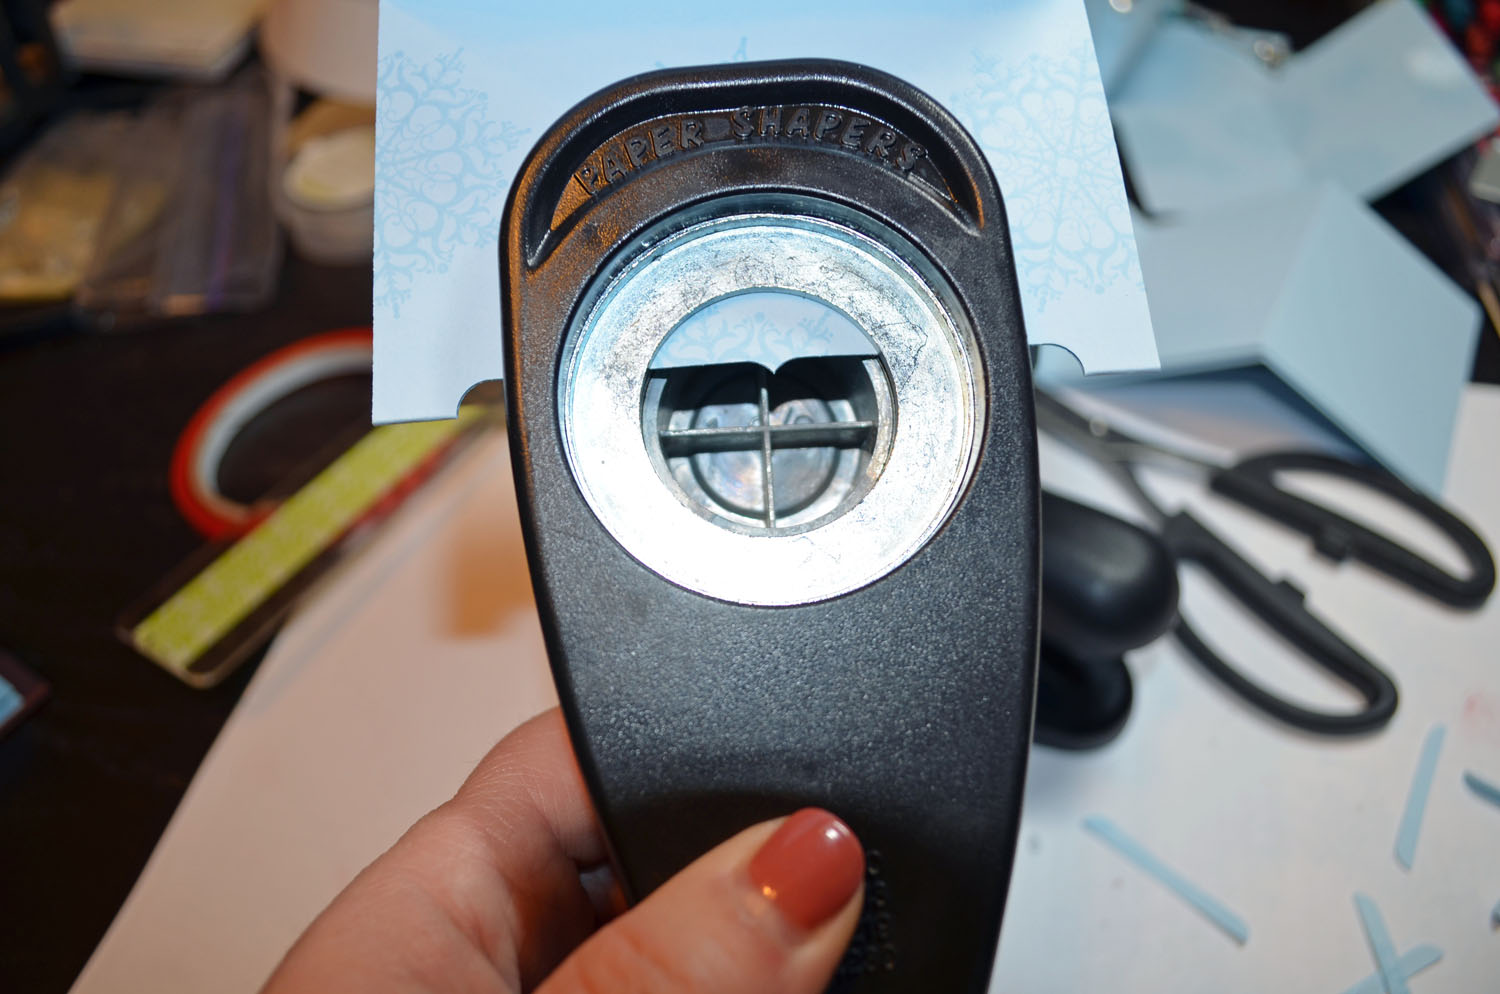
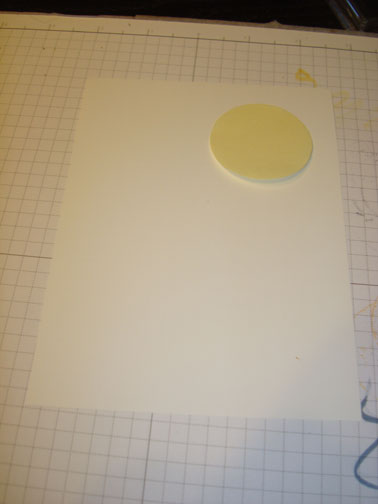
Using the second to the largest Framelit in the Labels Collection, die cut the shape using Whisper White card stock and the Big Shot Machine.

Made a reverse image of the coffee cup by stamping the image in Cherry Cobbler ink on my Stamp-a-ma-jig clear plastic sheet and then flip the plastic sheet over onto the card stock and rubbed the image onto the card stock. Note: the image is not crystal clear.

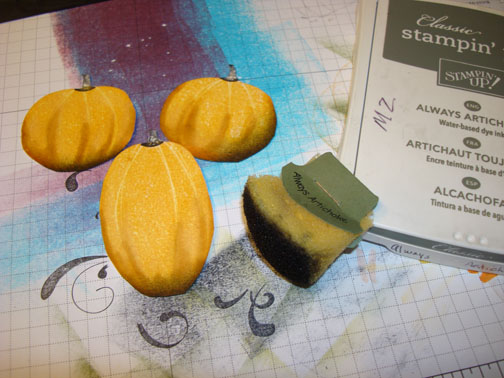
Stamped the coffee cup using cherry cobbler ink onto the card stock. I now have 2 cups.

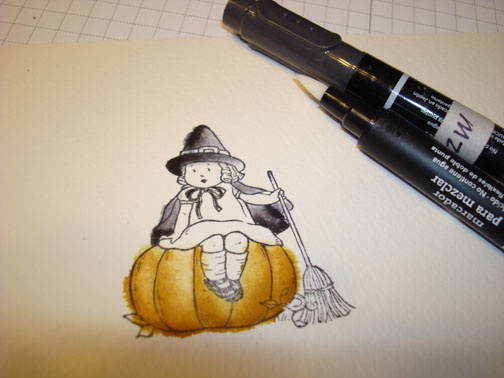
Colored both cups in using a Cherry Cobbler marker.

Colored the coffee in the cups using a Chocolate Chip marker.

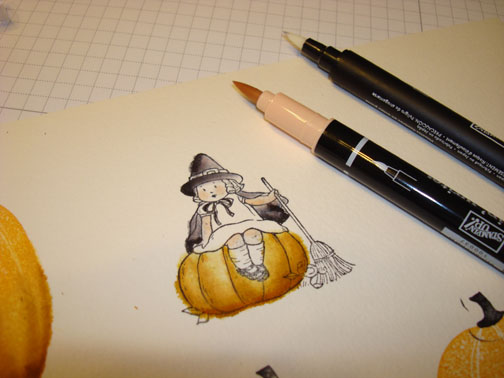
Heated the images to set the marker and then colored the sides of the coffee cups with Cherry Cobbler marker to create some shading so the cup looks rounded.

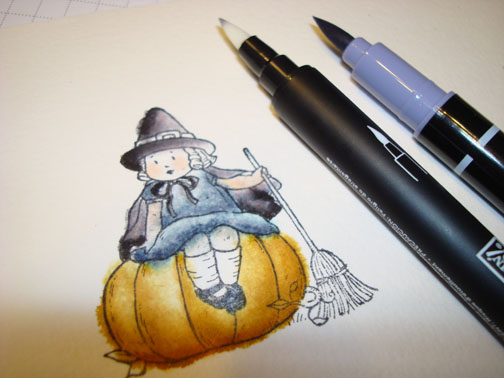
Colored over the coffee cups with a Versamarker and then heat embossed the images using clear embossing powder and a heat gun. Be careful to stay inside of the image with the Versamarker.

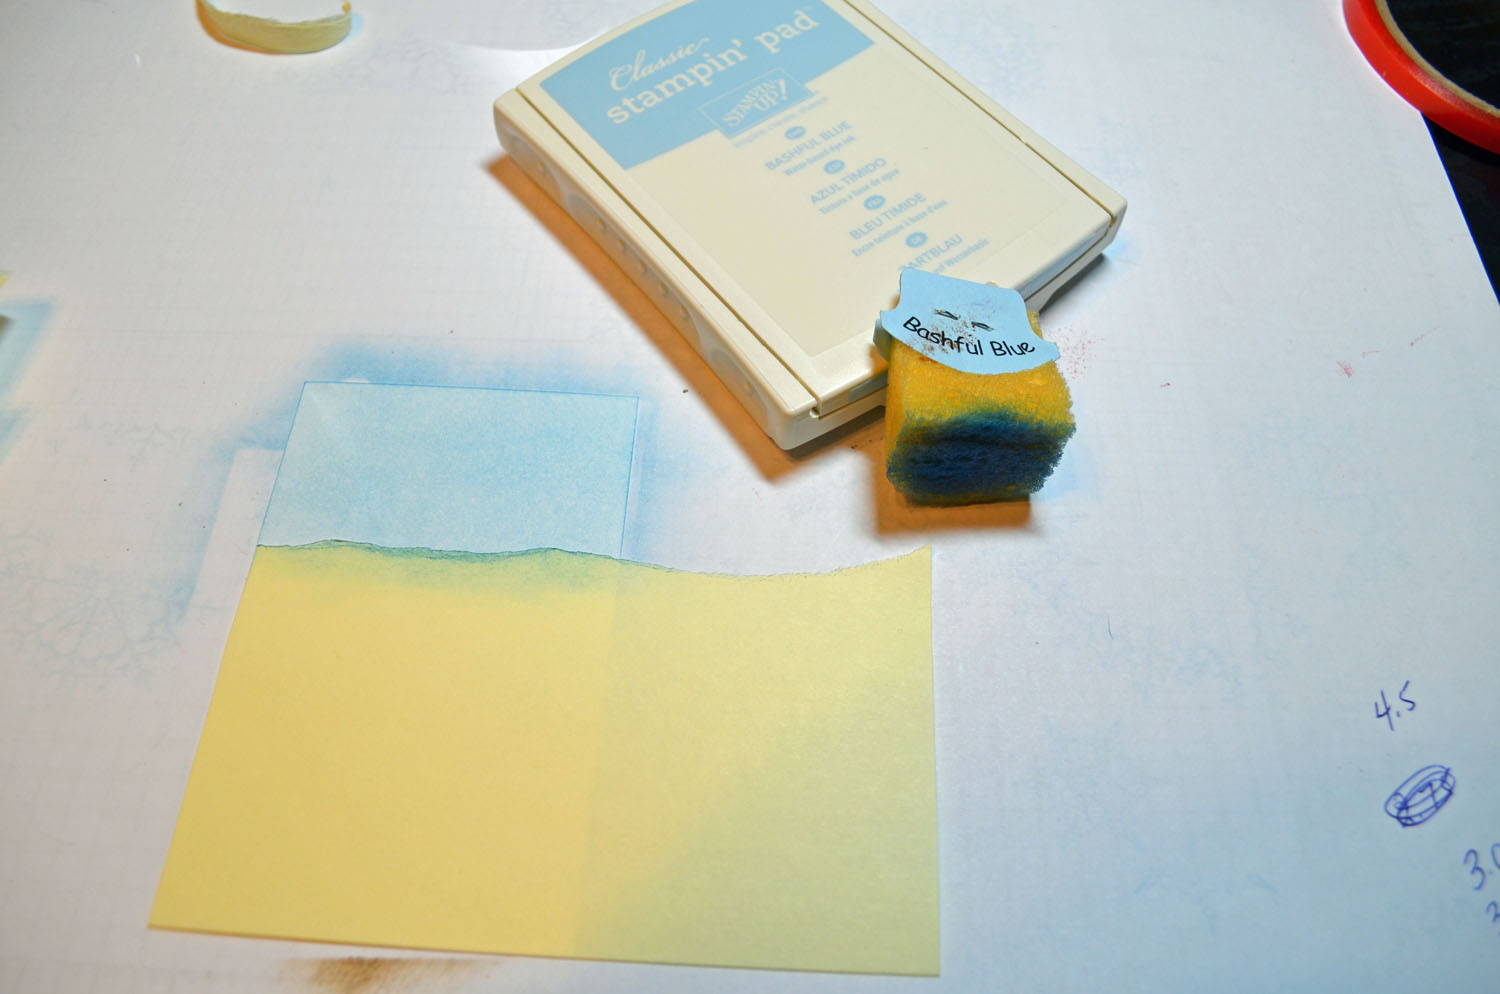
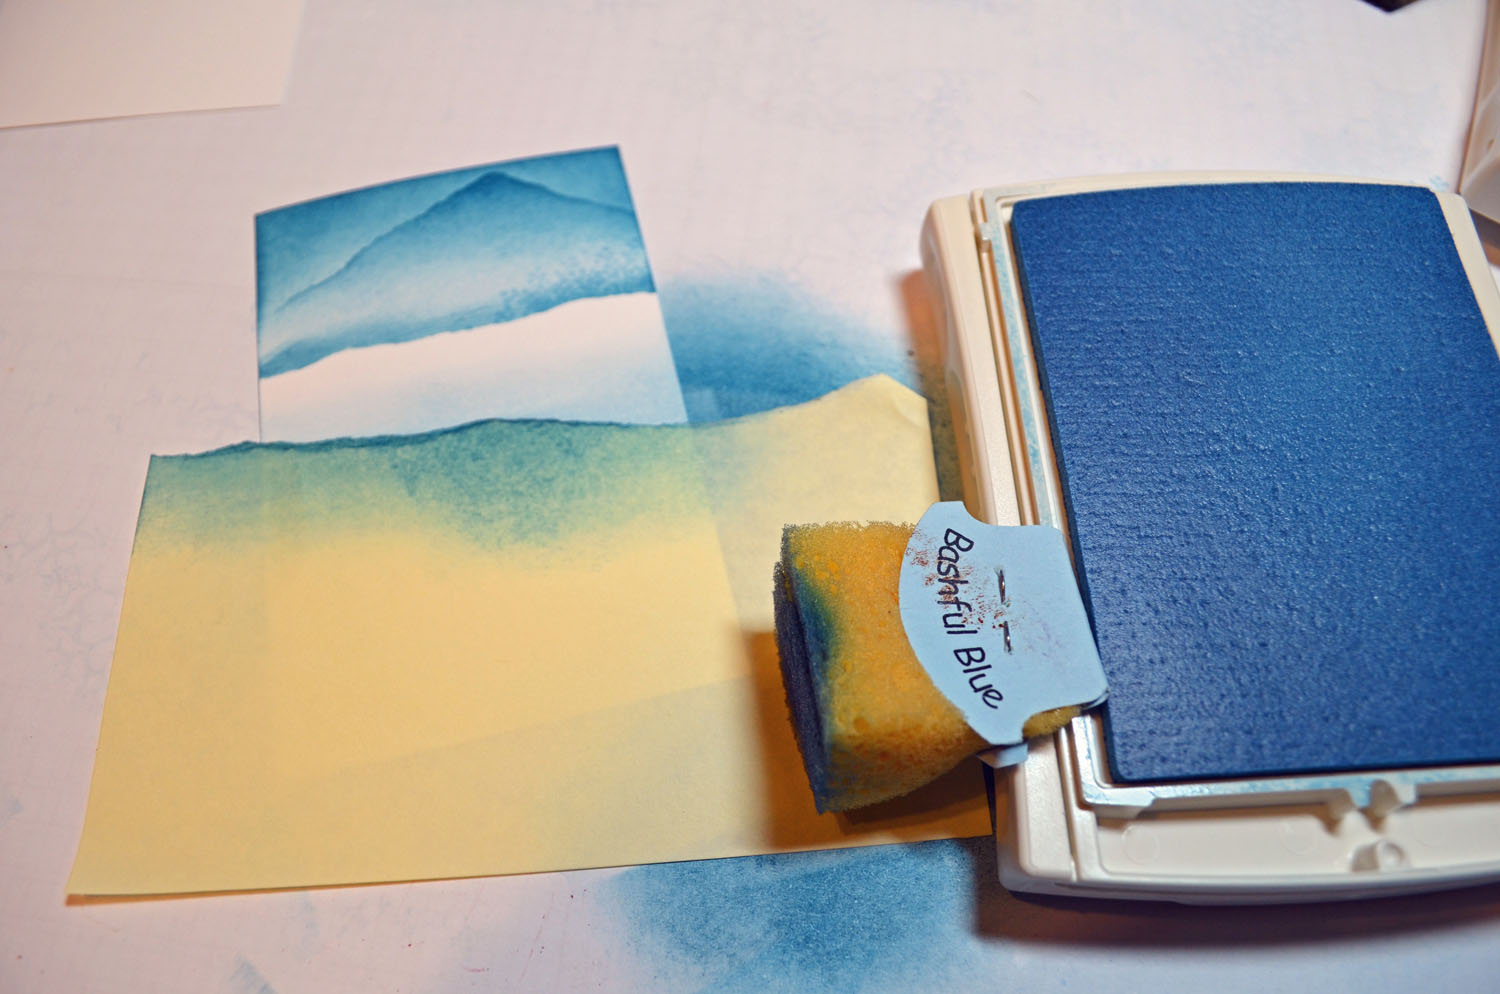
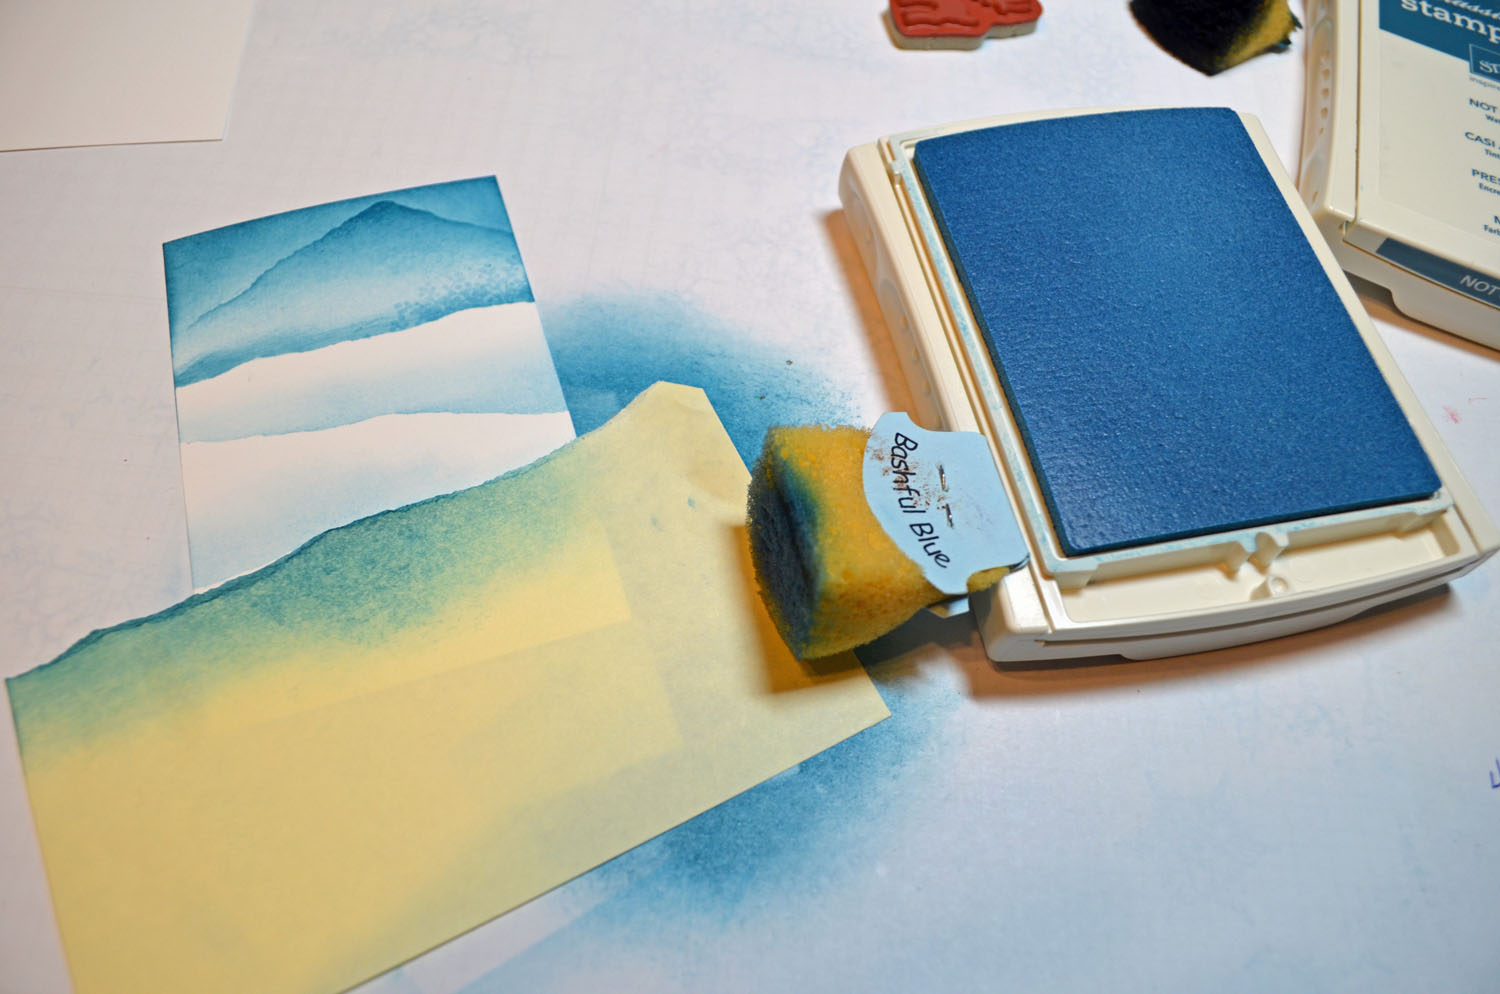
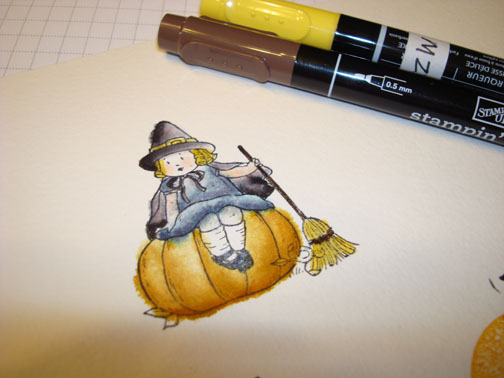
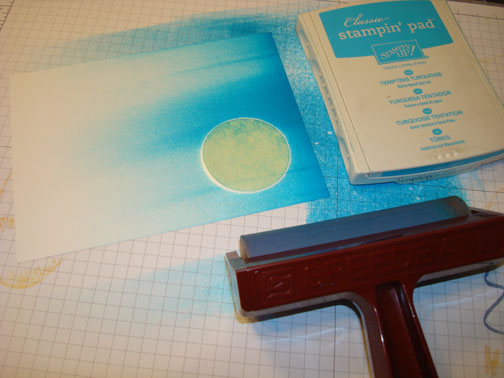
Masked the top of the card stock using a post it note and sponged Soft Suede ink in the unmasked area.

Sponged Chocolate Chip at the post it note edge.

Removed the mask.

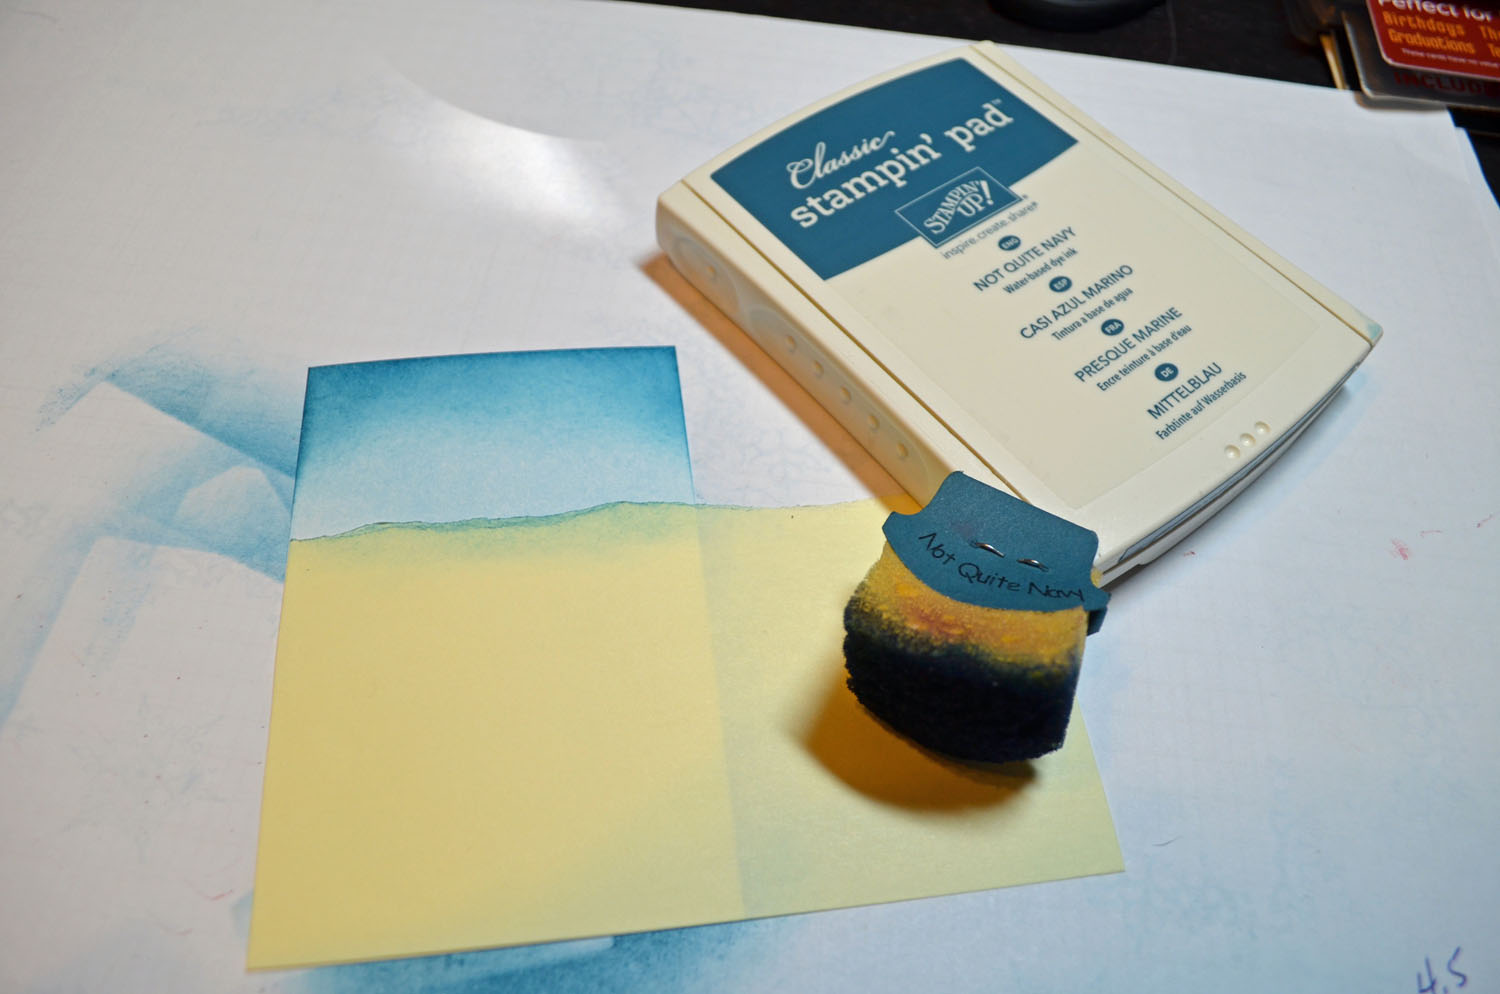
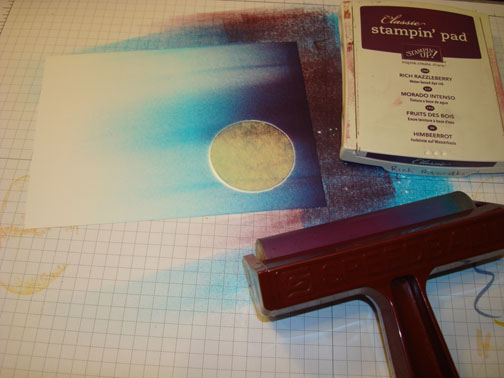
Masked the bottom of the card stock leaving a bit of the brown showing above the post it note. Sponged Old Olive ink the white area.

Sponged Always Artichoke ink at the bottom of the Old Olive area.

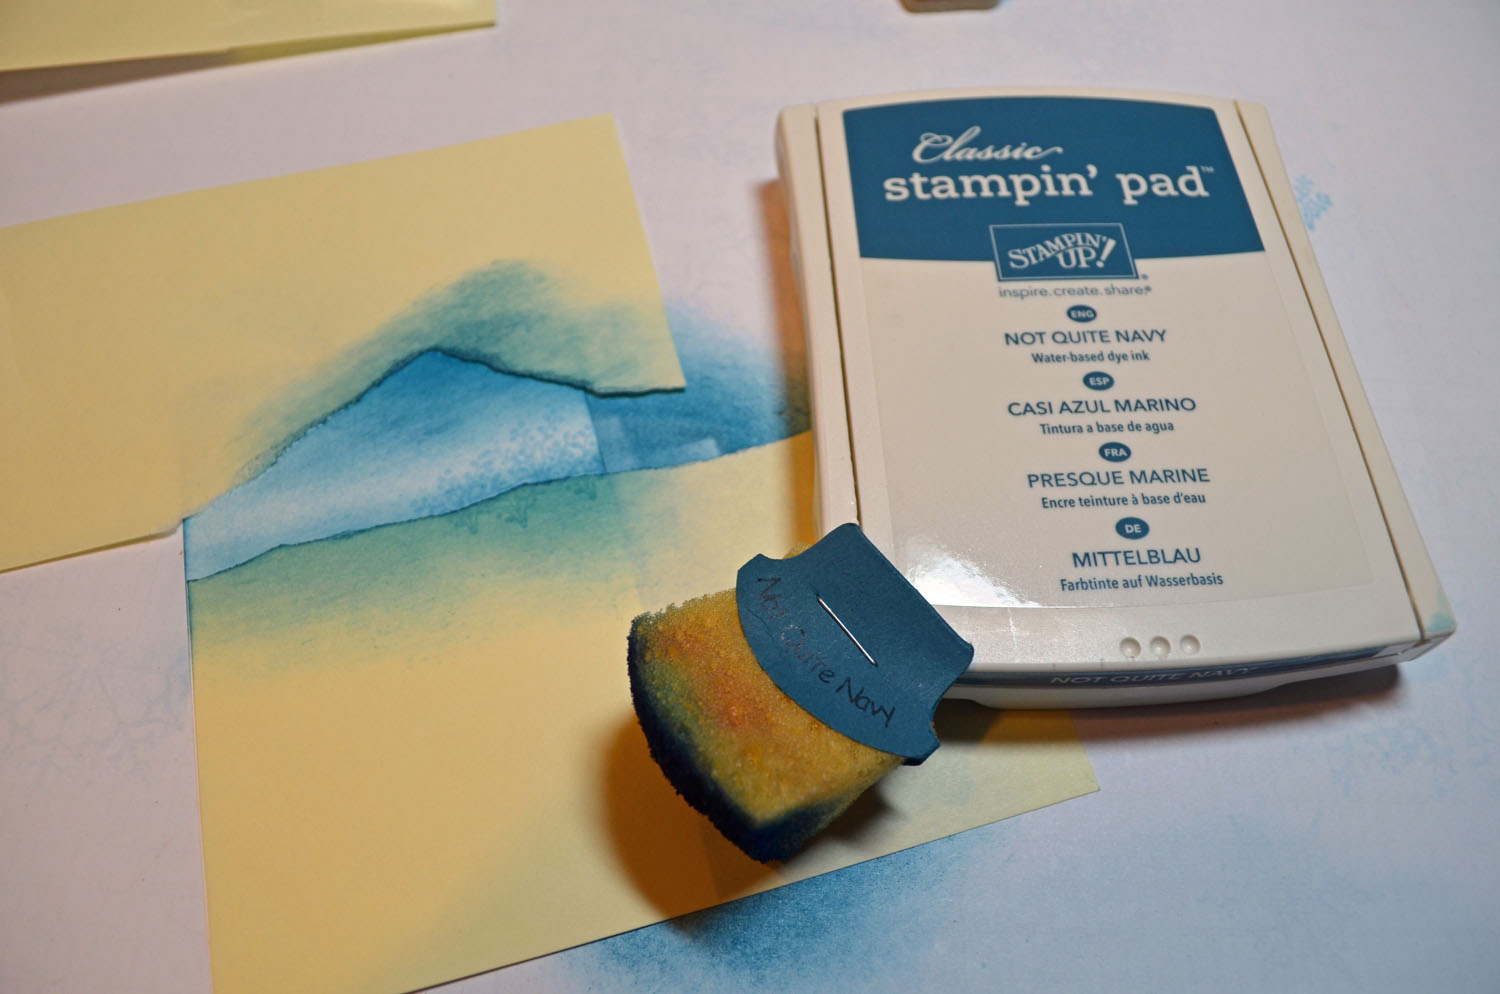
Stamped the steam image above both coffee cups using Always Artichoke ink.

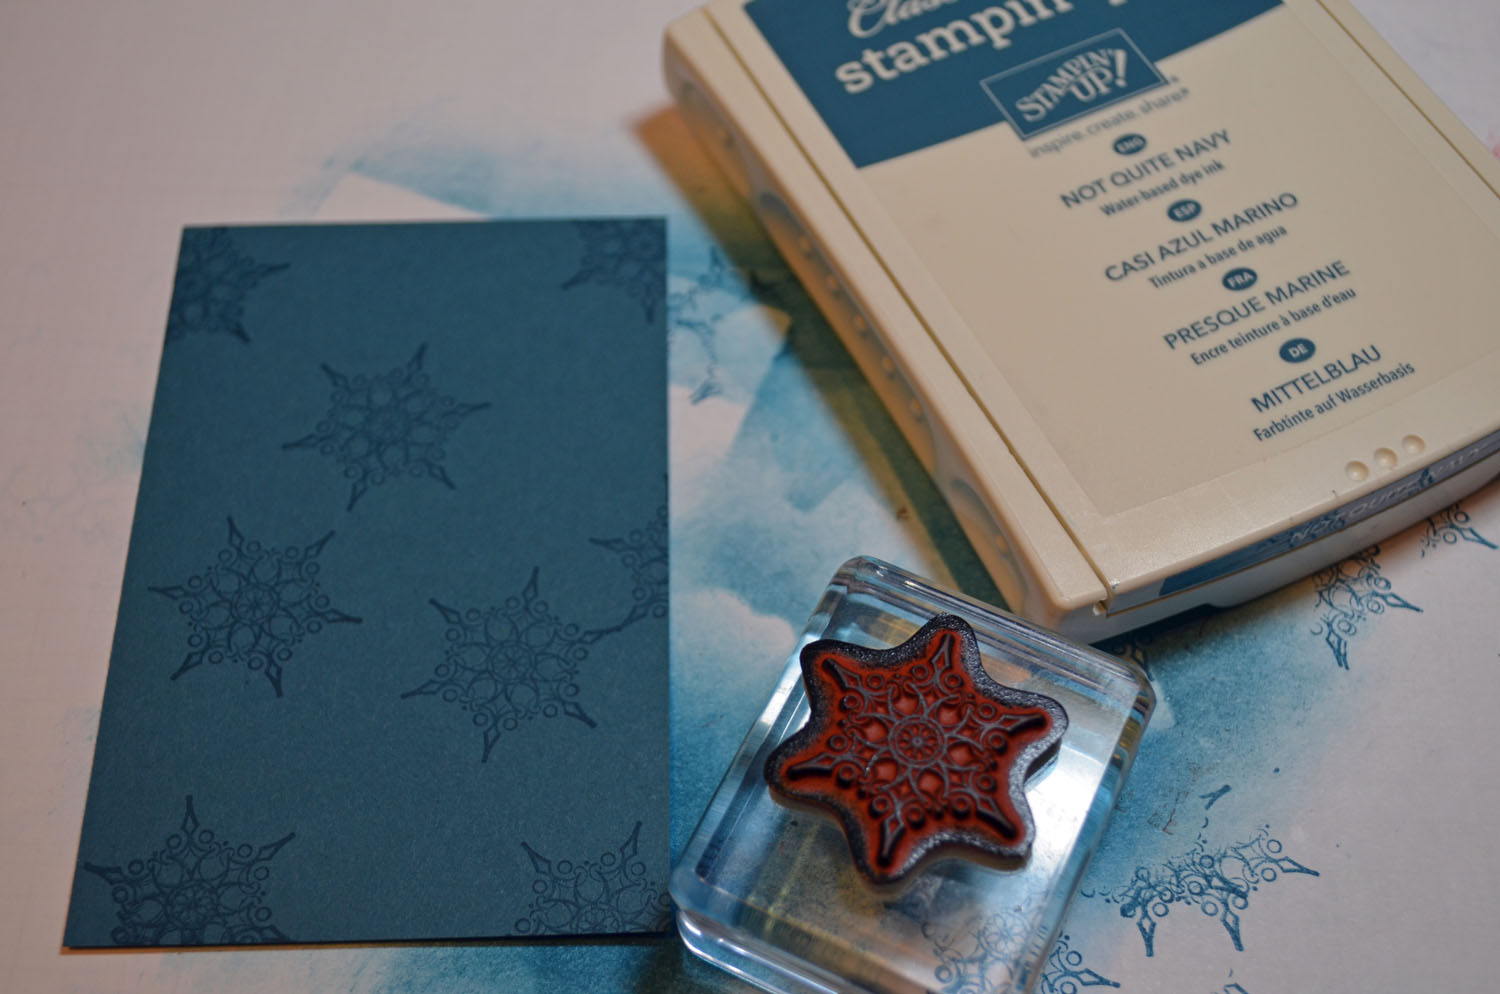
Stamped the stars above the brown using Always Artichoke ink. Whipped off the embossed images using a paper towel to remove any Always Artichoke ink from them.

Sponged the edges of the card stock using Aways Artichoke ink.

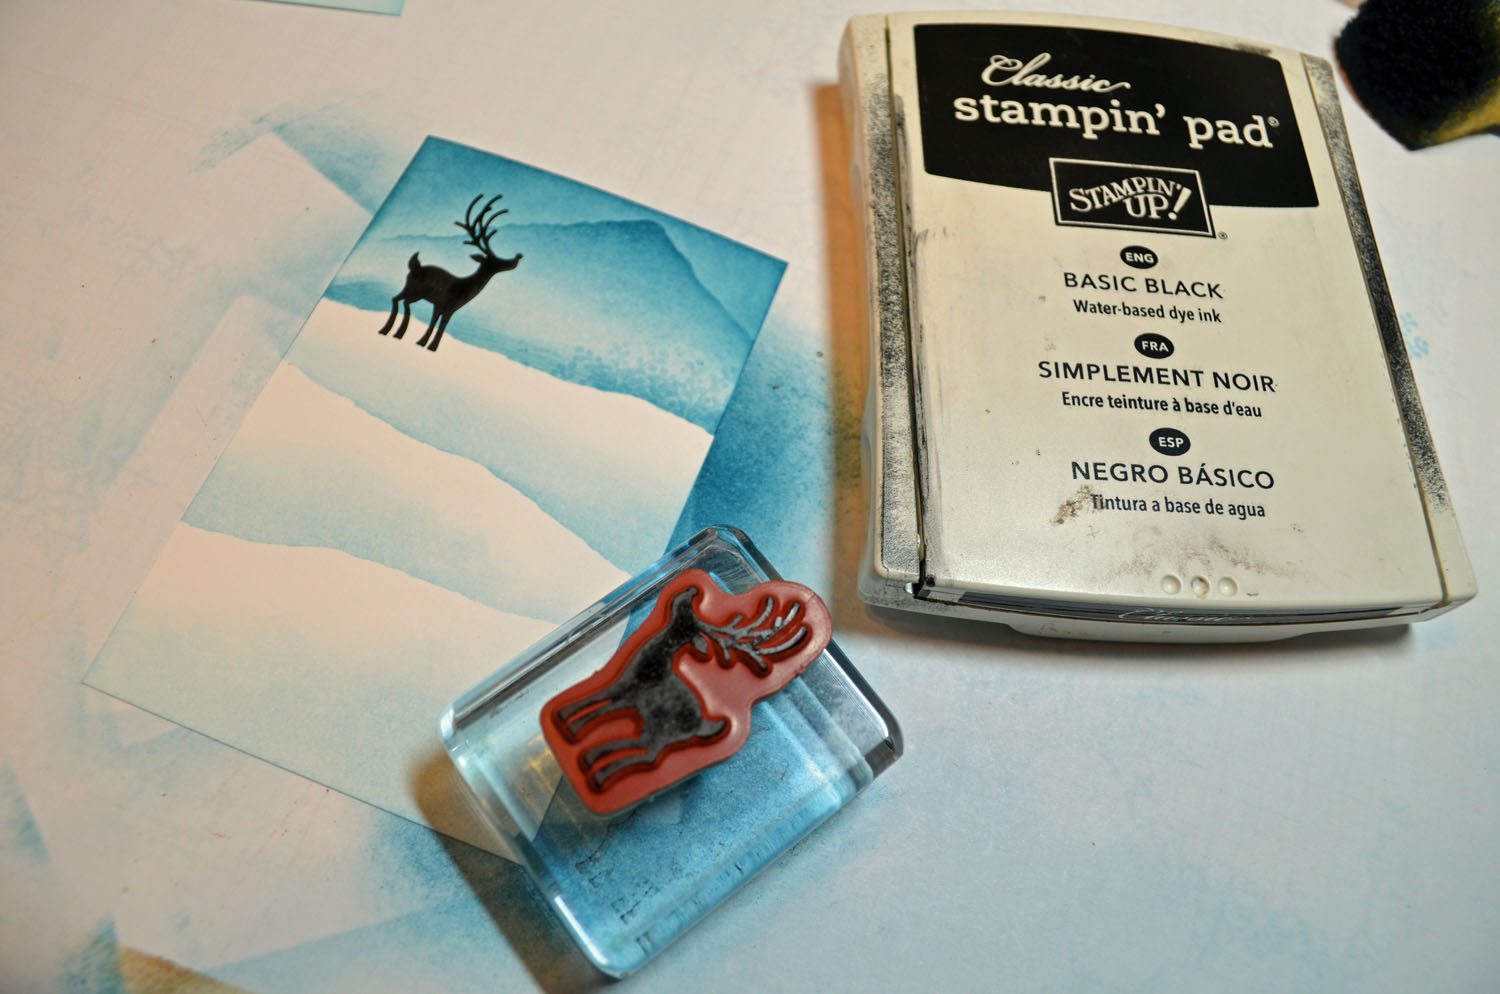
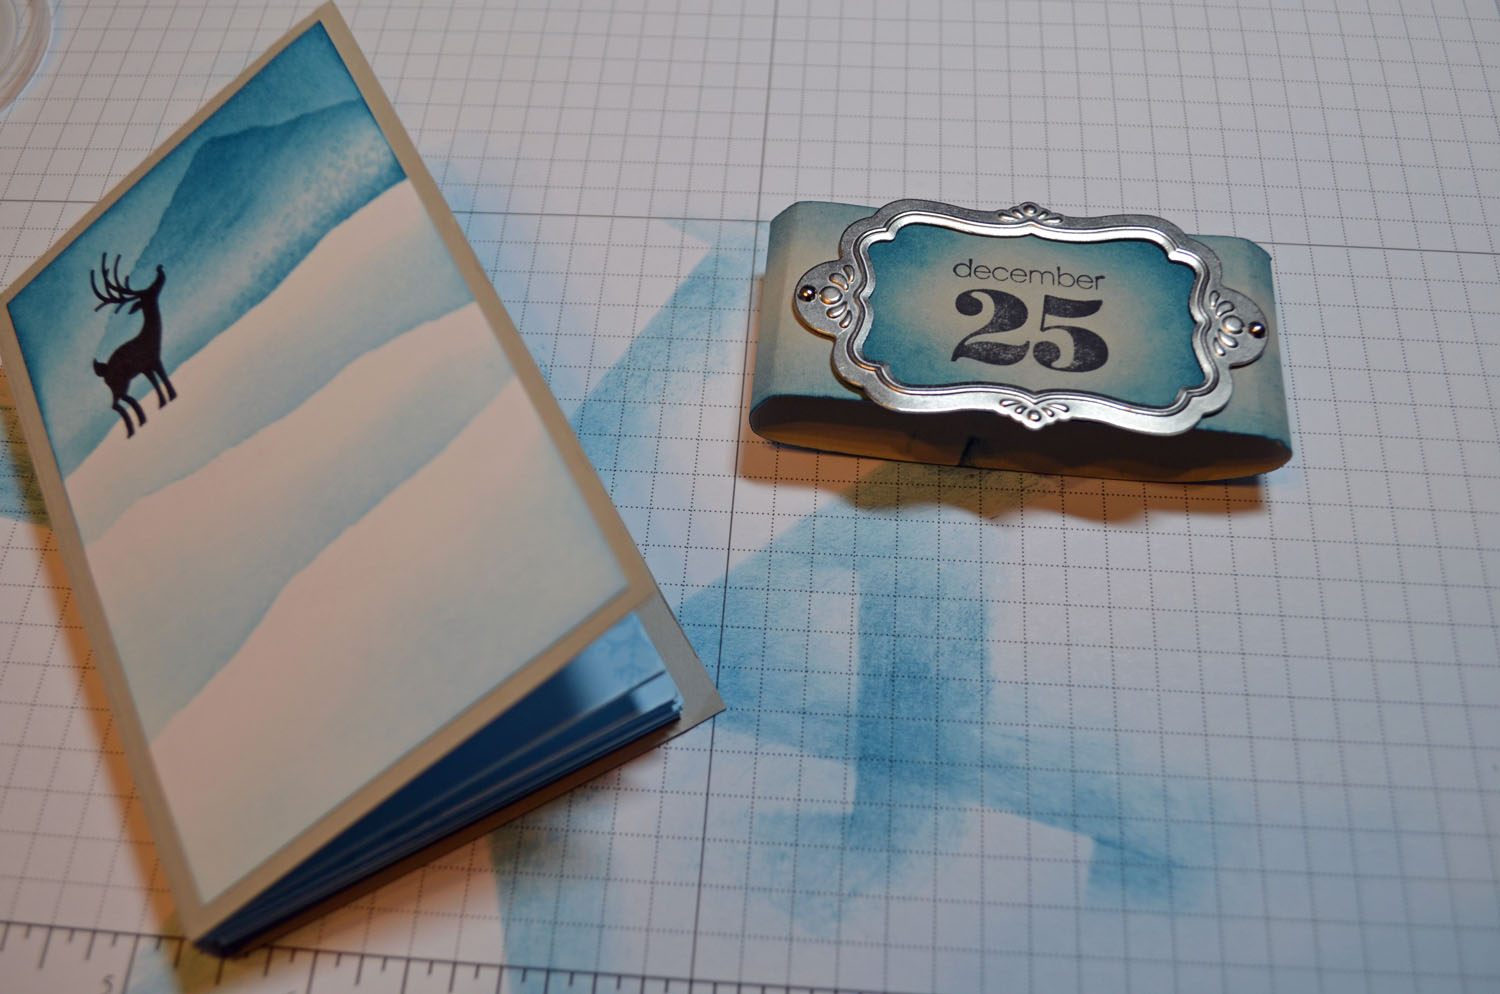
Stamped the Sentiment using Basic Black ink.

Cut a 4″ x 5.25″ piece of Cherry Cobbler card stock and sponged Chocolate Chip ink around the edges.

Embossed the panel using the Square Lattice embossing folder and the Big Shot Machine.

Adhered the main image panel to the Cherry Cobbler panel and then added two gold brads.

Adhered the Cherry Cobbler panel to a 4.25″ x 5.5″ Chocolate Chip Card stock base. (8.5″ x 4.25″ folded in half).

Added a cherry cobbler quilted satin ribbon to the folded area.

Darkened the sentiment using a black marker.

Here is the finished project measuring 4.25″ x 5.5″.
May your day be filled with love and warmth.
Check out the great deals at Stampin’ Up! below.
Until my next post. . . . . .
Hugs,

*****************************************************
Let’s Create Together!
Host a private card class. I’ll come to you and teach you and your friends the fun of stamping. No prior stamping experience needed. This is a super fun night/afternoon out for the ladies. You as hostess will earn some great Stampin’ Up! products. CLICK HERE TO SEE THE HOSTESS BENEFITS.
I have some wonderful projects to create. Please contact me at 937-344-1312 or via e-mail at mzindorf@aim.com and we will set it up. I’m currently filling my calendar now (it fills fast) for those of you who live in the following Ohio and Indiana Counties:
Ohio: Montgomery, Preble, Greene, Clark, Miami, Darke, Butler, Warren, Clinton, Hamilton, Shelby
Indiana: Wayne, Fayette, Union, Franklin, Randolph
*************************************************
CLICK HERE TO SEE THE LATEST STAMPIN’ UP! PROMOTION AND TO SHOP NOW!

**********************************************************
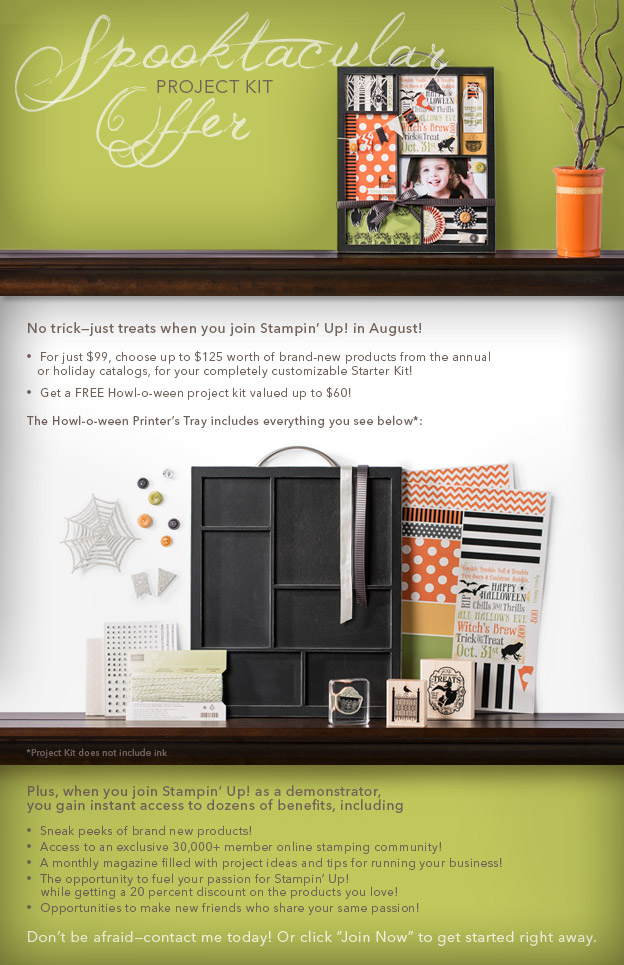
Joining Stampin’ Up!
You can join my Stampin’ Up! team and become a Stampin’ Up! Demonstrator now for the great new price of $99, and you can create your own kit, CLICK HERE TO CHECK IT OUT. Contact me whether you want to start your own business or just enjoy the 20% discount on products.
*************************************************************
![]()
Have you checked out the great clearance rack at Stampin’ Up! CLICK HERE
***********************************************************
Get Free Stamps
Don’t miss out on my Customer free stamp set program. Check it out! Along with a handmade thank you card from me for your order you will receive a token for each $50 in product you ordered using me as your demonstrator. After you have collected 10 tokens you will receive a free current stamp set of your choosing, a value of $39 or less. Here is a link to my online shopping page that you can shop at 24/7 (from the comfort of your home, even in your pj’s) and the products will be shipped directly to your door step from Stampin’ Up: CLICK HERE TO SHOP. My free stamp set program will be an on going program. ![]()
************************************************************
 The Stampin’ Up! Holiday Catalog is now in effect. I love all of Stampin’ Up’s products, but the new catalog just blew me away (CLICK HERE TO VIEW THE HOLIDAY CATALOG). I especially love the coordinating products that you can get as a bundle at a discount. Gotta love a discount, right? Especially for those products to make your holiday gifts and cards.
Want a new annual catalog shipped to you? I will be happy to send you one. The catalog is free, but there is a $5 shipping charge. Note, I will only sell or ship within the United States do to Stampin’ Up! policies. Please contact me at mzindorf@aim.com. Payment can be sent via Paypal or check.
****************************************


