
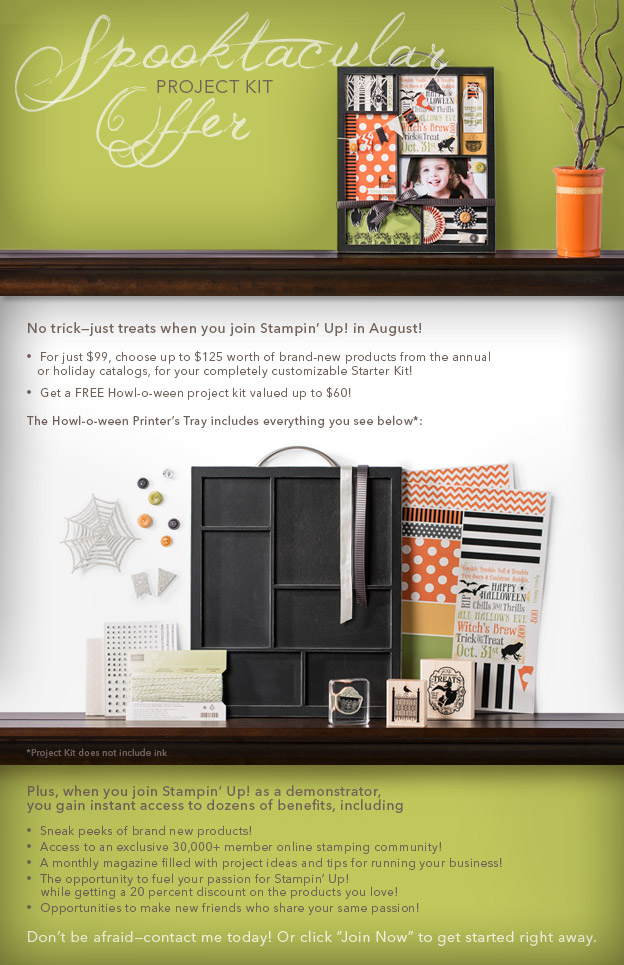
Hey There,
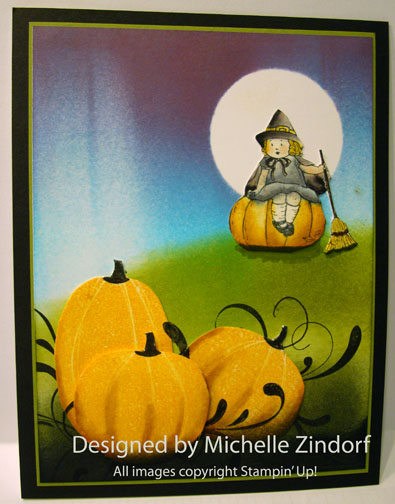
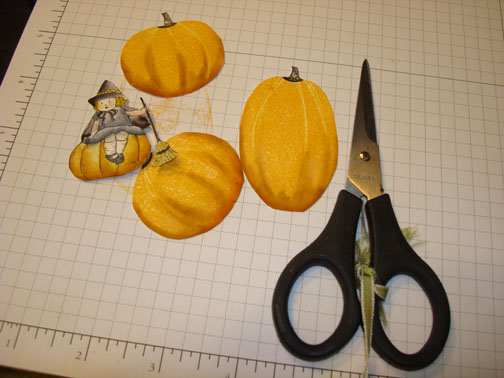
Check out this new stamp set from Stampin’ Up! It can be found in the Stampin’ Up! Annual catalog. I wanted you to see that this set is not just for the Winter months although it is named Christmas Deer. It can be used all year. Check out how this card was made in my tutorial below.
Here are a few Stampin’ Up Reminders before I start the project.
 The new Stampin’ Up! Holiday Mini catalog is now in effect. I love all of Stampin’ Up’s products, but the new mini catalog just blew me away (CLICK HERE TO VIEW THE HOLIDAY MINI CATALOG). I especially love the coordinating products that you can get as a bundle at a discount. Gotta love a discount, right? Especially for those products to make your holiday gifts and cards.

Don’t miss out on my Customer free stamp set program. Check it out! Along with a handmade thank you card from me for your order you will receive a token for each $50 in product you ordered using me as your demonstrator. After you have collected 10 tokens you will receive a free current stamp set of your choosing, a value of $39 or less. Here is a link to my online shopping page that you can shop at 24/7 (from the comfort of your home, even in your pj’s) and the products will be shipped directly to your door step from Stampin’ Up: CLICK HERE TO SHOP. My free stamp set program will be an on going program. ![]()
Want a new annual catalog shipped to you? I will be happy to send you one. The catalog is free, but there is a $5 shipping charge. Note, I will only sell or ship within the United States do to Stampin’ Up! policies. Please contact me at mzindorf@aim.com. Payment can be sent via Paypal or check.
You can join my Stampin’ Up! team and become a Stampin’ Up! Demonstrator now for the great new price of $99, CLICK HERE TO CHECK IT OUT. Contact me whether you want to start your own business or just enjoy the 20% discount on products.
Want to purchase one of my original cards or some Stampin’ Up! retired sets CLICK HERE.
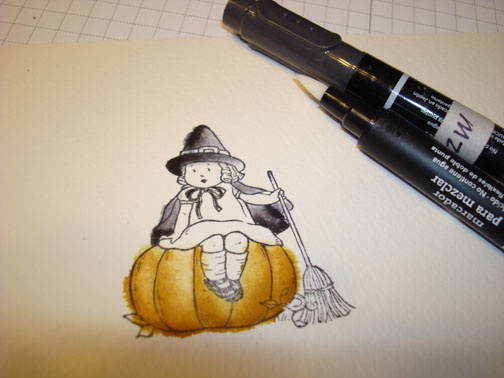
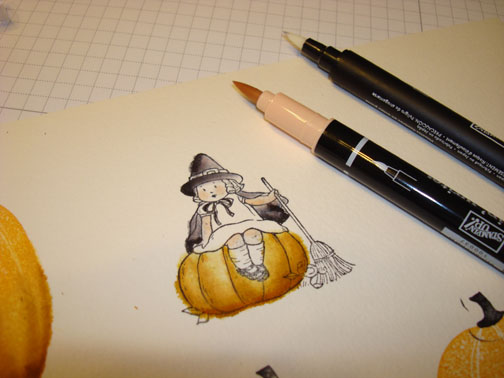
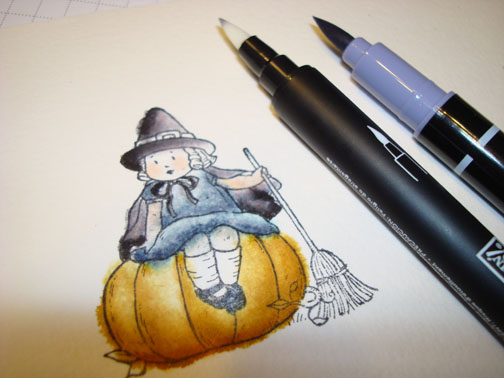
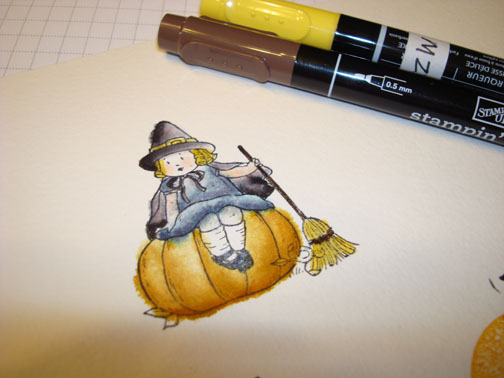
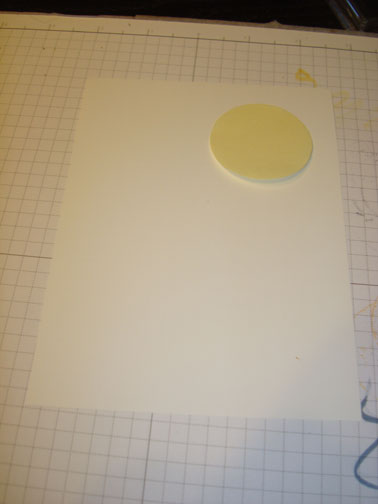
Now on with today’s tutorial. . . . . . .
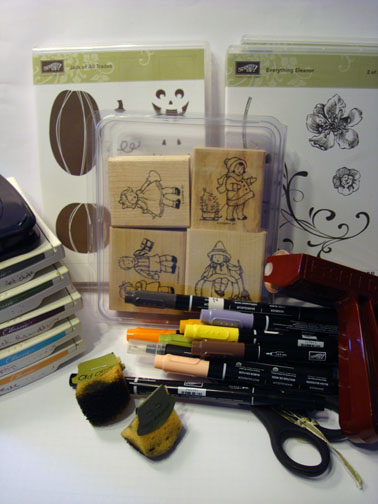
Supplies for the jar tag:
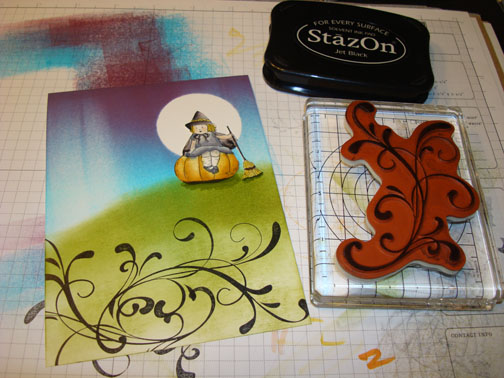
Stamps: Stampin’ Up! Christmas Deer
Card Stock: Stampin’ Up! Whisper White, Lucky Limeade and Basic Black
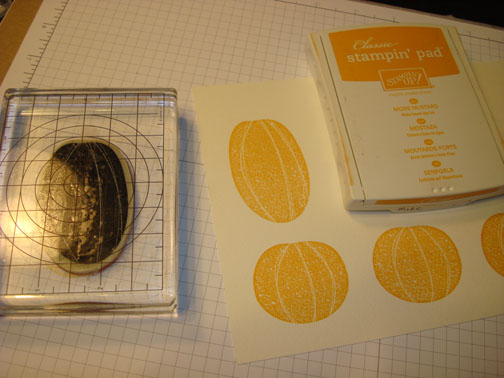
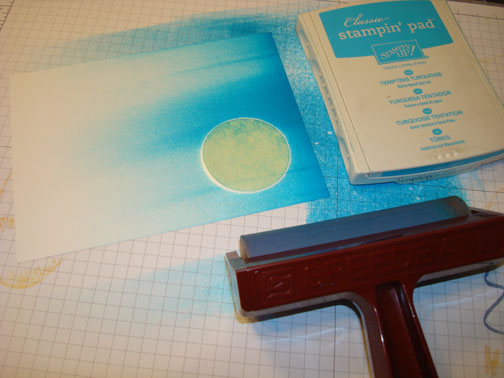
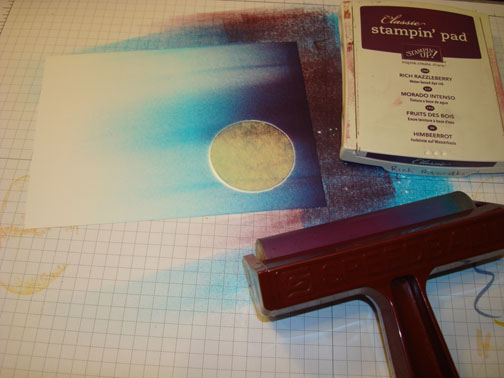
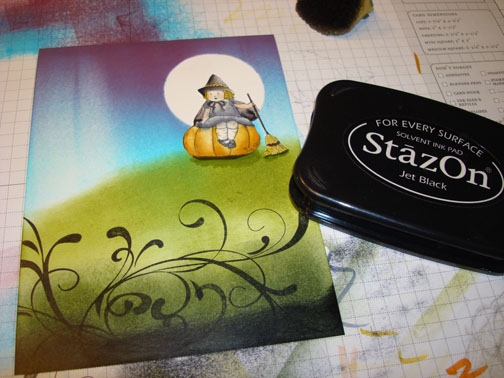
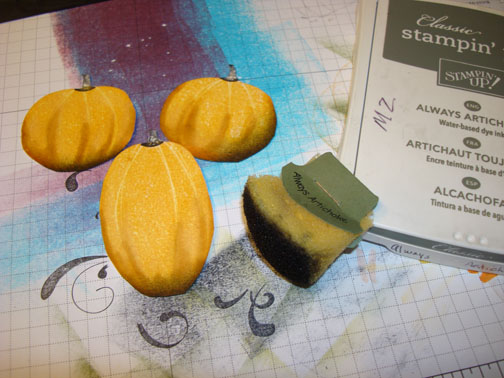
Ink: Stampin’ Up! Daffodil Delight, Lucky Limeade, Old Olive, Always Artichoke, Cherry Cobbler and Early Espresso
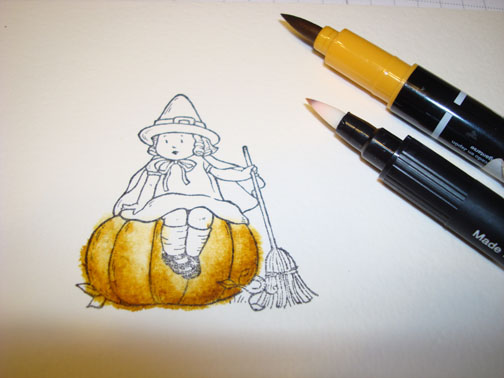
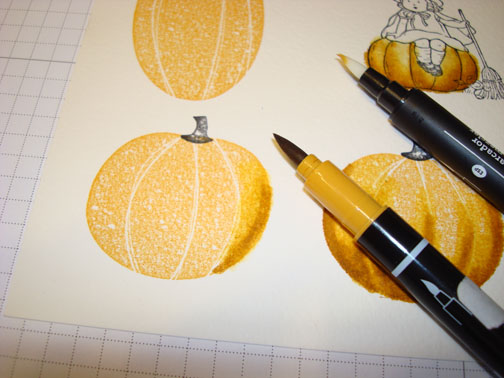
Accessories: Stampin’ Up! Sponge, Paper Piercing tool, Paper piercing pack, White Gel Pen, Brayer, Early Espresso marker, Summer Starfruit Satin Stitched Ribbon
![]() Are you getting inspiration from this blog? One way you can help support it is to order your Stampin’ Up products through me. Click HERE to place an order and have your order delivered directly to your door step from Stampin’ Up!
Are you getting inspiration from this blog? One way you can help support it is to order your Stampin’ Up products through me. Click HERE to place an order and have your order delivered directly to your door step from Stampin’ Up!

Brayered Daffodil Delight ink at the top of a 3.5″ x 7″ piece of Whisper White card stock.

Brayered Lucky Limeade at the bottom of the card stock.

Brayered Old Olive ink at the bottom of the card stock, not covering the Lucky Limeade ink entirely.

Brayered Always Artichoke ink at the bottom of the card stock not covering the Old Olive ink entirely.

Stamped deer by loading the stamp with Soft Suede ink and then sponging Early Espresso ink at the bottom of the deer stamp before stamping to create a shadow on the bottom half of the deer.

Stamped the bird using Cherry Cobbler ink.

Using the edge of the Always Artichoke ink pad used the direct to paper method to put in some grasses. This is an upward stroke.

Adhered a 3.75″ x 8.75″ Old Olive panel to a 4″ x 9″ Basic Black panel and then put two lines of pierced holes across the bottom and top of the Old Olive panel.

Added White gel pen lines from one pierced whole to the next to create some faux stitching.

Added a 3 5/8″ x 7 1/8″ Basic Black panel underneith the main image panel. Also added some Summer Starfruit Ribbon.

Assembled the card and added Basic Black brads.
Here is the finished card measuring 4″ x 9″. This size card fits into a #10 size office envelope. 🙂
May your day be filled with golden light.
Well I’m off to do a little Geocaching today since it is such a beautiful day here. “Geocaching” you ask? Click here to check out just what Geocaching is. It is way fun!
Until my next post. . . . .
Hugs,


 Get ready for Brayer and Direct to Paper Workshops! I am coming to the following locations, click the location name for more information.
Sacramento, California (Sold Out)
I hope you can make it to one of my workshops in 2012. I have decided not to travel after this year, so be sure to catch one now!
Link to my Stampin’ Up website where you can order all of your must have Stampin’ Up products from me 24-7: http://michellezindorf.stampinup.net


