
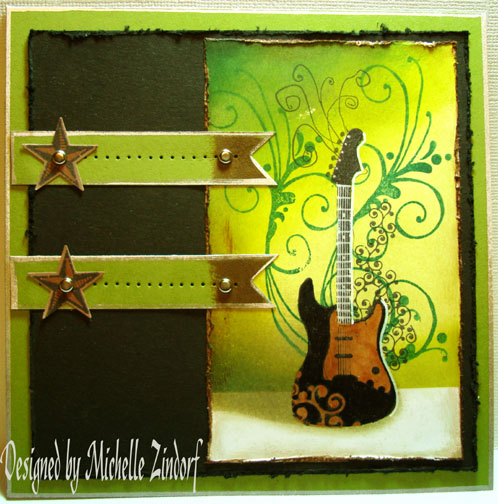
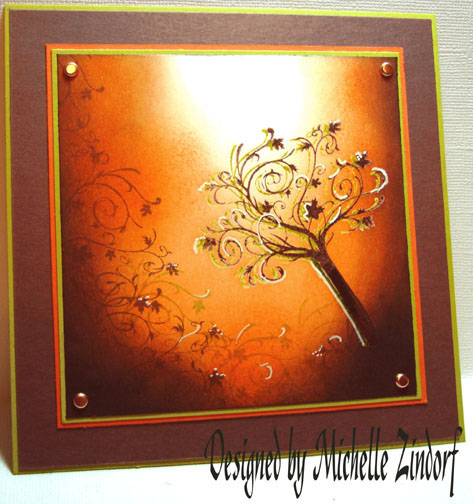
Color Challenge Time! I love the color challenges on Split Coast Stampers on Tuesdays. I took a stab at today’s Color Challenge CC187 to use the Stampin’ Up colors Chocolate Chip, Kiwi Kiss and Tangerine Tango. I found this to be a great color combo for Autumn. Here is a link to the challenge if you want to play along: http://www.splitcoaststampers.com/forums/showthread.php?t=388280
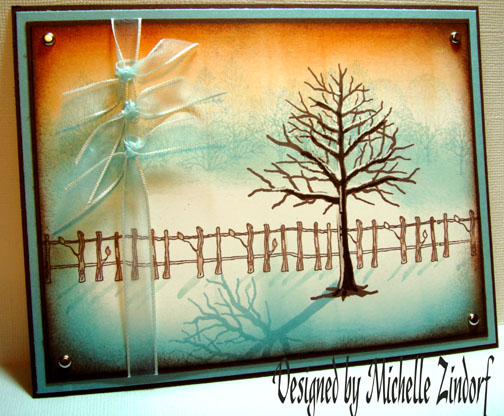
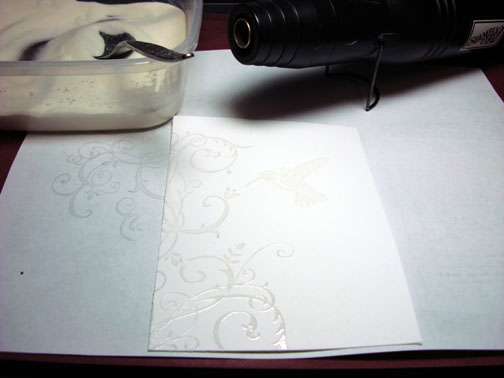
You may have noticed lately that I have been trying to make use of the white of my paper. Today I used the white of the paper and made it my light source in the scene.
Well this is tutorial #130. Are you crying Uncle? Had enough?
If not, let’s get started on the tutorial. 🙂
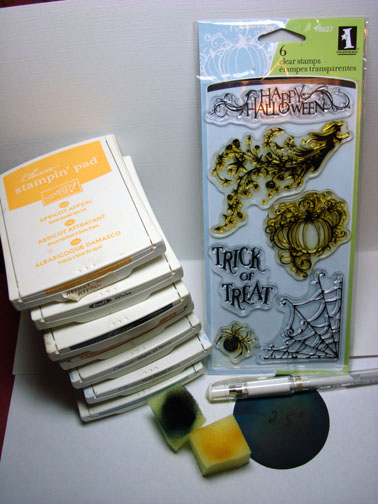
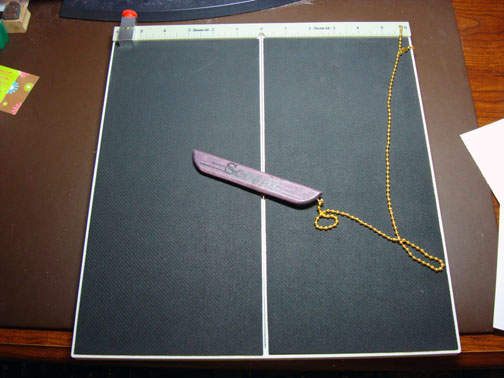
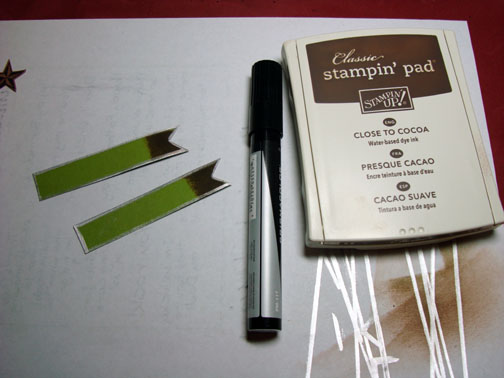
Supplies:
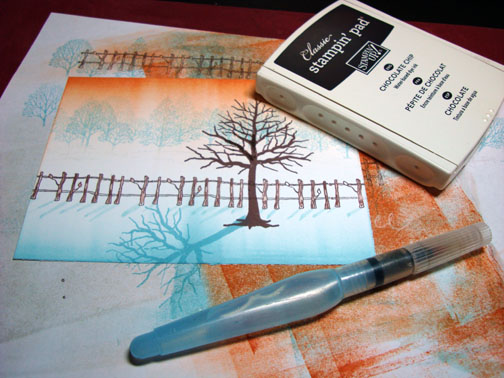
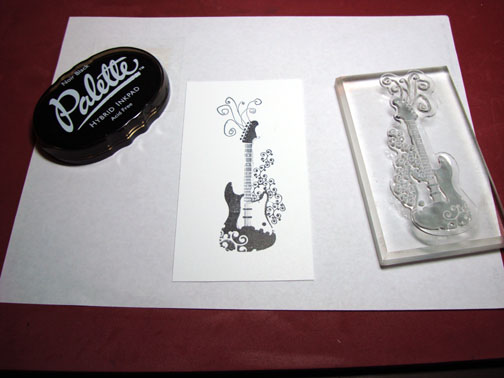
| Stamps:Inkadinkado “Fall Season” |
| Paper: Stampin’ Up Whisper White, Kiwi Kiss, Tangerine Tango & Chocolate Chip |
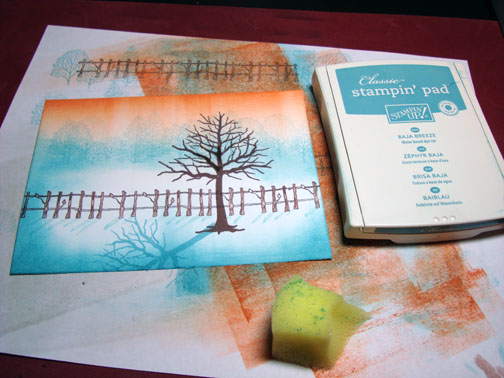
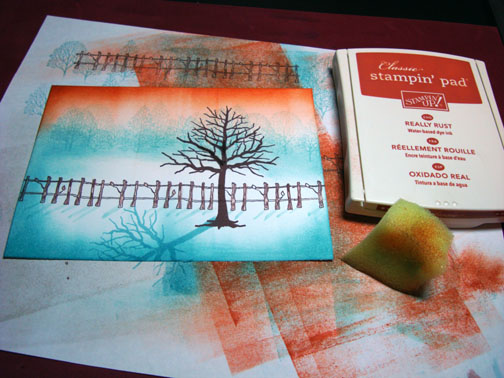
| Ink: Stampin’ Up Kiwi Kiss, Chocolate Chip, Tangerine Tango & Basic Black |
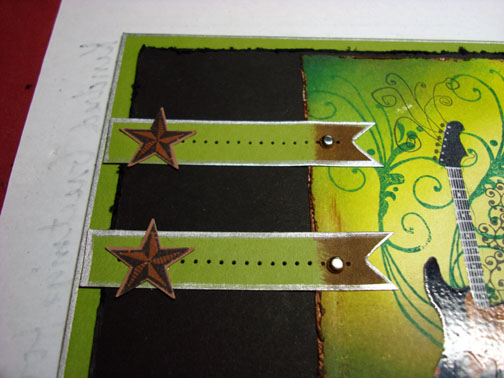
| Accessories:Versamark Pad & Marker, Sponges, White Gel Pen, Fine Detail Clear embossing powder, heat gun, Stampin’ Up Markers Chocolate Chip & Old Olive, Copper Brads |

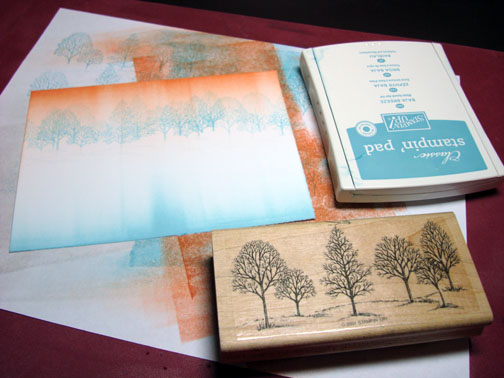
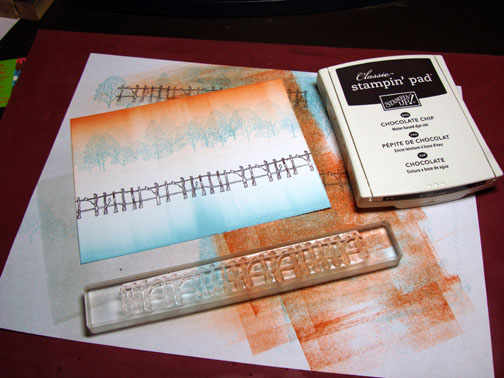
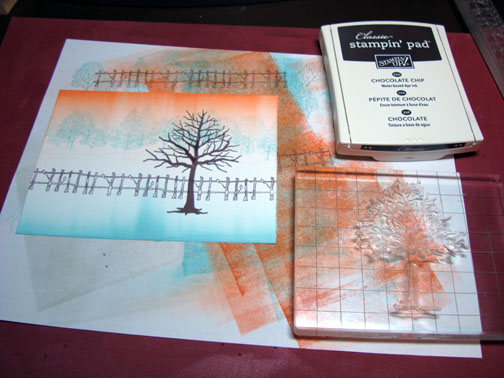
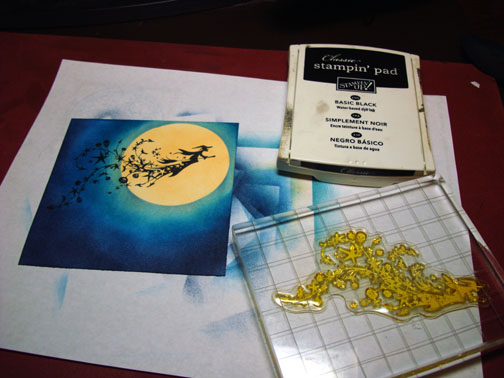
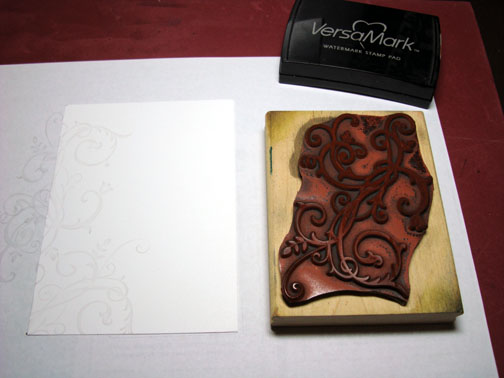
Stamp tree by first loading stamp with Versamark and then loading with Chocolate Chip ink before stamping. I also did not put the Versamark or the ink on the very bottom of the tree trunk to omit the root part of the stamp. After stamping I extended the trunk of the tree with a Chocolate Chip marker and colored over the marker with a Versamark marker.
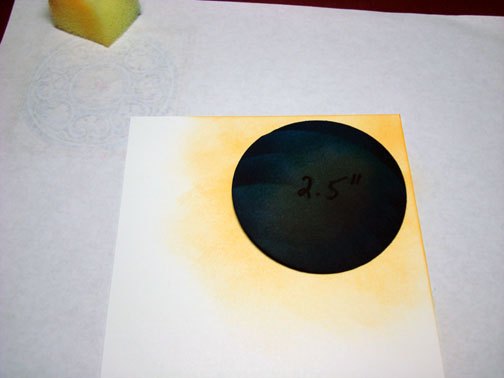
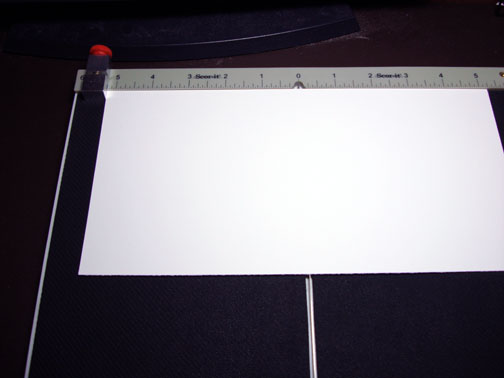
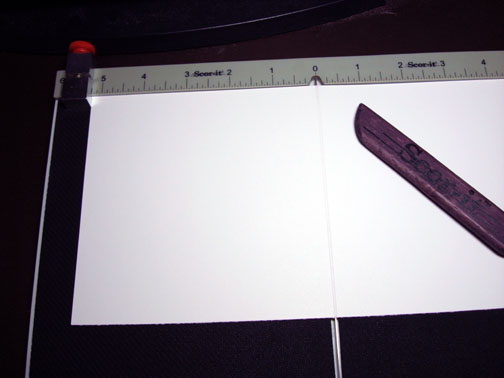
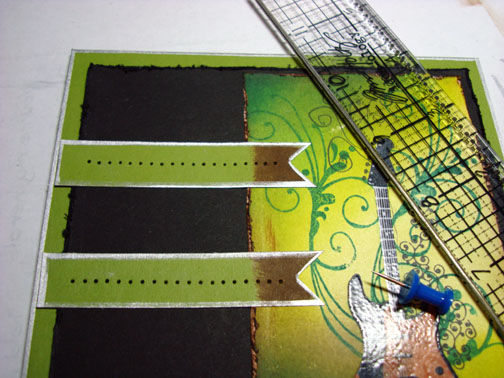
My Whisper White card stock measures 4.5″ square starting out, but I cropped it at the end to measure 4.25″ square due to a nice chocolate chip fingerprint at the top, lol.

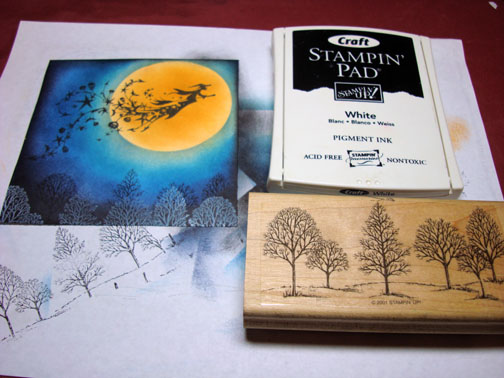
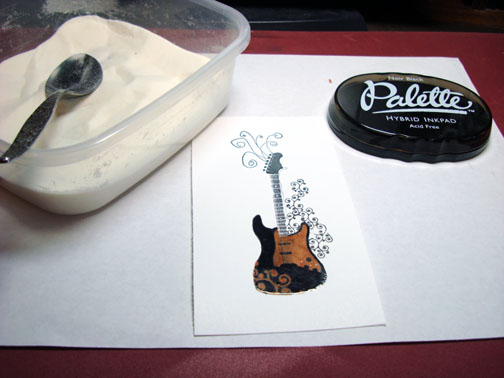
Heat embossed the image using fine detail clear embossing powder and a heat gun.

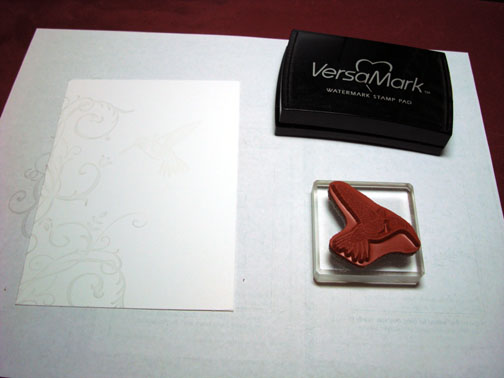
Over stamp the tree a bit to the left by first loading the stamp with Versamark and then loading it with Kiwi Kiss ink before stamping it. I omitted the root part of the tree again. Extended the trunk with an Olive Marker and then colored over the marker with a Versamark marker. Heat embossed the image using clear embossing powder and a heat gun.


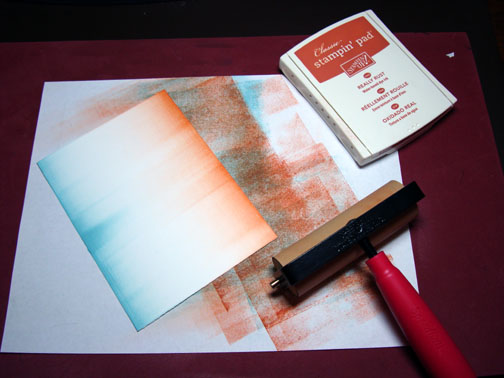
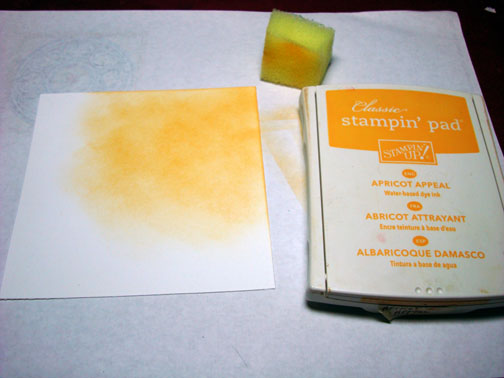
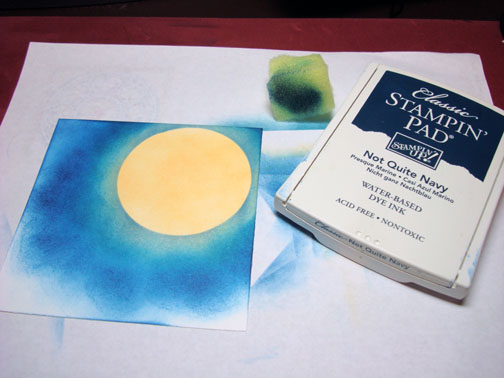
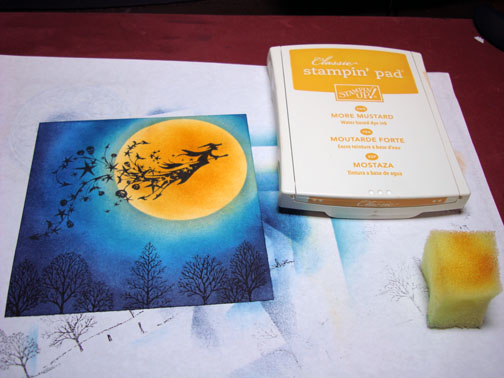
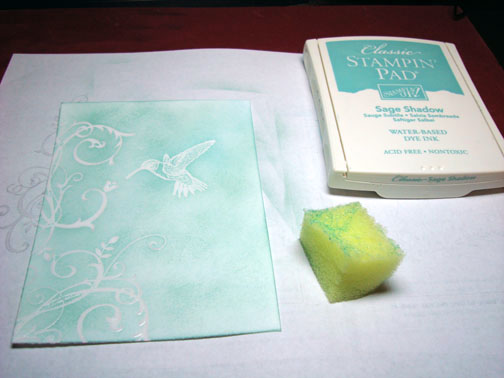
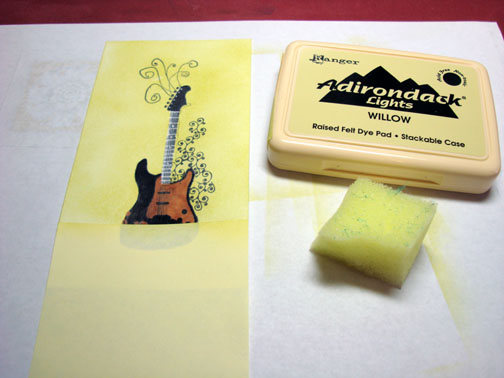
Sponged on Tangerine Tango ink, using a circular motion and be more heavy toward the outside edges.
Note: If your sponged ink looks really splotchy add more ink until it smooths out.

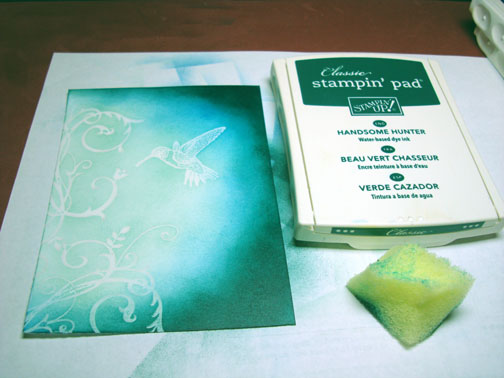
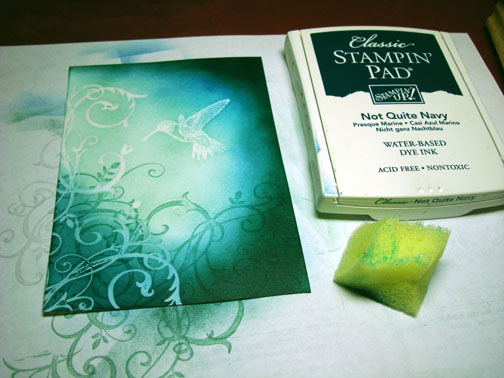
Sponged on Chocolate Chip ink.

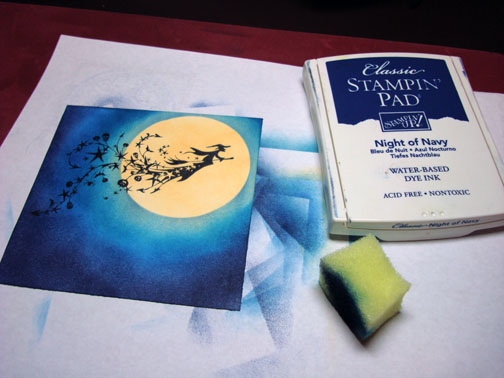
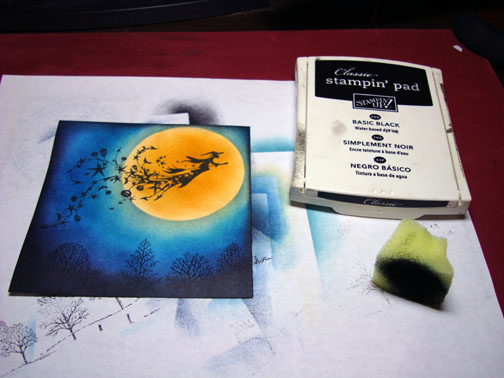
Stamped the top of the tree with Chocolate Chip ink at the bottom of and left side of the card stock.

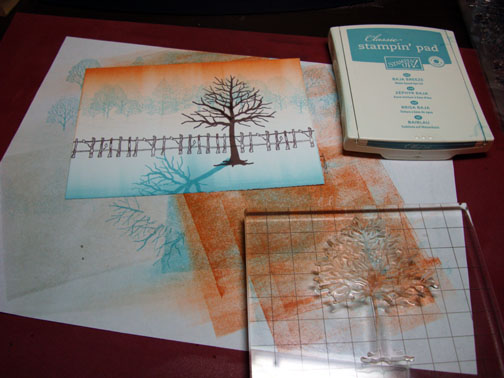
Sponged on Basic Black ink at the bottom two corners.

Stamp the top of the tree image with Kiwi Kiss at the bottom of the card stock.

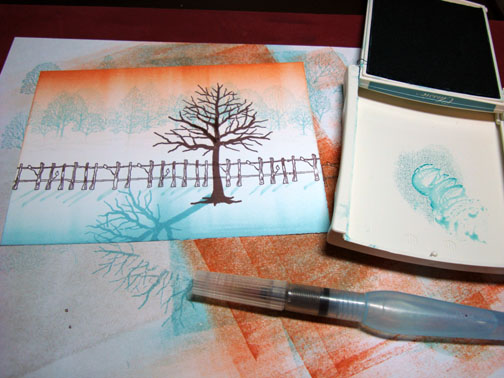
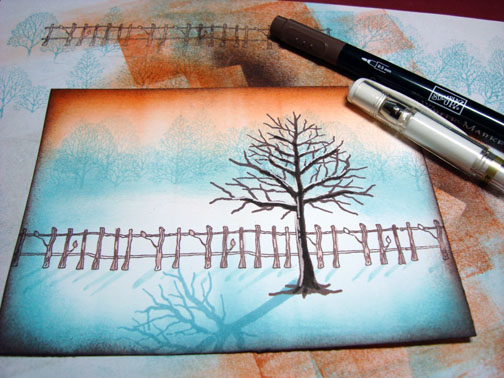
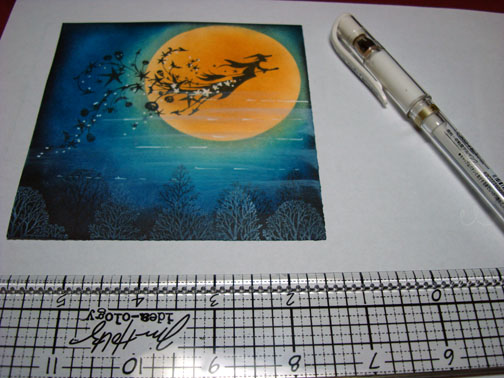
Added a few white gel pen highlights to the tree and the plants at the bottom of the card stock.

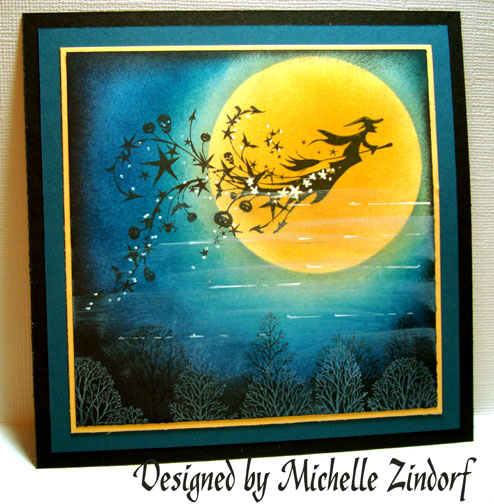
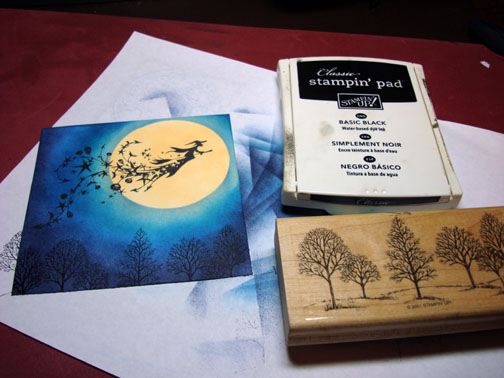
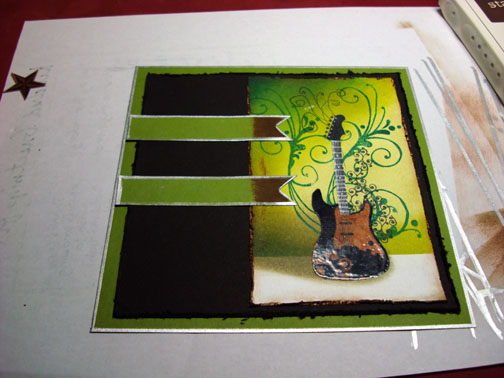
Here is the card front finished measuring 5.5″ square.
Hope this tutorial has inspired you to use this color combination. I love it.
May your day be filled with light!
Until my next post.. . . . . . . . . .
Hugs,
Michelle
Links to all my tutorials can be found here: http://zindorf.blogs.splitcoaststampers.com/tutorials-ive-written/
Here is a link to my workshop calendar if you want to get info on beginner and advanced Brayer workshops: http://zindorf.blogs.splitcoaststampers.com/workshop-calendar


