
Hi There,
It’s been a tough past couple of days and when your sad it is hard to be creative. At least it is for me. But today I forced myself to sit down and pull out the stamps and card stock. I was amazed at how much better I feel.
I want to thank all of you for your sympathy comments, e-mails and facebook replies. Reading them made me feel very loved and understood. Big, big cyber hugs to you all! I just wish our dog Lucas could read. He is missing Abby so very much.
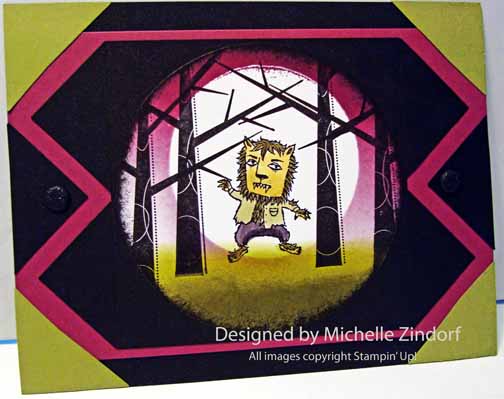
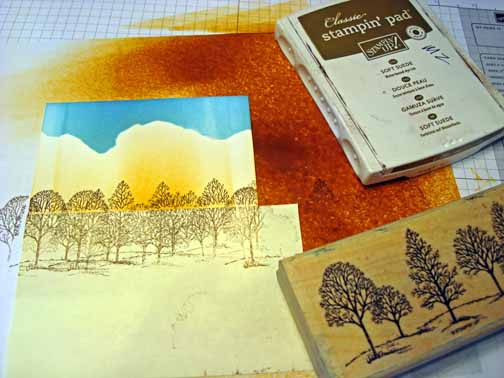
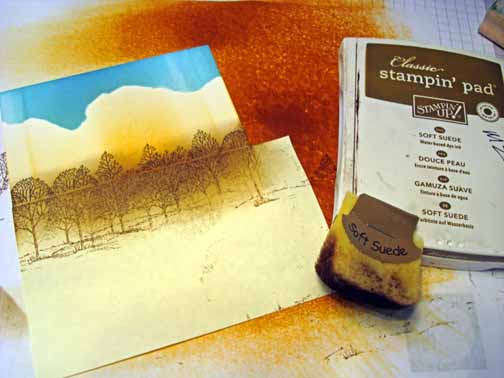
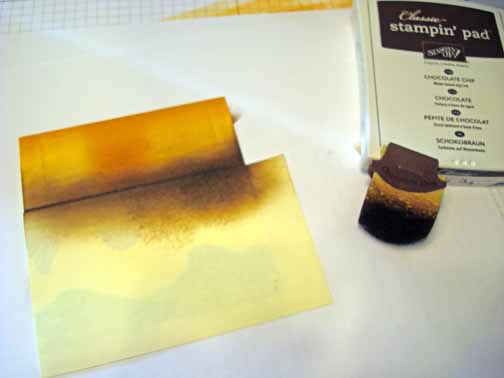
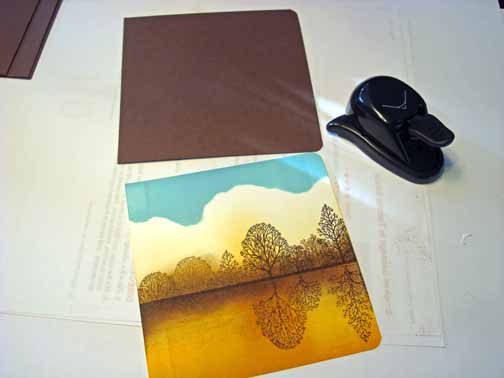
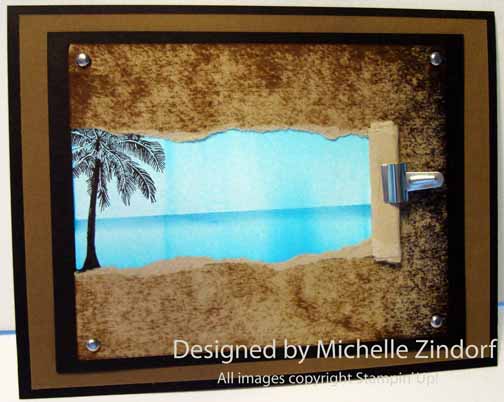
Now a bit about today’s card. When I want a masculine card, I often reach for the Stampin’ Up! Nature Silhouettes set. I did a bit of masking and brayering and came up with this. Check out the tutorial below.
***************************************************************************
Reminders so you don’t miss out:
Big, Big Special from Stampin’ UP! I have never seen any better deal than this and it is only through October 31, 2011.

Contact me, Michelle Zindorf at mzindorf@aim.com or 937-344-1312. I would love to talk to you about how Stampin’ Up! may make your life and crafting better. Whether you want to start you own business or would like to get that awesome discount on products. Also, I would love to get to know you and have you on my Stampin’ Up! Team.
Also check out these other October 2011 Stampin’ Up specials. . . . .


*************************************************************************************
BIG SHOT – CUSTOMER GIVE AWAY. . . . . . DON’T MISS OUT!

Until October 31, 2011 you can get a chance to win a free brand new Big Shot Die Cut Machine worth $99.95.
How to enter. . . . Every person that orders Stampin’ Up! products through my Stampin’ Up Web Site (CLICK HERE TO SHOP) until October 31, 2011 will receive 1 entry for each $25 increment of products purchased. So if you place a product order that totals $50 that is 2 chances to win! How about those beans. I love giving things away! I will announce the winner on November 1, 2011.
************************************************************************************
Now on with today’s tutorial. . . . .
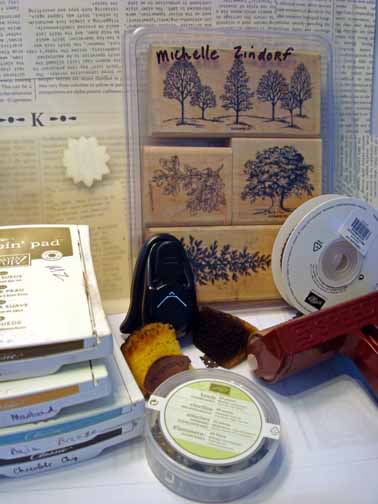
Supplies:
| Stamps: Stampin’ Up! Nature Silhouettes and Elements of Style Sentiment |
| Paper: Stampin’ Up! Basic Black, Bashful Blue and Whisper White |
| Ink: Stampin’ Up! Basic Black, Pacific Point, Not Quite Navy, Night of Navy and Bashful Blue |
| Accessories: Stampin’ Up! Sponges, Brayer, 1 3/4″ and 1 1/4″ circle Punches, Hodge Podge Hardware, Basic Black Ribbon, White Gel Pen, Post it Notes, Sizzix Flourish Texture Plate and Big Shot Machine |
| Techniques: Masking and Brayering |
Want a free copy of the brand new Stampin’ Up! Holiday Mini Catalog? Just e-mail your address and I will get one right out to you. Get your copy of the new 2011-2012 Stampin’ Up! Idea Book & Catalog by sending $9.95 to me at P.O. box 116, West Alexandria, Ohio 45381 or via paypal to mzindorf@aim.com, shipping is free. ![]() Are you getting inspiration from this blog? One way you can help support it is to order your Stampin’ Up products through me. Click HEREto place an order and have your ordered delivered directly to your door step from Stampin’ Up! Want to become a Stampin’ Up Demonstrator , receive a 20% discount on product and earn instant income on orders? Consider being part of my Stampin’ Up Team and start your own business or become a Hobby Demo just for the discount. Click HERE for more information.
Are you getting inspiration from this blog? One way you can help support it is to order your Stampin’ Up products through me. Click HEREto place an order and have your ordered delivered directly to your door step from Stampin’ Up! Want to become a Stampin’ Up Demonstrator , receive a 20% discount on product and earn instant income on orders? Consider being part of my Stampin’ Up Team and start your own business or become a Hobby Demo just for the discount. Click HERE for more information.

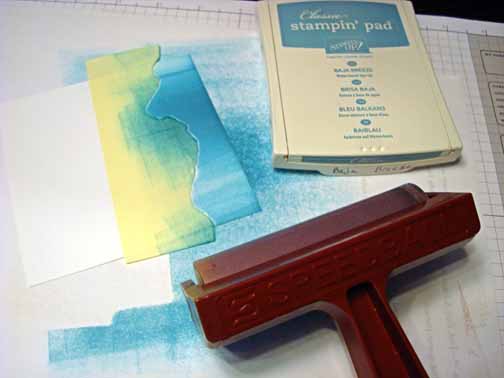
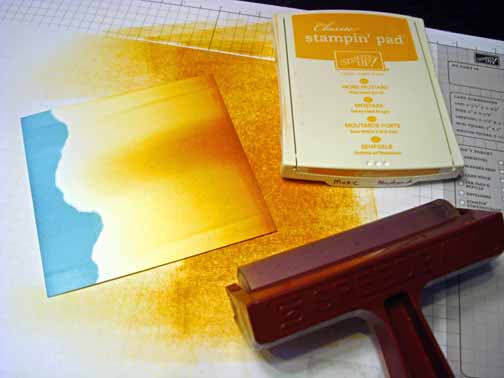
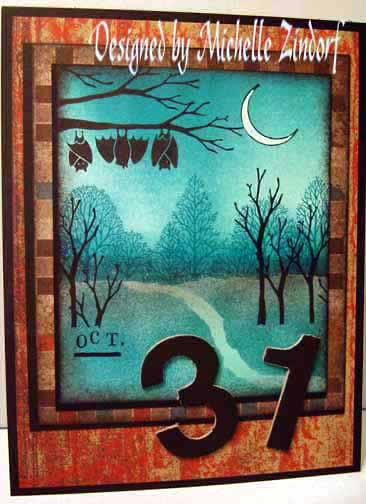
Punched a circle from the sticky part of a post it note used it as a moon mask on a 3″ square piece of Whisper White card stock.

Brayered Pacific Point ink from the top of the card stock all the way to the bottom.

Brayered Not Quite Navy ink, not covering all of the Pacific Point ink.

Brayered Night of Navy ink, not covering all of the Not Quite Navy ink.

Removed the moon mask and sponged a bit of Bashful blue ink in the moon.

Stamped the wolf using Basic Black ink.

Tore a post it note and used it as a mask to create the rock formation.

Sponged Basic Black ink in the unmask area.

Removed the mask and added White Gel Pen dots for stars.

Distressed the edges of the card stock using Basic Black ink and a sponge.

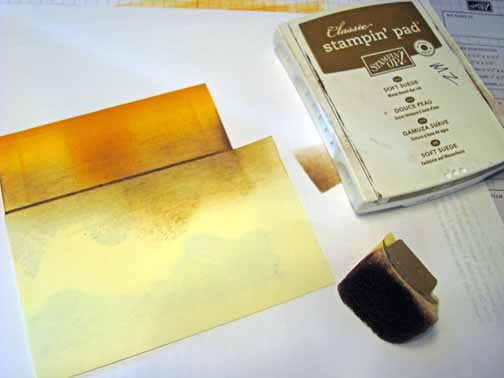
Textured a Bashful Blue card stock panel using the Sizzix Flourish Texture plate an the Big Shot Machine.

Brayered Not Quite Navy ink over the textured card stock.

Stamp the sentiment from the Stampin’ Up! Set Elements of Style using Basic Black ink on a scrap piece of Bashful Blue card stock and then punched it out using a 1 1/4″ circle Punch.

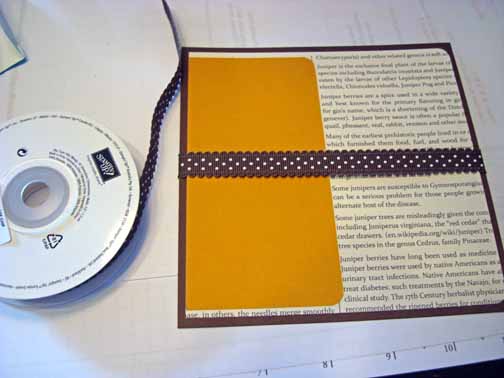
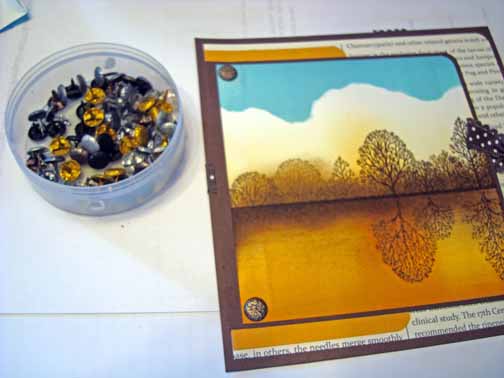
Added a 5″ x 6″ Basic Black Panel, 4.75″ x 6.25″ Bashful Blue Panel, 3″ x 4.25″ Basic Black Panel, the texturized 2.75″ x 4″ panel, 3.25″ Basic Black panel and my main image panel. Also added Basic Black Ribbon and hodge podge hardware.

Here is my finished card measuring 5″ x 6.5″.
Ma
Until my next post. . . . . . .
Hugs,

 Get ready for Brayer Workshops! I am coming to the following locations, click the location name for more information.
Dayton, Ohio – Direct to Paper Workshops
Post Falls, Idaho (outside of Coeurd’Alene)
Sand Lake, Michigan (just North of Grand Rapids)
Longmont (Gunbarrel), Colorado
Here is a link to my workshop calendar where you can see all of my travel schedule and to get info on beginner and advanced Brayer workshops, along with the newly added Direct to Paper Workshop: http://zindorf.blogs.splitcoaststampers.com/workshop-calendar
Don’t see a workshop in your State? Interested in hosting the workshops in your area Click HERE to get hostess information.
Link to my Stampin’ Up website where you can order all of your must have Stampin’ Up products from me 24-7: http://michellezindorf.stampinup.net
| Stamps: Stampin’ Up! Nature Silhouettes and Elements of Style Sentiment |
| Paper: Stampin’ Up! Basic Black, Bashful Blue and Whisper White |
| Ink: Stampin’ Up! Basic Black, Pacific Point, Not Quite Navy, Night of Navy and Bashful Blue |
| Accessories: Stampin’ Up! Sponges, Brayer, 1 3/4″ and 1 1/4″ circle Punches, Hodge Podge Hardware, Basic Black Ribbon, White Gel Pen, Post it Notes, Sizzix Flourish Texture Plate and Big Shot Machine |
| Techniques: Masking and Brayering |


