
Hello there, I hope you had a wonderful holiday weekend.
My weekend was very productive and I got to spend the holiday with family. Which always rocks!
Now, I know I didn’t get to chat up the Alaskan cruise Russ and I just returned from so I am going to give you segments of it over the next week, along with some card tutorials. How does that sound?
I’m going to start by telling you about the amazing fishing that we did in Alaska. We started out with our guide outfitting us in waders, slickers, boots, gloves, hats and most importantly, life vests. There were four of us, plus our guide in the boat. We went out to fish in scenery that almost makes you cry when you look at it. It was soooooo beautiful.
Picture it, here you are in a boat, catching fish, beautiful scenery all around you and then an American Bald Eagle starts circling your boat looking for a free fish to eat. Well folks we lived it.


How about that action shot of Russ below. 🙂 He is my hero, but you need to know that yours truly caught the first fish. 🙂


Our boat mates, Tish & Mark were a delight to spend the day with. Below is a shot of Tish and I. Hey Tish, if you see this e-mail me. 🙂

After catching our 8 fish, we headed to a little island where they had a camp fire a blaze for us. We got to sit by the warm fire sipping hot coffee and warm cocoa while our guide cleaned our catch.


Our fish was then cooked to perfection and served to us. To top it off we had bread pudding for desert. It was the best food I have ever tasted, I swear! I’m not sure if it was because the fish was so fresh, if it was the warm fire and scenery or the wonderful company we were with, but it was perfect.


Now let’s get started on today’s tutorial. . . . . . . . .I have missed stamping!
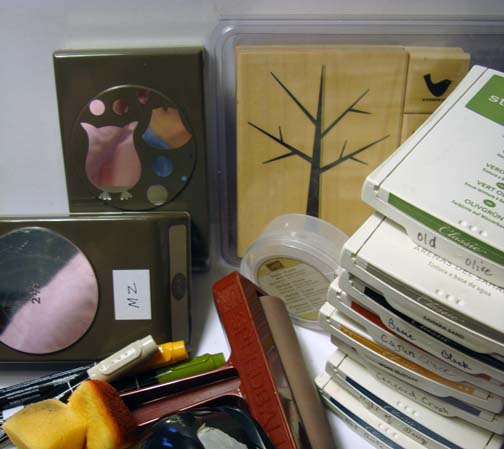
Supplies:
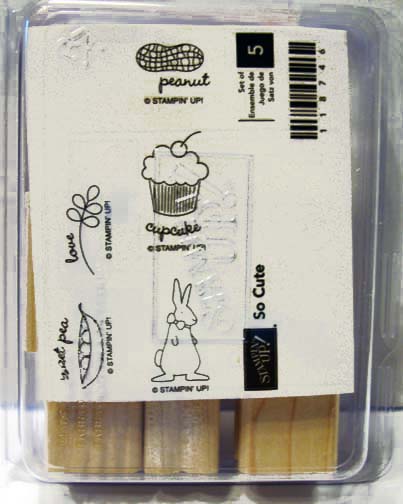
| Stamps: Stampin’ Up! Lovely as a Tree, Day of Gratitude |
| Paper: Stampin’ Up! Basic Black, Whisper White, River Rock and Designer Series paper |
| Ink: Stampin’ Up! River Rock, Basic Black and Sahara Sand |
| Accessories: Stampin’ Up! Sponges, Basic Black Satin Ribbon, Big Shot Machine, 3.75″ circle die, Scallop Circle Die, Stamp-a-ma-jig, post it notes and Brads |
The Stampin’ Up USA Idea book and Catalog is here. For your copy, please send a check for $9.95 to Michelle Zindorf, P.O. Box 116, West Alexandria, OH 45381 or send it via paypal to mzindorf@aim.com USA only. My current customers will receive a new Summer Mini Catalog automatically from me. Not a current customer and want a free copy of the new Summer Mini Catalog ? E-mail your mailing address to mzindorf@aim.com and I will get one in the mail to you. ![]() Are you getting inspiration from this blog? One way you can help support it is to order your Stampin’ Up products through me. Click HERE to place an order. Want to become a Stampin’ Up Demonstrator , receive a 20% discount on product and earn instant income on orders? Consider being part of my Stampin’ Up Team and start your own business or become a Hobby Demo just for the discount. Click HERE for more information.
Are you getting inspiration from this blog? One way you can help support it is to order your Stampin’ Up products through me. Click HERE to place an order. Want to become a Stampin’ Up Demonstrator , receive a 20% discount on product and earn instant income on orders? Consider being part of my Stampin’ Up Team and start your own business or become a Hobby Demo just for the discount. Click HERE for more information.

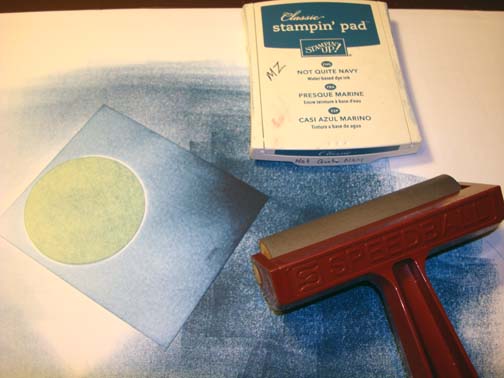
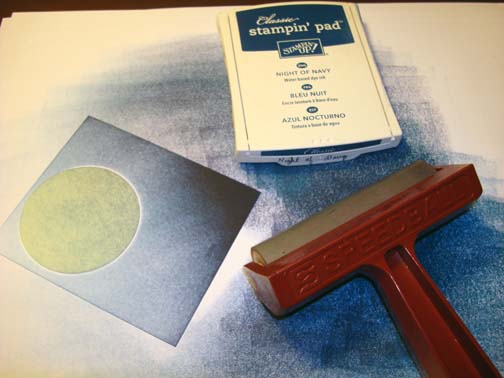
Started this project by die cutting a 3.75″ circle out of Whisper White card stock using my Big Shot Machine.

Ripped a post it note and used it to mask the top of the circle.

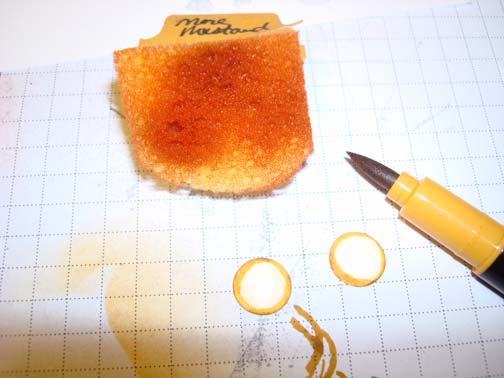
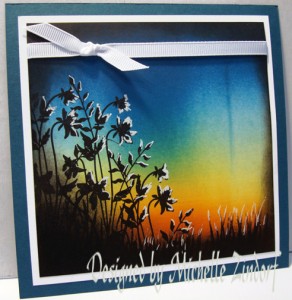
Sponged River Rock ink in the mountain shape.

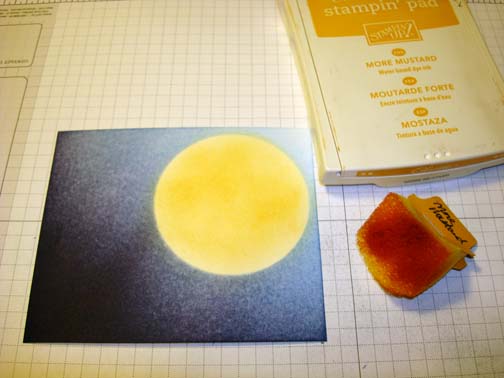
Turned the ripped post it note around and masked the bottom of the circle. sponged River Rock ink in for the reflection.

Removed the torn post it note mask and added a straight edge post it note at the middle of the card stock.

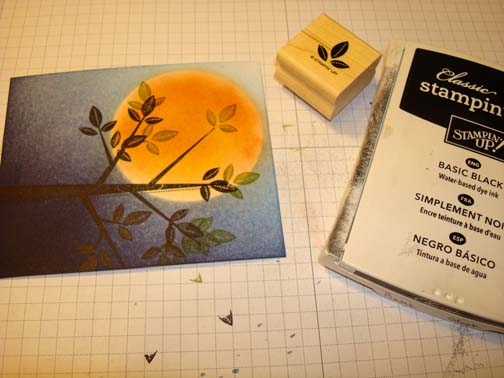
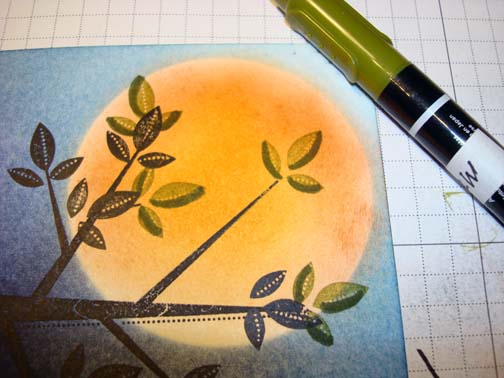
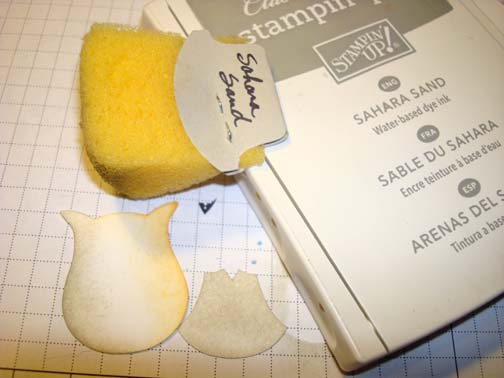
Stamped the Lovely As a Tree stamp on both sides of the card stock using Sahara Sand ink.

Sponged Sahara Sand ink at the post it note edge.

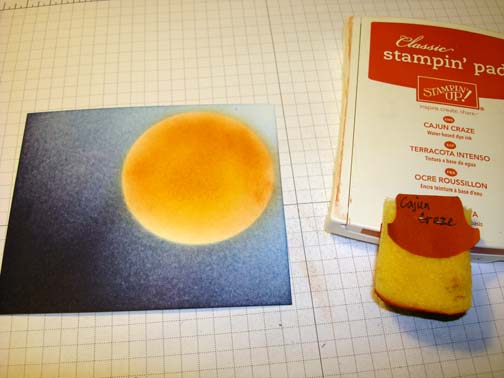
Moved the post it note mask to cover the top of the post it note and stamped the trees on a Stamp-a-ma-jig plastic sheet using Sahara Sand ink and flipped the plastic sheet over and rubbed the back of the plastic to transfer the image.


Repeated

Sponged Sahara Sand ink at the post it note edge.

Repeated all the stamping and sponging again using Basic Black ink on both the and bottom of the card stock.


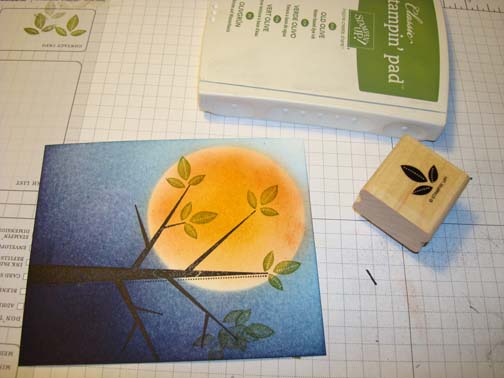
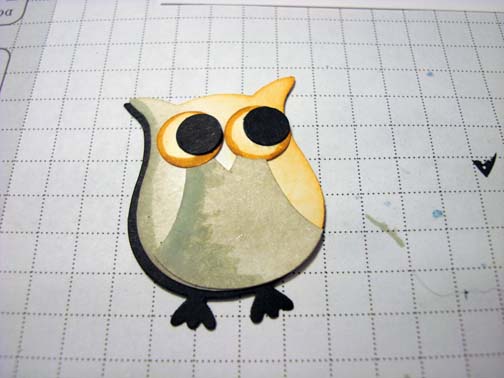
Die cut the Scallop Circle from Basic Black card stock using my Big Shot Machine.

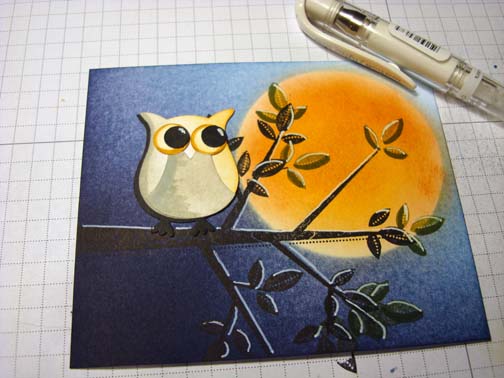
Cut a 4.75″ x 6.25″ River Rock card stock panel. Stamped the flowers from the Day of Gratitude stamp set using Basic Black ink along the long edges.

Added 2 Basic Black panels, 1 Designer Series paper panel, Basic Black ribbon and 4 brads.

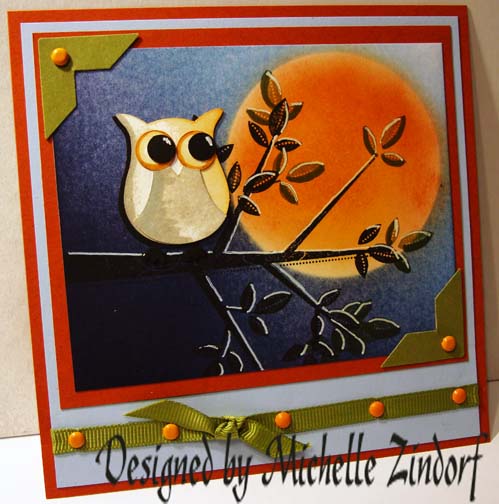
Here is my finished card measuring 5″ x 6.5″.
May your day be overflowing with everything you want.
Until my next post. . . . . .
Hugs,
Michelle
 Get ready for Brayer Workshops! I am coming to the following locations, click the location name for more information.
 Owings Mills, Maryland (Baltimore Area)
Staley , North Carolina (South of Greensboro)
Jefferson, Louisiana (New Orleans Area)
Here is a link to my workshop calendar where you can see all of my travel schedule and to get info on beginner and advanced Brayer workshops: http://zindorf.blogs.splitcoaststampers.com/workshop-calendar
Don’t see a workshop in your State? Interested in hosting the workshops in your area in 2012? Click HERE to get hostess information.
Link to my Stampin’ Up website where you can order all of your must have Stampin’ Up products from me 24-7: http://michellezindorf.stampinup.net
Link to my Scentsy website where you can order the best smelling, safest wickless candles from me 24-7: https://zindorf.scentsy.us/Home


