
I’m feeling a bit back in my element this morning. I have my stamp studio all cleaned up. I don’t know about you but I cannot work in a messy space. My mind has to be clear of all that. In fact, I have to clean up my work space entirely before I can start a new project. Must the Virgo in me, plus I have issues, lol. 🙂
I’ve also been packing and creating some new advanced projects to take with me to North Chili, NY on Thursday. Woohoo! I’m going up a day early and my friend, Gail Emmons and I will be taking the day Friday to go to Niagara Falls (Canadian side, of course) to take in the sites and a little R & R.
Oh yeah, about today’s project, I experimented a little with sponging in clouds with a cotton-ball. The effect is pretty, if i have to say so myself.
Also, I unwrapped my Rich Razzleberry ink pad that I have had for just about a year. WHAT WAS I WAITING FOR!!!! Rich Razzelberry is totally yummy. Check it out!
Let’s get started. . . . . . . .
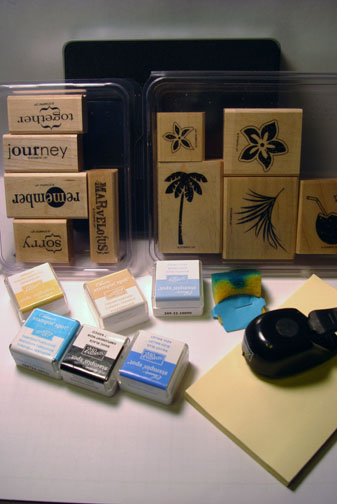
Supplies:
| Stamps: Stampin’ Up! Lovely as a Tree and Vintage Vouge |
| Paper: Stampin’ Up! Whisper White, Always Artichoke and Rich Razzelberry |
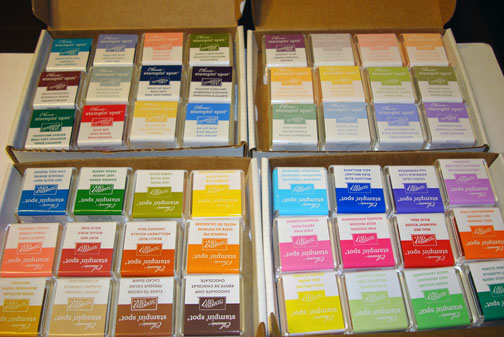
| Ink: Stampin’ Up! Always Artichoke, Rich Razzelberry, Pixie Pink, Basic Black, Summer Sun, So Saffron, Close To Cocoa and Whisper White |
| Accessories: Stampin’ Up! Gold Brads, Brayer, Post it Notes, Basic Black marker and a cotton ball |
Live in the USA and need a copy of the Summer Mini Catalog? E-mail your mailing address to mzindorf@aim.com and I will get one in the mail to you. ![]() Are you getting inspiration from this blog? One way you can help support it is to order your Stampin’ Up products through me. Click HERE to place an order. Click HERE to check out the Stampin’ Up! catalogs. Want to become a Stampin’ Up Demonstrator , receive a 20% discount on product and earn instant income on orders? Consider being part of my Stampin’ Up Team and start your own business. Click HERE for more information.
Are you getting inspiration from this blog? One way you can help support it is to order your Stampin’ Up products through me. Click HERE to place an order. Click HERE to check out the Stampin’ Up! catalogs. Want to become a Stampin’ Up Demonstrator , receive a 20% discount on product and earn instant income on orders? Consider being part of my Stampin’ Up Team and start your own business. Click HERE for more information.

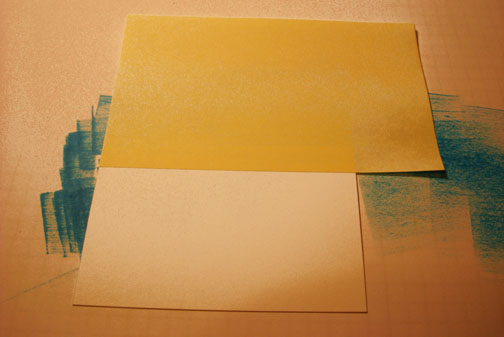
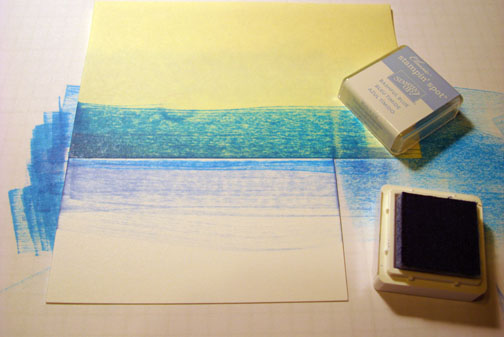
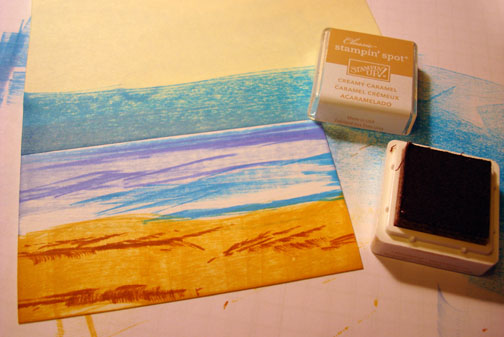
Mask the bottom 1″ of a 4″ square piece of Whisper White with a post it note.

Brayered So Saffron from the top of the card stock down to the post it note.

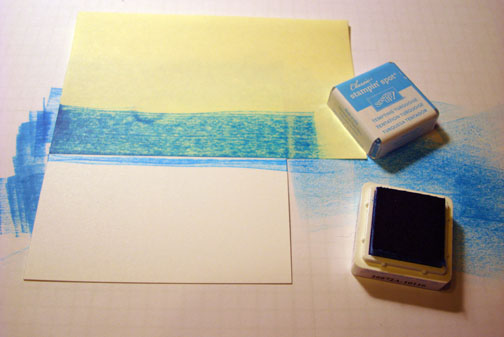
Brayered Summer Sun ink at the bottom of the unmasked area.

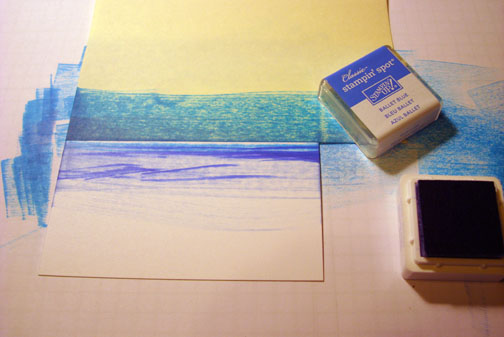
Brayered Pixie Pink ink at the top of the card stock.

Brayered Rich Razzelberry ink at the top of the card stock, not covering the Pixie Pink ink entirely.

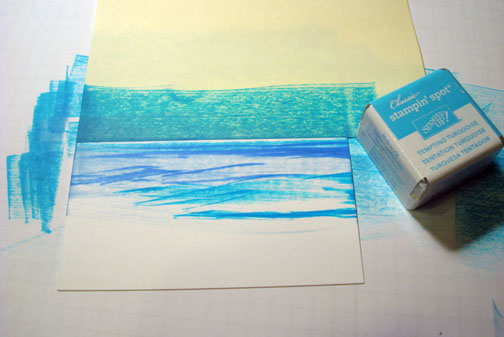
Using a cotton-ball, dabbed Craft White ink in the sky area.

Using a So Saffron ink spot, streaked some So Saffron ink from the right side into the middle of the card stock.

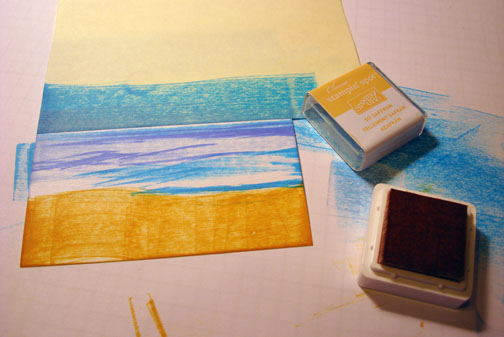
Took the mask off and turned it around and masked the sky area. Brayered Summer Sun ink at the bottom of the card stock.

Removed the mask. Using the So Saffron ink spot edge and a upward motion, put in little grasses.

Using a More Mustard ink spot and a upward motion, put in more grasses.

Using the edge of a Close to Cocoa ink spot and a side to side motion put in a bit of grasses.

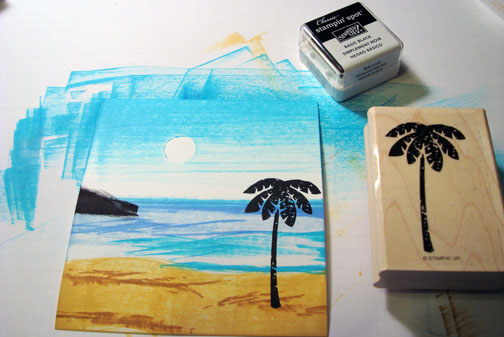
I wanted to stamp the trees from the Stampin’ Up set Lovely as a Tree with out stamping the bottom of the stamp. So I covered the bottom of the stamp with a post it note, ink the stamp with Basic Black ink and then removed the post it note and stamped the image.


Extended the tree trunks down to the ground with a Basic Black marker.

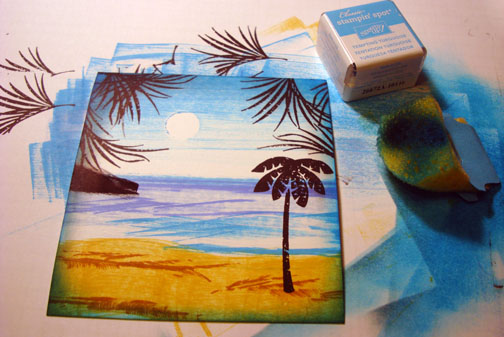
Sponged Always Artichoke ink around the edges of the main image panel and a 5.25″ Square panel of Rich Razzelberry card stock.

Assembled my card front by adding Always Artichoke and Rich Razzelberry panels. Added 4 silver brads.
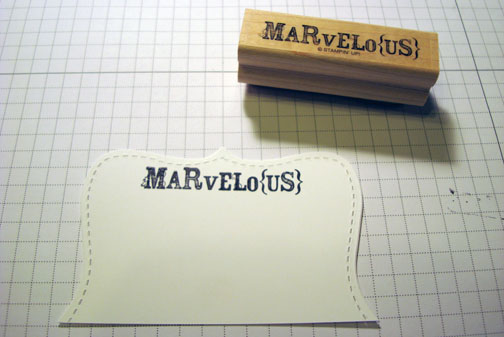
Stamped the stamp from the Stampin’ Up! set Vintage Vouge with Always Artichoke ink around the edge of the card front.

Sponged Always Artichoke ink very heavy around the edges of the card front.

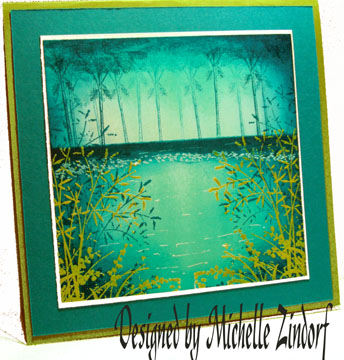
Here is the finished card measuring 5.5″ square.
I hope you like this project and are inspired to try putting a few clouds in your scenes.
May your day be full of energy and light.
Until my next post. . . . . . .
Huge Hugs,
 Get ready for Brayer Workshops! I am coming to the following locations, click the location name for more information.
North Chili, New York (near Rochester)
Kenova (Huntington), West Virginia
Piedmont, Alabama (Near GA border close to Cedartown)
Auburn, Washington (near Seattle)
Here is a link to my workshop calendar where you can see all of my travel schedule and to get info on beginner and advanced Brayer workshops: http://zindorf.blogs.splitcoaststampers.com/workshop-calendar
Link to my Stampin’ Up website where you can order all of your must have Stampin’ Up products from me 24-7: http://michellezindorf.stampinup.net
Frequently asked questions answers: http://zindorf.blogs.splitcoaststampers.com/frequently-asked-questions/


