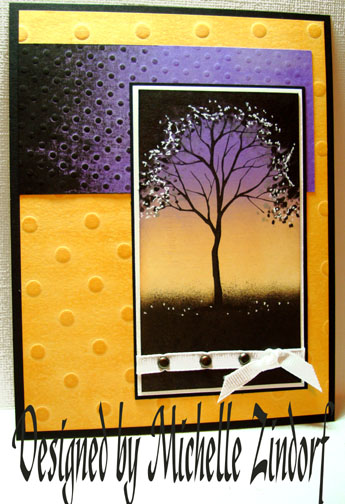
I used this Stampin’ Up Set “Branched Out’ yesterday and it was still sitting on my desk this morning so here is another piece using this tree, which I love, love, love. 🙂
Before we get started don’t forget to request your free copy of the Stampin’ Up’s new 39 page Mini Catalog which will come into effect September 1st. Just e-mail your address to mzindorf@aim.com and I will get one out to you. If you have already requested a copy or you are a Stampin’ Up Customer of mine your copy is on it’s way. No need to e-mail a request.
Let’s get started. . . . .
Supplies:
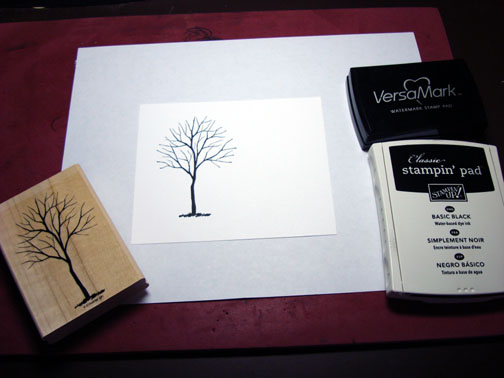
| Stamps: Stampin’ Up Branched Out |
| Paper: Stampin’ Up Basic Black, Whisper White, Apricot Appeal , Lavender Lace |
| Ink: Stampin’ Up Going Gray, Lovely Lilac, Basic Black and Apricot Appeal |
| Accessories: Brayer, White Gel Pen, White Ribbon, Brads, Stampin’ Up Dots Texture Plate, Big Shot Die Cut Machine, sponge |
Are you inspired by this Blog? One way you can help support this blog is by ordering your Stampin’ Up products through me. You can order from me 24-7 from this link: http://michellezindorf.stampinup.net or e-mail me at mzindorf@aim.com If you are within the United States. Want a copy of the brand new 2009-2010 Stampin’ Up Catalog for $9.95, just e-mail me at mzindorf@aim.com and I will get one in the mail to you. Want to become a Stampin’ Up Demonstrator and earn instant income? Consider being part of my Stampin’ Up Team. Through August 31 you can become a Stampin’ Up Demonstrator for as little as $85 with the mini kit. Also check out the Stampin’ Up specials, click this link to check it out: http://www.stampinup.net/esuite/home/michellezindorf/promotions

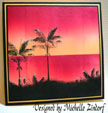
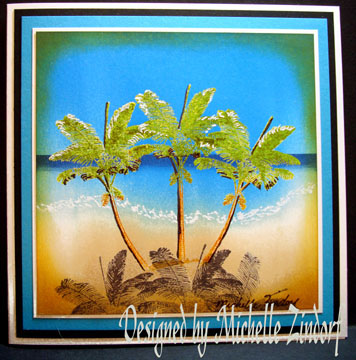
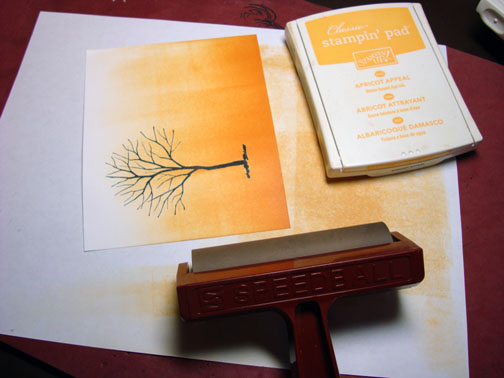
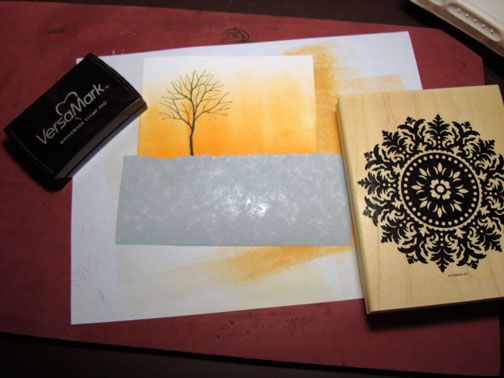
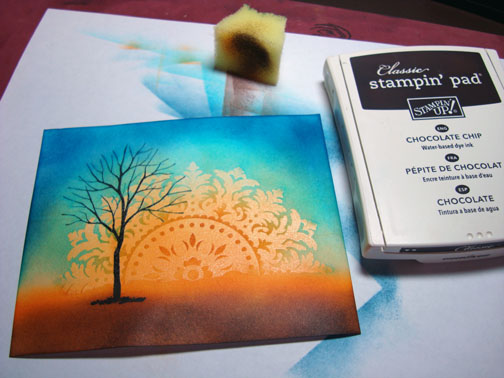
On a 2.5″ x 4.5″ piece of Whisper White card stock brayered Apricot Appeal ink at the top of the card stock.

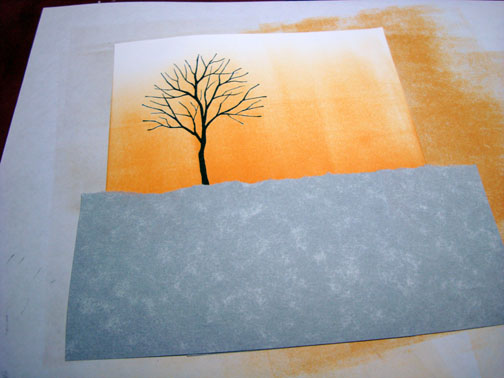
Brayered Lovely Lilac ink at the top of the card stock, not covering the Apricot Appeal ink entirely.

Stamped the tree with Basic Black ink.

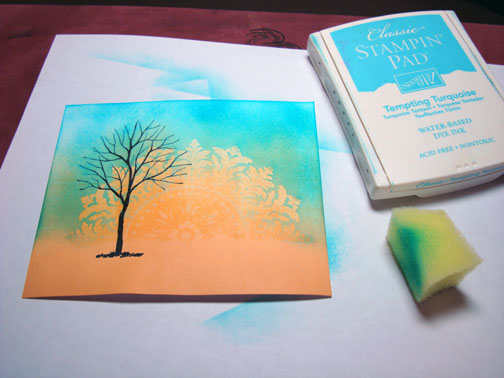
Stamped the leaf stamp with Going Gray ink, leaving the middle of the tree open.

Added a lot of Basic Black leaves, leaving a bit of the Going Gray leaves showing towards the middle of the tree.

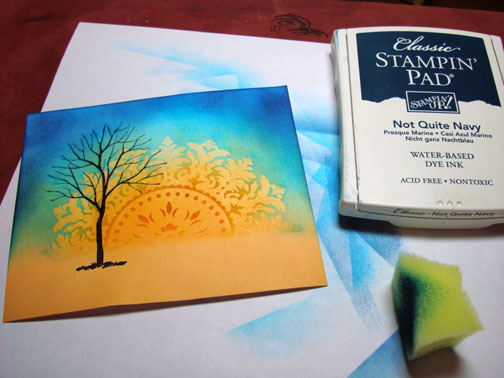
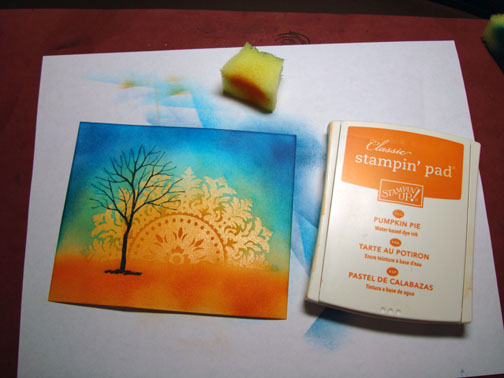
Sponged Basic Black ink at the top of the card stock and at the bottom of the card stock.

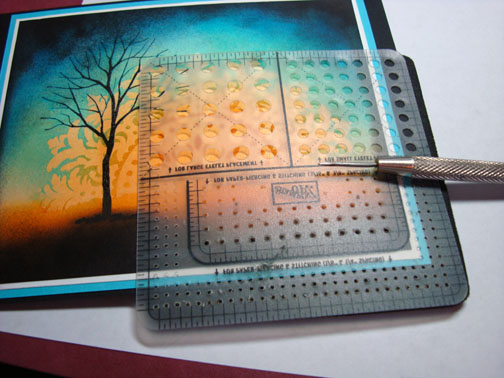
Added White Gel Pen highlights (dots) in the trees leaves and on the ground.

Used my Big Shot Die cut machine and the Stampin’ Up Small Dot Texture plate on a piece of Lavender Lace card stock and the other side of the Texture plate, Large Dots on the Apricot Appeal Panel.

Brayered Apricot Appeal ink over the Apricot Appeal Panel to bring out the texture more.

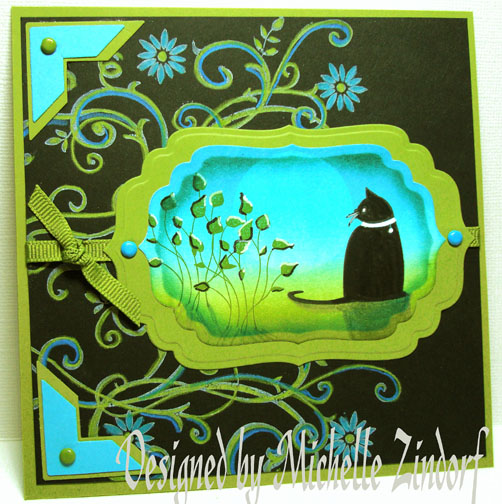
Brayered Lovely Lilac ink over the Lavender Lace panel to bring out the texture more.

Dragged my Basic Black ink pad over one end of the Lavender Lace Lilac panel.

Assembled the card and added White Ribbon and brads.
Here is the finished card measuring 5″ x 6.5″.
May your day be super special. 🙂
Until my next post. . . . . . . . . . . . . . . . . . ..
Huge Hugs,
Michelle
 Get ready for Brayer Workshops! I am coming to:
Greenwood, Indiana
Castro Valley, California
Yardley, Pennsylvania (near Philadelphia)
Knox, Maine
Akron, Ohio
Broomfield, Colorado
Moore, Oklahoma
Nashville, Indiana
Portland, Michigan2010Dayton, Ohio at Marco PaperPhoenix, ArizonaMonroe, Louisiana
Jacksonville, Florida
St. Louis, Missouri
Mechanicsville, Virginia
Raleigh, North Carolina
Colleyville, Texas
Colorado Springs, Colorado
Boise area of Meridian, Idaho
Riverside, California (Southern California)
Salem, Oregon
Wheaton, Illinois
St. Cloud, Minnesota
Rockville, Maryland
North Chili, New York (near Rochester)
New Johnsonville, Tennessee
Helena, Montana
Middleburg Heights, Ohio
Venice, Florida
Here is a link to my workshop calendar where you can see all of my travel schedule and to get info on beginner and advanced Brayer workshops: http://zindorf.blogs.splitcoaststampers.com/workshop-calendar
Link to my Stampin’ Up website were you can order all of your must have Stampin’ Up products from me 24-7: http://michellezindorf.stampinup.net
Frequently asked questions answers: http://zindorf.blogs.splitcoaststampers.com/frequently-asked-questions/


