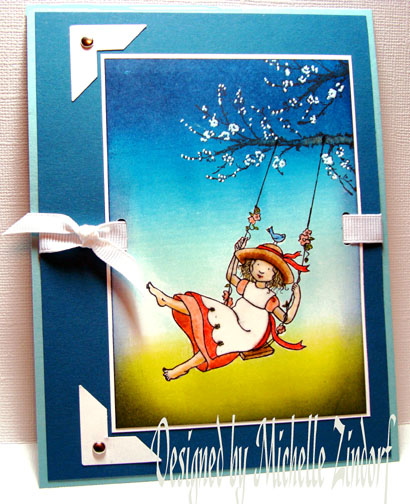
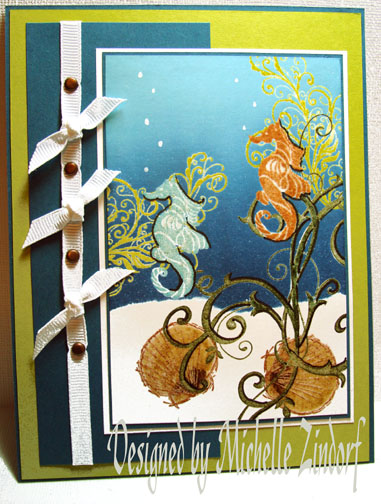
I bet you can guess what gave me the inspiration for this card. My 5 year old Grand Daughter is visiting me this week for her Spring Break so we have been hanging out in the park a lot. When making this card I found the Stampin’ Up sets Eastern Influences and A Kind Word work perfectly together. Don’t you think? Sure puts me in the mood for Spring.
Let’s get started on the tutorial.
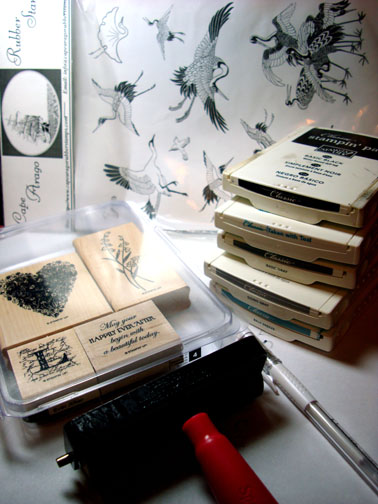
Supplies:
| Stamps: Stampin’ Up A Kind Word & Eastern Influences |
| Paper: Stampin’ Up Whisper White, Not Quite Navy & Baja Breeze |
| Ink: Stampin’ Up Kiwi Kiss, Night of Navy, Not Quite Navy & Baja Breeze, Palette Noir Black |
| Accessories: Stampin’ Up Markers Sahara Sand, Bashful Blue, Cameo Coral, Blush Blossom, Barely Banana, Old Olive, Creamy Caramel & Basic Black, Prismacolor Pale Peach Marker, White Ribbon, Silver Brads, Versamark marker, White Gel pen, Sponge, Ruller, Brayer, Clear embossing powder, heat gun, Photo Corner Punch, Horizontal Slot Punch |
Please don’t forget you can order your Stampin’ Up products from me 24-7 from this link: http://michellezindorf.stampinup.net or e-mail me at mzindorf@aim.com if you are within the United States. Also, please consider being part of my Stampin’ Up Team. We have valuable monthly meetings in Miamisburg, Ohio.

Stamped the Girl image on a 3.5″ x 5″ piece of Whisper White Card stock with Palette Noir Black ink.

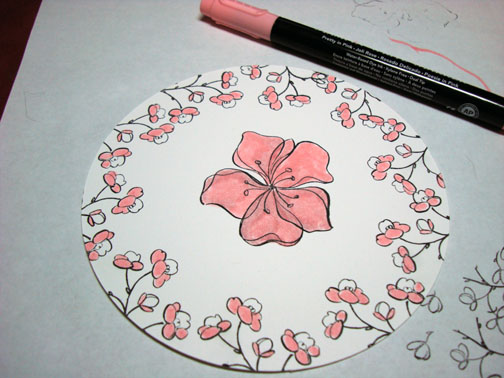
Colored the girls hat, dress and flowers with Stampin’ UP markers Creamy Carmel, Blush Blossom & Cameo Coral.

Added Barely Banana marker to her hair. Colored the swing seat with Creamy Caramel marker.

Colored the bird with Bashful Blue.

Colored her skin with a Pale Peach Prismacolor marker. This is a great color for skin tones.

Colored the leaves with an Old Olive marker.

Created a shadow on her hat with a Creamy Carmel marker. I went over this a few times to get it good and dark in this area.

Created a shadow on the bottom of her dress using the Blush Blossom marker. I went over it a few times to get the color good and dark for the shadow.

Created a shadow on the bottom sides of her arms and legs using the Pale Peach marker.

Colored over the entire image using a Versamark marker.

Heat embossed the image using Fine Detail clear embossing powder and a heat gun.

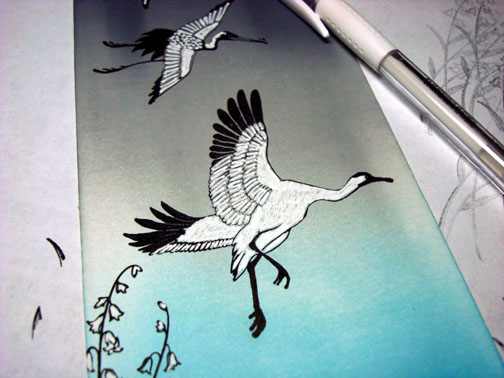
Now that my image has been heat embossed it will resist the brayered on ink for the background.
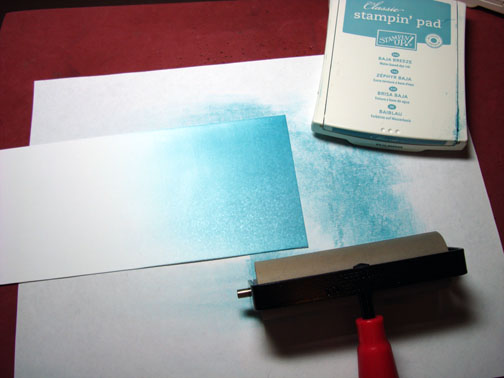
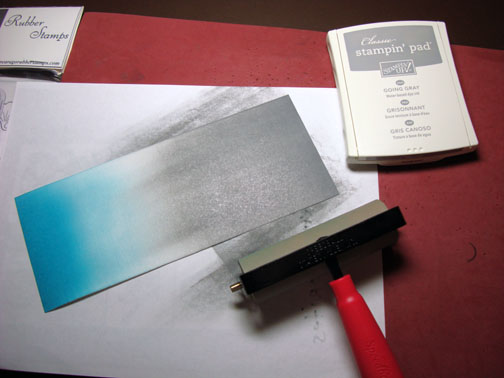
Brayered Kiwi Kiss ink at the bottom of the card stock.

Brayered Baja Breeze ink at the top of the card stock.

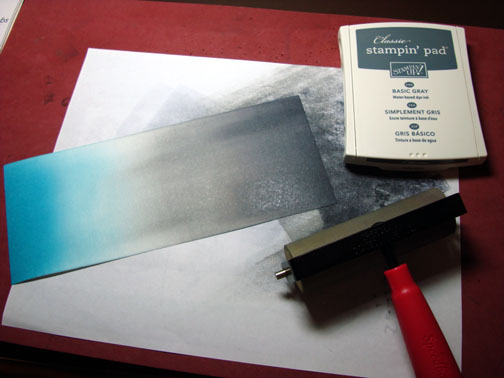
Brayered Not Quite Navy ink on the top of the card stock, not covering the Baja Breeze ink entirely.

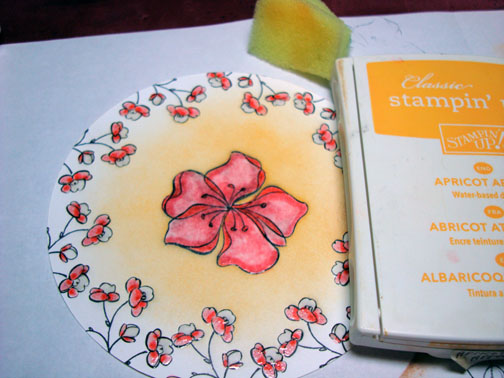
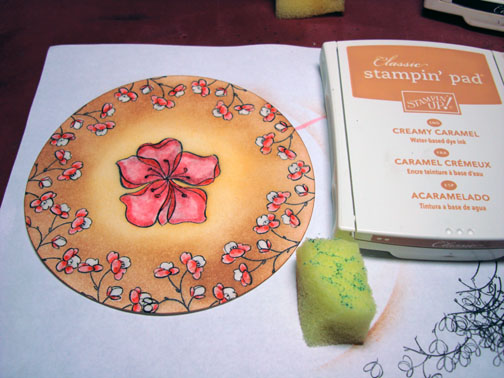
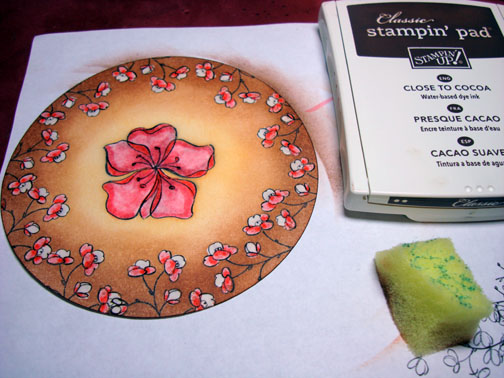
Sponged Night of Navy at the top of the card stock and then on the card stock edges, all the way around.

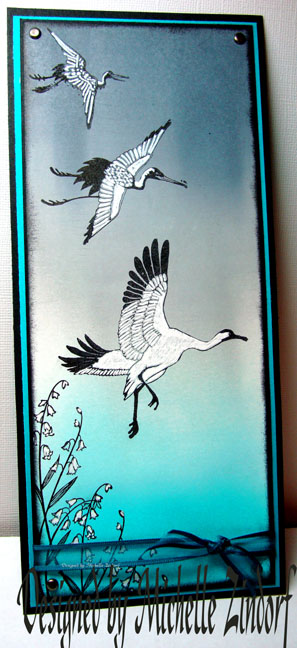
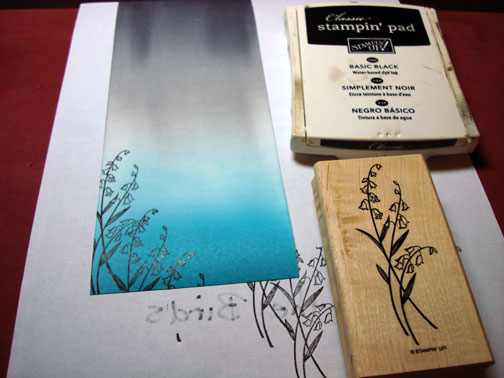
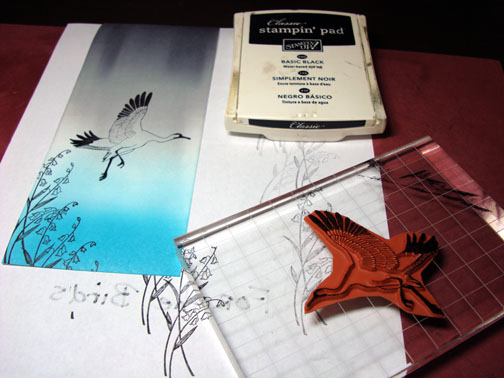
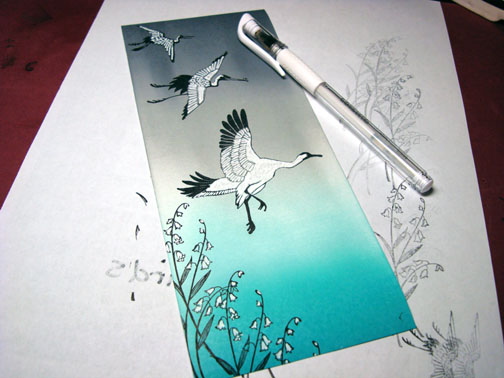
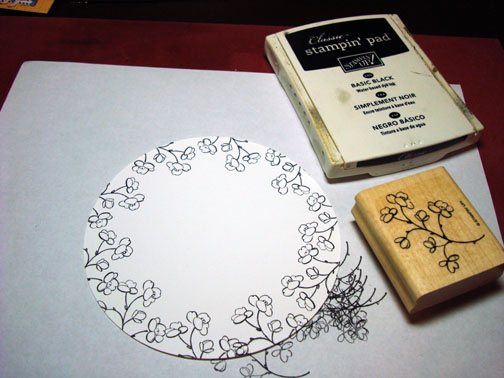
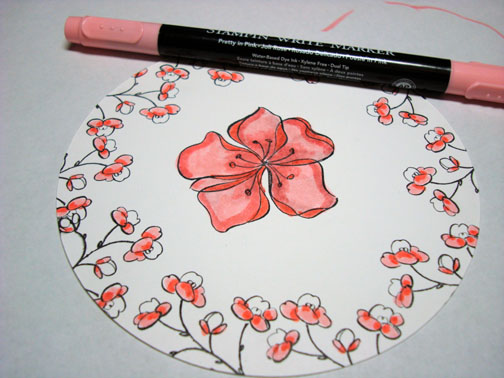
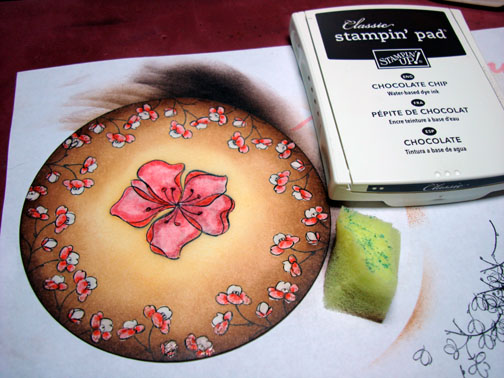
Stamped the Stampin’ Up Eastern Influences Branch twice with Palette Hybrid Noir Black ink.

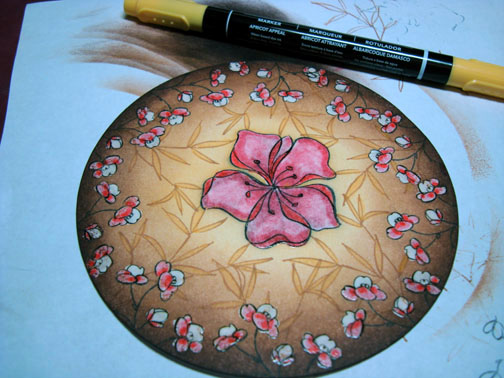
Colored the branches in with a Sahara Sand marker.

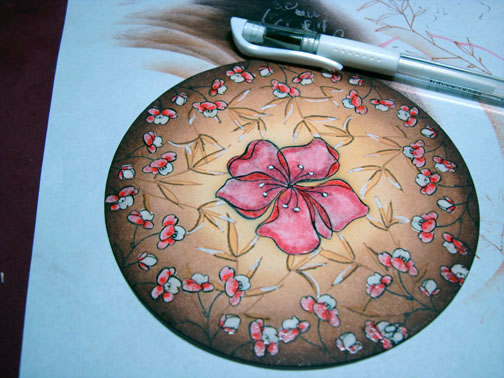
Used a white gel pen to dot in the flowers on the branches. Now we are talking Spring. 🙂

Drew in the swing rope to connect to the tree branch using a ruler and a Stampin’ Up Black marker.

Adhered my main image panel to a Whisper White panel and punched a Horizontal Slot on each side of the panel.

Slide my ribbon through and assembled the rest of the card front. Added Photo corner punches and silver brads.

Here is the complete card measuring 5″ x 6.5″.
May your day be filled with Spring Blossoms!
Until my next post. . . . . . . . . . . . .
Hugs,
Michelle
Get ready for Brayer Workshops! I am coming to:

Fort Smith, Arkansas
Dayton, Ohio
Savannah, Georgia
Covington, Indiana
Buffalo, Minnesota
Webster, New York
New Johnsonville, Tennessee
Stoughton, Wisconsin
Castro Valley, California
Yardley, Pennsylvania (near Philadelphia)
Knox, Maine
Broomfield, Colorado
Lynchburg, Virginia
Columbia, Missouri
Here is a link to my workshop calendar where you can see all of my travel schedule and to get info on beginner and advanced Brayer workshops: http://zindorf.blogs.splitcoaststampers.com/workshop-calendar
Link to my Stampin’ Up website were you can order all of your must have Stampin’ Up products from me 24-7: http://michellezindorf.stampinup.net
Here is a link to all of my tutorials: http://zindorf.blogs.splitcoaststampers.com/tutorials-ive-written/
Frequently asked questions answers: http://zindorf.blogs.splitcoaststampers.com/frequently-asked-questions/


