
Hey There,
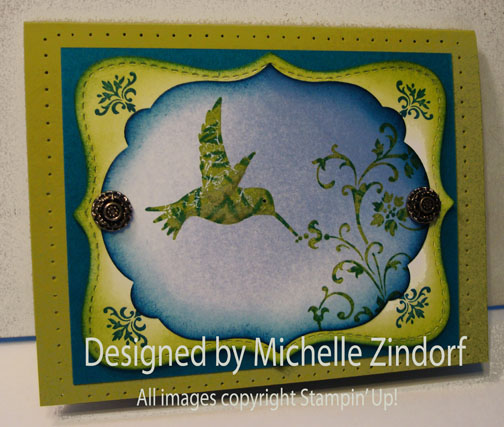
I wanted to create a quite scene today. Sometimes you just need a peaceful card for a thinking of you or sympathy card. What better stamp set to reach for than the Stampin’ Up! Lovely as a Tree set for these type of scenes.
Over the weekend, my husband, Russ and my son, Jesse and I were hard at work trying to get the chicks coop ready for them to move into. They 4 weeks old now and growing leaps and bounds and will soon be outside 24/7. I’ll show pics of the completed coop as soon as things are all put together.
I do have a couple of pics of the chicks in their temporary chicken run that they have been hanging out in during the day. They are officially in the dinosaur stage. Feathers everywhere but on their necks so they look rather strange. But this is just part of growing up when you are a chicken, lol.


Here is our Lucas guarding his girls. 🙂 You better now mess with them on his watch. Just kidding, he is a marshmallow. But he does love to watch the girls. Chicken TV is the best.

Here are a few Stampin’ Up Reminders before I start the project.

Check out what’s new at Stampin’ Up! The brand new Annual Catalog has been released. CLICK HERE TO LOOK AT THE CATALOG ONLINE. I got my order in and I’m ecstatic about the new products and, of course, the new stamps! CLICK HERE TO PLACE AN ORDER. Contact me at mzindorf@aim.com or 937-344-1312 with product questions.
Want a new annual catalog shipped to you? I will be happy to send you one. The catalog is free, but there is a $5 shipping charge. Note, I will only sell or ship within the United States do to Stampin’ Up! policies. Please contact me at mzindorf@aim.com. Payment can be sent via Paypal or check.
You can join my Stampin’ Up! team and become a Stampin’ Up! Demonstrator now for the great new price of $99, CLICK HERE TO CHECK IT OUT. Contact me whether you want to start your own business or just enjoy the 20% discount on products.
Want to purchase one of my original cards or some Stampin’ Up! retired sets CLICK HERE. I’ll be updating the sales page all this week. So check back daily.
Now on with today’s tutorial. . . . . . .
Supplies:
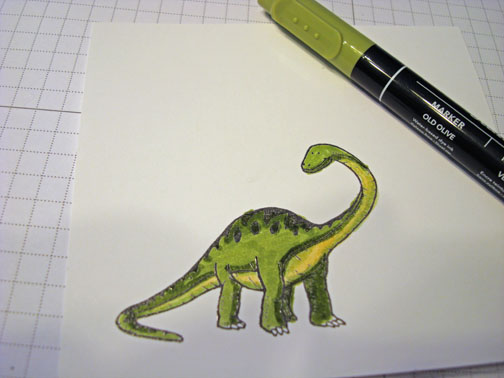
Stamps: Stampin’ Up! Lovely as a Tree
Card Stock: Stampin’ Up! Whisper White, Basic Black and Baja Breeze
Ink: Stampin’ Up! Bashful Blue, Sahara Sand, Basic Gray and Basic Black
Accessories: Stampin’ Up! Sponge, Brayer, Basic Black marker, 3/4″ circle Punch, Silver Metallic Sharpie Marker, Silver Mini Brads.
![]() Are you getting inspiration from this blog? One way you can help support it is to order your Stampin’ Up products through me. Click HERE to place an order and have your order delivered directly to your door step from Stampin’ Up!
Are you getting inspiration from this blog? One way you can help support it is to order your Stampin’ Up products through me. Click HERE to place an order and have your order delivered directly to your door step from Stampin’ Up!

Put a 3/4″ circle punched from the sticky part of a post it note on a 3 1/8″ x 5″ piece of Whisper White card stock as a moon mask.

Brayered Bashful Blue and then Sahara Sand at the top of the card stock.


Removed the moon mask and masked the bottom of the card stock using a post it note. Stamped the tops of the Lovely as a Tree stamp in Sahara Sand ink so just the tops of the trees stamp on the card stock.

Sponged just a hint of Basic Gray ink at the post it note edge.

Removed the post it note and sponged a bit of Basic Gray ink (lightly) in the bottom section of the card stock.

Covered the bottom of the card stock again with the post it note mask and then stamped the trees using Basic Black ink.

Removed the mask and then added trunks for the trees using the fine end of a Basic Black marker.

Sponged Basic Black ink at the bottom of the card stock for the ground.

Layered the main image panel with 2 Basic Black panels and a Baja Breeze panel. But first, I edged the main image panel and the smallest Basic Black panel and Baja Breeze panel using a Silver Metallic Sharpie Marker.

Added Silver Mini Brads.

Here is the finished card measuring 5″ x 6.5″.
May you day be spectacular!
I am off to pack, pack, pack for my upcoming Post Falls, Michigan workshops this Friday. Woohoo!
Until my next post. . . . . .
Hugs,


 Get ready for Brayer and Direct to Paper Workshops! I am coming to the following locations, click the location name for more information.
Sand Lake, Michigan (just North of Grand Rapids)
I hope you can make it to one of my workshops in 2012. I have decided not to travel after this year, so be sure to catch one this year!
Link to my Stampin’ Up website where you can order all of your must have Stampin’ Up products from me 24-7: http://michellezindorf.stampinup.net


