
Hey There,
Happy Hump Day! Wednesday is the day I start to panic when I have a long, long to do list for the week and have yet to even get 1/4 of it done. I sometimes think other people must get more hours in their week then I do. What’s your secret for getting all the things done you want to do? I bet I just have way to many hobbies, gardening, cooking, quilting, crochet, cross stitching, drawing, pastels, reading, and the biggie STAMPING!
Yesterday, I was chatting with my new neighbor and her husband creates beautiful stained glass windows. She says to me “come on over anytime and he will teach you how to do stained glass.” My mind starts to race, where, oh where would I fit stained glass into my life? Better yet, where would I put all the necessary supplies for such a hobby? I have to admit, I have been dreaming of building a building just for my craft supplies. I can remember being new to crafts and I started out with a basket filled with things, which grew into an iris cart, then 2 iris carts, then the smallest room in the house, then the largest room in the house. Do we ever have enough? Do you have a secret that you would like to share on keeping your crafting supplies to a minimum? I would love to hear it and so would my readers. Is there a group called crafter’s anonymous? Where do you meet at, Hobby Lobby? LOL
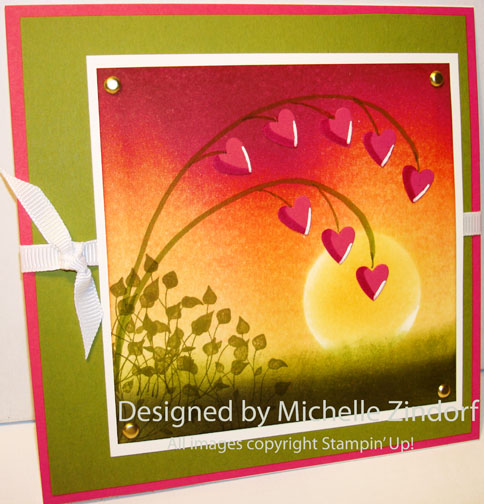
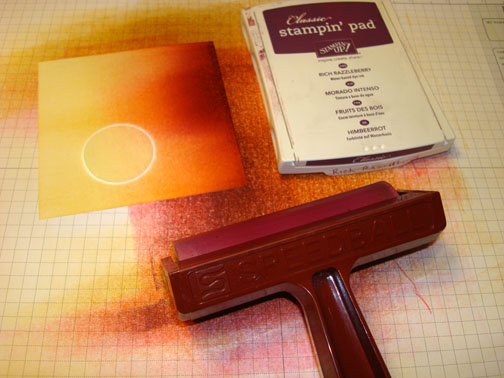
Now about today’s tutorial, I created this project using the Faux Silk technique for my Stampin’ Up Down Line Monthly Technique Swap. This technique is so very simple, but creates this yummy background that looks like silk fabric using ordinary tissue paper.
Reminders before I start the tutorial:
The Stampin’ Up Stamp retired list came out last week. Today the Accessory retired list comes out. Hop on over to my Stampin’ Up! sales page to check it out.

. . . . Check out what’s going, going, going by clicking here.
Don’t miss out on my Customer free stamp set program. Check it out! Along with a handmade thank you card from me for your order you will receive a token for each $50 in product you ordered using me as your demonstrator. After you have collected 10 tokens you will receive a free current stamp set of your choosing, a value of $39 or less. Here is a link to my online shopping page that you can shop at 24/7 (from the comfort of your home, even in your pj’s) and the products will be shipped directly to your door step from Stampin’ Up: CLICK HERE TO SHOP. My free stamp set program will be an on going program. ![]()
Now on with today’s tutorial. . . . . . .
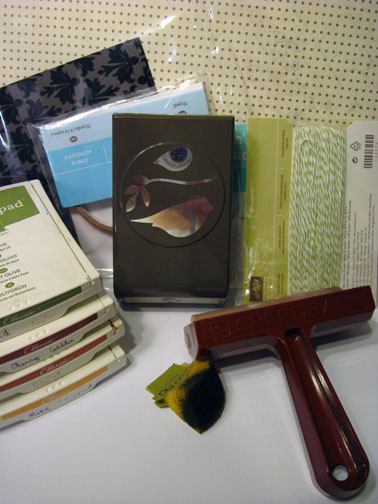
Supplies:
Stamps: Stampin’ Up! Best Friends Forever (Item number 122807)
Card Stock: Stampin’ Up! Whisper White, Early Espresso, Old Olive and Stampin’ Up! DSP First Edition (Item number 121878)
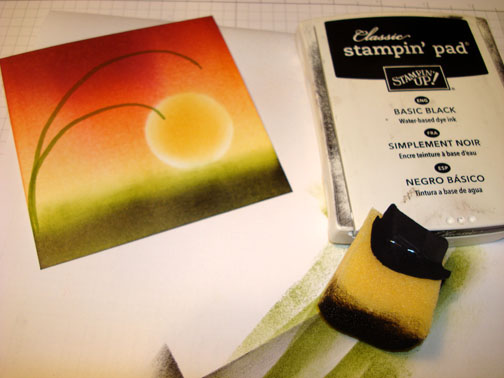
Ink: Stampin’ Up! Early Espresso, Soft Suede, Pear Pizzazz and Bashful Blue
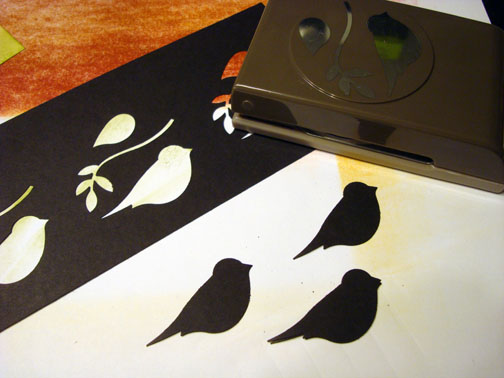
Accessories: Stampin’ Up! Sponges, Large Bird Punch, Mat Pack and Piercing tool, Crumb Cake Seam Binding, Early Espresso marker, Stampin’ Dimensionals, Tissue Paper and a glue stick.
Want a free copy of the current Stampin’ Up! Occasions Mini Catalog? Just e-mail your address to mzindorf@aim.com and I will get one right out to you. Get your copy of the 2011-2012 Stampin’ Up! Idea Book & Catalog by sending $9.95 to me at P.O. box 116, West Alexandria, Ohio 45381 or via paypal to mzindorf@aim.com, shipping is free. ![]() Are you getting inspiration from this blog? One way you can help support it is to order your Stampin’ Up products through me. Click HEREto place an order and have your order delivered directly to your door step from Stampin’ Up! Want to become a Stampin’ Up Demonstrator , receive a 20% discount on product and earn instant income on orders, get to purchase products before they are released to the public? Consider being part of my Stampin’ Up Team and start your own business or become a Hobby Demo just for the discount. Click HERE for more information.
Are you getting inspiration from this blog? One way you can help support it is to order your Stampin’ Up products through me. Click HEREto place an order and have your order delivered directly to your door step from Stampin’ Up! Want to become a Stampin’ Up Demonstrator , receive a 20% discount on product and earn instant income on orders, get to purchase products before they are released to the public? Consider being part of my Stampin’ Up Team and start your own business or become a Hobby Demo just for the discount. Click HERE for more information.

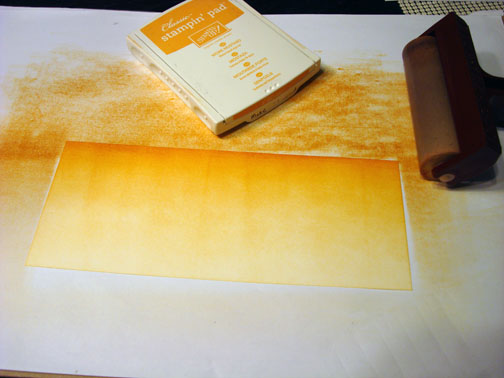
Cut a piece of ordinary tissue paper larger than my Whisper White Panel that is 4″ x 4.5″.

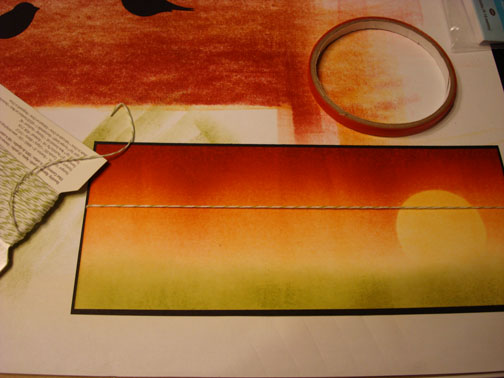
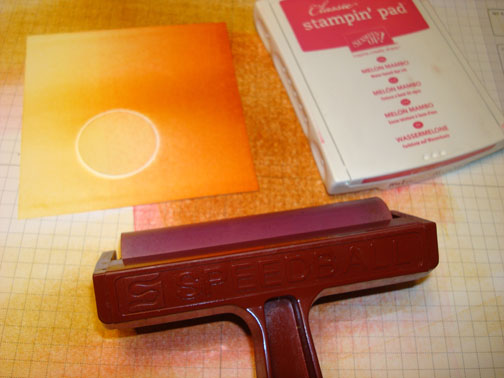
Wrinkled the tissue paper by balling it up and then smoothing it out. Smeared Bashful Blue ink directly on the tissue paper.

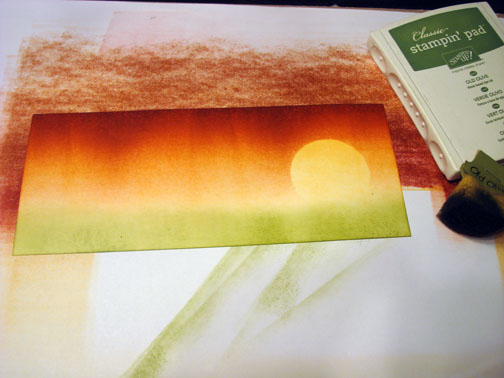
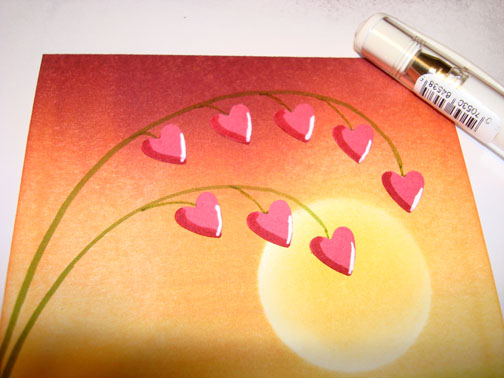
Stamped the leaves stamp on the tissue paper a few times using Pear Pizzazz ink.

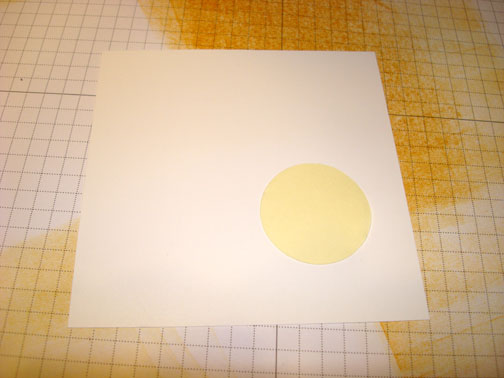
Covered my Whisper White panel with Glue from a glue stick.

Crumpled the tissue up again and then smoothed it out a little.

Laid it down on the glue sticked card stock leaving some of the wrinkles. The texture in the background is what you want.

Trimmed the tissue paper even with the card stock.

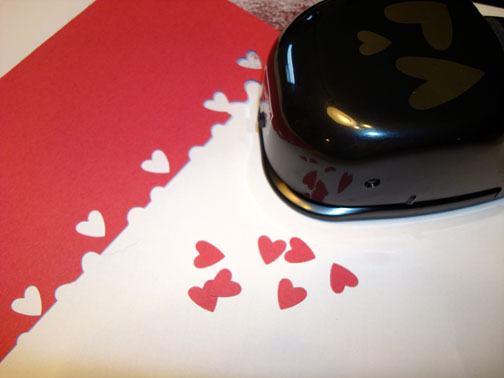
Punched 3 branches from Old Olive card stock and 3 branches from Always Artichoke card stock.

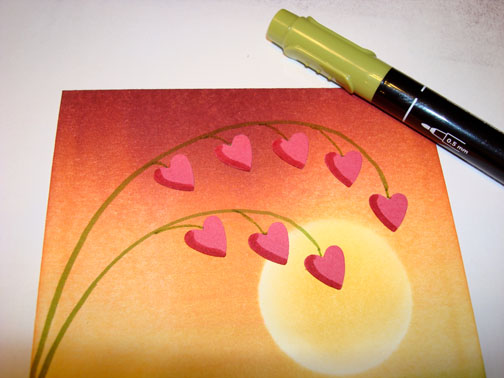
Cut some of the leaves off of the Always Artichoke branches and then glued the Always Artichoke branches on top of the Old Olive ones to get 2 toned branches and leaves.

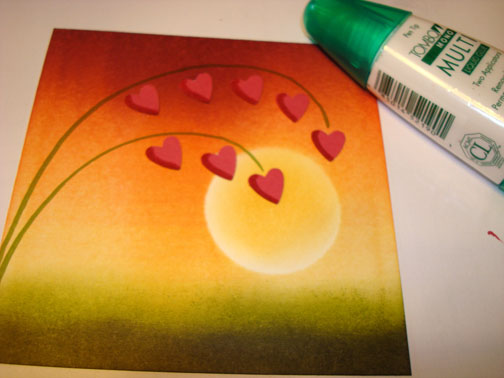
Adhered them to my background panel.

Punched 2 birds from the Stampin’ Up! DSP, First Edition.

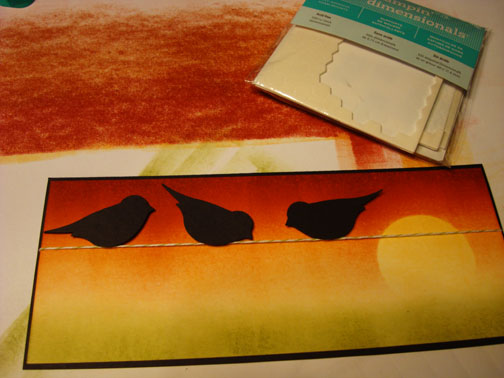
Sponged Soft Suede ink on the birds.

Sponged Early Espresso ink on the bottom of the birds.

Colored their beaks in using an Early Espresso Marker.

Adhered the birds to the background using Stampin’ Dimensionals so they would be popped up.

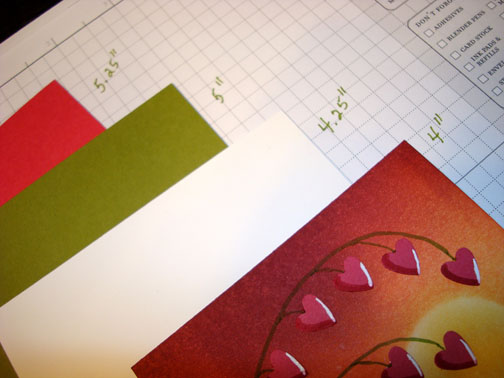
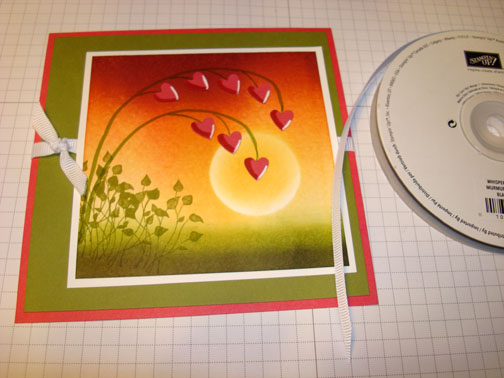
Added a 4 1/8″ x 4 5/8″ Early Espresso Panel and Crumb Cake Seam Binding.

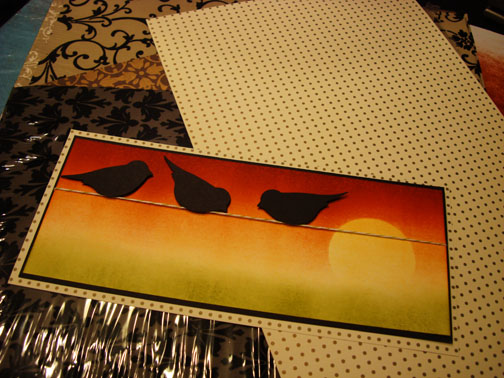
Added an Early Espresso Panel 5.25″ square and an Old Olive Panel 5″ square. Pierced holes down the right and left sides of the Old Olive panel using the Stampin’ Up mat pack and piercing tool.

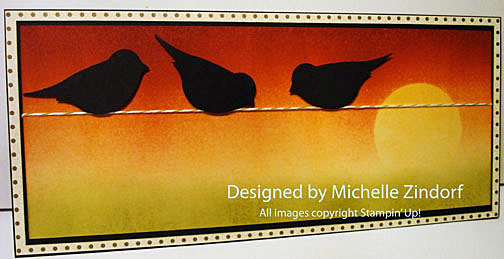
Assembled my card. Here it is finished measuring 5.25″ square.
May your day be out of this world wonderful!
Until my next post. . . . . . . .
Hugs,


 Get ready for Brayer and Direct to Paper Workshops! I am coming to the following locations, click the location name for more information.
Sand Lake, Michigan (just North of Grand Rapids)
I hope you can make it to one of my workshops in 2012. I have decided not to travel full time after this year, so be sure to catch one this year!
Link to my Stampin’ Up website where you can order all of your must have Stampin’ Up products from me 24-7: http://michellezindorf.stampinup.net


