
Hey There,
Well, I am home in my PJ’s sick as a dog, yuck! But, since Thanksgiving is behind us I am geared up to start those Christmas cards and I did feel well enough to create a card tutorial for you today. Here is a little Christams card using two of the wonderful Stampin’ Up! sets from the Holiday catalog, Joyous Celebrations and Merry Minis. I did a reverse image technique to create the shadow for the deer. The complete tutorial for this card is below. Enjoy!
Don’t miss out on the super sale that is going on at Stampin’ Up! It ends today, so hurry, hurry, hurry!
***************************************************
CLICK HERE TO SEE THE LATEST STAMPIN’ UP! PROMOTION AND TO SHOP NOW!

 Click here to see a PDF list of sale items.

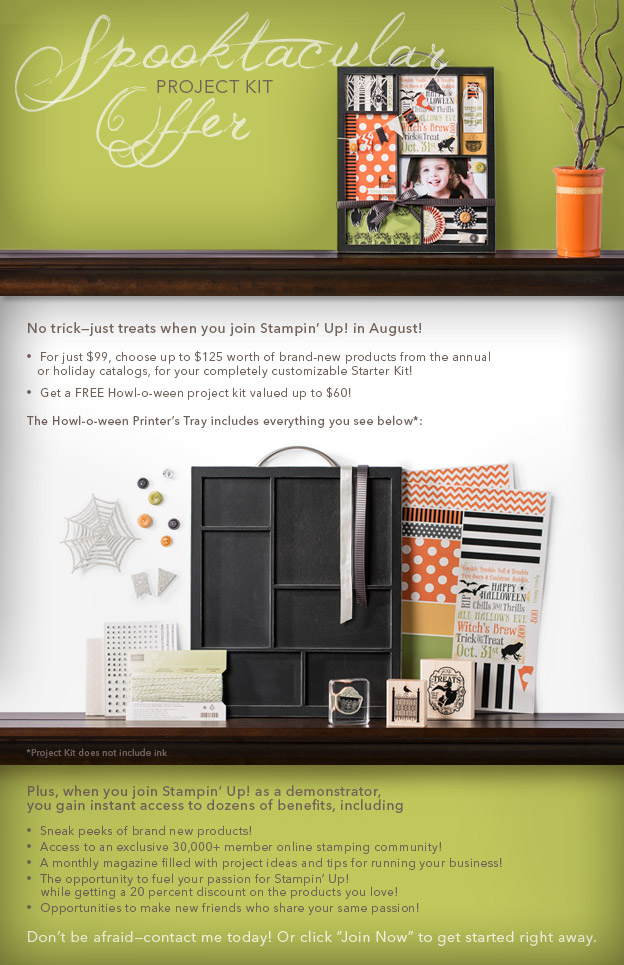
Joining Stampin’ Up!
You can join my Stampin’ Up! team and become a Stampin’ Up! Demonstrator now for the great new price of $99, and you can create your own kit, CLICK HERE TO CHECK IT OUT. Contact me whether you want to start your own business or just enjoy the 20% discount on products.
*************************************************************
Have you checked out the great clearance rack at Stampin’ Up! CLICK HERE
***********************************************************
Get Free Stamps
Don’t miss out on my Customer free stamp set program. Check it out! Along with a handmade thank you card from me for your order you will receive a token for each $50 in product you ordered using me as your demonstrator. After you have collected 10 tokens you will receive a free current stamp set of your choosing, a value of $39 or less. Here is a link to my online shopping page that you can shop at 24/7 (from the comfort of your home, even in your pj’s) and the products will be shipped directly to your door step from Stampin’ Up: CLICK HERE TO SHOP. My free stamp set program will be an on going program. ![]()
************************************************************
 The new Stampin’ Up! Holiday Catalog is now in effect. I love all of Stampin’ Up’s products, but the new catalog just blew me away (CLICK HERE TO VIEW THE HOLIDAY CATALOG). I especially love the coordinating products that you can get as a bundle at a discount. Gotta love a discount, right? Especially for those products to make your holiday gifts and cards.
Want a new annual catalog shipped to you? I will be happy to send you one. The catalog is free, but there is a $5 shipping charge. Note, I will only sell or ship within the United States do to Stampin’ Up! policies. Please contact me at mzindorf@aim.com. Payment can be sent via Paypal or check.
**********************************************************
Now on with today’s tutorial. . . . . . .
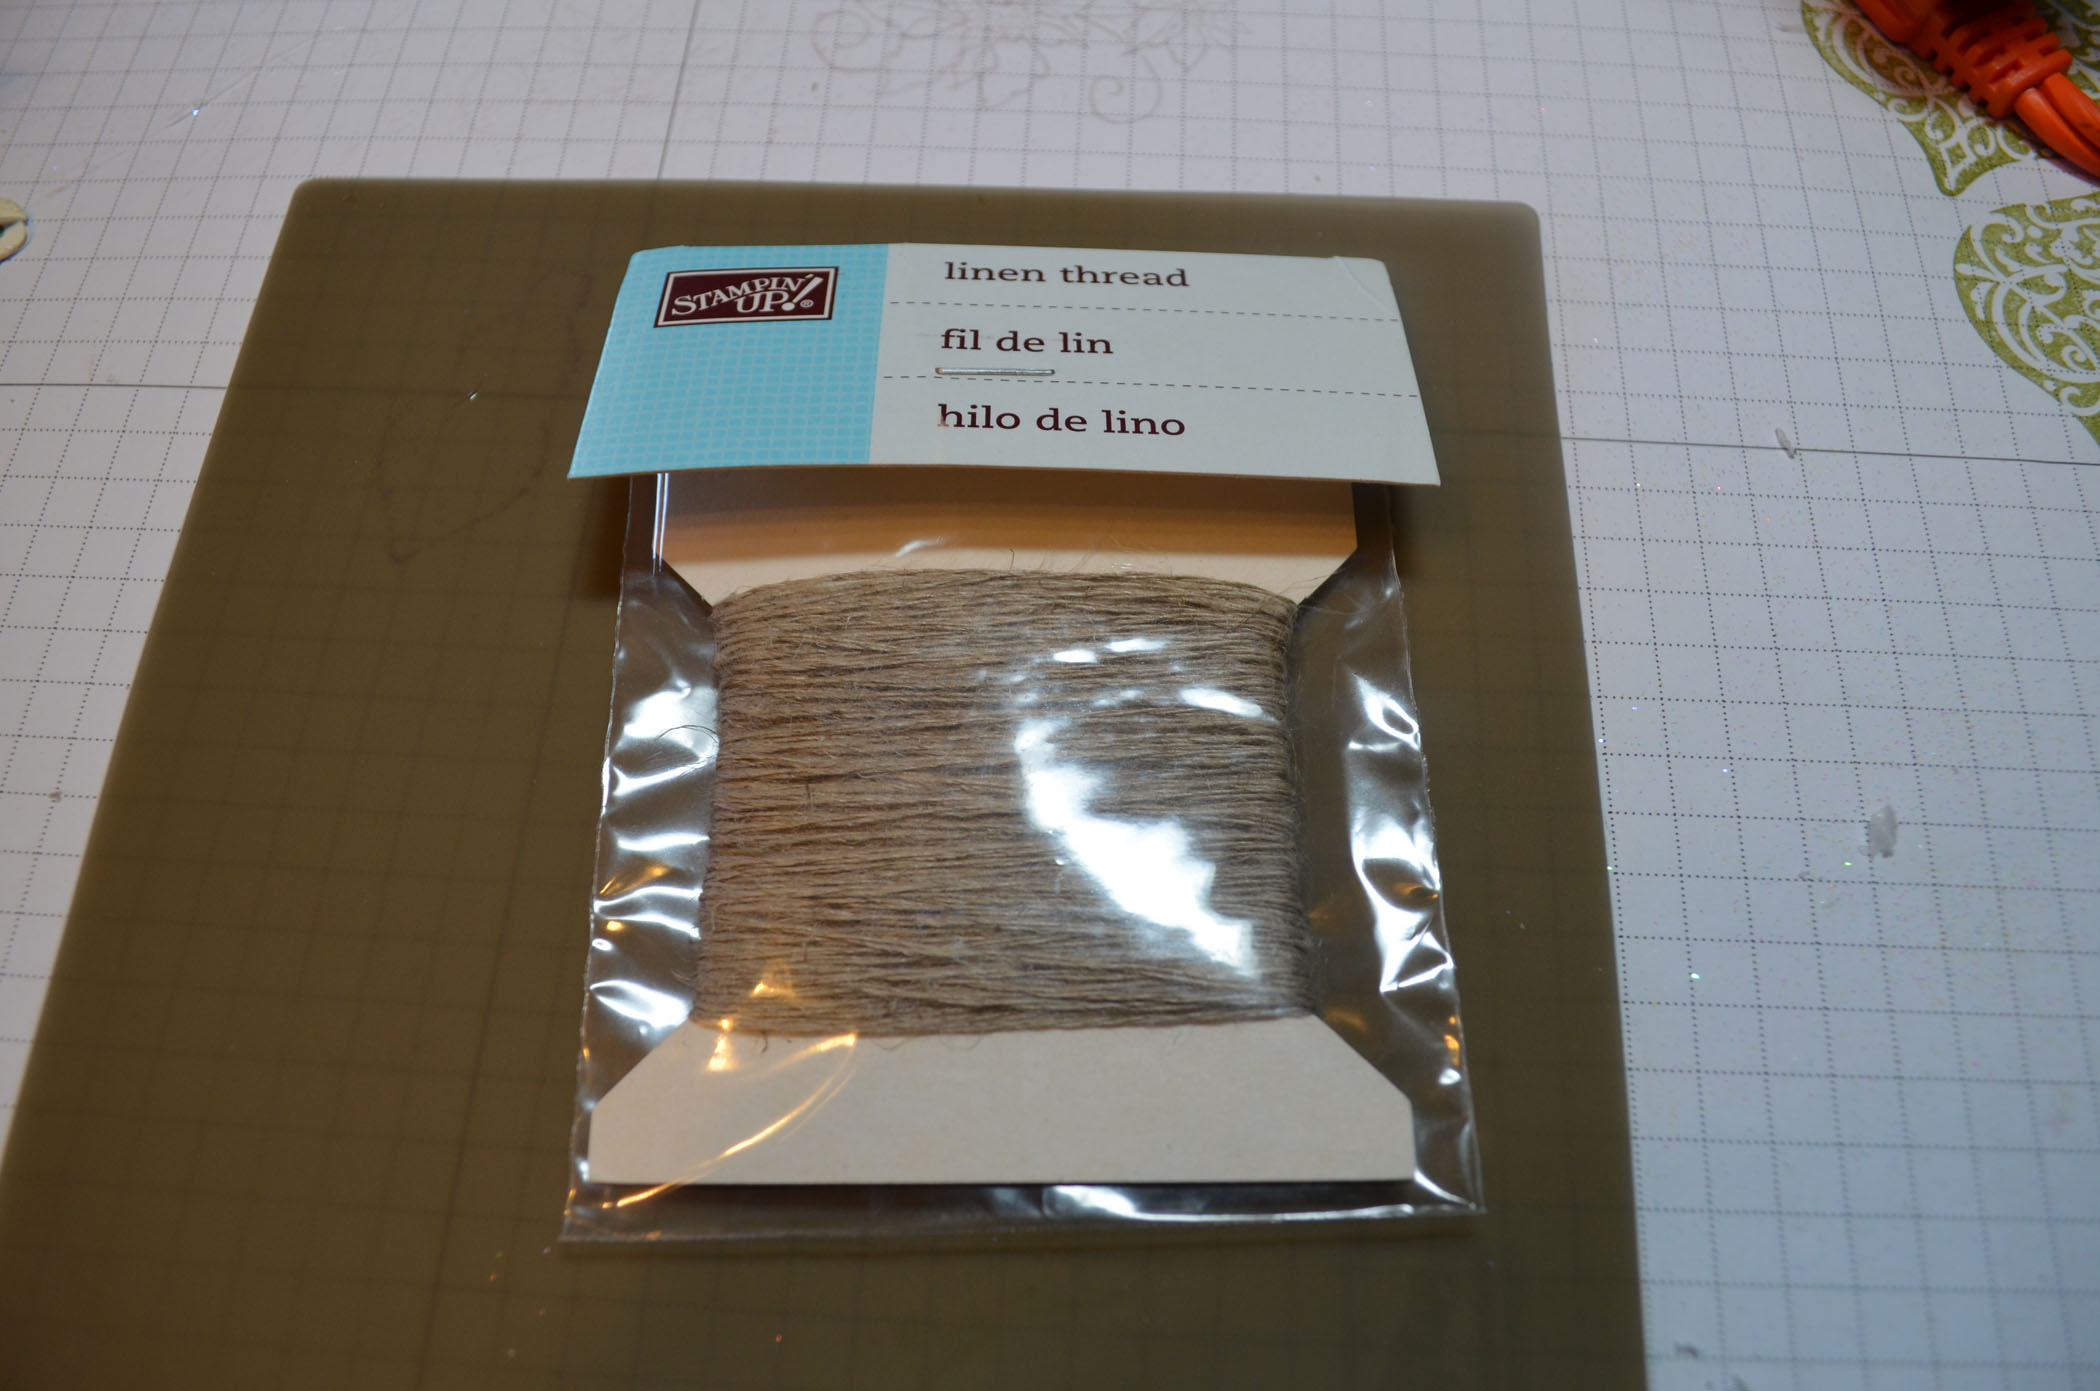
Project Supplies:
Stampin’ Up! Stamps: Merry Minis and Joyous Celebrations
Card Stock: Stampin’ Up! Whisper White and Island Indigo
Ink: Stampin’ Up! Baja Breeze, Island Indigo and Basic Black
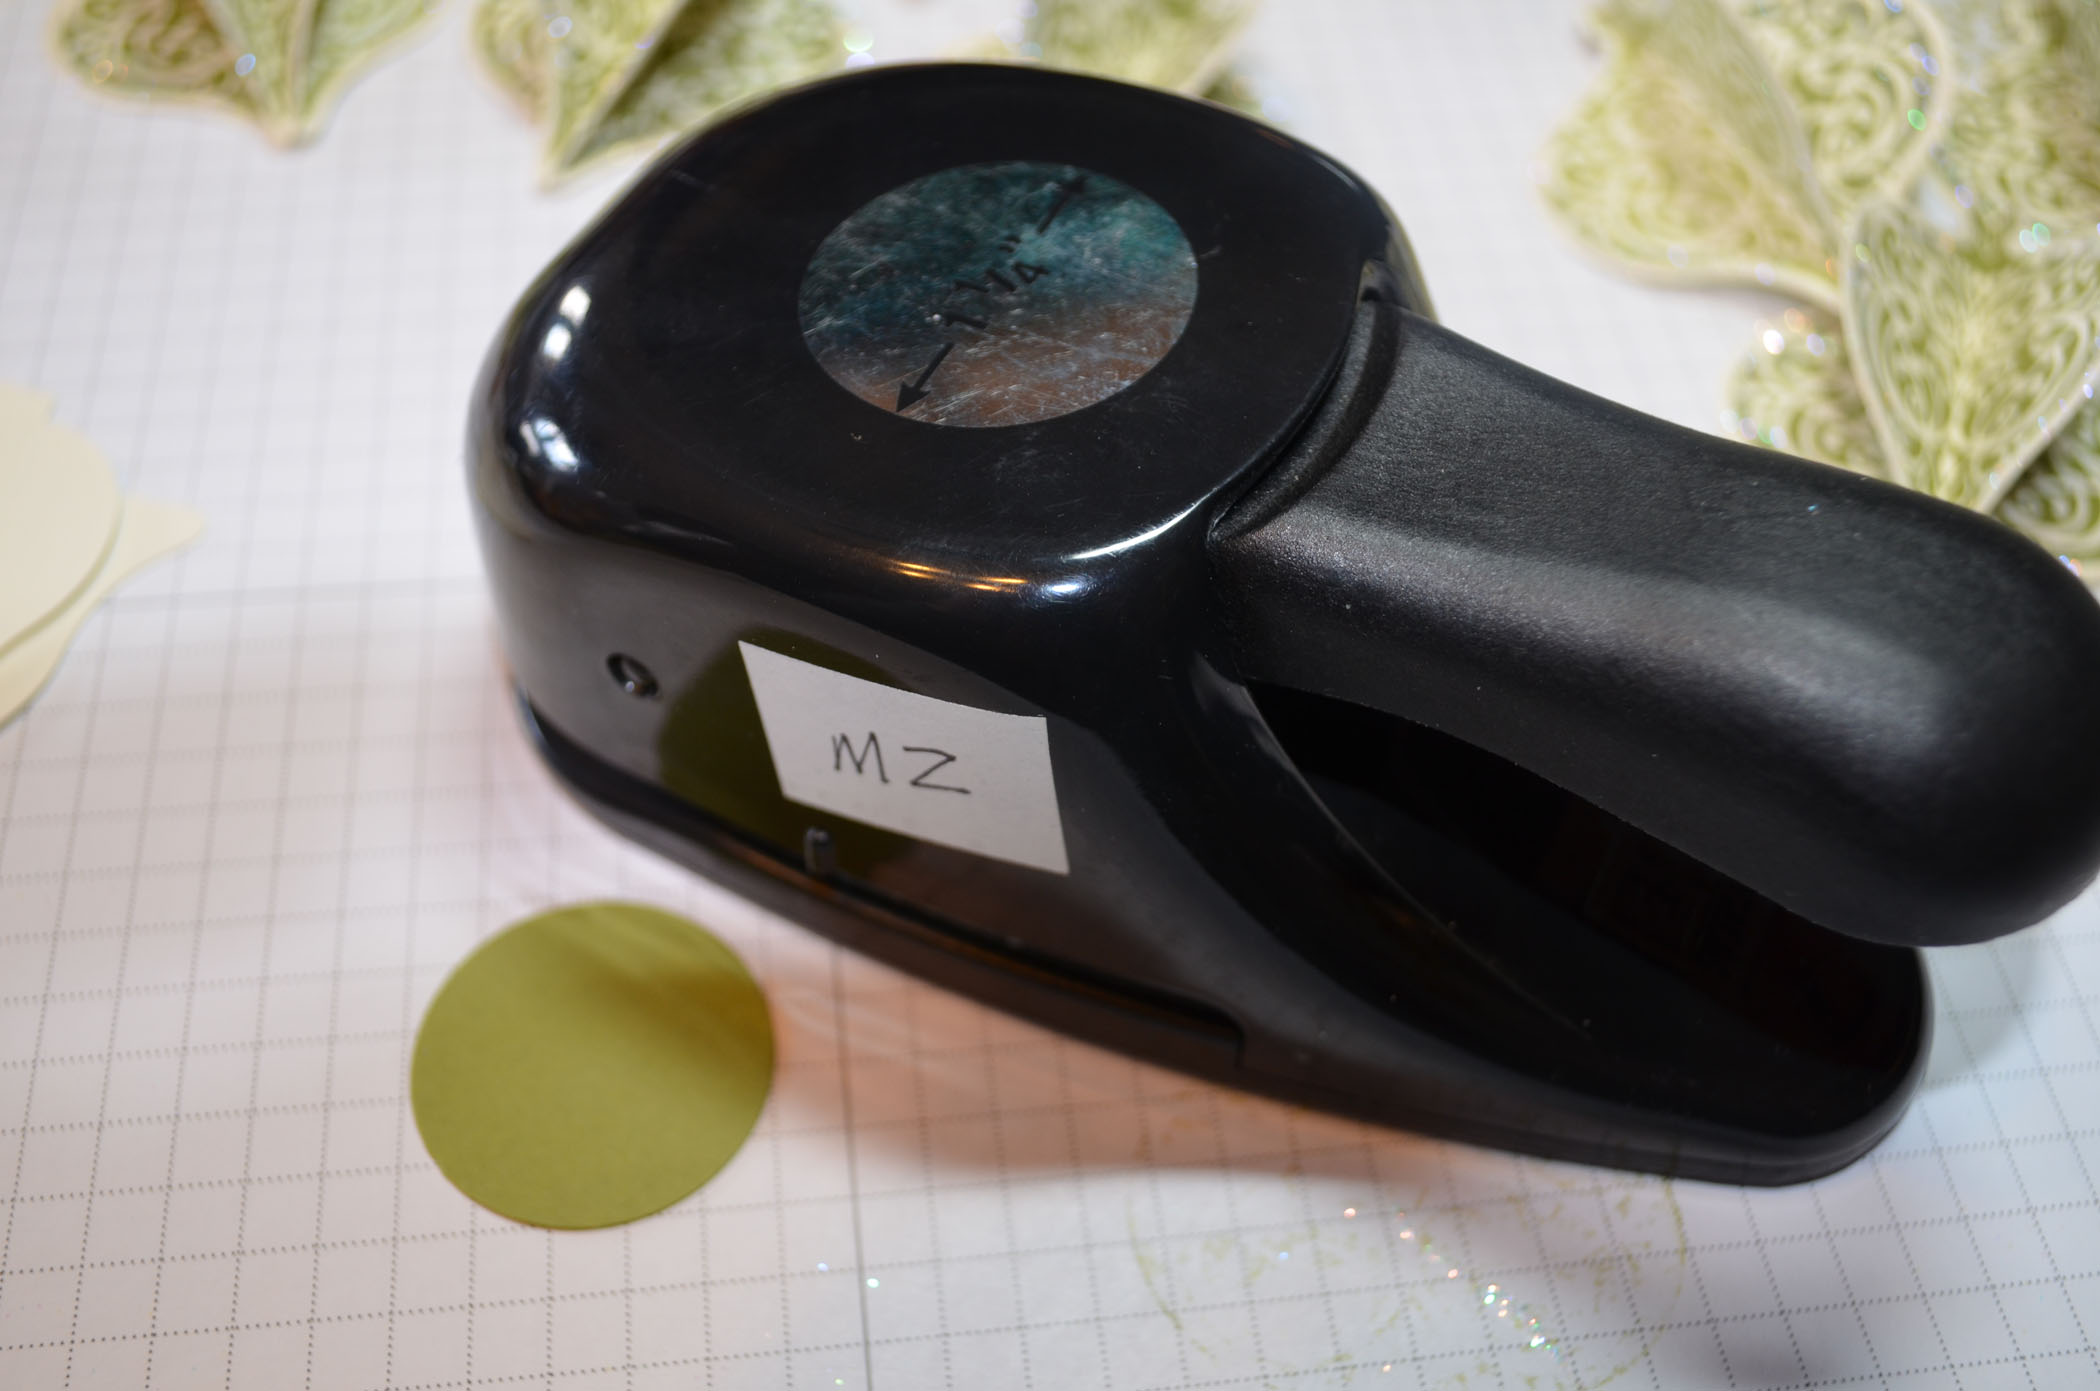
Accessories: Stampin’ Up! sponge, curly label punch, brayer, post it notes, 1.25″ circle punch, Baja Breeze Designer Series Paper and rhinestones

Masked the snow with a post it note with the edge torn and a 1 1/4″ circle punched from a post it note to mask for the moon.

Brayered Baja Breeze ink at the top of the card stock.

Stamped the trees using Baja Breeze ink and then brayered Island Indigo ink at the very top of the card stock.


Sponged Baja Breeze ink along the post it note edge. Removed the masks and stamped the deer using Basic Black ink.


Created a reverse image of the deer for a shadow by stamping the deer using Baja Breeze ink on the slick side of my Stamp a ma jig plastic sheet. Flipped the plastic sheet over and lined the deer image up where I wanted it then rubbed it on the card stock.

Colored in the reverse image using a Baja Breeze marker to darken it.

Re-applied the snow mask at an angle under the reverse image and sponged Baja Breeze ink along the post it note edge to create a small hill at the bottom of the scene.

Added an Island Indigo card base and an Island Indigo panel. Also added a panel of Baja Breeze DSP.
Added a curly label punch that has been cut in half and 4 rhinestones.


Here is the completed card measuring 4.25″ x 5.5″.
May your day be out of this world wonderful.
Until my next post. . . . . .
Hugs,

 Get ready for Brayer Workshops!
Link to my Stampin’ Up website where you can order all of your must have Stampin’ Up products from me 24-7: http://michellezindorf.stampinup.net


