
Well I am back from taking a little holiday to spend some quality time with my Grand Daughter, Hailie Jade. We have been having a blast. I hope you have been having as much fun as we have been having. Here are few pics of what I have been up to. 🙂
FISHING! Hailie Jade was the Queen Fisher Woman, for catching two fish.


Hailie Jade also taught her Dad, Mitch how to bake a cake and the proper way to clean the beater, LOL. I want to be almost seven again. 🙂

Now don’t laugh but Russ and I are both sporting sparkly tattoos on our arms today. 🙂
Enough about my fun.
How about a tutorial. .. . . . .. . . . .
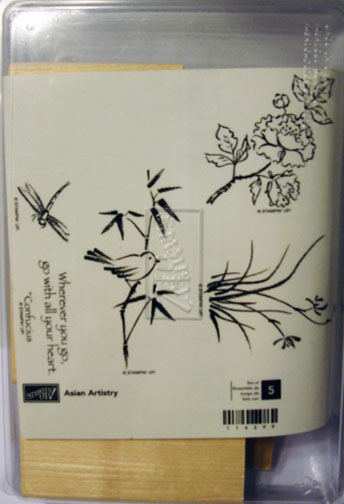
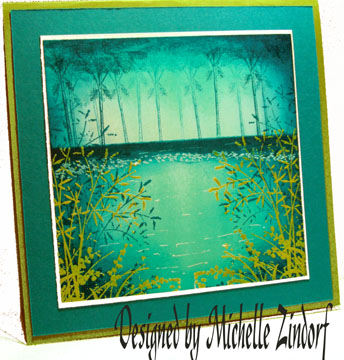
Today’s tutorial highlights the Stampin’ Up! Level 1 hostess set, It’s the Thought from the Summer Mini Catalog. I love this little crab, he just makes me happy.
Let’s get started. . . . .
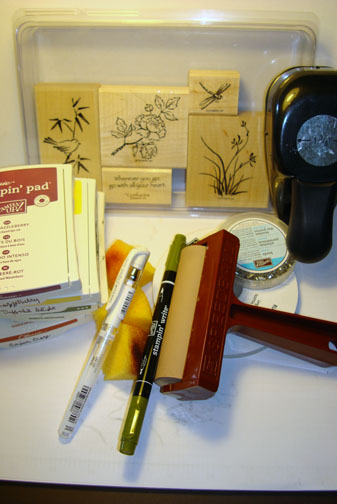
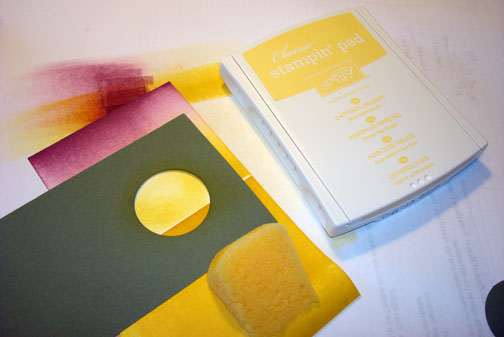
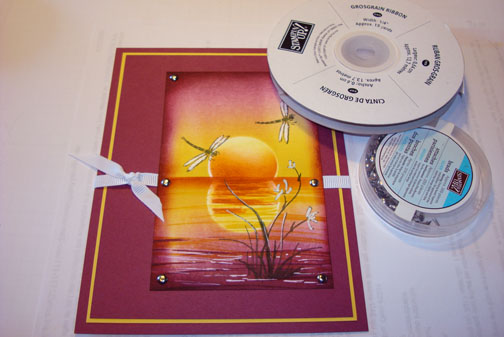
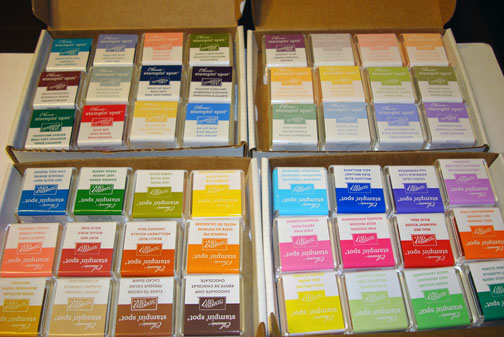
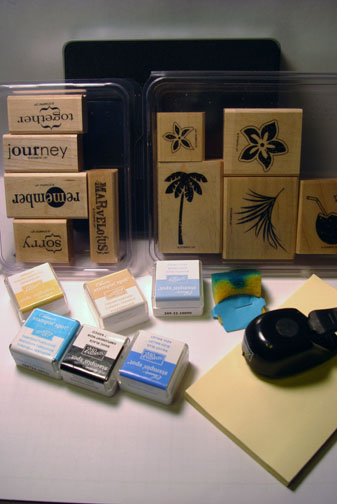
Supplies:
| Stamps: Stampin’ Up! It’s The Thought |
| Paper: Stampin’ Up! Whisper White, Tempting Turquoise, Pumpkin Pie and So Saffron |
| Ink: Stampin’ Up! Tempting Turquoise, So Saffron and Cherry Cobbler |
| Accessories: Stampin’ Up! Pumpkin Pie Ribbon, Pumpkin Pie marker, Cherry Cobbler marker, Pumpkin Pie Brads, Brayer, Sponges, Scalloped Edge Punch and Post it notes. |
The brand new USA Idea book and Catalog is here. For your copy, please send a check for $9.95 to Michelle Zindorf, P.O. Box 116, West Alexandria, OH 45381 or send it via paypal to mzindorf@aim.com USA only. Want a copy of the Summer Mini Catalog? E-mail your mailing address to mzindorf@aim.com and I will get one in the mail to you. ![]() Are you getting inspiration from this blog? One way you can help support it is to order your Stampin’ Up products through me. Click HERE to place an order. Click HERE to check out the Stampin’ Up! catalogs. Want to become a Stampin’ Up Demonstrator , receive a 20% discount on product and earn instant income on orders? Consider being part of my Stampin’ Up Team and start your own business. Click HERE for more information.
Are you getting inspiration from this blog? One way you can help support it is to order your Stampin’ Up products through me. Click HERE to place an order. Click HERE to check out the Stampin’ Up! catalogs. Want to become a Stampin’ Up Demonstrator , receive a 20% discount on product and earn instant income on orders? Consider being part of my Stampin’ Up Team and start your own business. Click HERE for more information.

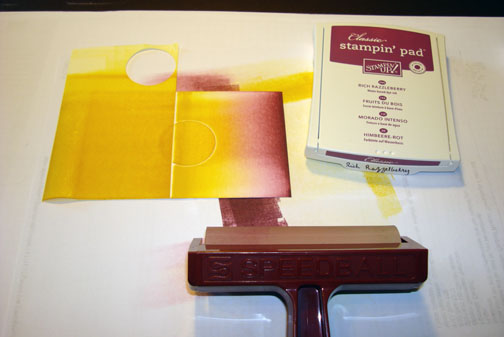
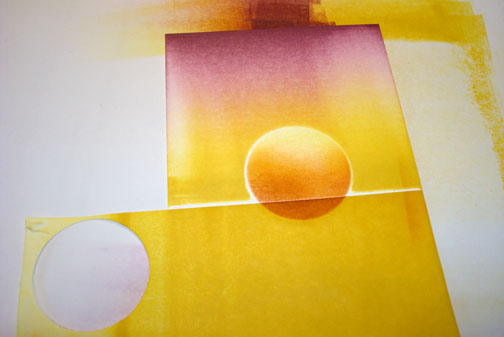
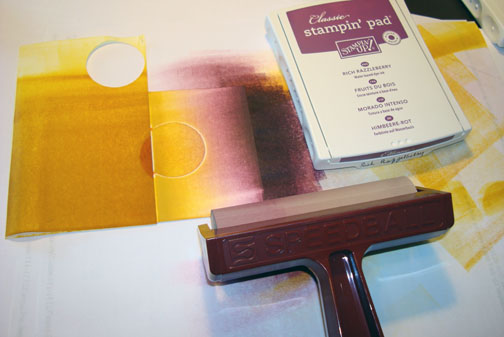
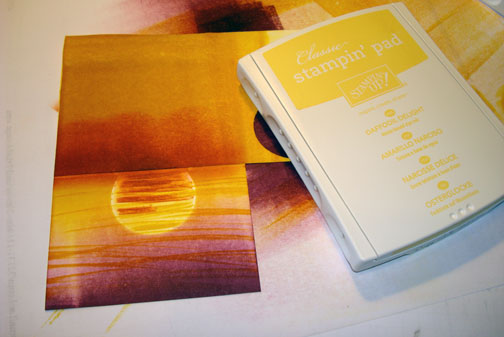
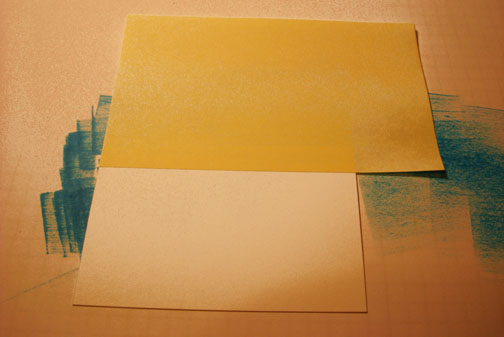
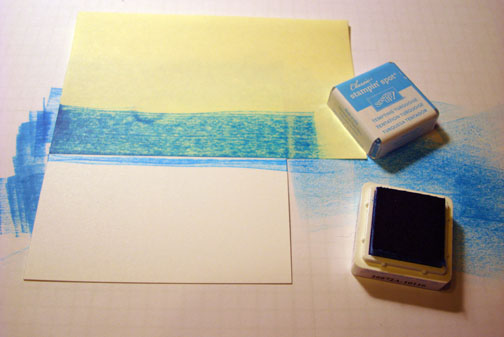
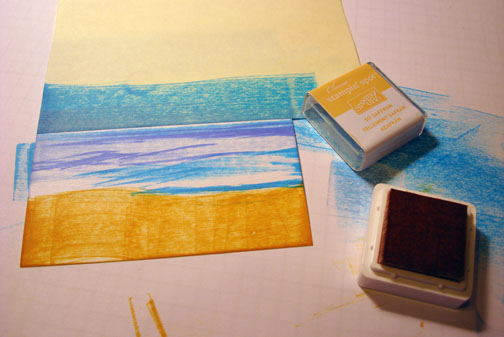
Brayered So Saffron ink at an angle on a 3.5″ square piece of Whisper White card stock.

Brayered Tempting Turquoise ink at an angle on the opposite corner.

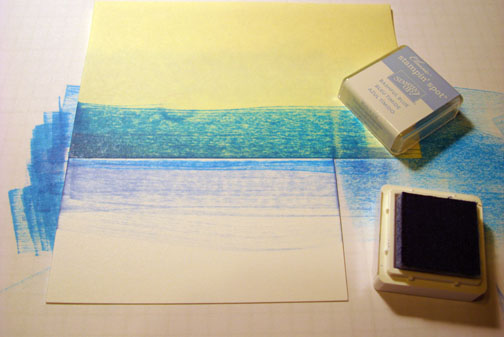
Ripped a post it note and sponged Tempting Turquoise ink at the post it note edge to create ripples in the water. Moved the post it note and repeated two times.


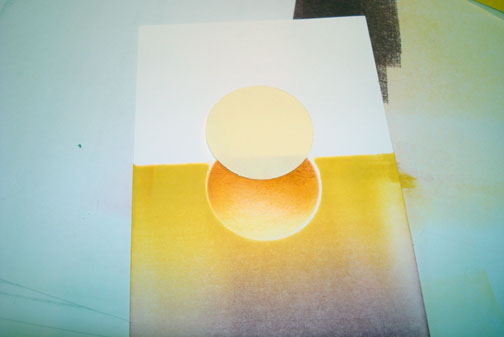
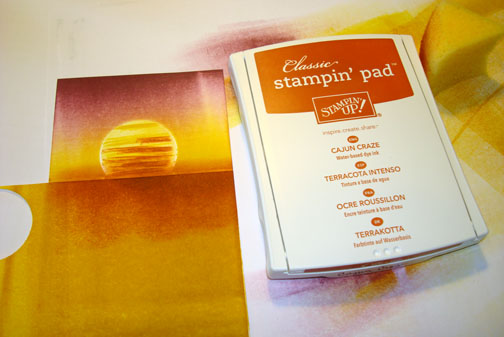
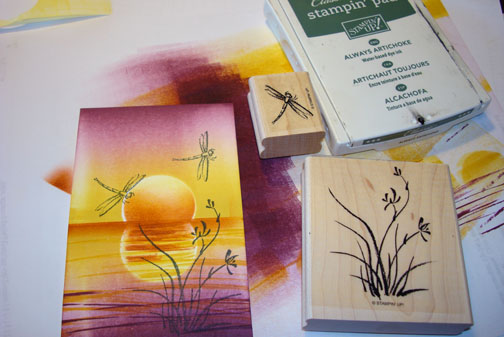
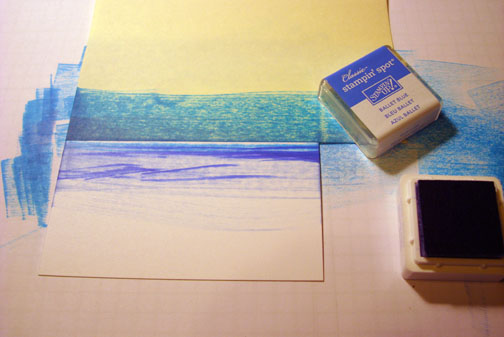
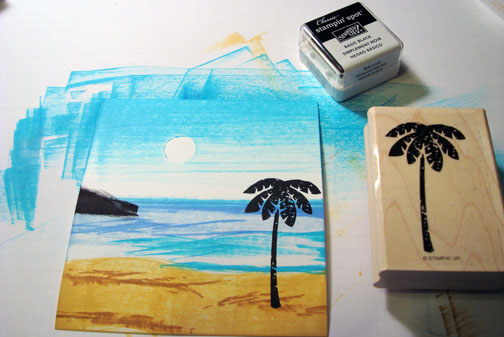
Stamped the crab in Cherry Cobbler ink.

Colored the crab in with a Pumpkin Pie marker.

Added a bit of Cherry Cobbler ink to the underside of the crabs body, legs and arms. Softened the shadow of the Cherry Cobbler marker by added a bit of Pumpkin Pie marker. Now he looks a little more 3 D.

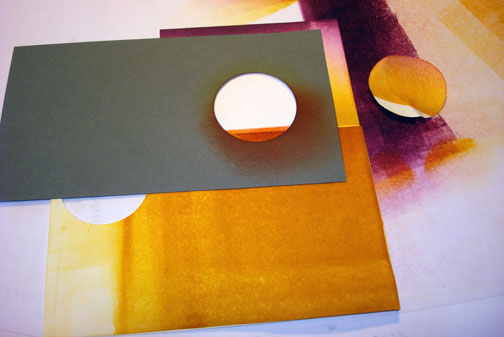
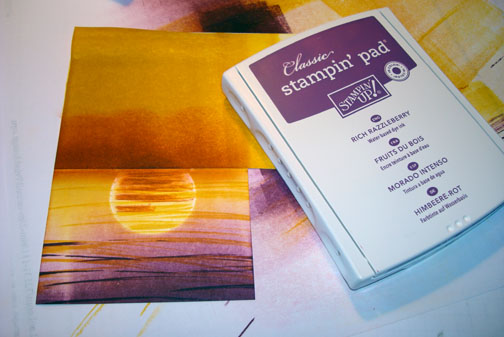
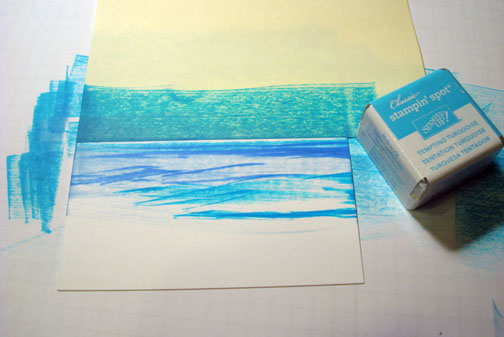
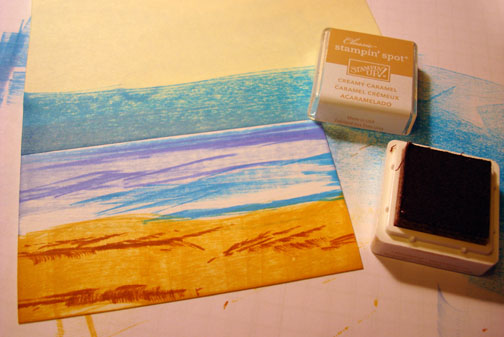
Using a straight Post it Note, sponged So Saffron ink at the post it notes edge to create a shadow under the crab.

Ripped the post it note in a hill shape and sponged So Saffron ink at the post it notes torn edge to create a couple of hills in the sand for interest.

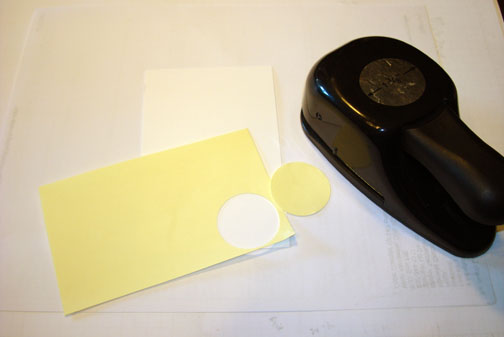
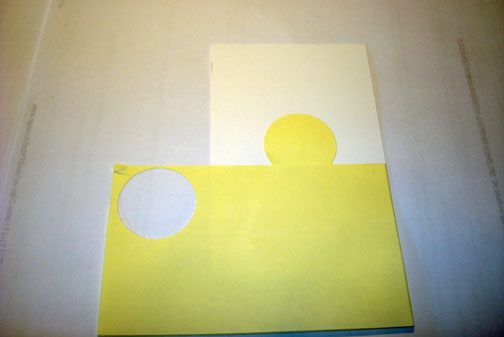
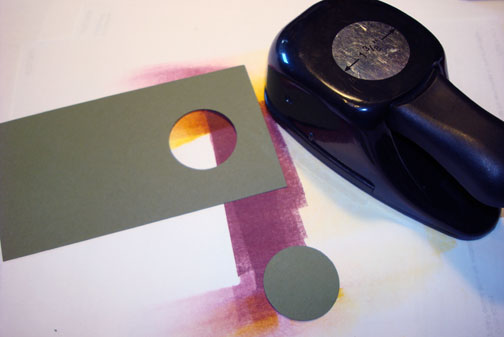
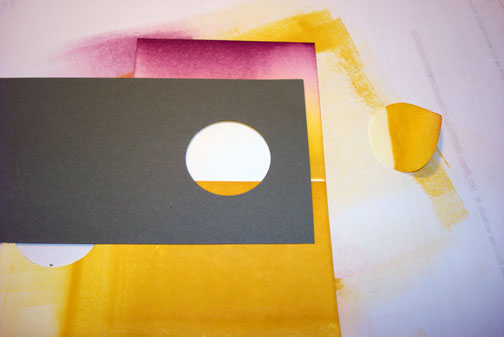
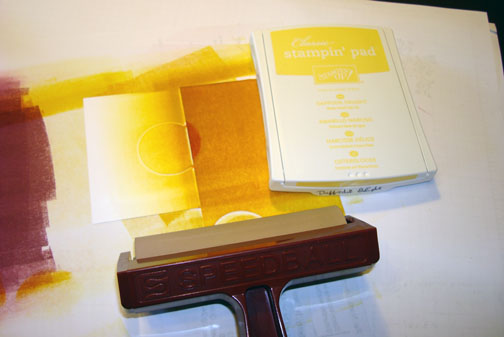
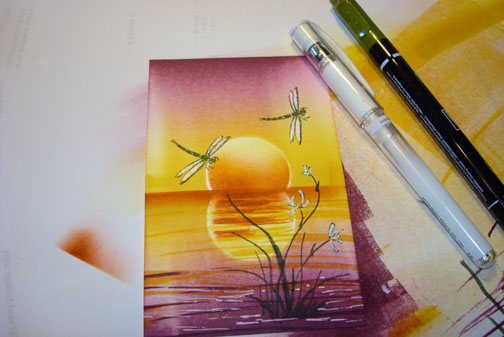
Cut a 3.5″ x 5″ piece of Pumpkin Pie card stock and punched the two edges using the Scalloped edge punch.

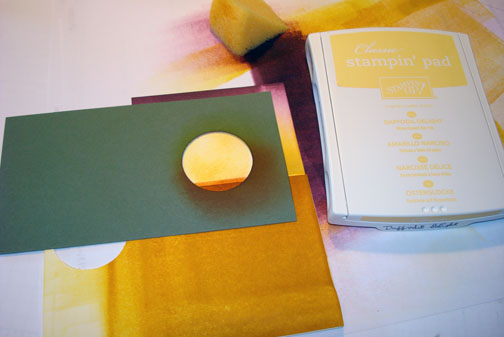
Used my brand new Color Coach today to figure out my layers. Love this new Color Coach Design.

Assembled my card and added brads and ribbon.
Tip: cut a slit in the edge of your ribbon spool and tuck the ribbon end into it to keep it from unwinding. 🙂

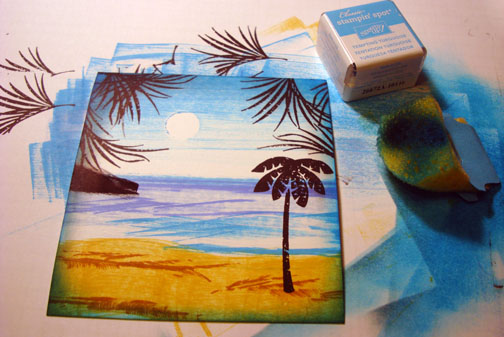
Here is the finished card measuring 5″ x 6.5″.
I hope this tutorial has inspired you to create a beach scene.
May your day be filled with warmth and happiness.
I am off to go biking with Hailie Jade.
Until my next post. . . .
Hugs,
Michelle
 Get ready for Brayer Workshops! I am coming to the following locations, click the location name for more information.
Kenova (Huntington), West Virginia
Piedmont, Alabama (Near GA border close to Cedartown)
Auburn, Washington (near Seattle)
Here is a link to my workshop calendar where you can see all of my travel schedule and to get info on beginner and advanced Brayer workshops: http://zindorf.blogs.splitcoaststampers.com/workshop-calendar
Link to my Stampin’ Up website where you can order all of your must have Stampin’ Up products from me 24-7: http://michellezindorf.stampinup.net
Frequently asked questions answers: http://zindorf.blogs.splitcoaststampers.com/frequently-asked-questions/


