
Hey There,
Don’t you just love the Stampin’ Up! set, Nature Walk? It is in my top 5 of most loved Stampin’ Up! sets ever. Really, bird, bee, butterfly, eggs, and plants, LOVE IT!!!

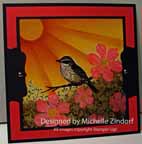
The bird is easy to color and that makes for a quick scene and that is exactly want I did in today’s card tutorial. I think this bird is saying “come on Spring!” My heart is singing it also, lol.
I’ve been busy, busy, busy starting my garden seeds and making hand crafted natural soaps. Fun stuff! So many hobbies so little time. I did get tickled at a comment I received on facebook. Someone was afraid I had quite stamping since I was talking about gardening. Boy oh boy, thank goodness I can have more than one hobby. In actuality I have about 50 hobbies, grin. I love paper crafting and can’t imagine living without it. Anyone else feel that way? Just imagine if something happened and you couldn’t paper craft, shiver. . . . .
Any how, my tutorial for today is below, enjoy!
********************************************
I’ve added this card to my sales page where you will also find some great deals on retired stamp sets. CLICK HERE TO CHECK IT OUT
********************************************
A few reminders of things you will want to check out. . . . . . . .here are some links:
Stampin’ Up’s fabulous Spring Catalog Get your supplies to rock those Spring projects.
Sale-a-bration brochure showing the totally terrific stamps and things you can get for free with a $50 order.
Paper Pumpkin Monthly Kits, hello, they are wonderful.
Stampin’ Up! Clearance Rack Hurry, you don’t want to miss out on these deals.
***********************************************************
Michelle’s Free Stamp Program
Don’t miss out on my Customer’s free stamp set program. Check it out! Along with a handmade thank you card from me for your $50 order you will receive a token for each $50 in product you ordered using me as your demonstrator. After you have collected 10 tokens you will receive a free current stamp set of your choosing, a value of $39 or less. Here is a link to my online shopping page that you can shop at 24/7 (from the comfort of your home, even in your pj’s) and the products will be shipped directly to your door step from Stampin’ Up. CLICK HERE TO SHOP. My free stamp set program will be an on going program. ![]()
*************************************************
Now on with today’s tutorial. . . . . . .
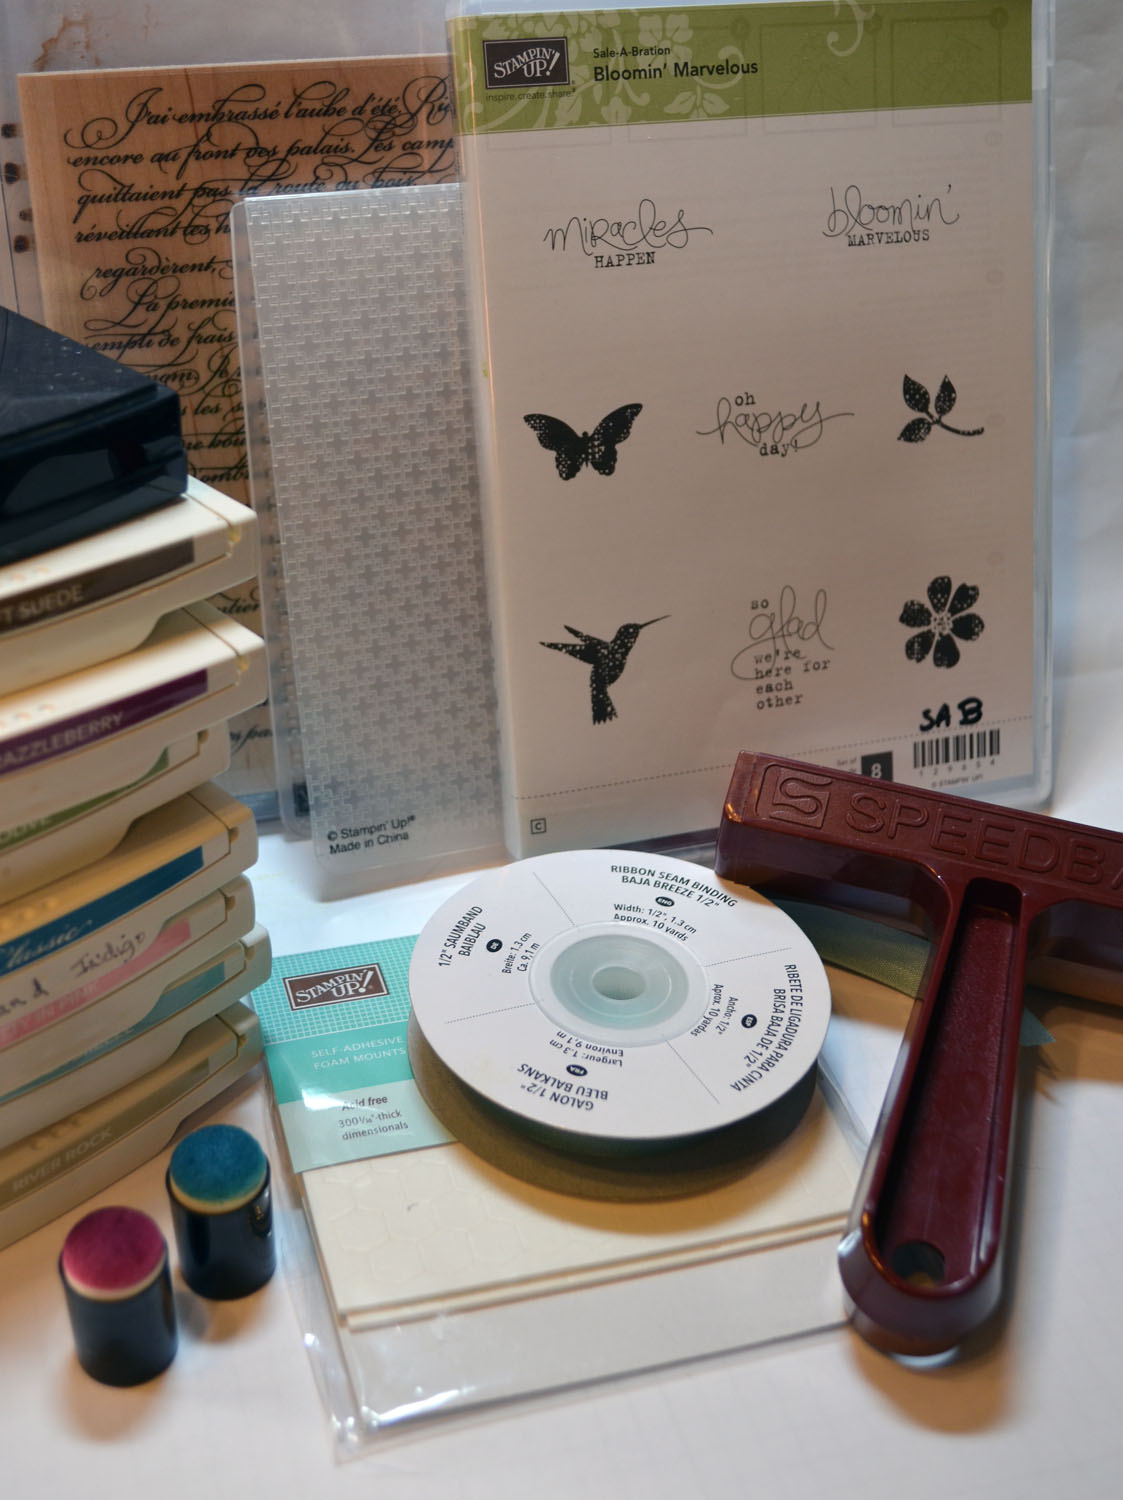
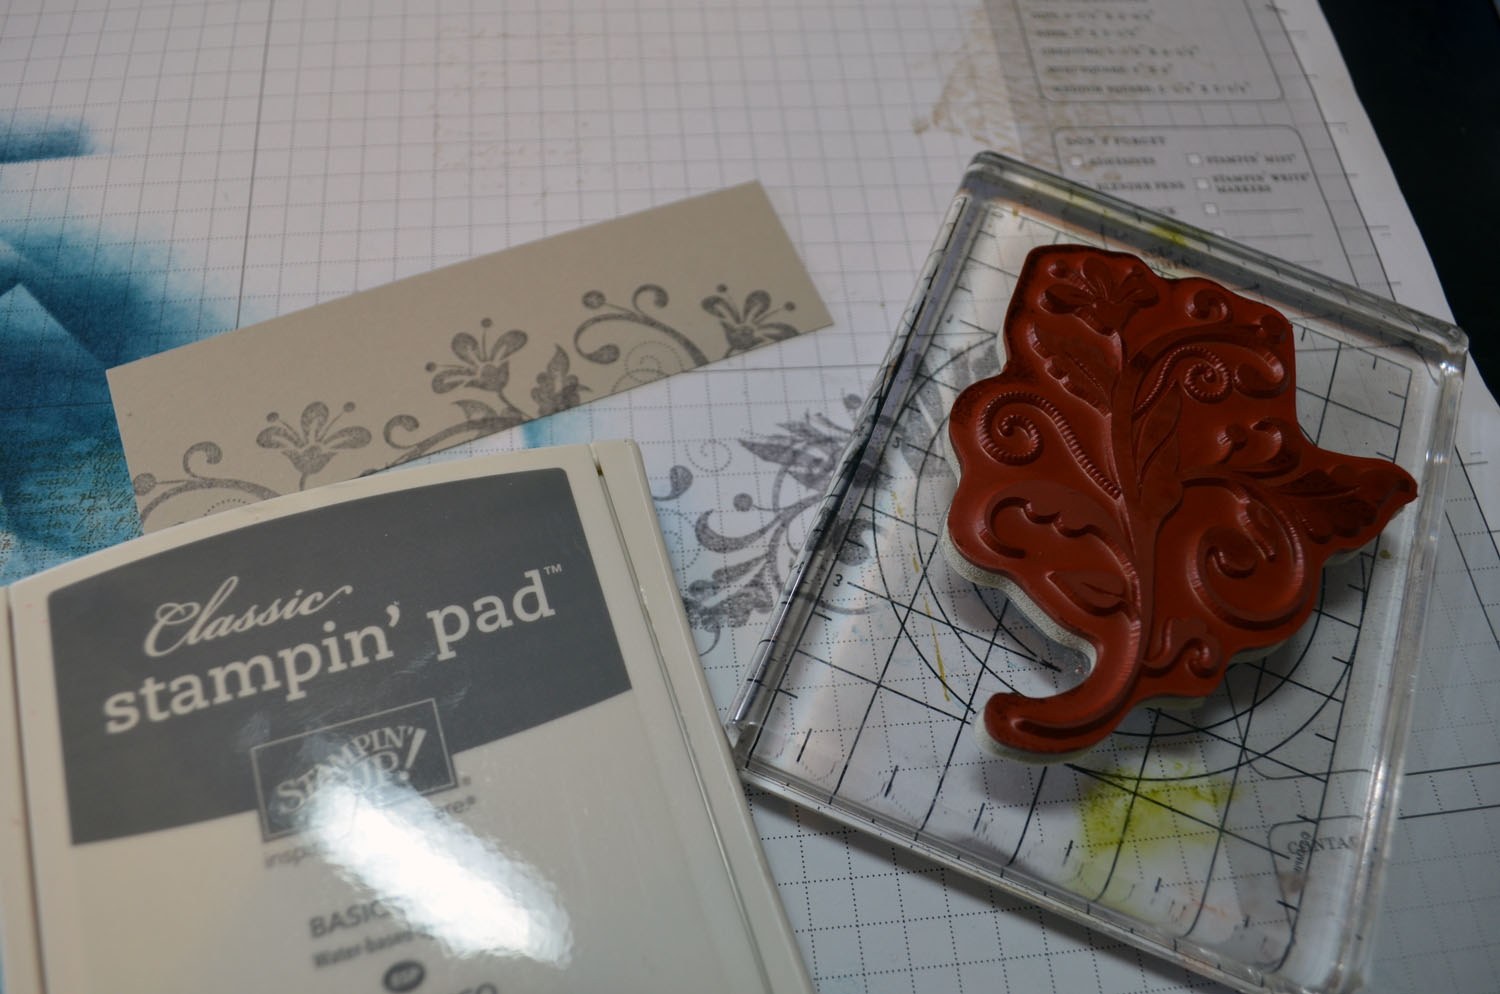
Project Supplies: Stampin’ Up! Nature Walk (item 121997)
Stamps: Card Stock: Stampin’ Up! Whisper White, Baja Breeze, Not Quite Navy and Stampin’ Up! Designer Series Paper
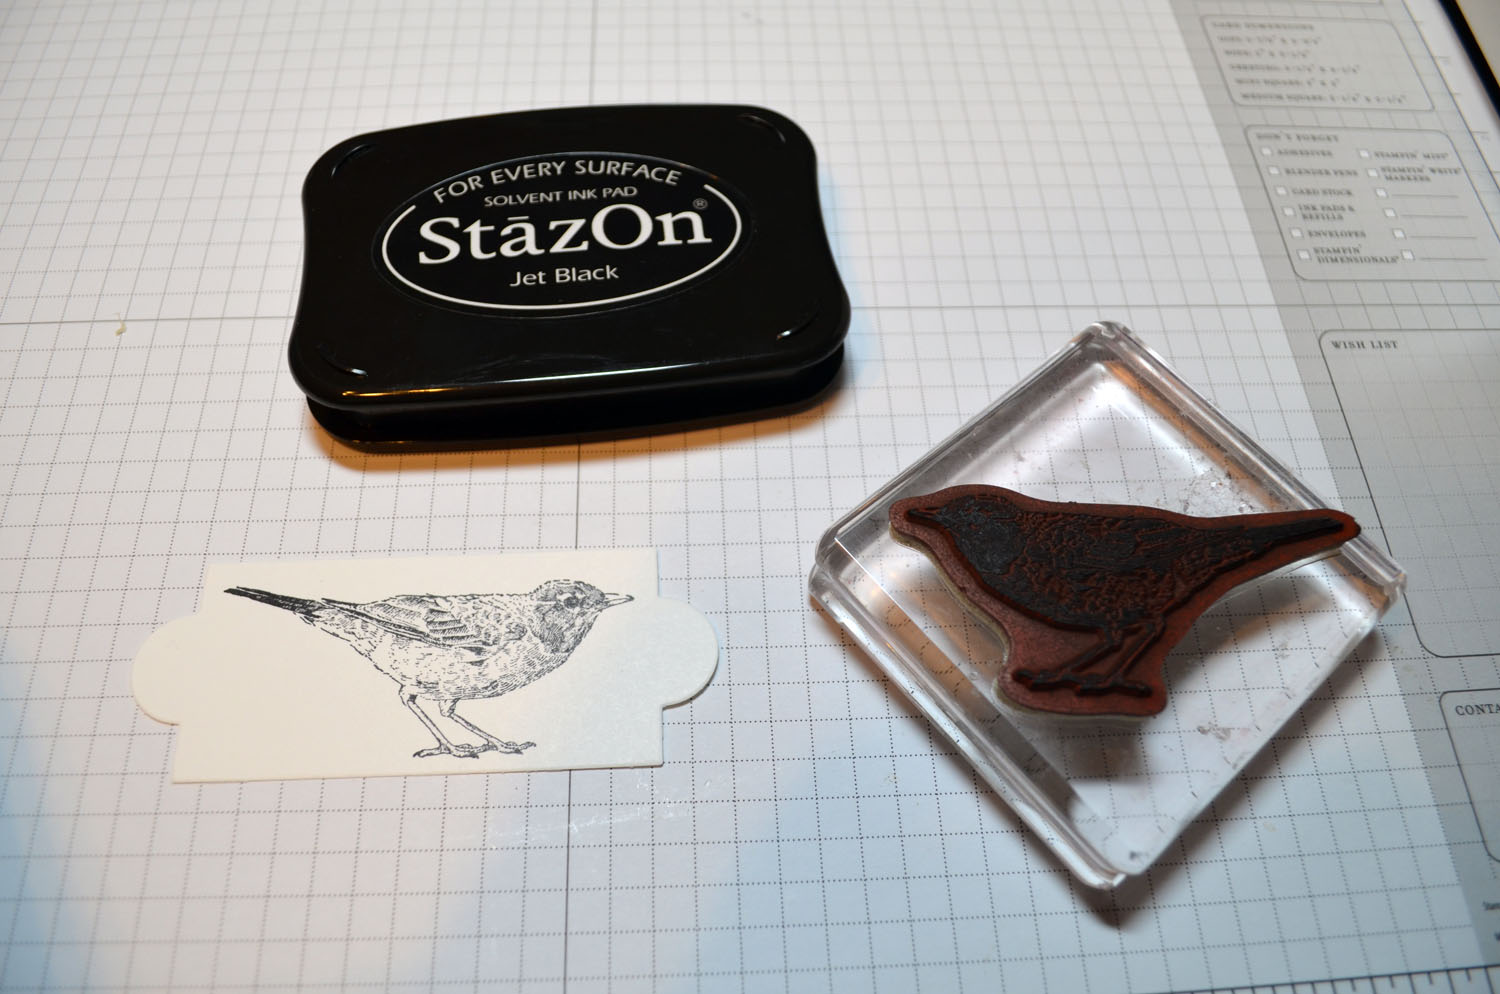
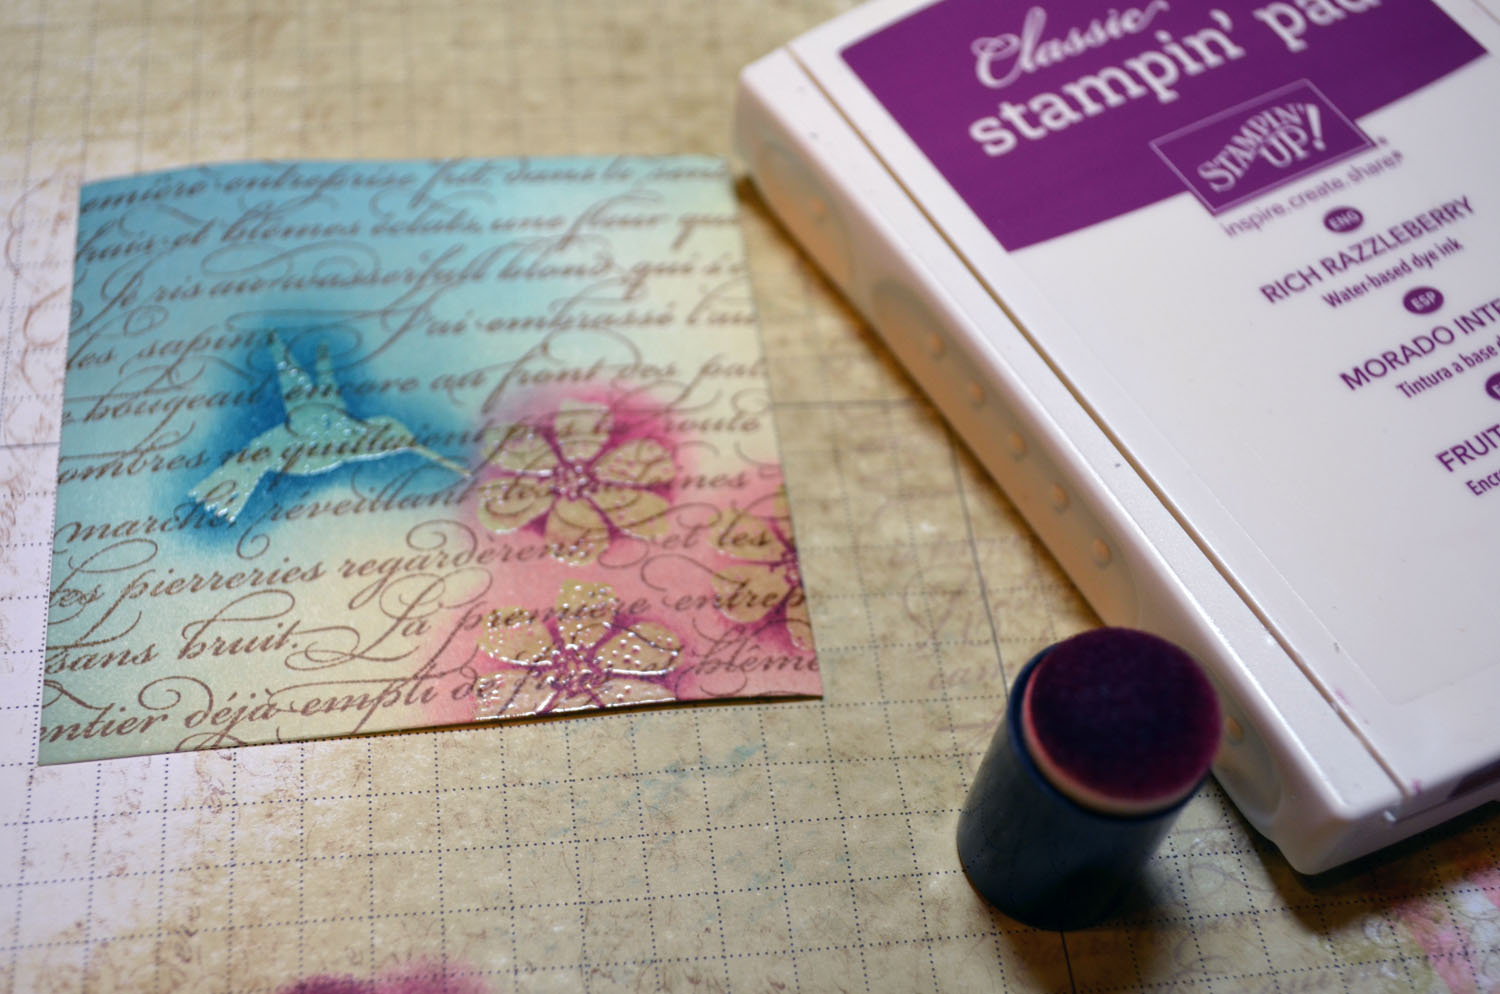
Ink: Stampin’ Up! Not Quite Navy, Baja Breeze, Always Artichoke, Lucky Limeade and StazOn Jet Black
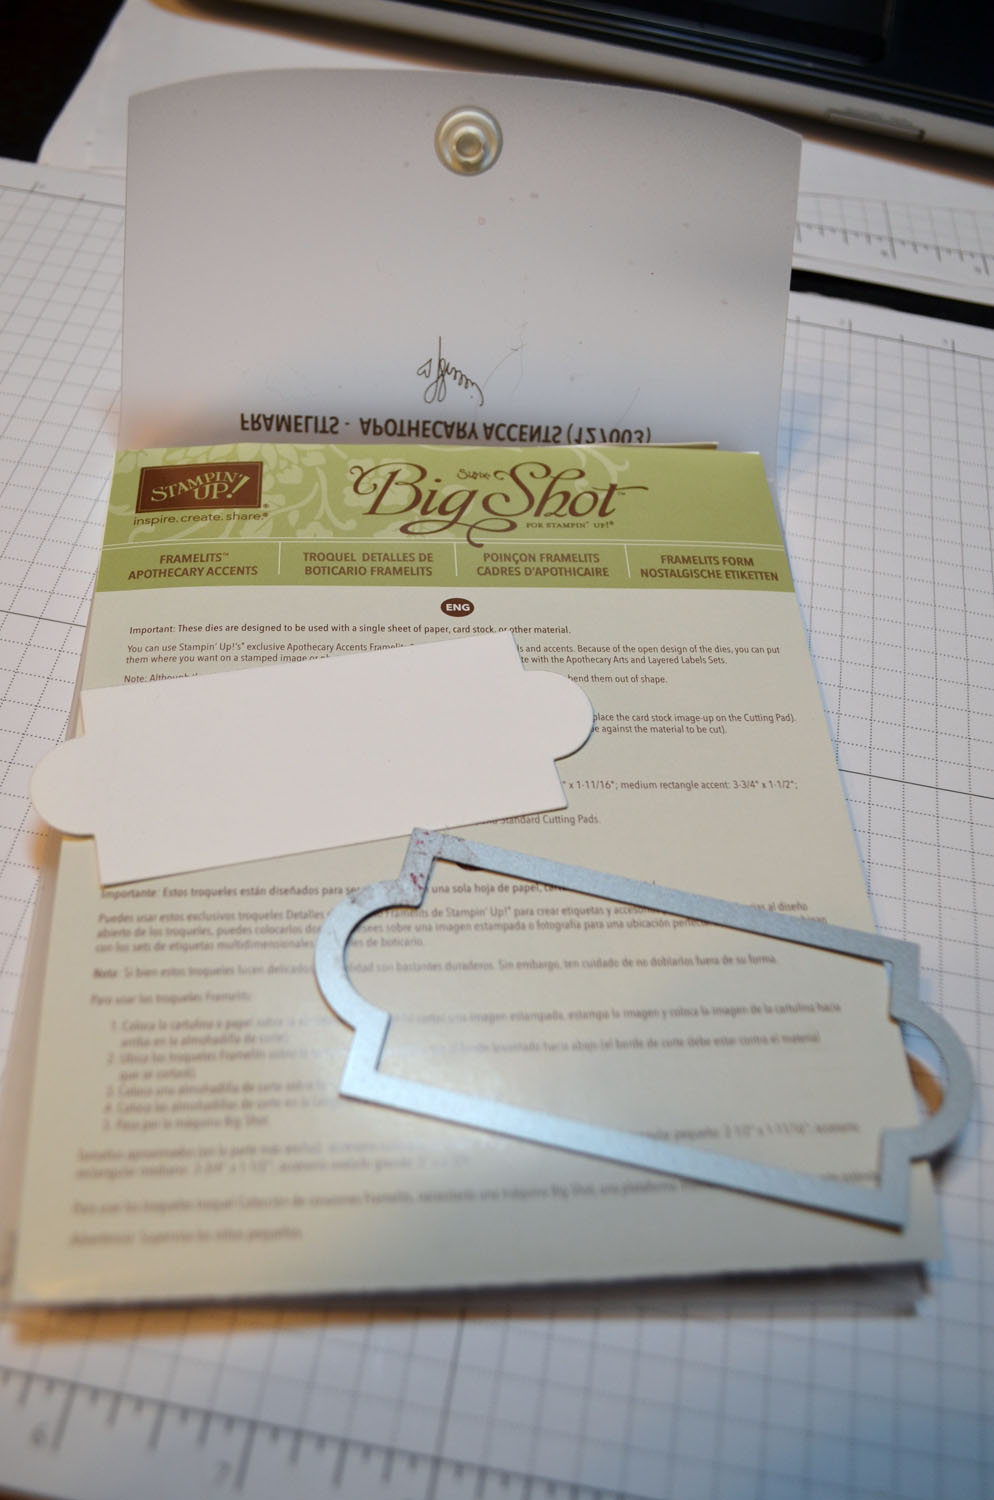
Accessories: Stampin’ Up! sponges, Markers (More Mustard, So Saffron and Crumb Cake), Gold Brads, Stampin’ Dimensionals, Fancy Fan Embossing Folder, Framelits – Apothecary Accents (item number 127003), Big Shot Machine

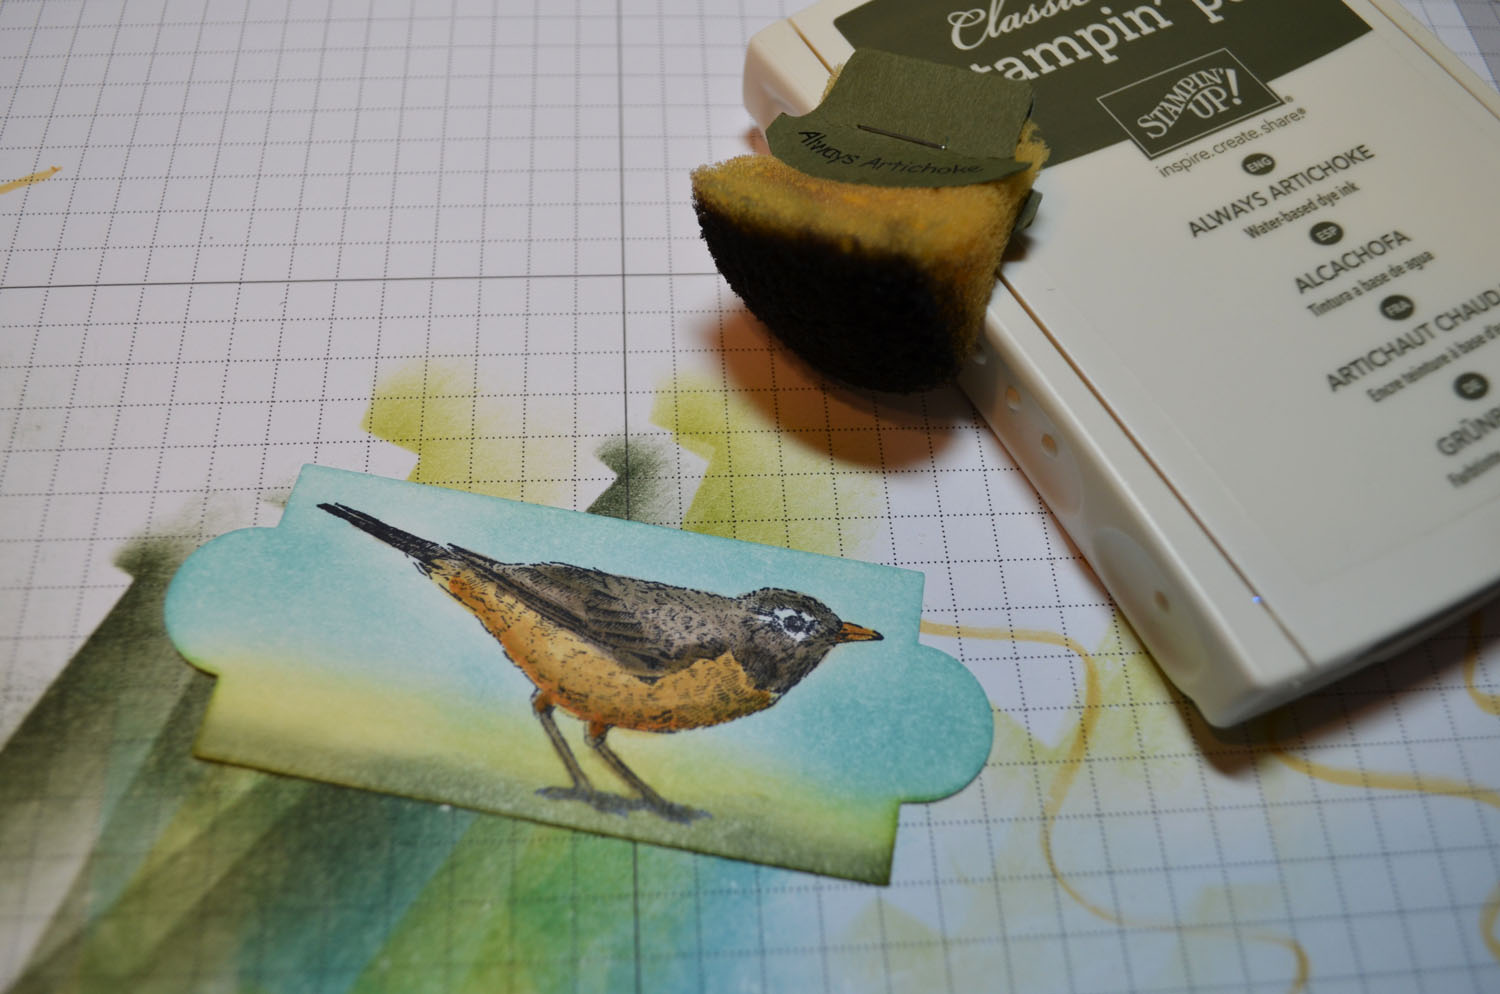
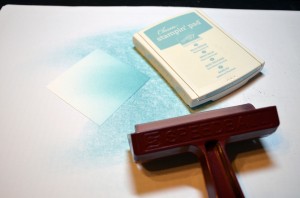
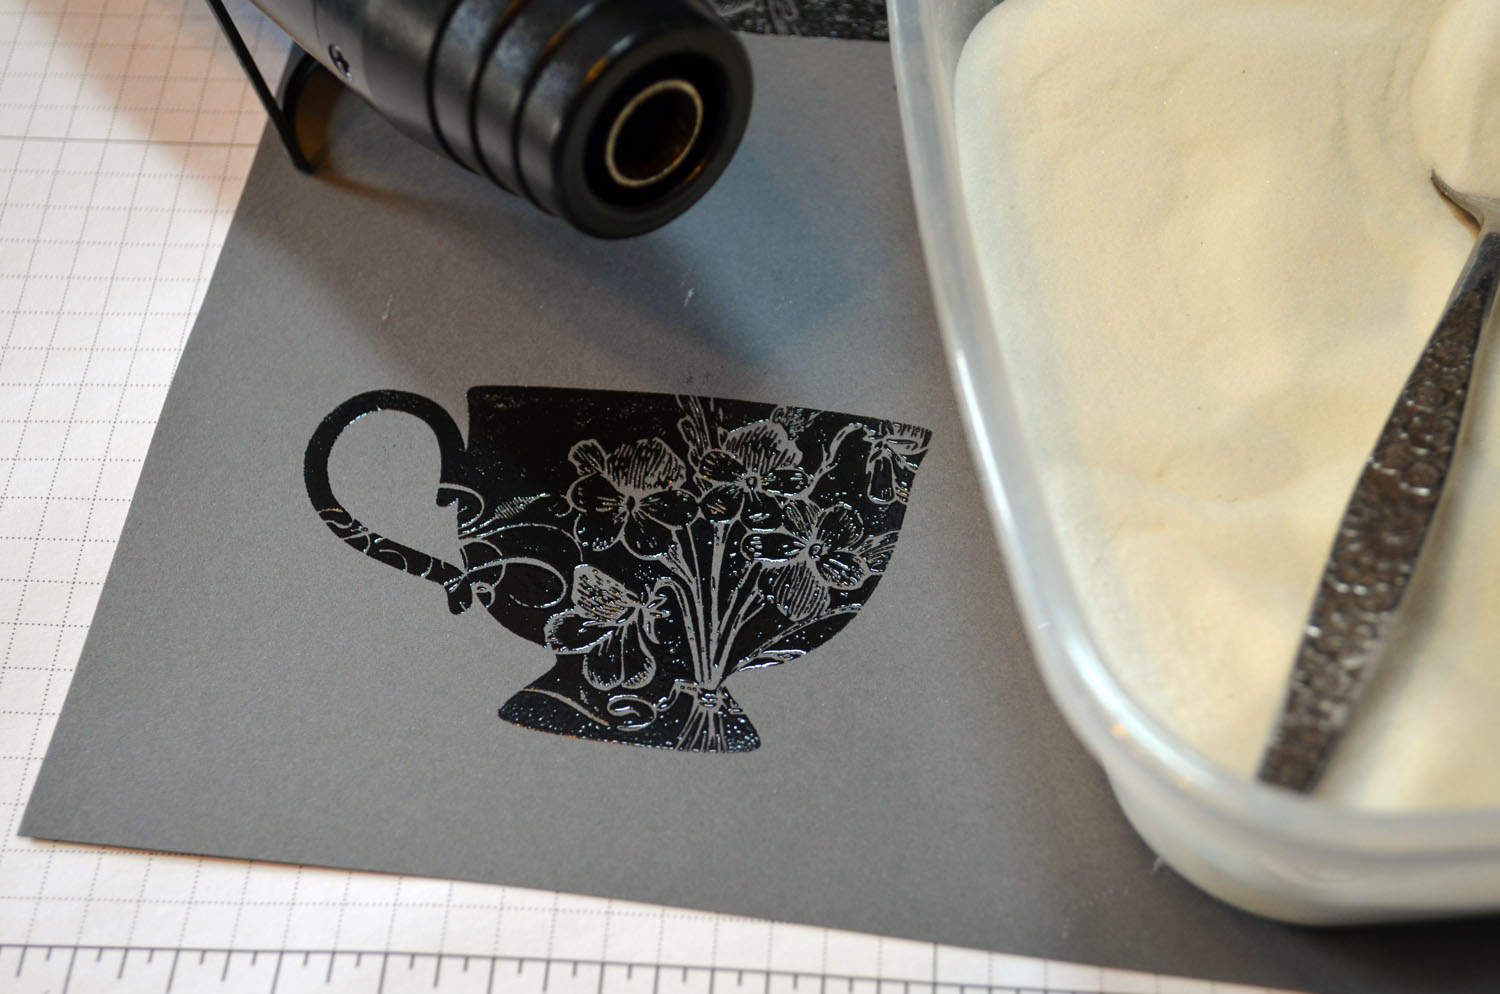
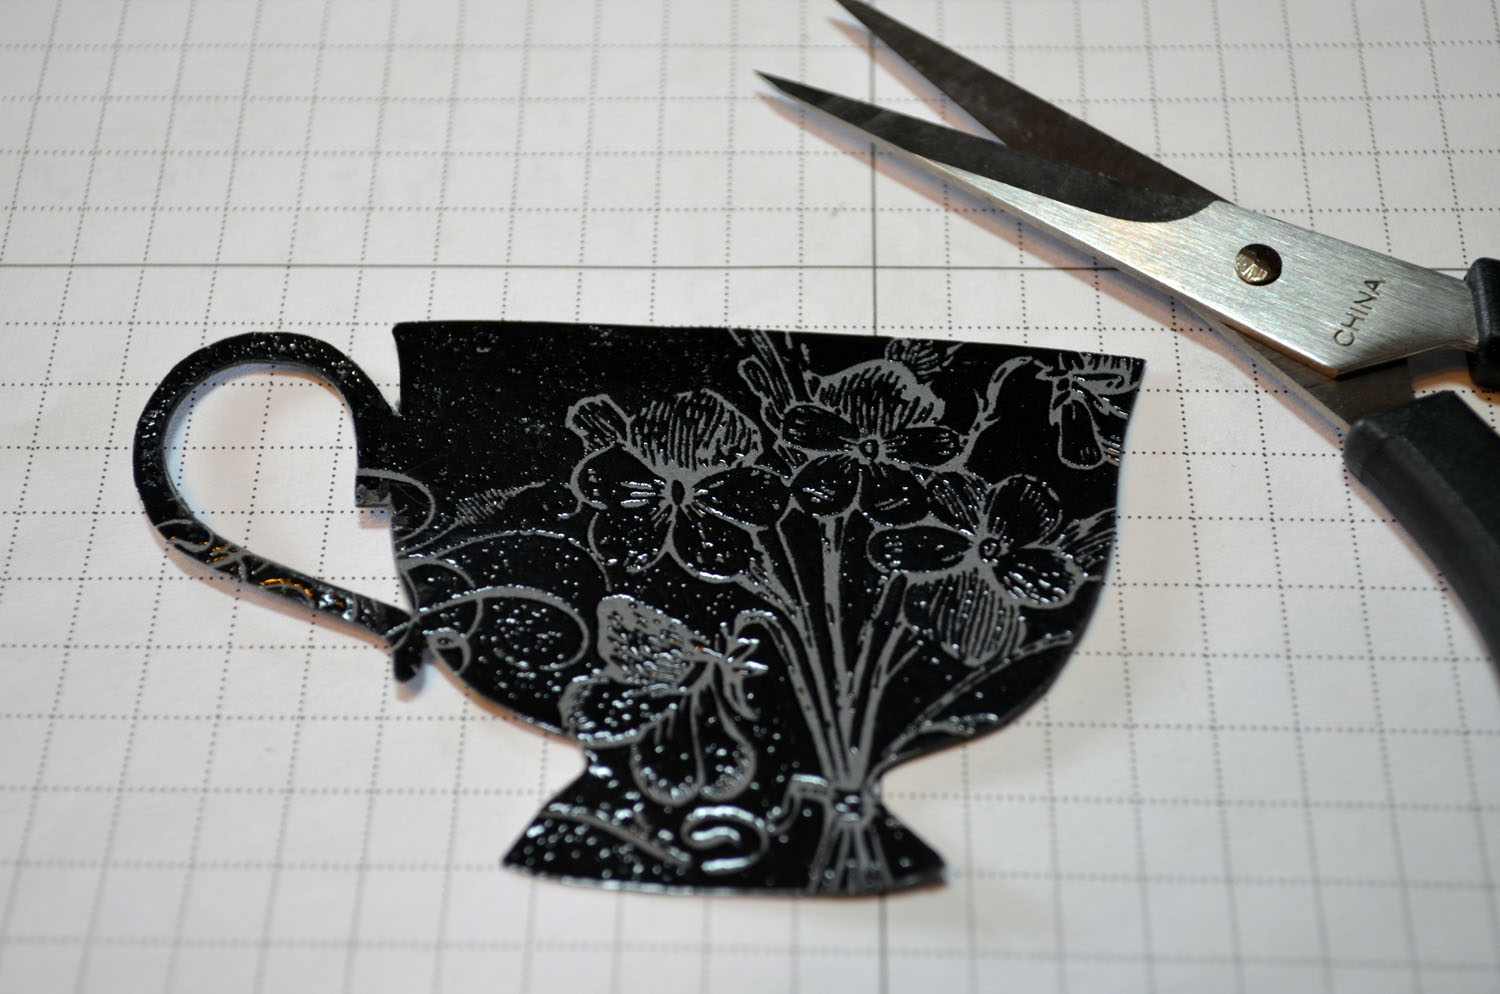
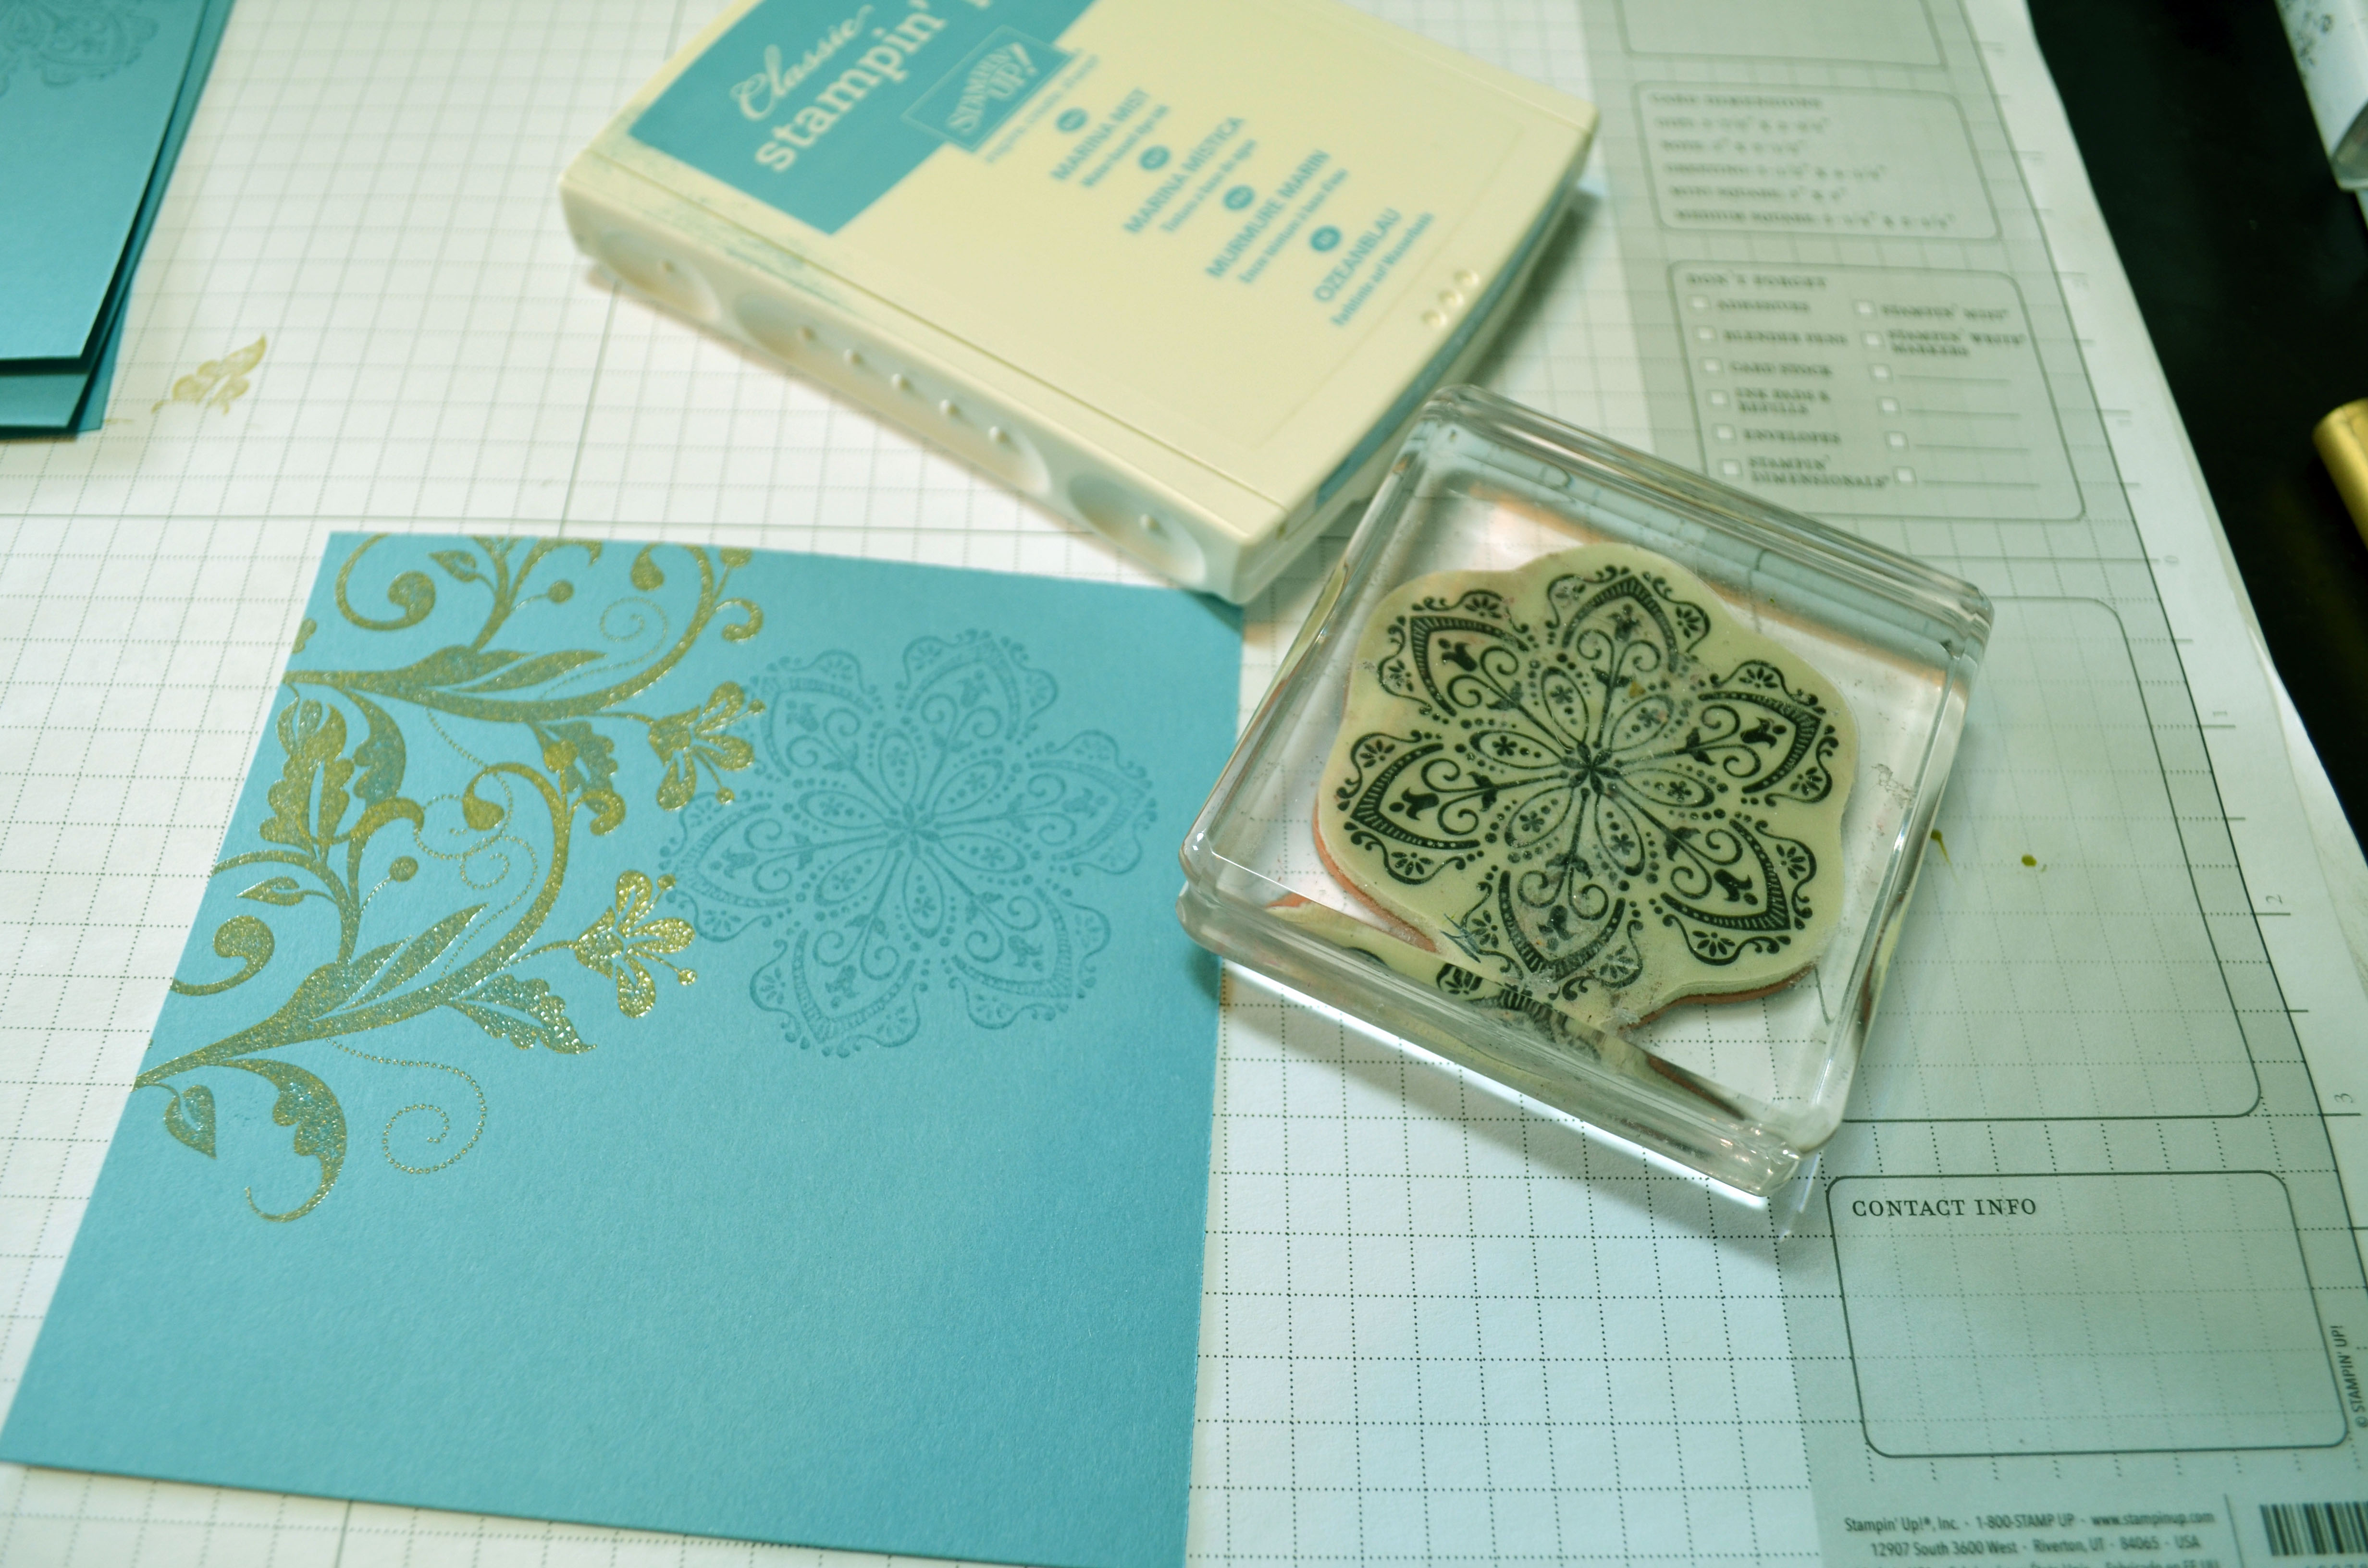
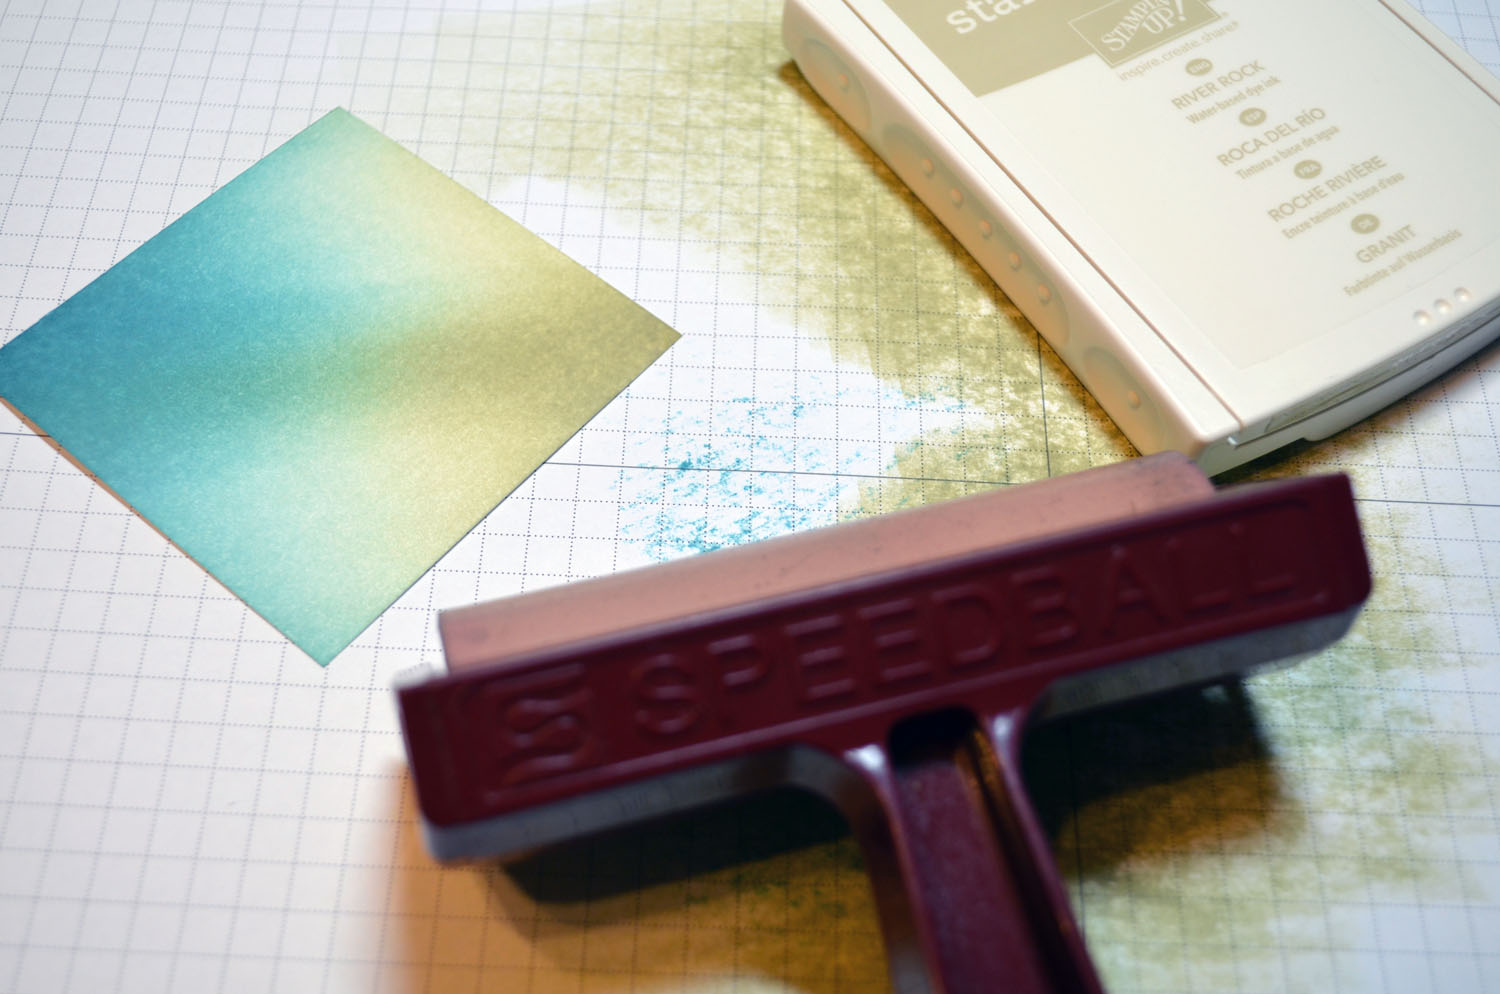
Started by die cuting my main image panel using one of the Framelits from the Apothecary Accents set and the Big Shot Machine.
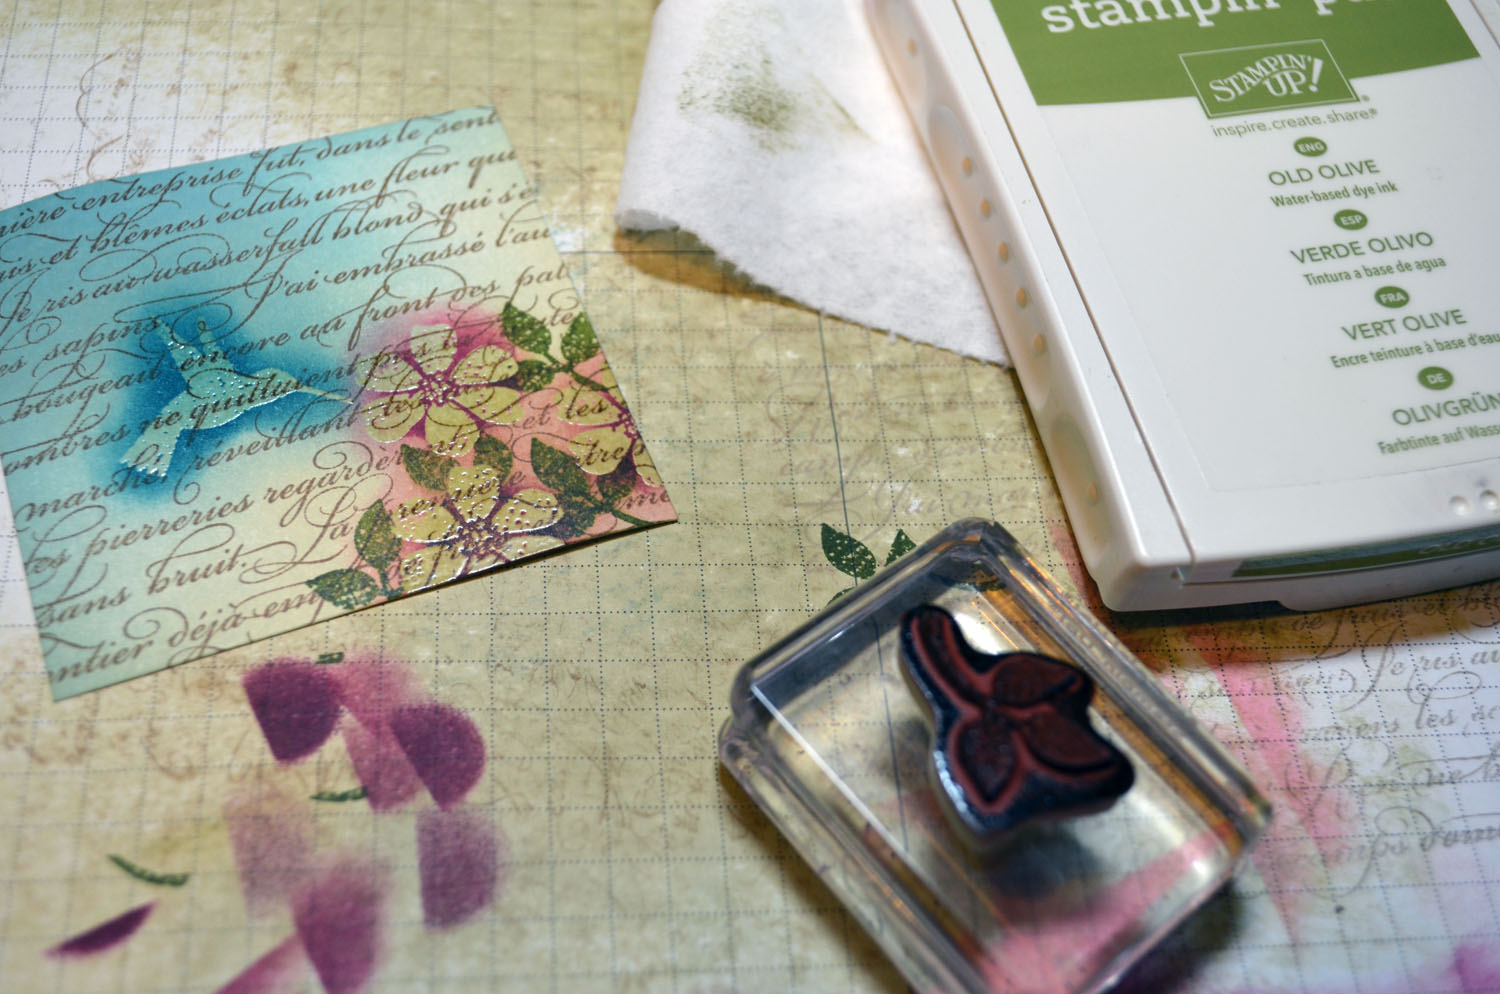
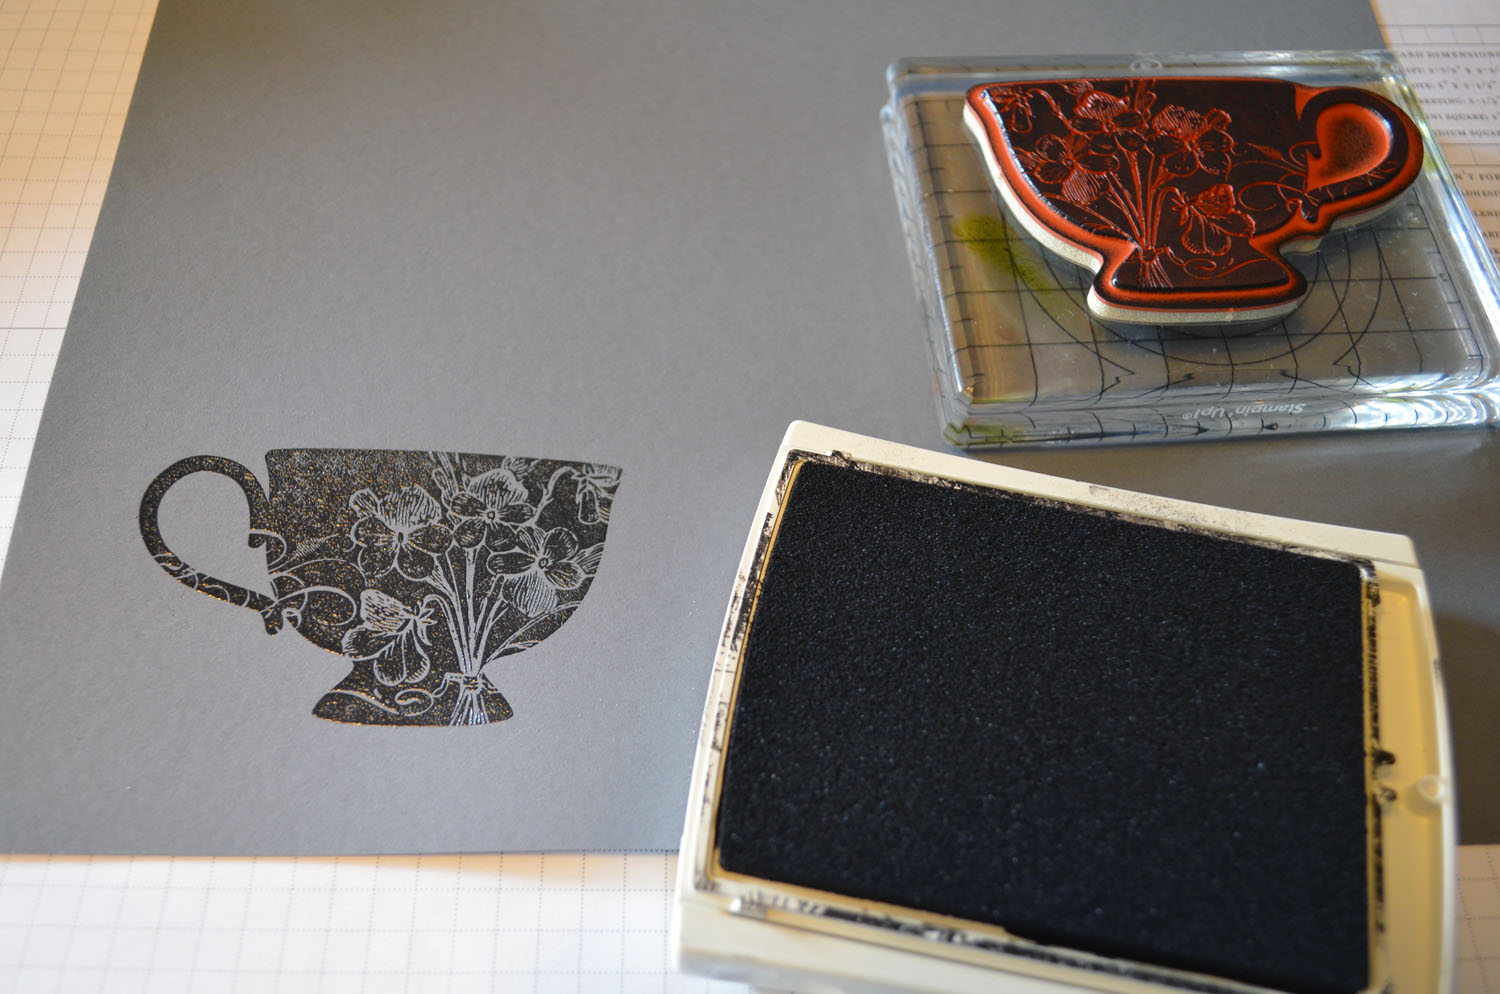
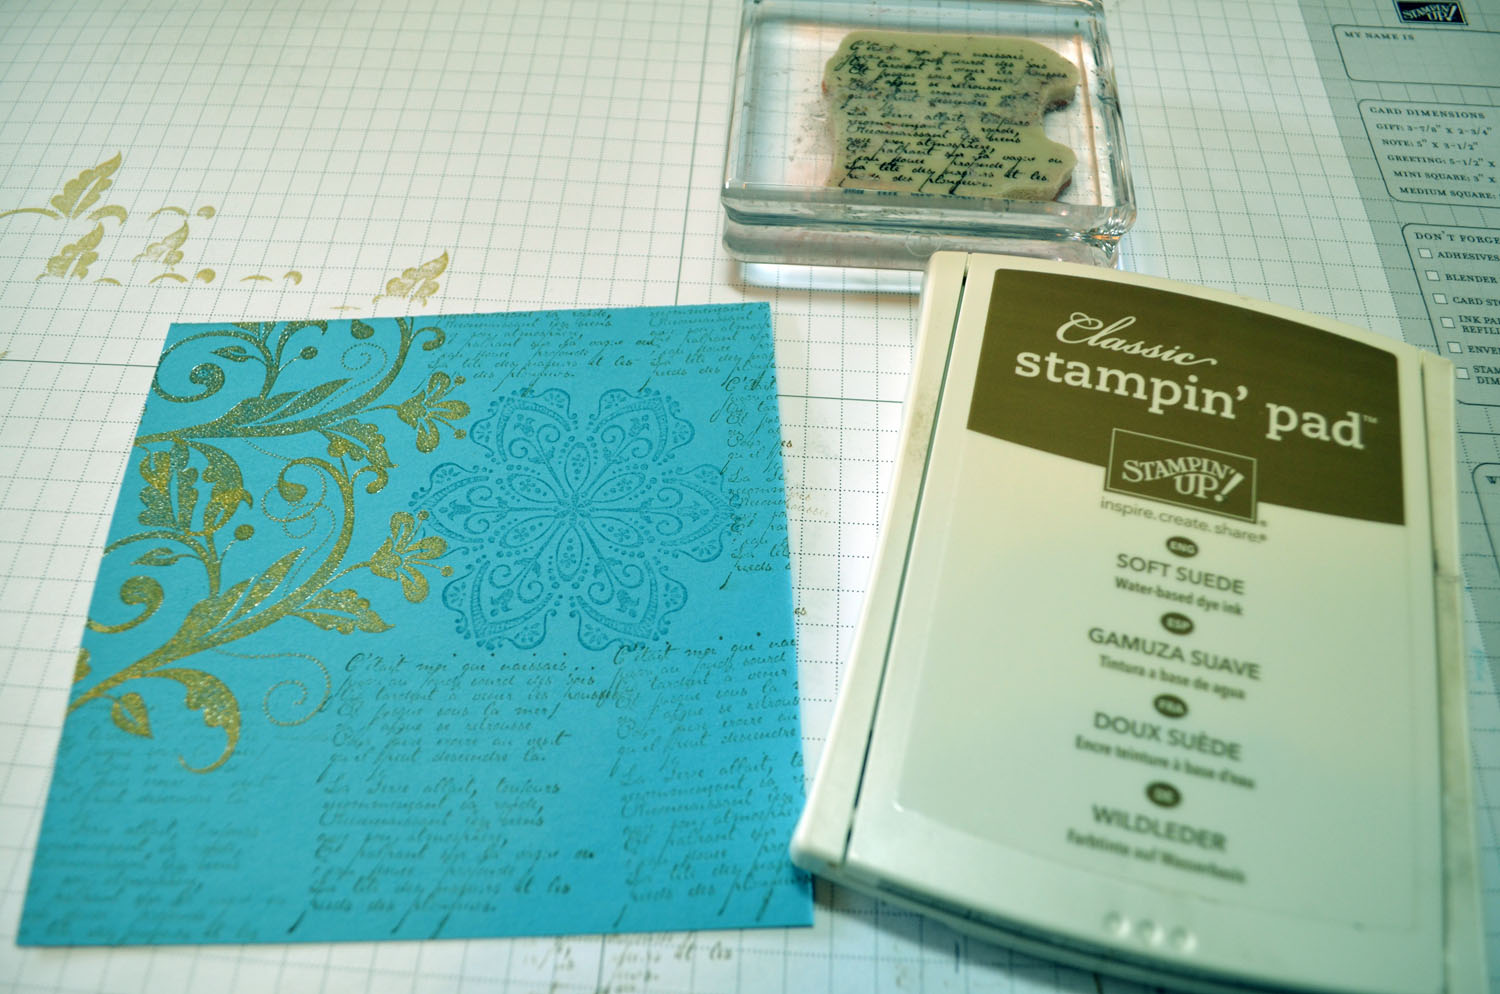
Stamped the Bird on it using Stazon Jet Black ink. Sponged Lucky Limeade ink at the bottom of the card stock.

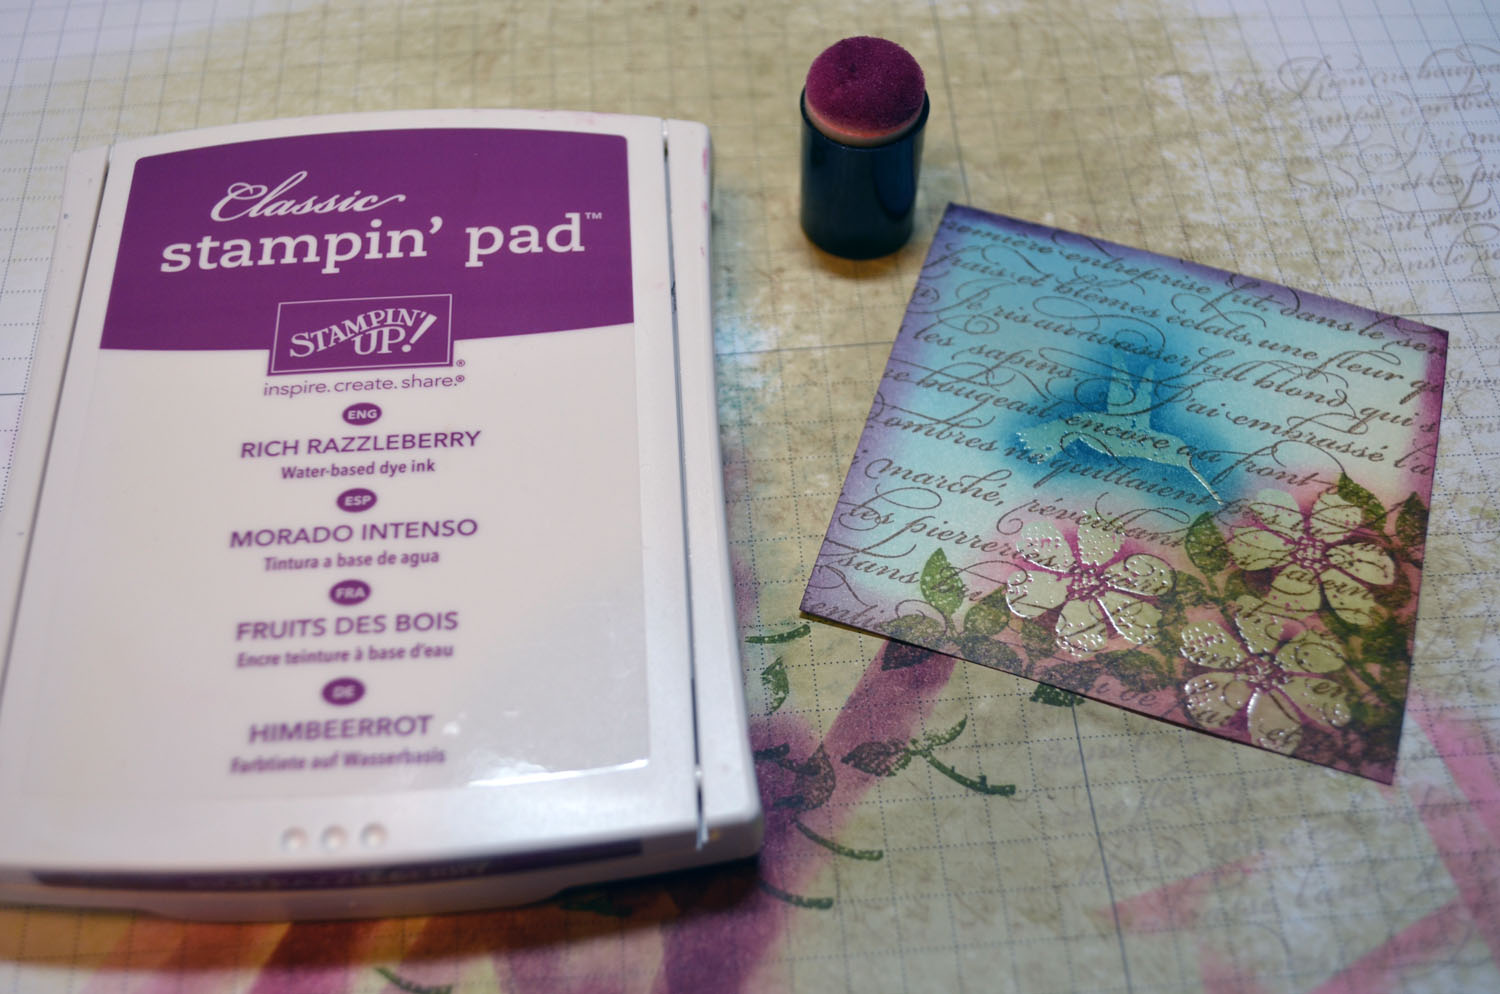
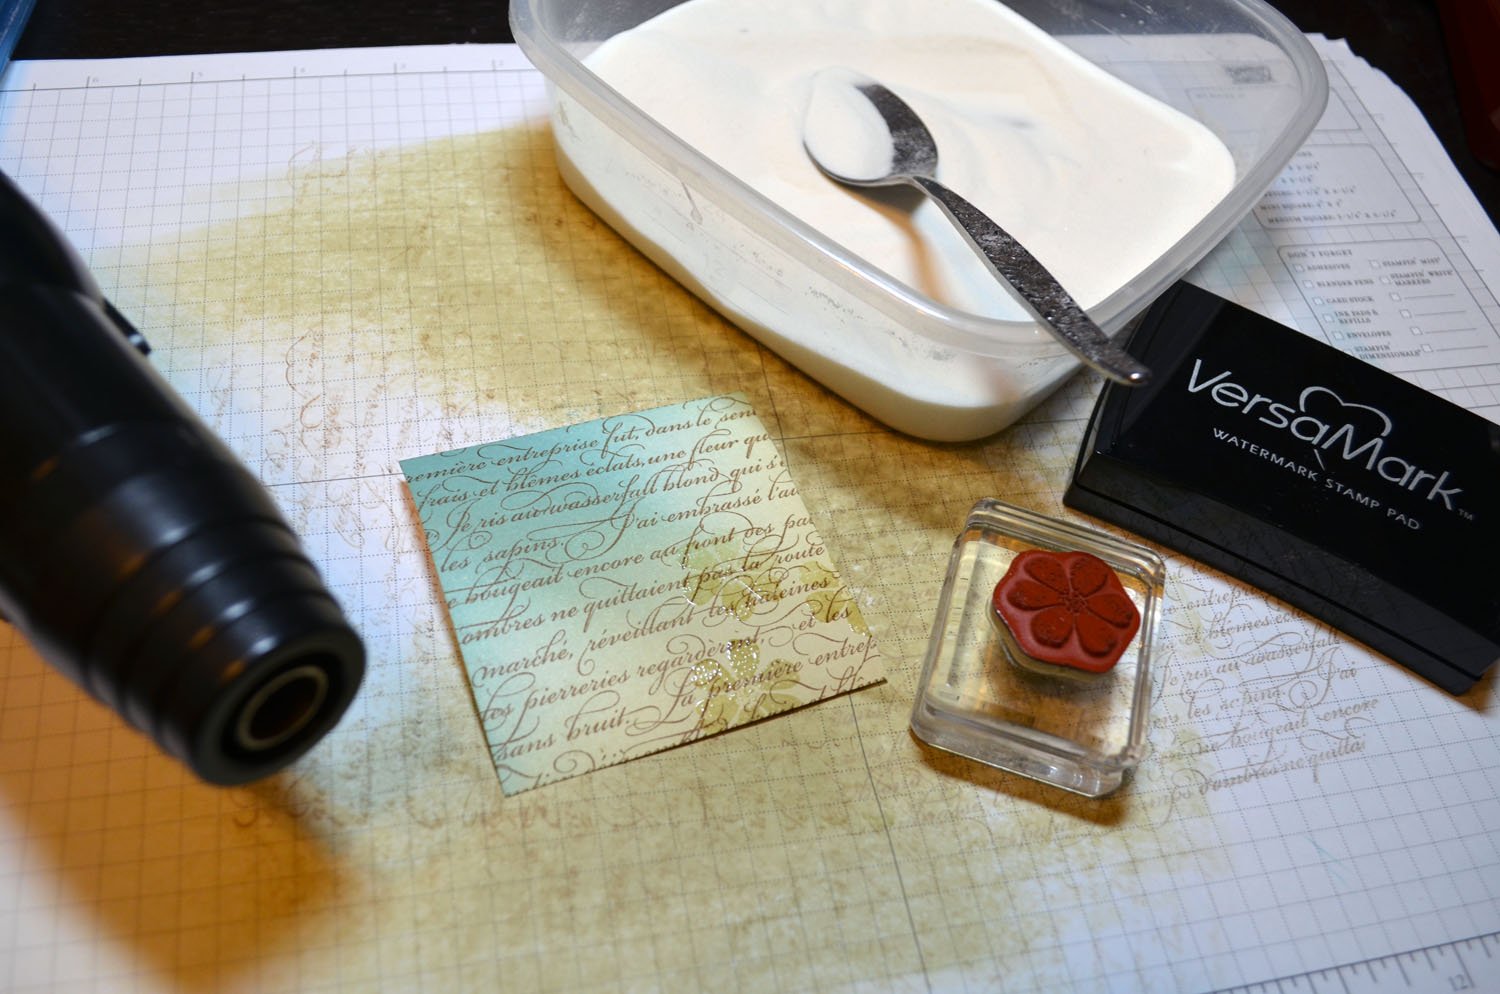
Colored the top of the bird in using a Crumb Cake marker. Colored the bird’s belly ink using a So Saffon Marker.

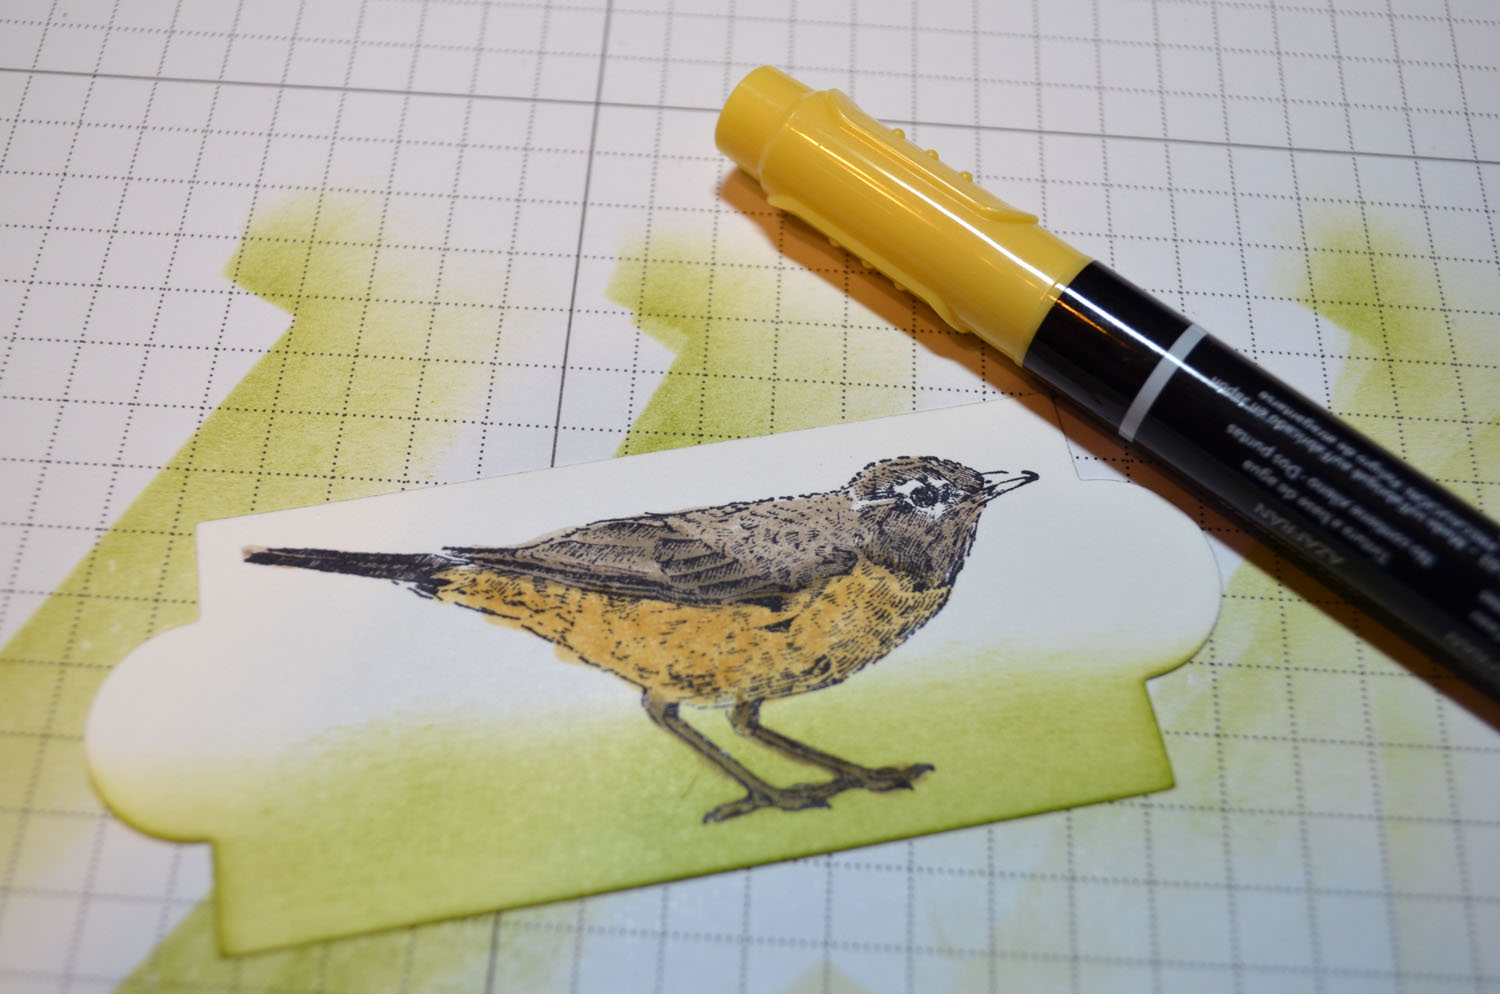
Added a little More Mustard marker to the bottom of the bird’s belly and blended it in using the So Saffron marker.
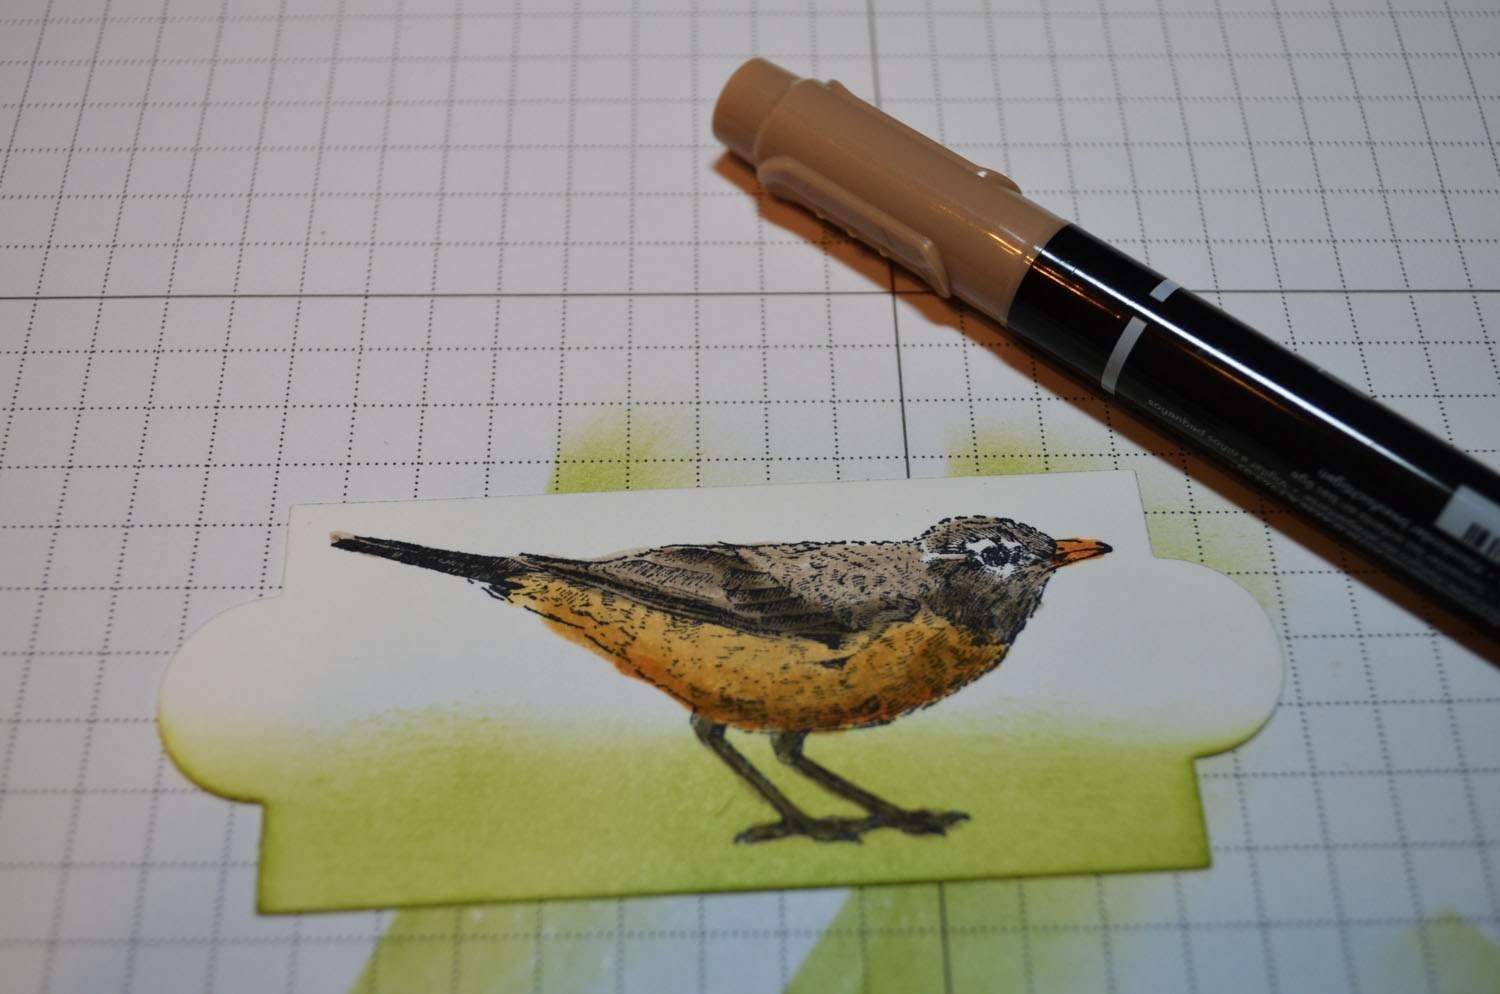
Added more Crumb Cake marker to the the dark areas of the bird’s wing.

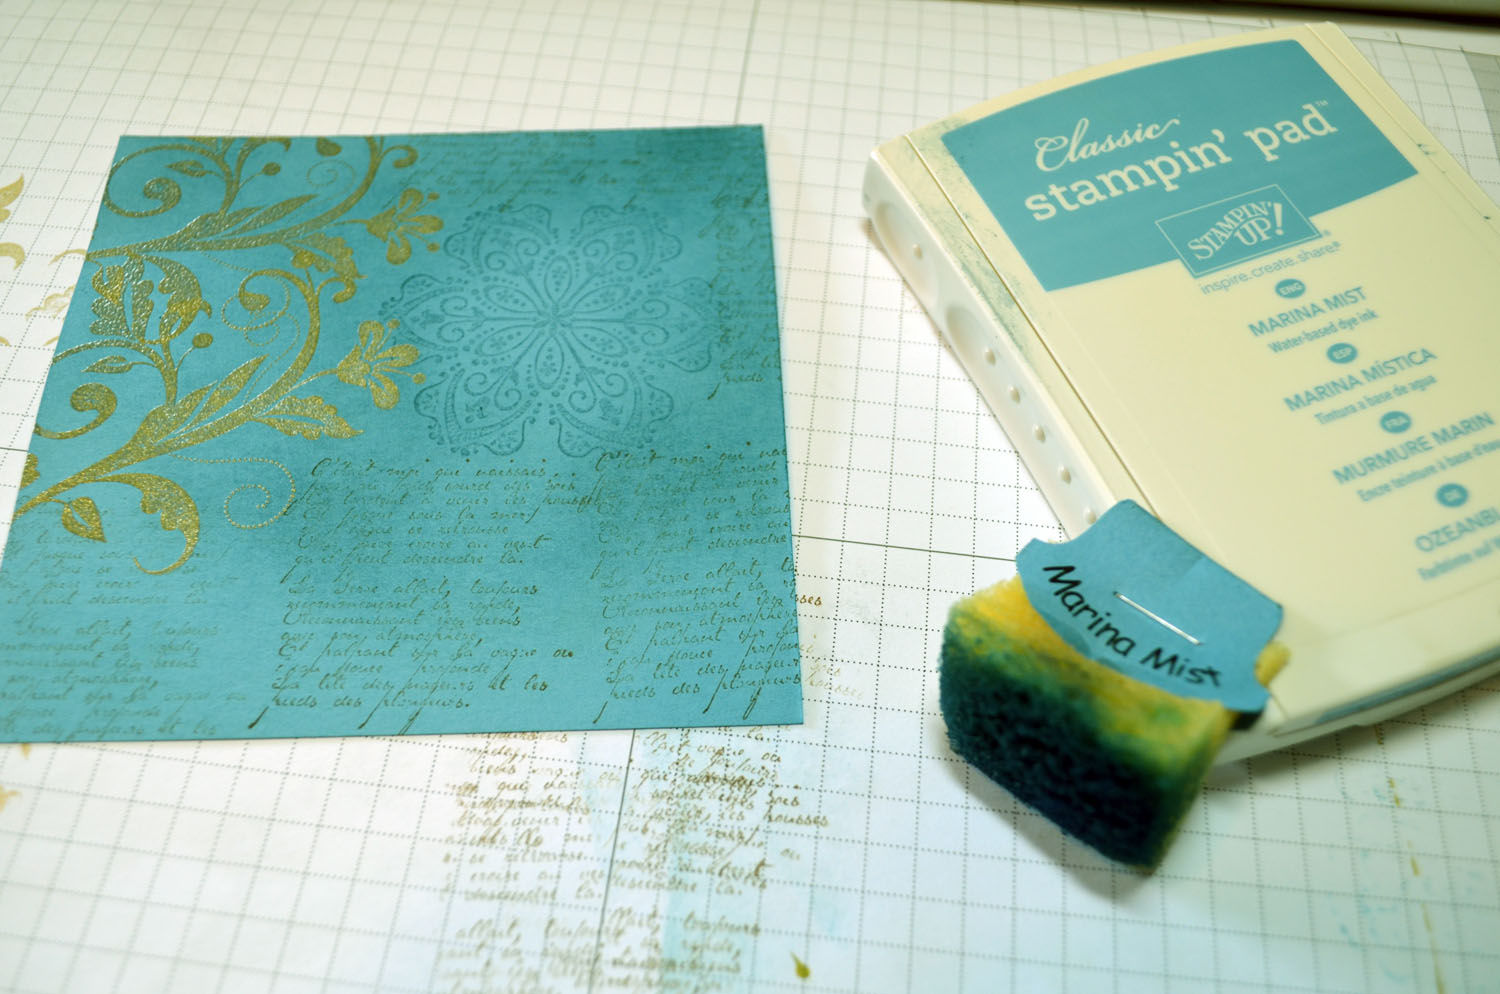
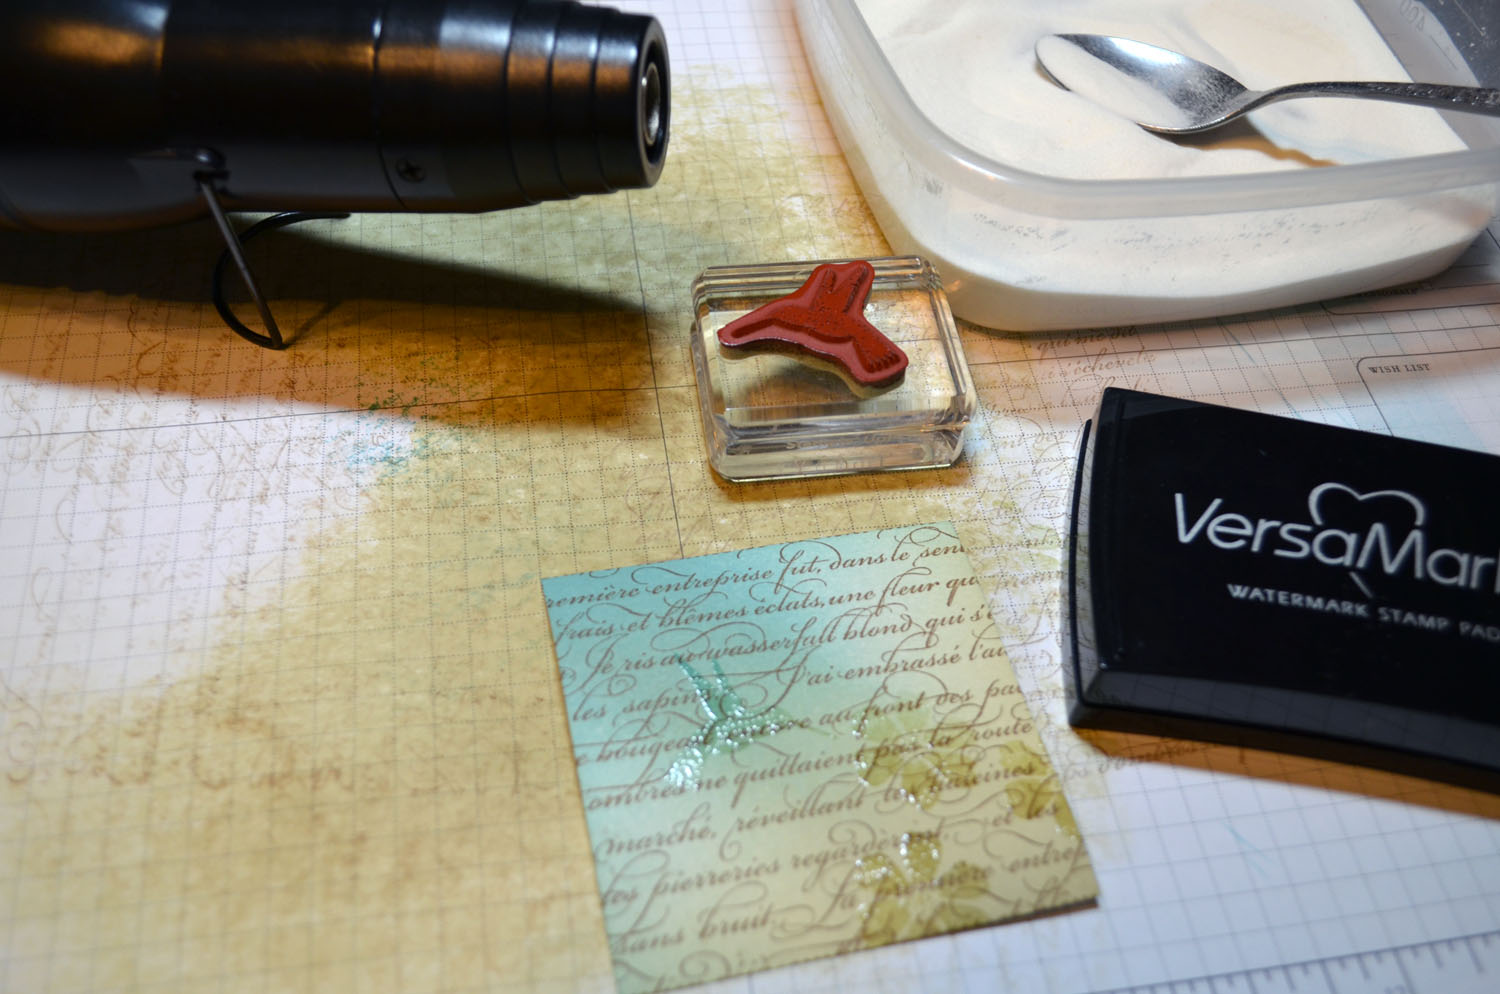
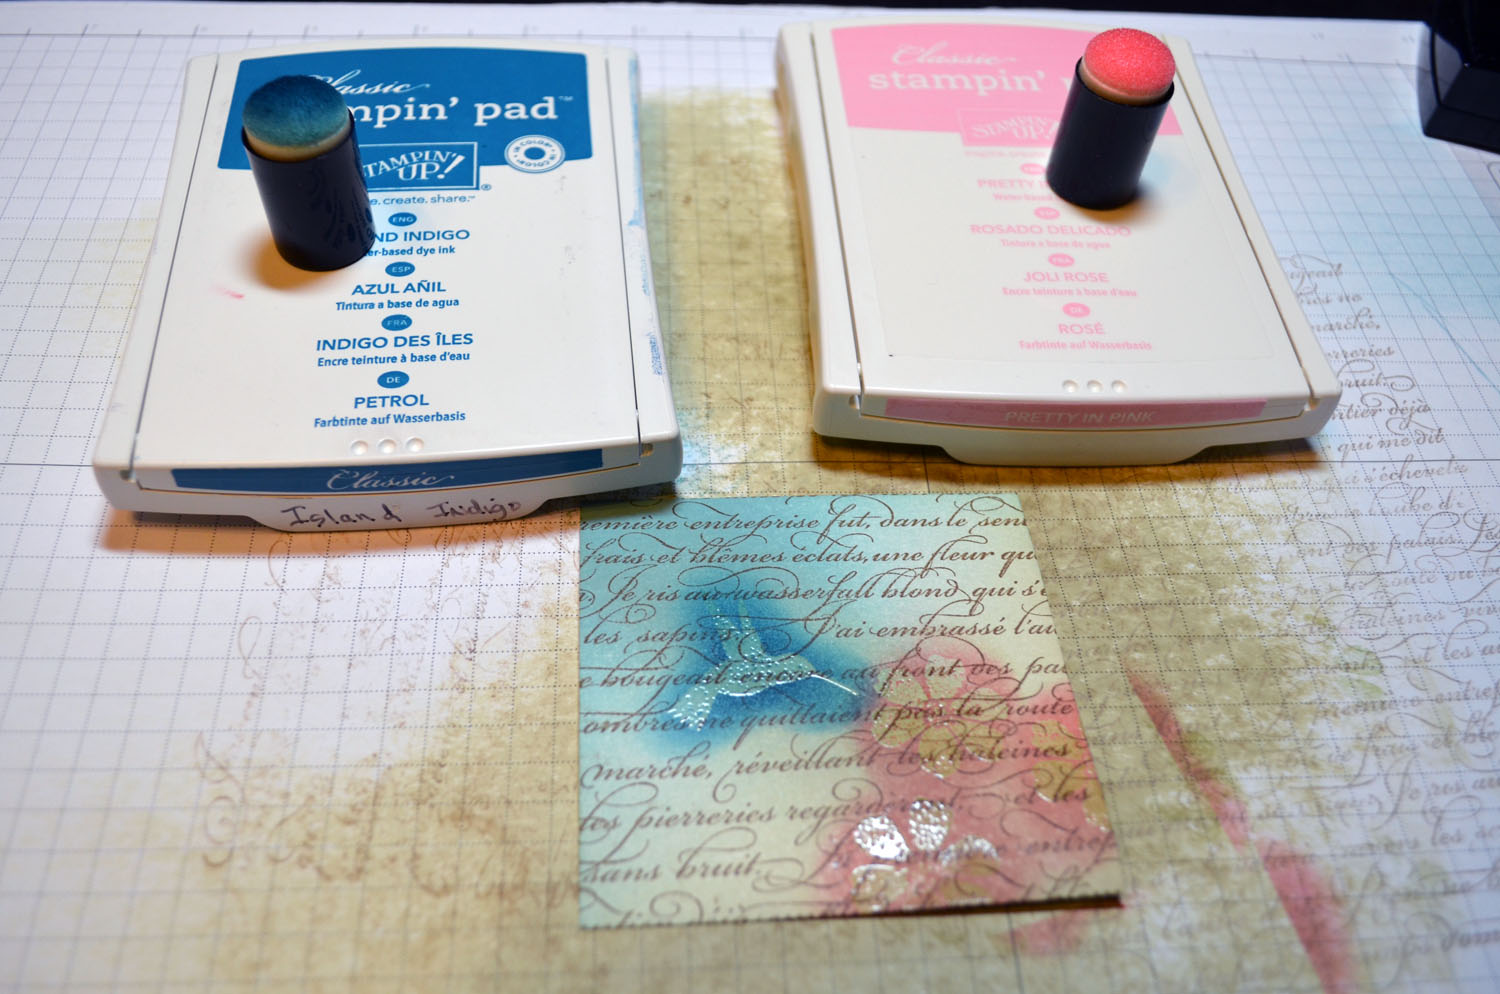
Sponged Baja Breeze ink around the bird to create the sky. Sponged Always Artichoke ink at the very bottom of the card stock.

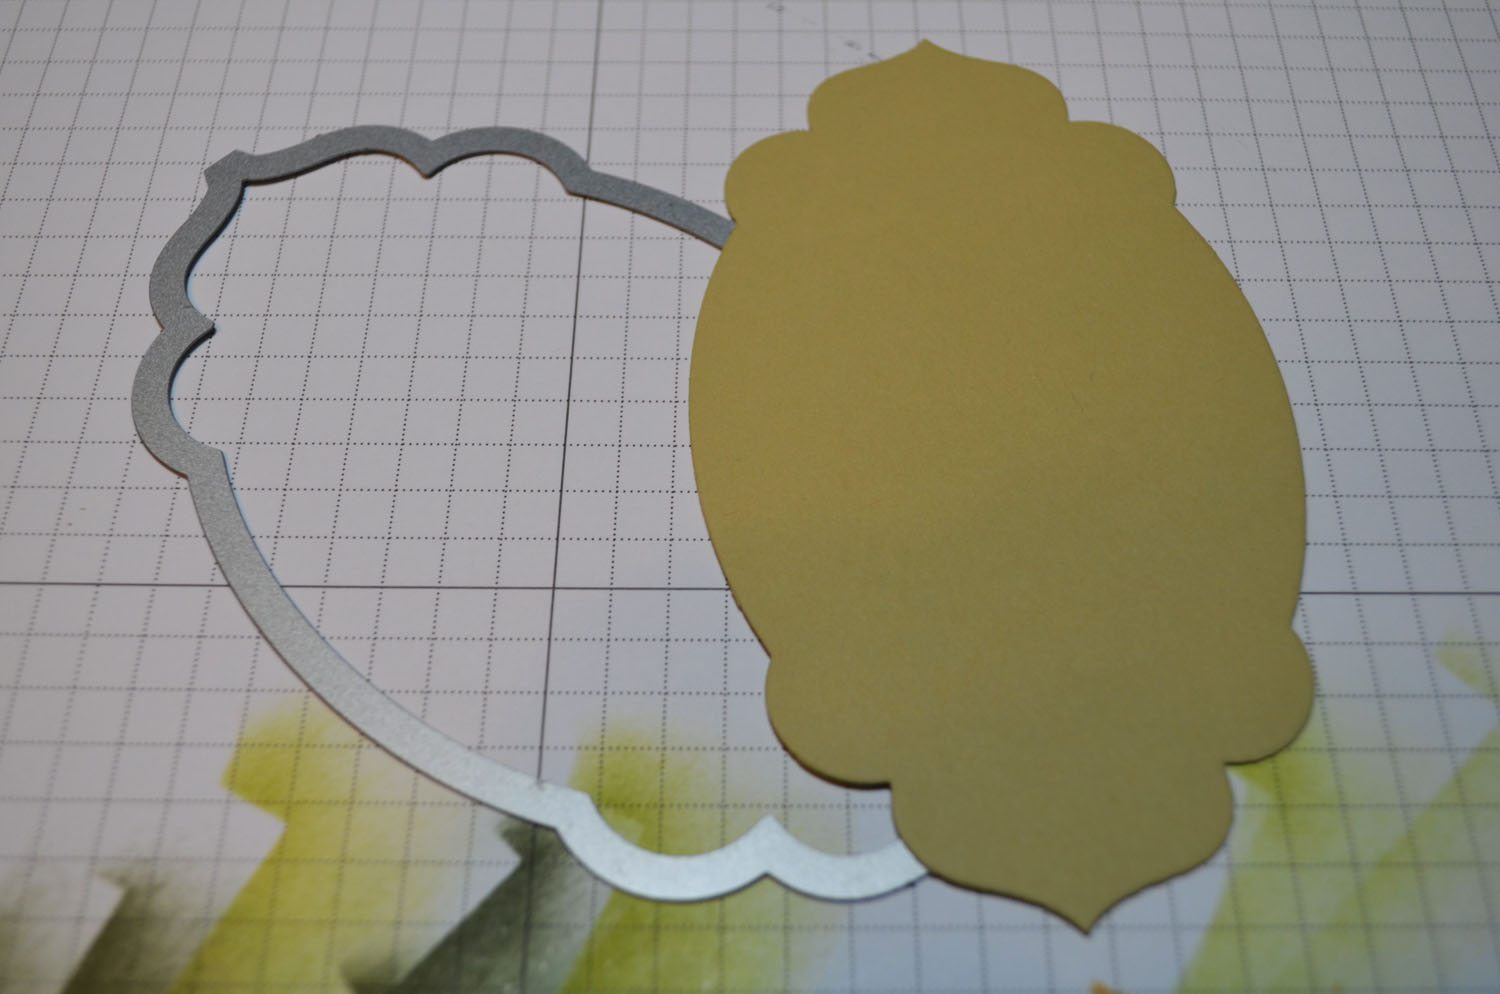
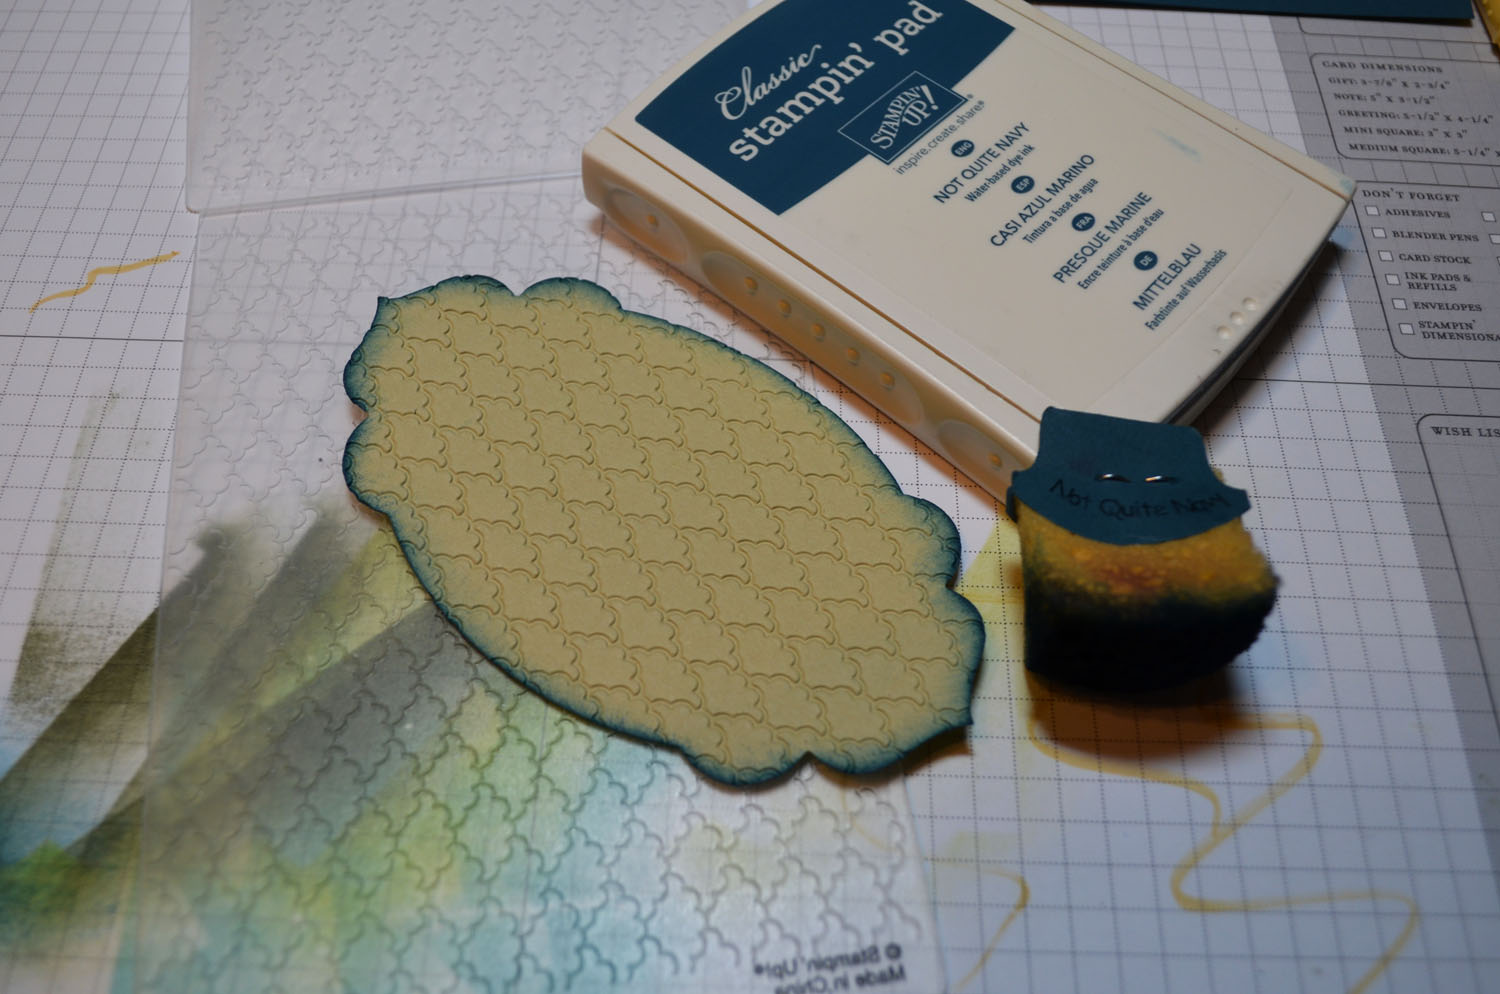
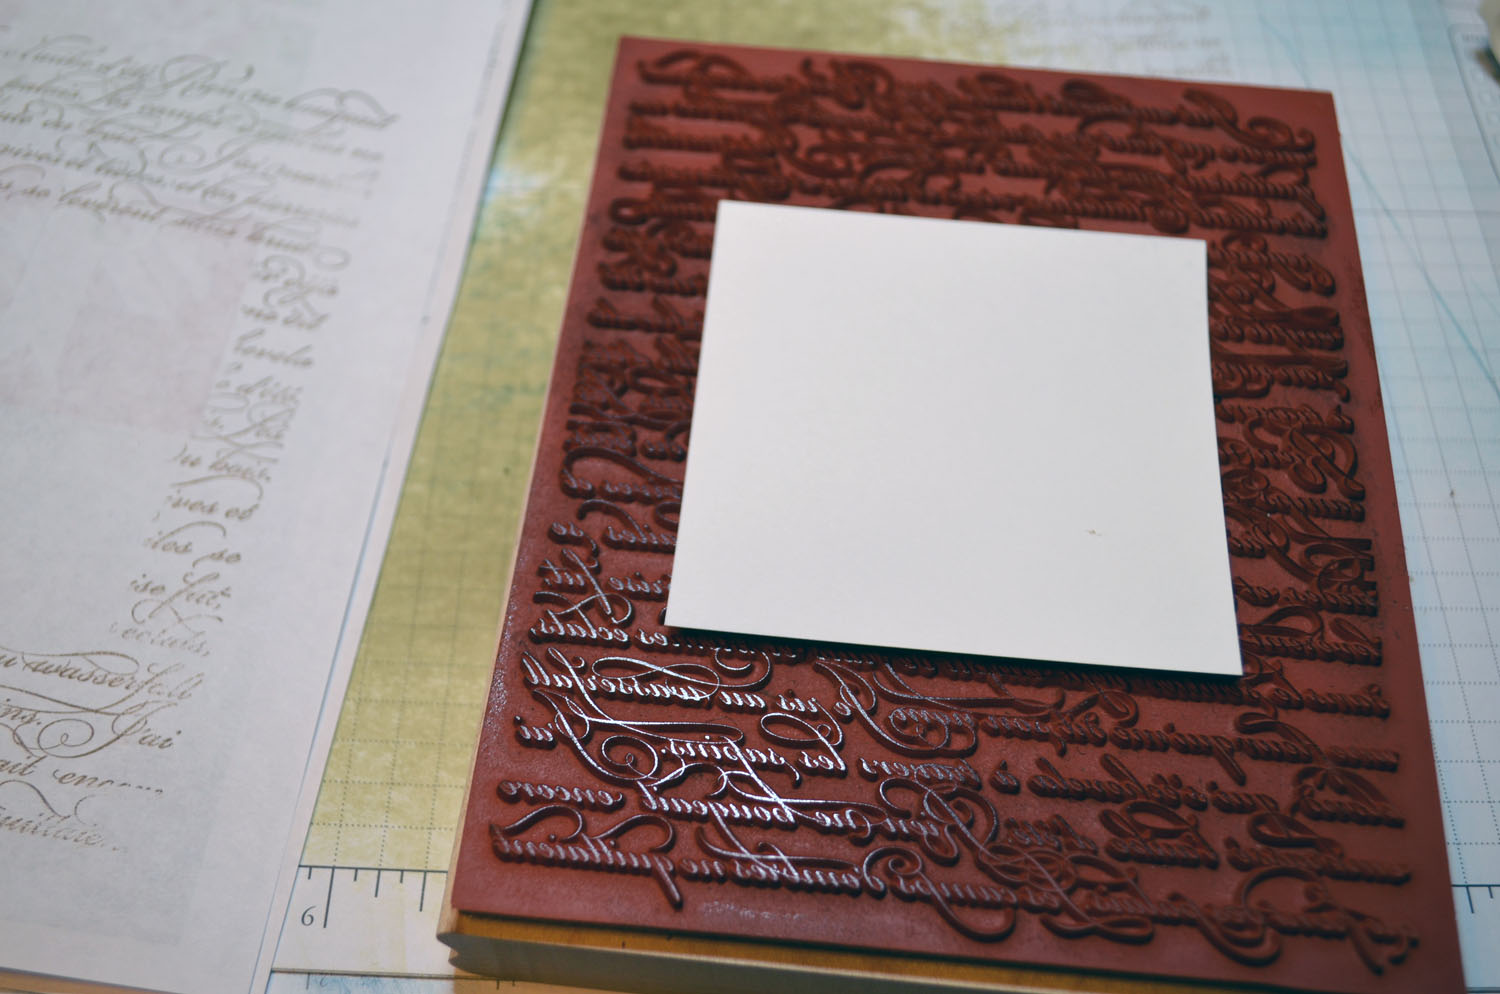
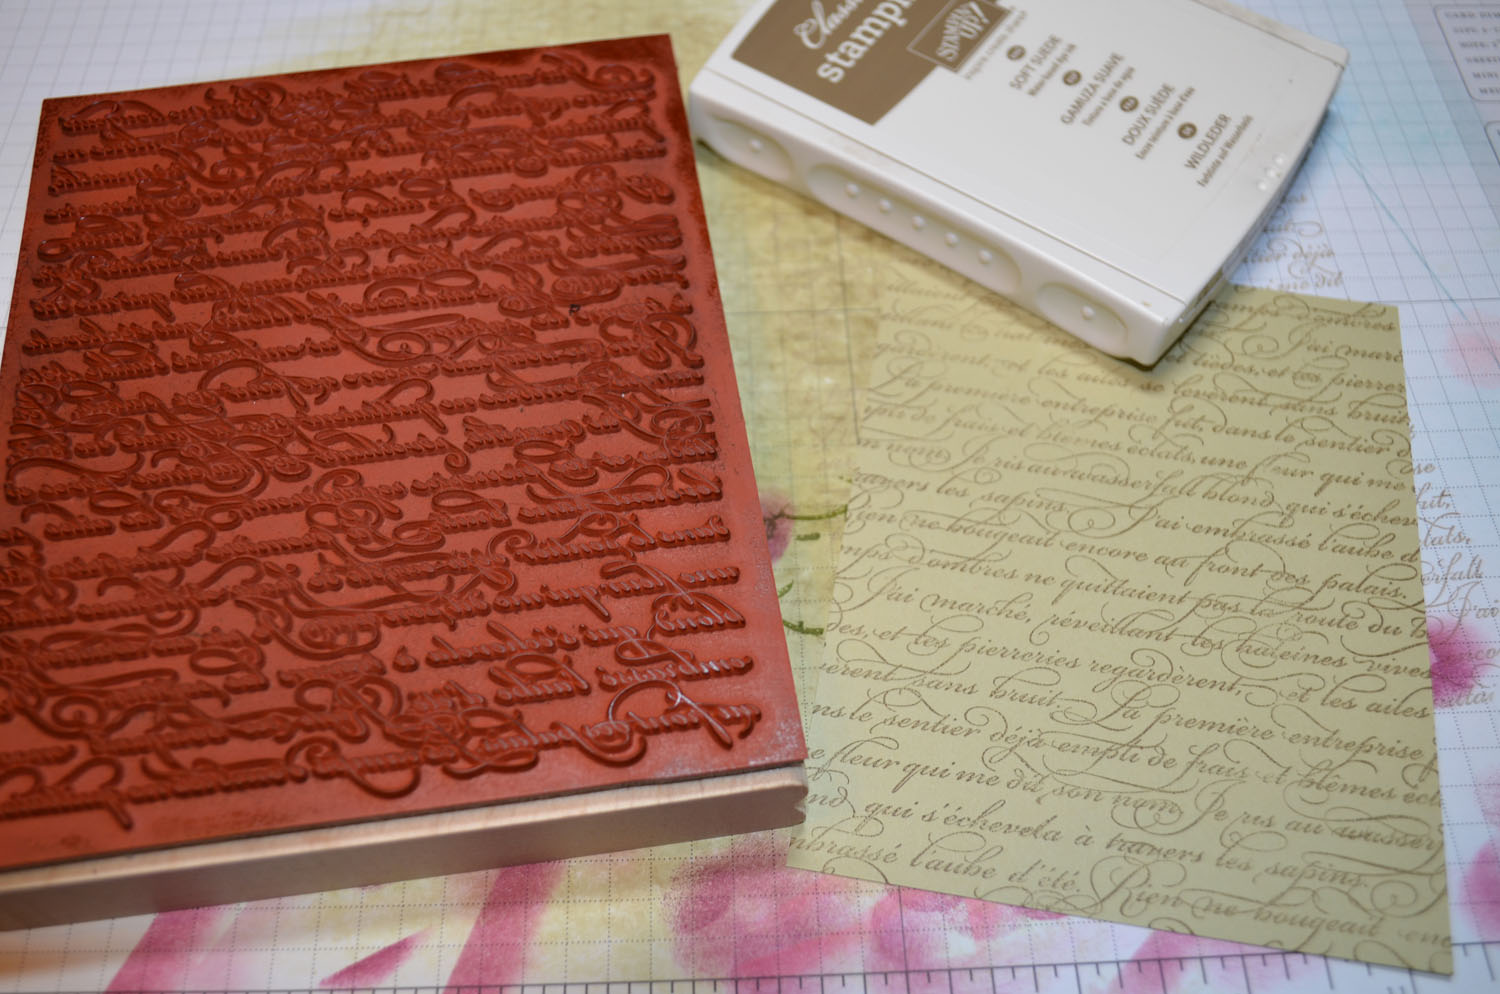
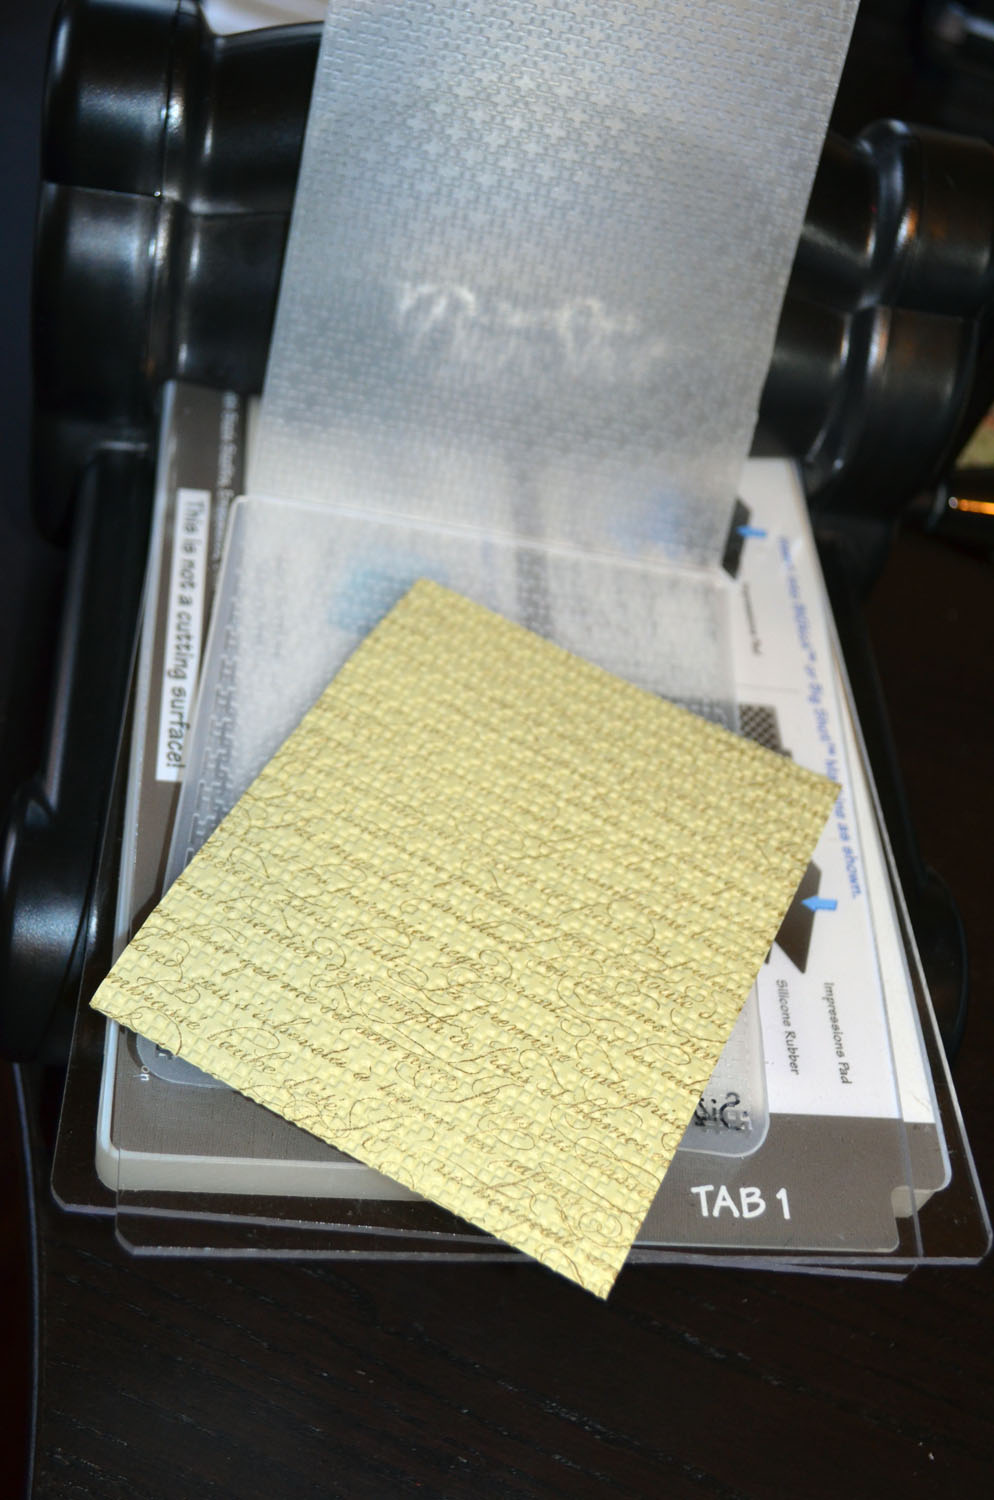
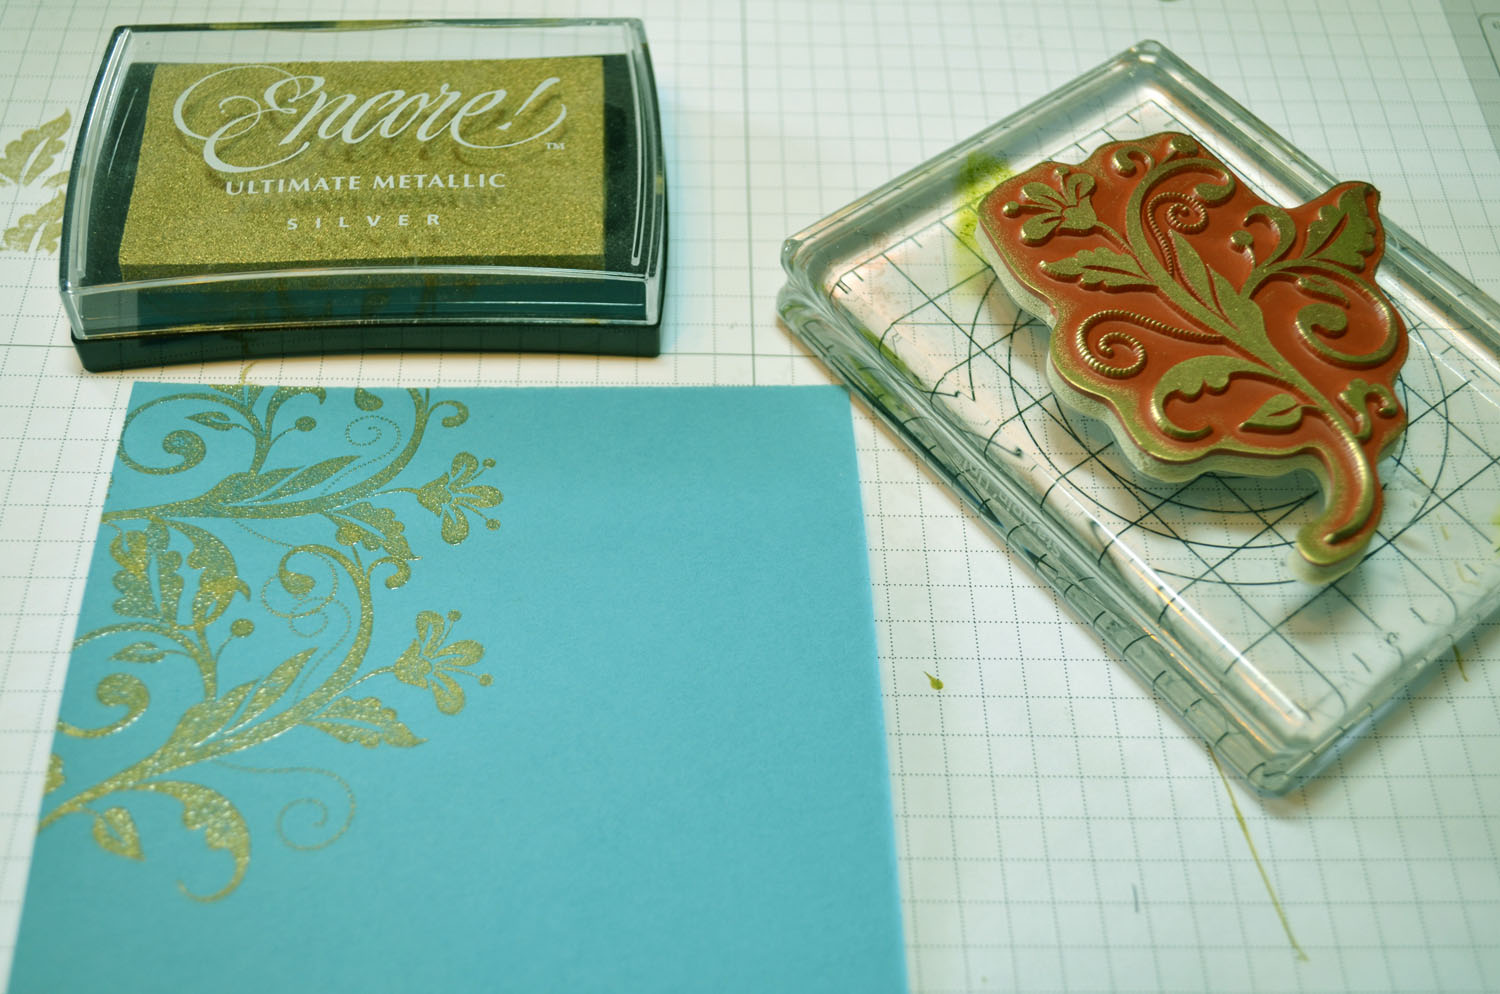
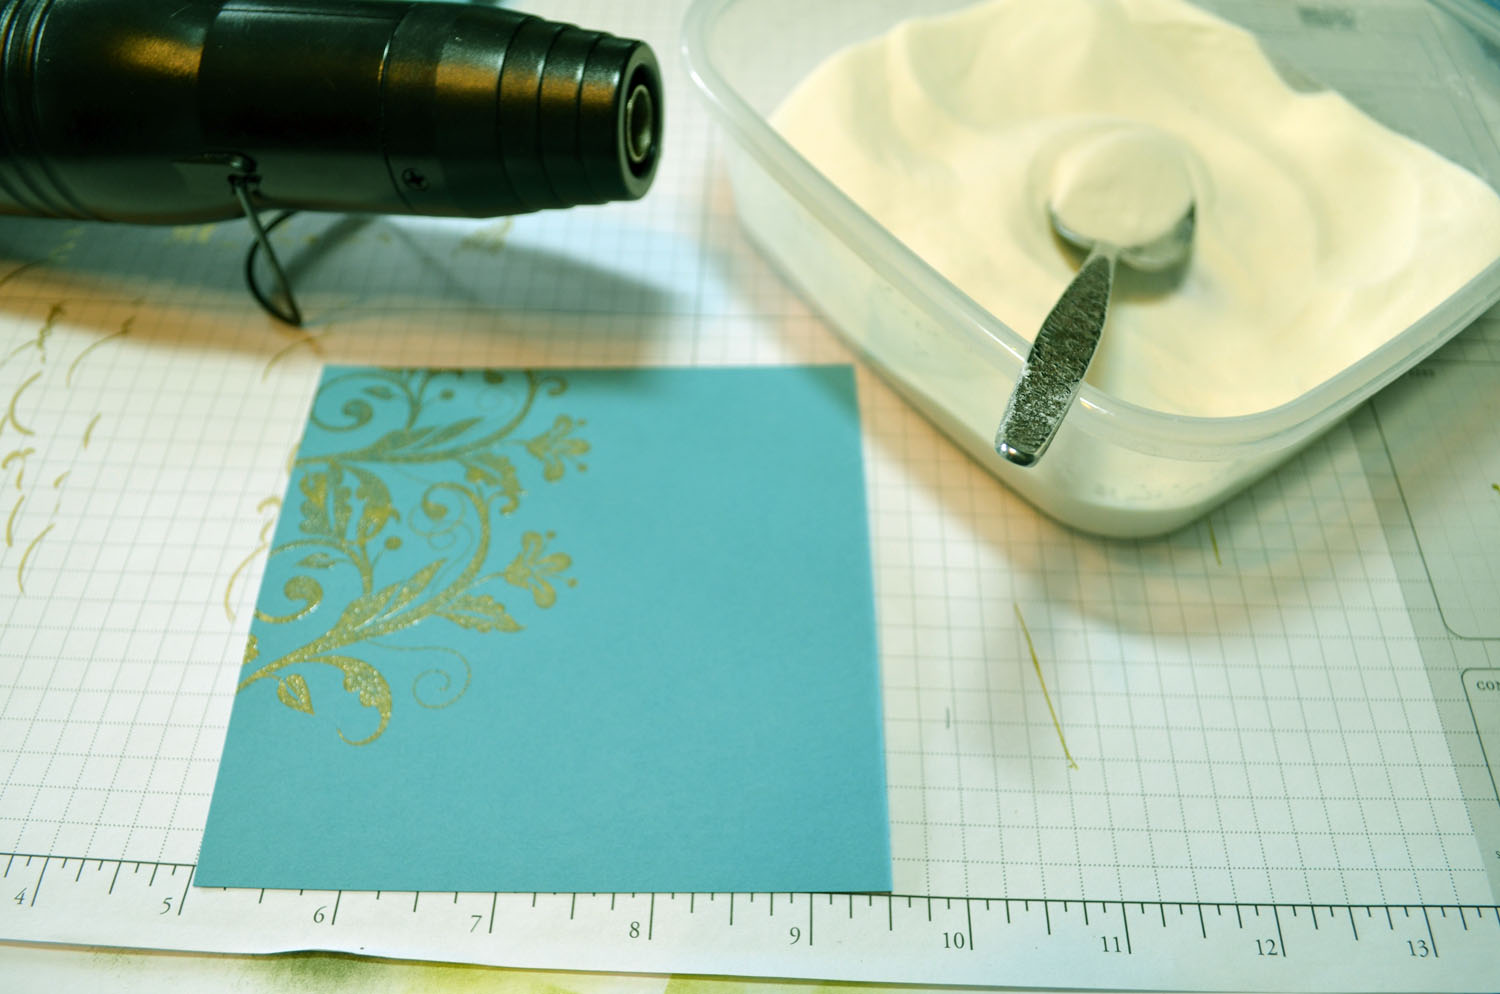
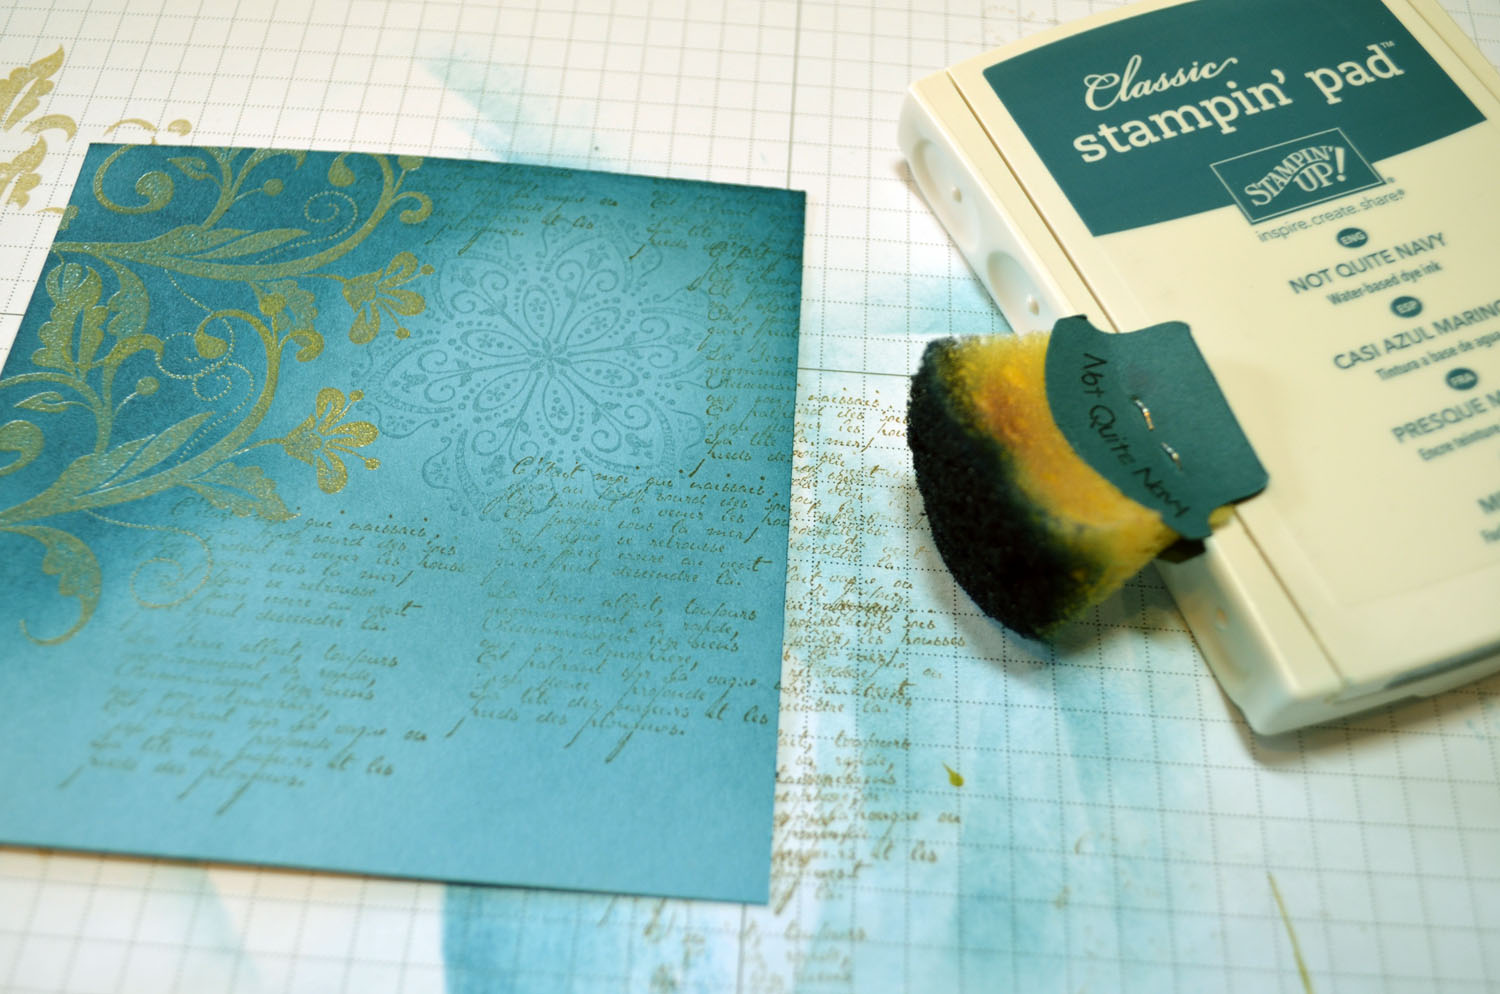
Die Cut one of the other Framelits from the Apothecary Accents set using the Big Shot Machine out of River Rock card stock. Sponged Not Quite Navy ink around the edge of the die and then embossed the die using the Fancy Frame Embossing Folder and the Big Shot Machine. Also sponged Not Quite Navy around the edges of the main image panel.
Bunched small circle of Not Quite Navy card stock and added them and gold brads to the main image panel and the embossed panel.

Added Baja Breeze, Not Quite Navy and River Rock DSP and Not Quite Navy DSP. Sponge Not Quite Navy around the edge of the card.
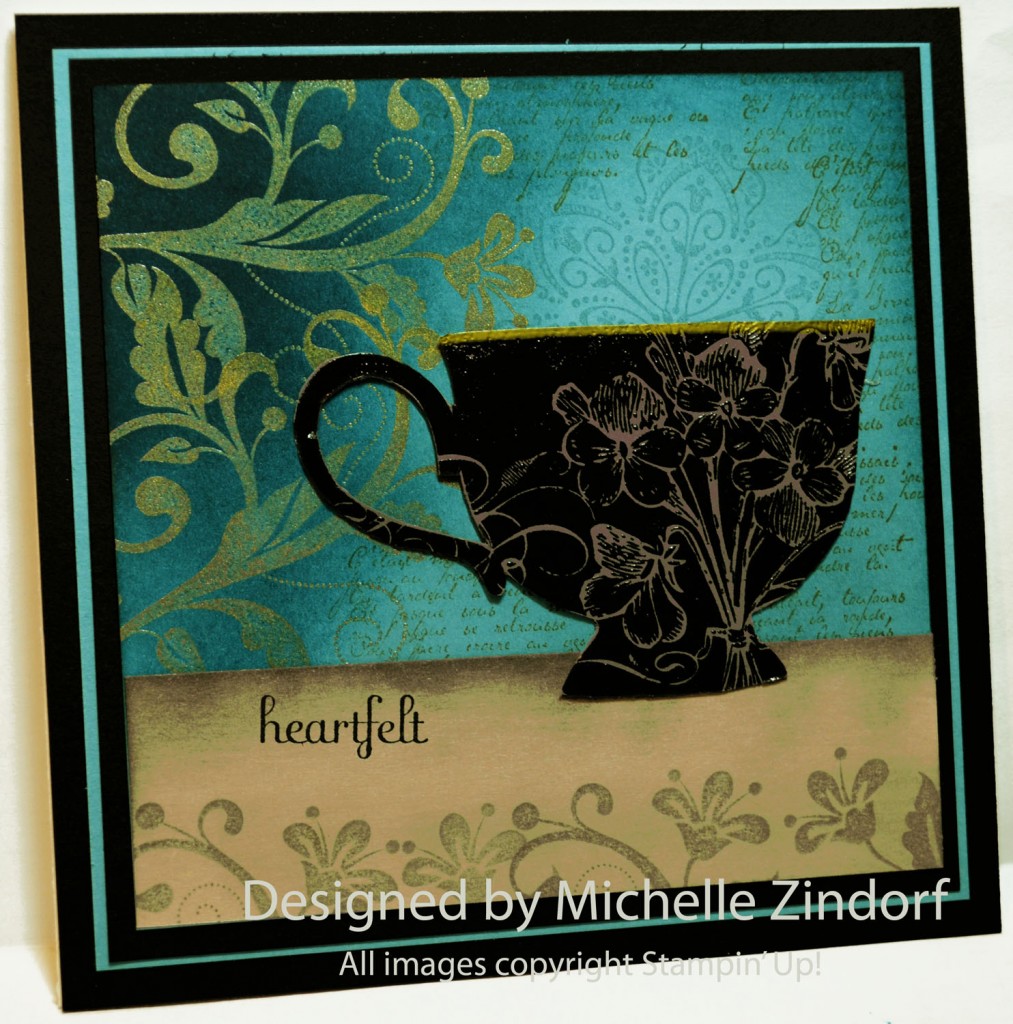
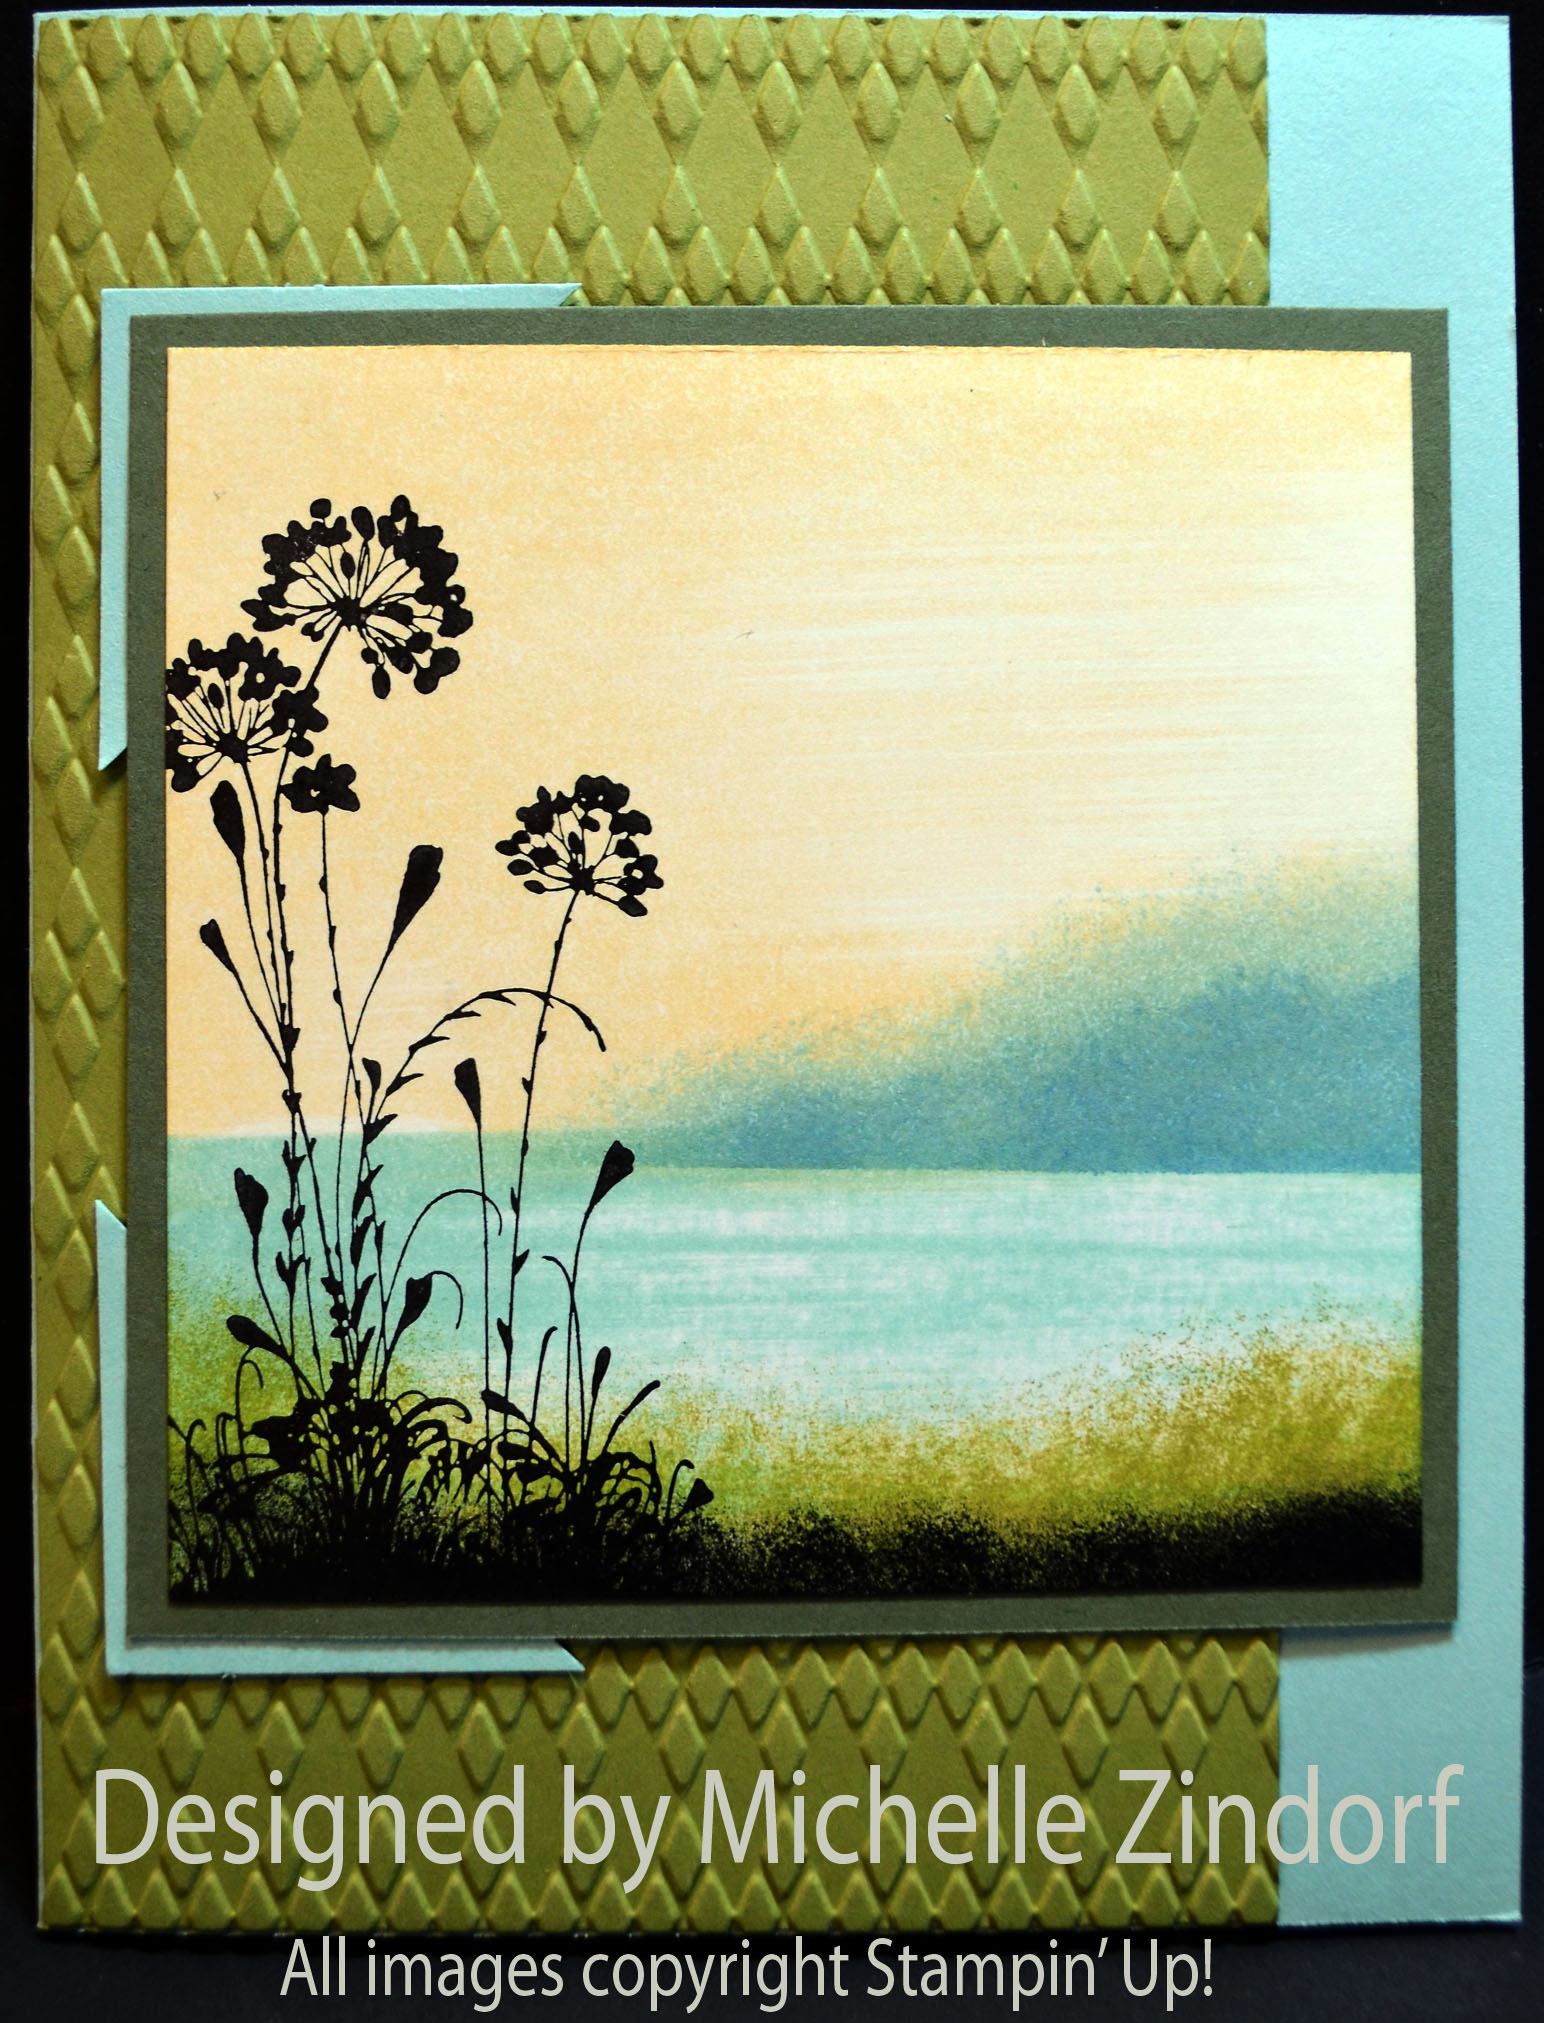
Here is the finished card measuring 5″ x 6.5″.

May your day be filled with fun and laughter.
Until my next post. . . . . .
Check out the awesome things happening at Stampin’ Up! below.
Hugs,

*******************************************
Weight loss in 2013: 12.4 lbs
*************************************************
Digital Content Discs for One Dollar
From now until February 12 (or while supplies last) you can get your hands on any of these content discs for just $1. That’s not a typo–they’re just one buck. So indulge–it won’t break the bank.
- Avant-Garde Collection DVD (item 125841)
- Cheerful Treats Digital Content CD (item 124237)
- Express Booster Pack DVD (item 124889)
- His & Hers Collection DVD (item 125842)
- October, December, Whenever Collection DVD (item 124485)
- Simple Snapshots Content CD (item 127185)
- Sweet Retreat Collection DVD (item 125840)
Since the discs are on the Clearance Rack, they must be purchased via demonstrator or online order. Go get yours today.
********************************************************************
It’s the time of year us Stampin’ Up! Fans look forward to, it’s Sale-a-bration time!!!! The best time of year to get your Stampin’ Up! products. Why you ask?

Shop and receive a free Sale-a-bration product for every $50 you spend. CLICK HERE TO CHECK OUT THE SALE-A-BRATION PRODUCTS! This is a long brocure so be sure to scan right when viewing. . . . .

***********************************************************************

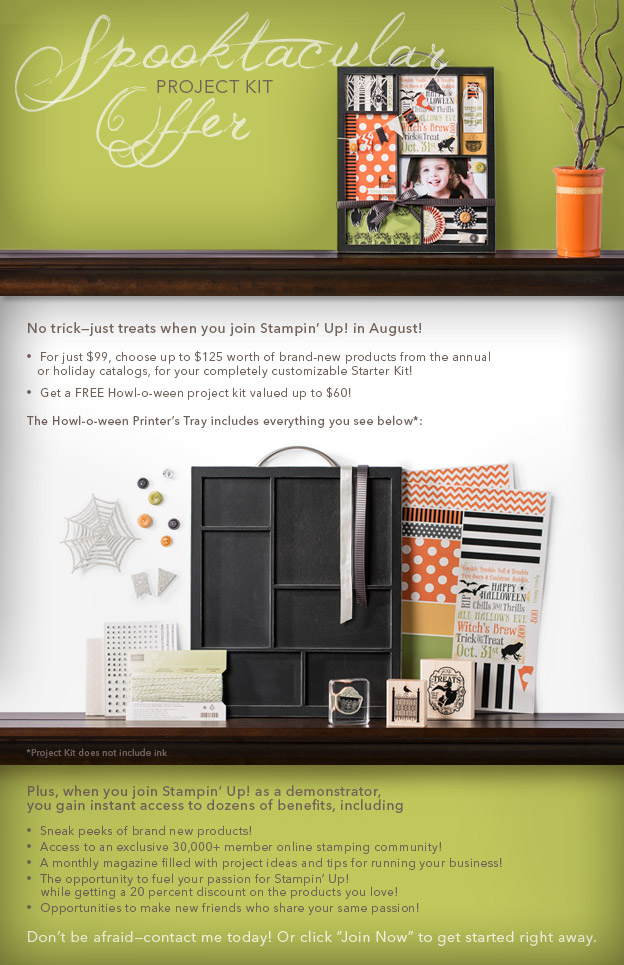
Join Stampin’ Up! during Sale-a-bration and chose $156.50 in product in your kit for just $99. That’s 25% more product! Start a business or just enjoy being a demonstrator to receive the 20% discount.

*************************************************
.jpg)
It’s a Magical Paper Escape Every Month!
Check this out, you can now get a monthly kit called Paper Pumpkin from Stampin’ Up! that includes exclusive stamps and everything you will need for a great project. You can get more info on this great product at www.mypaperpumpkin.com They even have a try me kit! You won’t want to miss out on even one of these kits. . . . . . . Please select me as your demonstrator when placing your order.
Also. . . . . . .
There is now a great stamp kit, Dude Your Welcome, for the men in your life. Check it out!
Guys don’t always have the easiest time expressing themselves, but with the Dude, You’re Welcome! kit, they’ll have
- Four wood-mount stamps (double-mounted) with the perfect sentiment for every occasion
- Twelve 4″ x 6″ postcards in four different (manly) colors
- Twelve gray envelopes
- A Basic Gray Classic Stampin’ Pad
- An instructional guide (for the most novice stamper!)
Basically, the kit includes everything a dude needs to create the perfect manly card that any woman would adore, all packaged in an appropriately masculine box.
This set can be purchased now with item number 132807. Great gift idea!
********************************************
Check out the brand new Spring Catalog and get all those supplies you need for your up coming projects.

**********************************************************
![]()
Have you checked out the great clearance rack at Stampin’ Up! CLICK HERE


