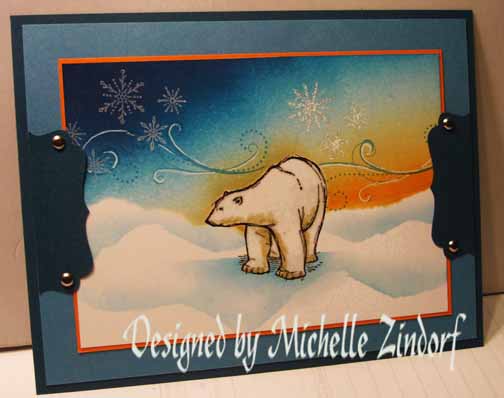
I think the United States needs some chilly thought waves right about now. I know here in Ohio it has been really hot and humid, yuck! Anyway, heres to some cooler tempatures. At least, this polar bear seems to be enjoying some in today’s card tutorial #442.
Announcement! Stampin’ Up is running a great special for the month of August, 2011. Purchase 3 Designer Series Paper packs and get one free. This is a good time to get those new Designer series paper packs that are in the New Idea Book & Catalog and Summer Mini catalog. Click here to shop now.
Let’s get started. . . . .
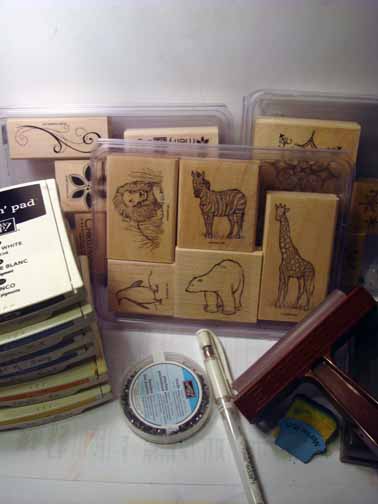
Supplies:
| Stamps: Stampin’ Up! Zoo Review, Serene Snowflakes, Season of Joy |
| Paper: Stampin’ Up! Whisper White, Pumpkin Pie, Marina Mist and Not Quite Navy |
| Ink: Stampin’ Up! Marina Mist, So Saffron, Pumpkin Pie, Pacific Point, Night of Navy, Basic Black, Whisper White |
| Accessories: Stampin’ Up! Brayer, Sponges, White Gel Pen, River Rock Marker, Silver Brads, Label Punch, Versamark pad and Marker, Clear Embossing Powder, Heat Gun, Post it notes |
| Techniques: Brayered Sky and Emboss Resist |
Get your copy of the new 2011-2012 Stampin’ Up! Idea Book & Catalog by sending $9.95 to me at P.O. box 116, West Alexandria, Ohio 45381 or via paypal to mzindorf@aim.com, shipping is free. Want a free copy of the new Summer Mini Catalog ? E-mail your mailing address to mzindorf@aim.com and I will get one in the mail to you. ![]() Are you getting inspiration from this blog? One way you can help support it is to order your Stampin’ Up products through me. Click HERE to place an order. Want to become a Stampin’ Up Demonstrator , receive a 20% discount on product and earn instant income on orders? Consider being part of my Stampin’ Up Team and start your own business or become a Hobby Demo just for the discount. Click HERE for more information.
Are you getting inspiration from this blog? One way you can help support it is to order your Stampin’ Up products through me. Click HERE to place an order. Want to become a Stampin’ Up Demonstrator , receive a 20% discount on product and earn instant income on orders? Consider being part of my Stampin’ Up Team and start your own business or become a Hobby Demo just for the discount. Click HERE for more information.
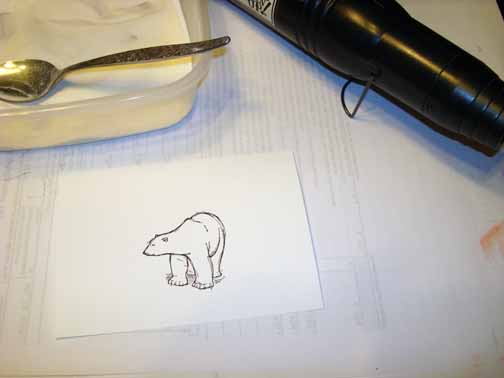
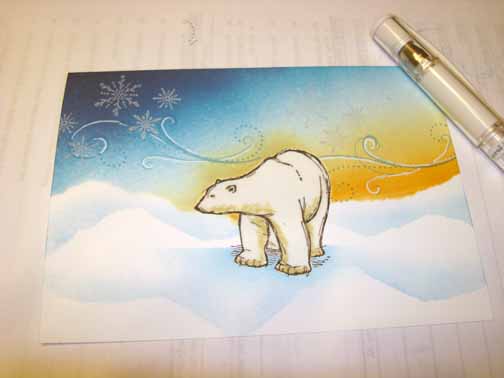
Stamped the polar bear from the Stampin’ Up! set Zoo Review on a 3.75″ x 5.25″ piece of Whisper White card stock by first loading my stamp with Versamark and then with Basic Black ink before stamping it. Note: you can use Basic Black Craft ink for this step also.

Heat embossed the image using clear embossing powder and a heat gun.
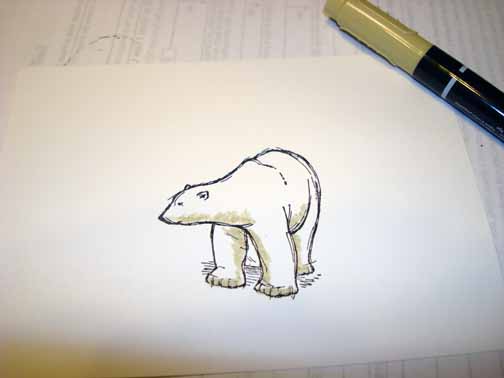
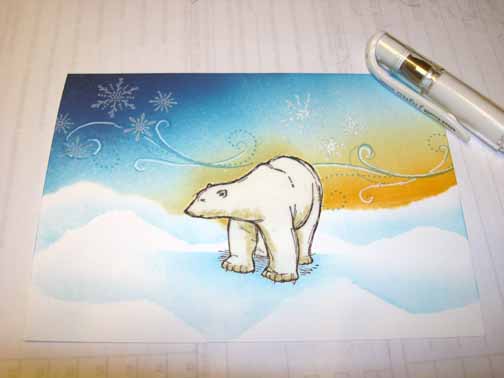
Added River Rock marker to the shadow areas of the bear.
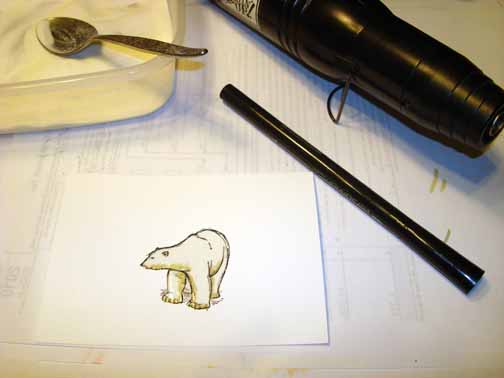
Colored over the bear with a Versamark marker and then heat embossed the image using clear embossing powder and a heat gun. Note: Your image should be glassy looking.
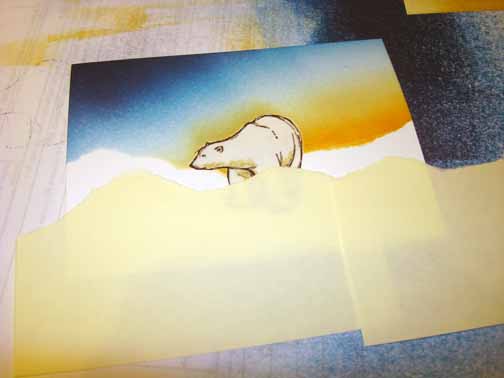
Ripped a couple of post it notes and used them to mask my snow area.

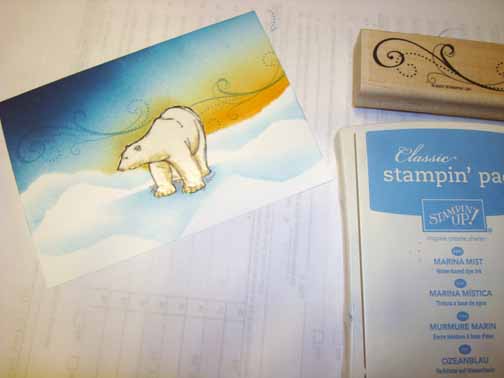
Brayered So Saffron ink at an angle at the bottom of the unmasked area.
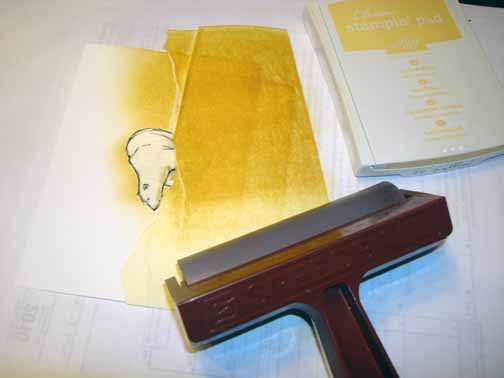
Brayered Pumpkin Pie ink at an angle, not covering the So Saffron ink entirely.

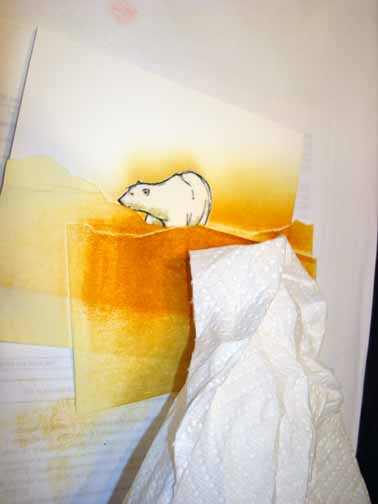
Using a paper towel, gently wiped the ink off of my embossed bear. Note: This should be done after each color that you brayer on.
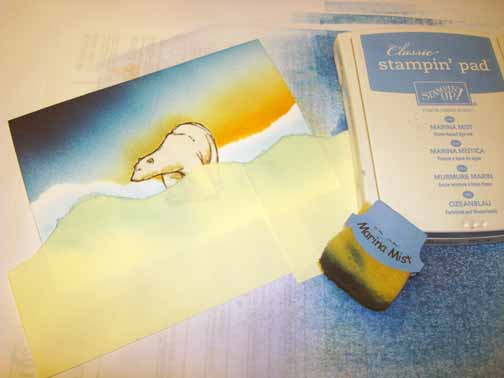
Brayered Marina Mist ink at the top of the card stock at an angle.
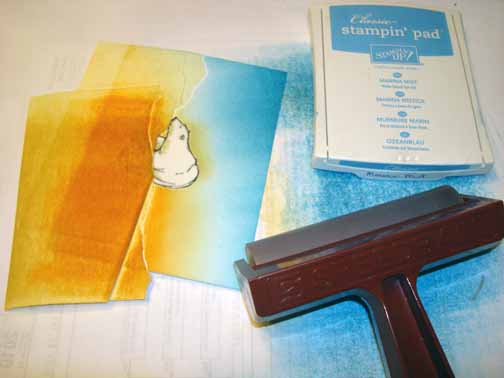
Brayered Pacific Point ink at an angle at the top of the card stock, not covering the Marina Mist ink entirely.

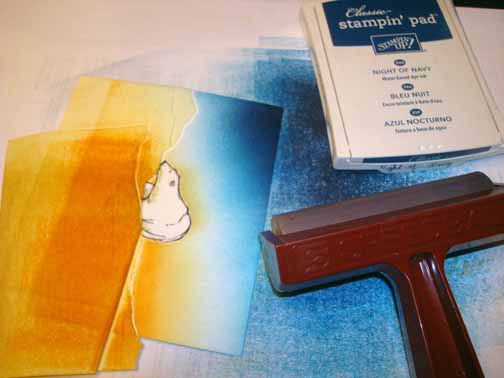
Brayered Night of Navy ink at the top left hand corner at an angle.
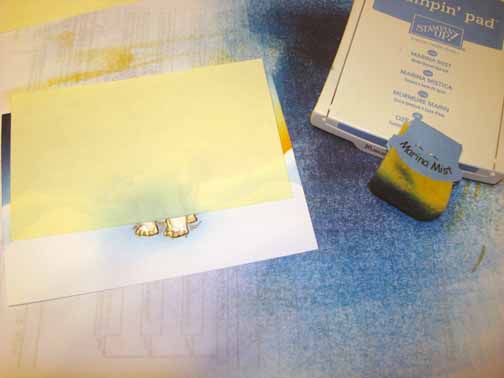
Removed the snow masks and ripped a couple of clear post it notes and masked my first hills in the snow.
Sponged Marina Mist ink at the post it note edges.
Removed the post it note masks and added a new straight edged mask to cover the bear. Sponged Marina Mist ink at the post it note edge to create a shadow for the bear.
Removed the mask, reused the ripped post it note mask to create some hills at the bottom of the card stock. Sponged Marina mist ink at the post it note edges.
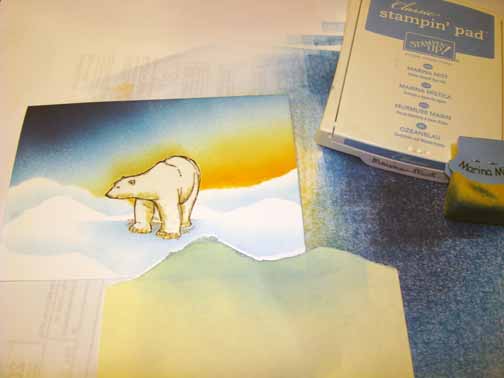
Stamped the flourish from the Stampin’ Up! set Season of Joy a couple of times using Marina Mist ink. Wiped the ink off of the bear using a paper towel.
Stamped some snowflakes from the Stampin’ Up! set Serene Snowflakes using Whisper White ink. Note: be sure that your sky is completely dry before stamping the snowflakes or the White ink will take on the sky colors.
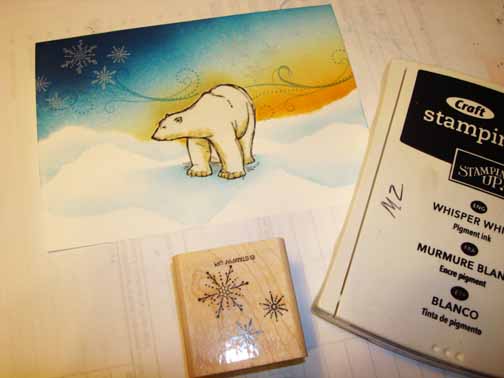
Added White Gel pen to the flourishs and snowflakes to give them more depth.
Punched a Note Quite Navy Decorative Label and cut it in half.
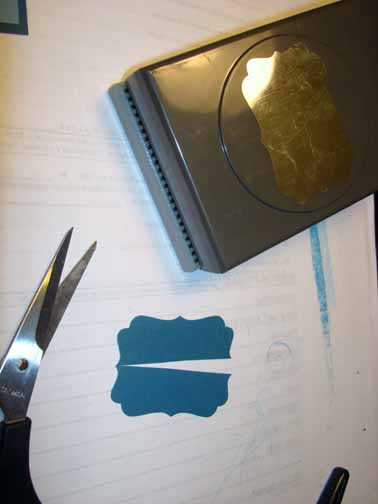
Added the Decorative label halfs, a Pumkin Pie Panel, Marina Mist Panel, Not Quite Navy panel and 4 silver brads.
Here is the finished card measuring 5″ x 6.5″.
May your day be totally Kool.
Until my next post. . . . .
Hugs,
Michelle
 Get ready for Brayer Workshops! I am coming to the following locations, click the location name for more information.
Jefferson, Louisiana (New Orleans Area)
Here is a link to my workshop calendar where you can see all of my travel schedule and to get info on beginner and advanced Brayer workshops: http://zindorf.blogs.splitcoaststampers.com/workshop-calendar
Don’t see a workshop in your State? Interested in hosting the workshops in your area in 2012? Click HERE to get hostess information.
Link to my Stampin’ Up website where you can order all of your must have Stampin’ Up products from me 24-7: http://michellezindorf.stampinup.net


