
I’m getting so excited, I’m back on the road this weekend and heading to St. Peters, Missouri, Woohooo!!
How about a tutorial before I leave. This tutorial has a bit of everything thrown in, brayering, direct to paper, emboss resist, even a shadow. 🙂
An FYI for you before the tutorial, today is the last day for Stampin’ Up’s Sale-a-bration period. So if you would like to receive a free stamp set with each $50 in product you purchase check out this link. http://www.stampinup.net/esuite/home/michellezindorf/promotions You can order at that link also and your purchase will be shipped directly to you. 🙂
Let’s get started. . . . . . . .
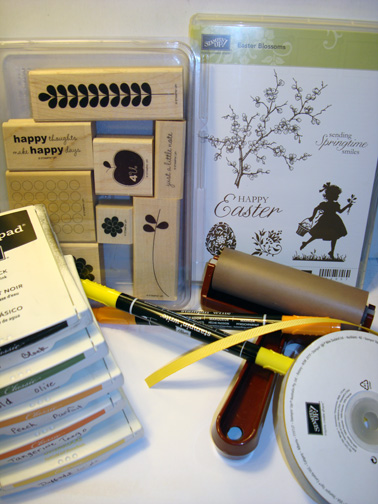
Supplies:
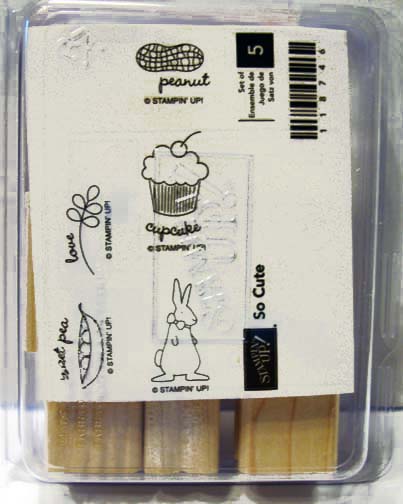
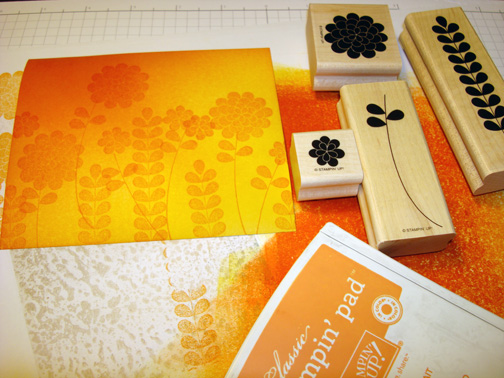
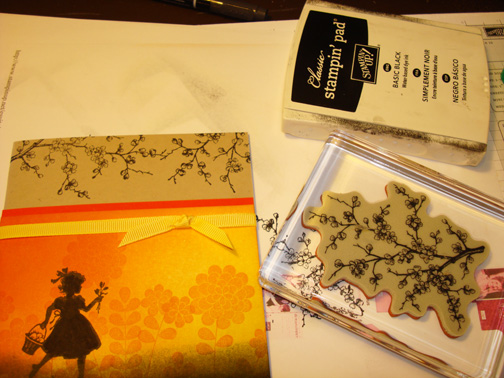
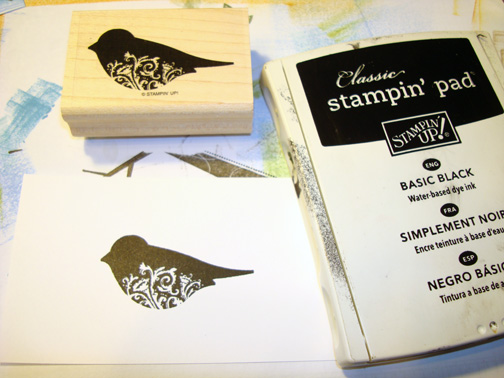
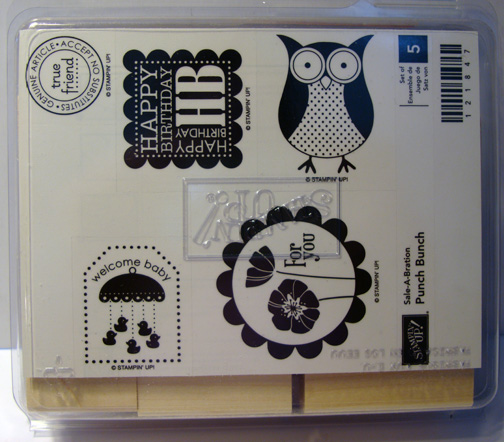
| Stamps: Stampin’ Up! Season of Friendship |
| Paper: Stampin’ Up! Whisper White, Bashful Blue and Early Espresso |
| Ink: Stampin’ Up! Basic Black, Soft Suede, Sahara Sand, More Mustard, So Saffron, Chocolate Chip, Pacific Point, Bashful Blue |
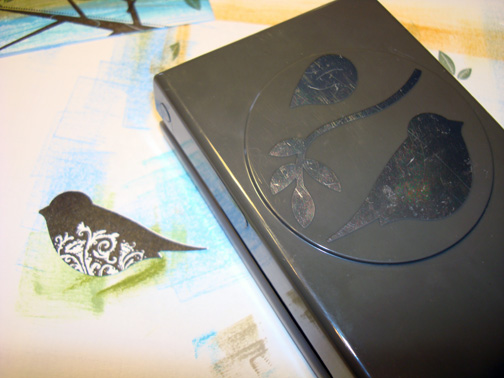
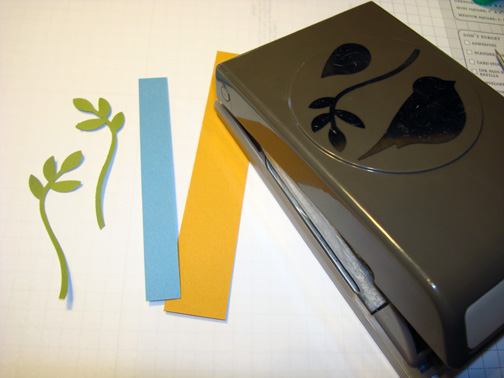
| Accessories: Stampin’ Up! Gold Brads, White Gel Pen, Basic Black Marker, Versamark Pad, Sponges, Brayer, Clear Embossing Powder, Heat Gun, Photo Corner Punch |
| Techniques: Emboss Resist, Brayering, Direct to Paper |
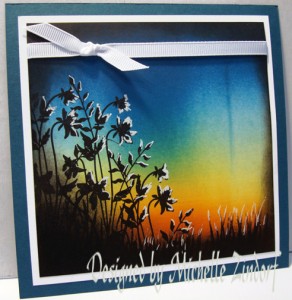
 My Stampin’ Up customers that order $50 in Stampin’ Up merchandise will receive this handmade card though March 31, 2011.
Don’t forget it is Sale-a-bration time at Stampin’ Up. Receive a free Sale-a-bration set for each $50 in merchandise purchased. Click HERE to place an order. Your order will be shipped directly to your door step from Stampin’ Up!
The Stampin’ Up USA Idea book and Catalog is here. For your copy, please send a check for $9.95 to Michelle Zindorf, P.O. Box 116, West Alexandria, OH 45381 or send it via paypal to mzindorf@aim.com USA only. My current customers will receive a new Occasions Mini Catalog automatically from me. Not a current customer and want a free copy of the new Occasions Mini Catalog ? E-mail your mailing address to mzindorf@aim.com and I will get one in the mail to you. ![]() Are you getting inspiration from this blog? One way you can help support it is to order your Stampin’ Up products through me. Click HERE to place an order. Want to become a Stampin’ Up Demonstrator , receive a 20% discount on product and earn instant income on orders? Consider being part of my Stampin’ Up Team and start your own business or become a Hobby Demo just for the discount. Click HERE for more information.
Are you getting inspiration from this blog? One way you can help support it is to order your Stampin’ Up products through me. Click HERE to place an order. Want to become a Stampin’ Up Demonstrator , receive a 20% discount on product and earn instant income on orders? Consider being part of my Stampin’ Up Team and start your own business or become a Hobby Demo just for the discount. Click HERE for more information.
On with the tutorial. . . .
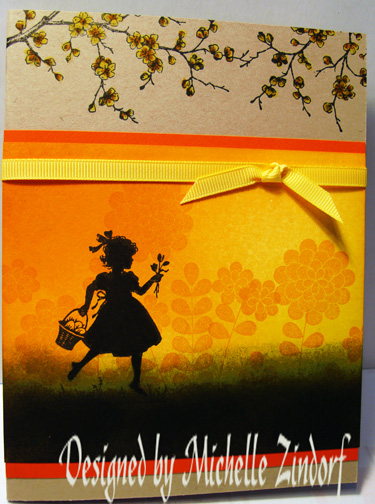
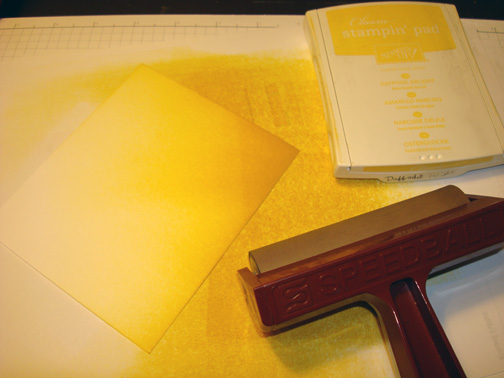
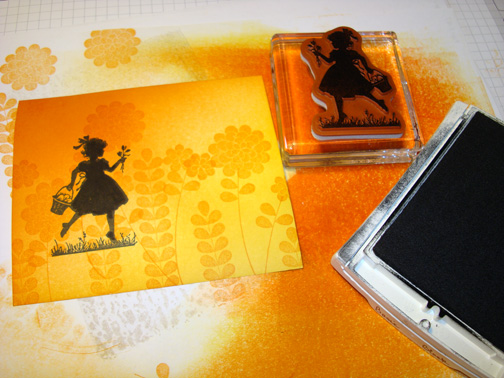
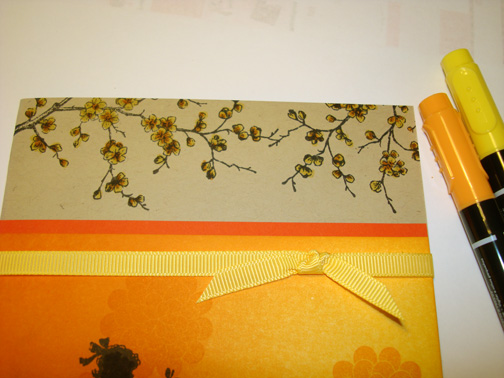
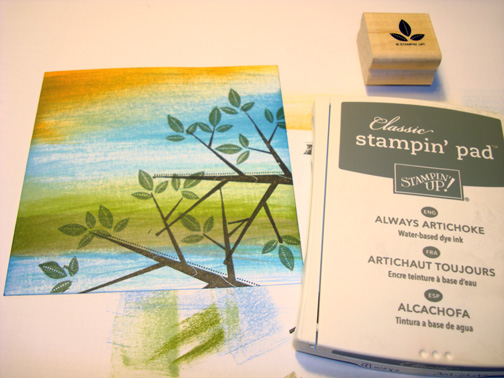
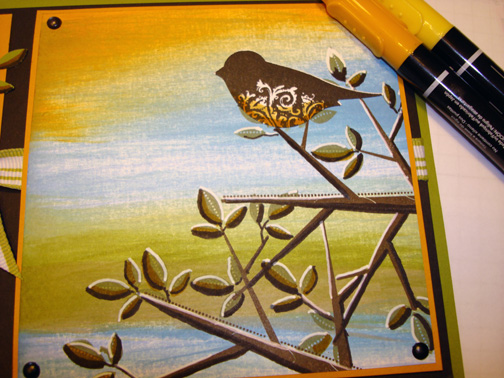
Stamped the tree on a 3.75″ x 6.25″ piece of Whisper White card stock by first loading the stamp with Versamark and then loaded it with So Saffron ink before stamping it.

Heat embossed the image using clear embossing powder and a heat gun.

Ripped the very edge off of a post it note and then masked the bottom of card stock.

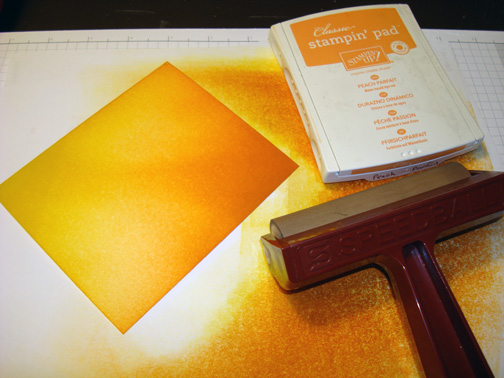
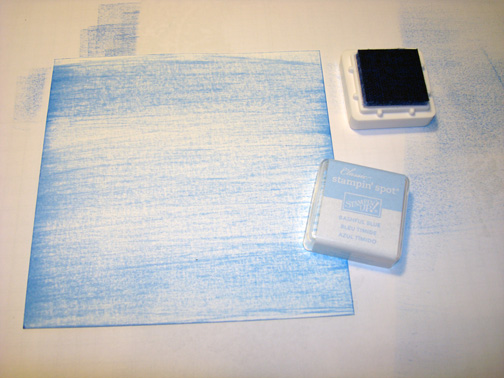
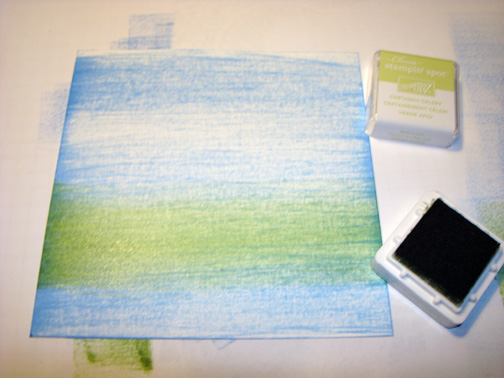
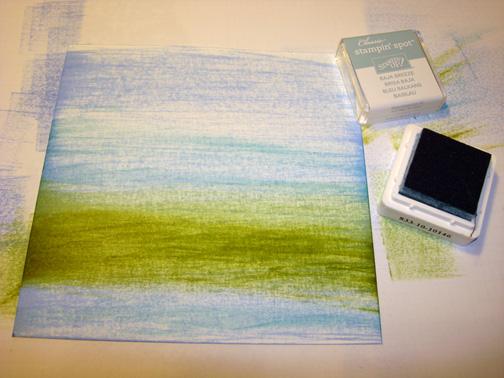
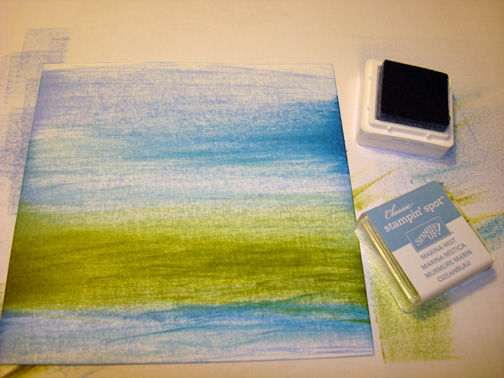
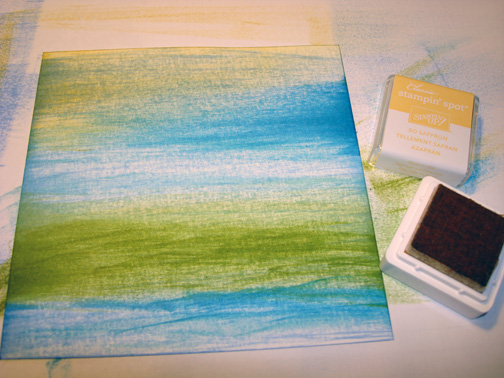
Brayered Bashful Bliss ink at the top of the card stock.

Brayered Pacific Point ink at the bottom of the un-masked area.

Make sure you gently wipe the ink from your embossed image using a paper towel every time you get ink on it.

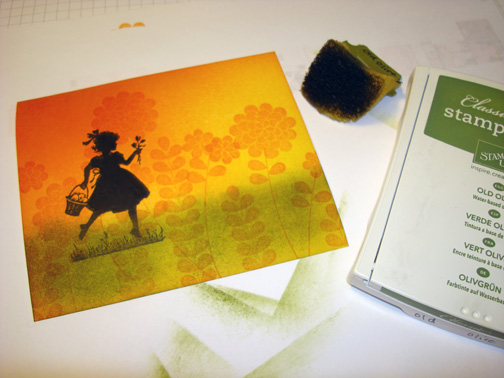
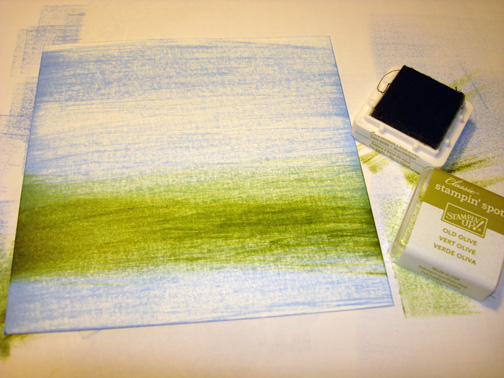
Sponged a hill in using Chocolate Chip ink.

Sponged a Basic Black hill in, over lapping the Chocolate Chip hill.

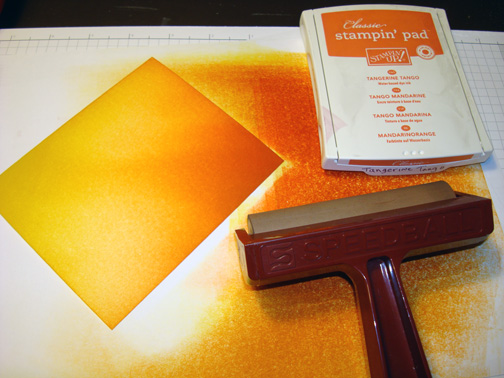
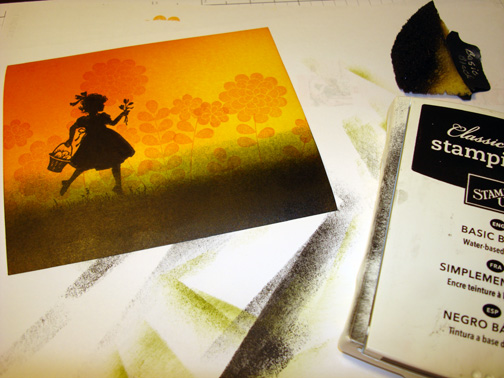
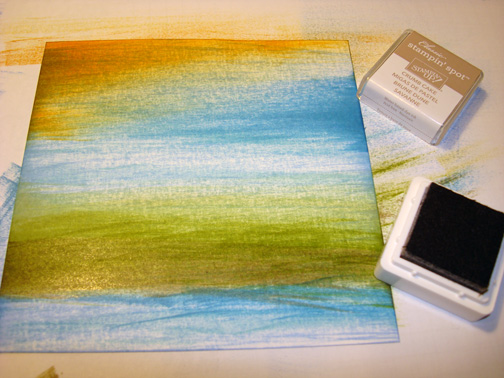
Removed the post it note mask. Using the edge of the So Saffron ink pad, smeared ink across the ground area in the scene.

Using the corner of an More Mustard ink pad, smeared ink across the ground area.

Added a bit of Sahara Sand ink.

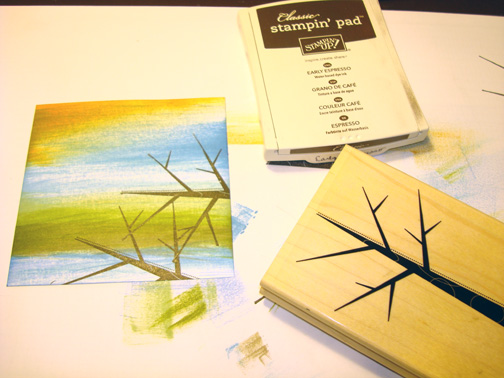
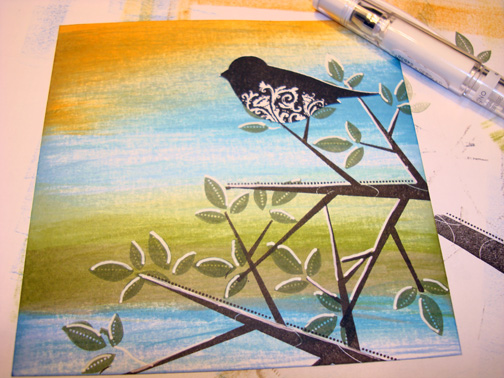
Stamped the tree using Basic Black ink to create a shadow for the tree.


Added Basic Black marker to the sides of the branches, next to the embossed image. The marker will not stick to the embossed image.
Wiped the ink from the embossed image. Found the Basic Black ink stained the middle of the tree trunk when I put in the hill, so I purposely stained the bottom of the tree trunk by smearing ink on the embossed tree using the corner of the ink pad. Let the ink sit for a moment and then wiped it off. Be careful with this step so you don’t get any on your background.

Added Soft Suede ink using the corner of the ink pad.

Added White gel pen to the left side of the tree.

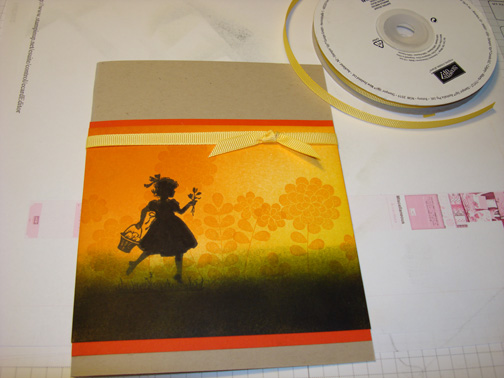
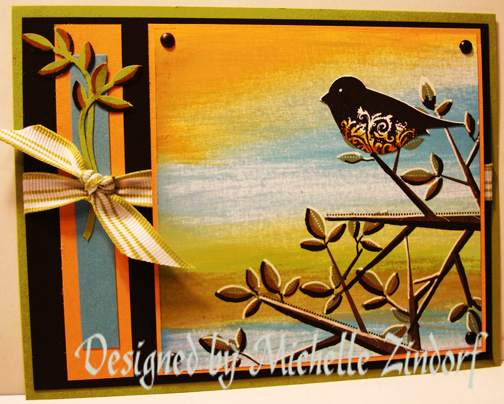
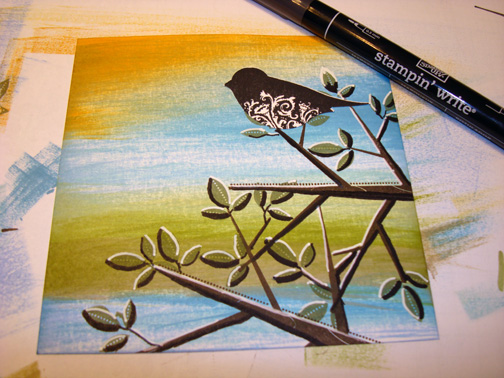
Added a 3 7/8″ x 6 3/8″ Bashful Blue Panel, 5″ x 6.5″ Early Espresso Panel and 6 small Bashful Blue Photo Corner Punches.

Added 6 Gold Brads. Here is the finished project measuring 5′ x 6.5″.

Have a super weekend!
Until my next post. . . . . . . . .
Hugs,
Michelle
 Get ready for Brayer Workshops! I am coming to the following locations, click the location name for more information.
Owings Mills, Maryland (Baltimore Area)
Staley , North Carolina (South of Greensboro)
Jefferson, Louisiana (New Orleans Area)
Here is a link to my workshop calendar where you can see all of my travel schedule and to get info on beginner and advanced Brayer workshops: http://zindorf.blogs.splitcoaststampers.com/workshop-calendar
Don’t see a workshop in your State? Interested in hosting the workshops in your area in 2012? Click HERE to get hostess information.
Link to my Stampin’ Up website where you can order all of your must have Stampin’ Up products from me 24-7: http://michellezindorf.stampinup.net
Link to my Scentsy website where you can order the best smelling, safest wickless candles from me 24-7: https://zindorf.scentsy.us/Home
Donate cards to the Give Thanks Project and help out Cancer Patients. CLICK HERE TO HELP


