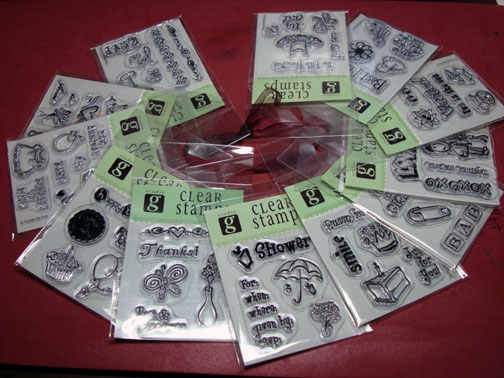
Today’s piece is dedicated to all the Stampin’ Up stamp hoarders. Now you know who you are, a few of you have even asked me to use some of my old, but loved stamps in projects. I was a hobby demo so I never felt the need to get rid of my old stamps when new ones came out. So I have around 300 Stampin’ Up sets, that is what is left after weeding out sets that weren’t my style. We won’t talk about my unmounted stamp collections in this same post. You all will think I’m a stamp junkie or something, lol.
Let me hear about your stamp collections/addiction in the comments section of this post. If you are getting this by e-mail update, click this link to leave me your comment:
http://zindorf.blogs.splitcoaststampers.com/2008/07/09/toil-blossoms-scene-tutorial/
I know I’m not the only one that will chose new stamps over new shoes, let me hear from you. 🙂
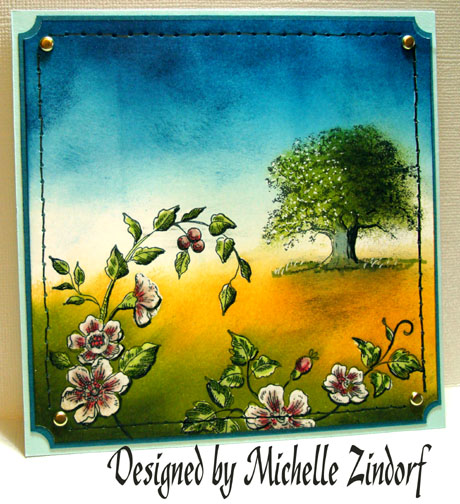
Anyway, I have used Stampin’ Up sets “Toile Blossoms” & “Lovely as a Tree” in today’s piece.
Let’s get started on the tutorial. 🙂
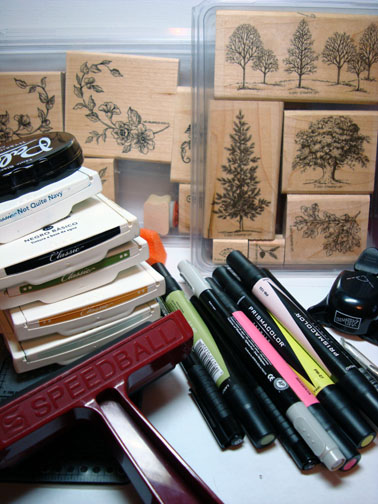
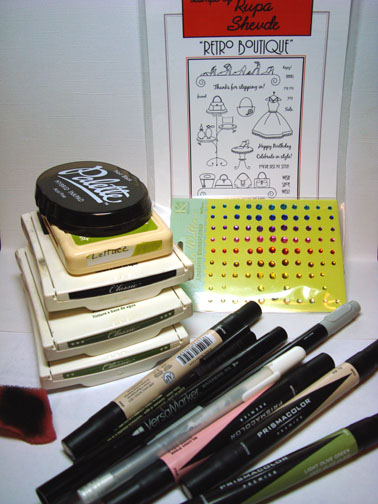
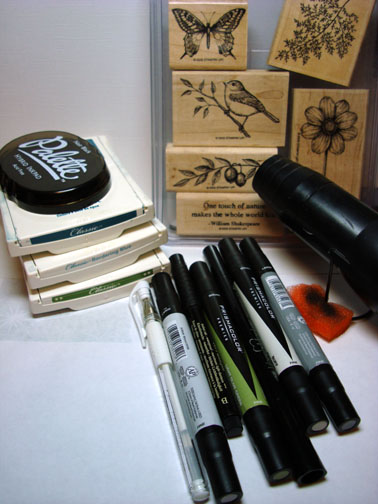
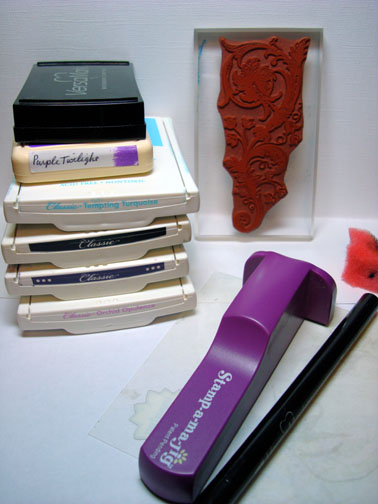
Supplies:
| Stamps: Stampin’ UP Toile Blossoms & Lovely as a Tree |
| Paper: Stampin’ Up Whisper White, Not Quite Navy and Soft Sky |
| Ink: Stampin’ Up Soft Sky, More Mustard, Not Quite Navy, Basic Black & Old Olive, Palette Noir Black |
| Accessories: Piercing Tools, Prismacolor Markers, Going Gray marker, White Gel Pen, Black marker, Ticket Corner Punch, Sponges, Brayer, Clear Embossing Powder, Heat Gun, Versamark Marker, Gold Brads |
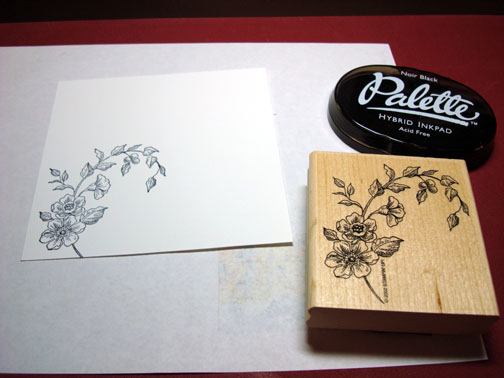
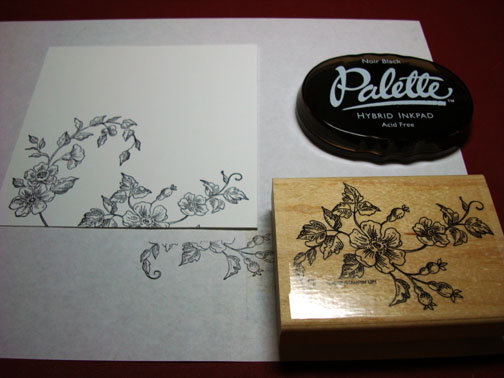
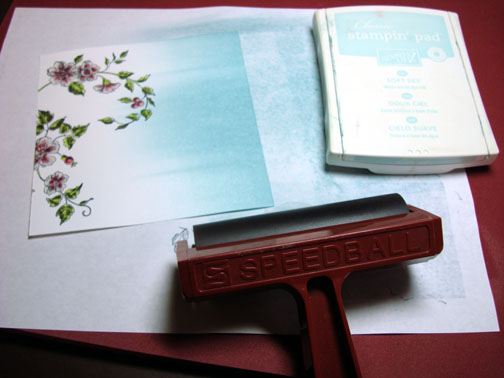
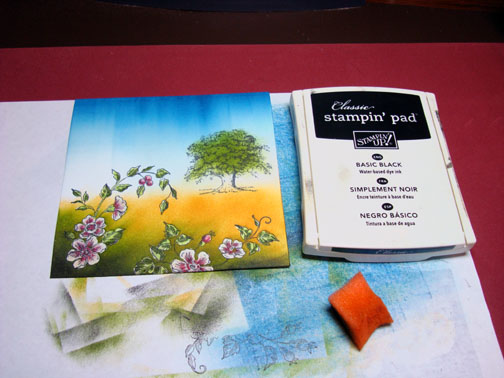
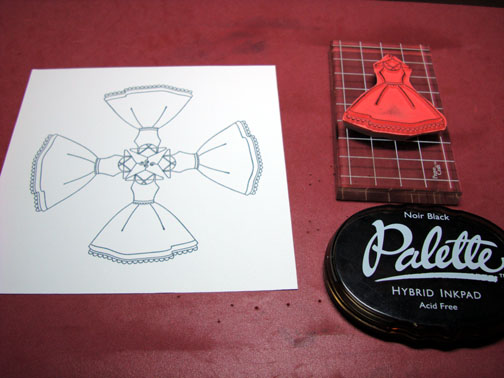
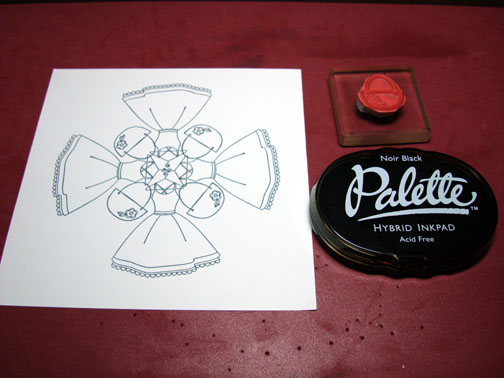
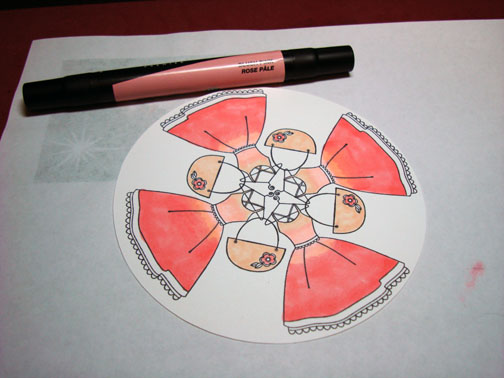
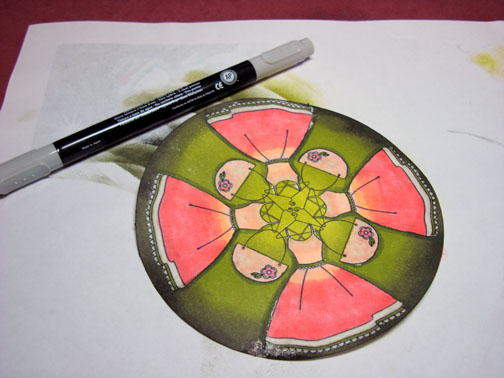
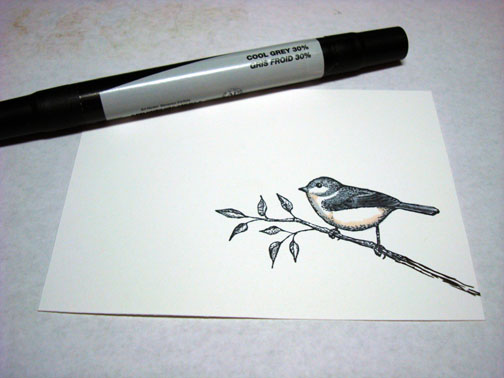
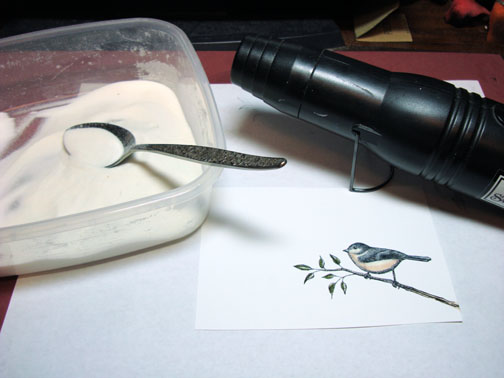
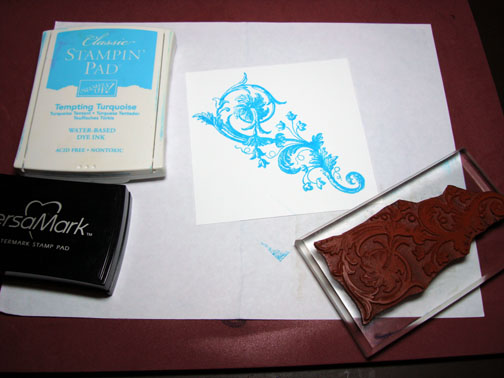
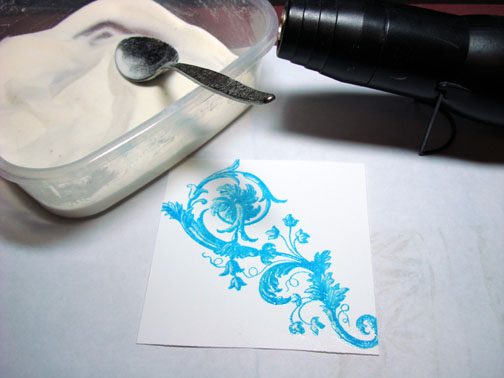
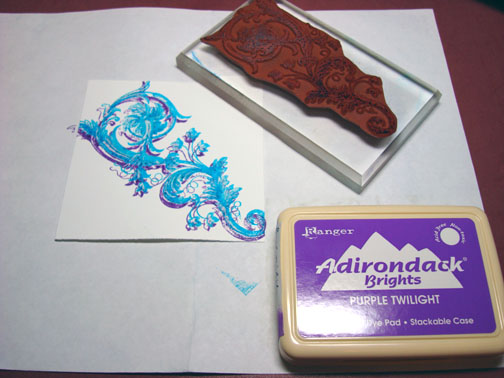
Stamped Toile Blossom images on a piece of 5″ x 5″ Whisper White card stock with Palette Noir Black ink.
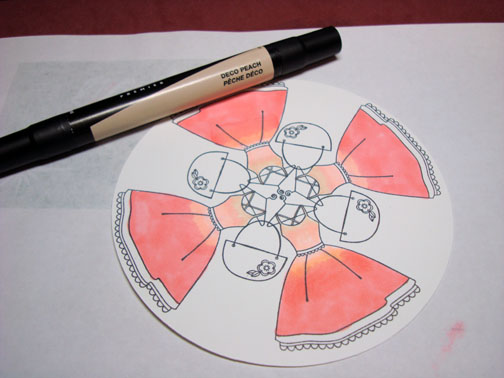
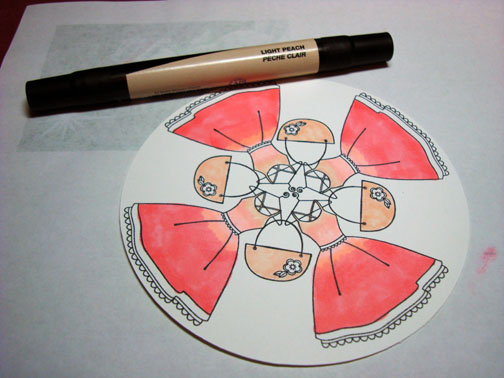
Colored the center of the flower petals with a Prismacolor Deco Pink marker.
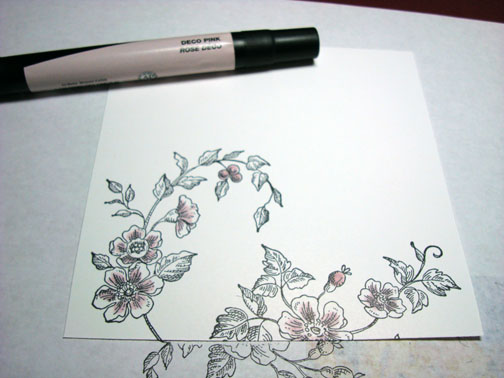
Added just a little Prismacolor Magenta marker to the flower petal centers.

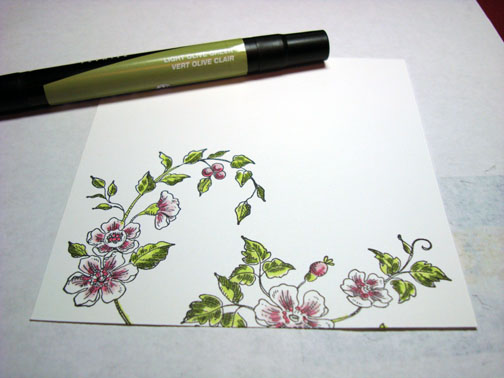
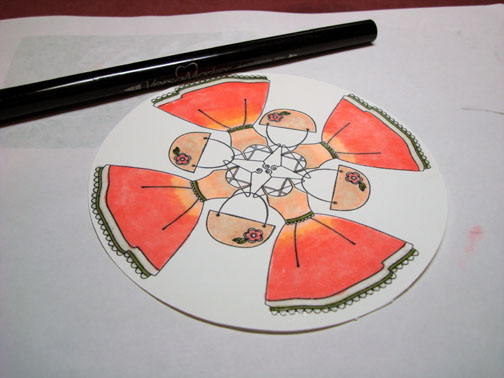
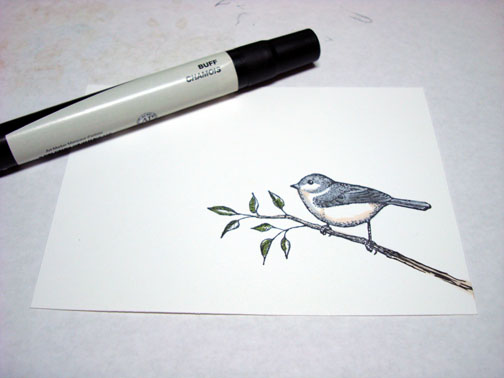
Colored the leaves with a Prismacolor Chartreuse marker.

Colored the shadow (dark side) of the leaves with a Prismacolor Light Olive Green marker.
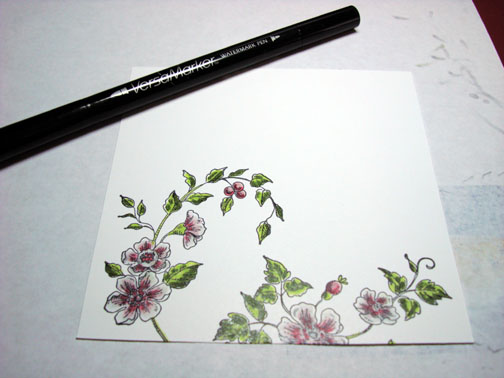
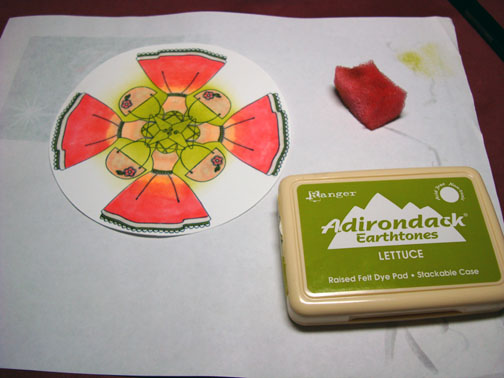
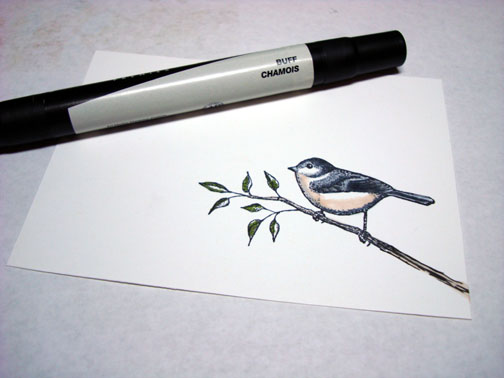
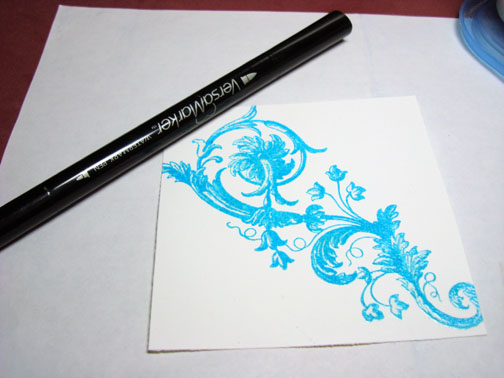
Colored over the leaves and flowers with a Versamark marker.
Note: Be careful to color the white parts first and then the colored parts so the color doesn’t smear onto the white part of your image. You can clean the tip of your Versamark marker my coloring on scrap paper for a second.
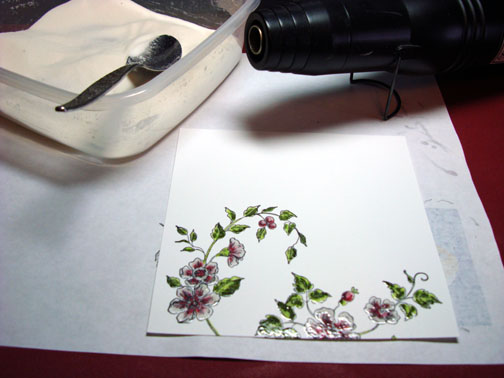
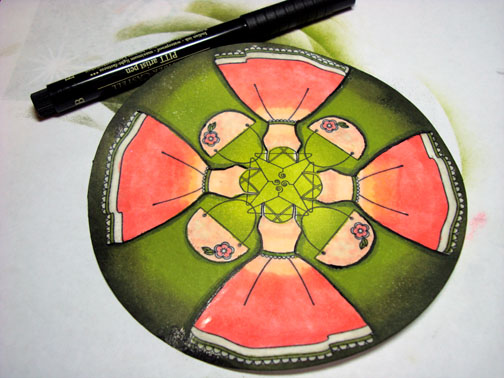
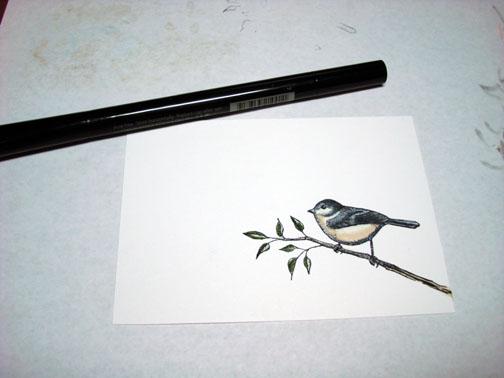
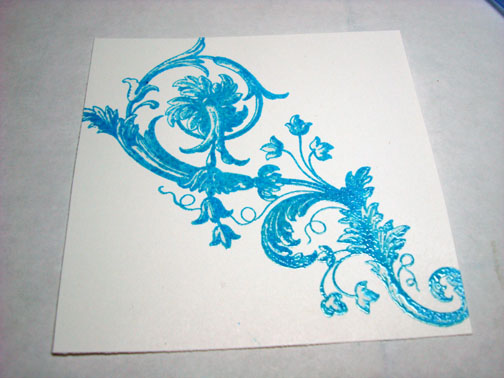
Heat emboss the images using clear embossing powder and a heat gun.
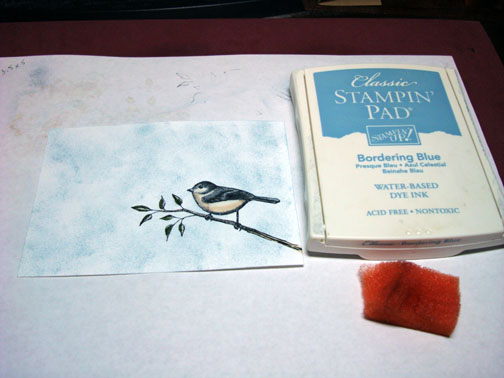
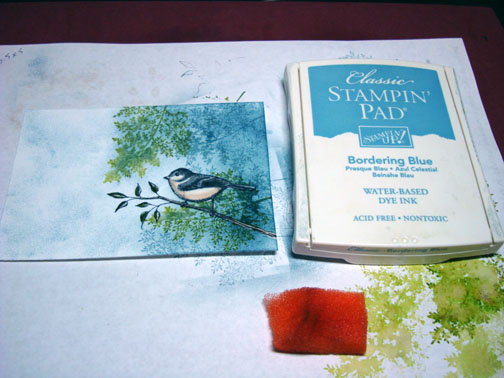
Brayered Soft Sky ink at the top of the card stock.
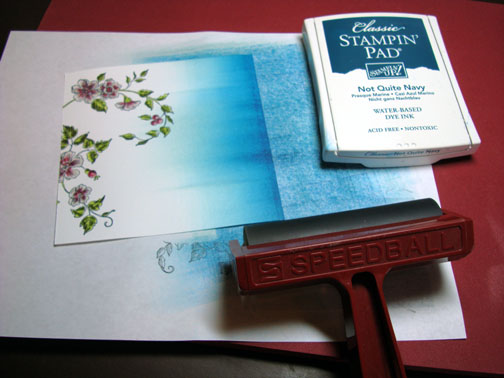
Brayered Not Quite Navy ink at the very top of the card stock, not covering the Soft Sky ink entirely.
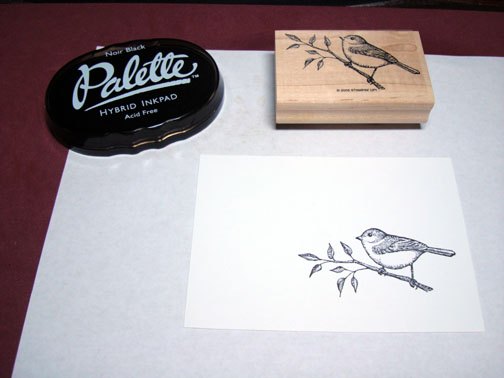
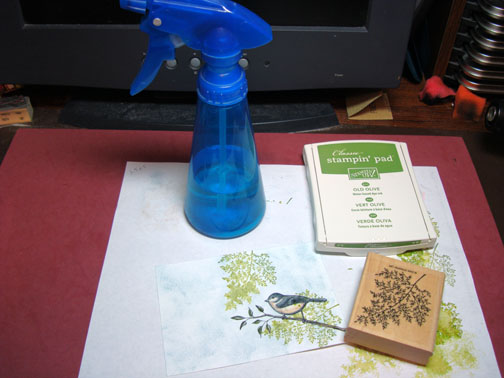
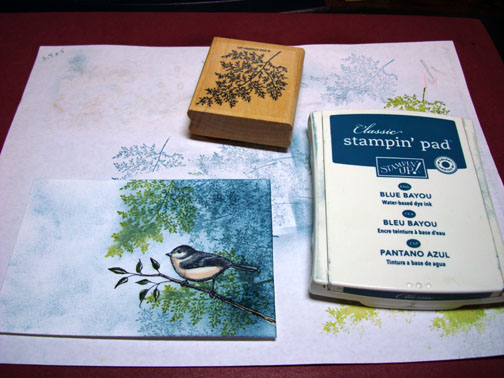
Stamped Tree image with Palette Noir Black ink.
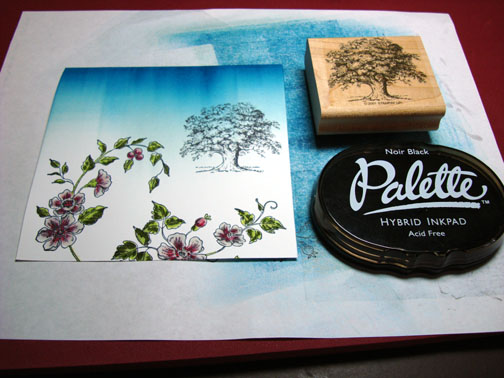
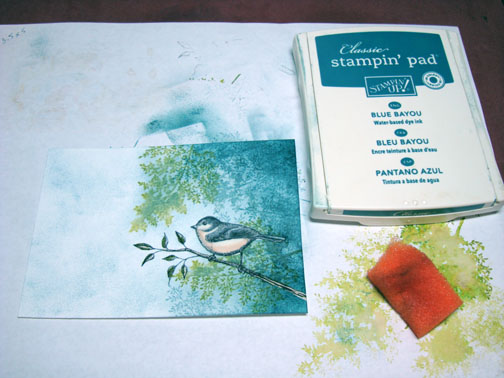
Sponged More Mustard ink on the bottom of the card stock.
Note: The embossed images resist the ink. Just wipe the ink off the images with a paper towel.

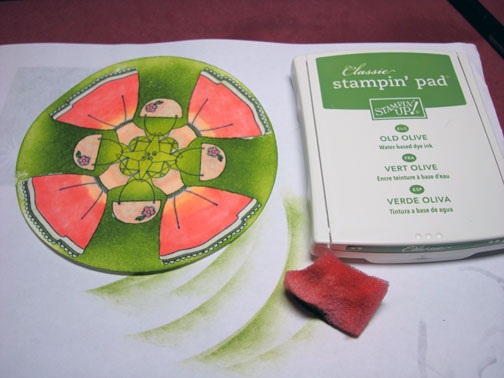
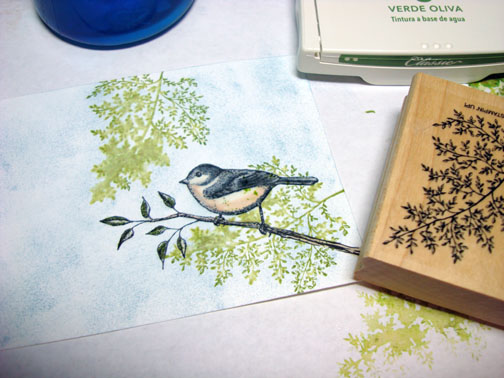
Sponged Old Olive ink at the bottom of the card stock using a swiping motion from the bottom let corner toward the top right. This was done to simulate grasses. Also, sponged Old Olive Green ink in the leaf area of the tree.
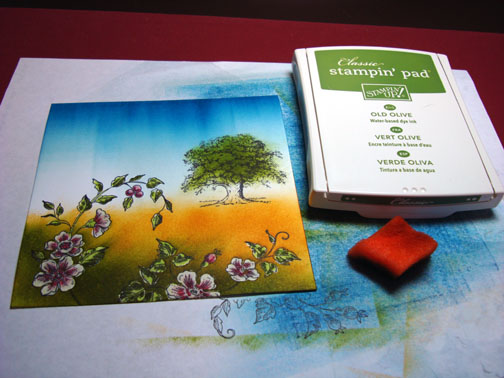
Added just a bit of Black ink to the very bottom of the card stock.
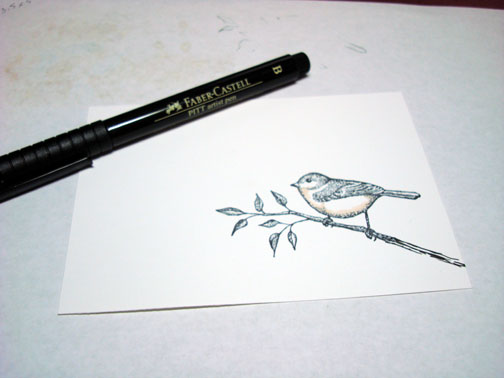
Colored the tree trunk with a Going Gray Marker and added some grasses at the base of the tree with a Prismacolor Light Olive Green marker.
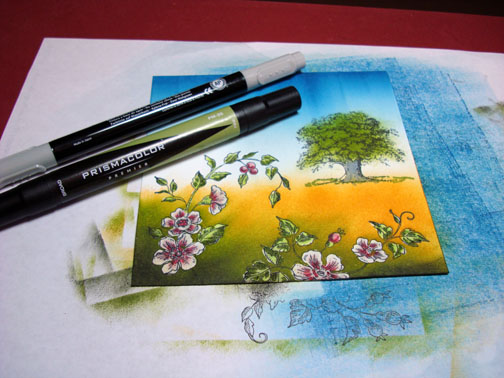
Sponged a bit of Basic Black ink on the right side of the leaf area of the tree and just a faint hint of black under the tree for a shadow.
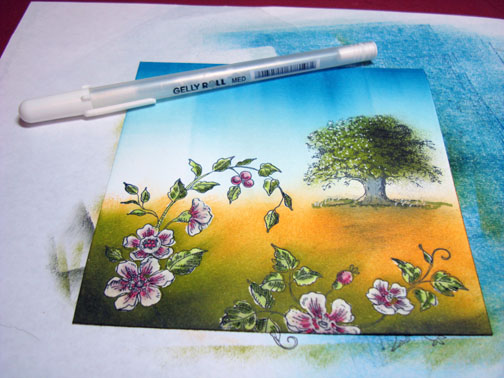
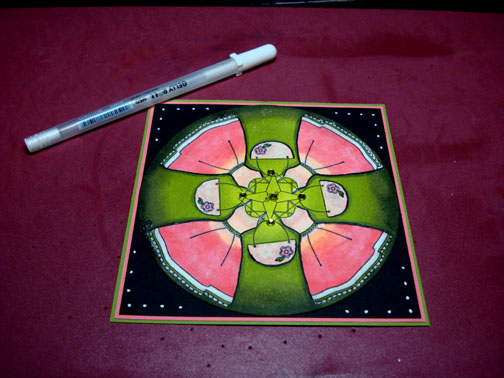
Added White highlights (specks) on the left side of the leaf area of the tree with a white gel pen.
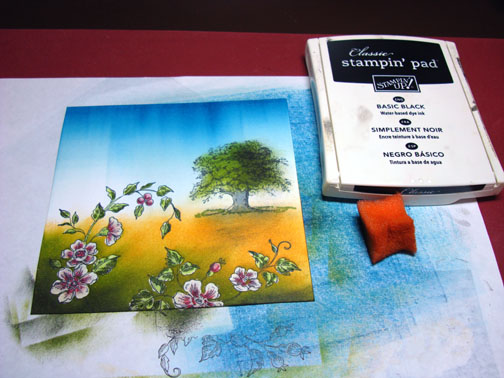
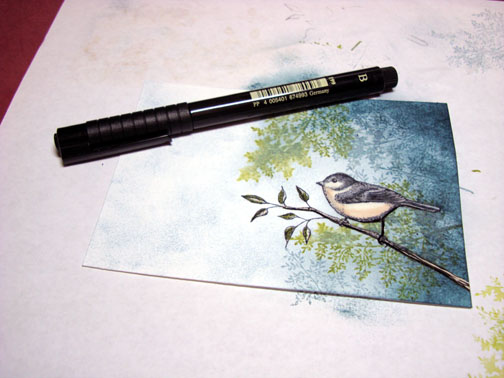
Sponged heavily some Not Quite Navy ink at the top of the card stock to give the sky some interest.

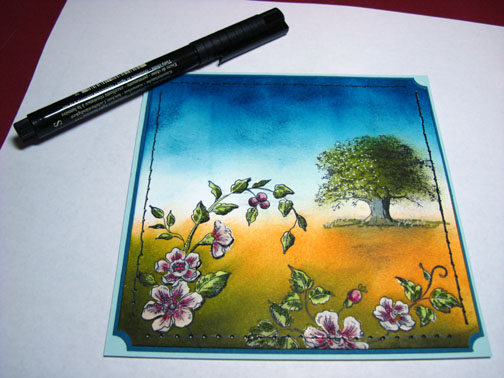
Used a black fine line marker and traced along the bottom side of the flowers and leaves to create the look of a shadow. Also colored along the right side of the tree trunk with the black marker.
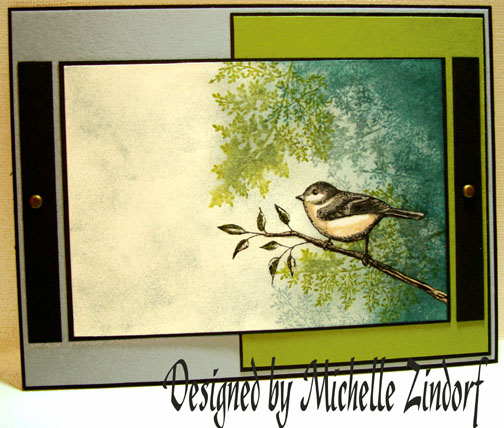
Used the ticket corner punch on the main image panel and the Not Quite Navy panel.

Used my piercing tools and a fine tip black marker to do some faux stitching all the way around the card stock.
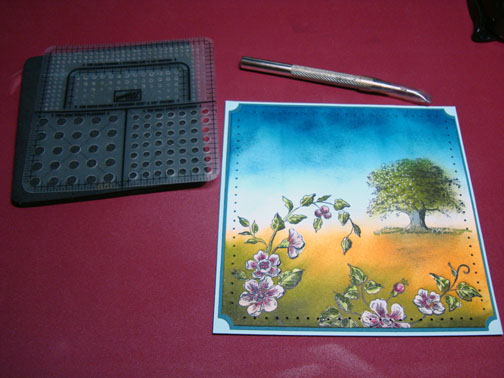
Added some gold brads and here is the completed card measuring 5.25″ x 5.25″.
Hope your day is filled with blooming flower gardens and shade trees.
Until my next post. . . . . . .
Michelle


