
Hey There,
Today I am stamping at a disadvantage or advantage, whichever way you look at it. You see, I have a 100 pound pup on my feet as I stamp, lol. He has decided that he needs to be as close as possible this morning because his mommy is under the weather. I’m dealing with this years case of poison Ivy, yuck!

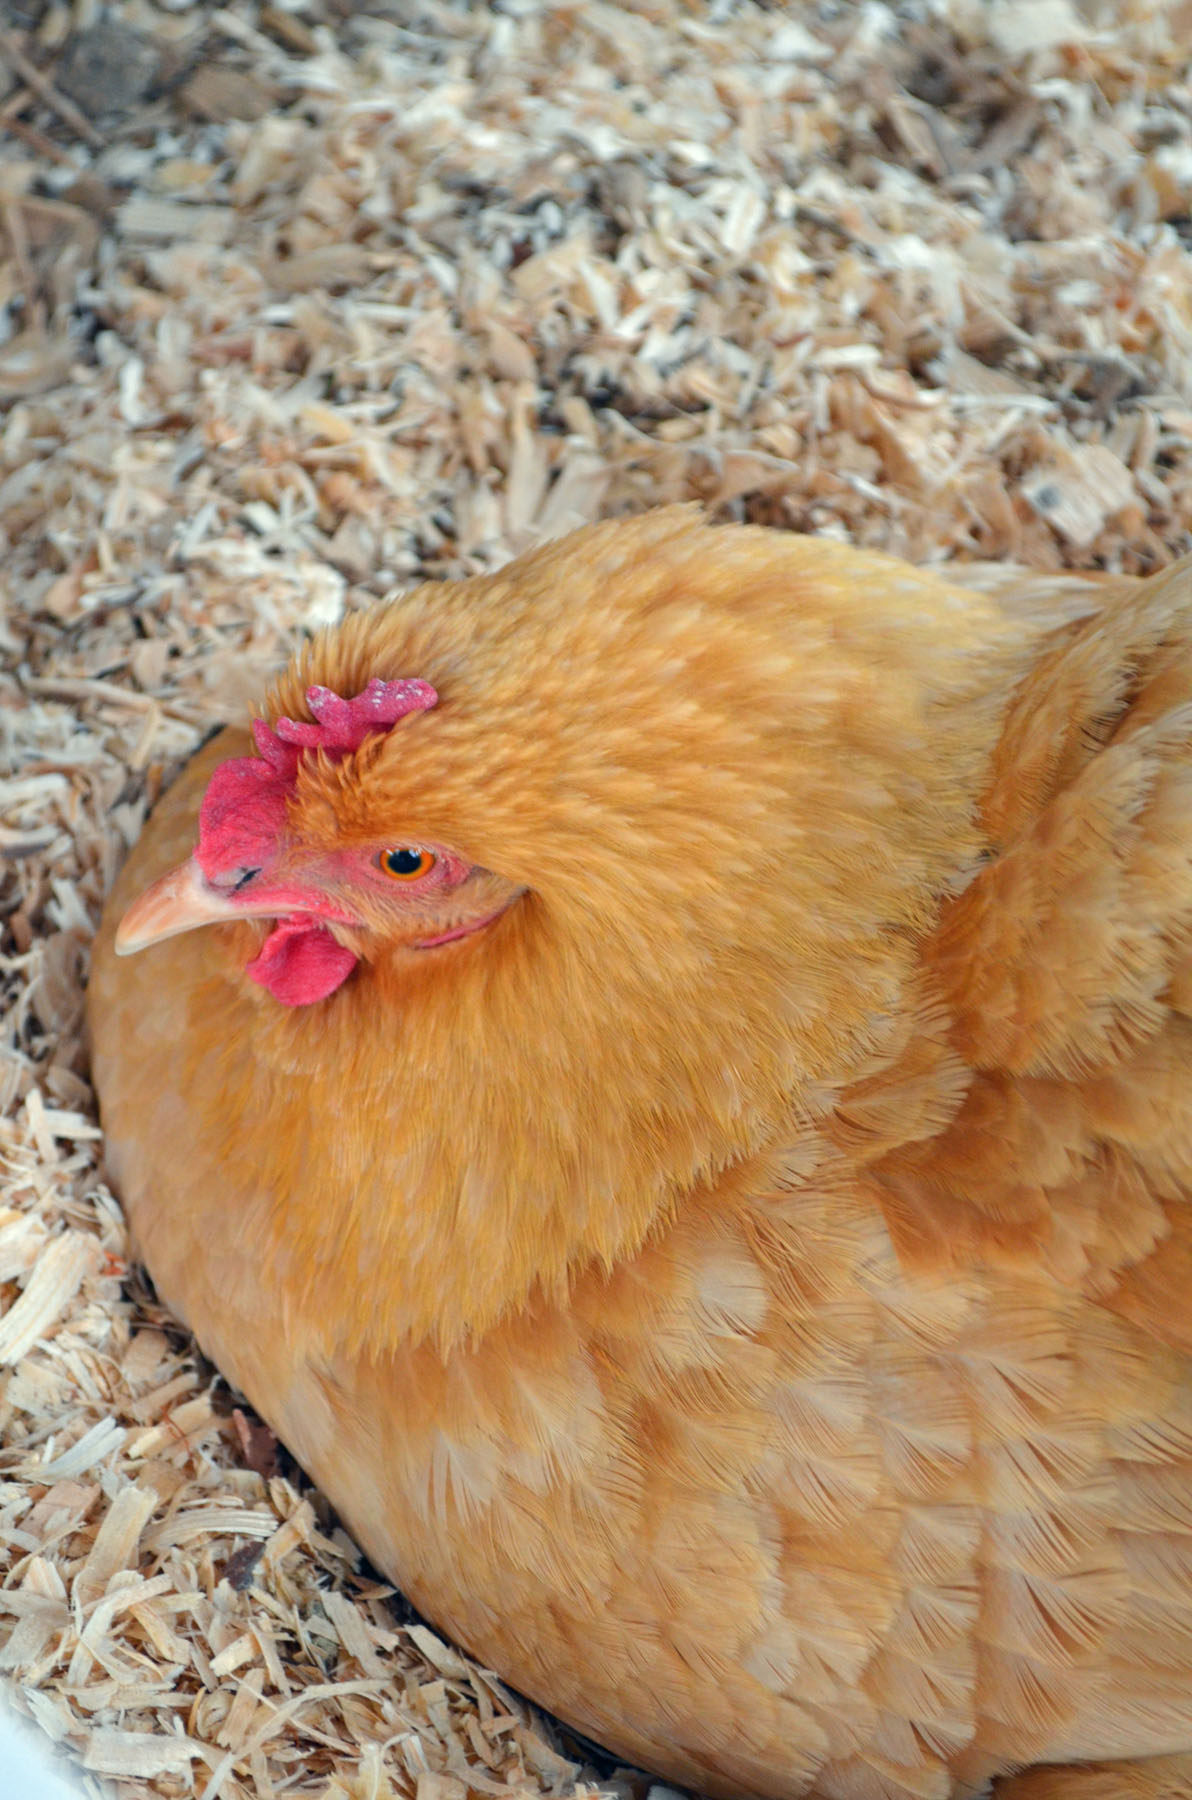
To make myself feel better, I took a walk in my garden and visited my girls (hens). I’ve added the pictures that I took on my stroll at the bottom of this post. I’m the most lucky gal in the world, poison ivy or not. I hope you too take a look around today and can feel grateful for all that you have.
***************************************************************
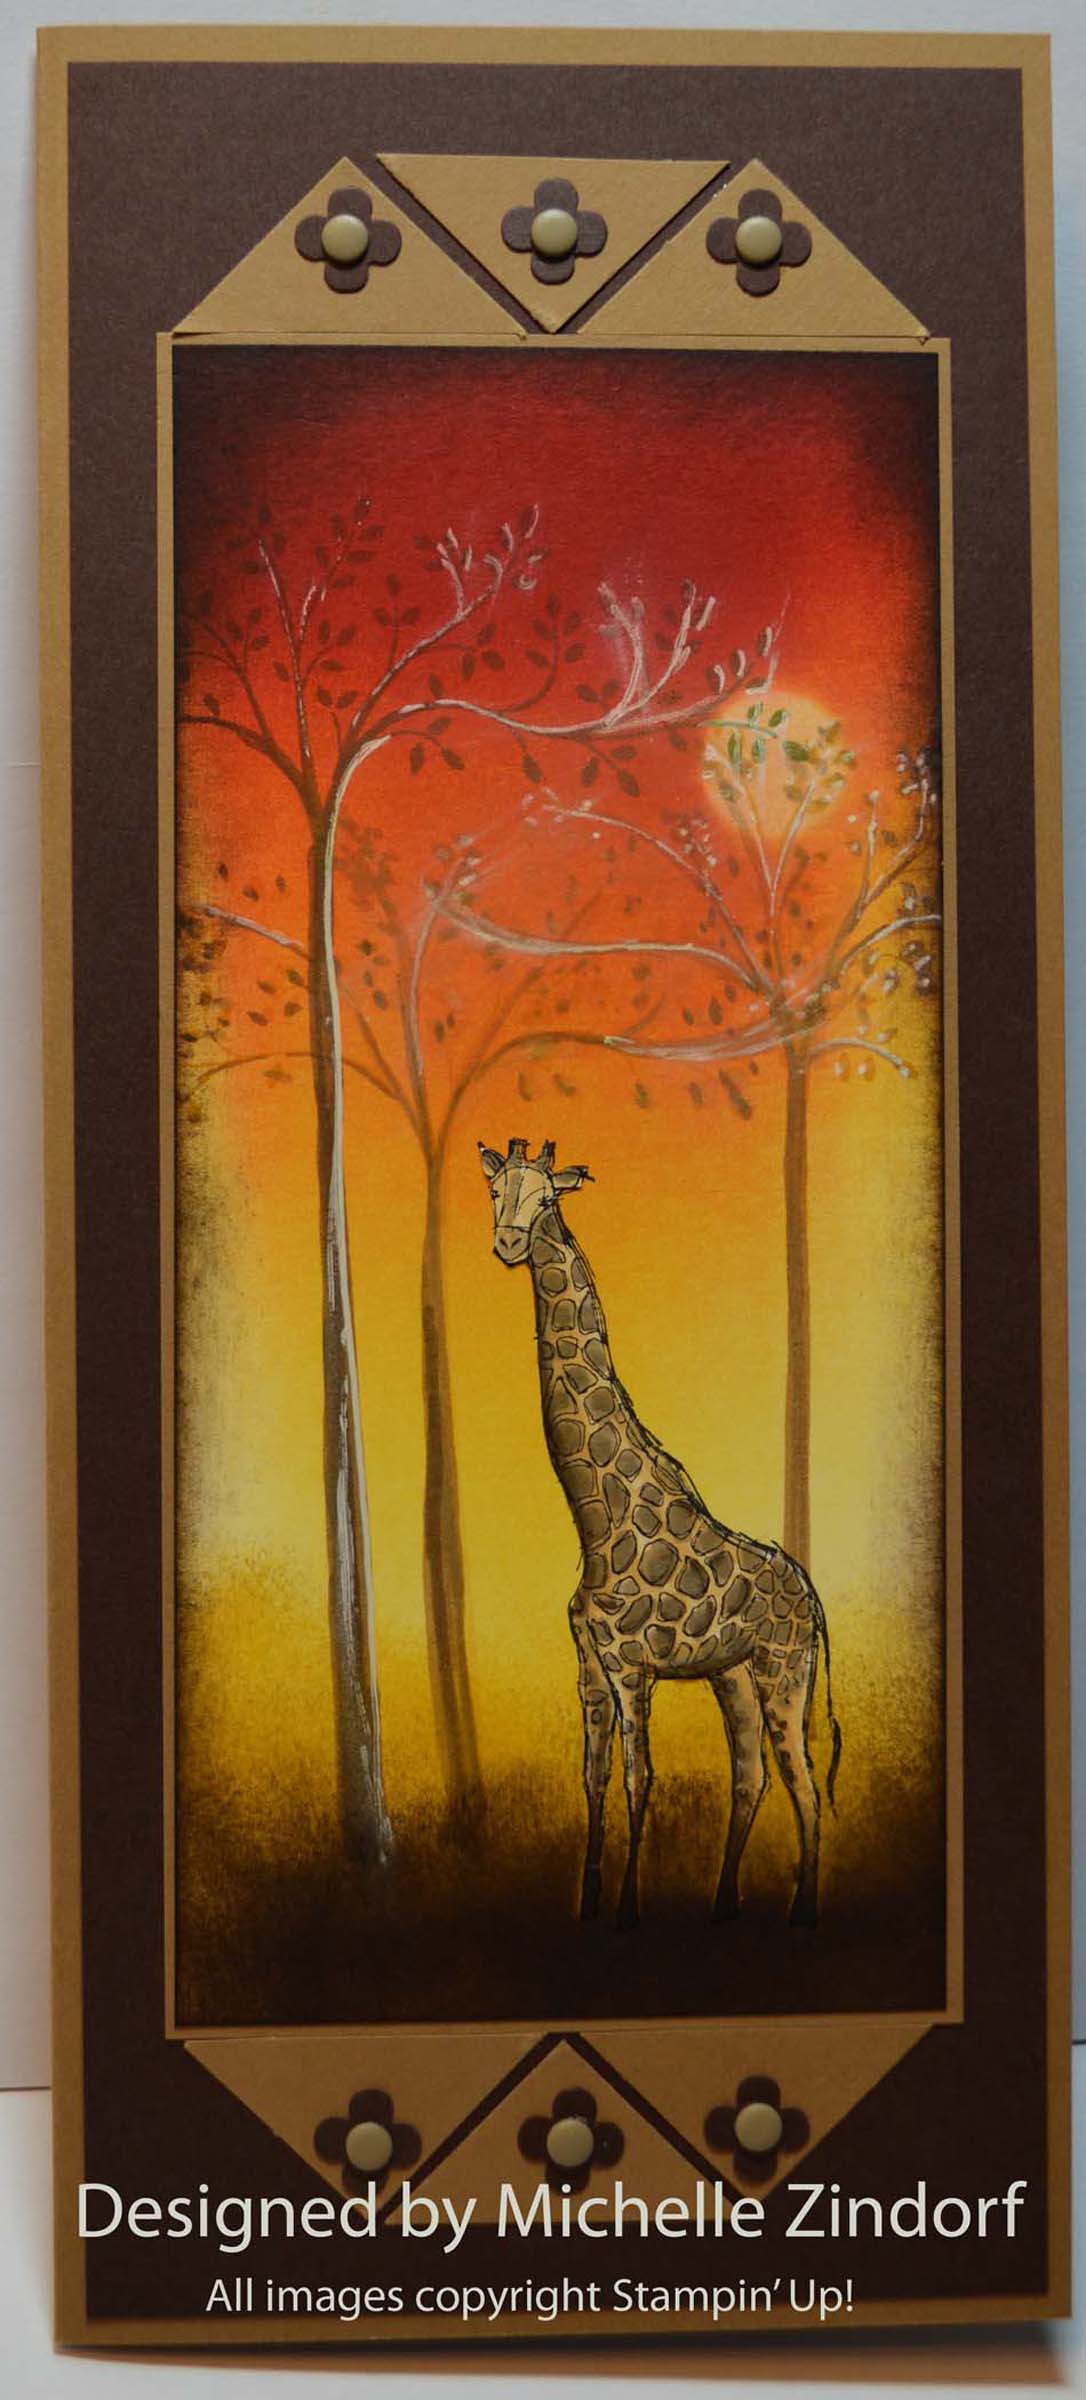
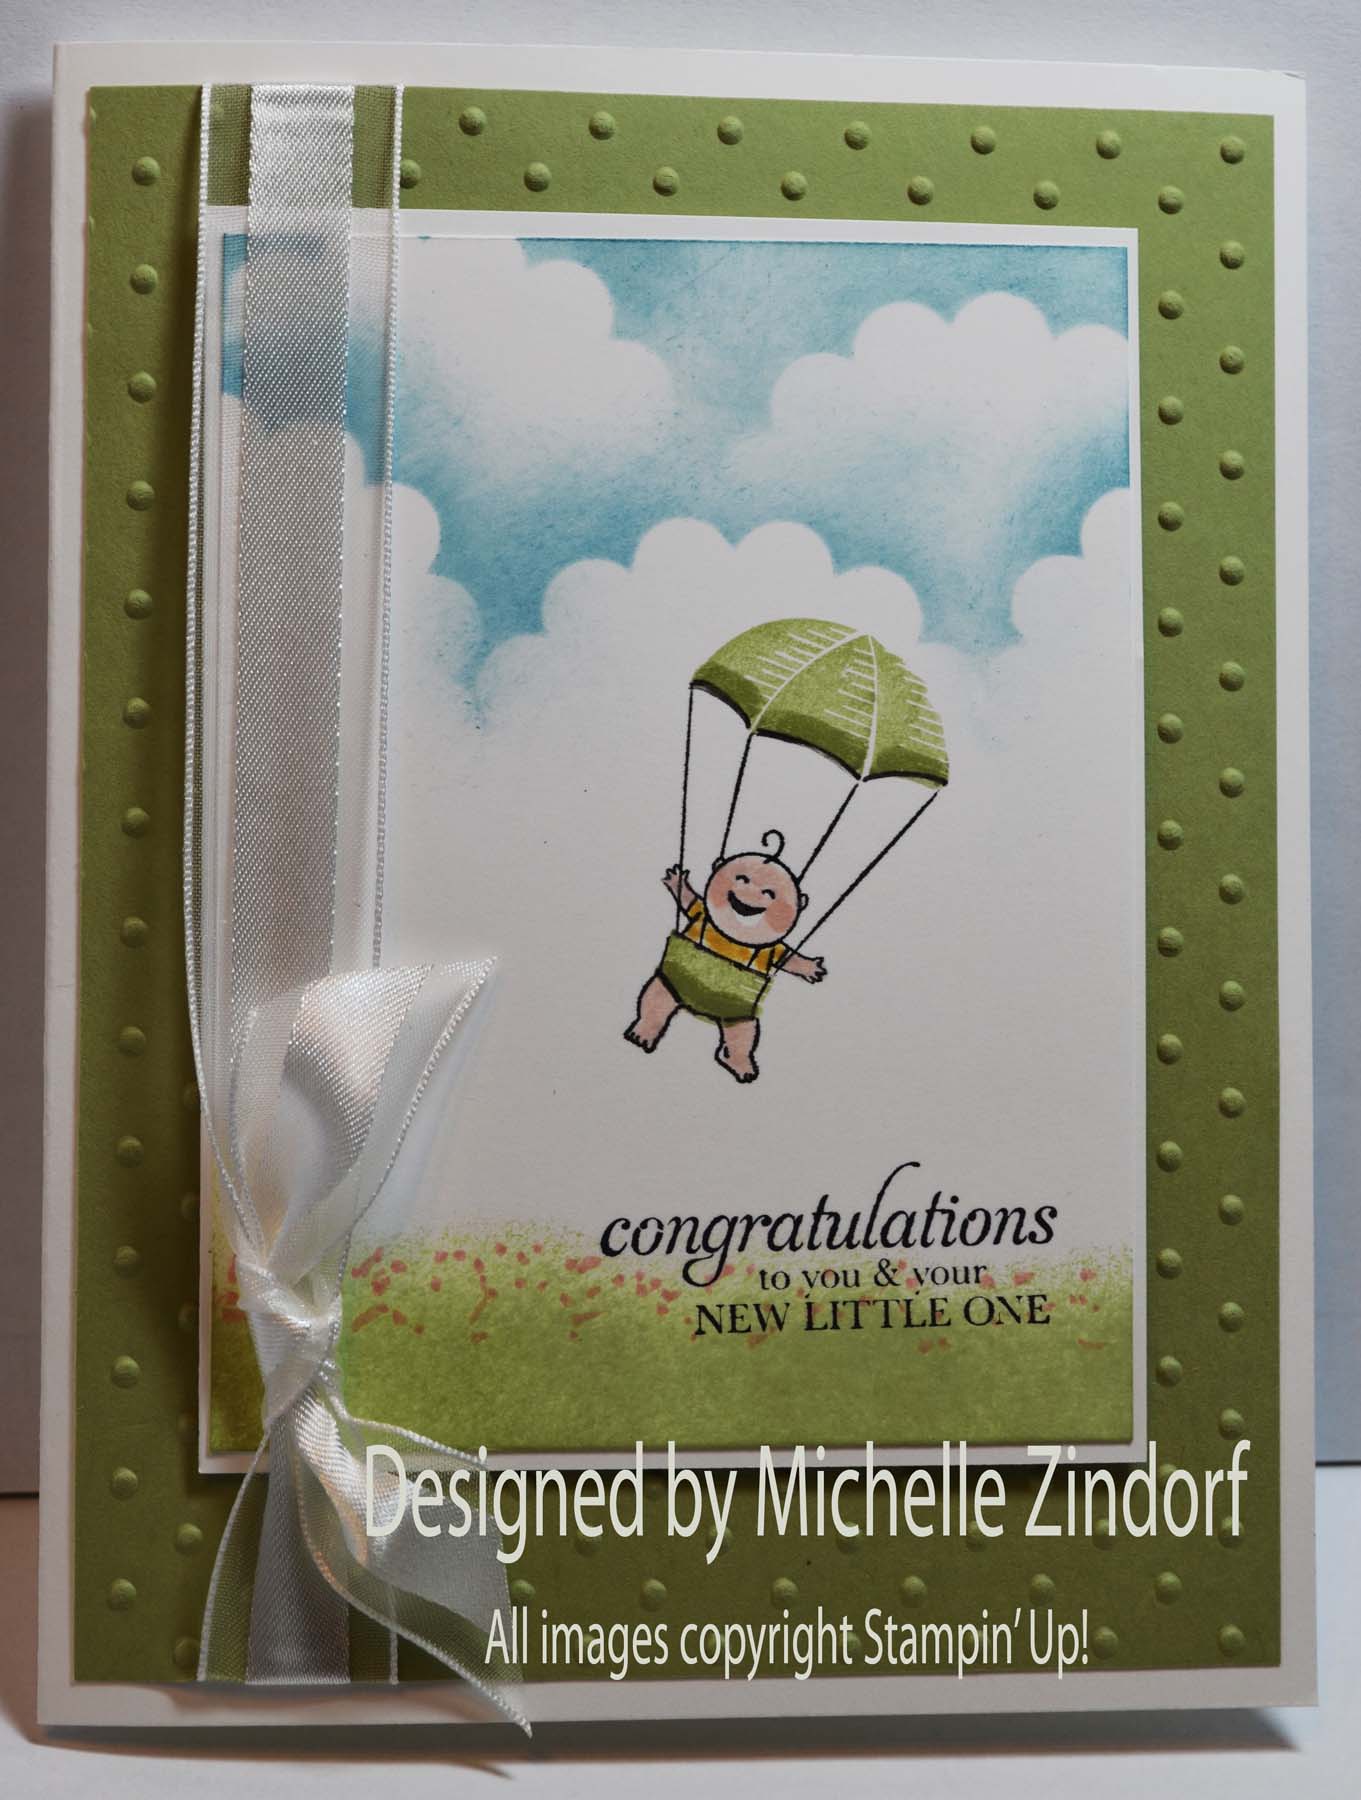
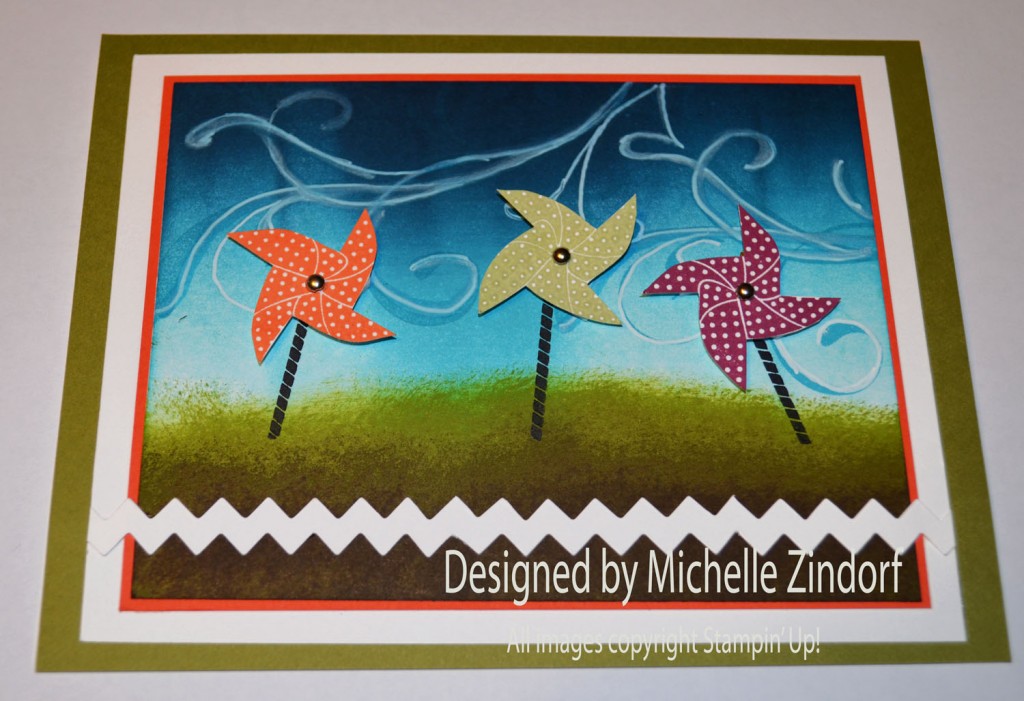
Now a bit about my card tutorial of the day. I’ve paired up the Stampin’ Up! sets Sweets for the Sweet and Everything Eleanor. Check it out below.
***************************************************************
I’ve added the featured card of the day to my sales page where you will also find some great deals on retired stamp sets and my brayer video. CLICK HERE TO CHECK IT OUT
***************************************************************
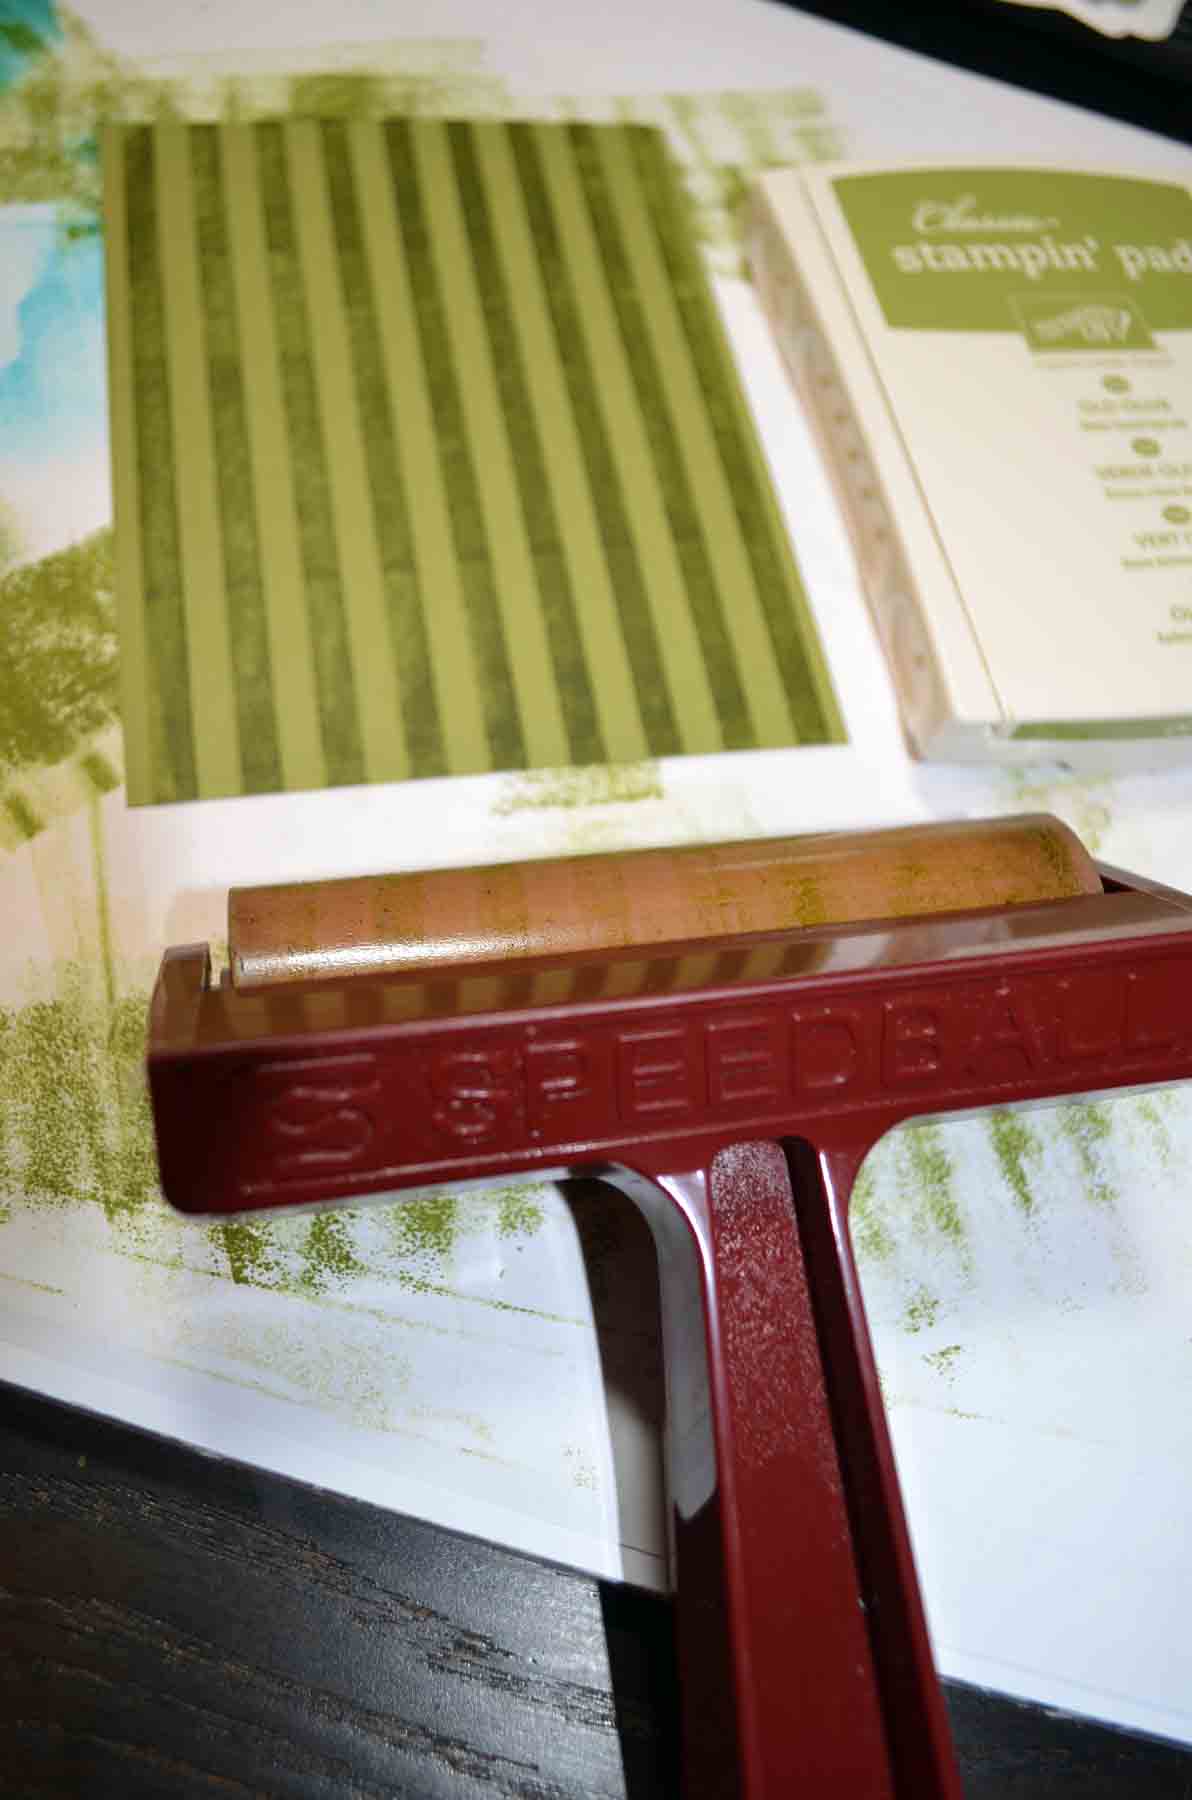
Learn How to Brayer

 I now have an online beginner brayer video classes that will teach you how to brayer. CLICK HERE TO GET THEM.
**************************************************
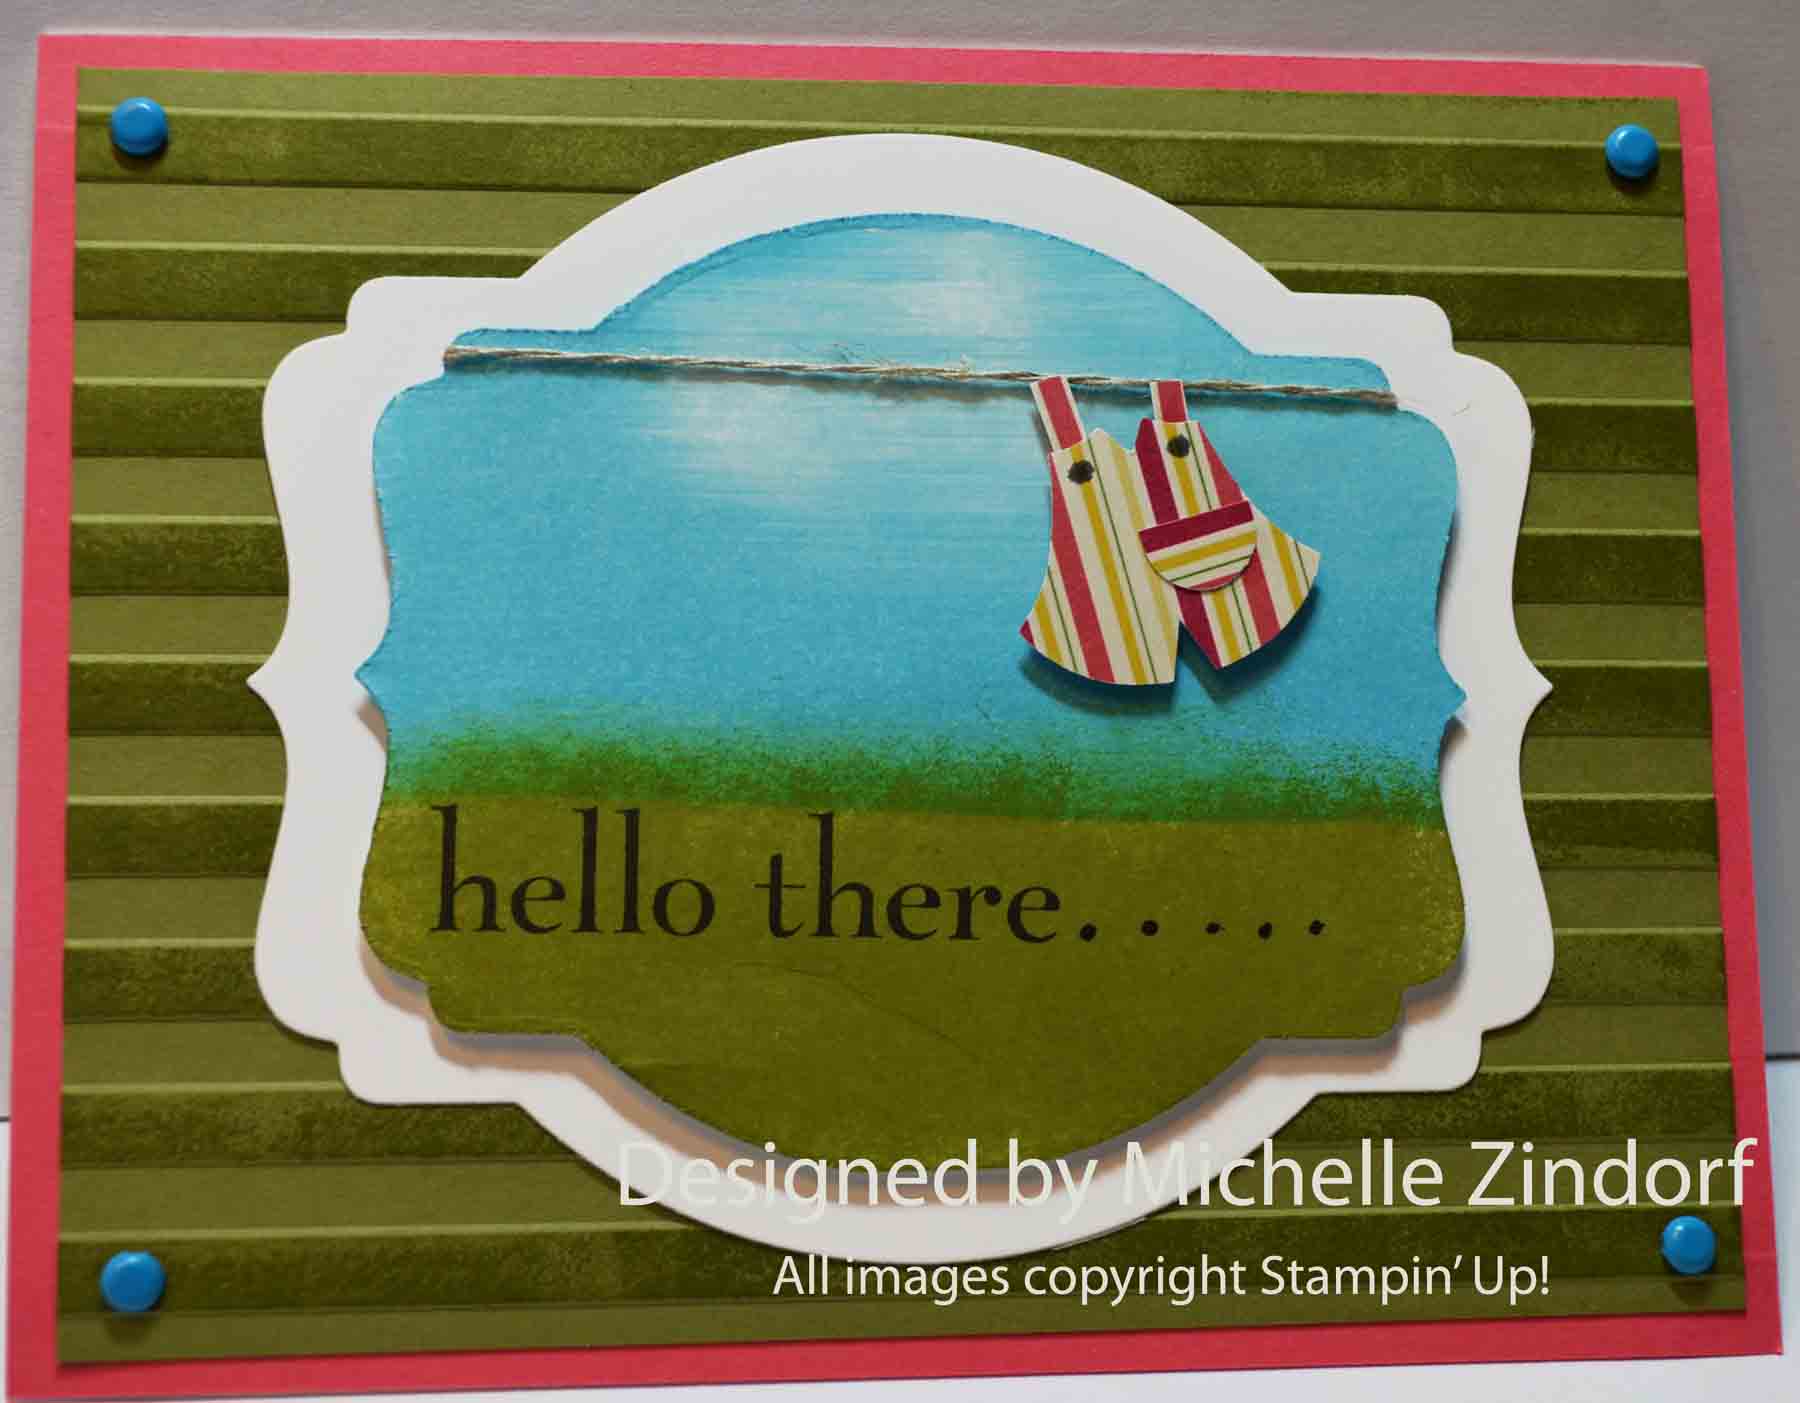
Now on with today’s tutorial. . . . . . .
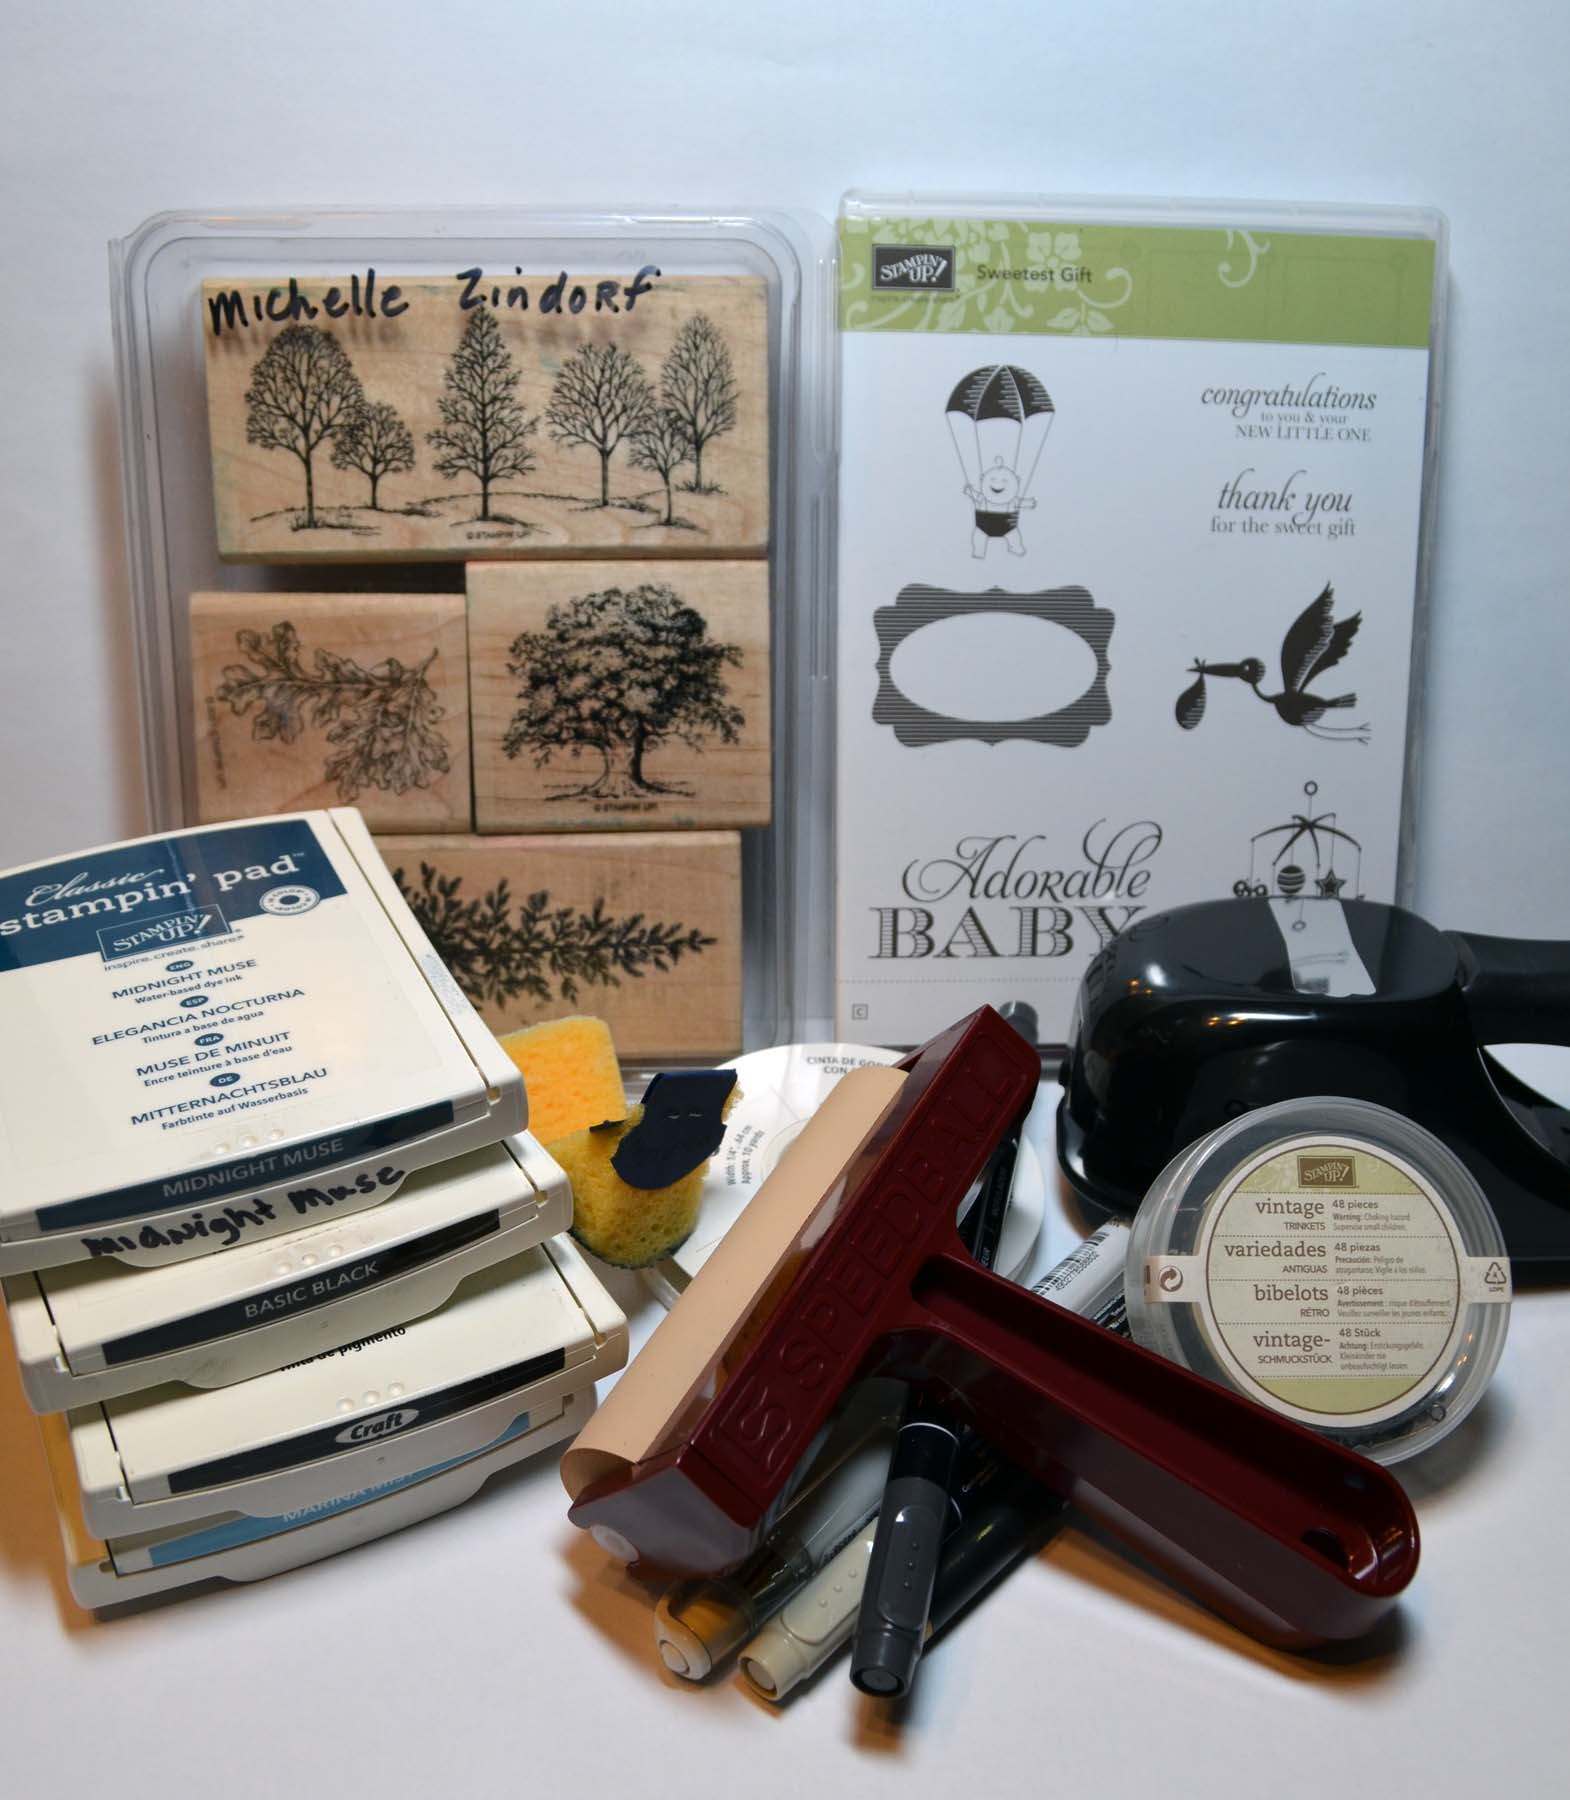
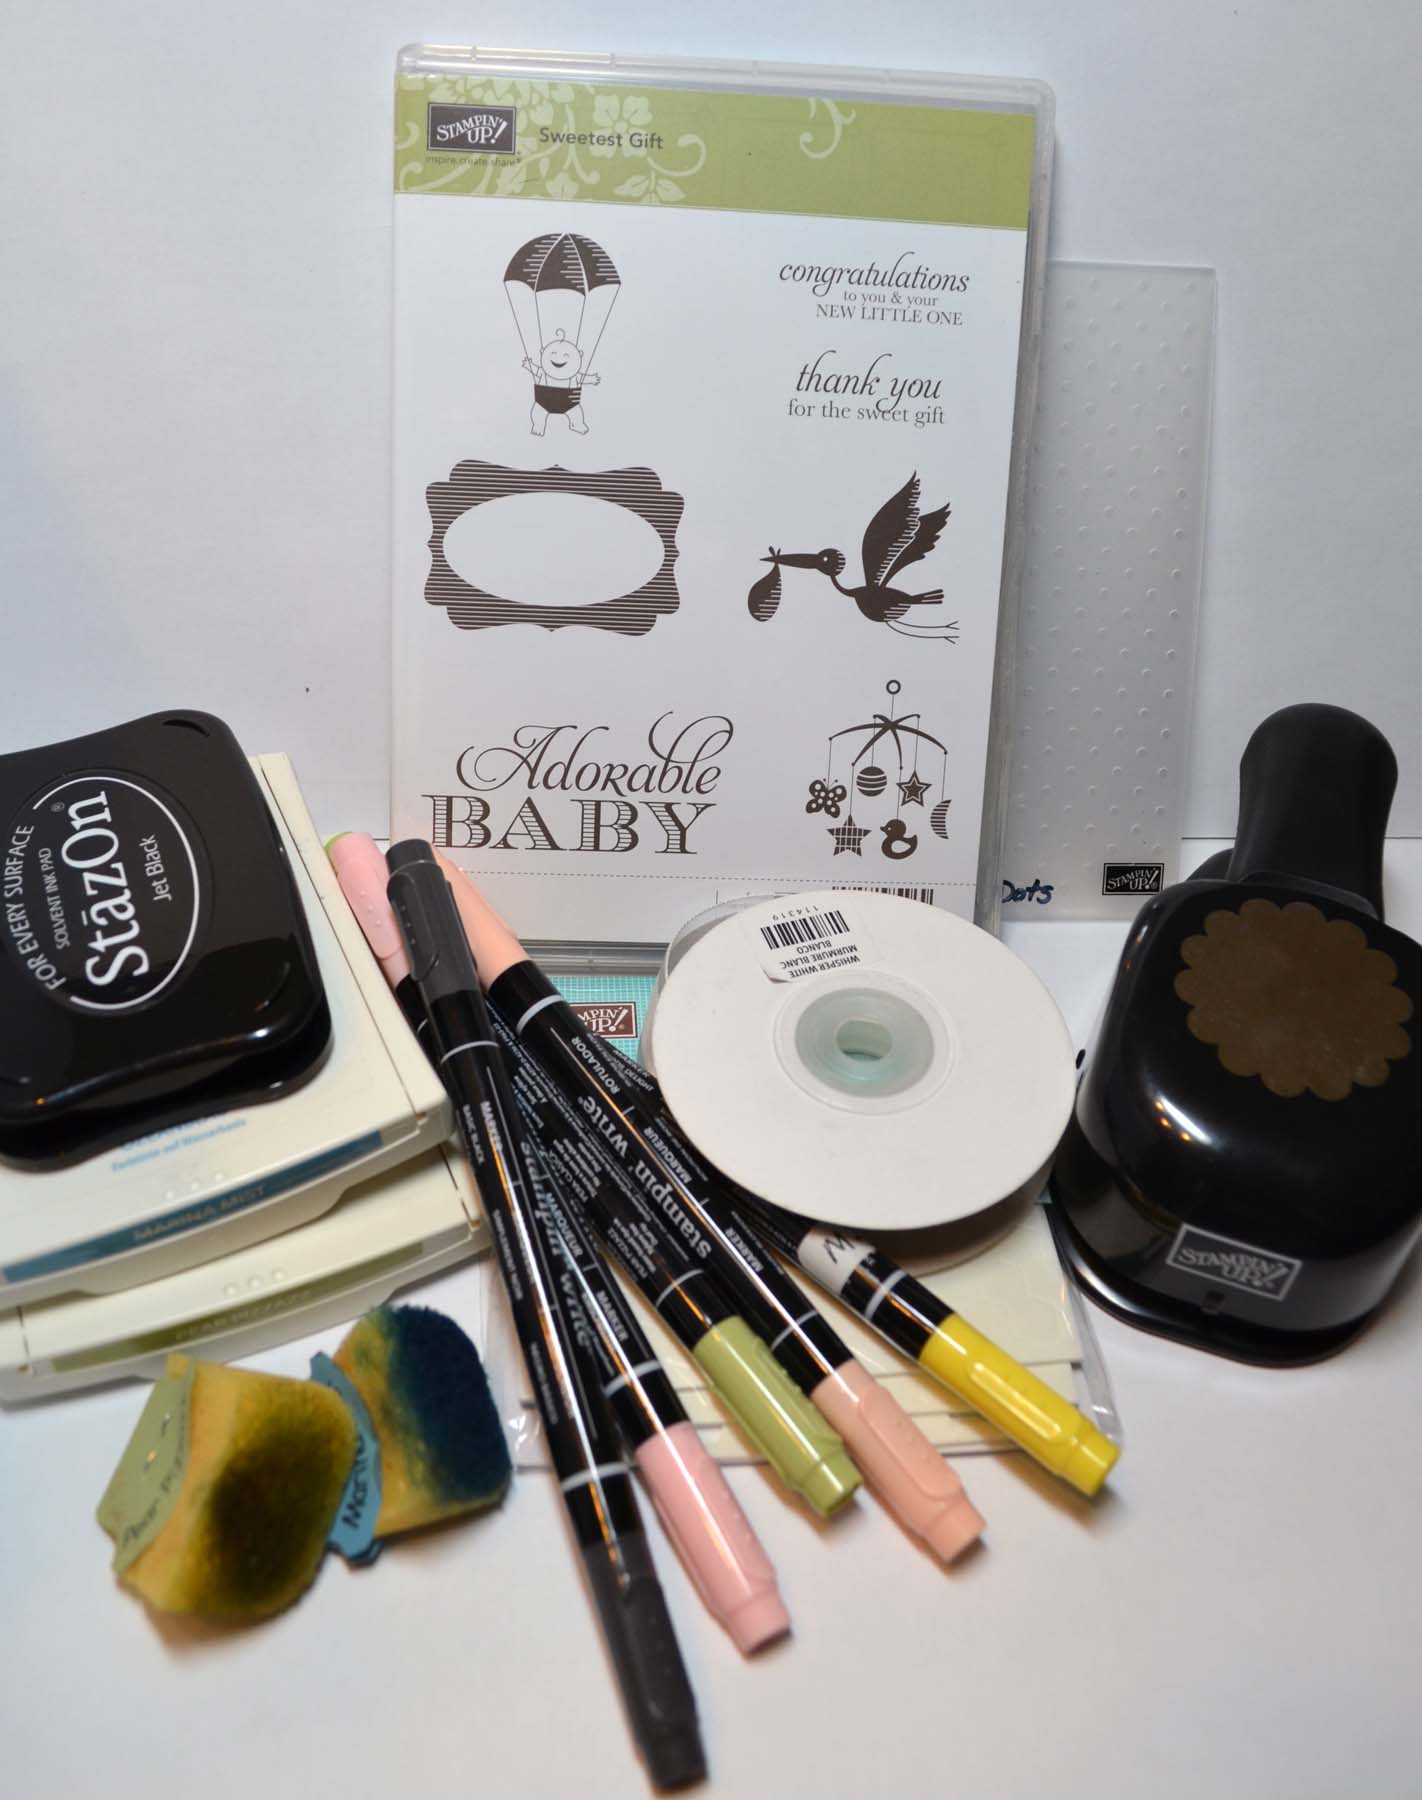
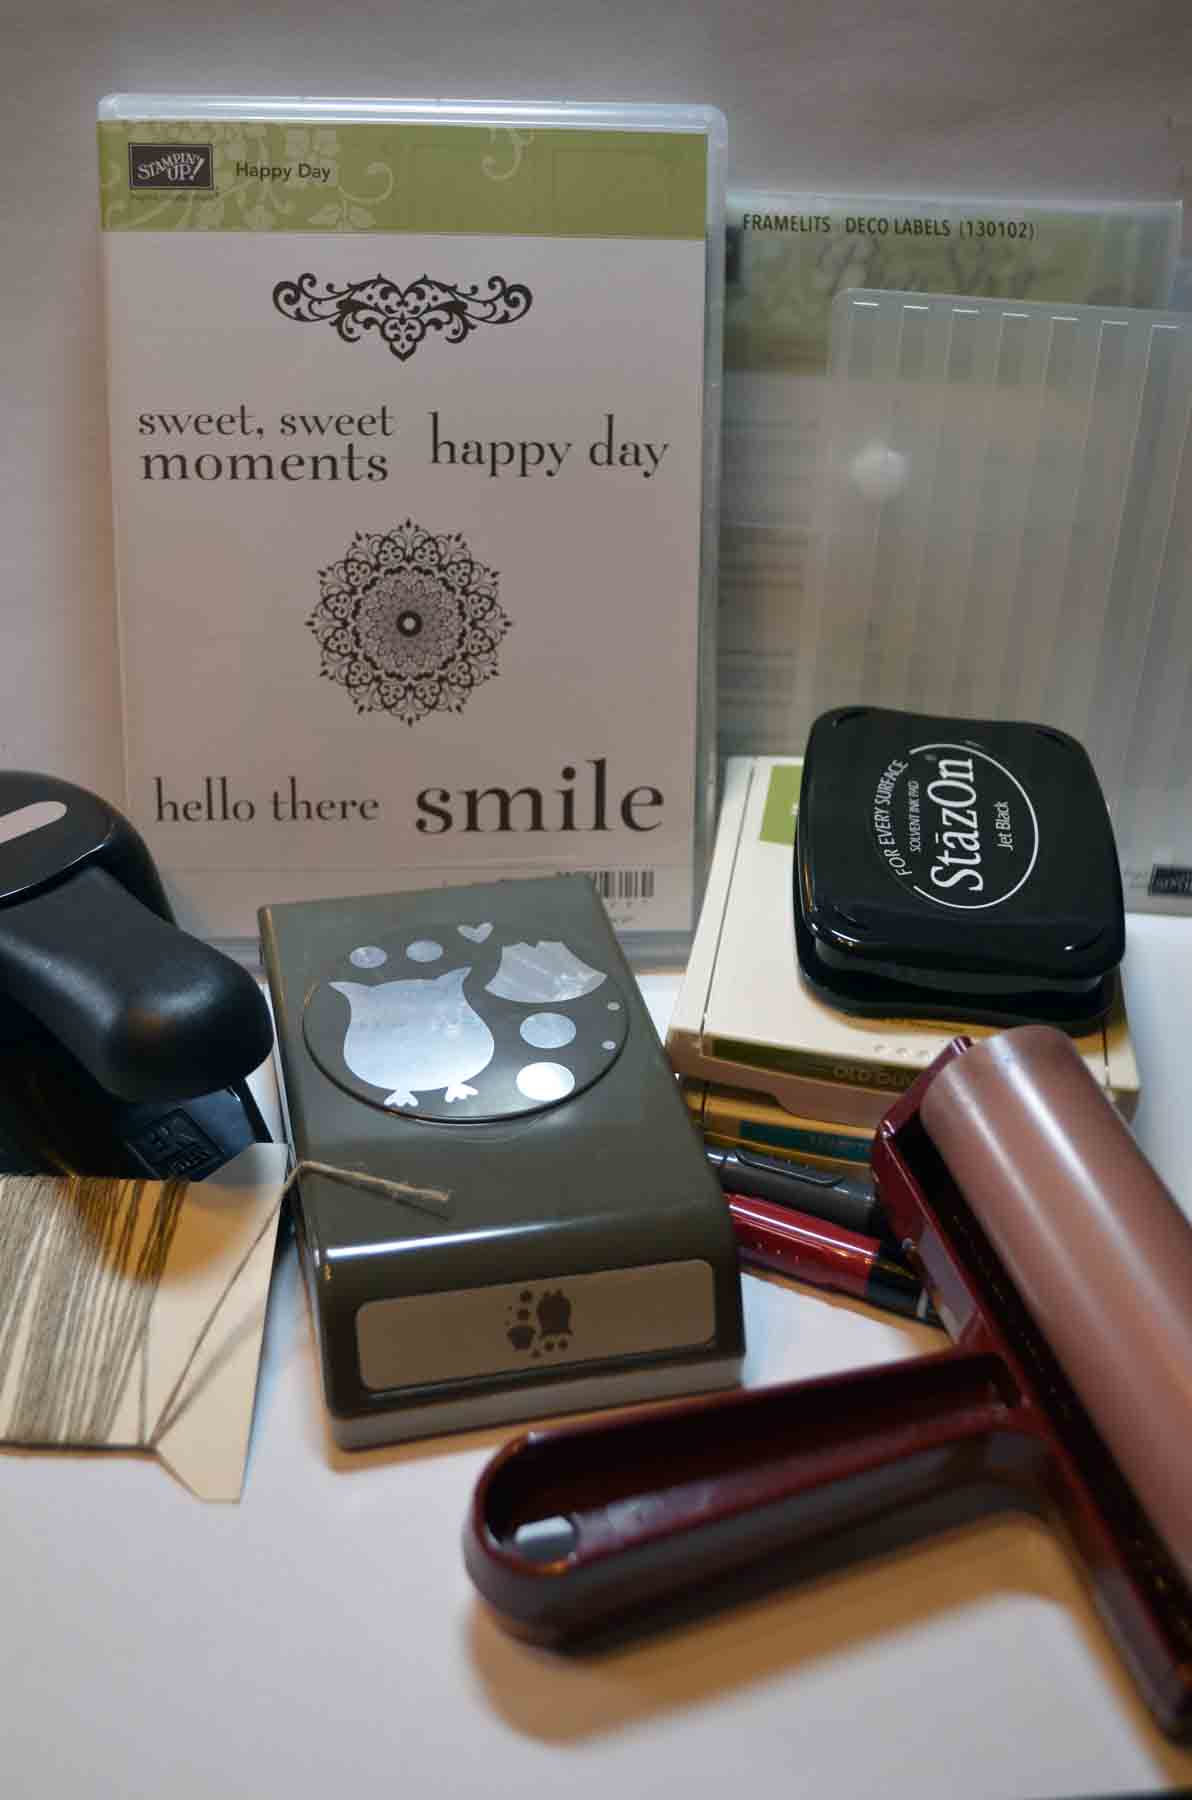
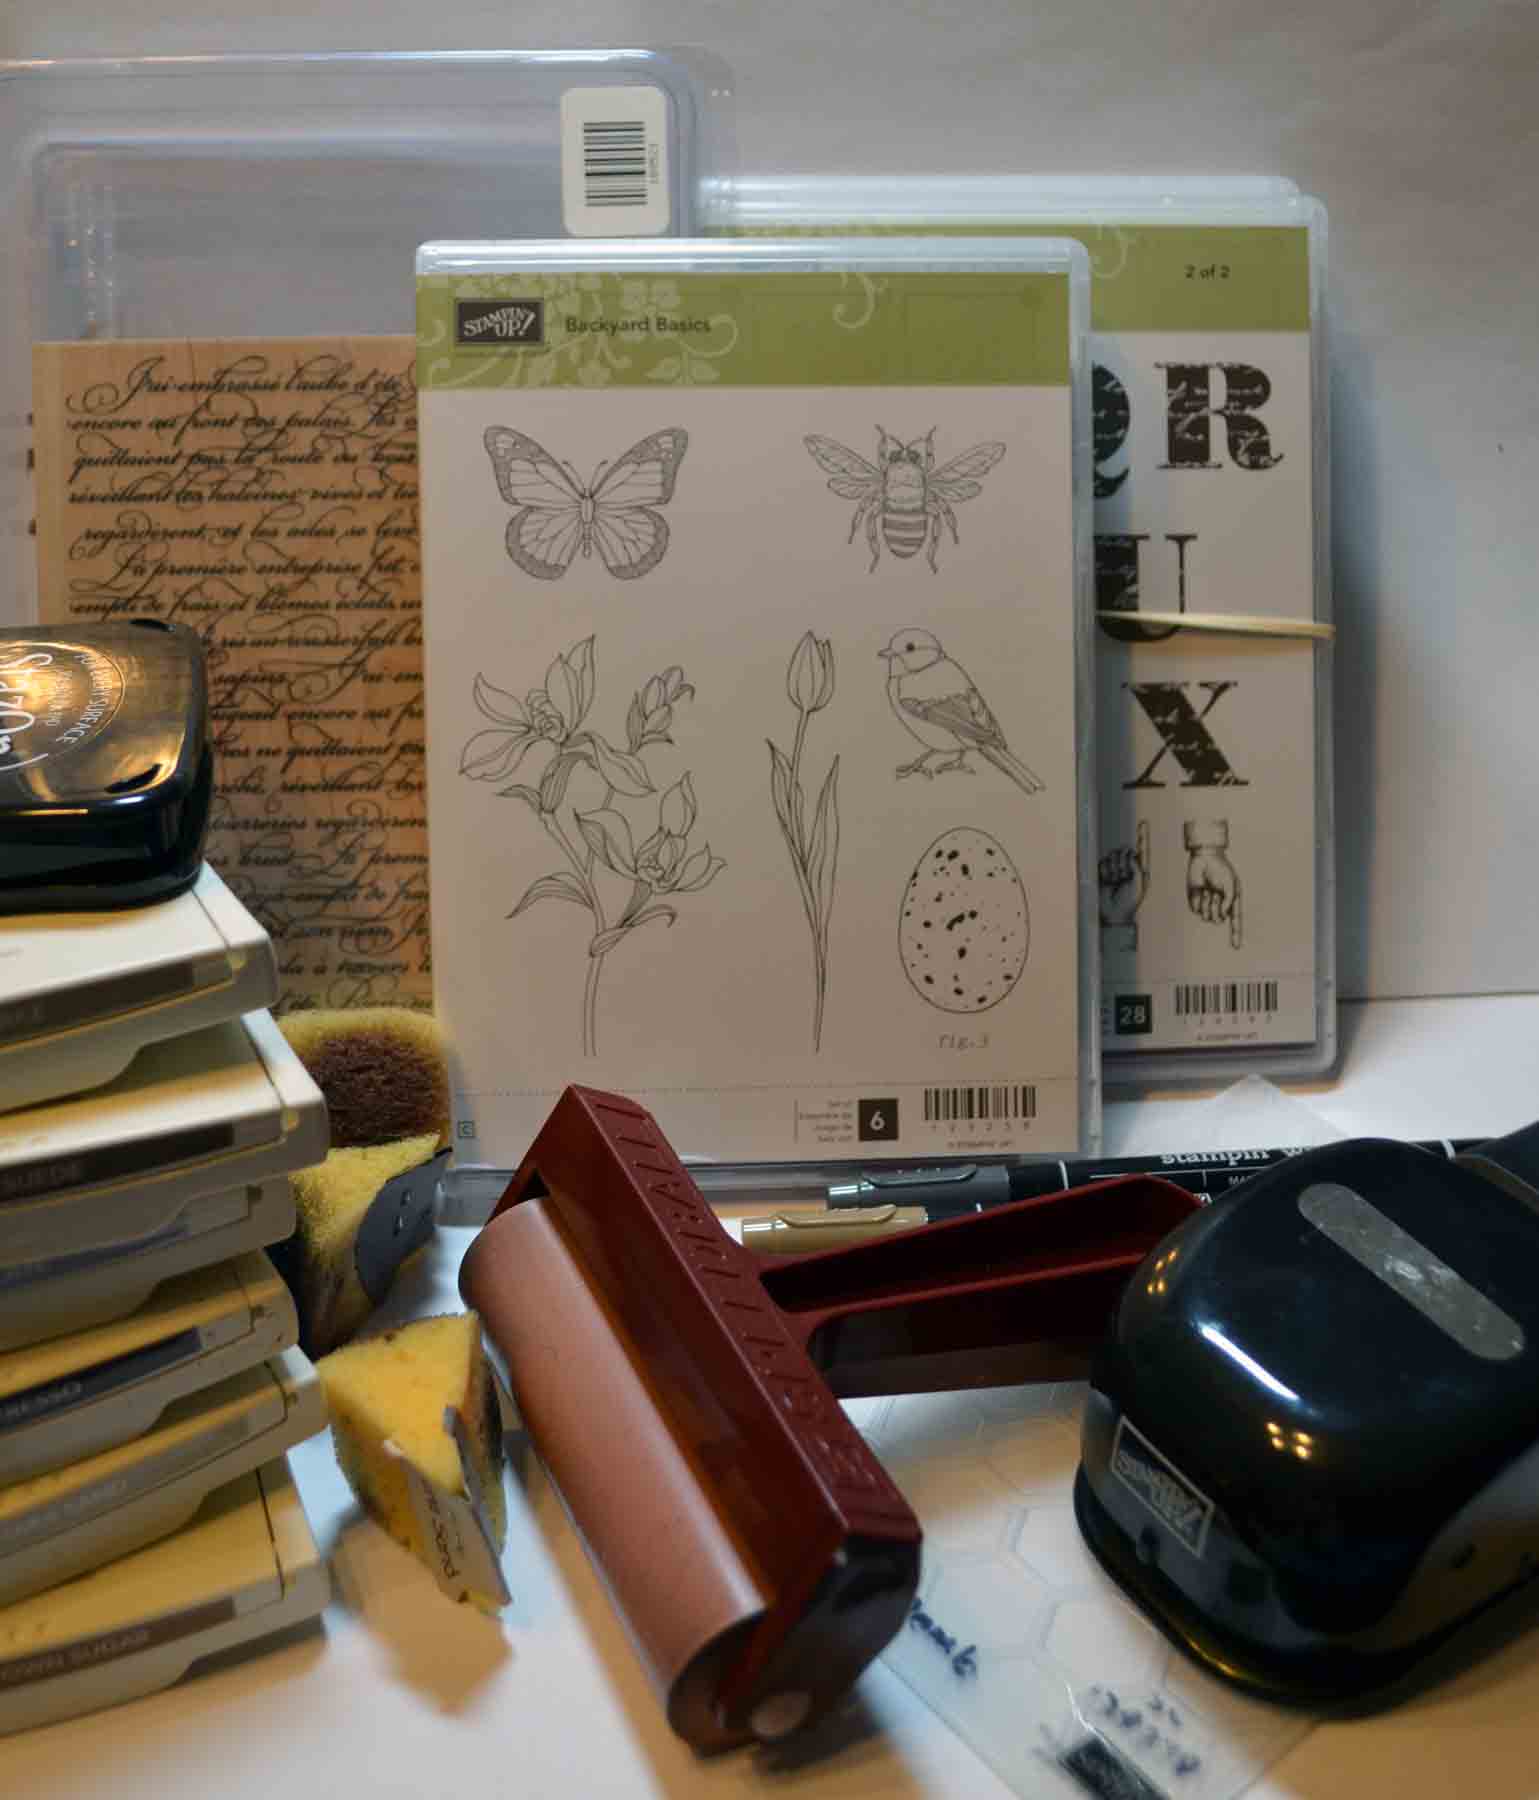
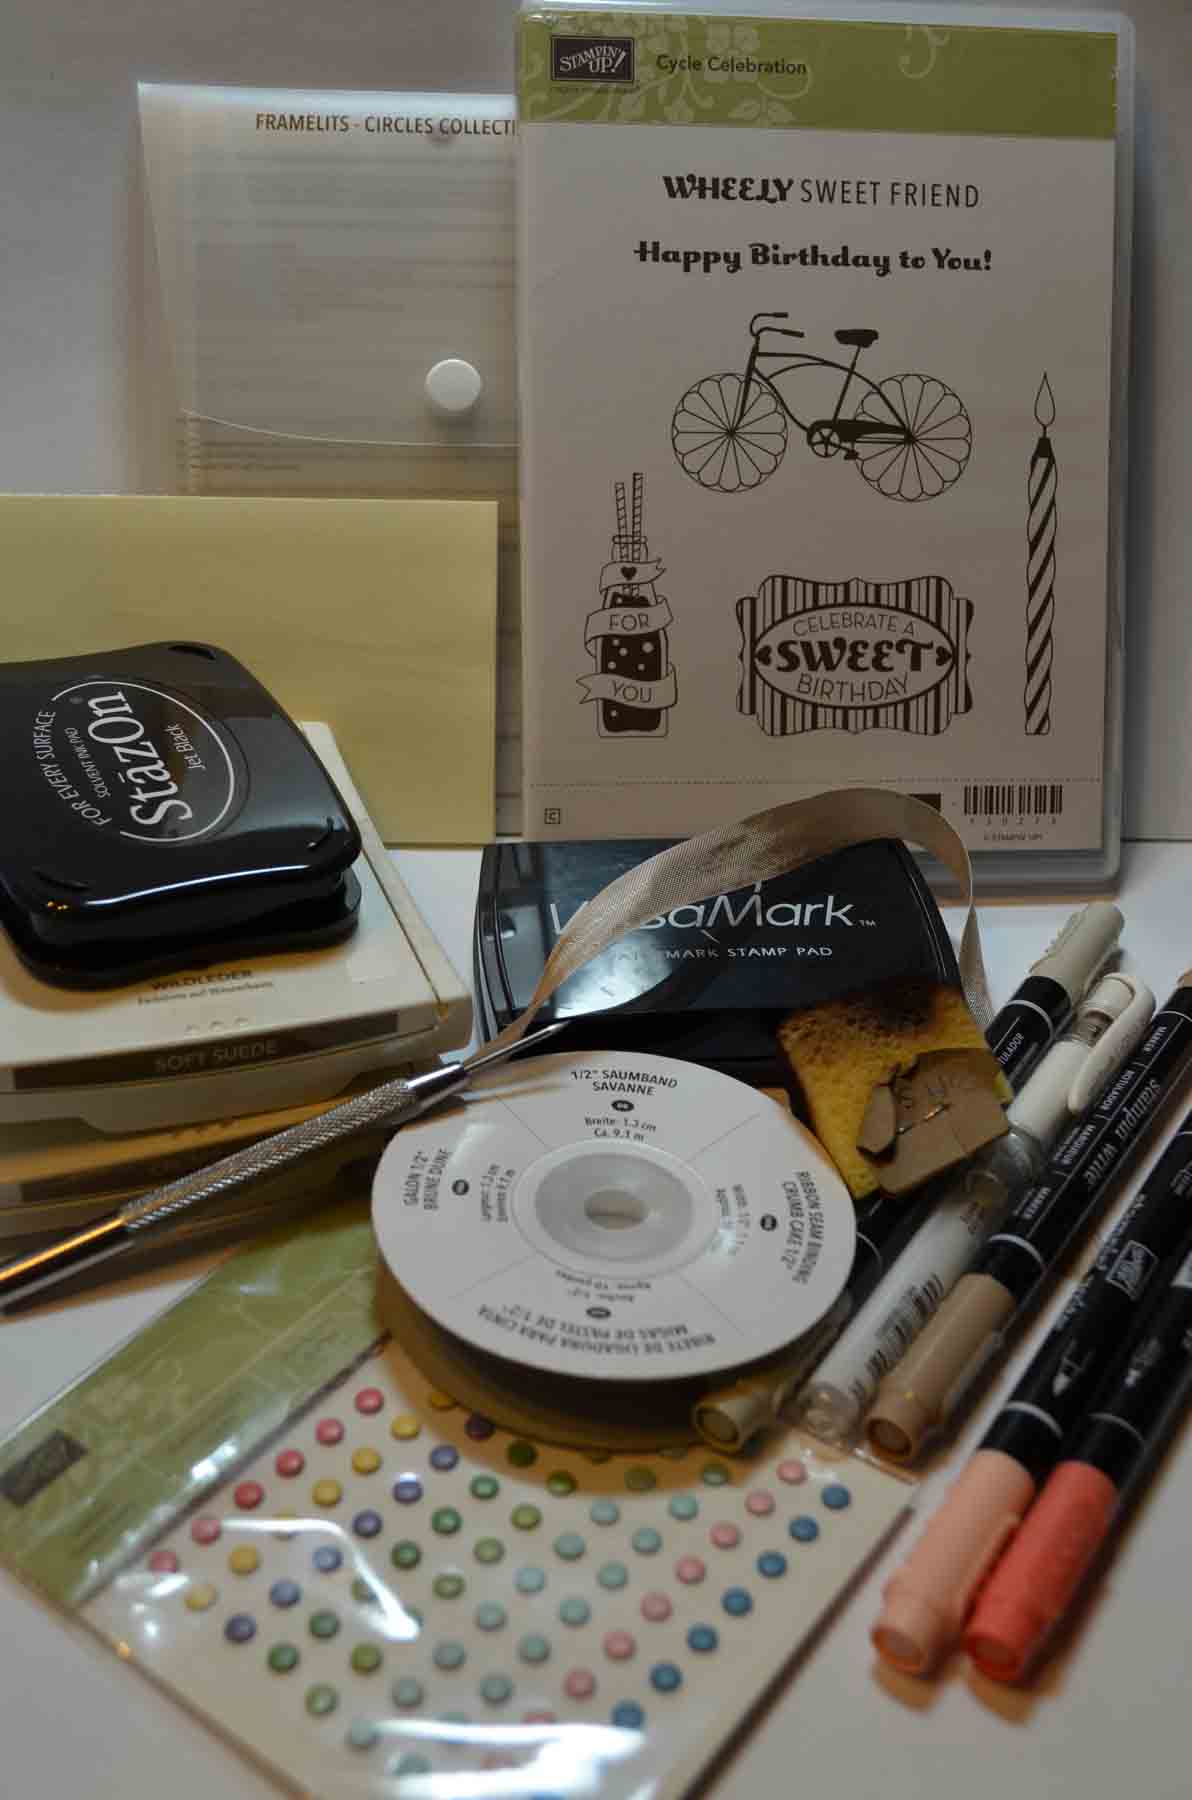
Project Supplies:
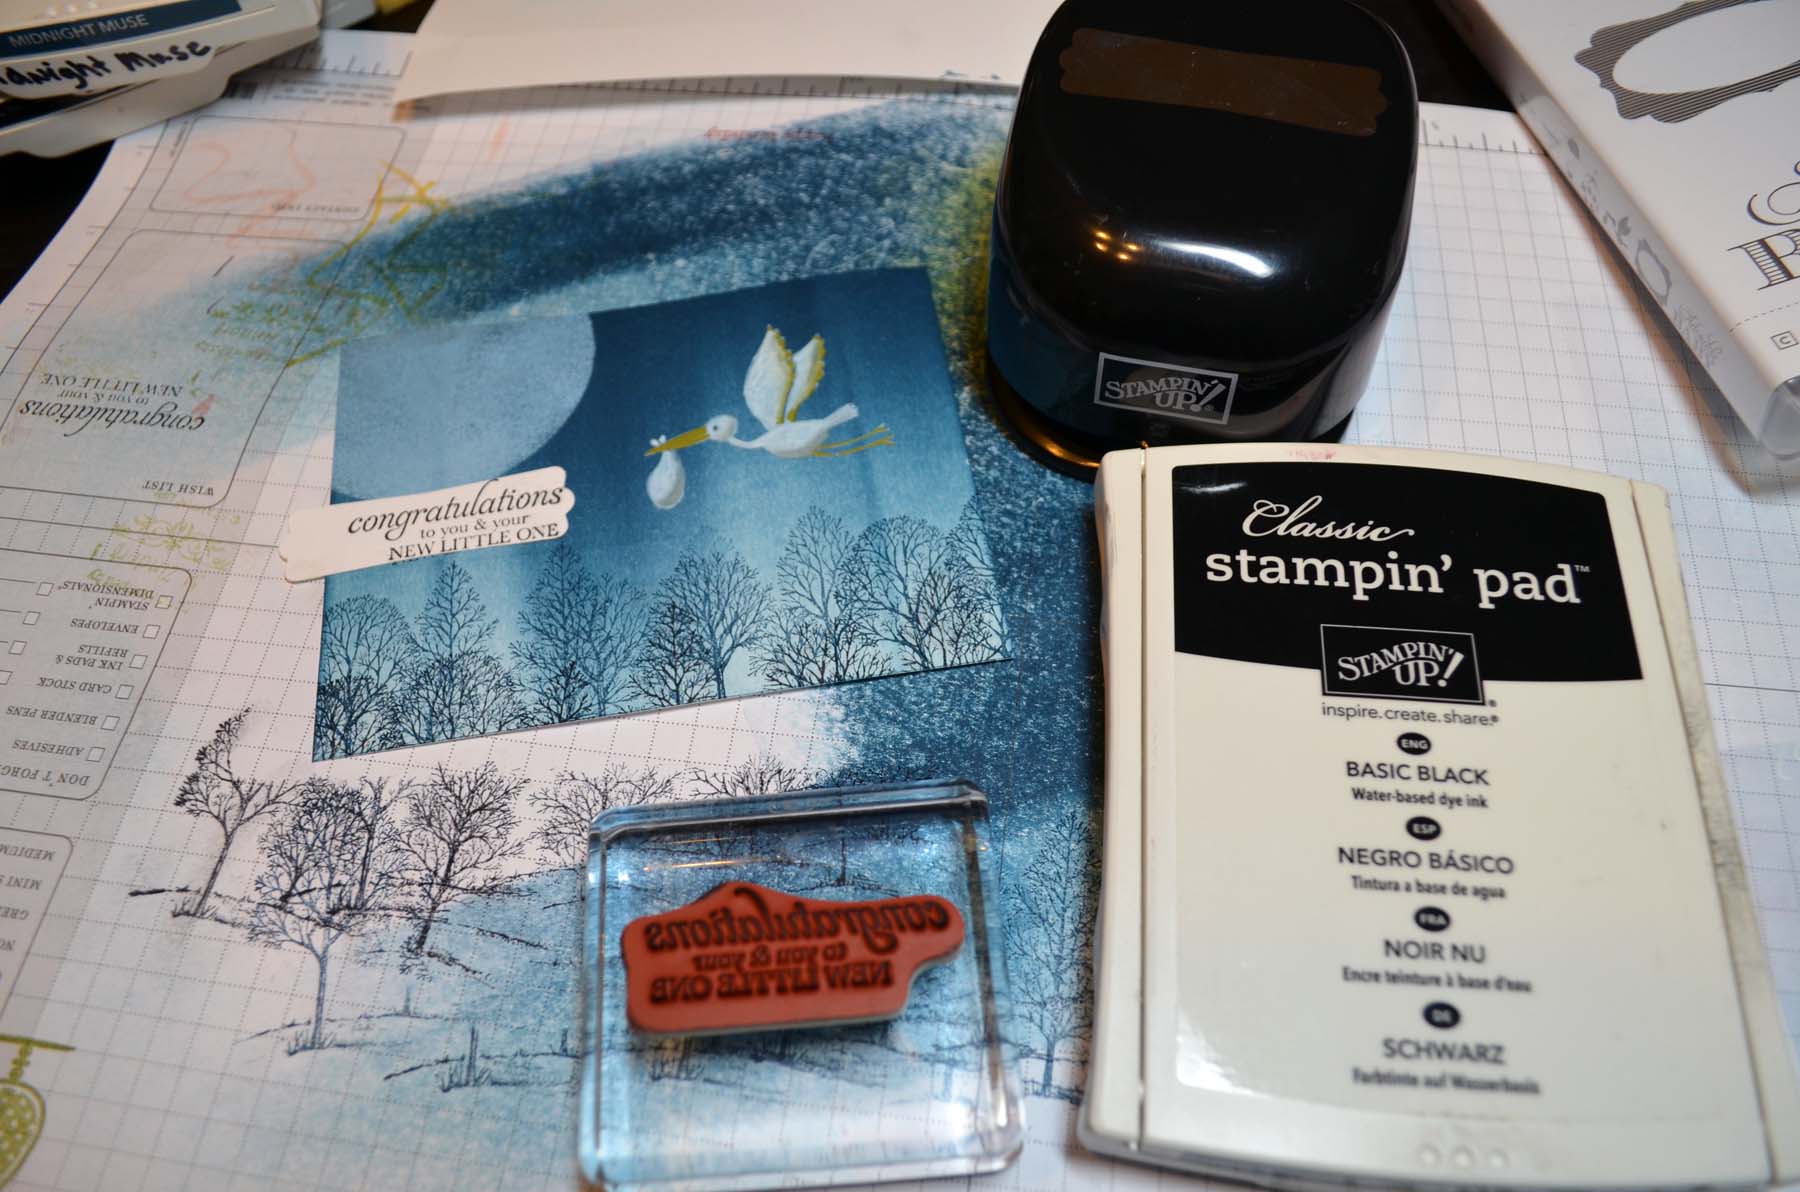
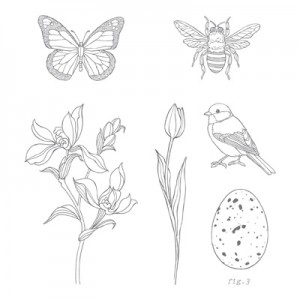
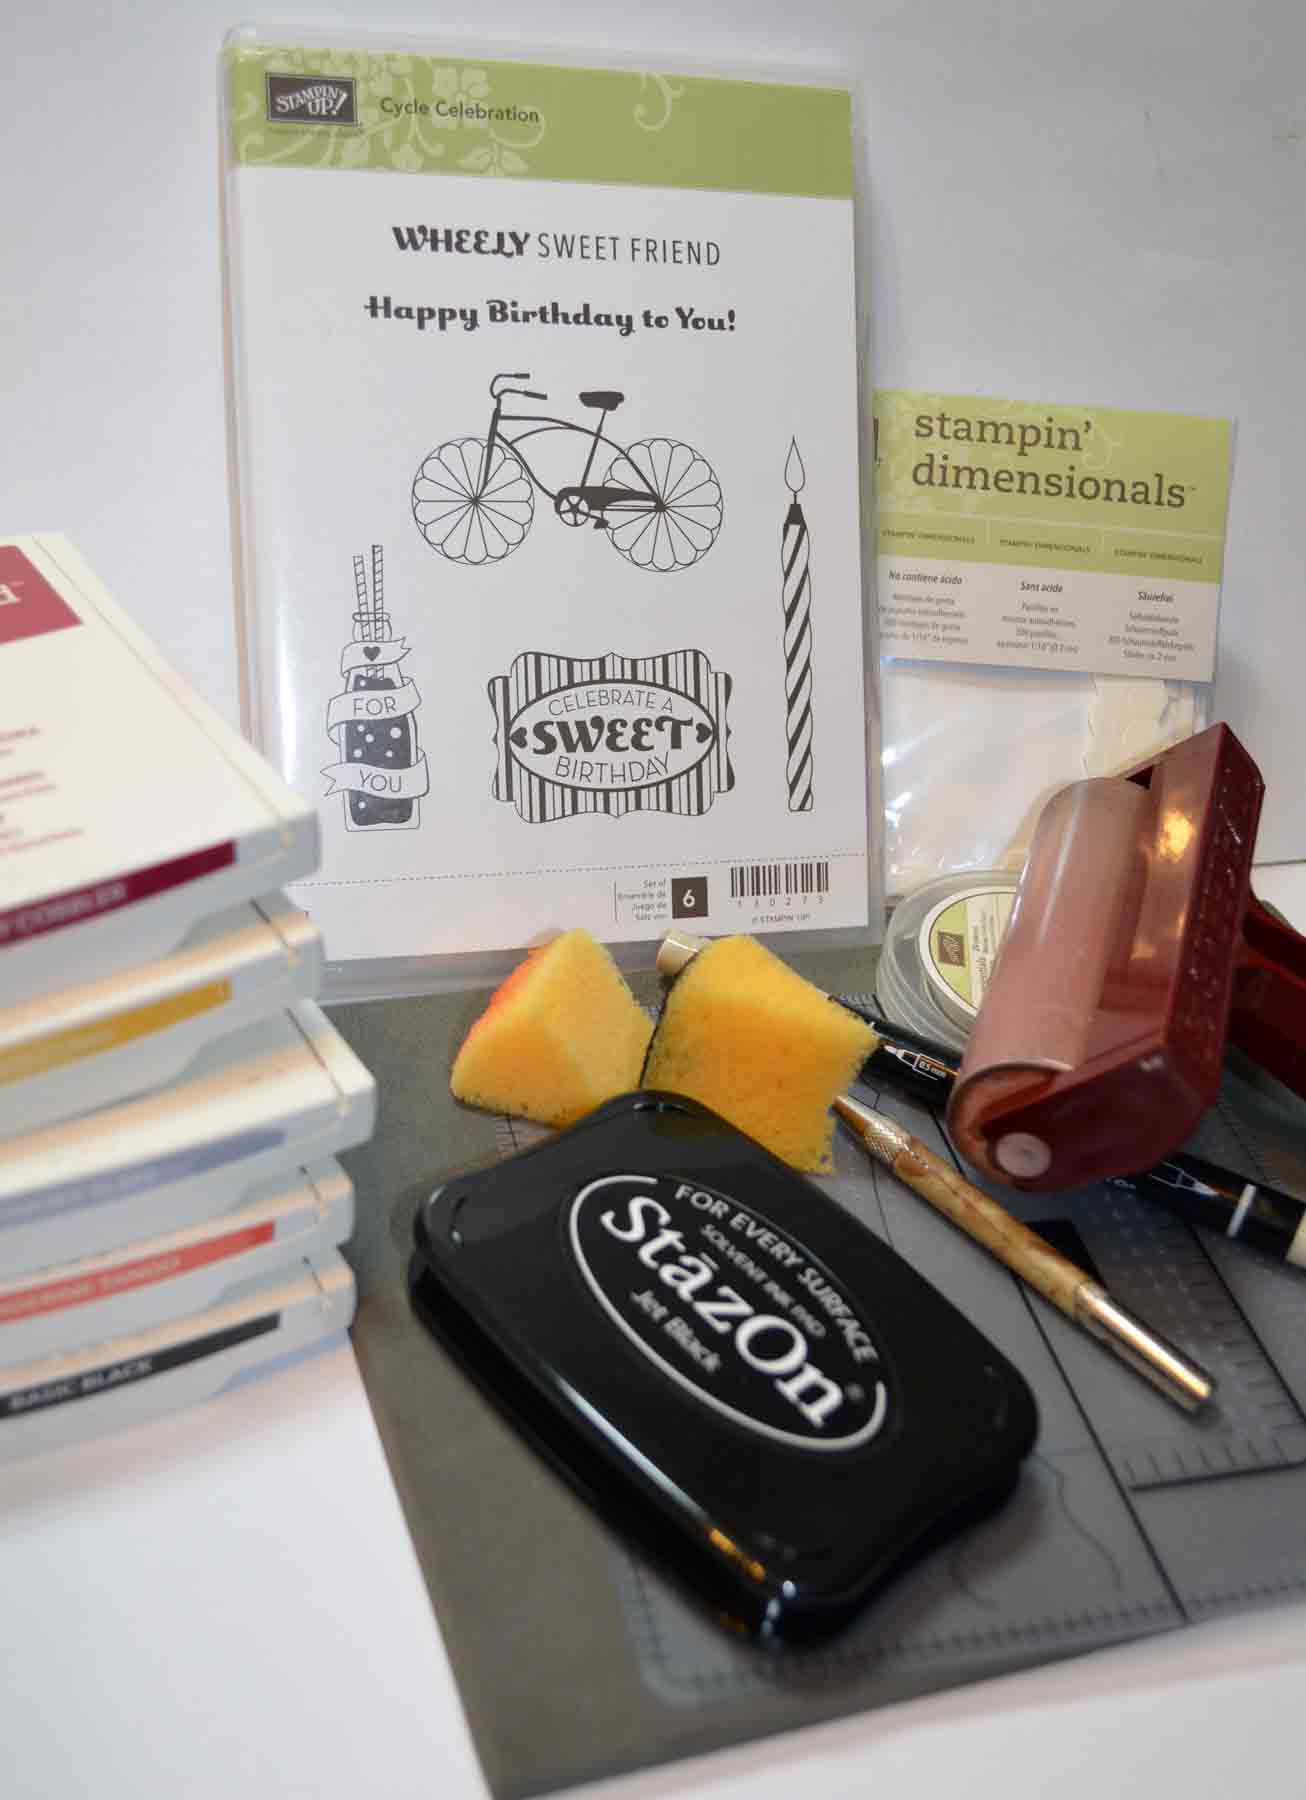
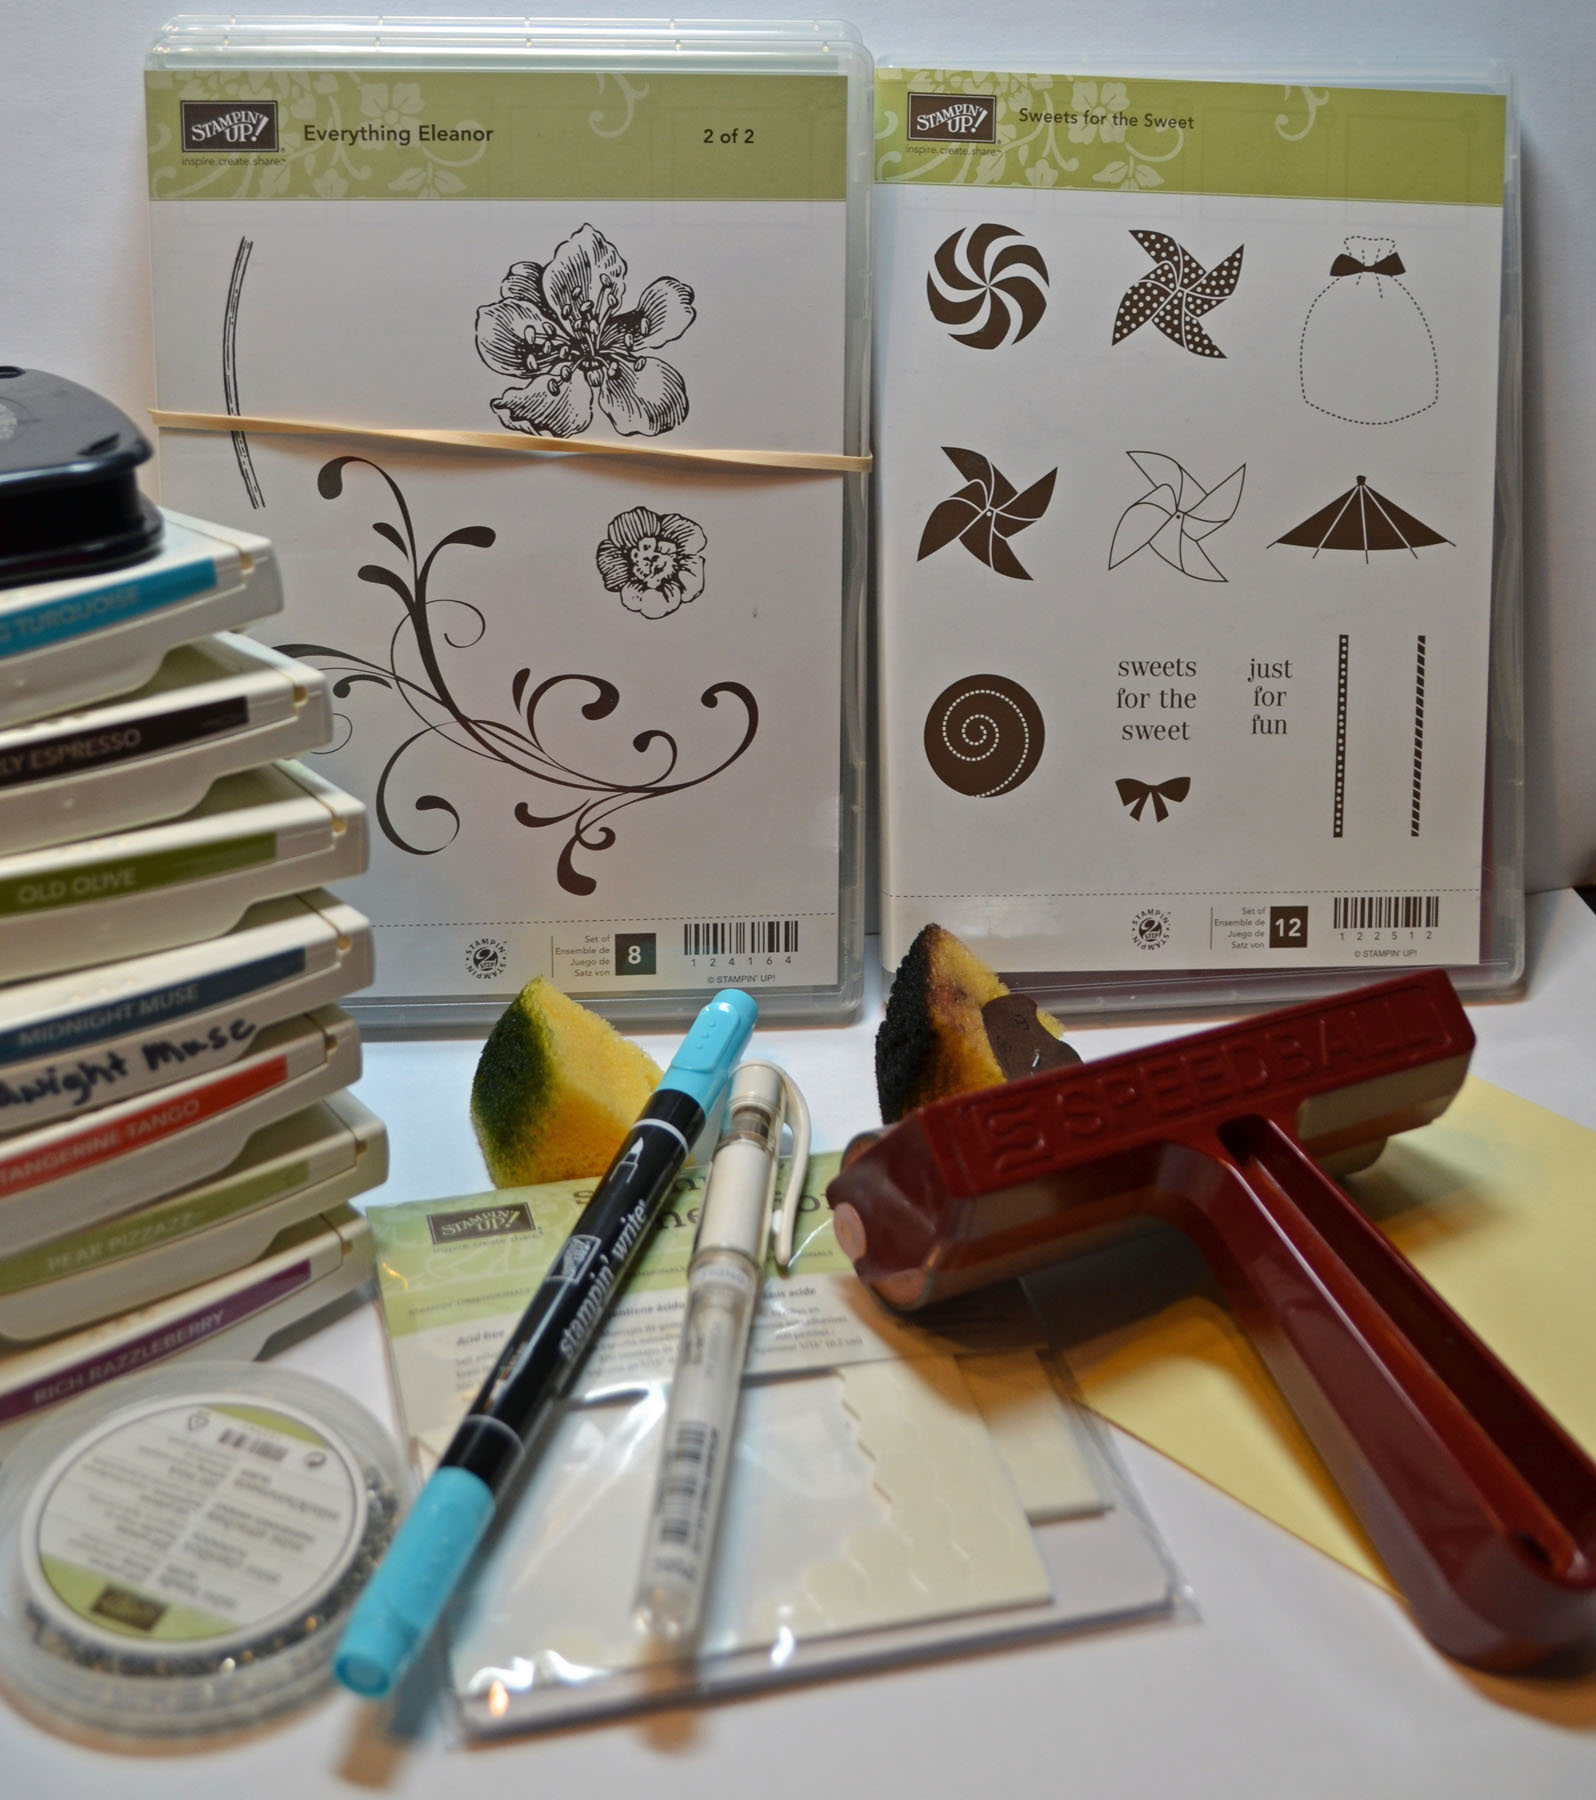
Stamps: Stampin’ Up! Sweets for the Sweet (item #122512) and Everything Eleanor (item #124164)
Card Stock: Stampin’ Up! Whisper White, Old Olive and Tangerine Tango
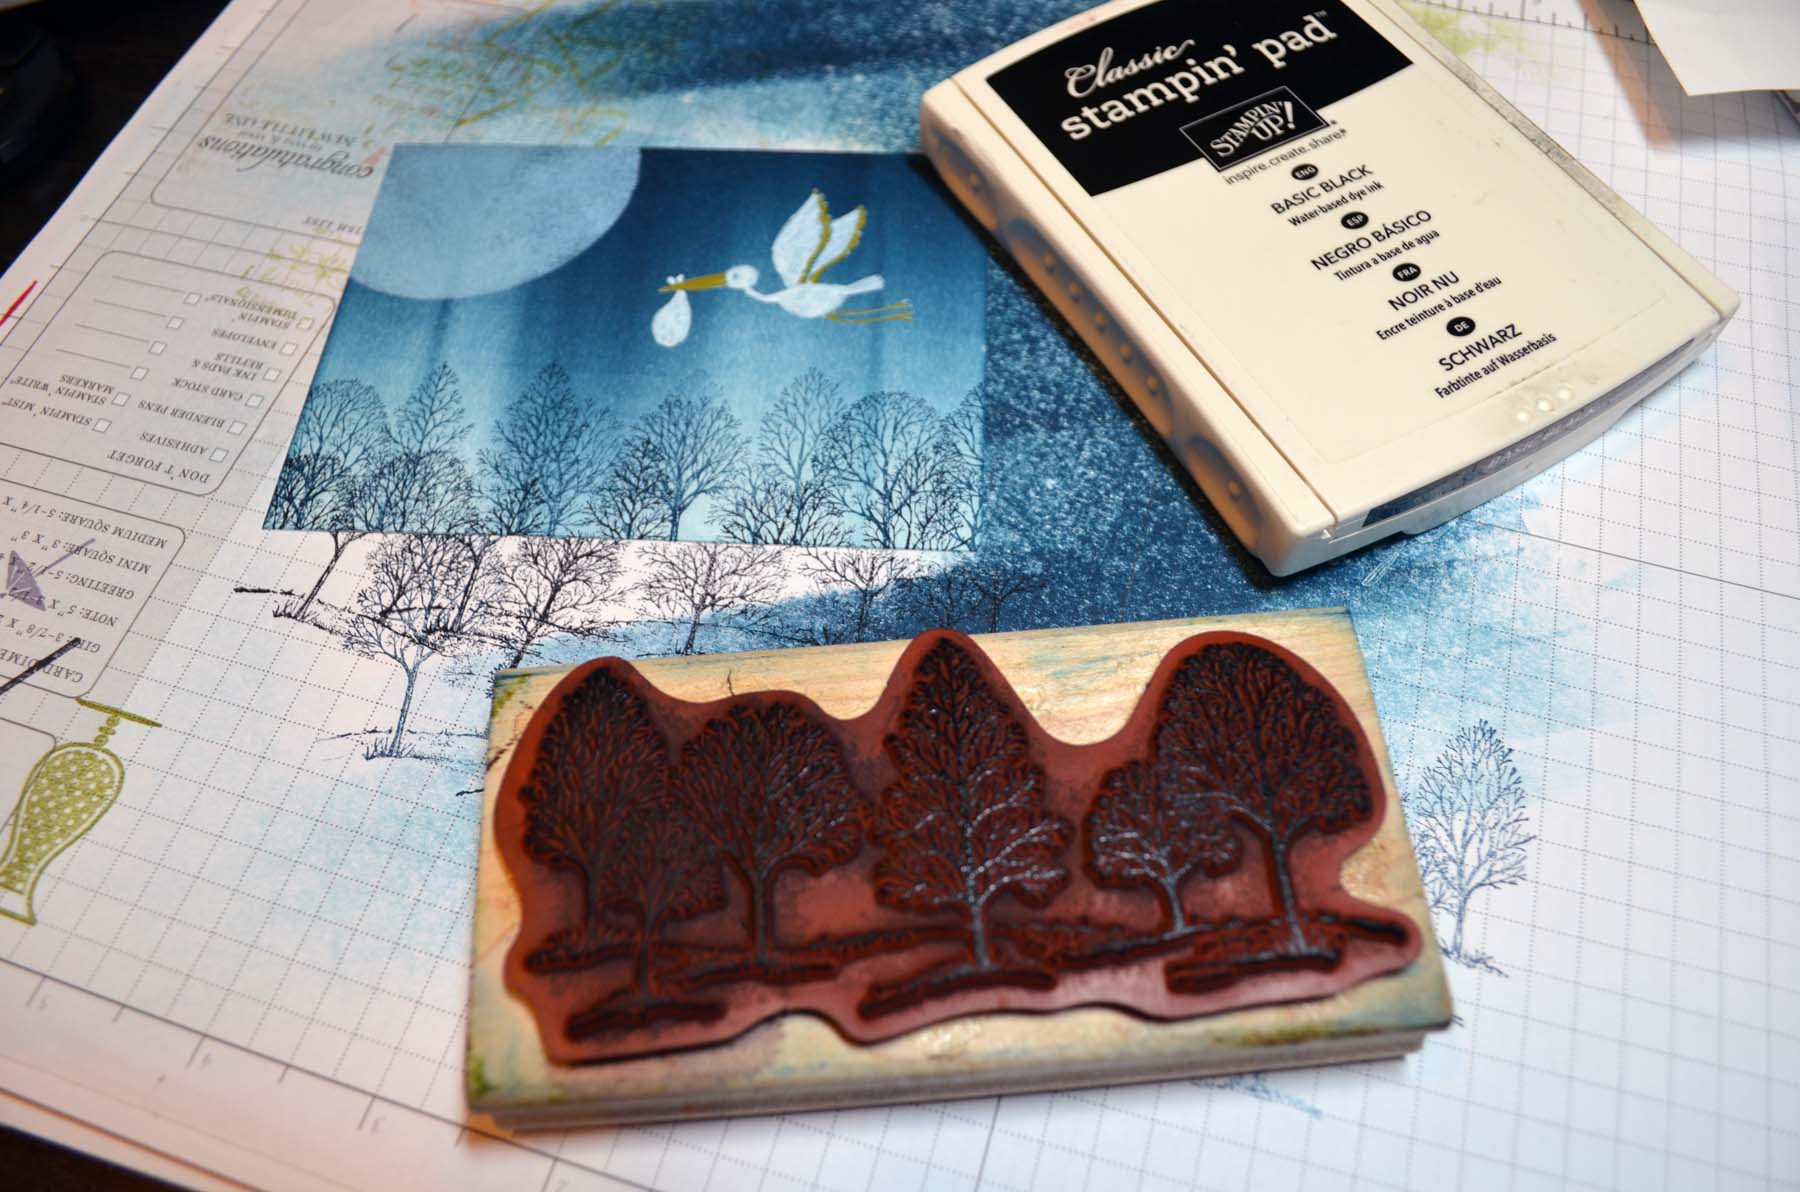
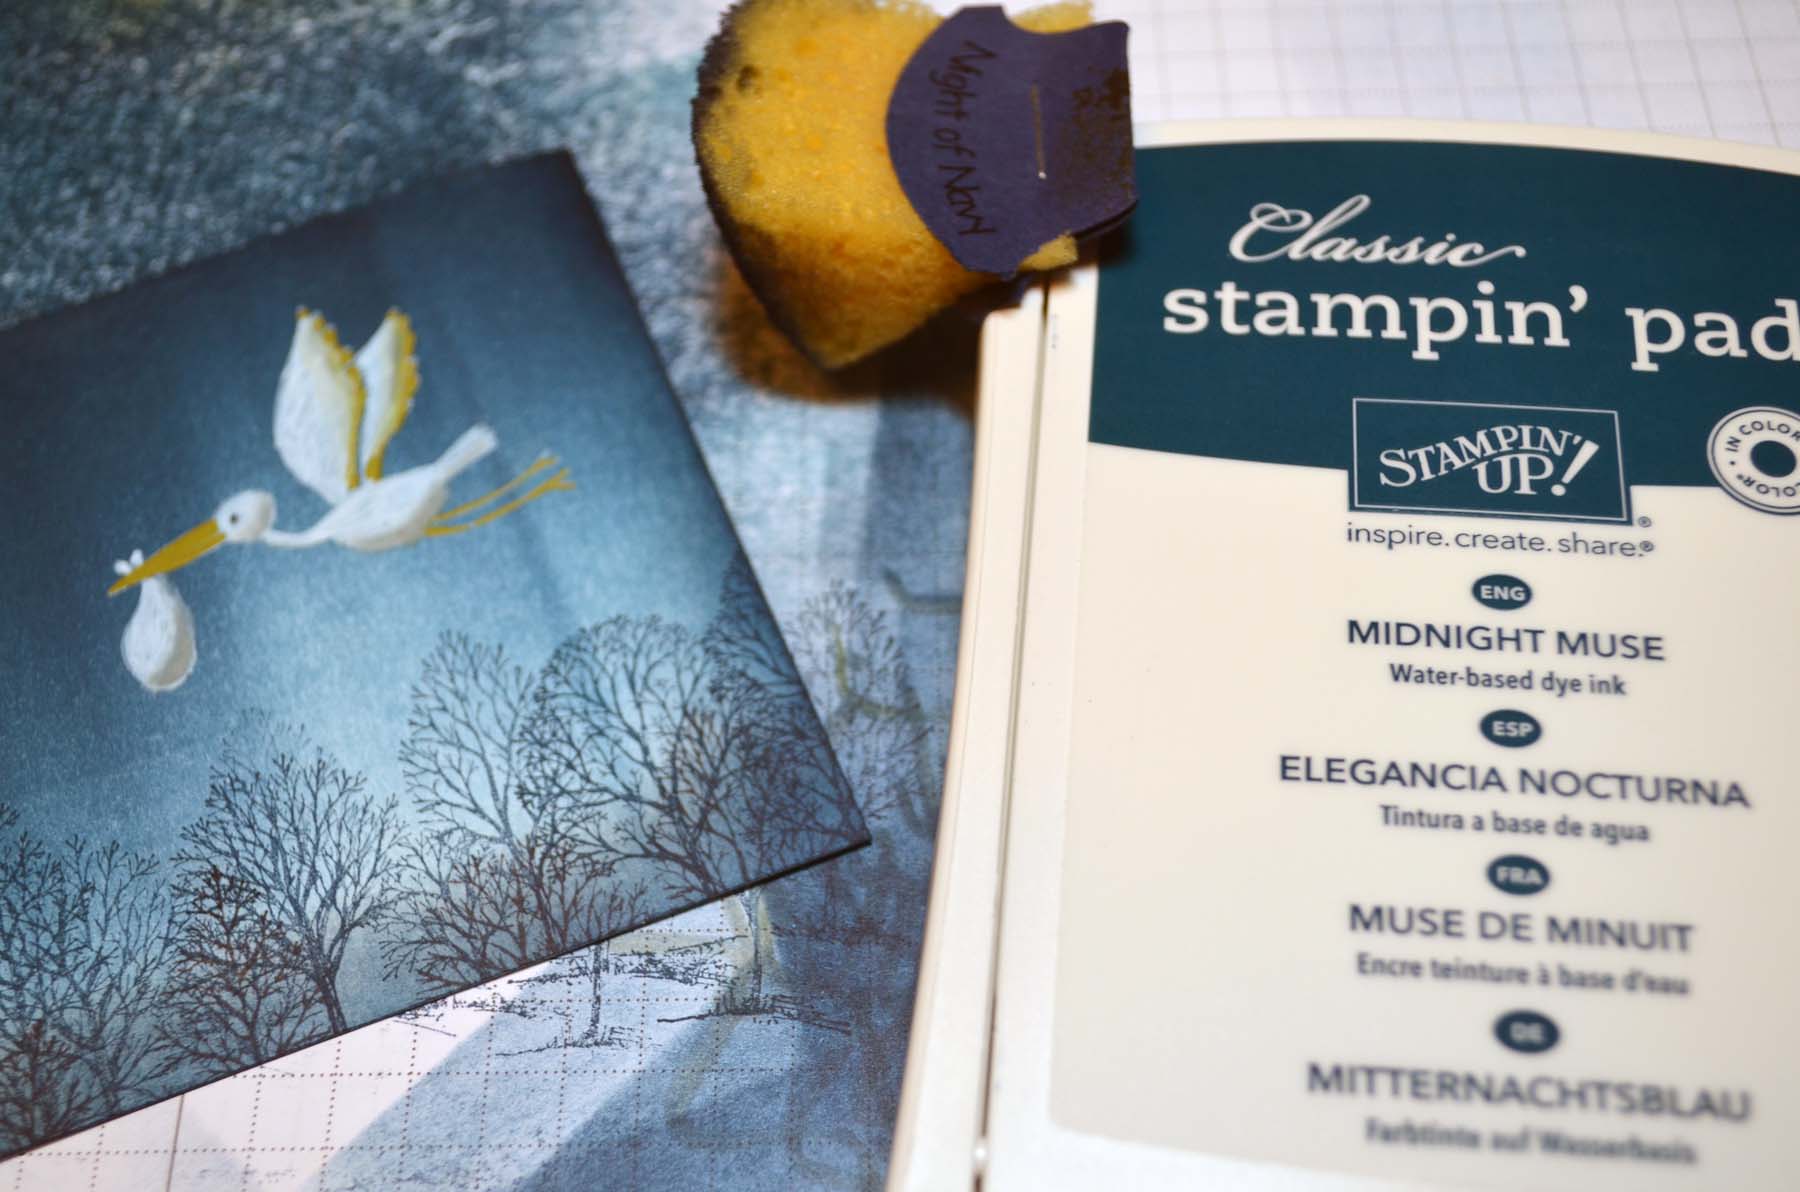
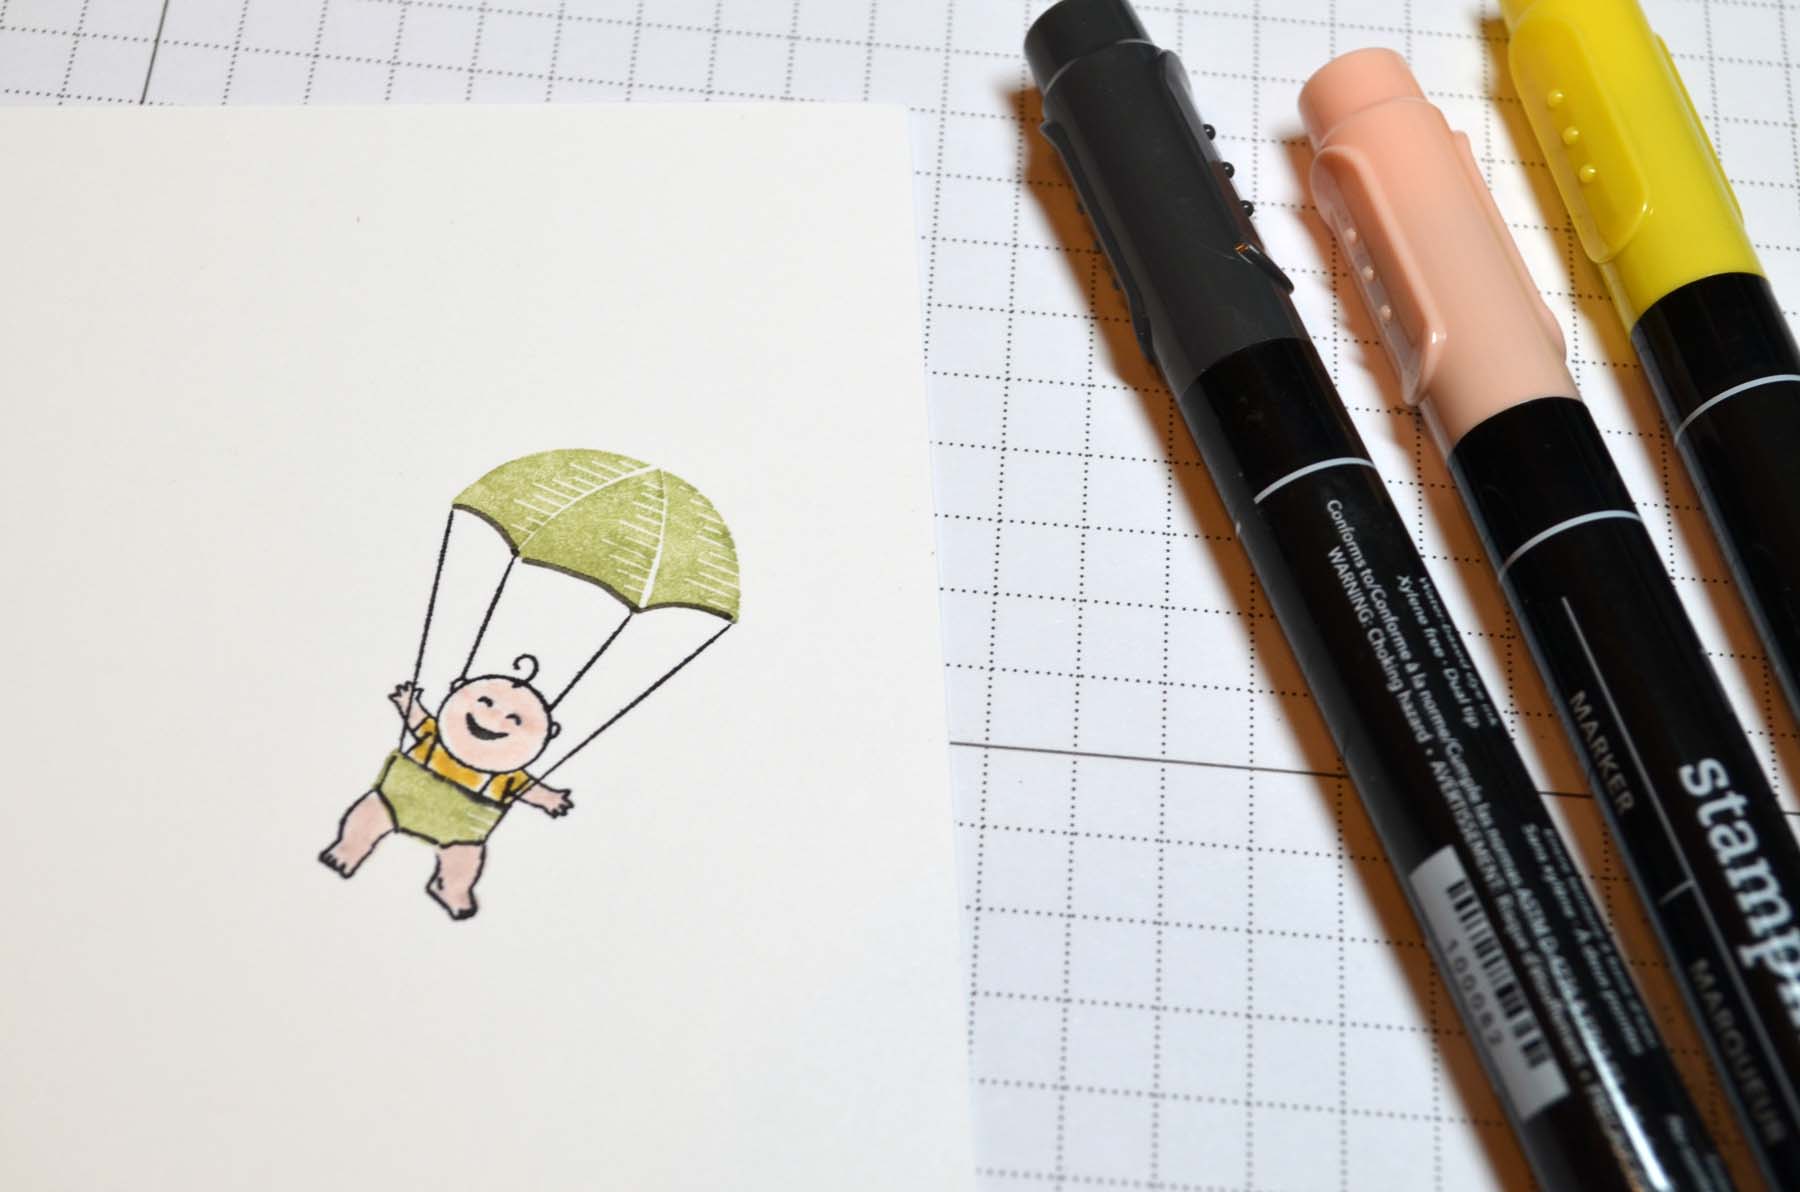
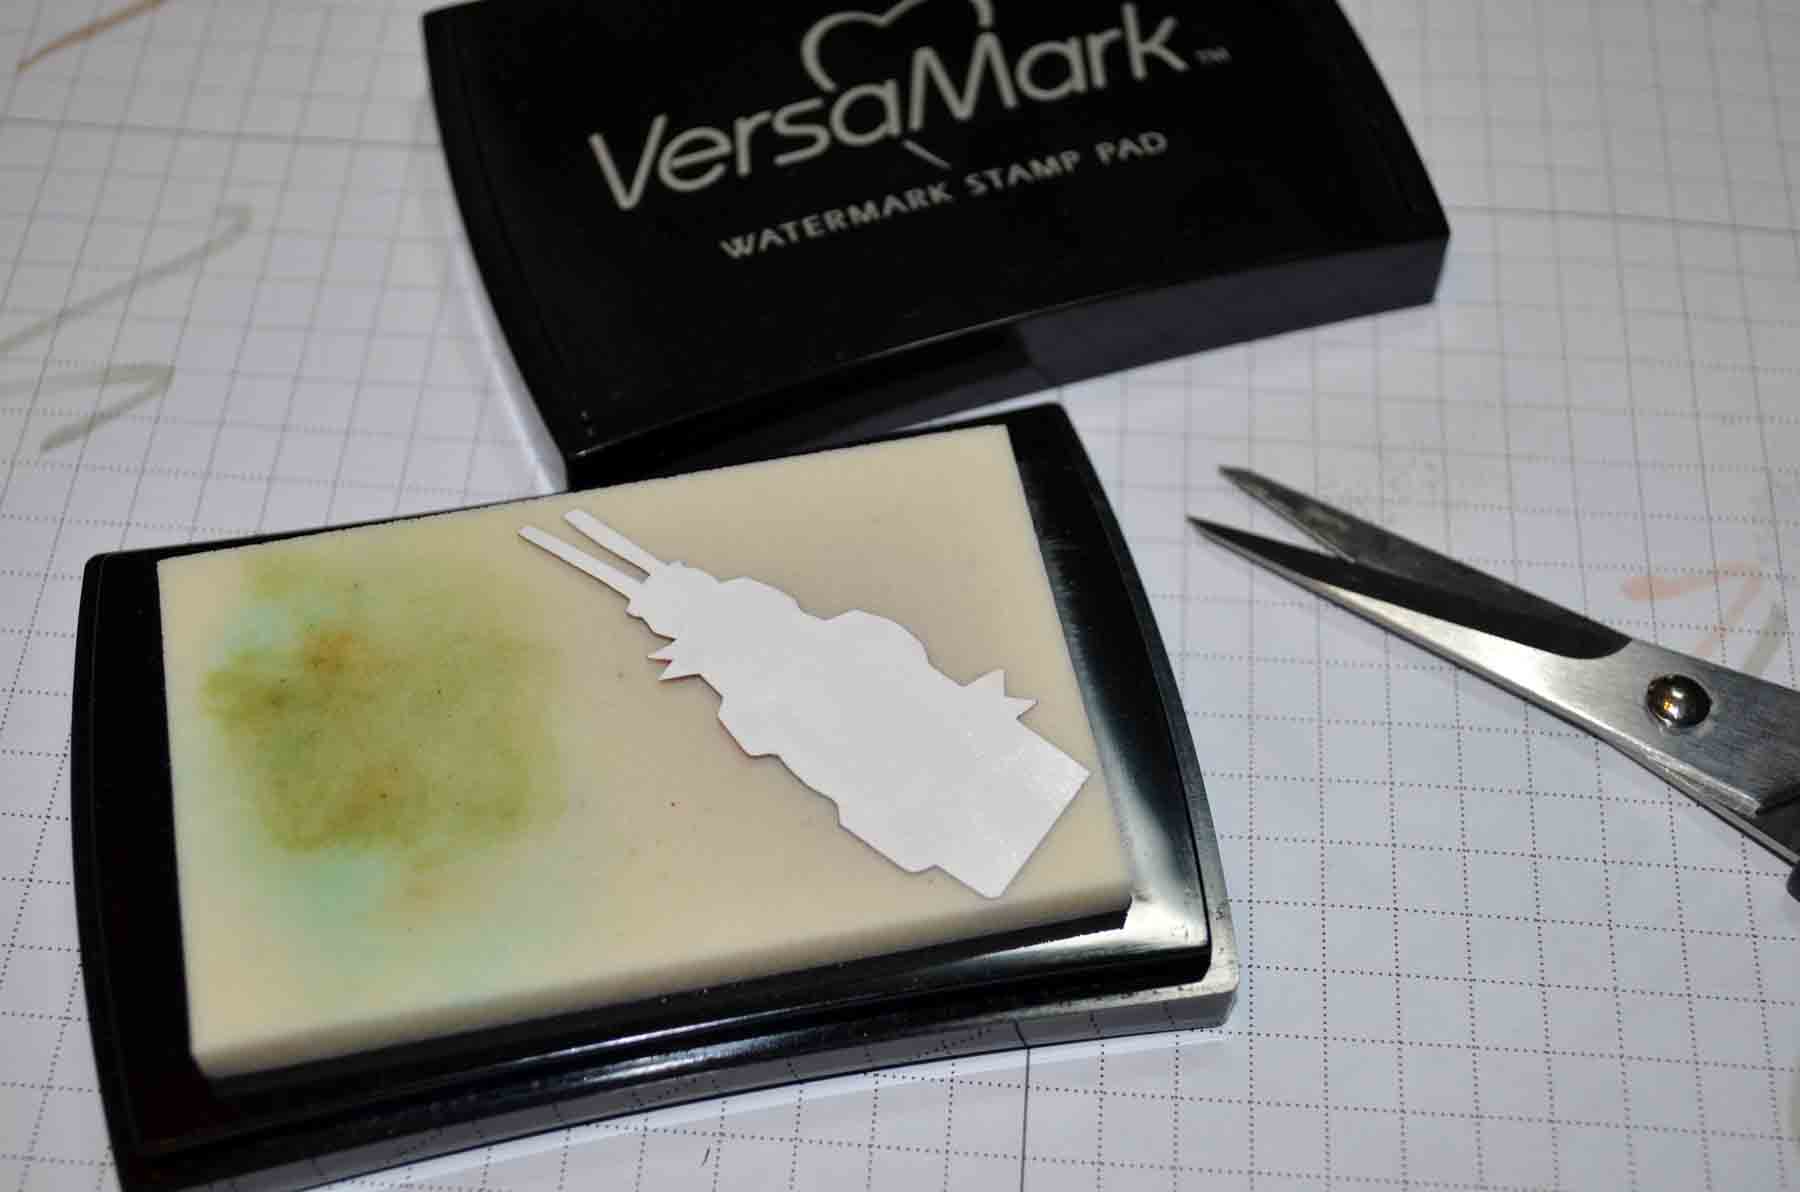
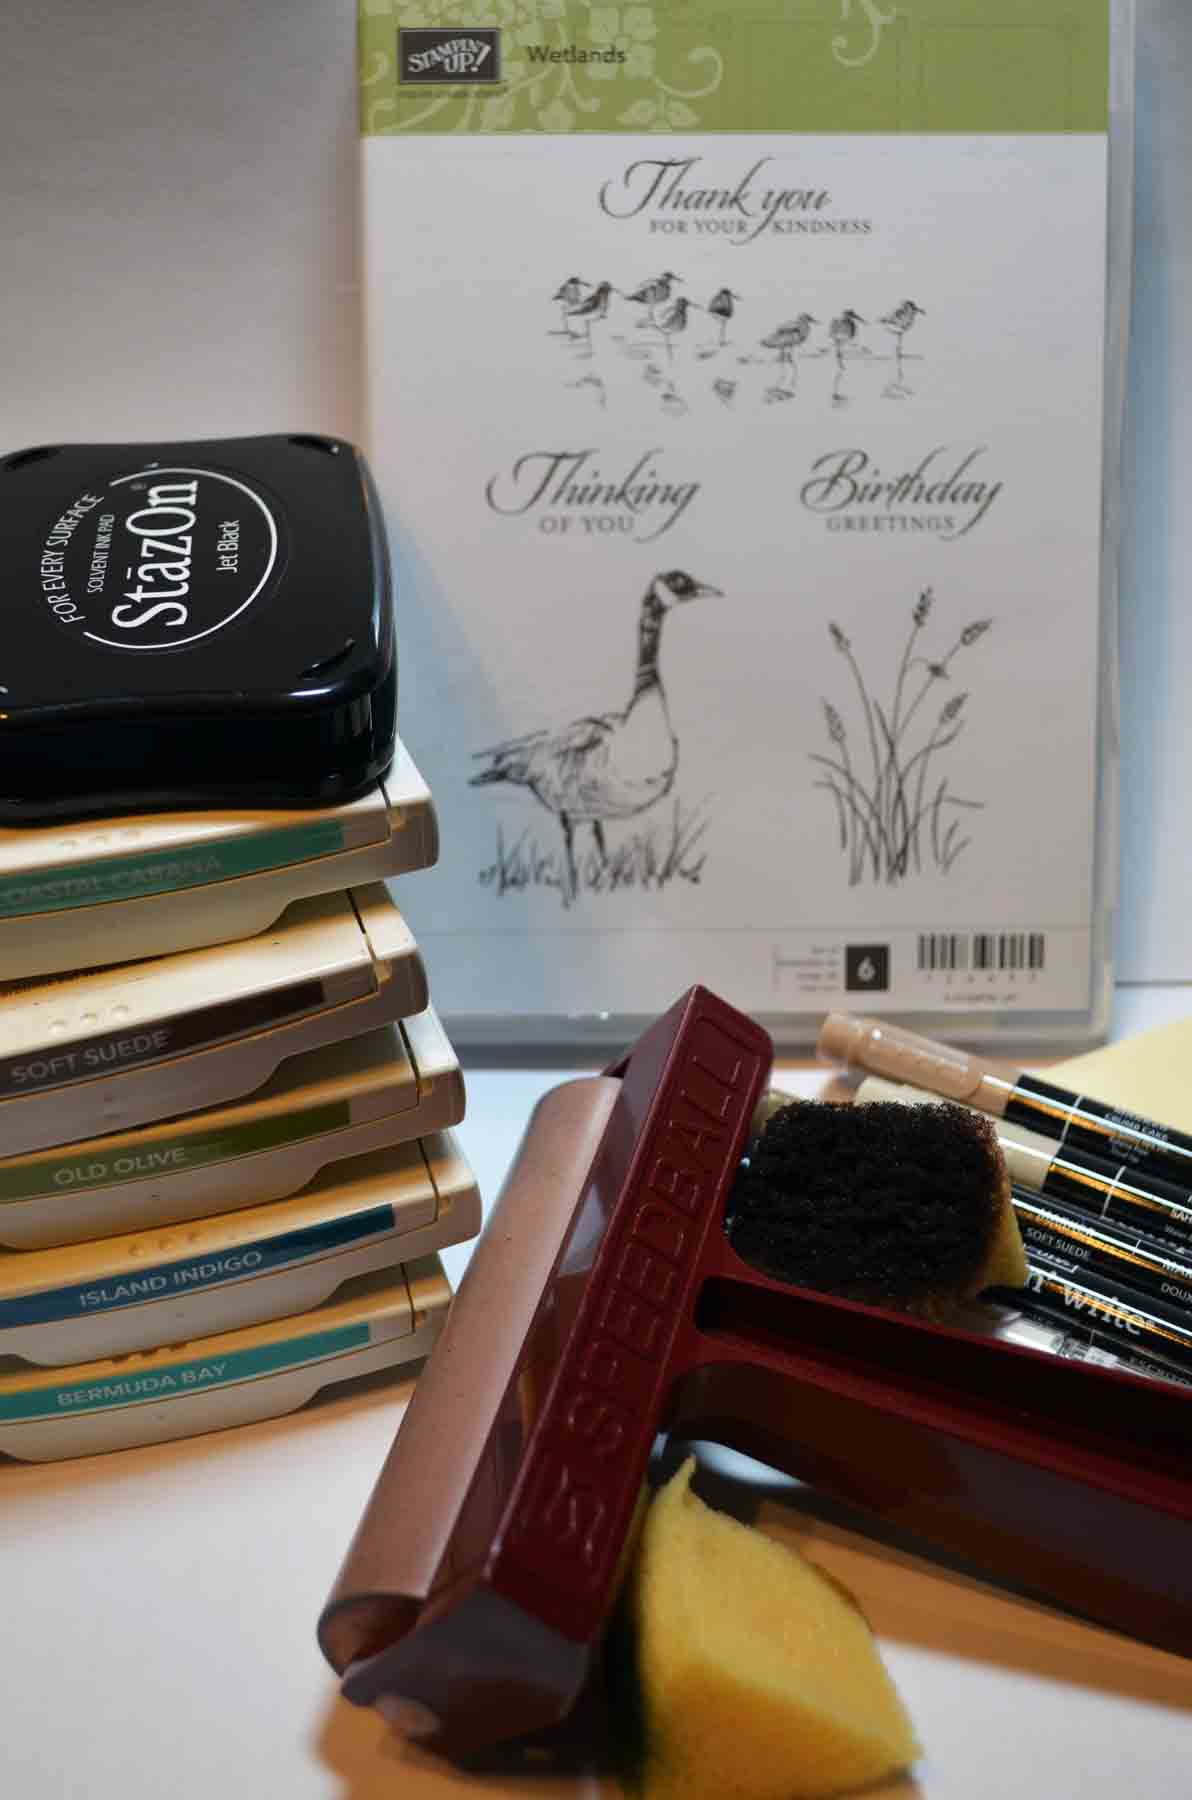
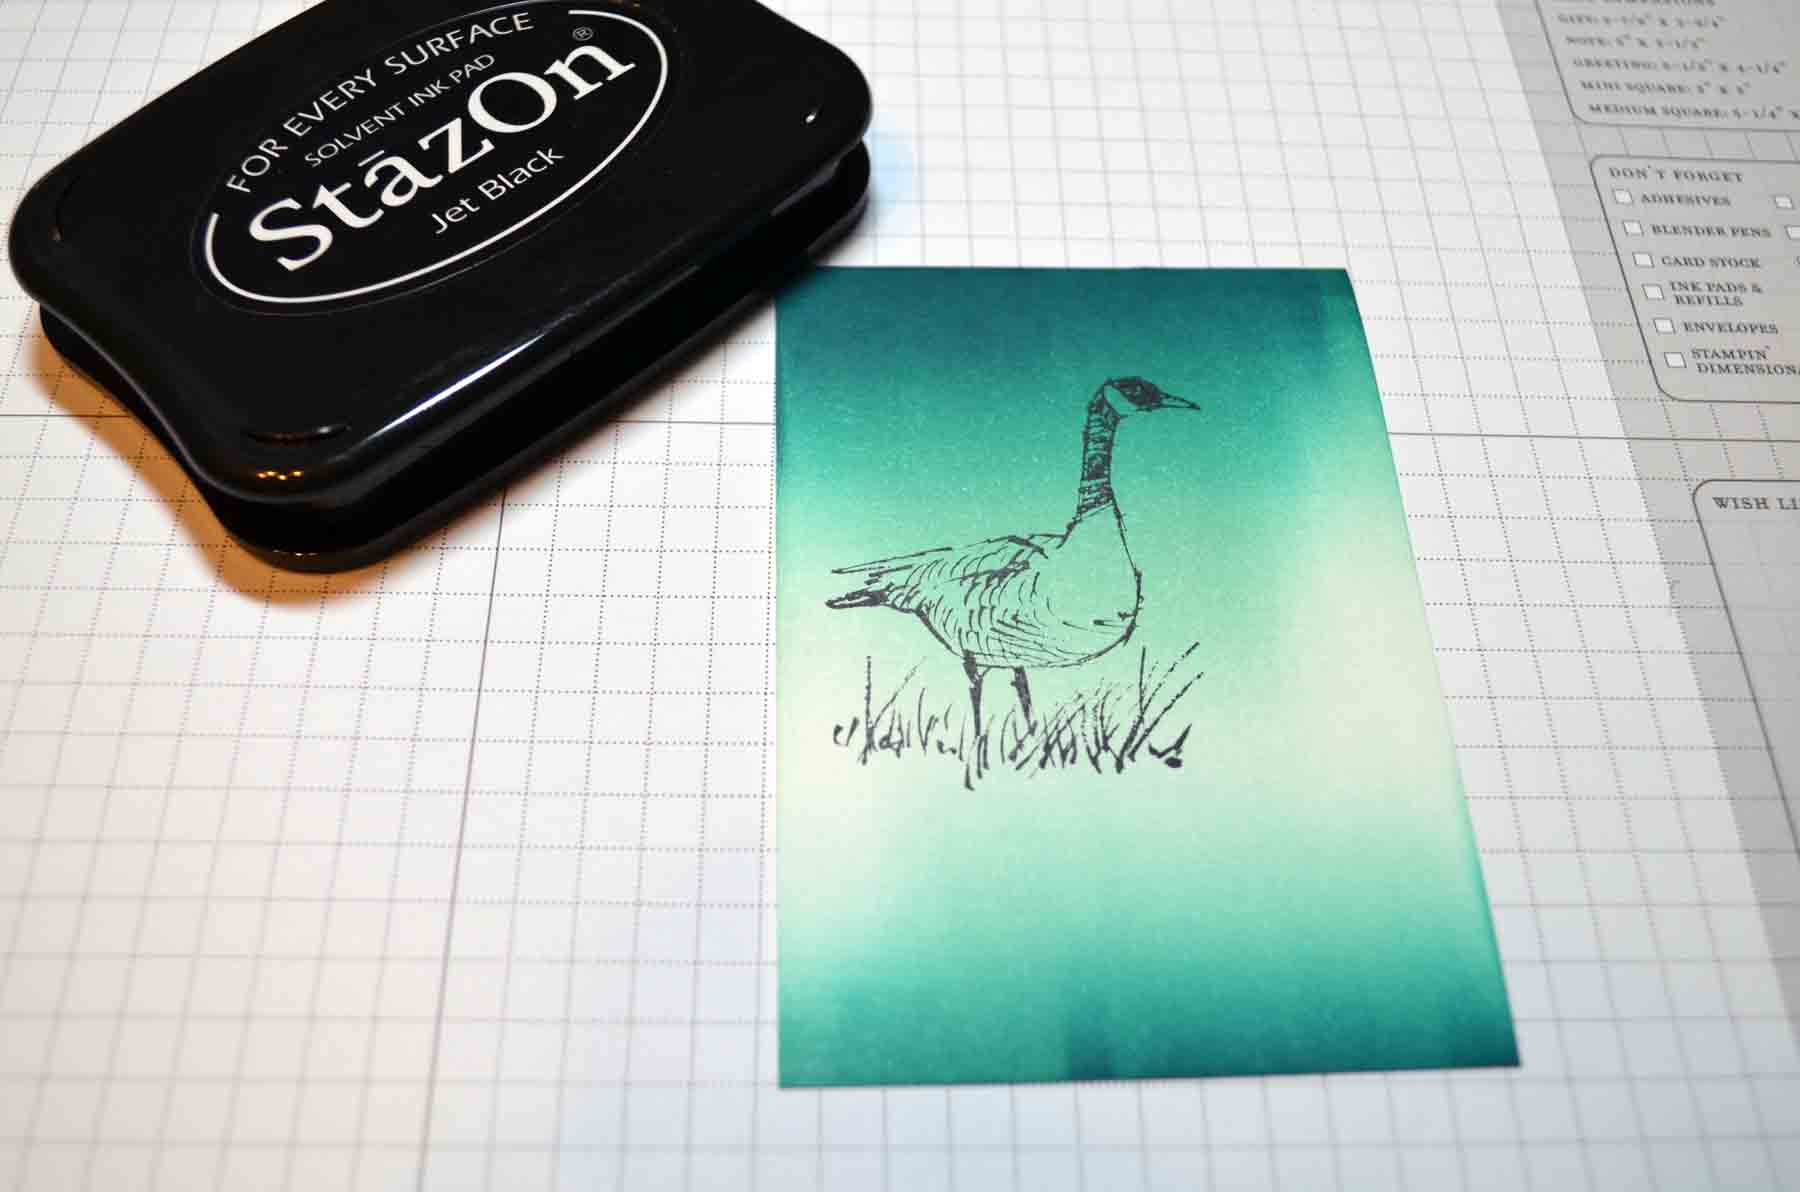
Ink: Stampin’ Up! Tempting Turquoise, Early Espresso, Old Olive, Midnight Muse, Tangerine Tango, Pear Pizzazz, Rich Razzelberry and Stazon Jet Black
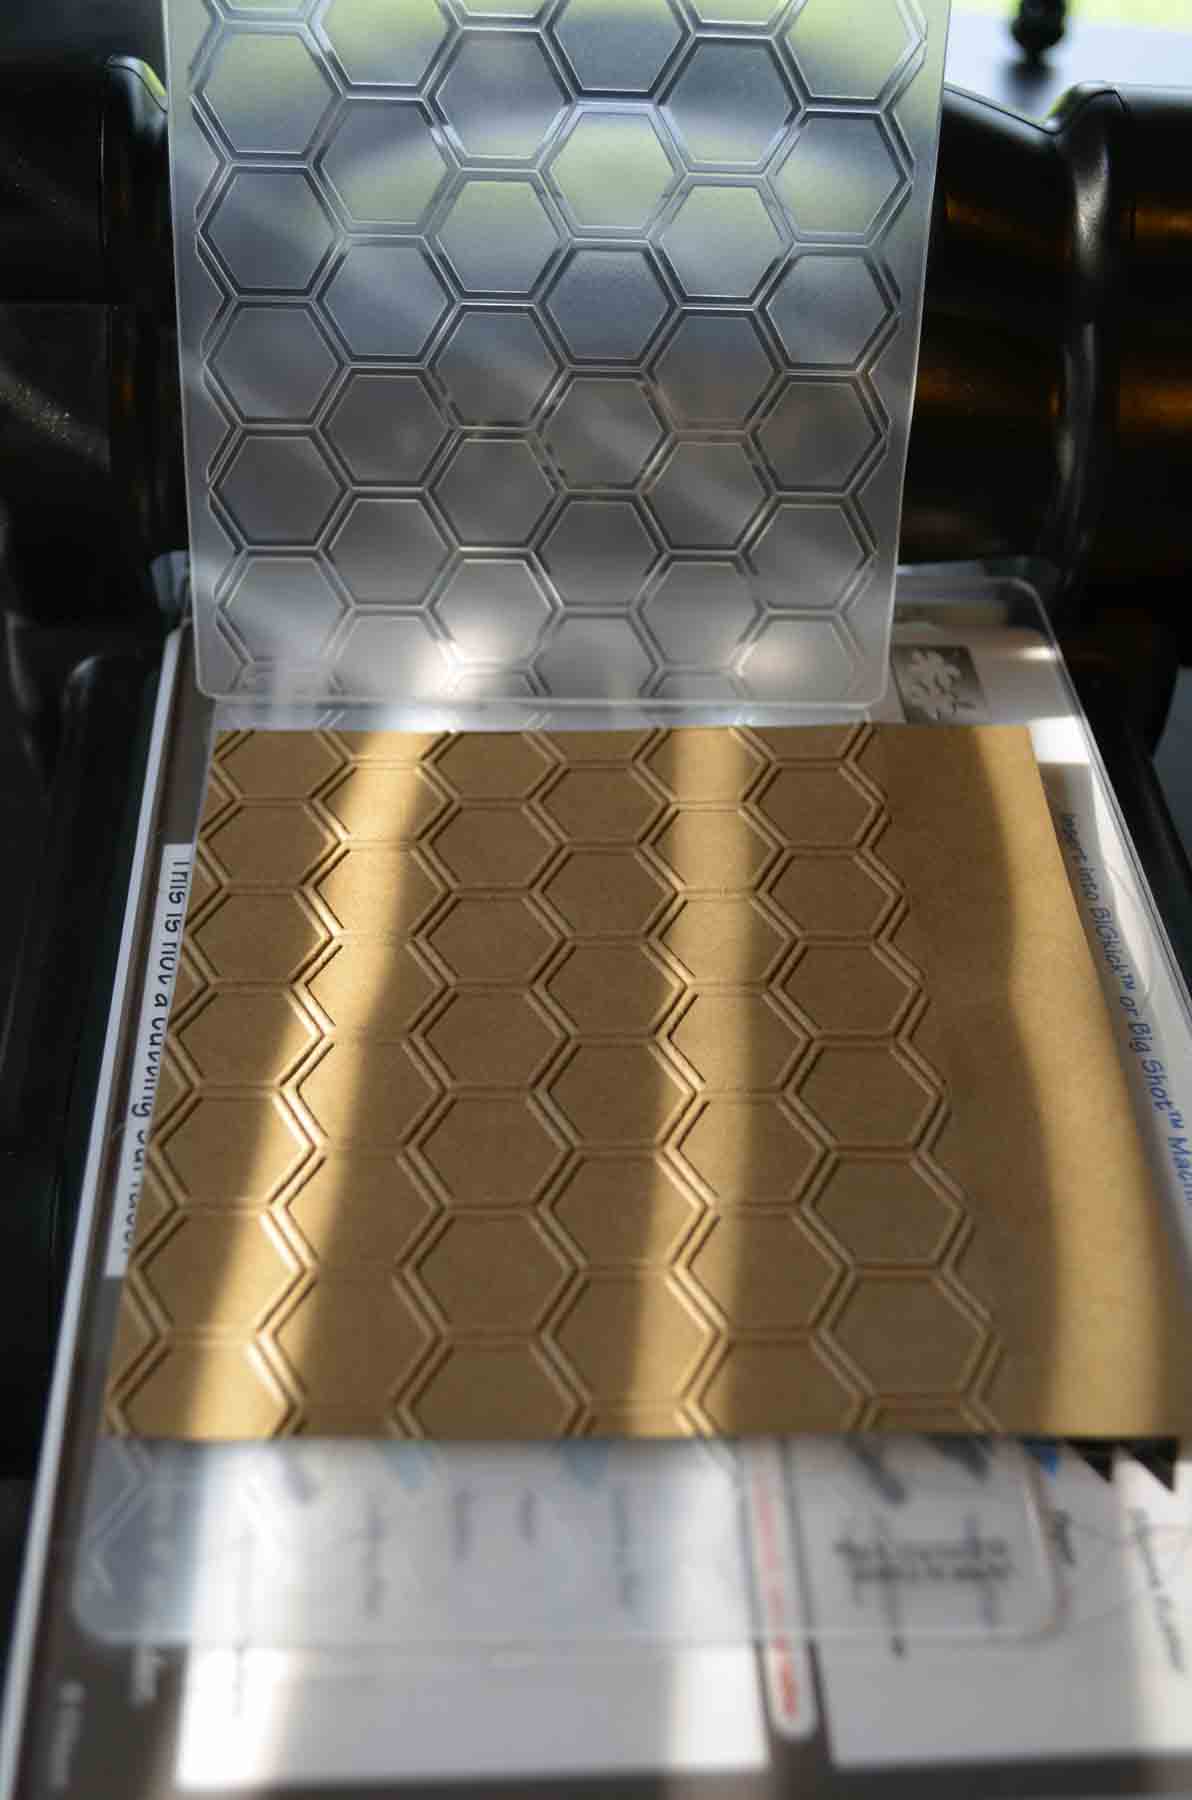
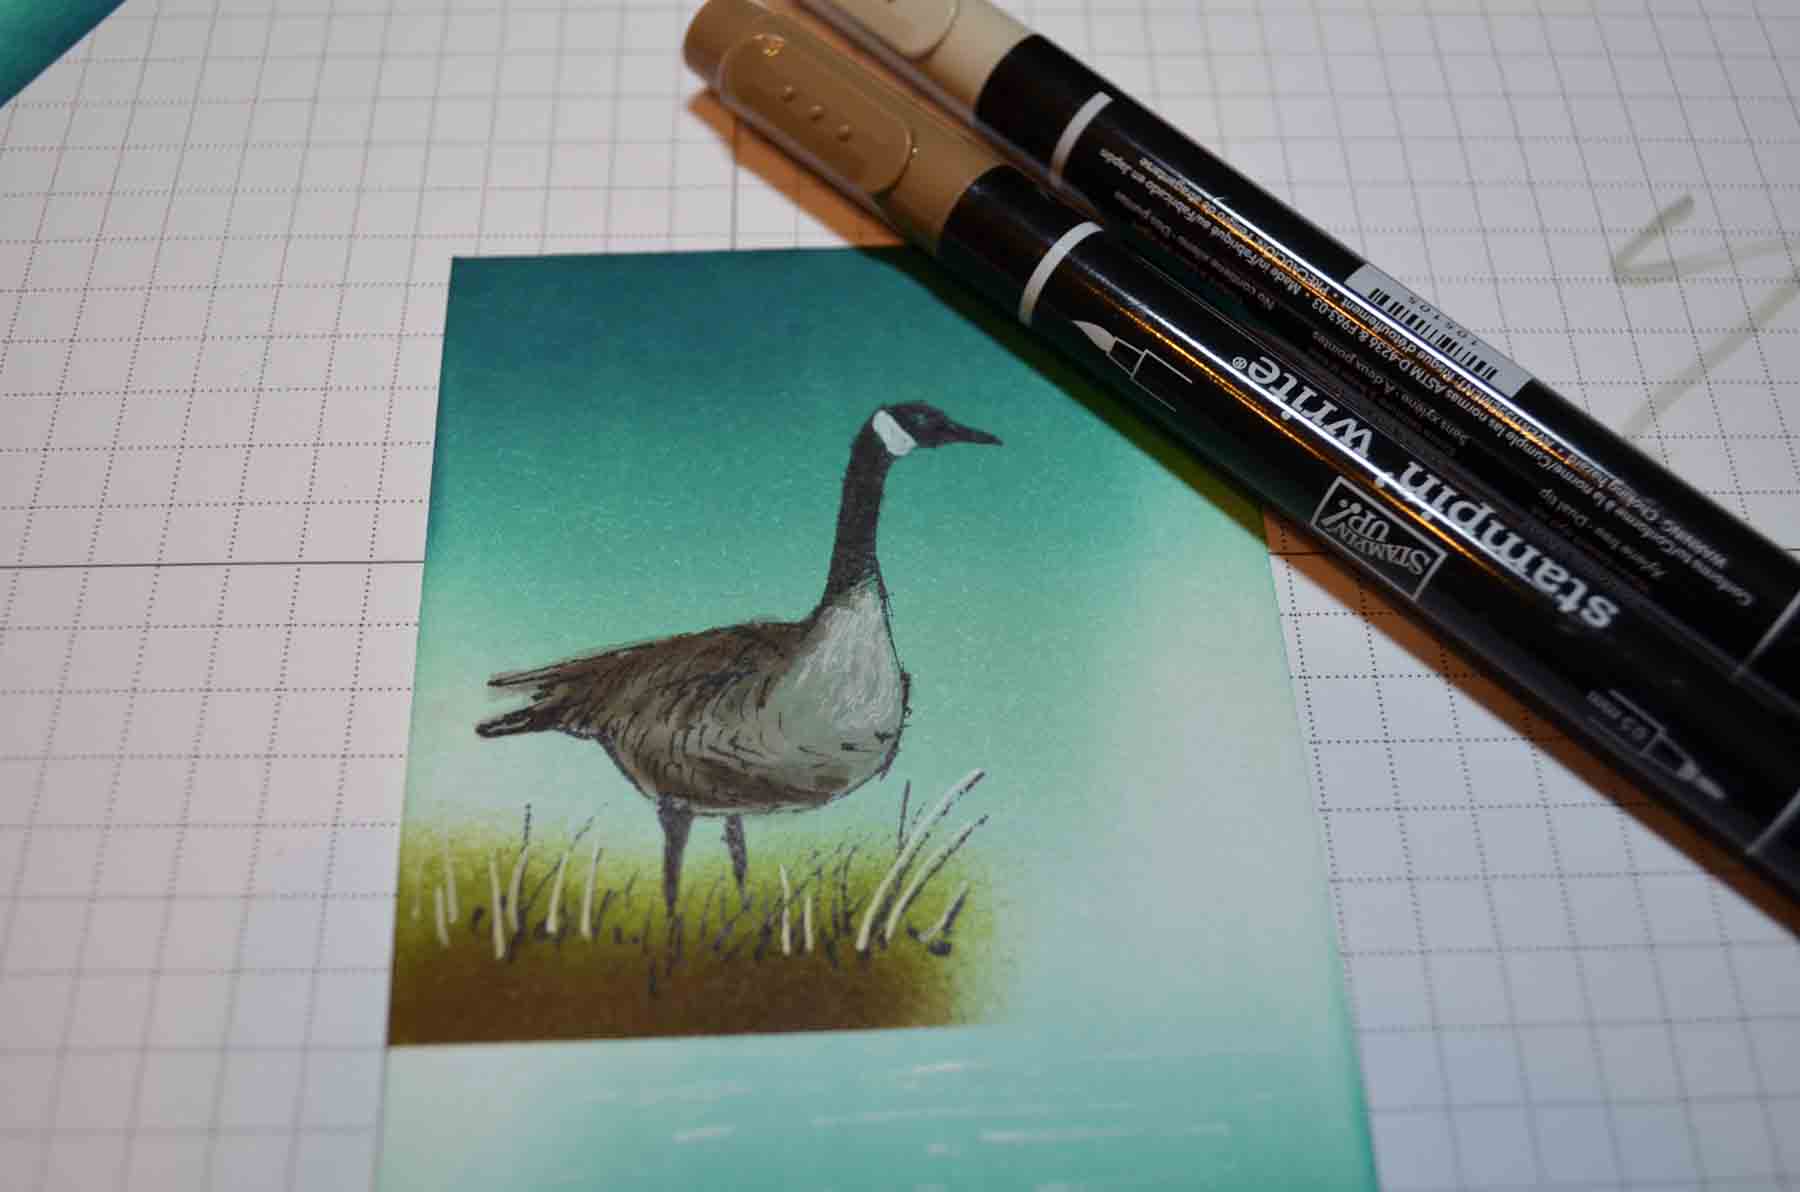
Accessories: Stampin’ Up! Stampin’ Write Markers Tempting Turquoise, White Gel Pen, Stampin’ Dimensional, Sponges, Brayer, Silver Brads, Post it note, Big Shot Machine and Tasteful Trim Die

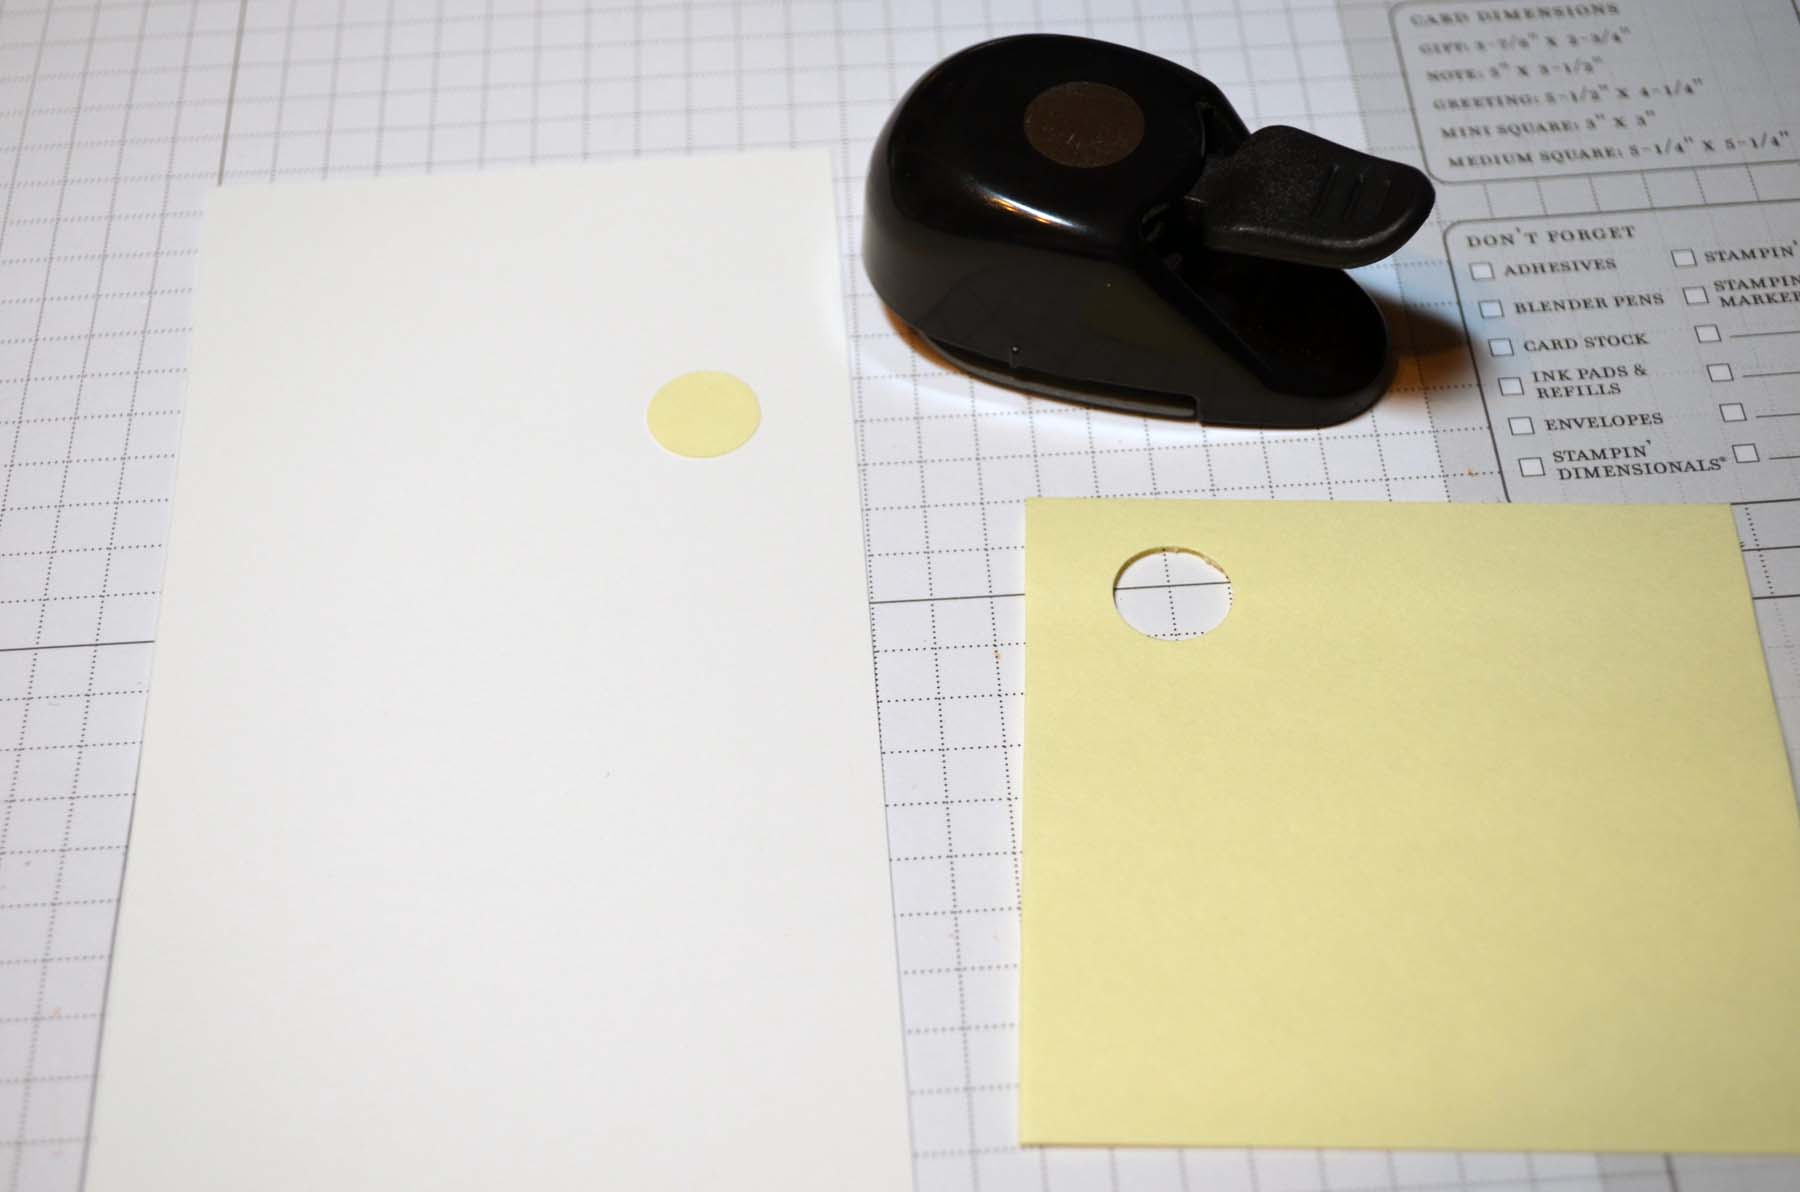
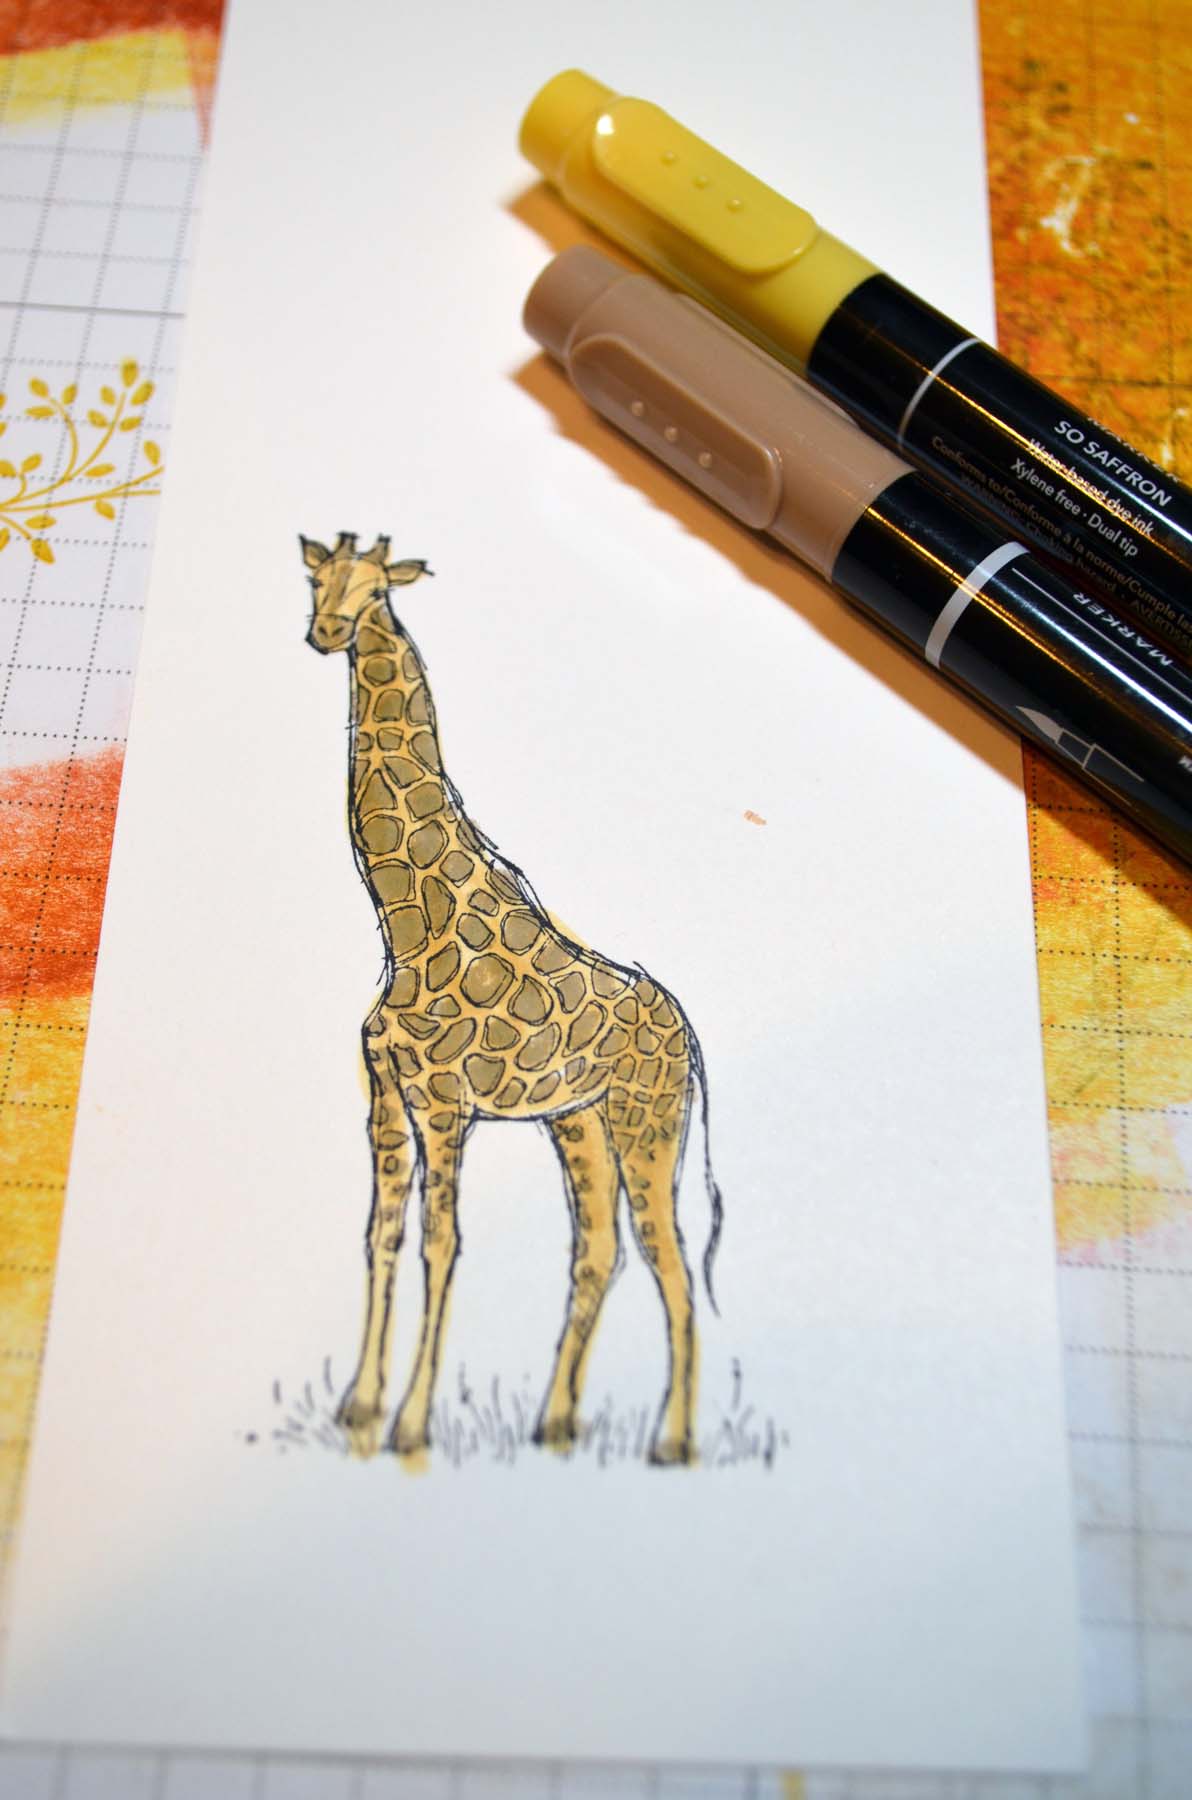
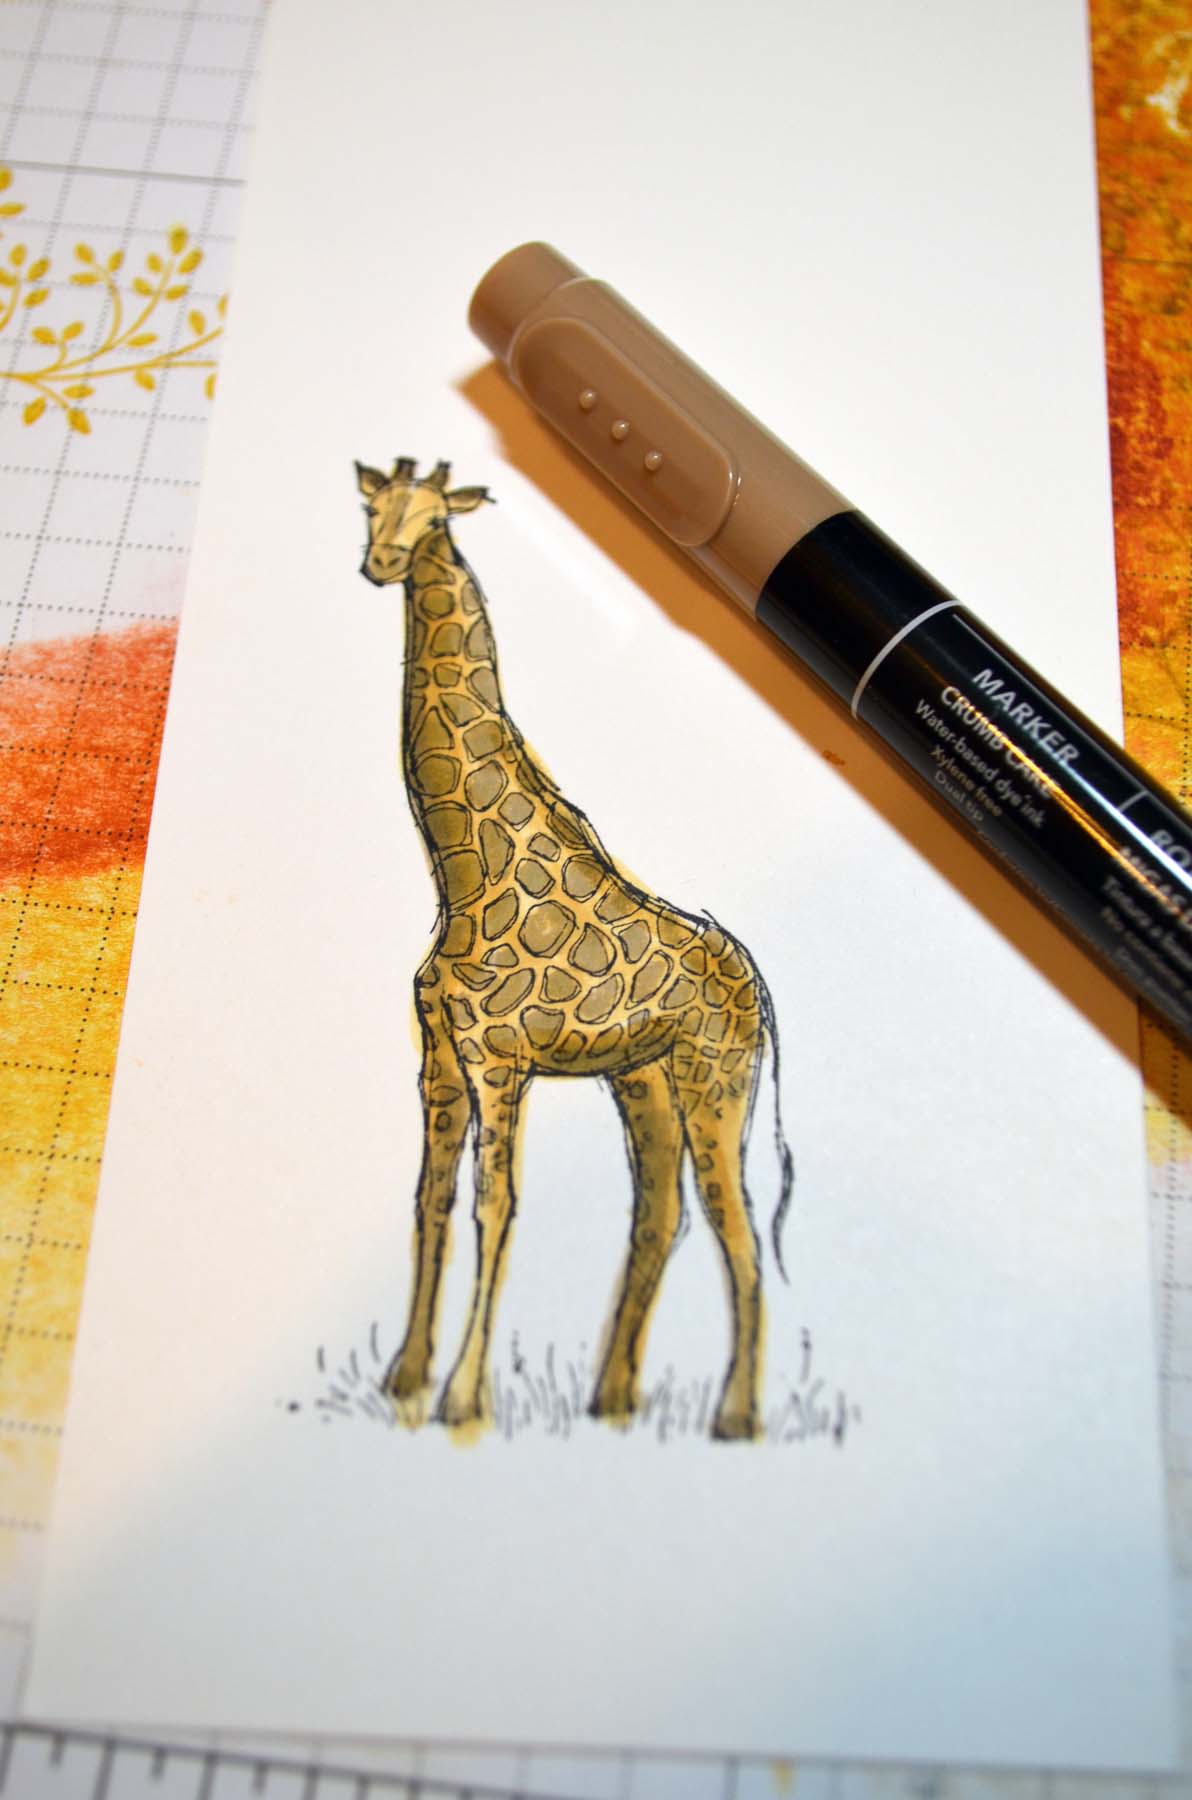
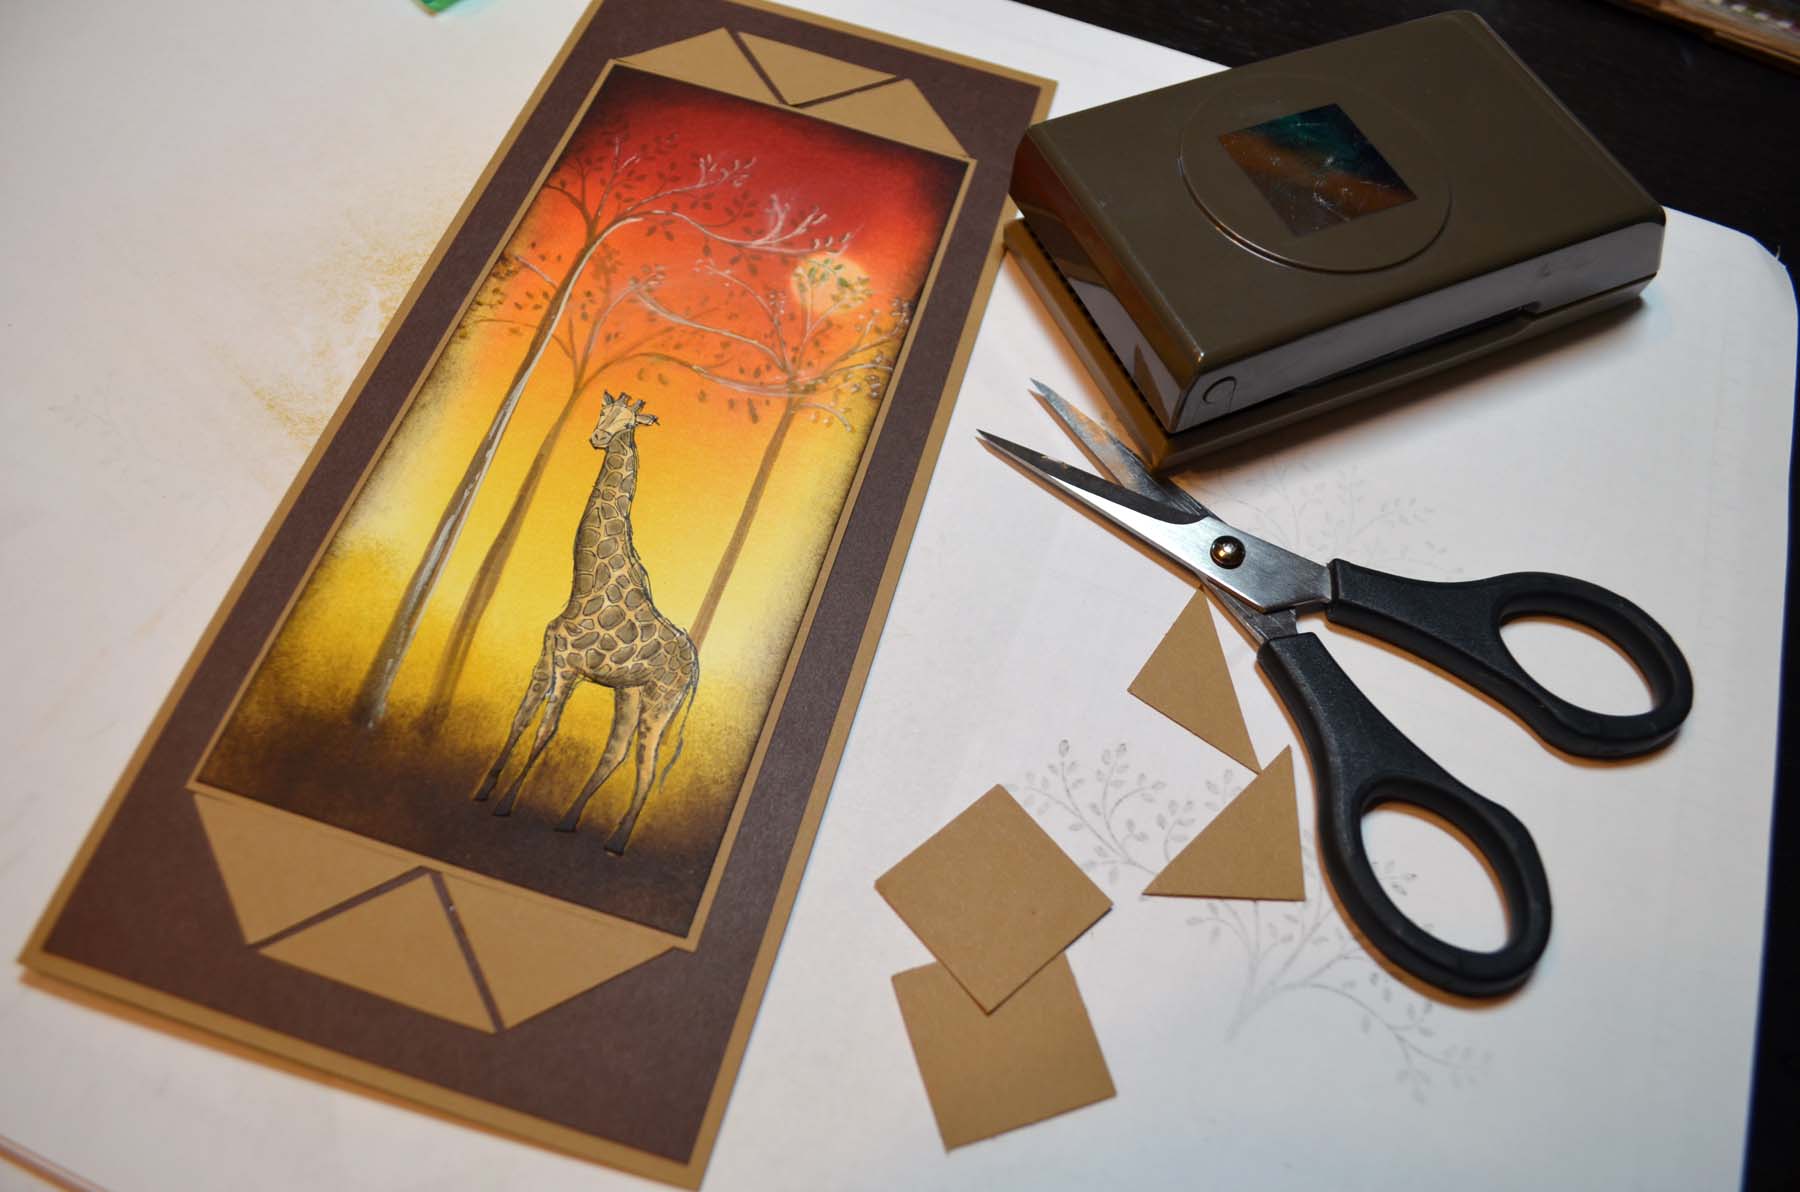
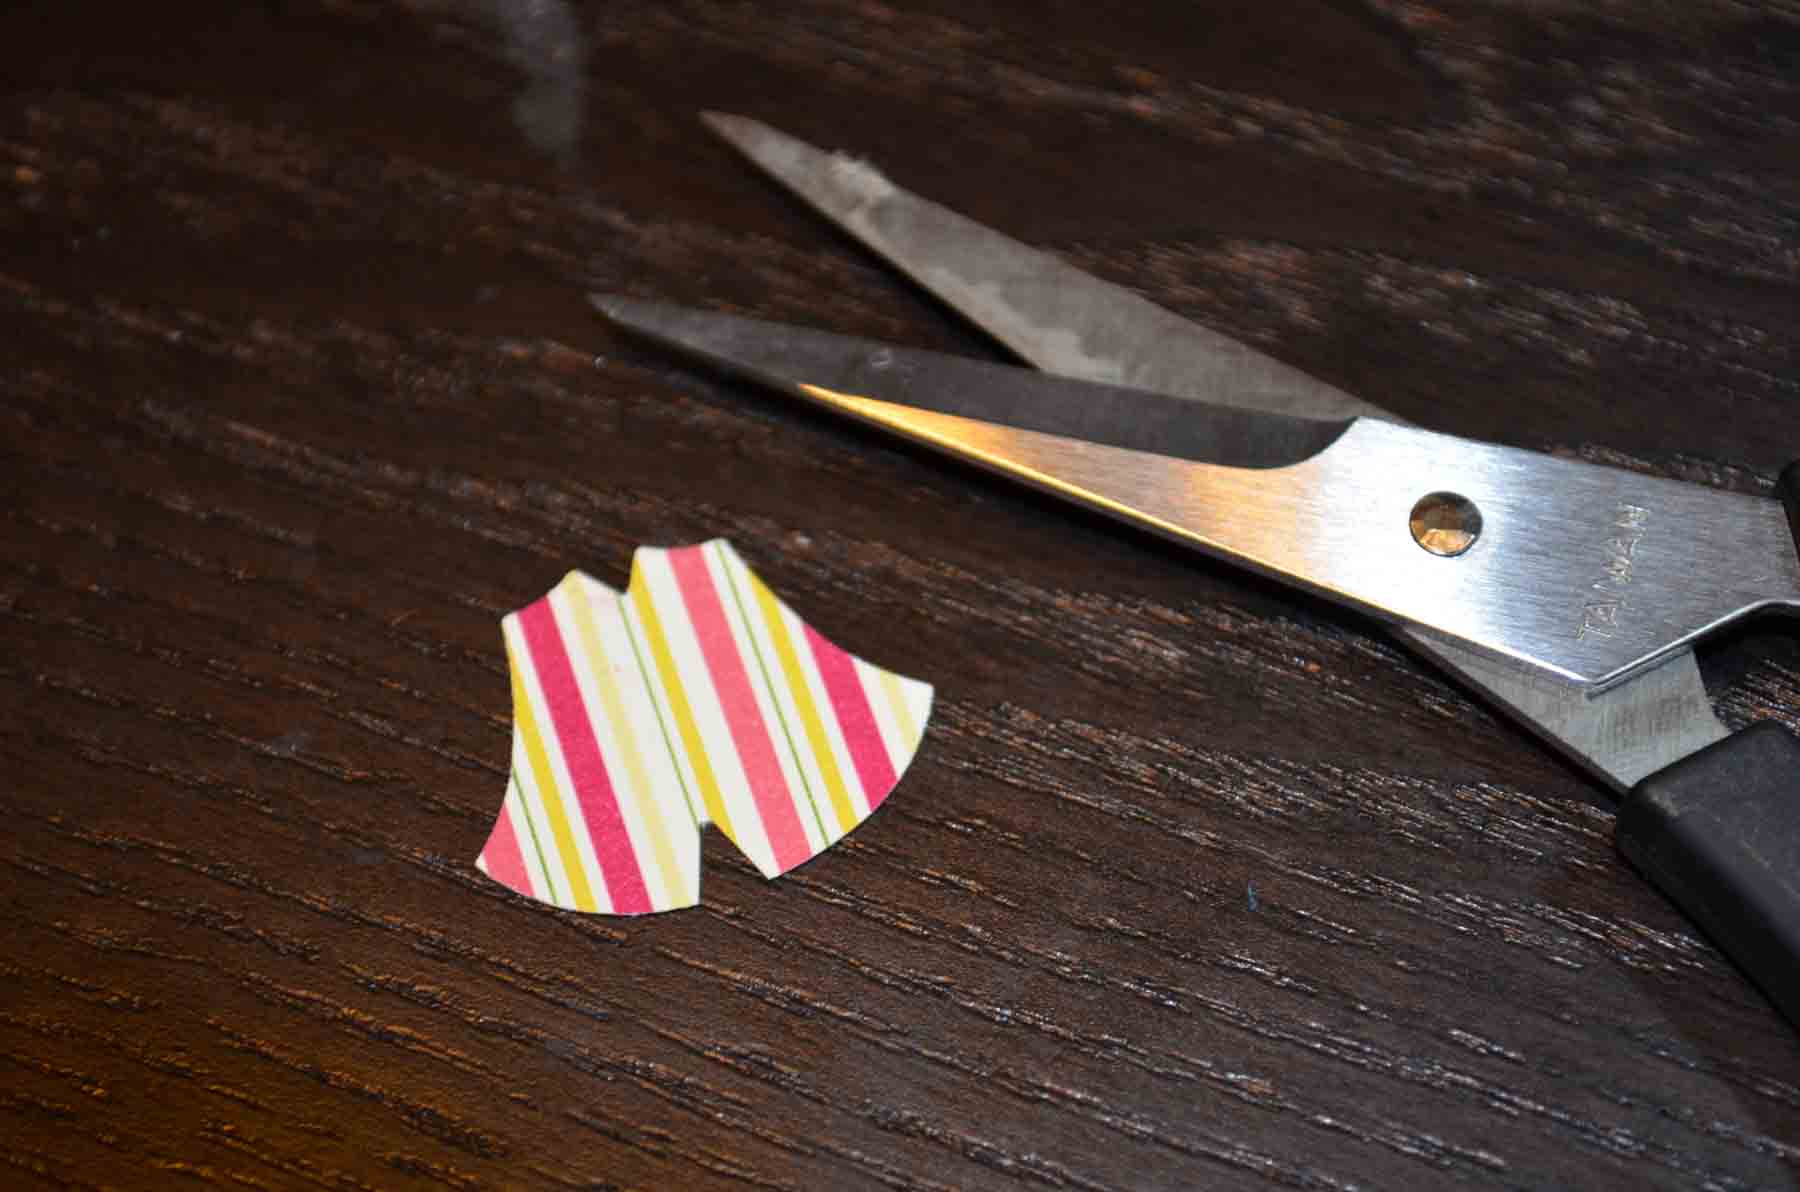
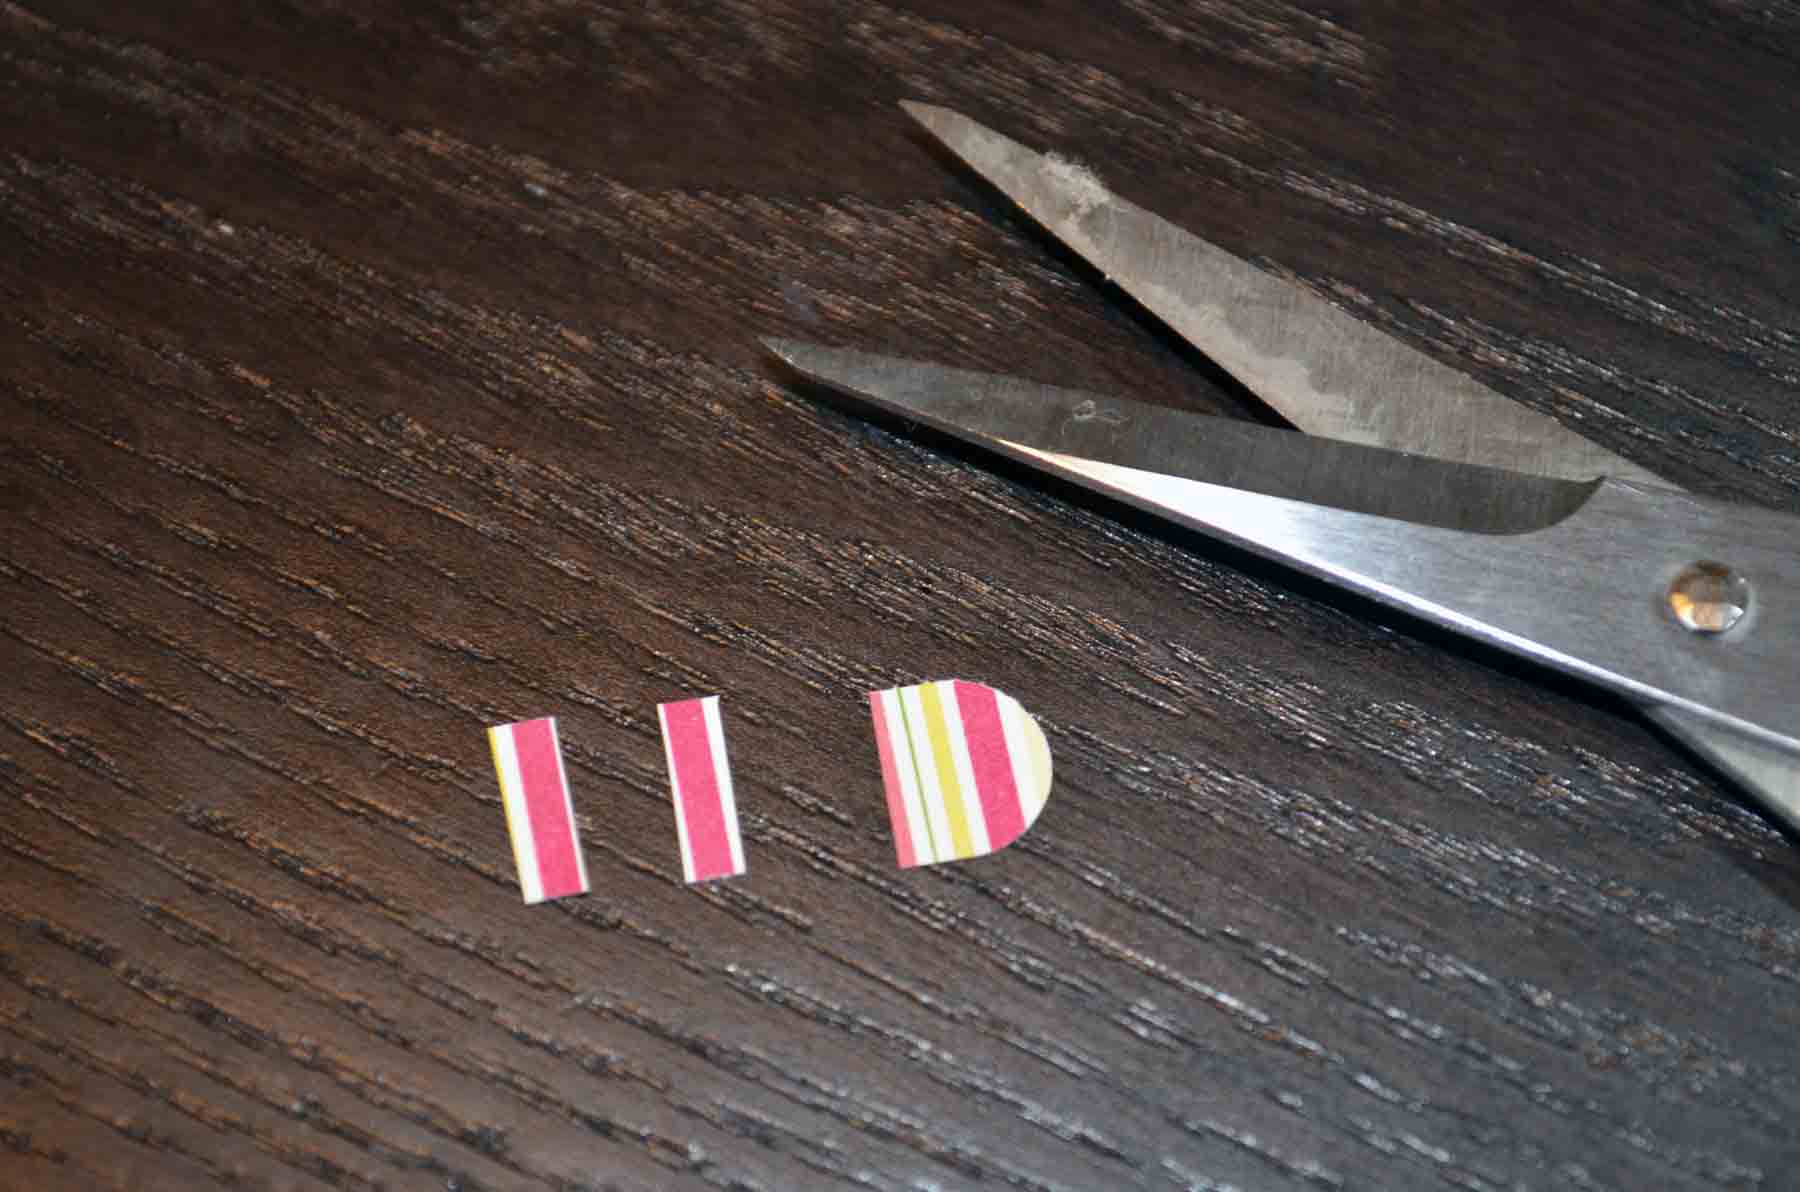
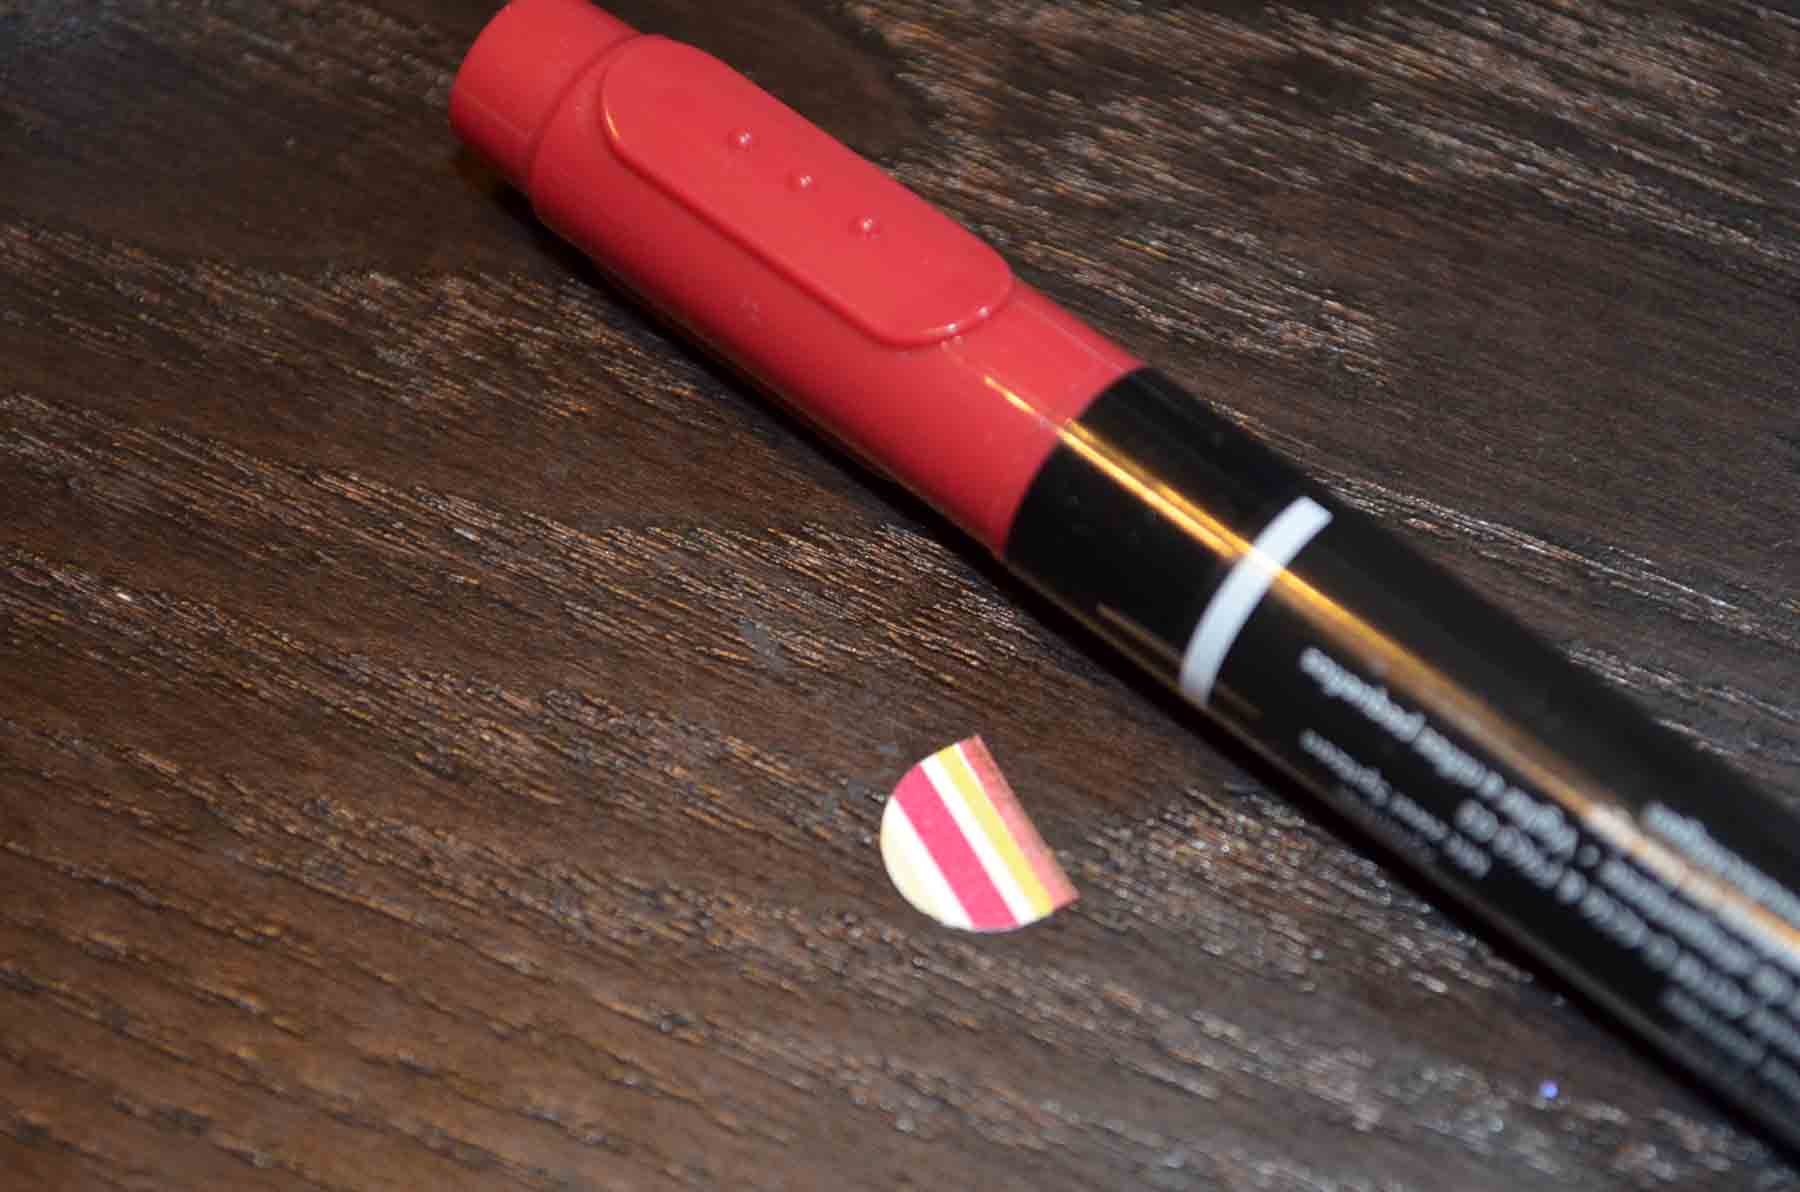
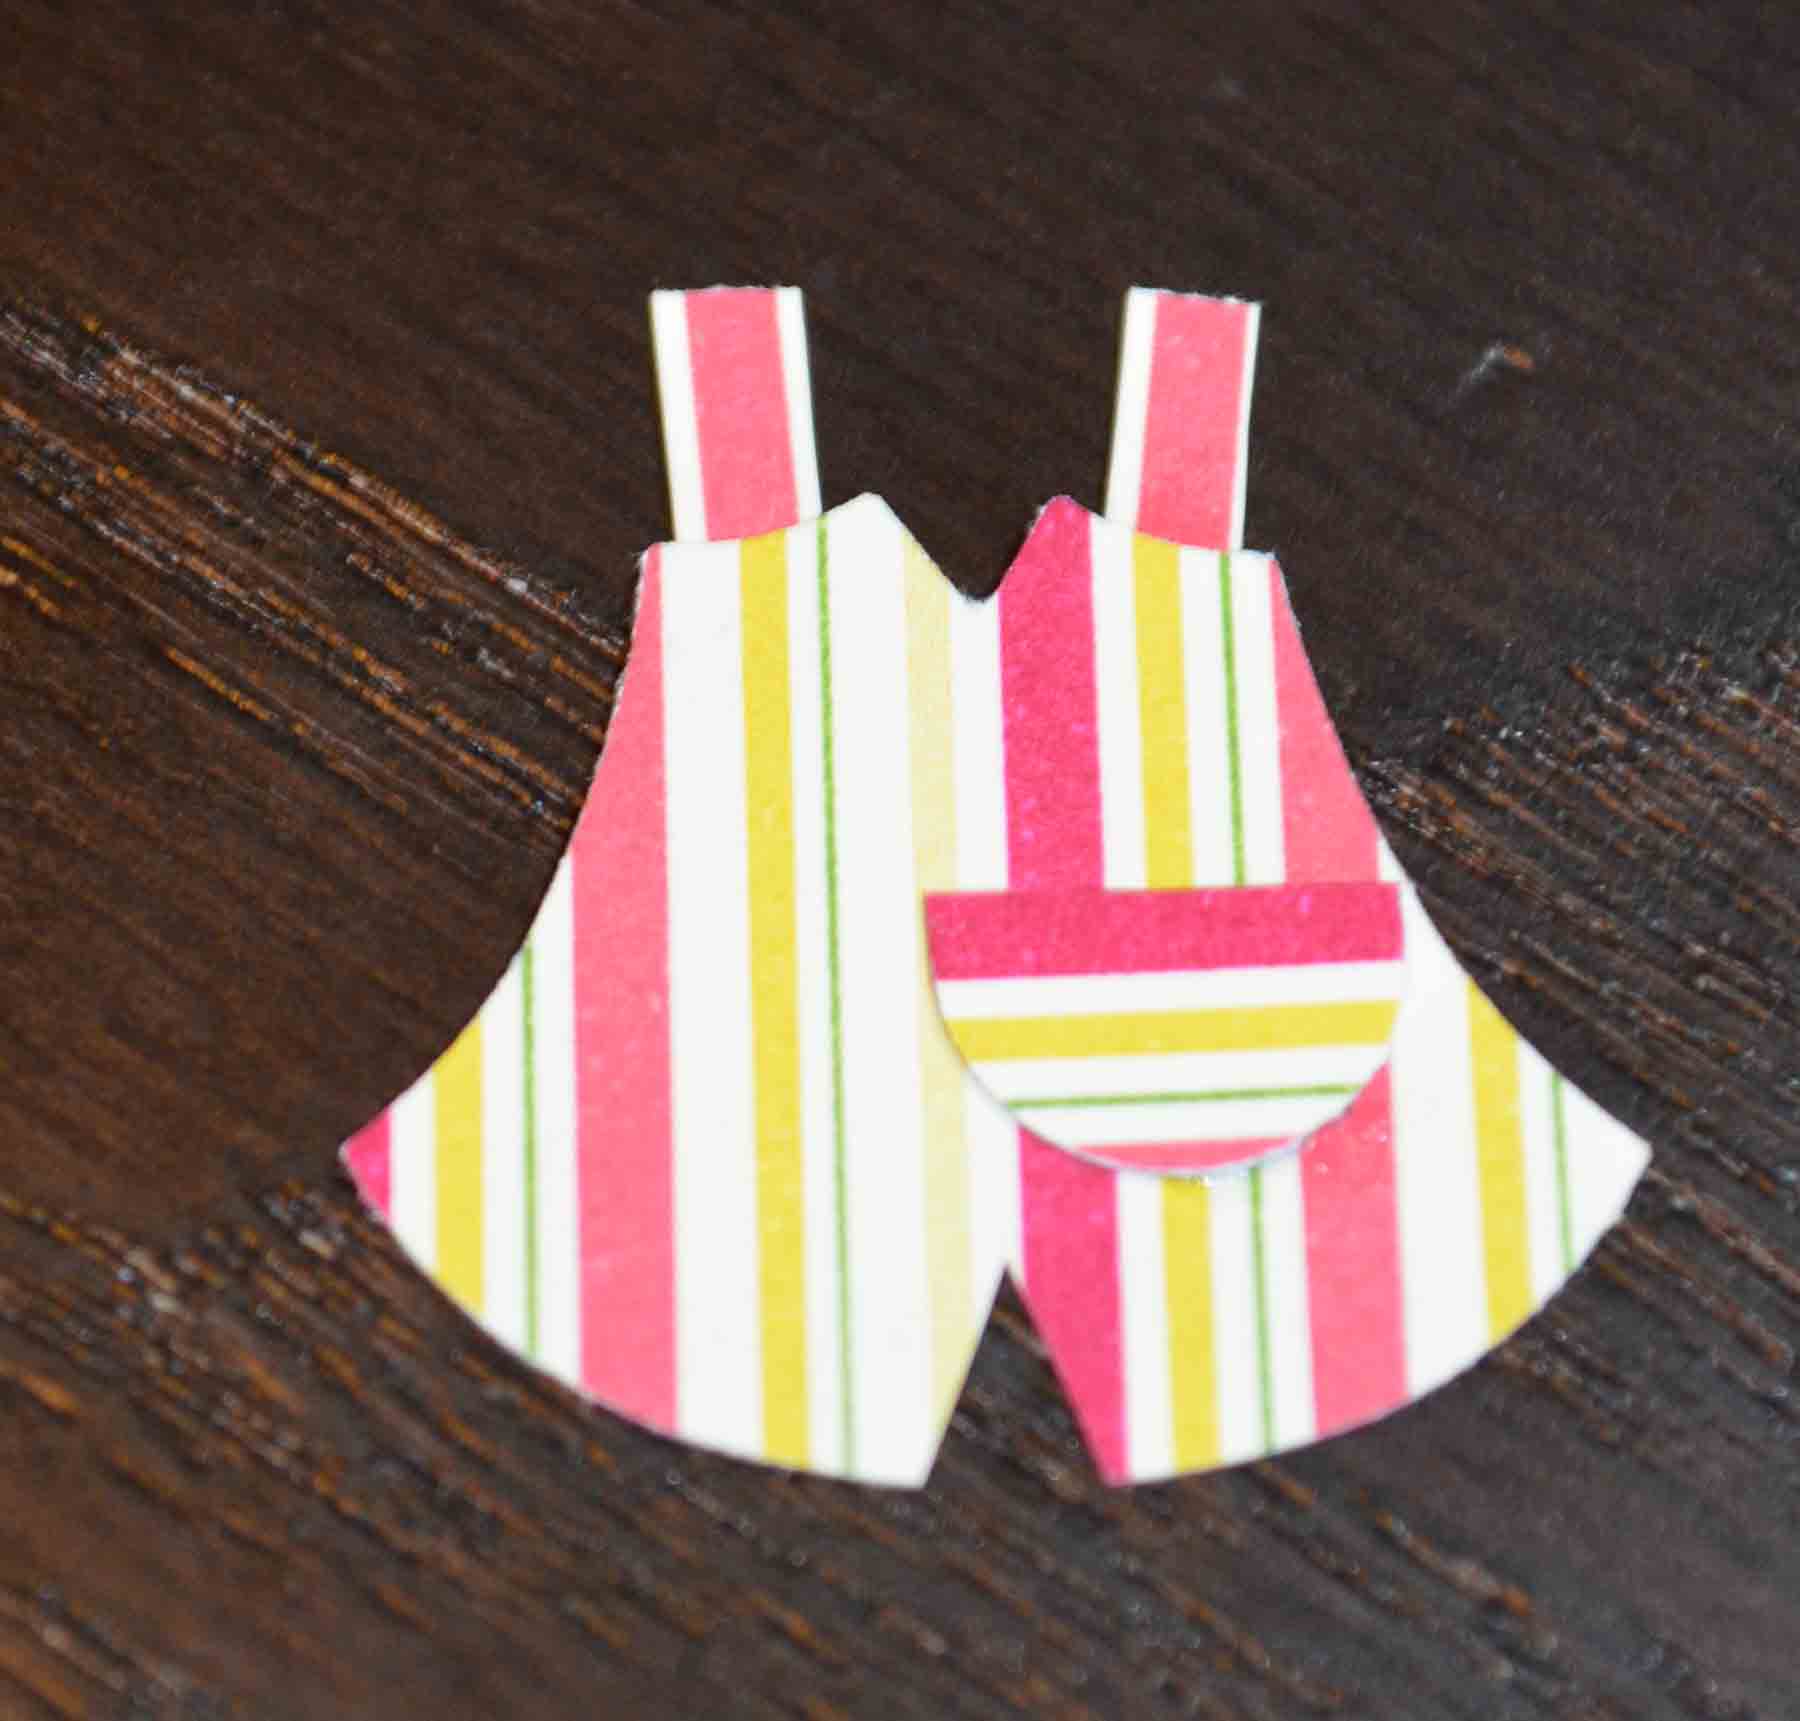
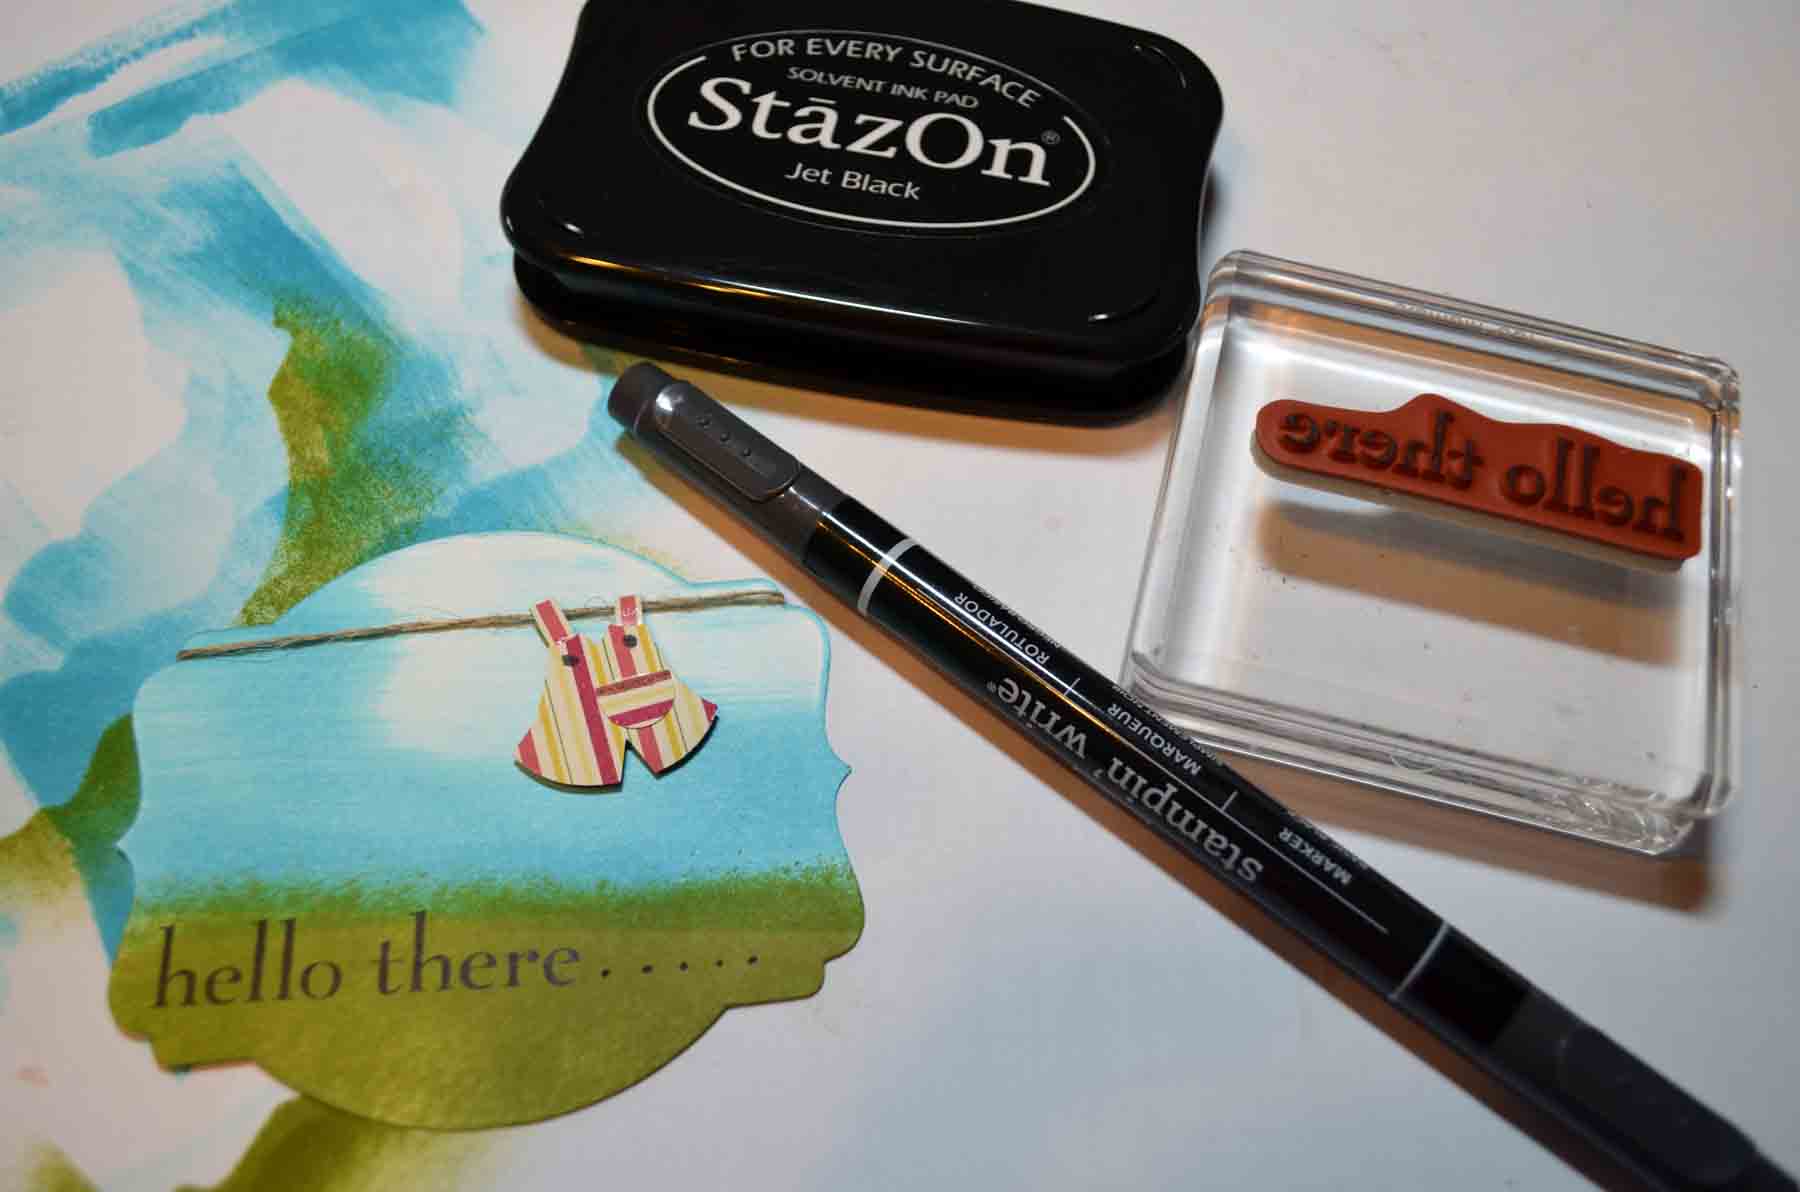
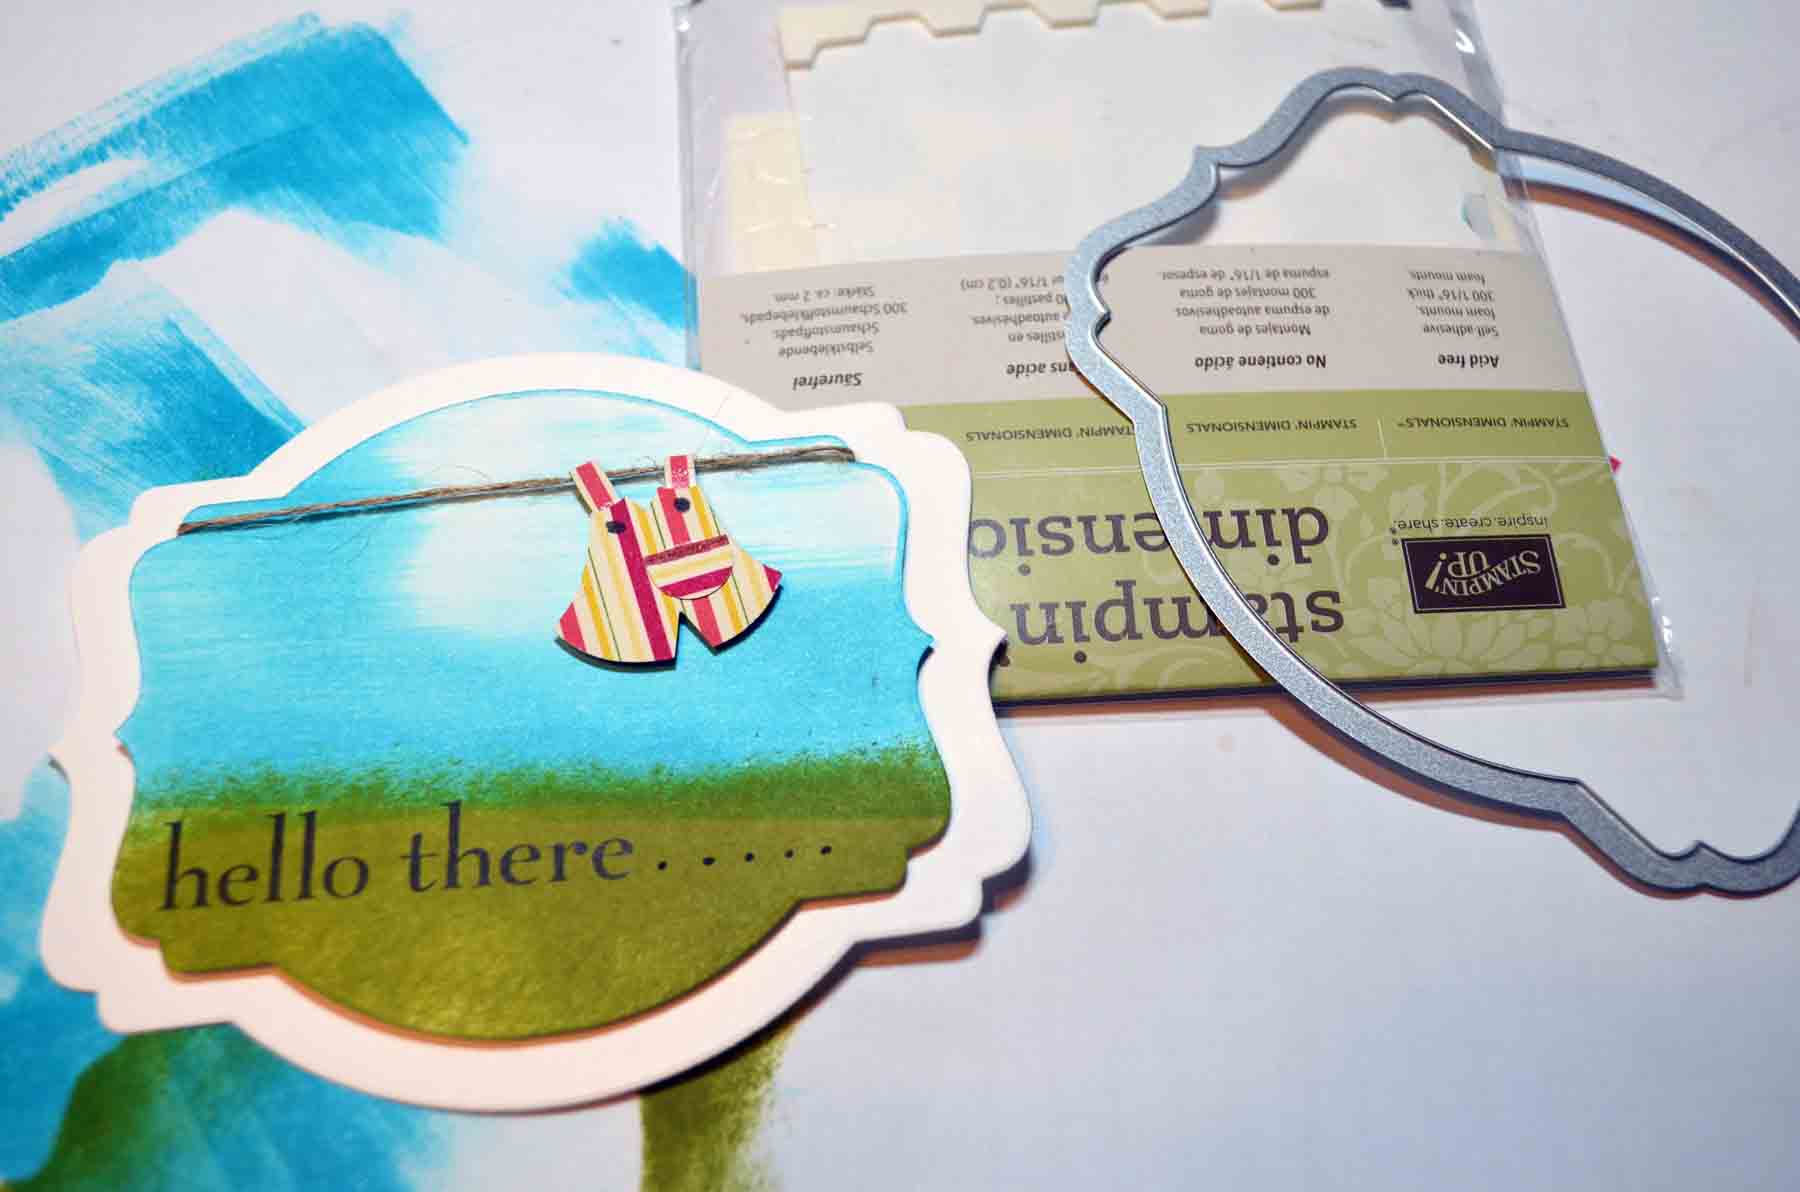
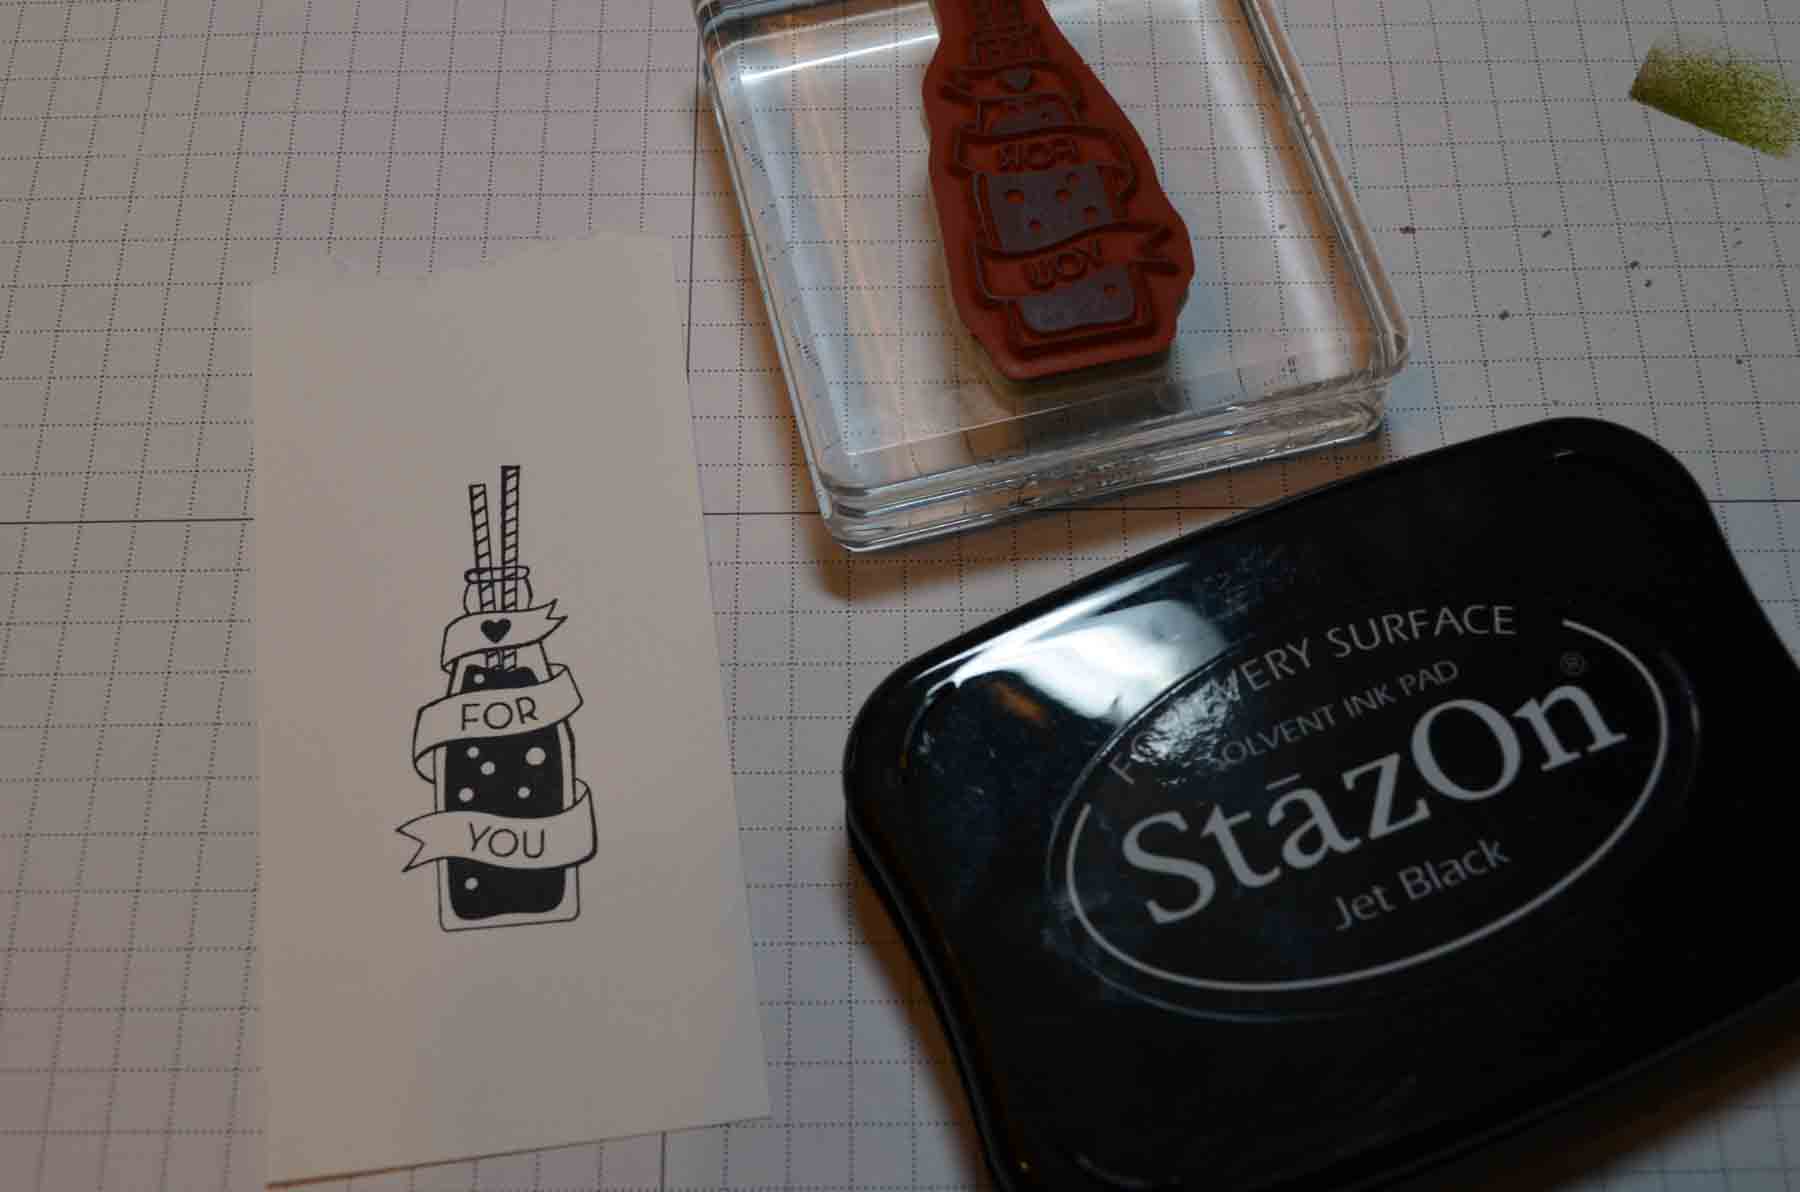
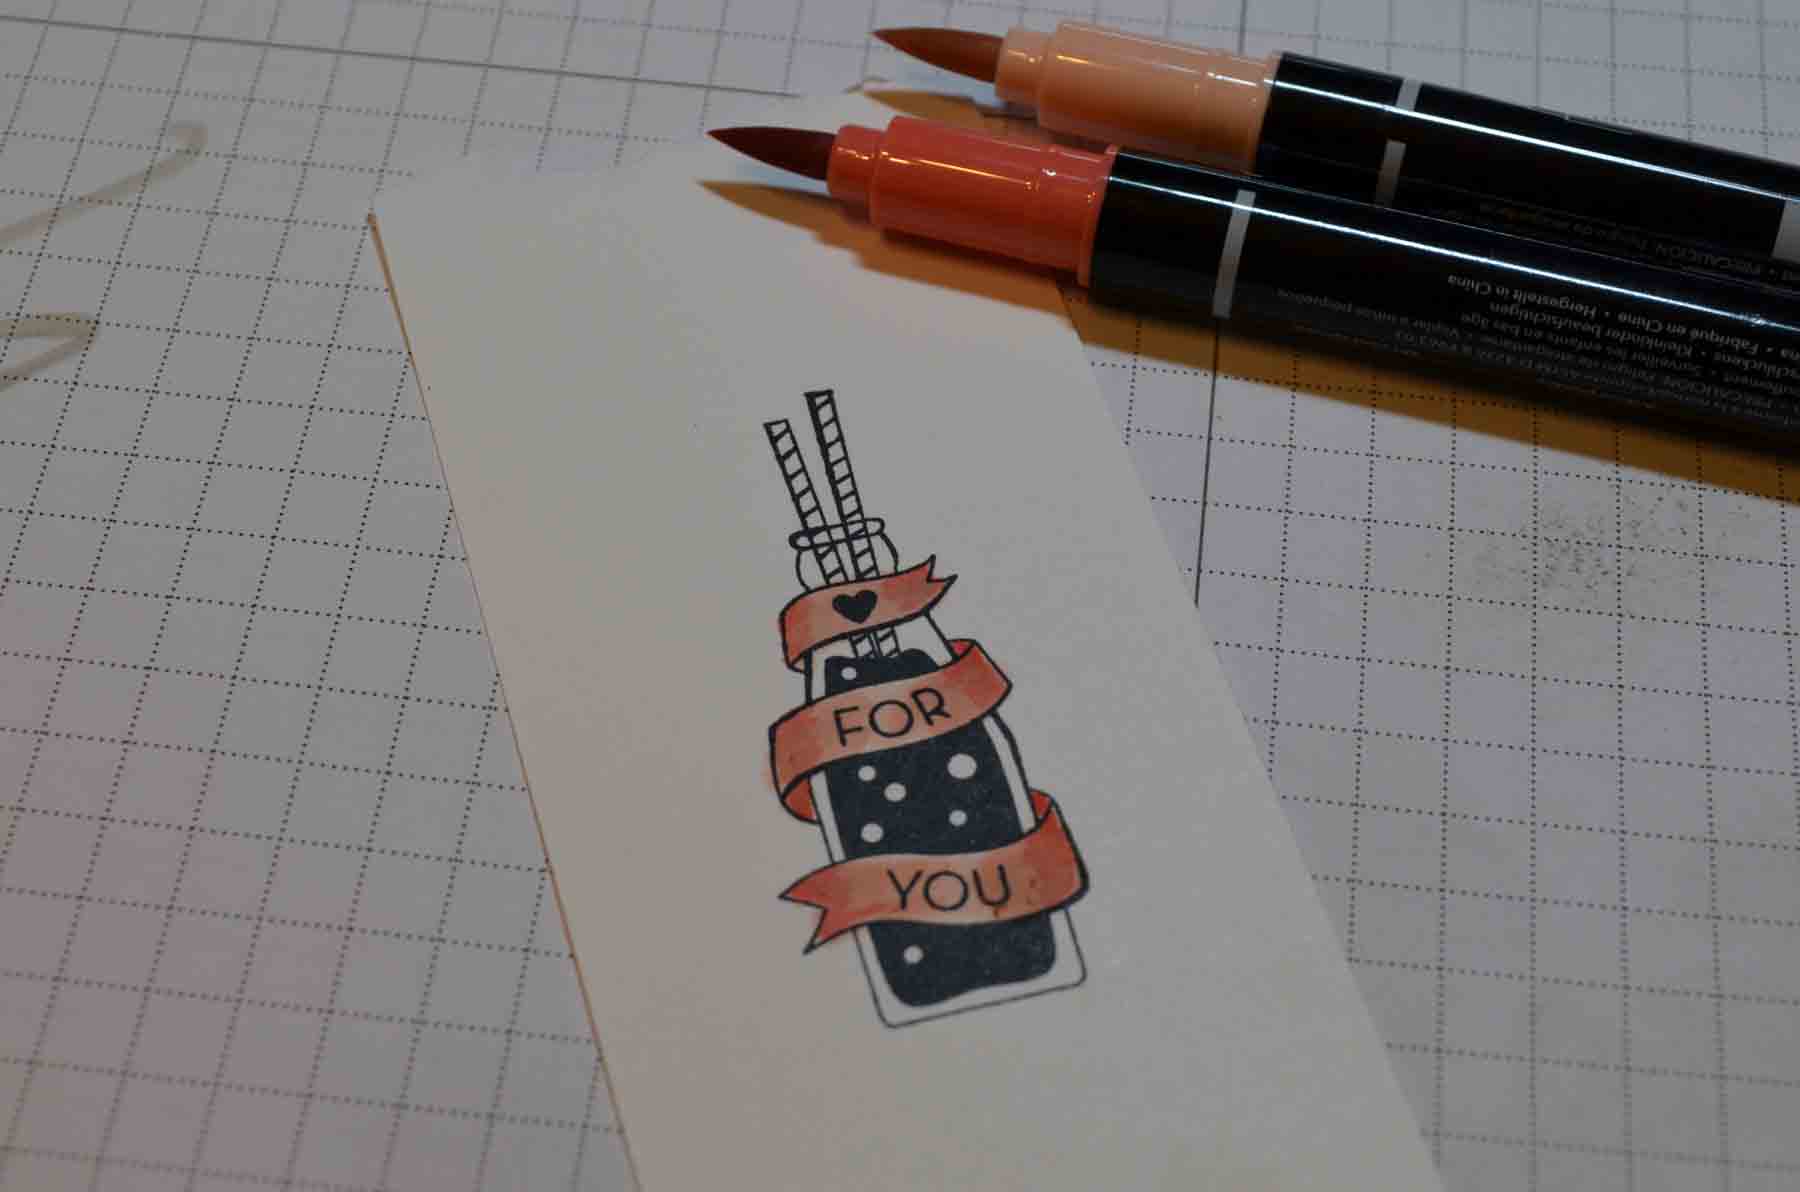
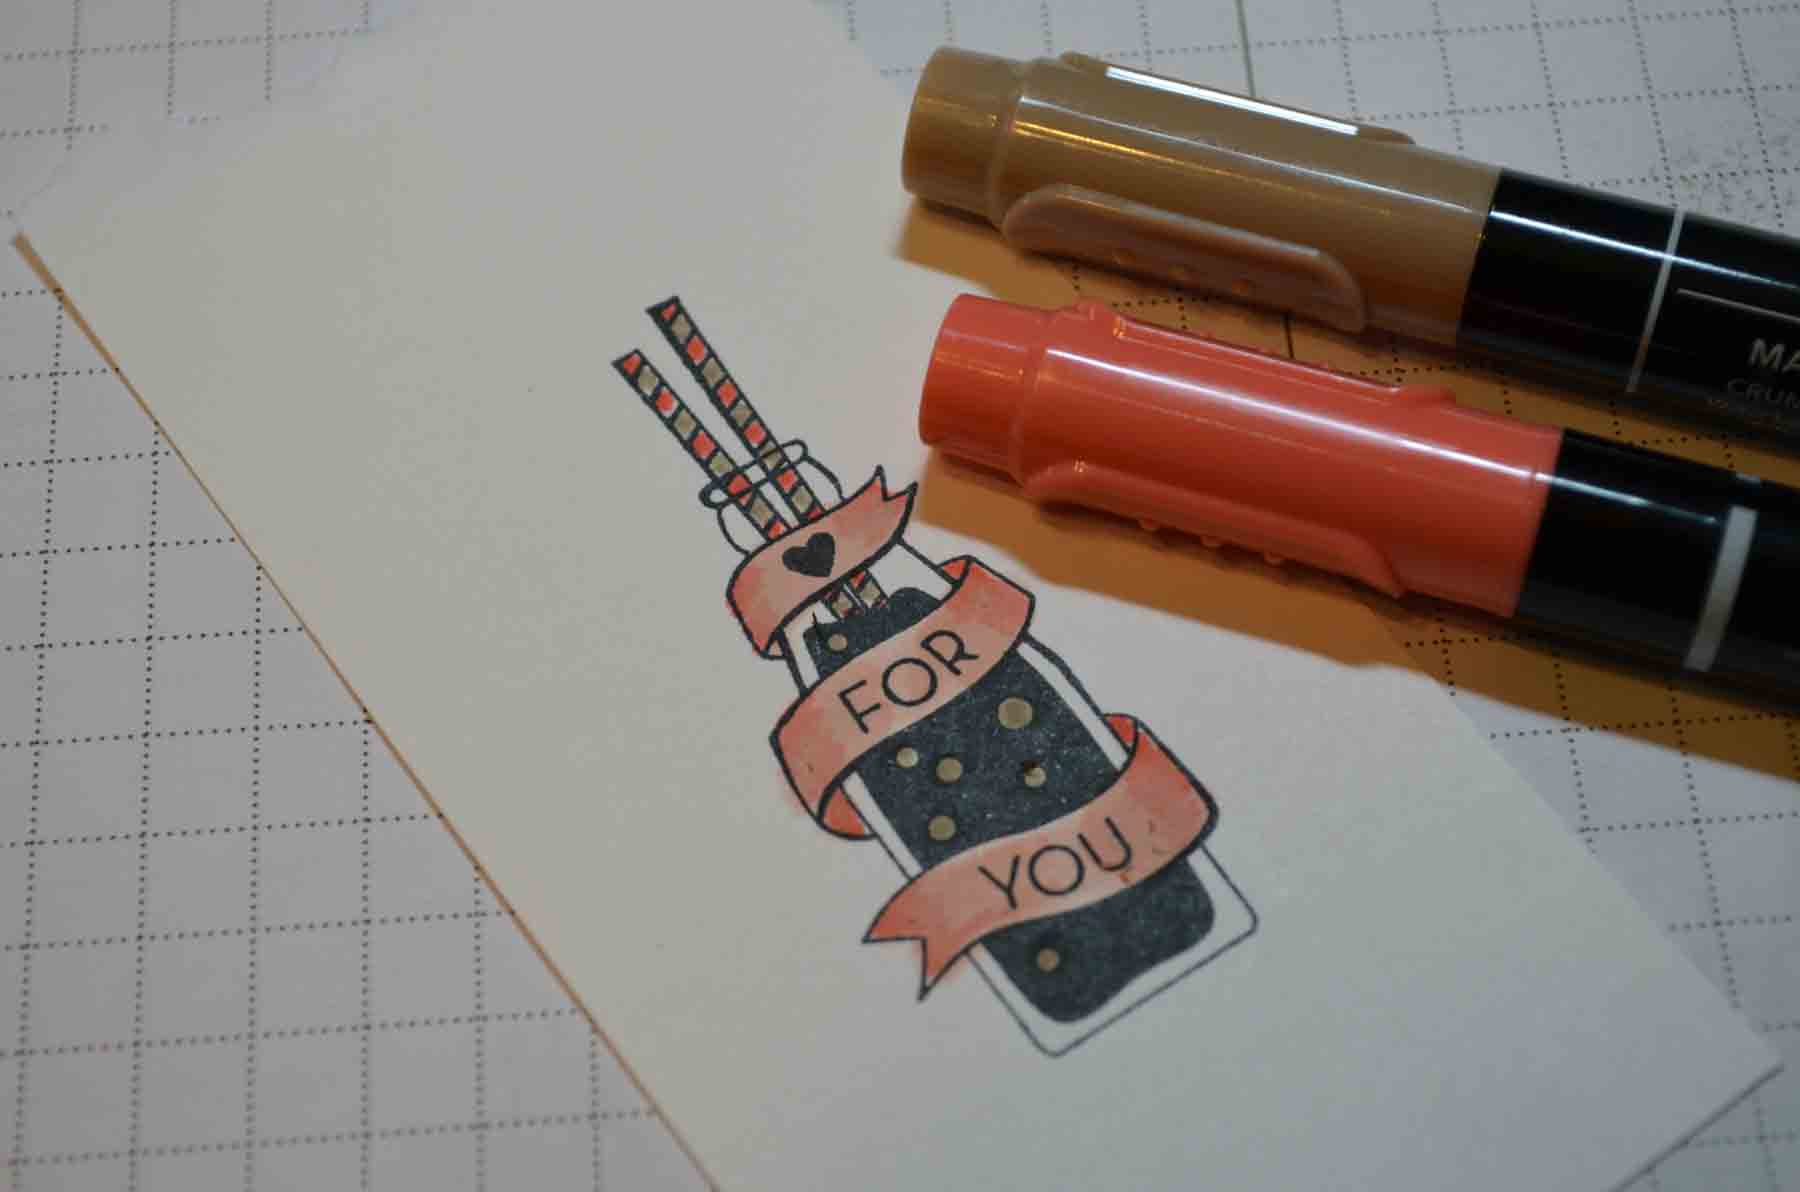
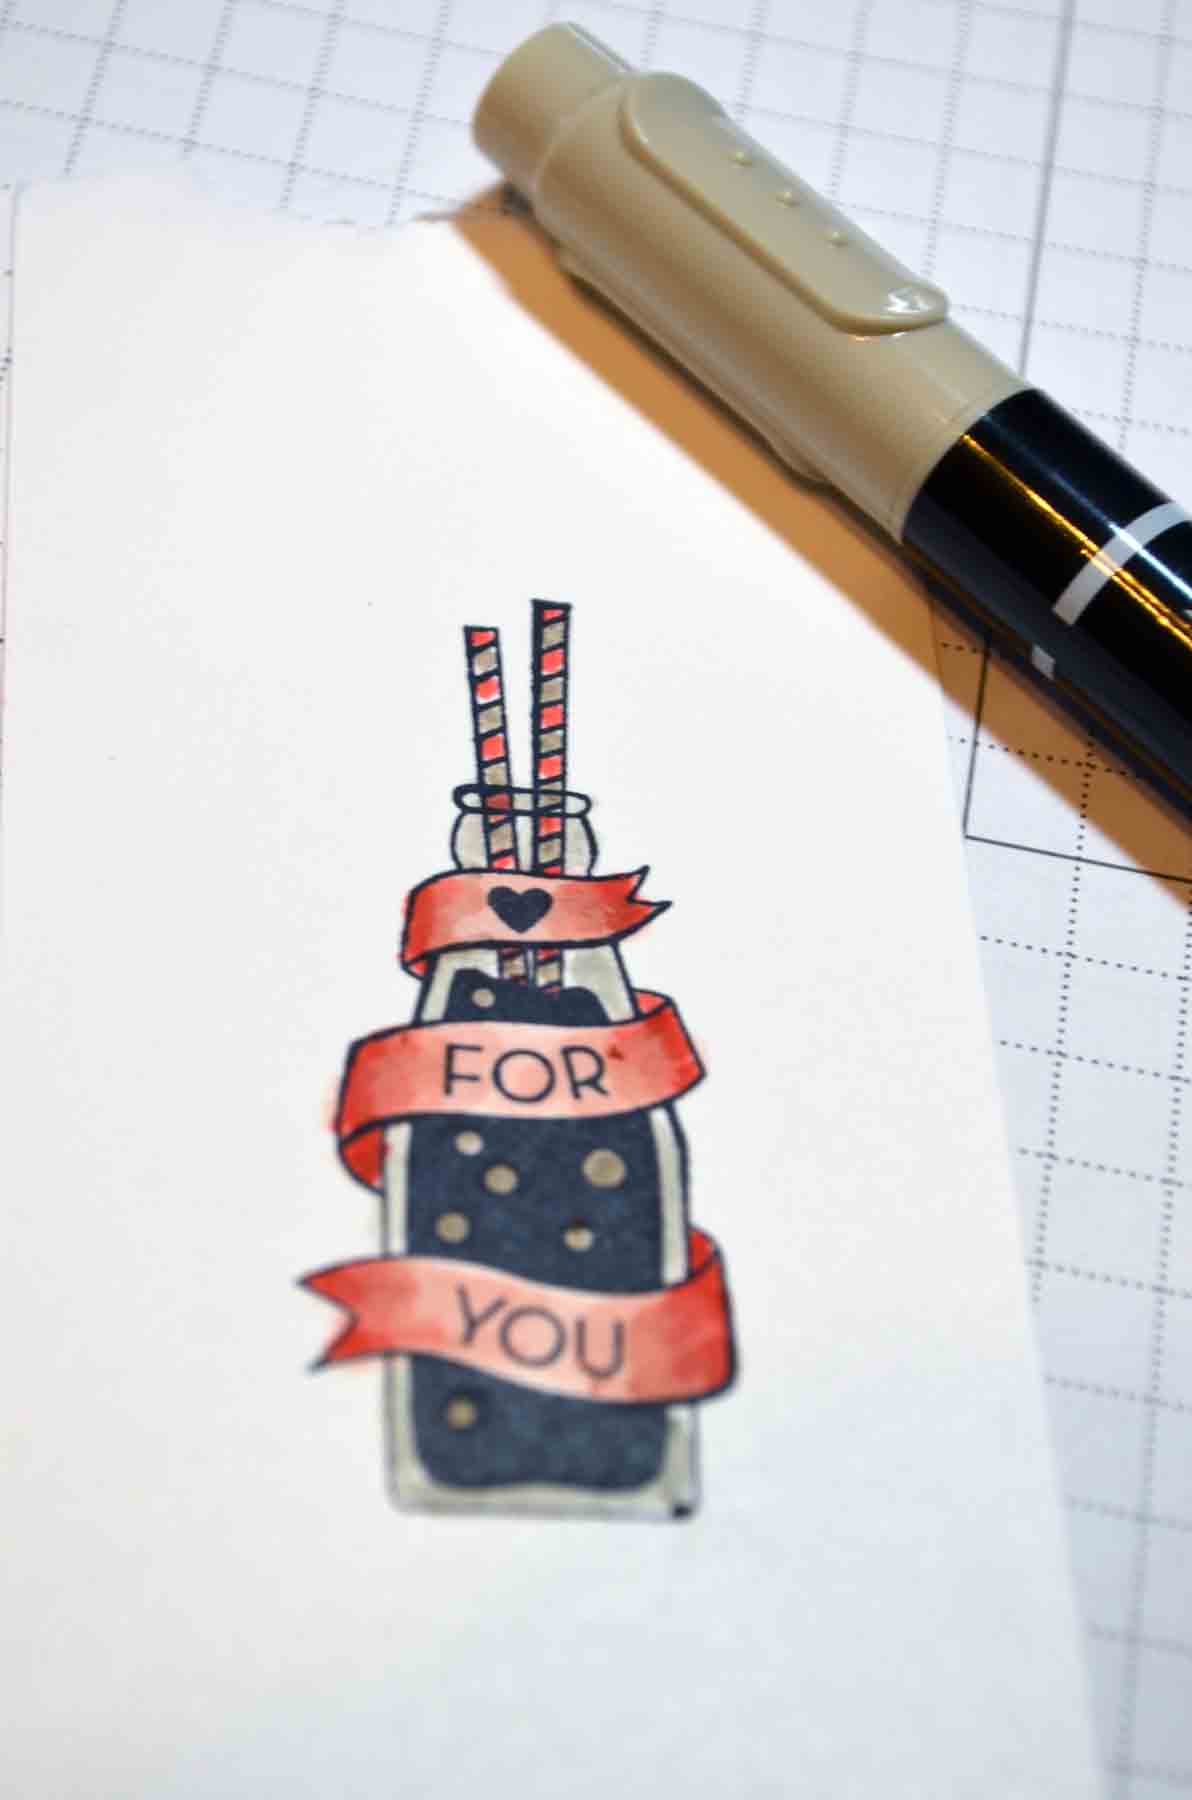
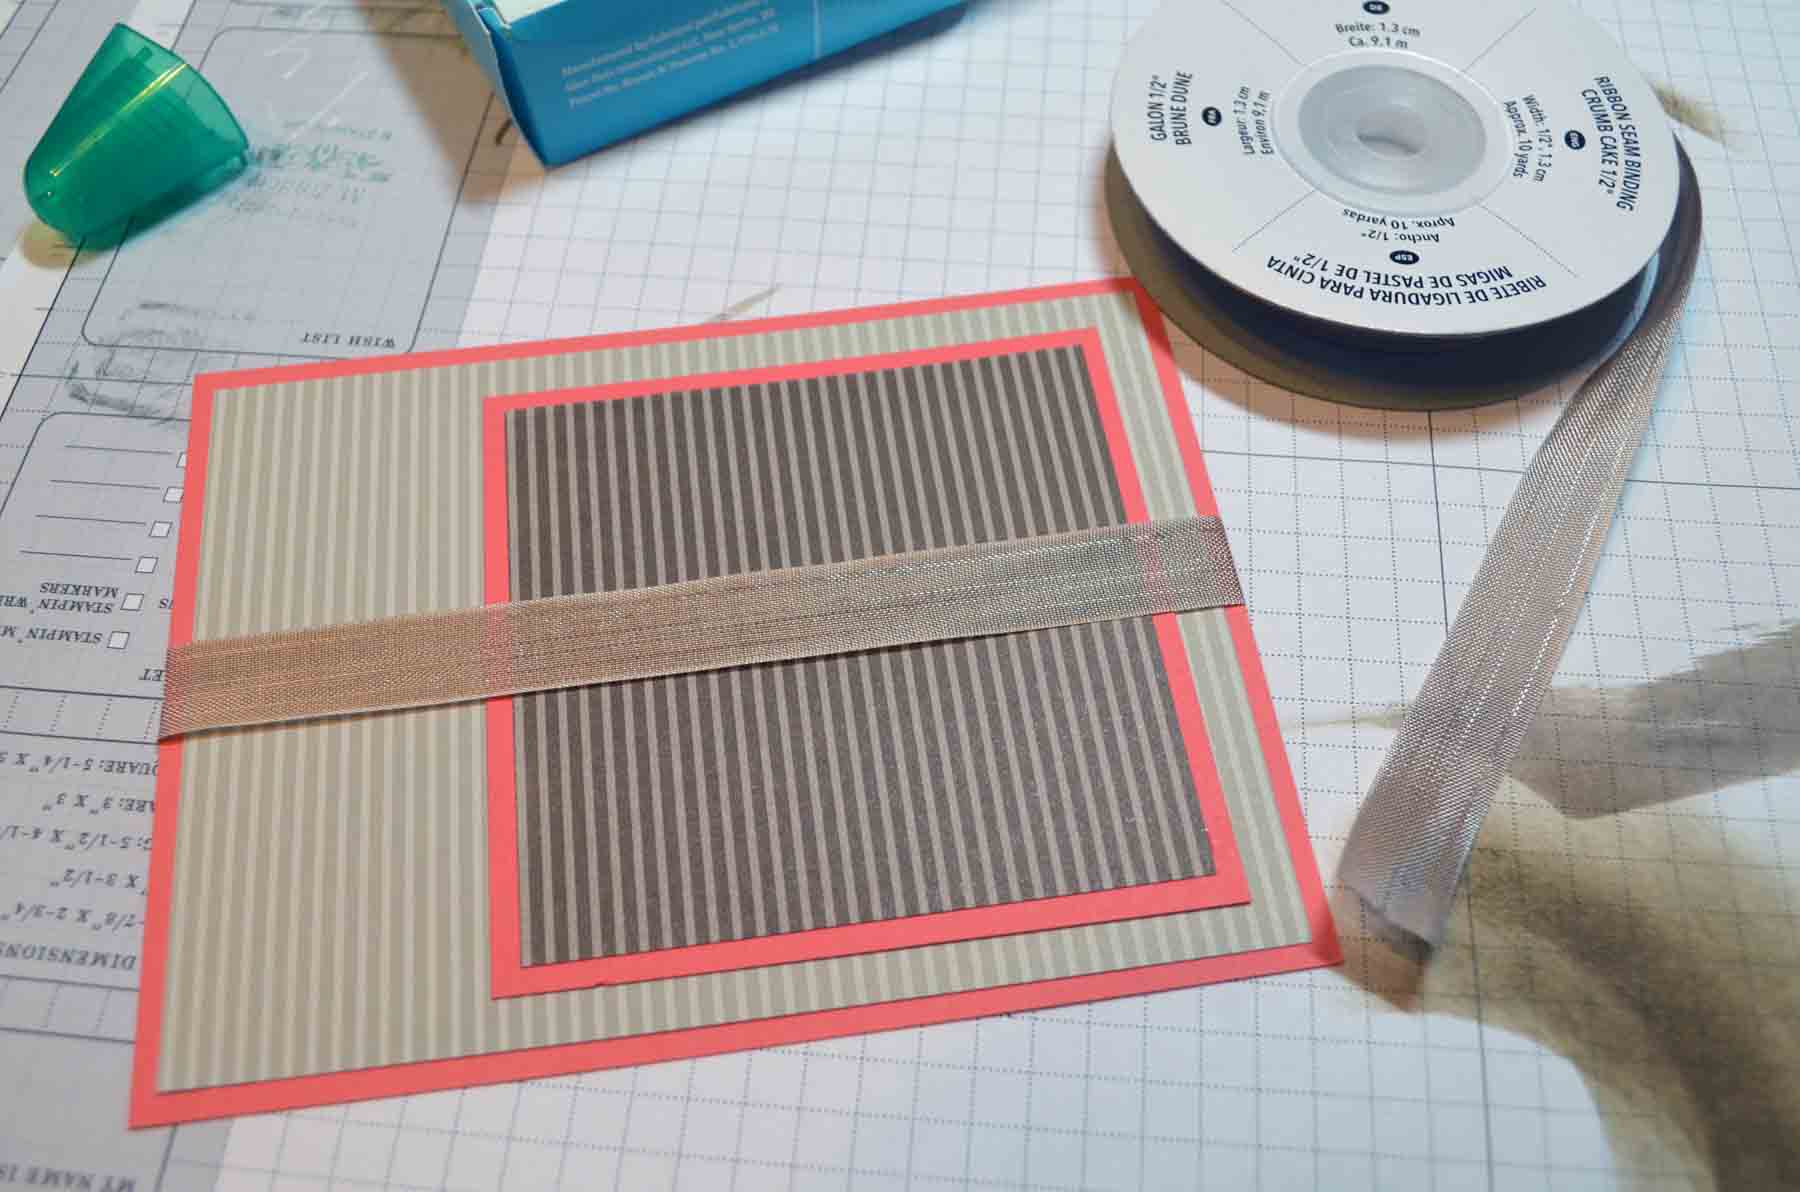
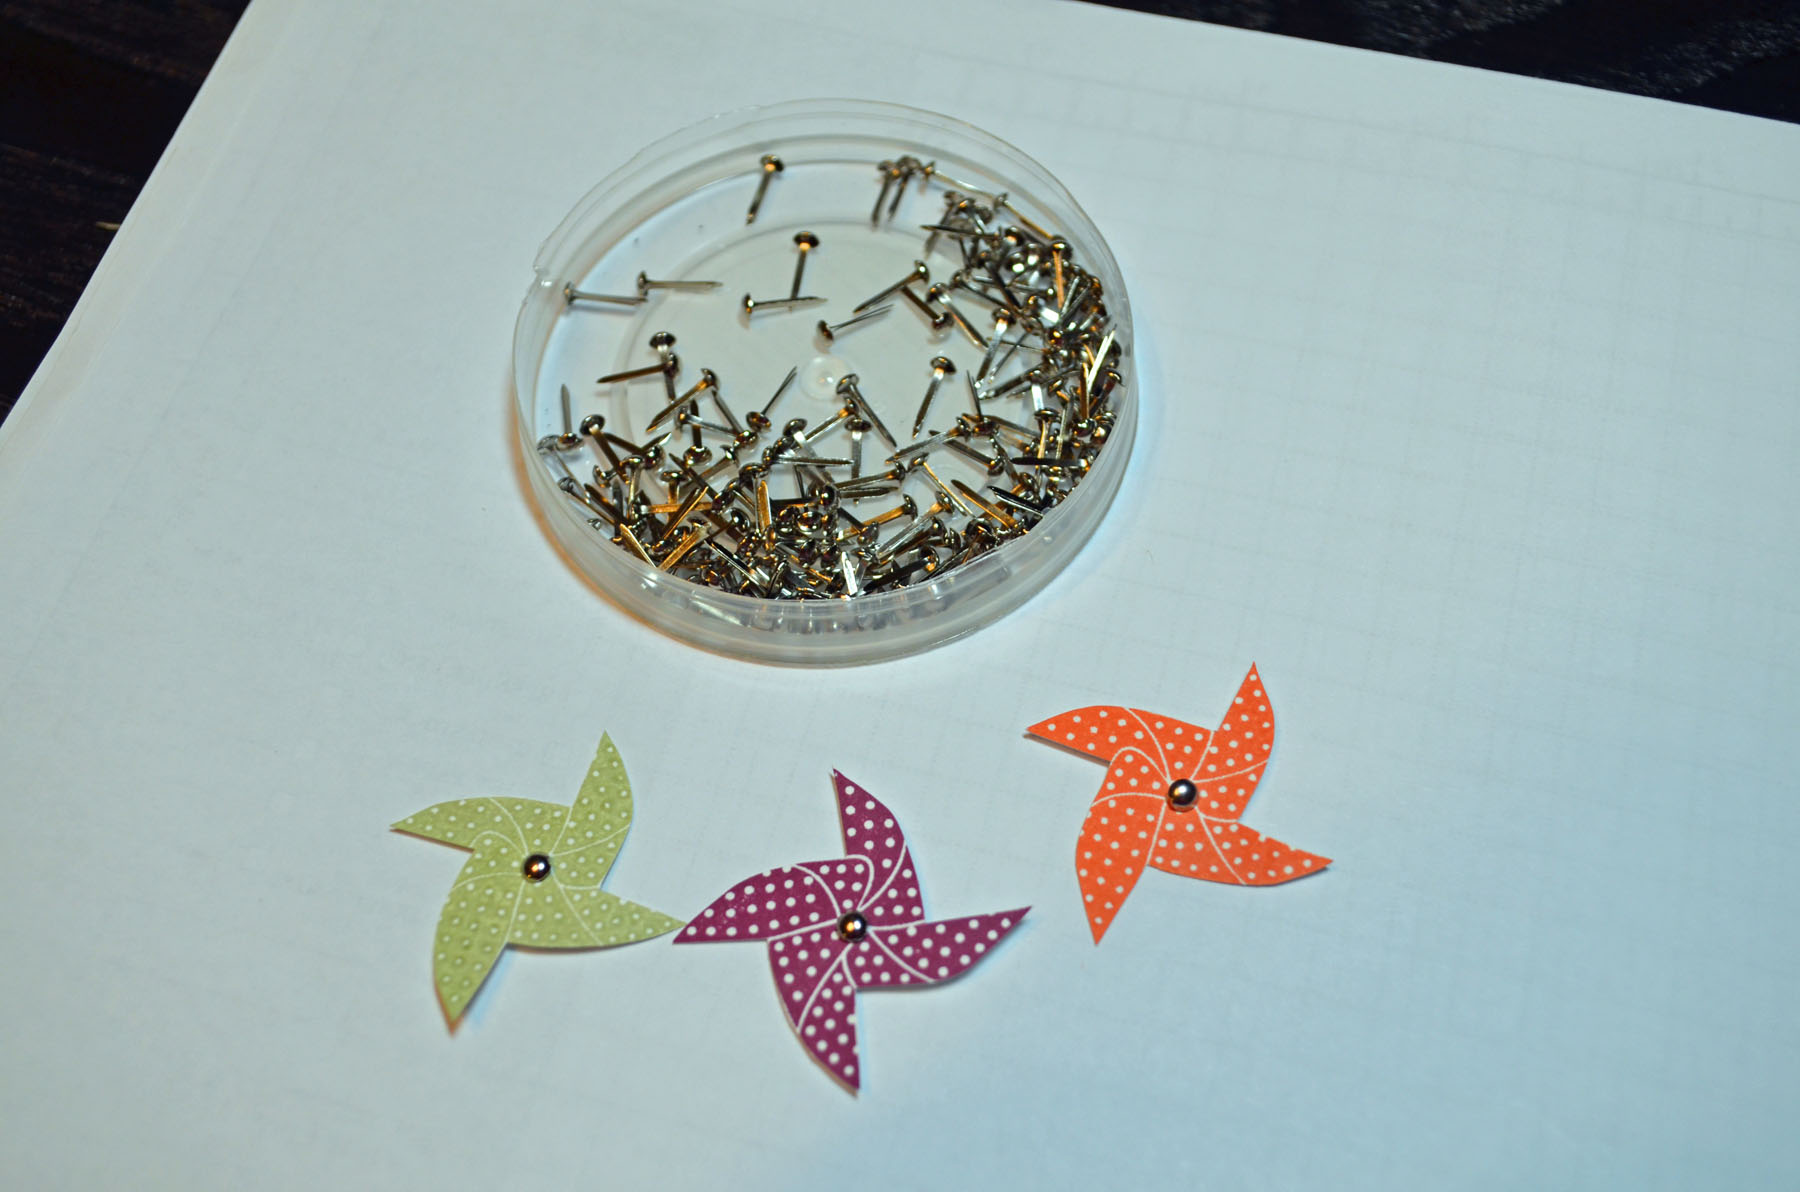
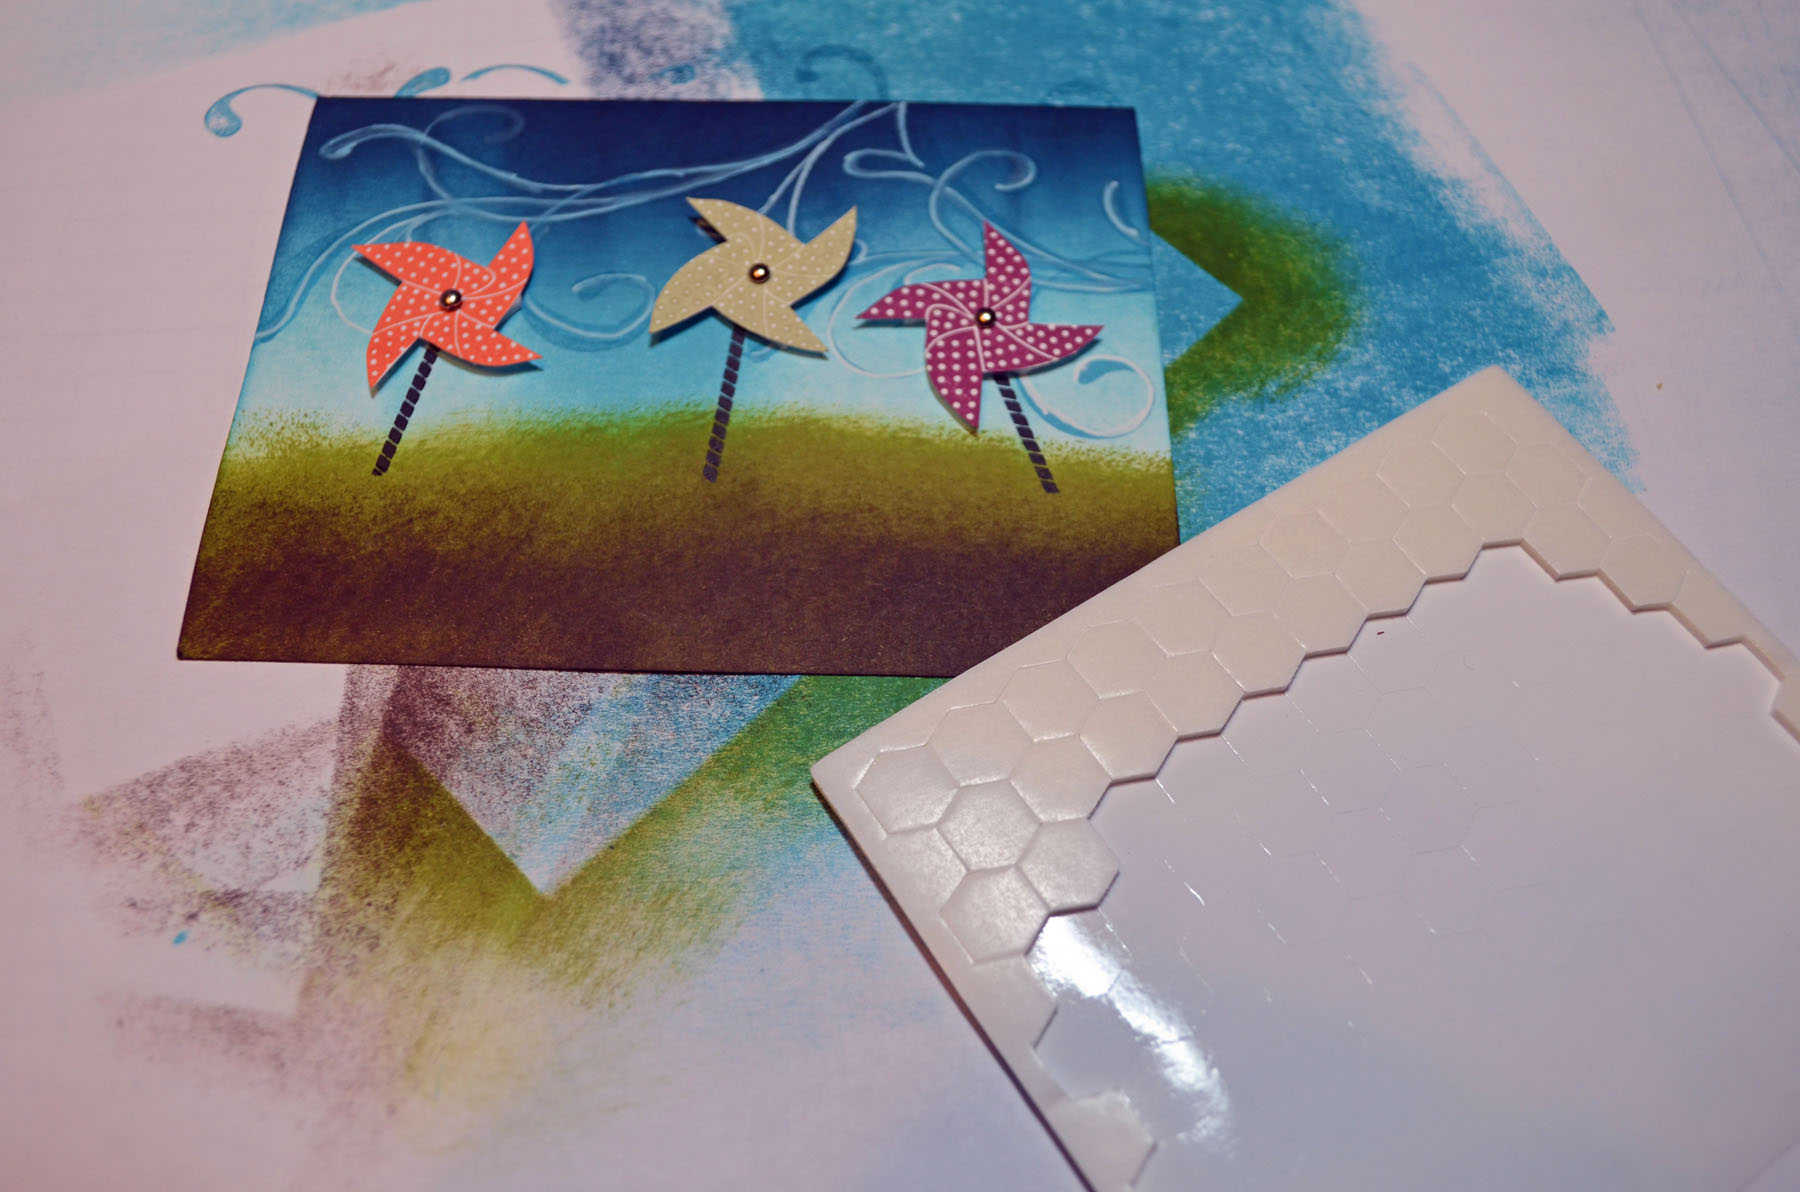
Stamped the pinwheel using Tangerine Tango, Rich Razzelberry and Pear Pizzazz on Whisper White card stock. Cut them out and put a brad in the center of each.


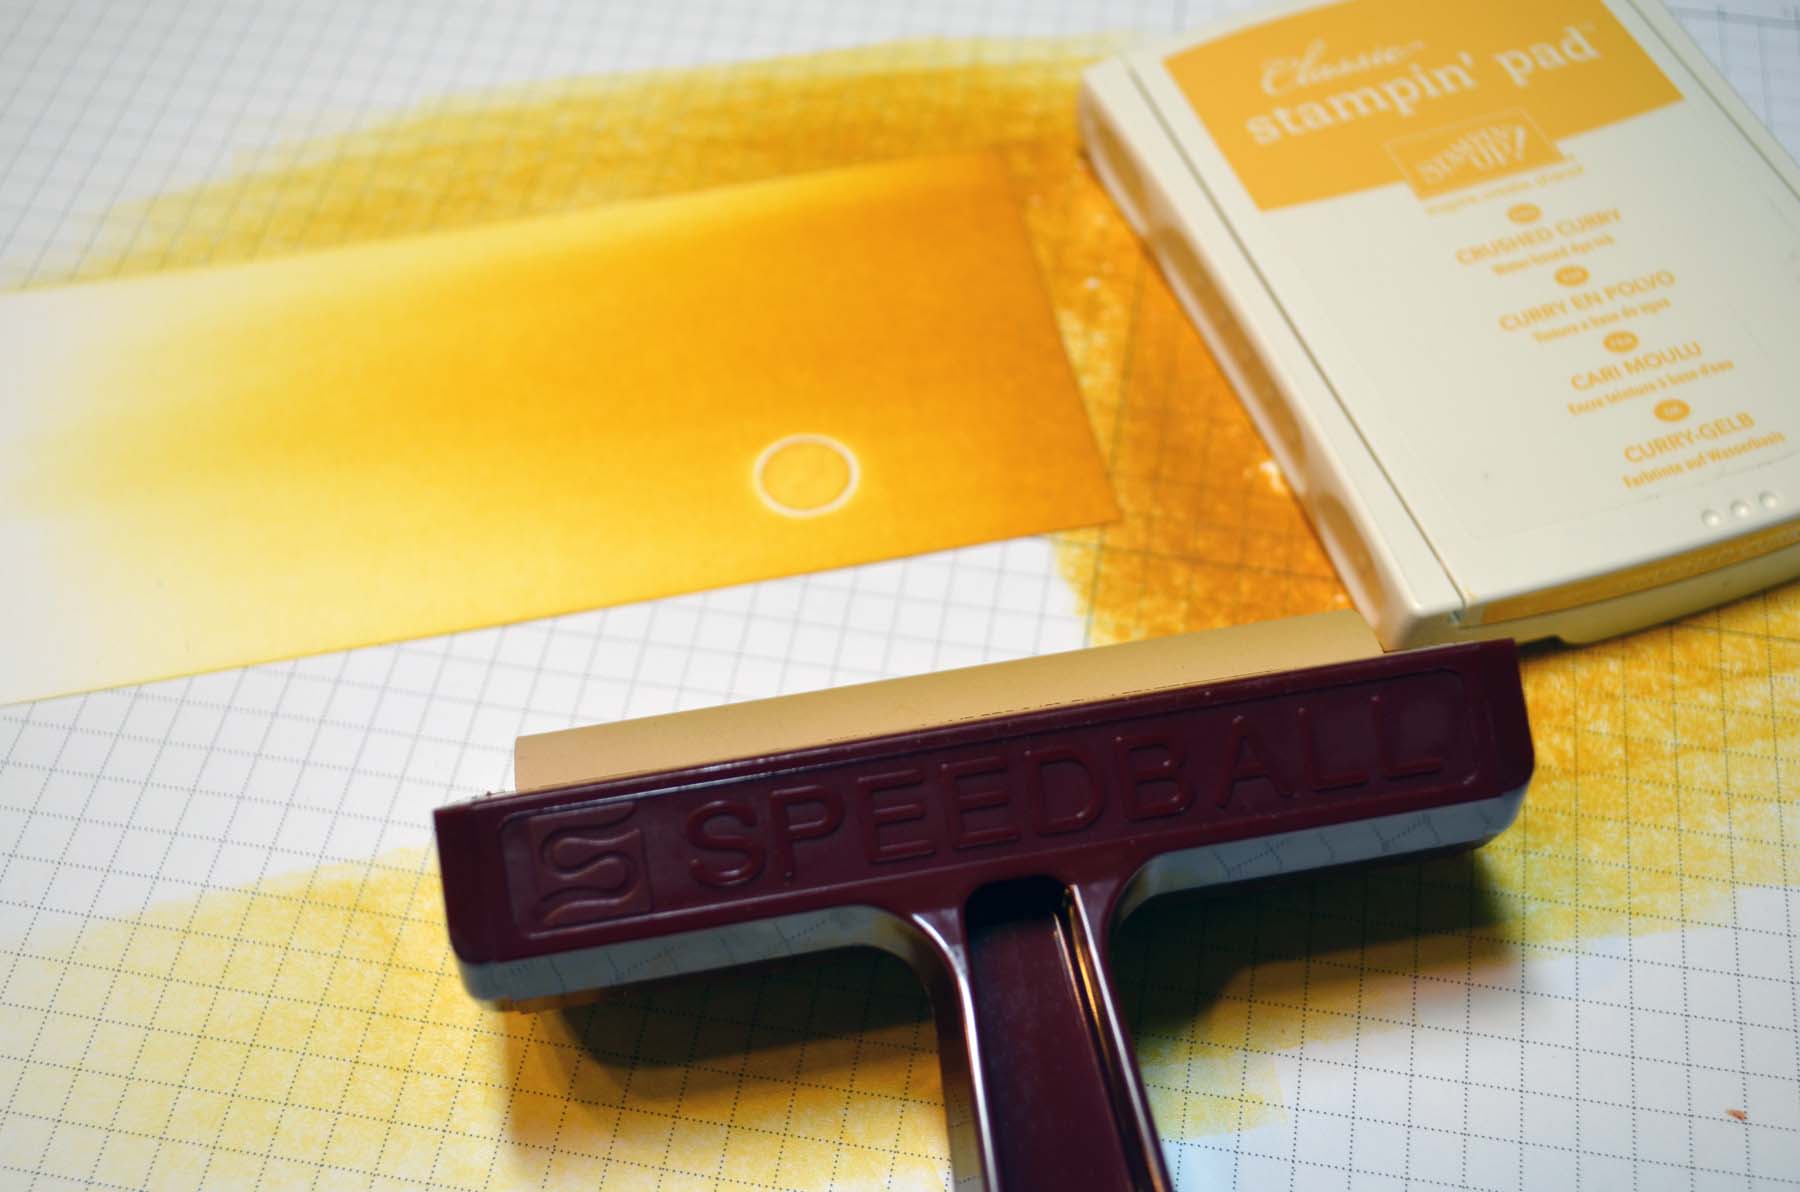
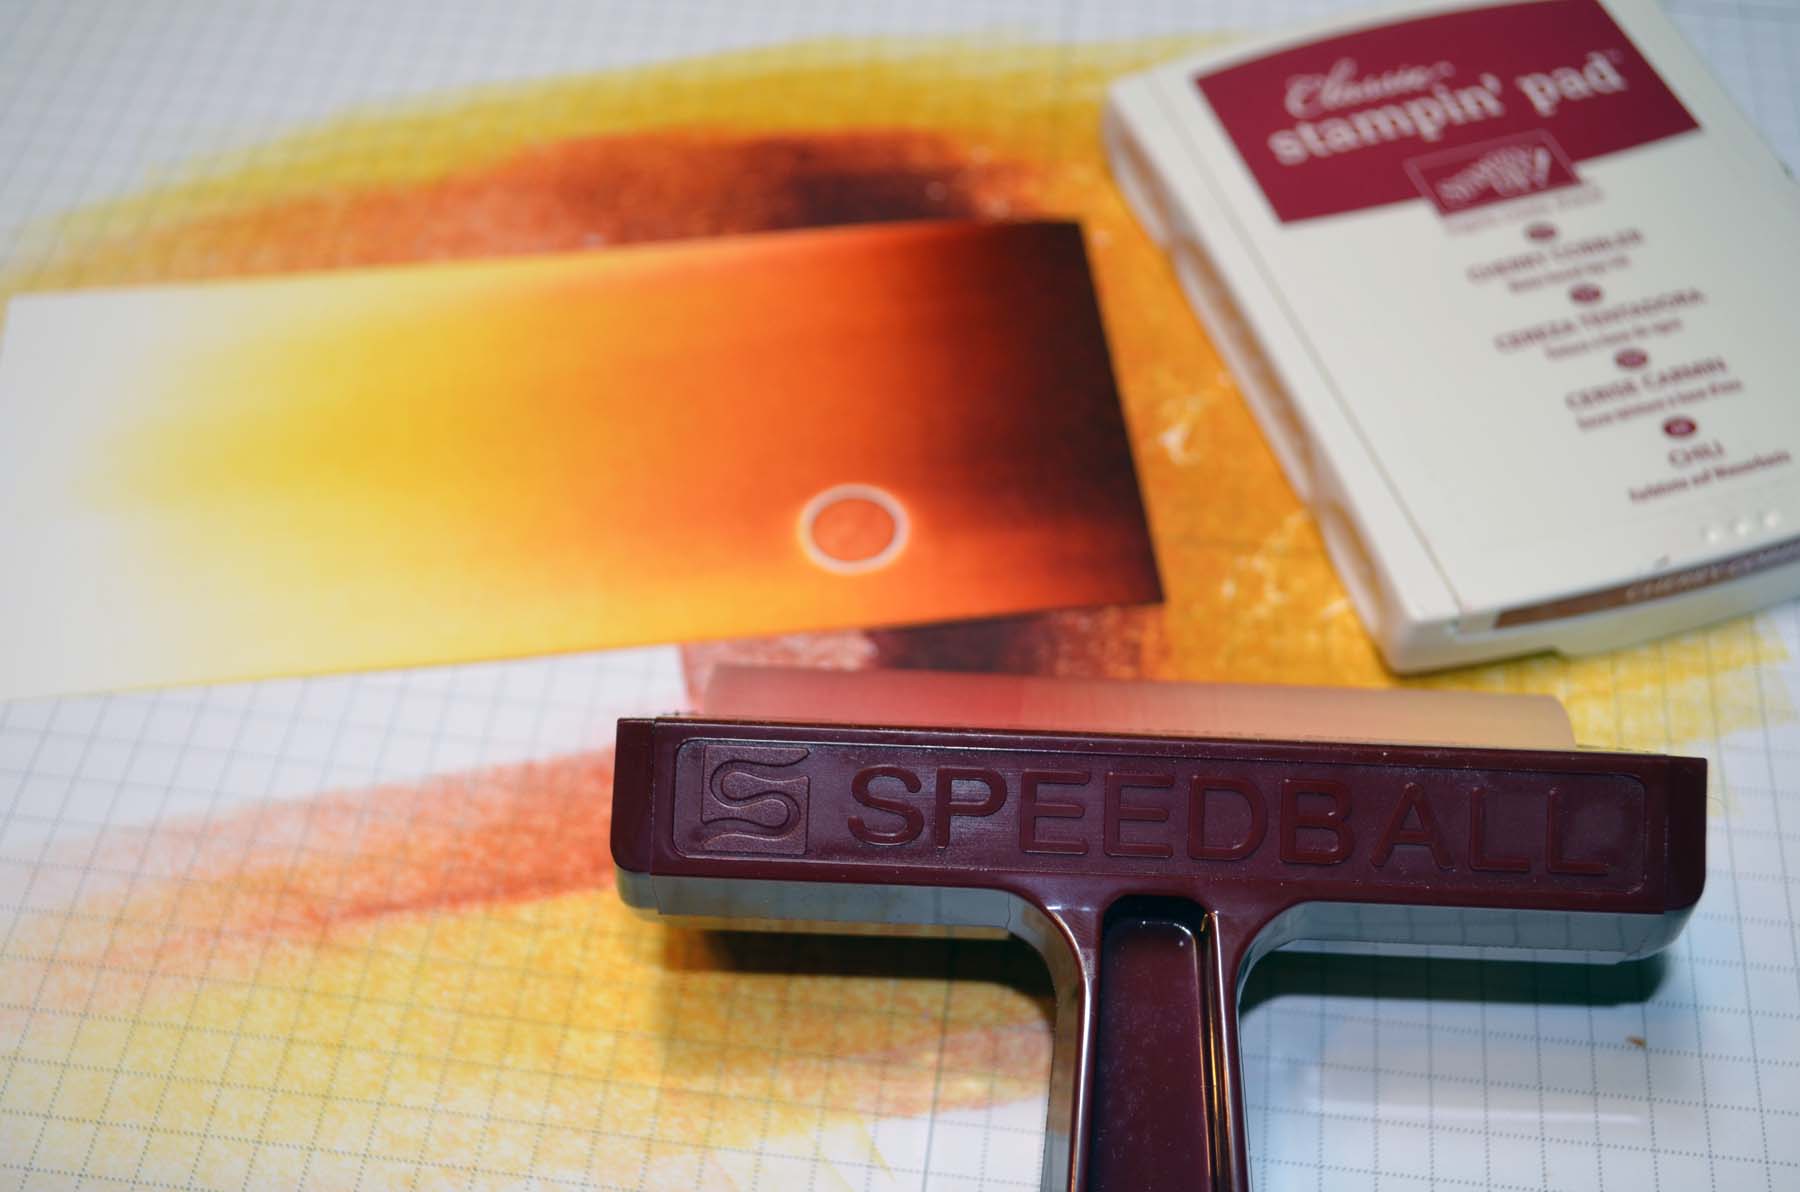
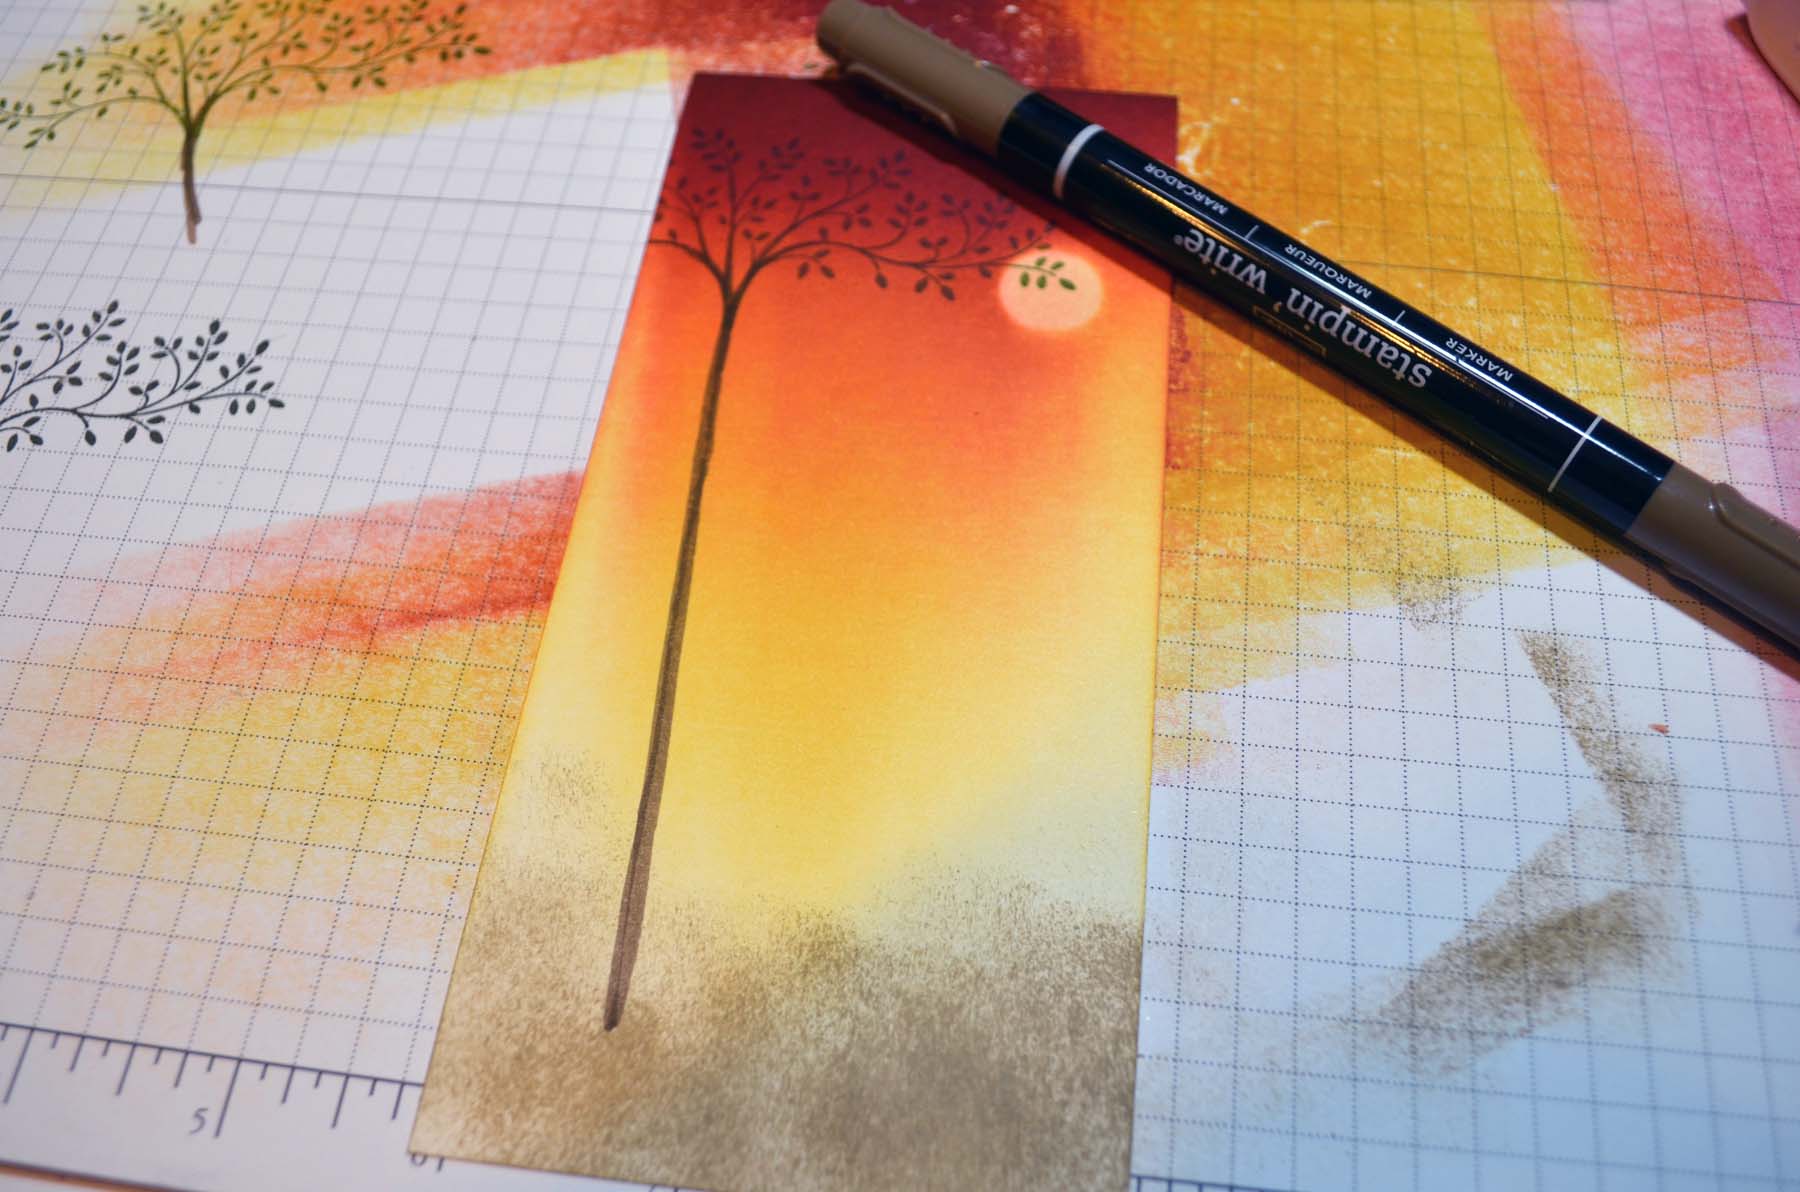
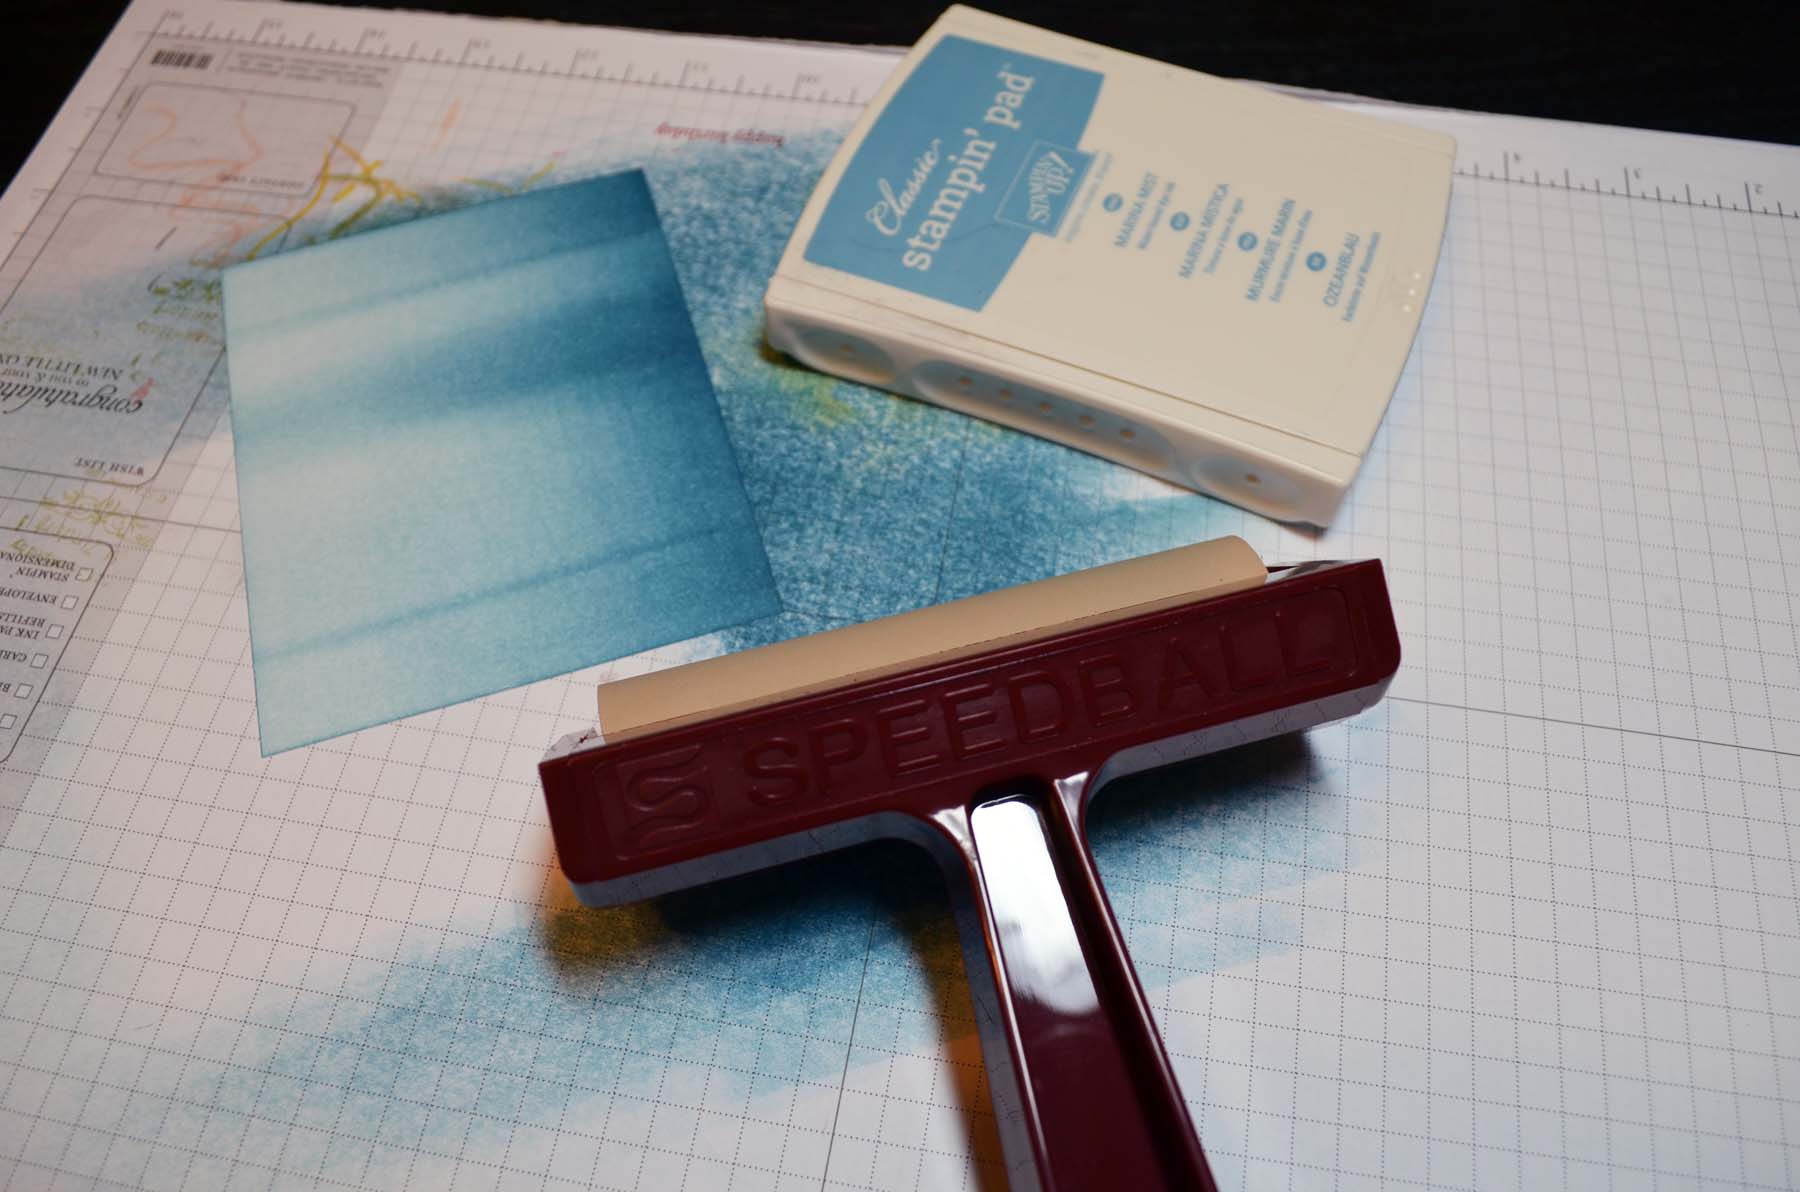
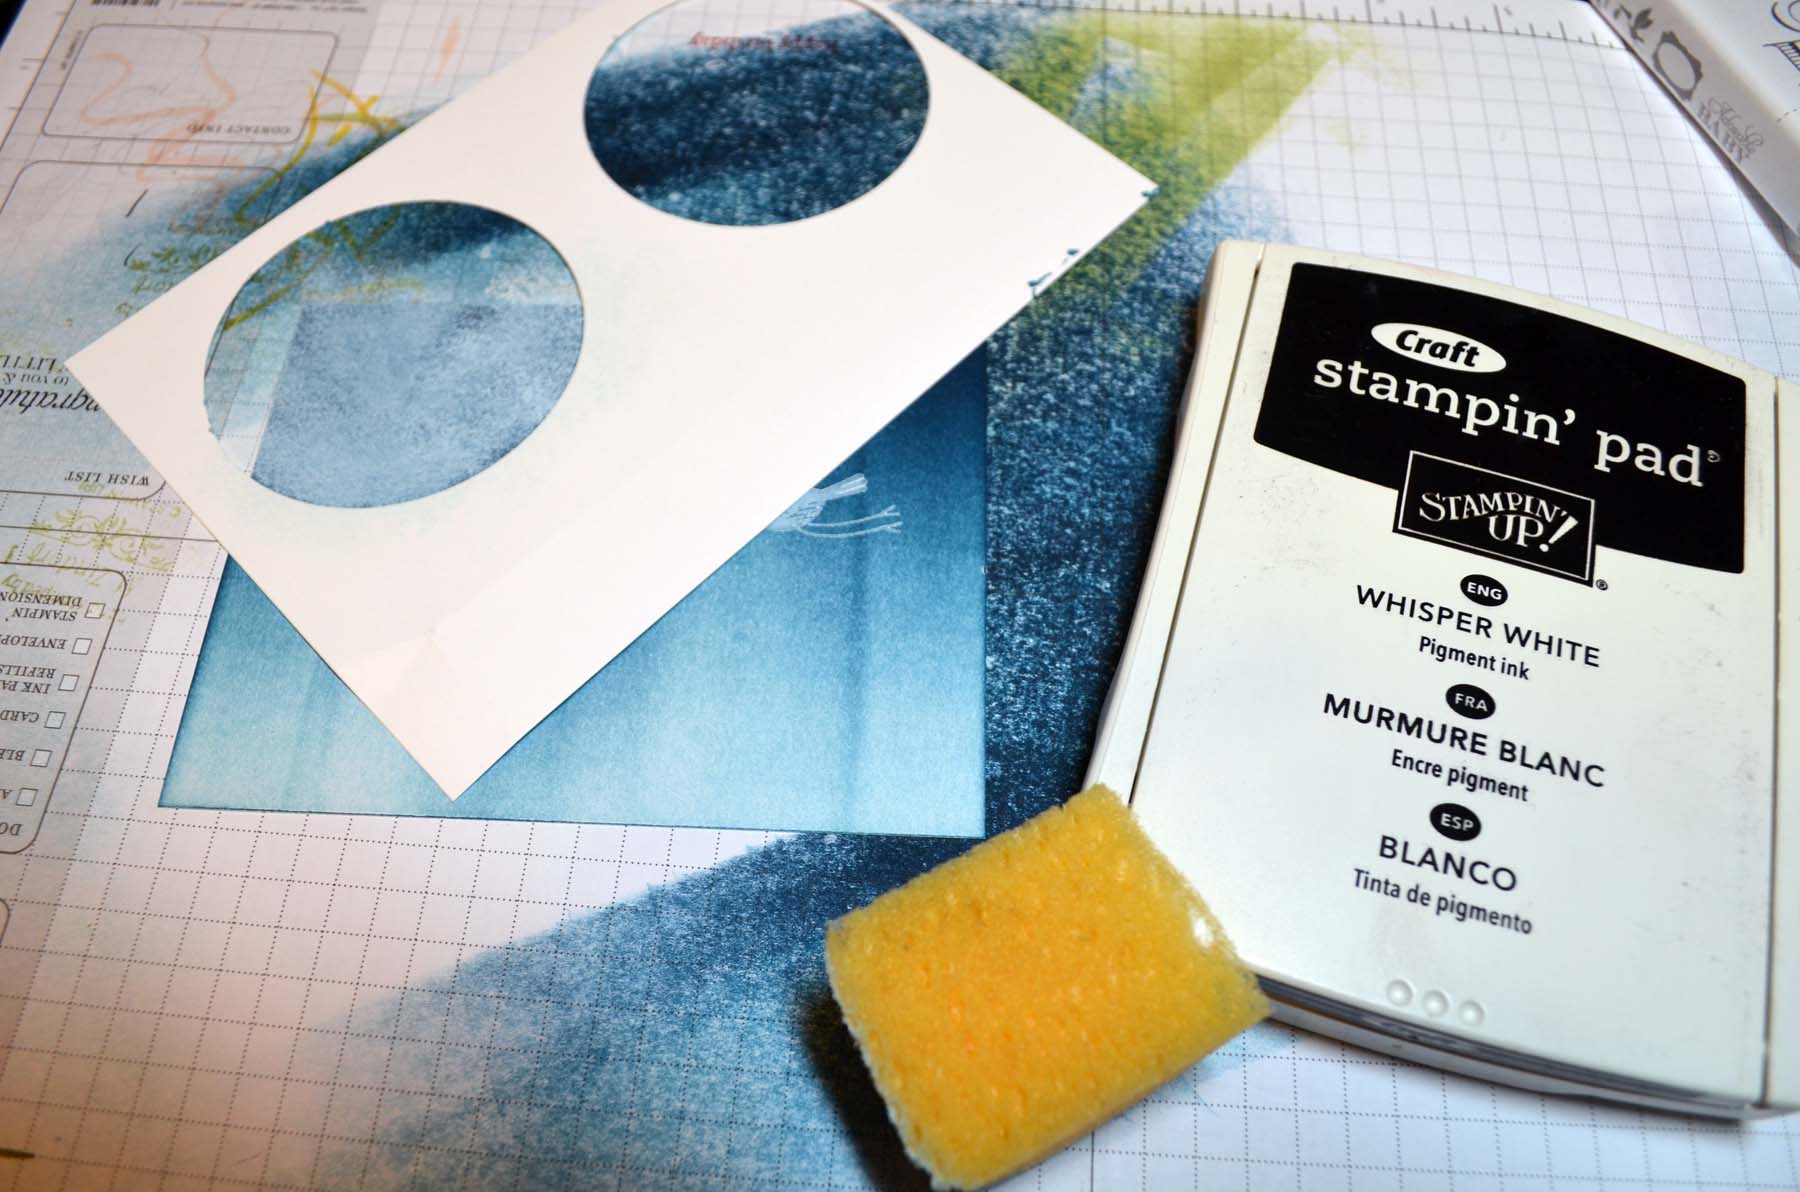
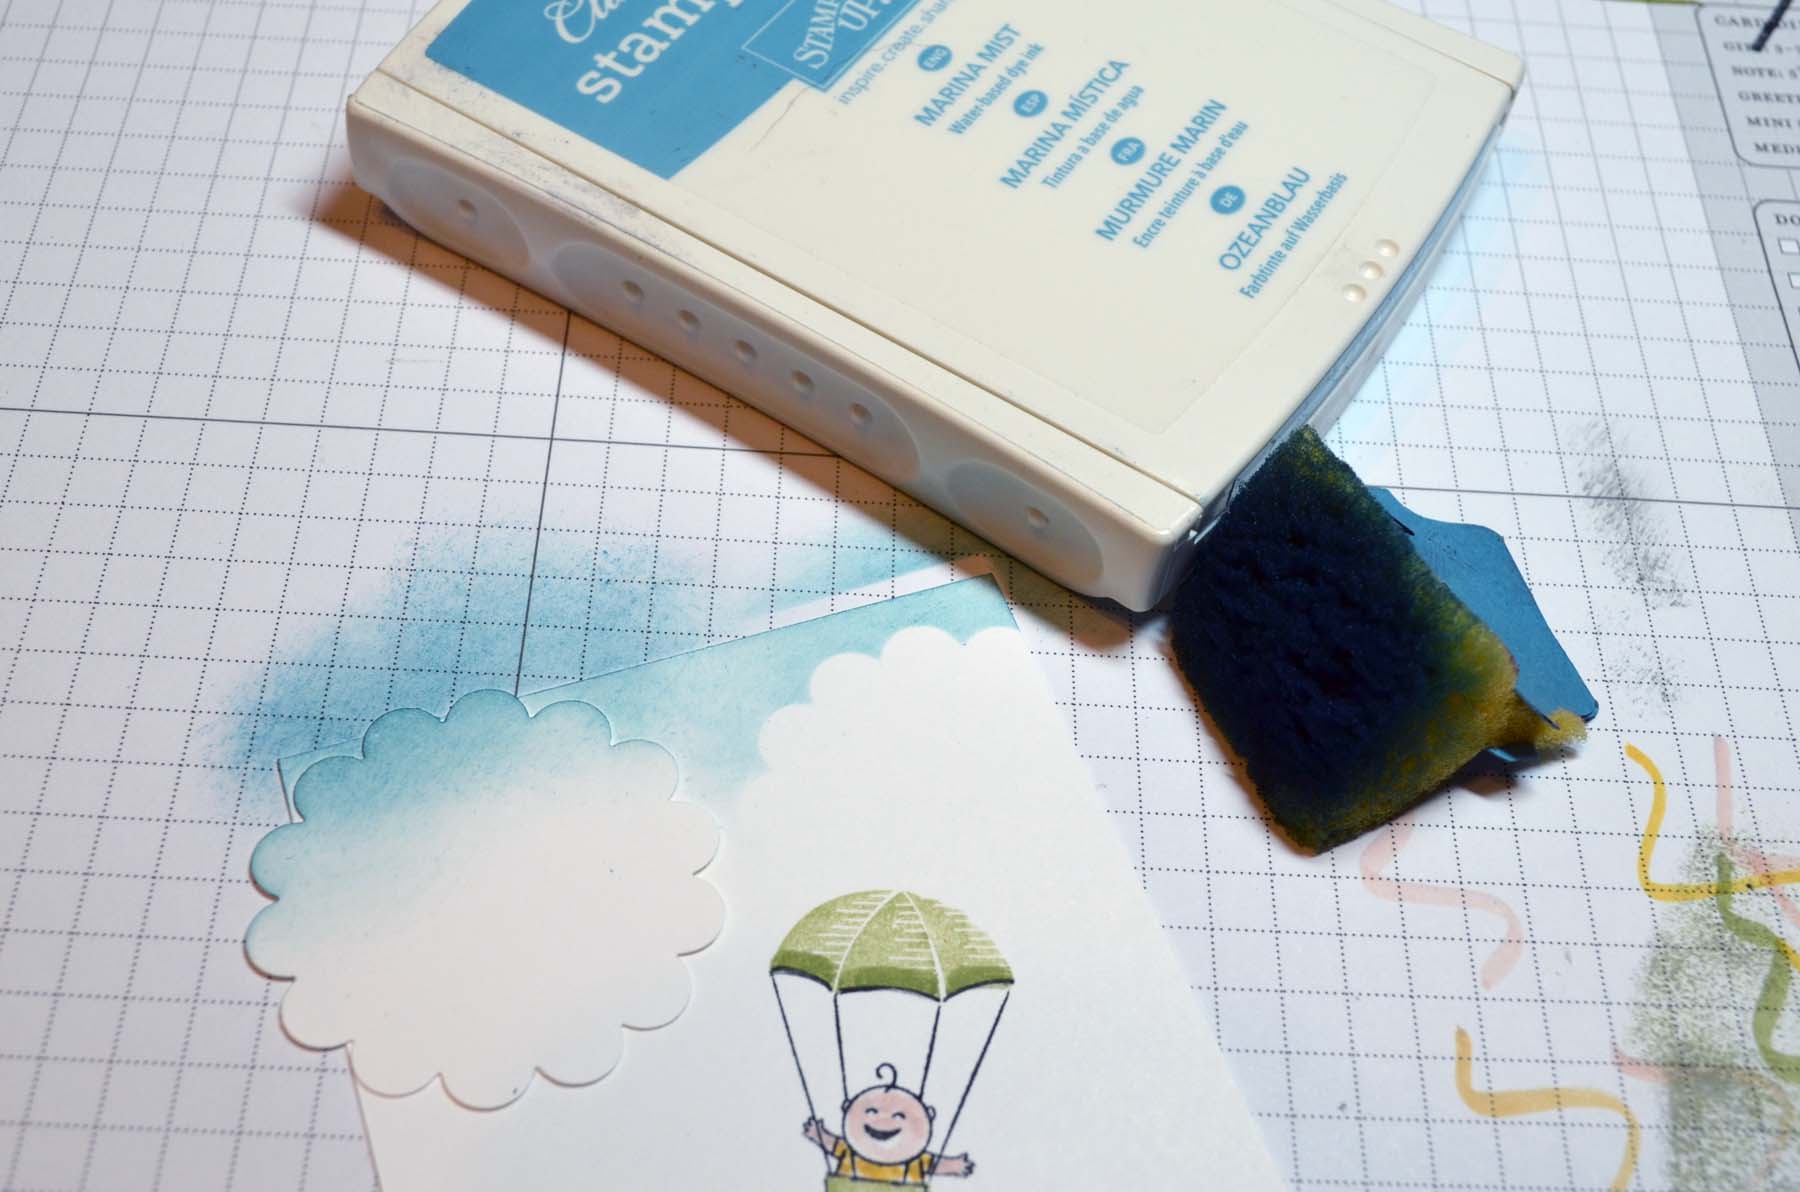
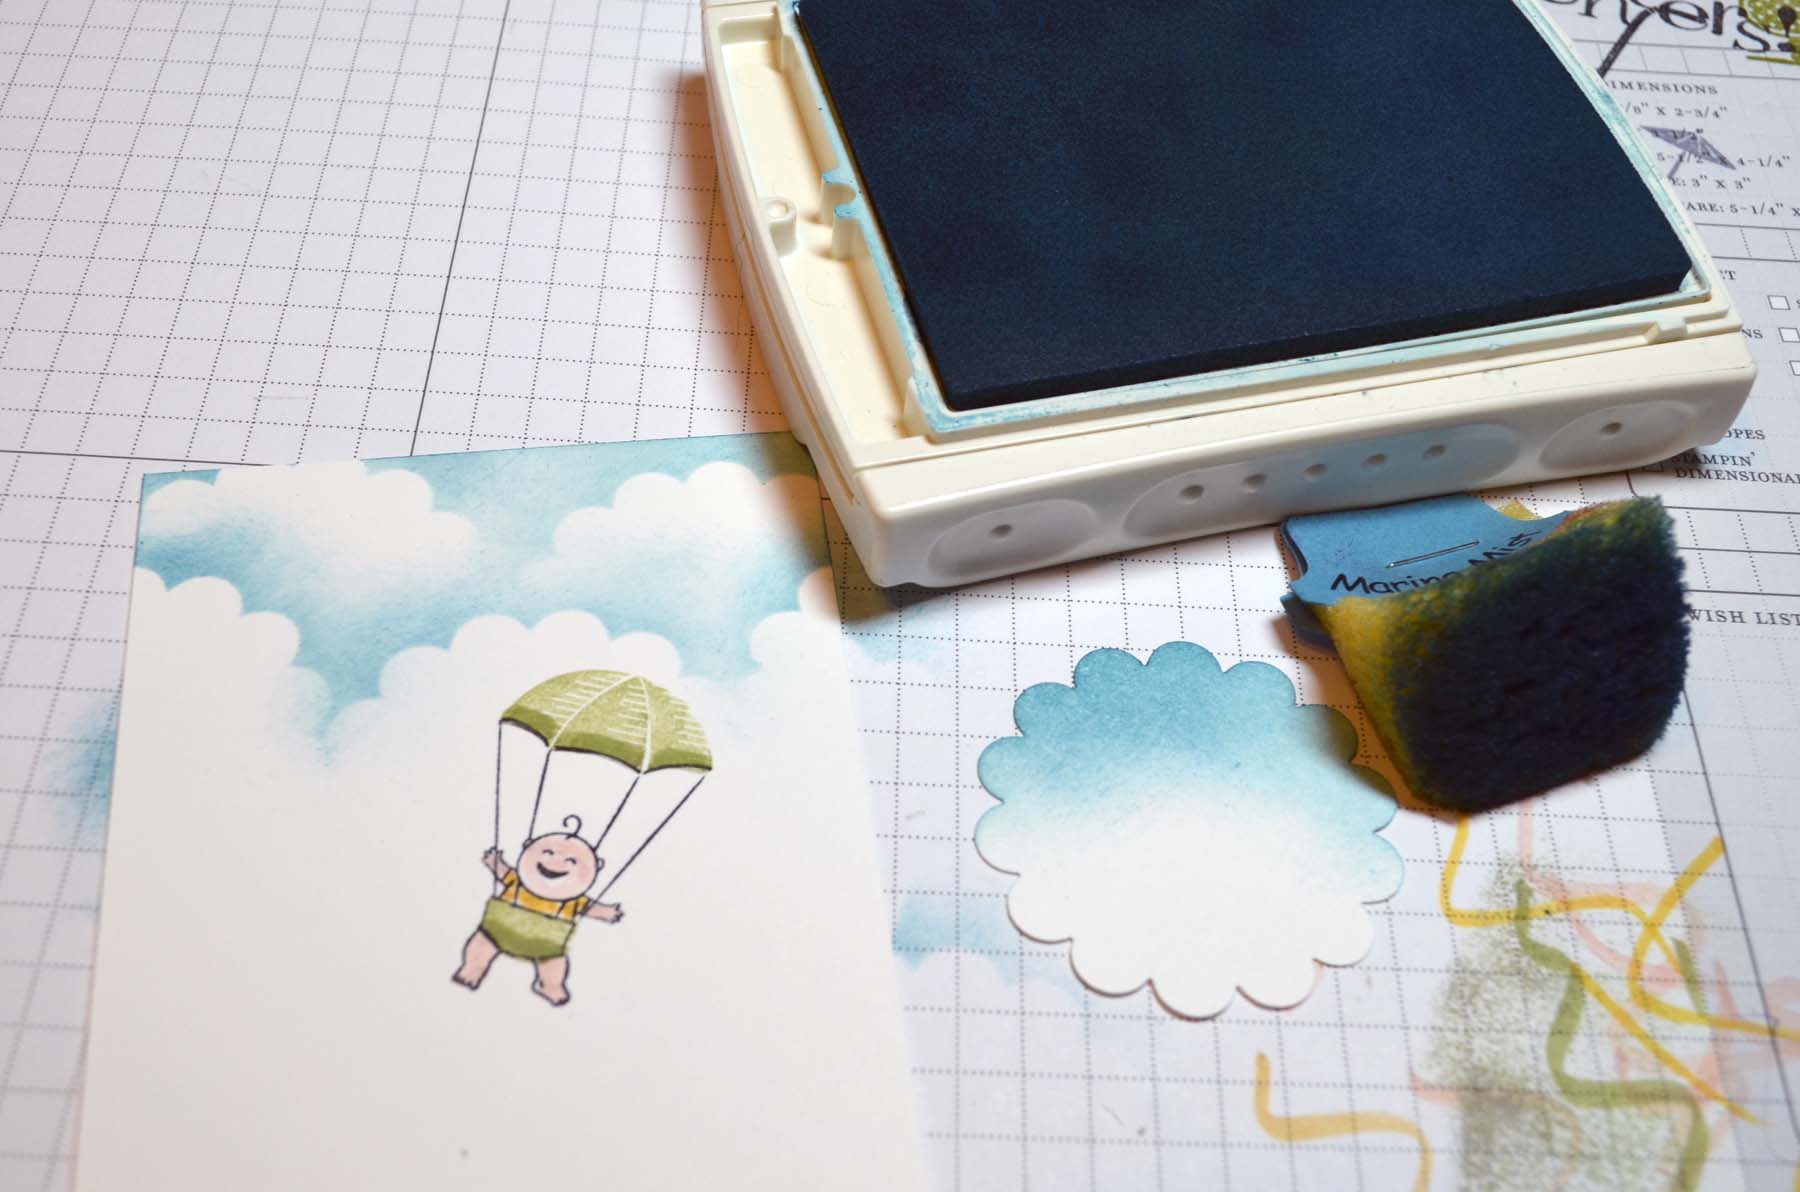
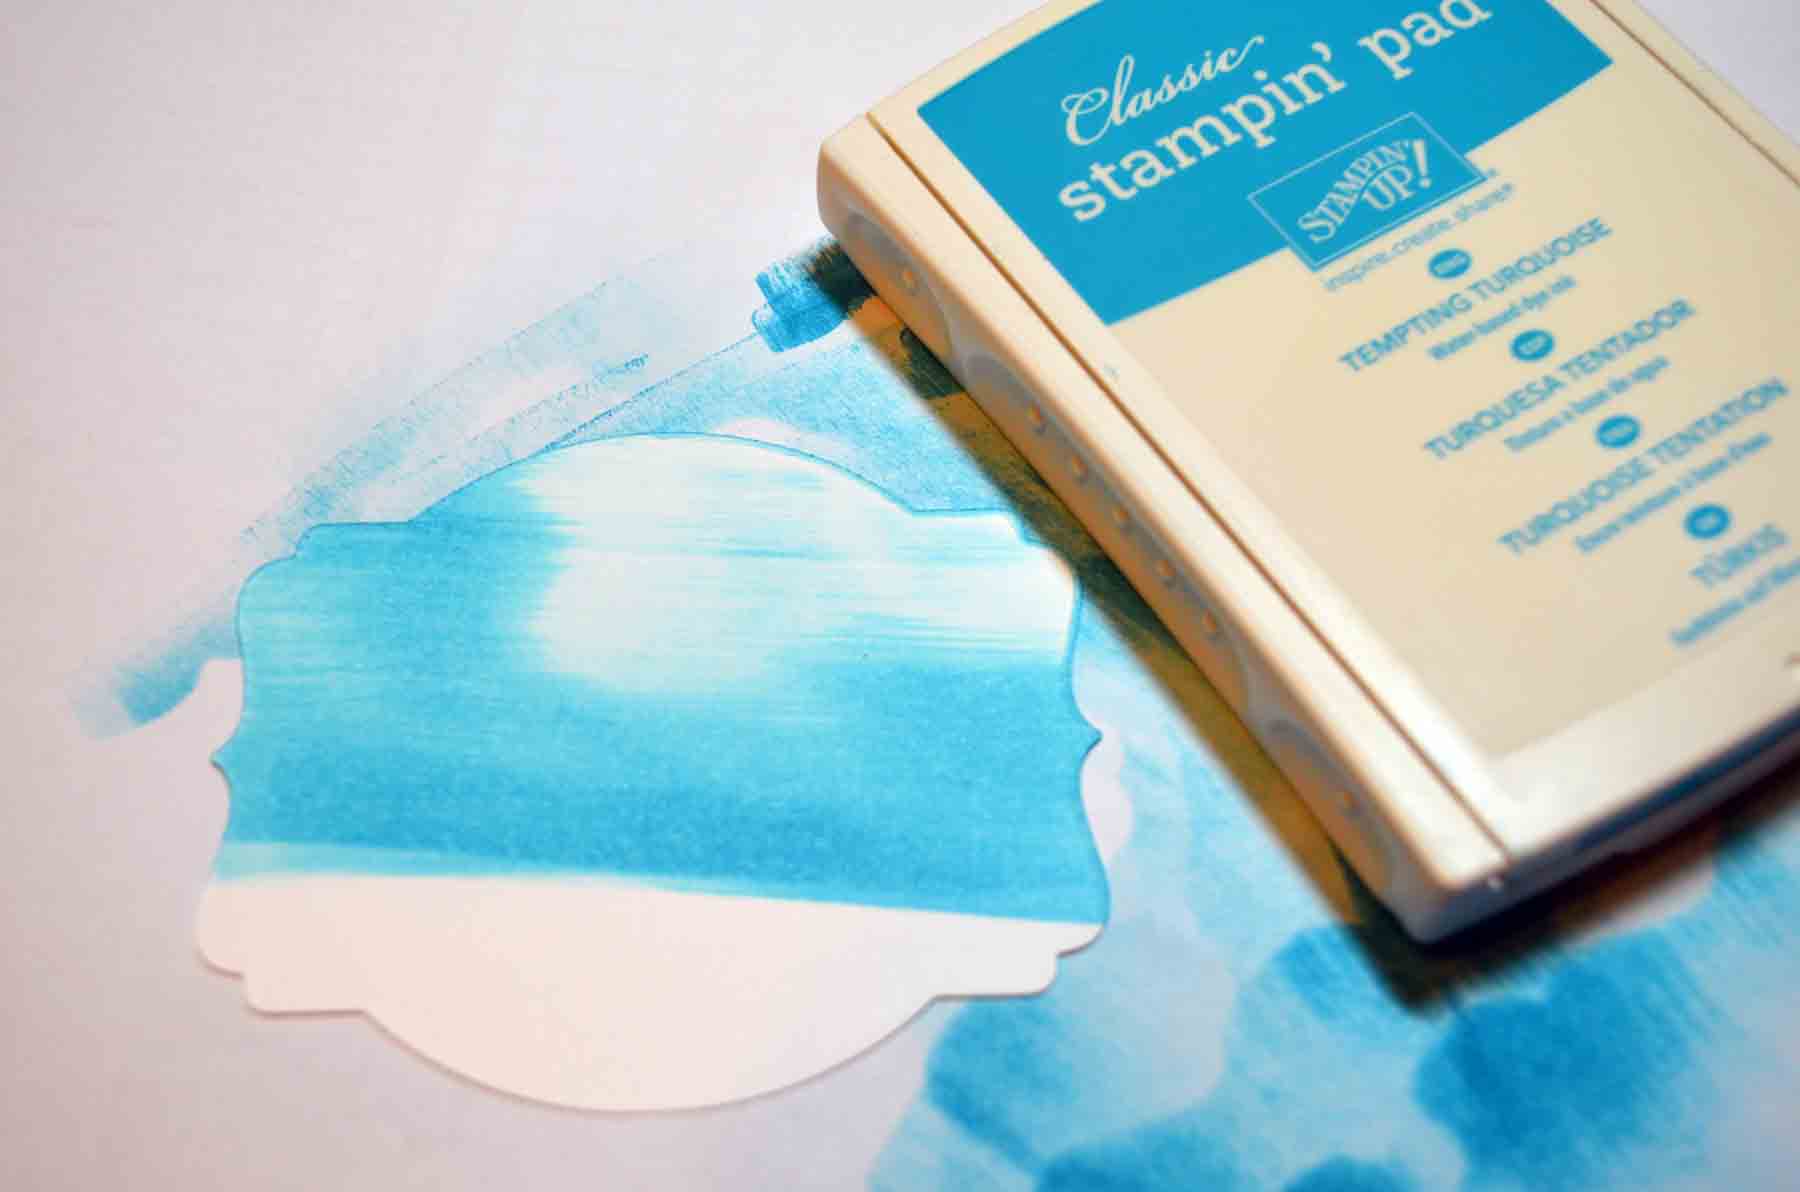
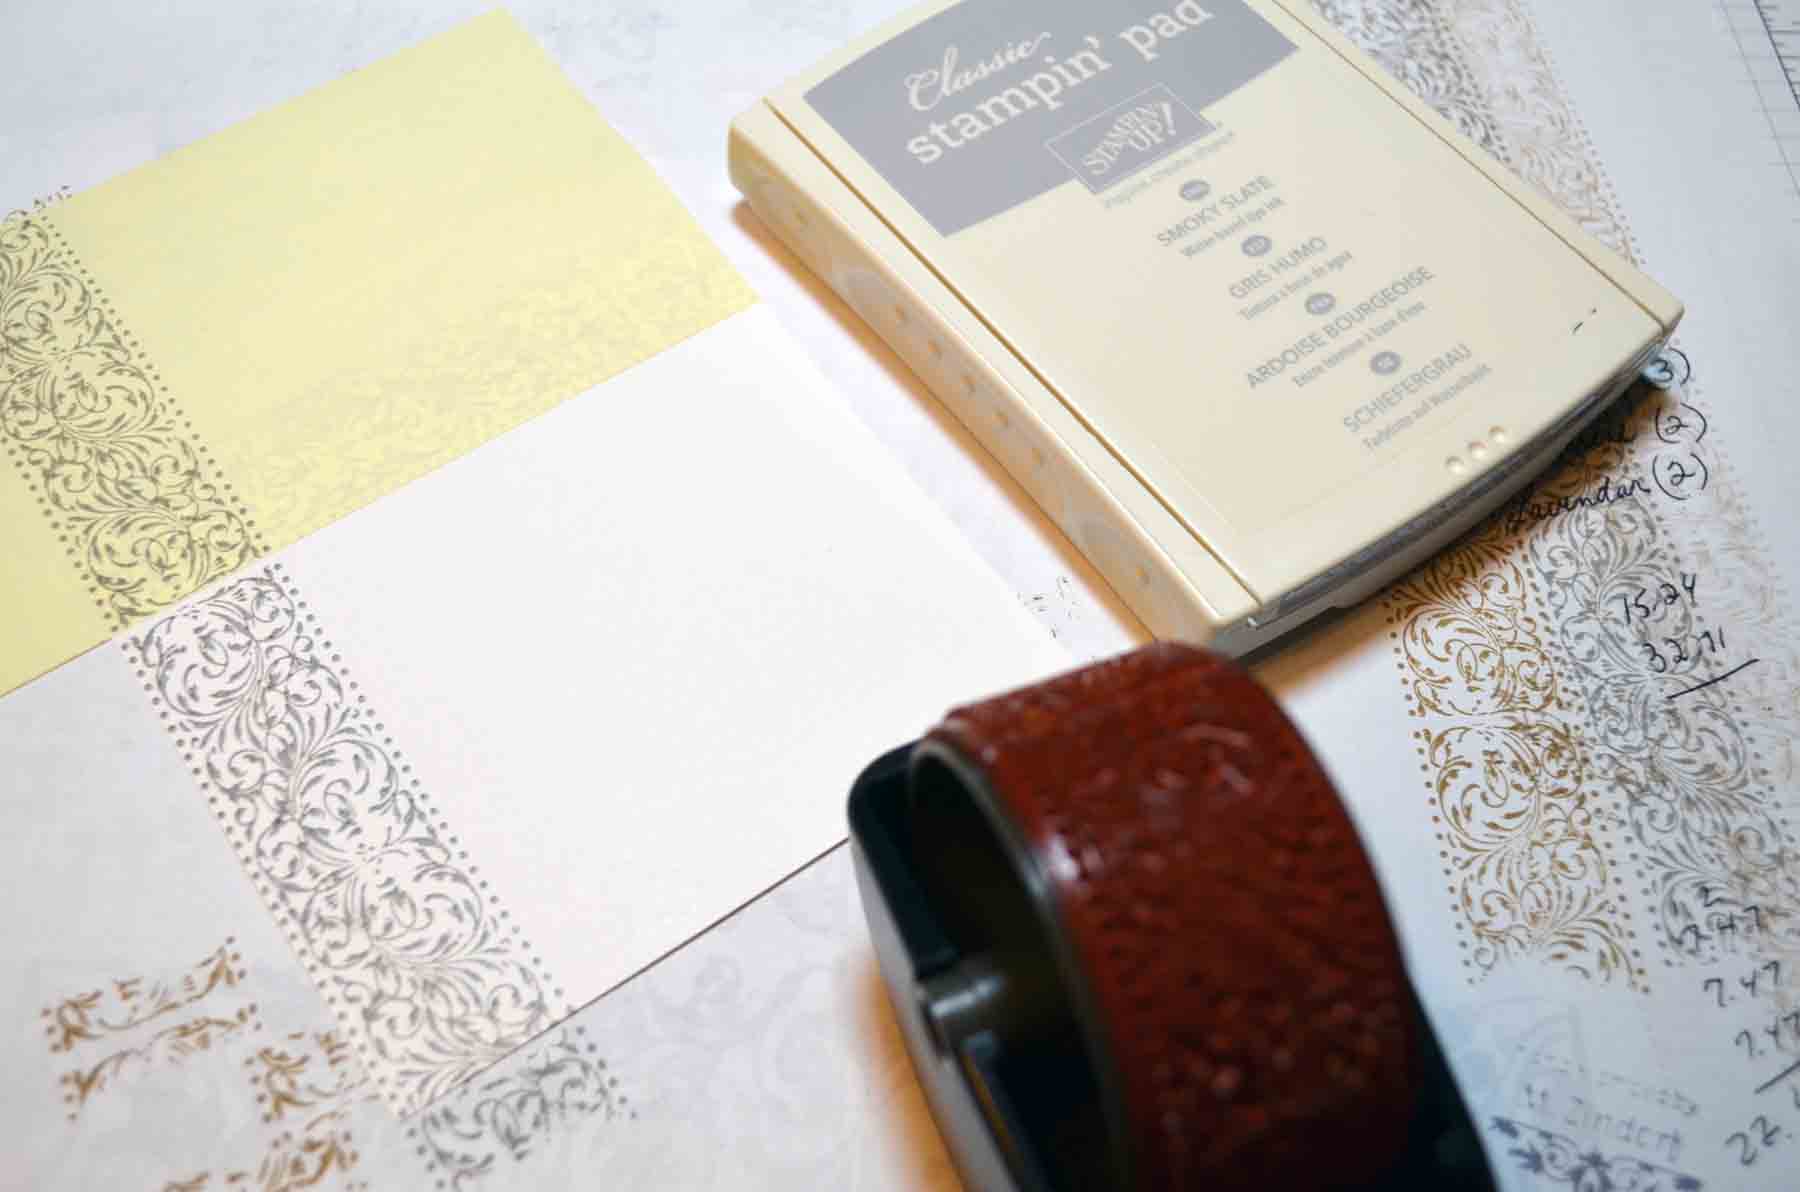
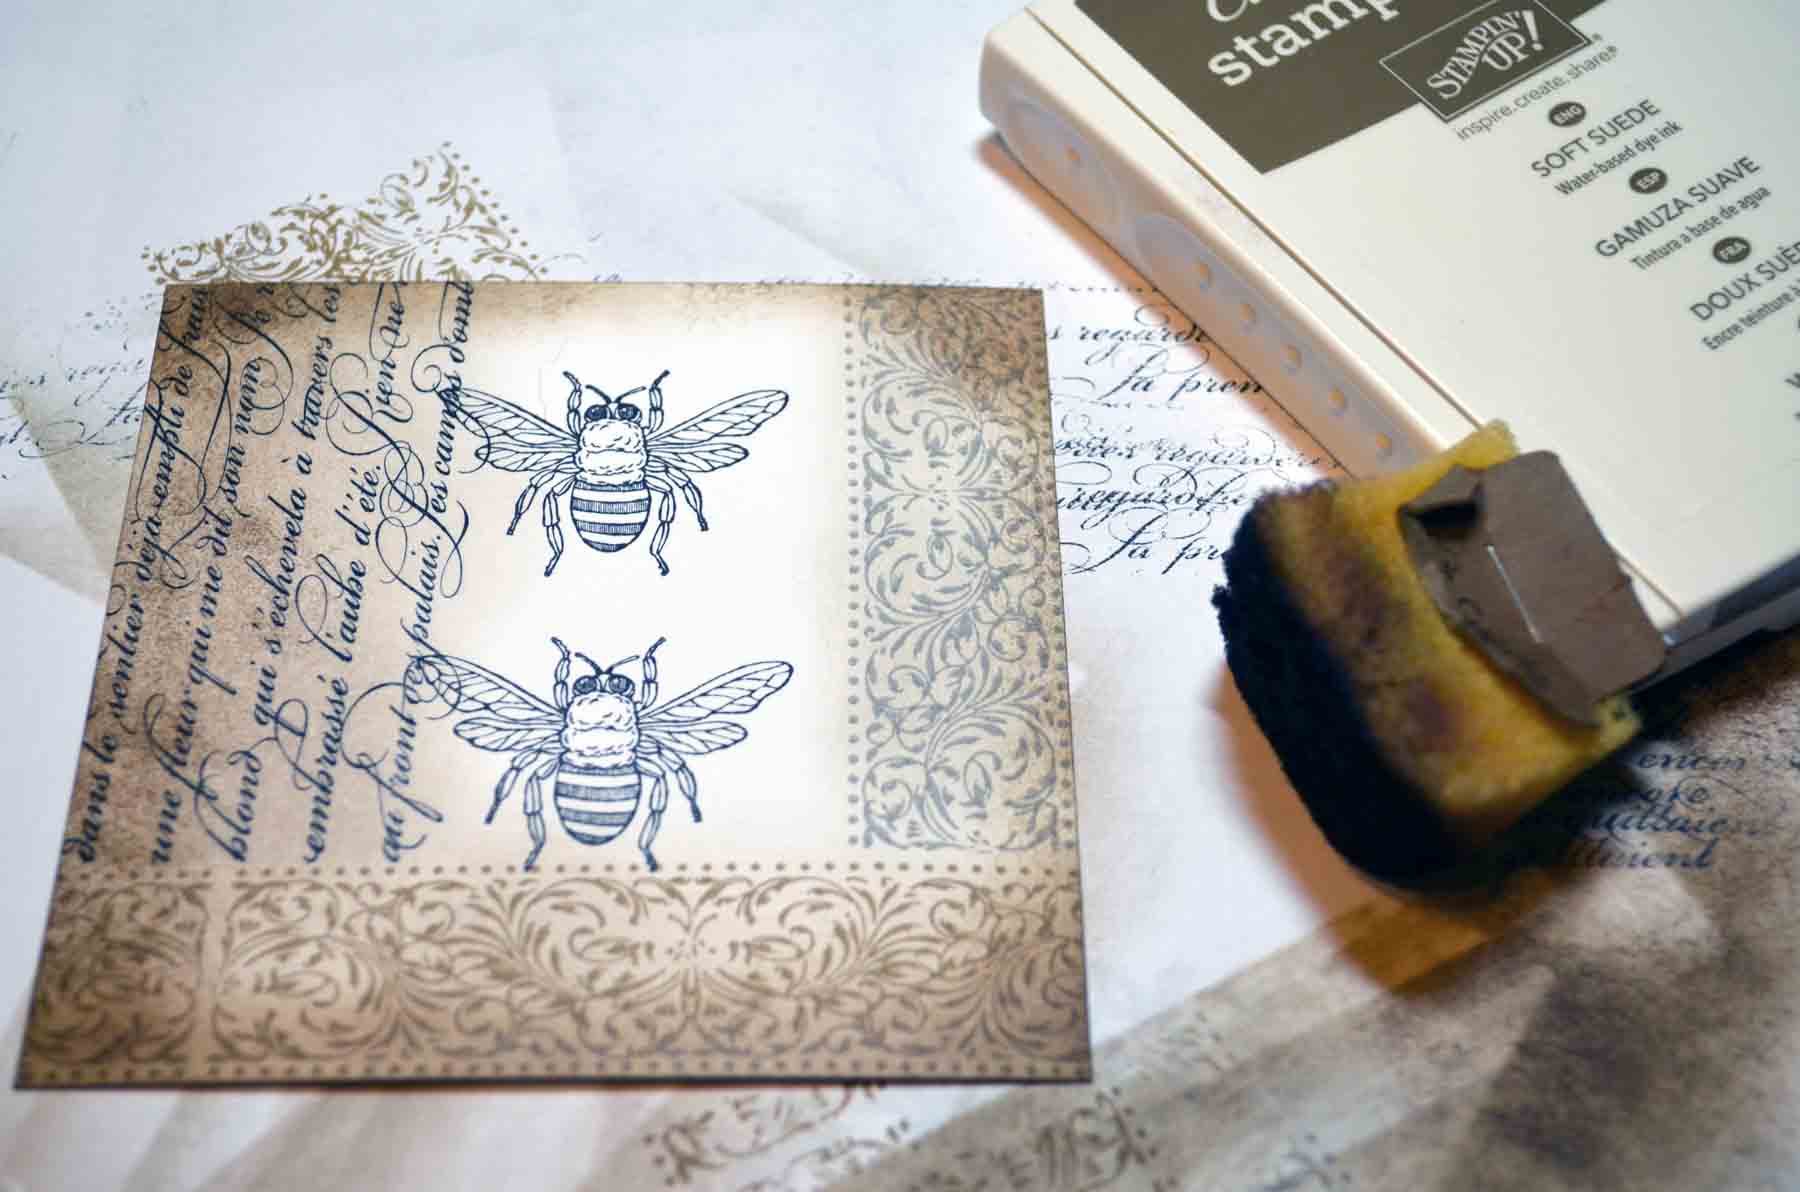
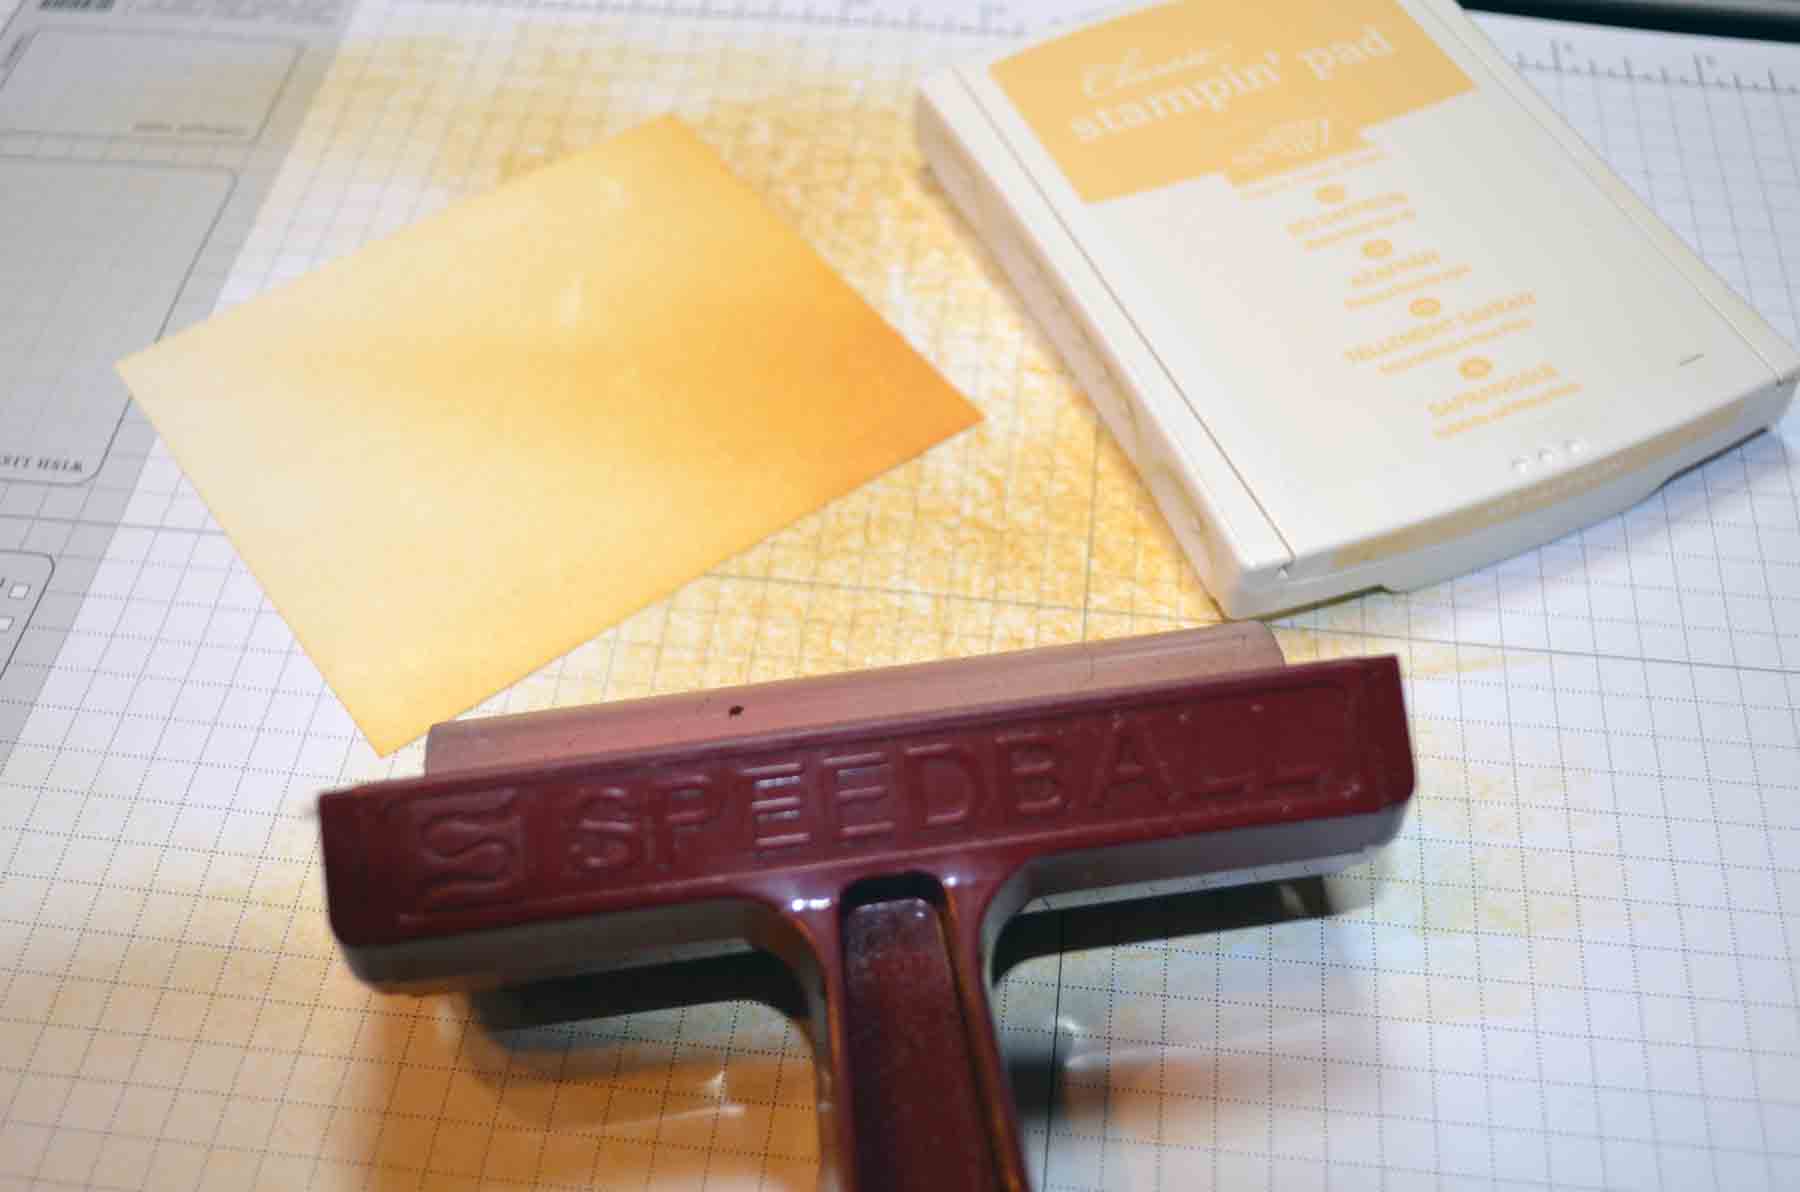
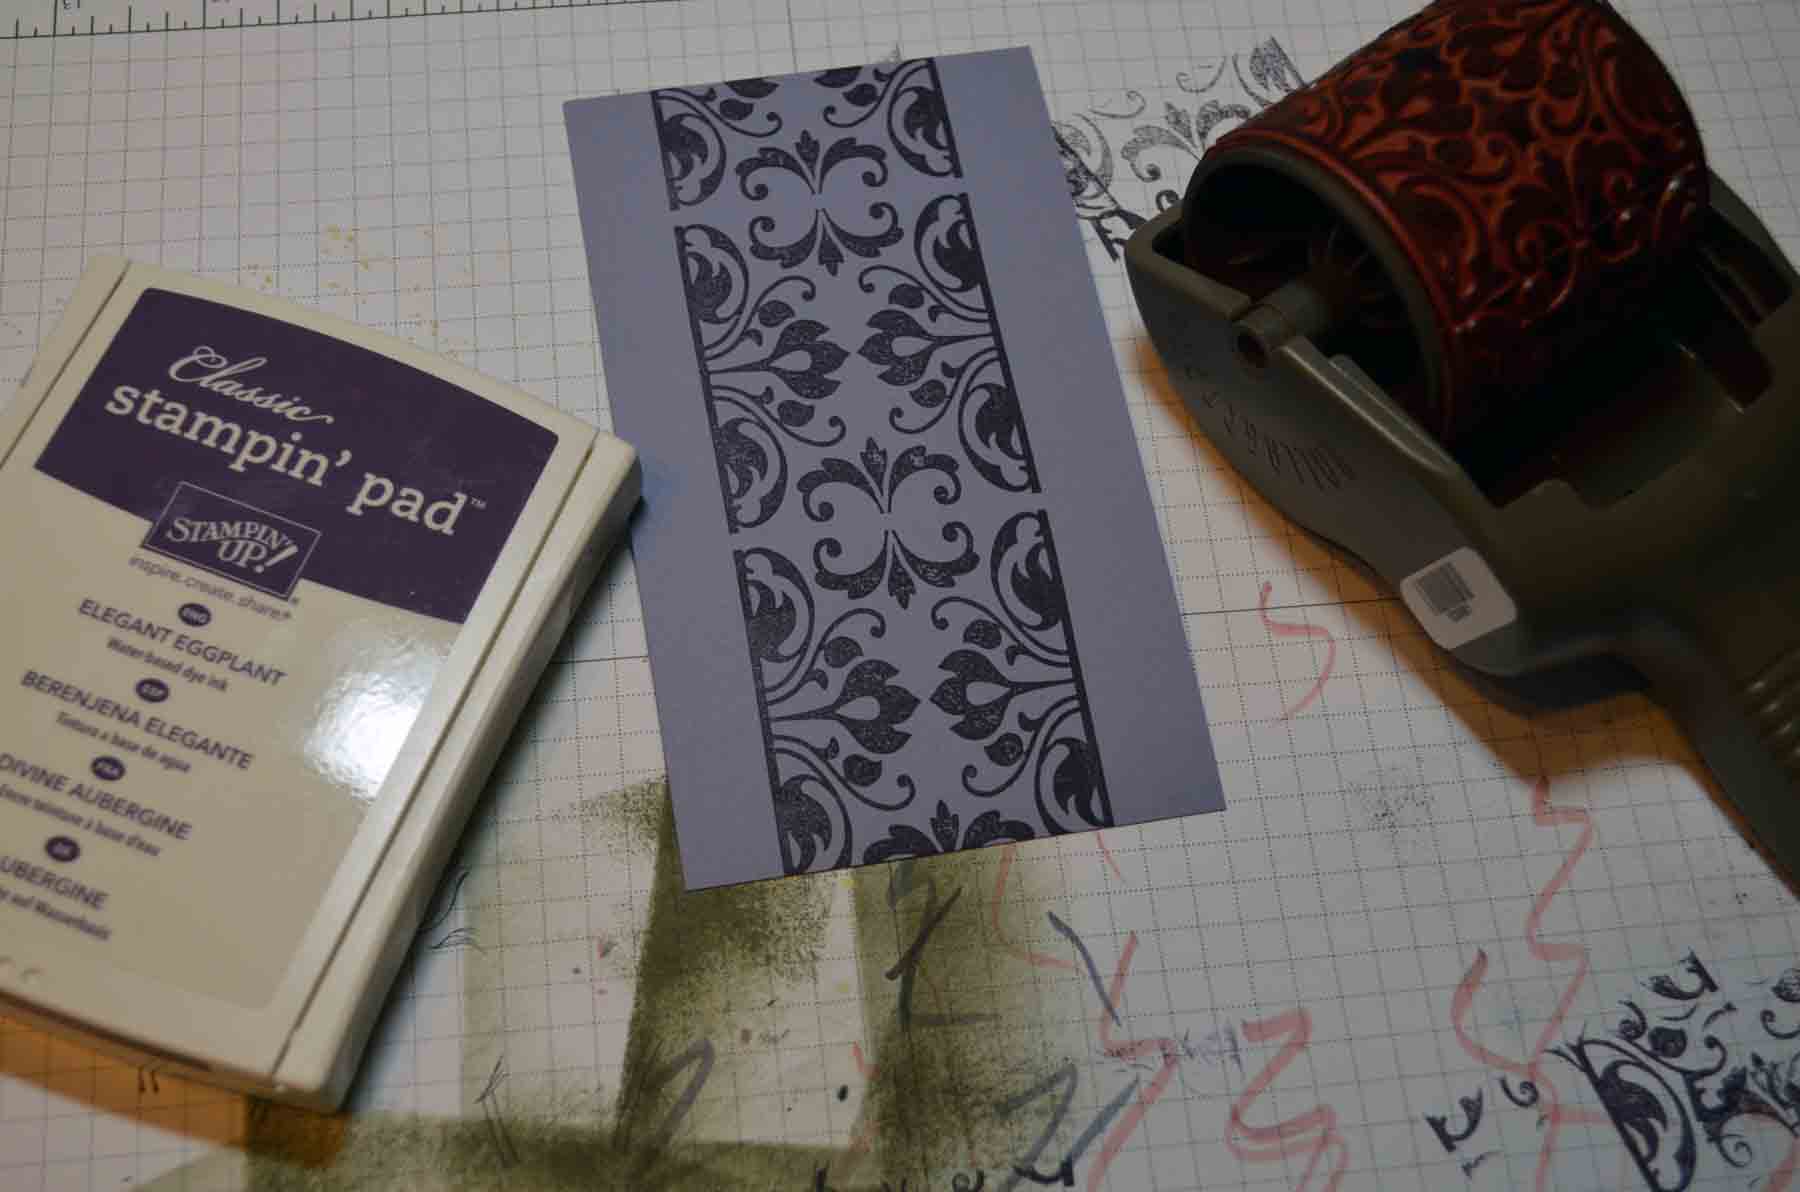
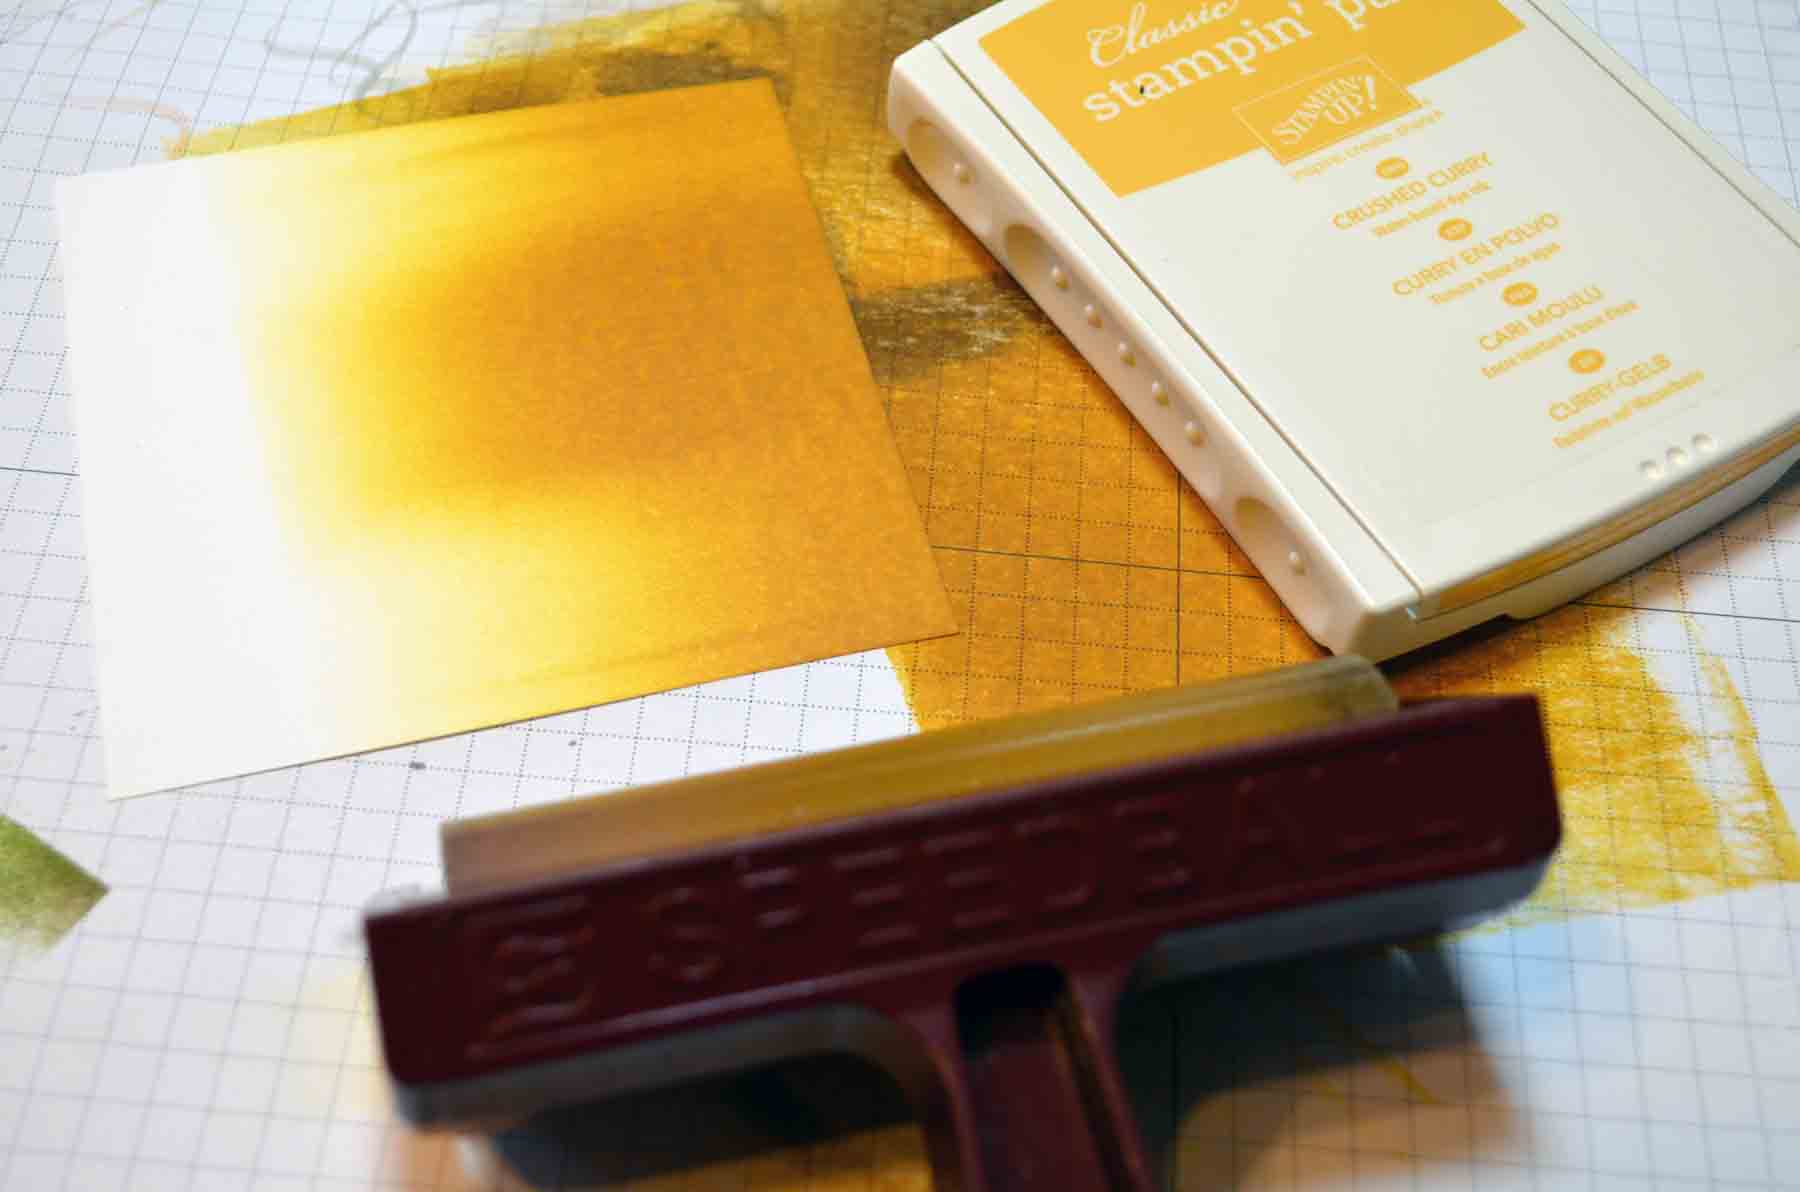
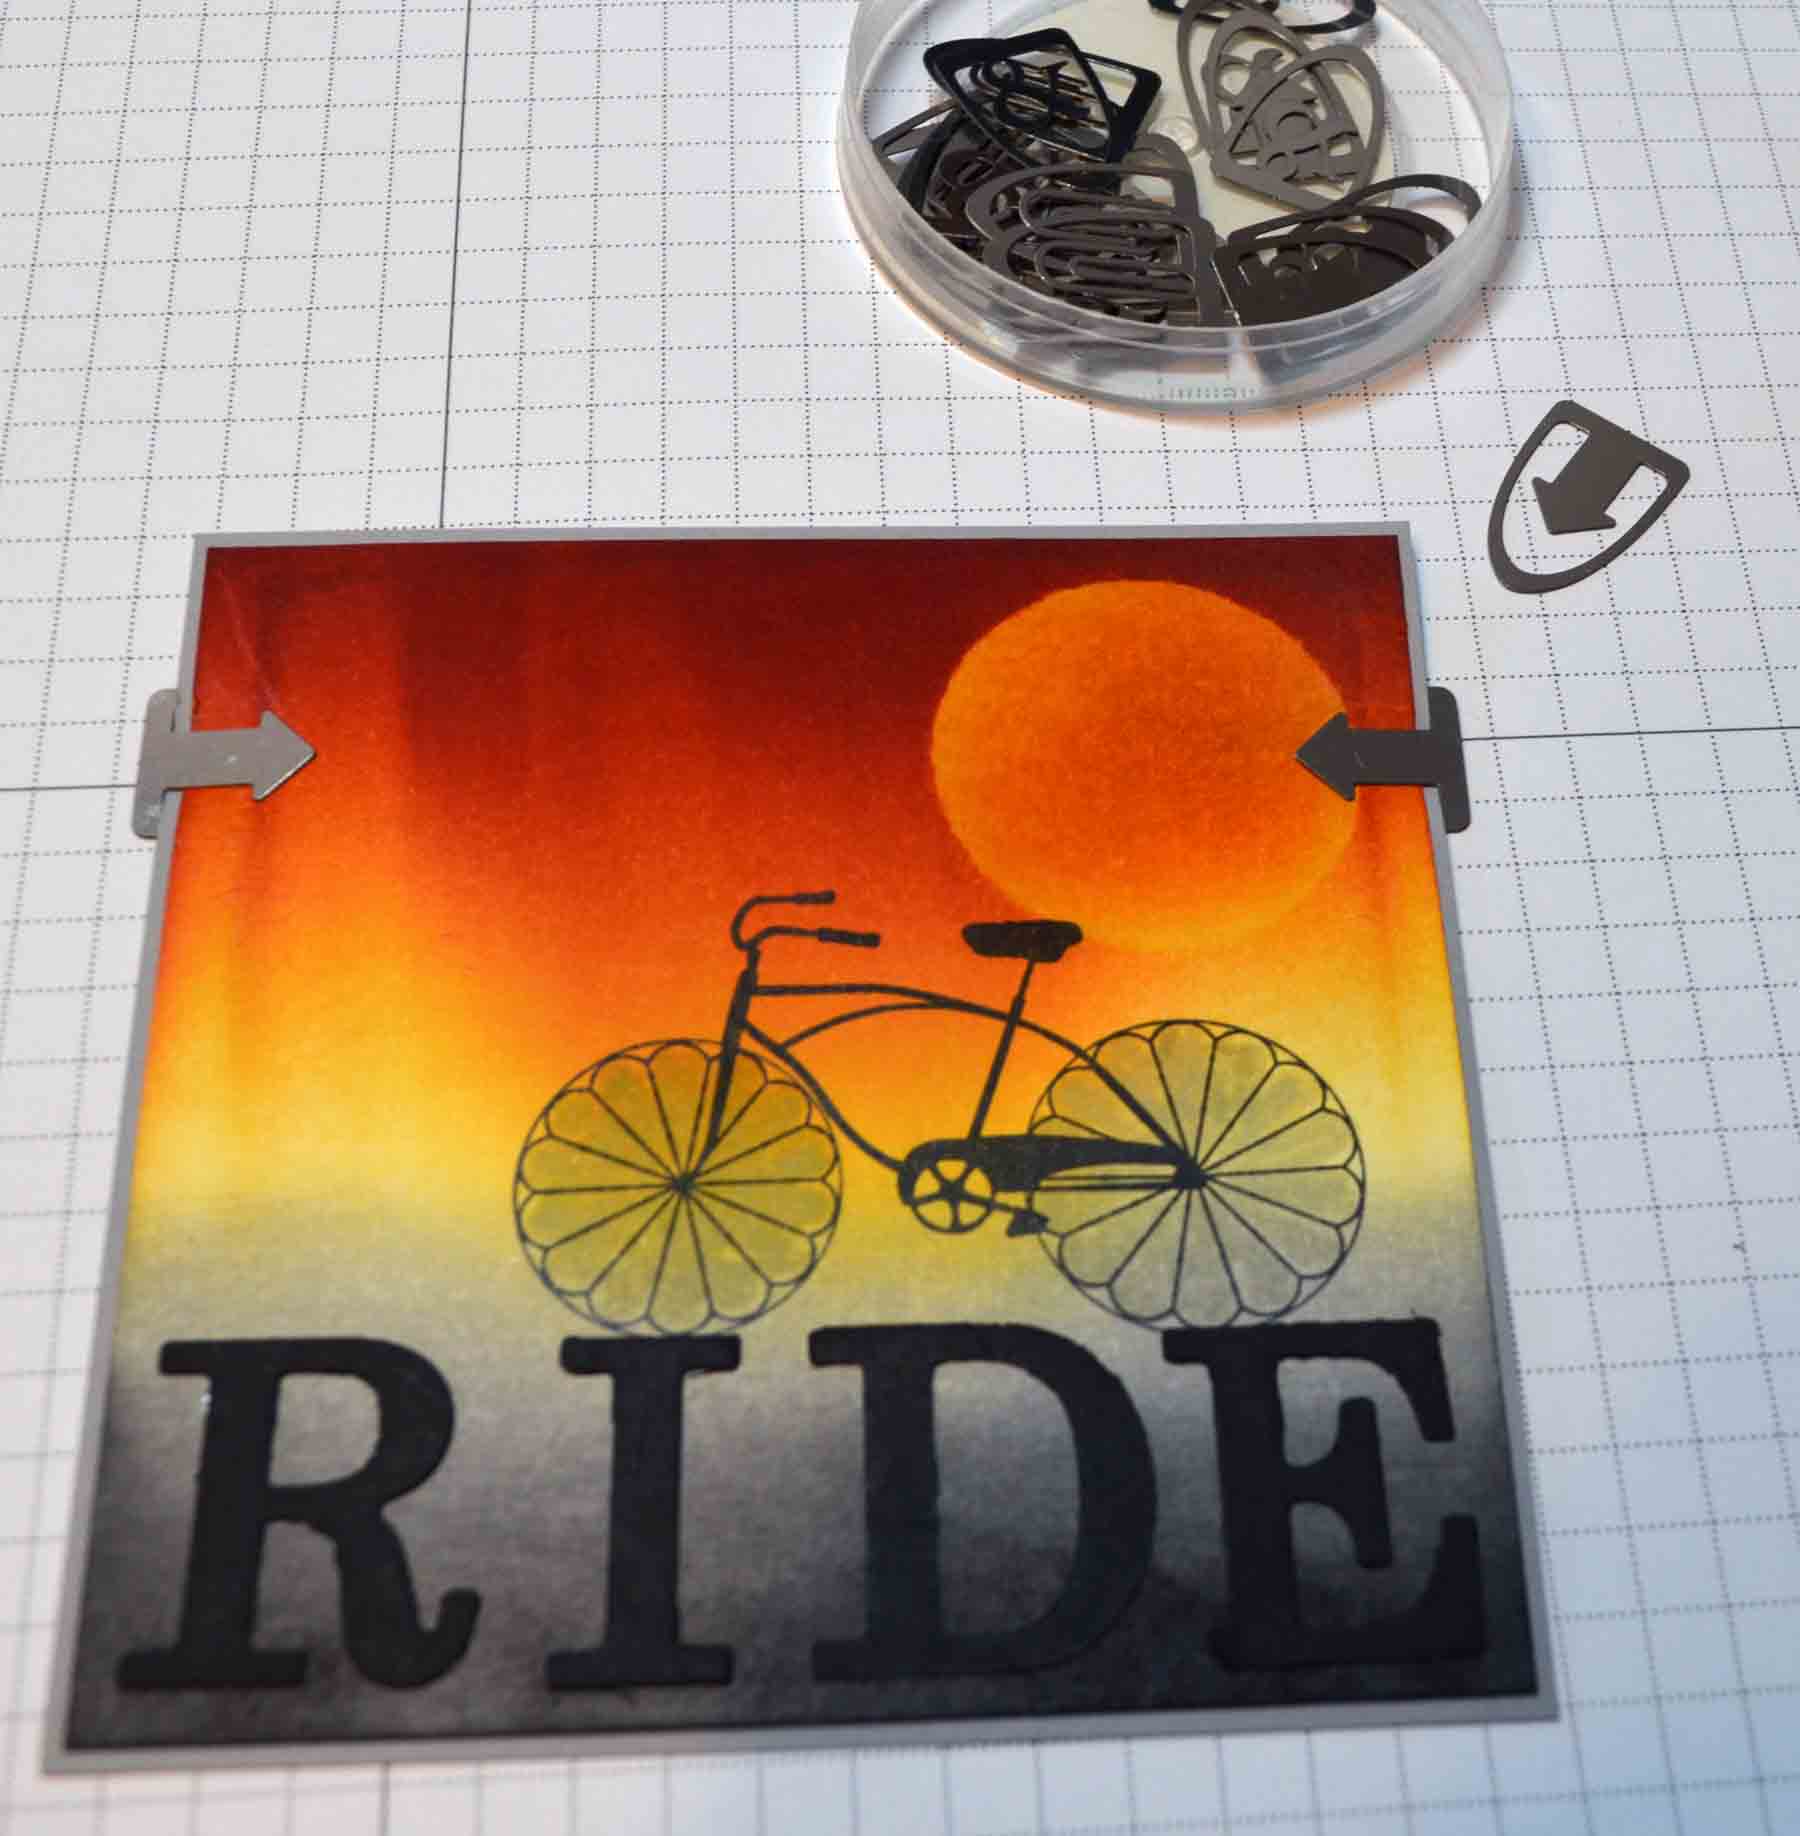
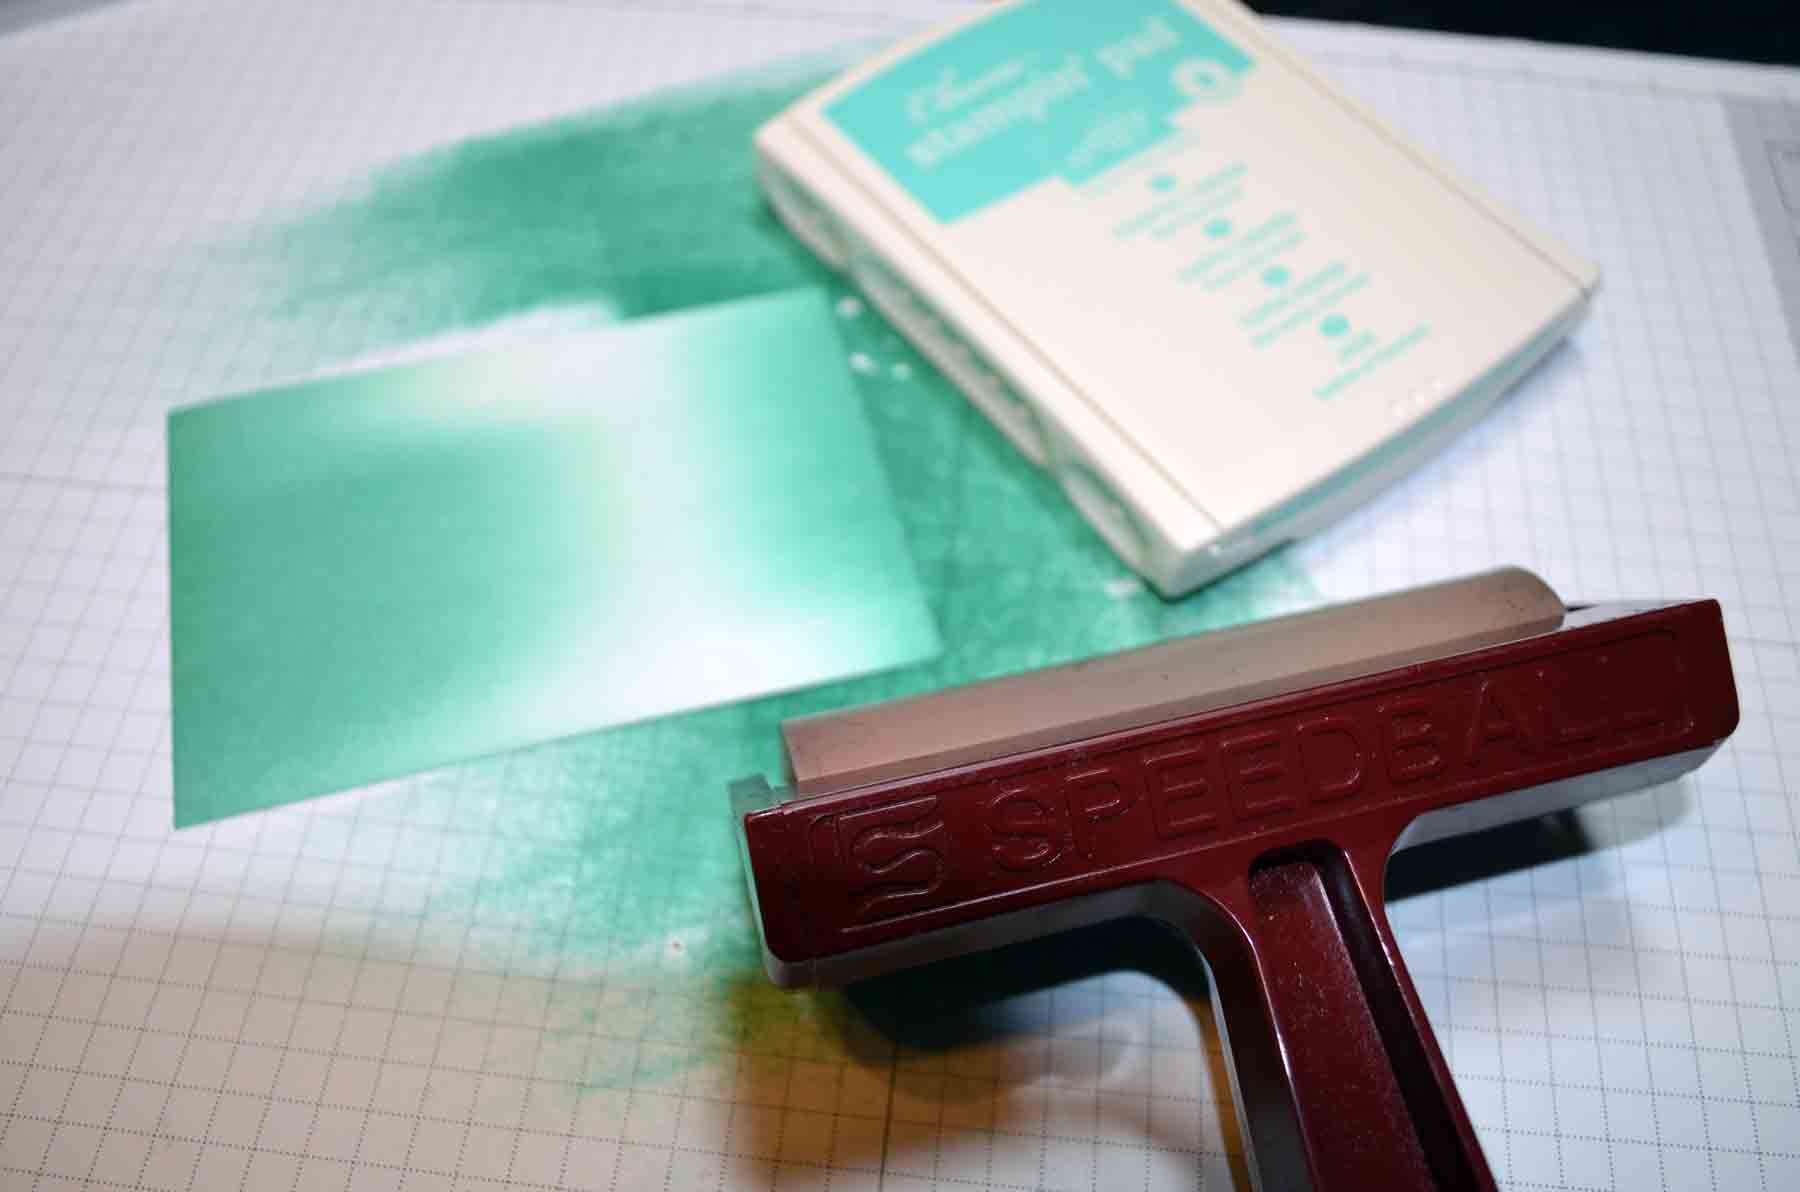
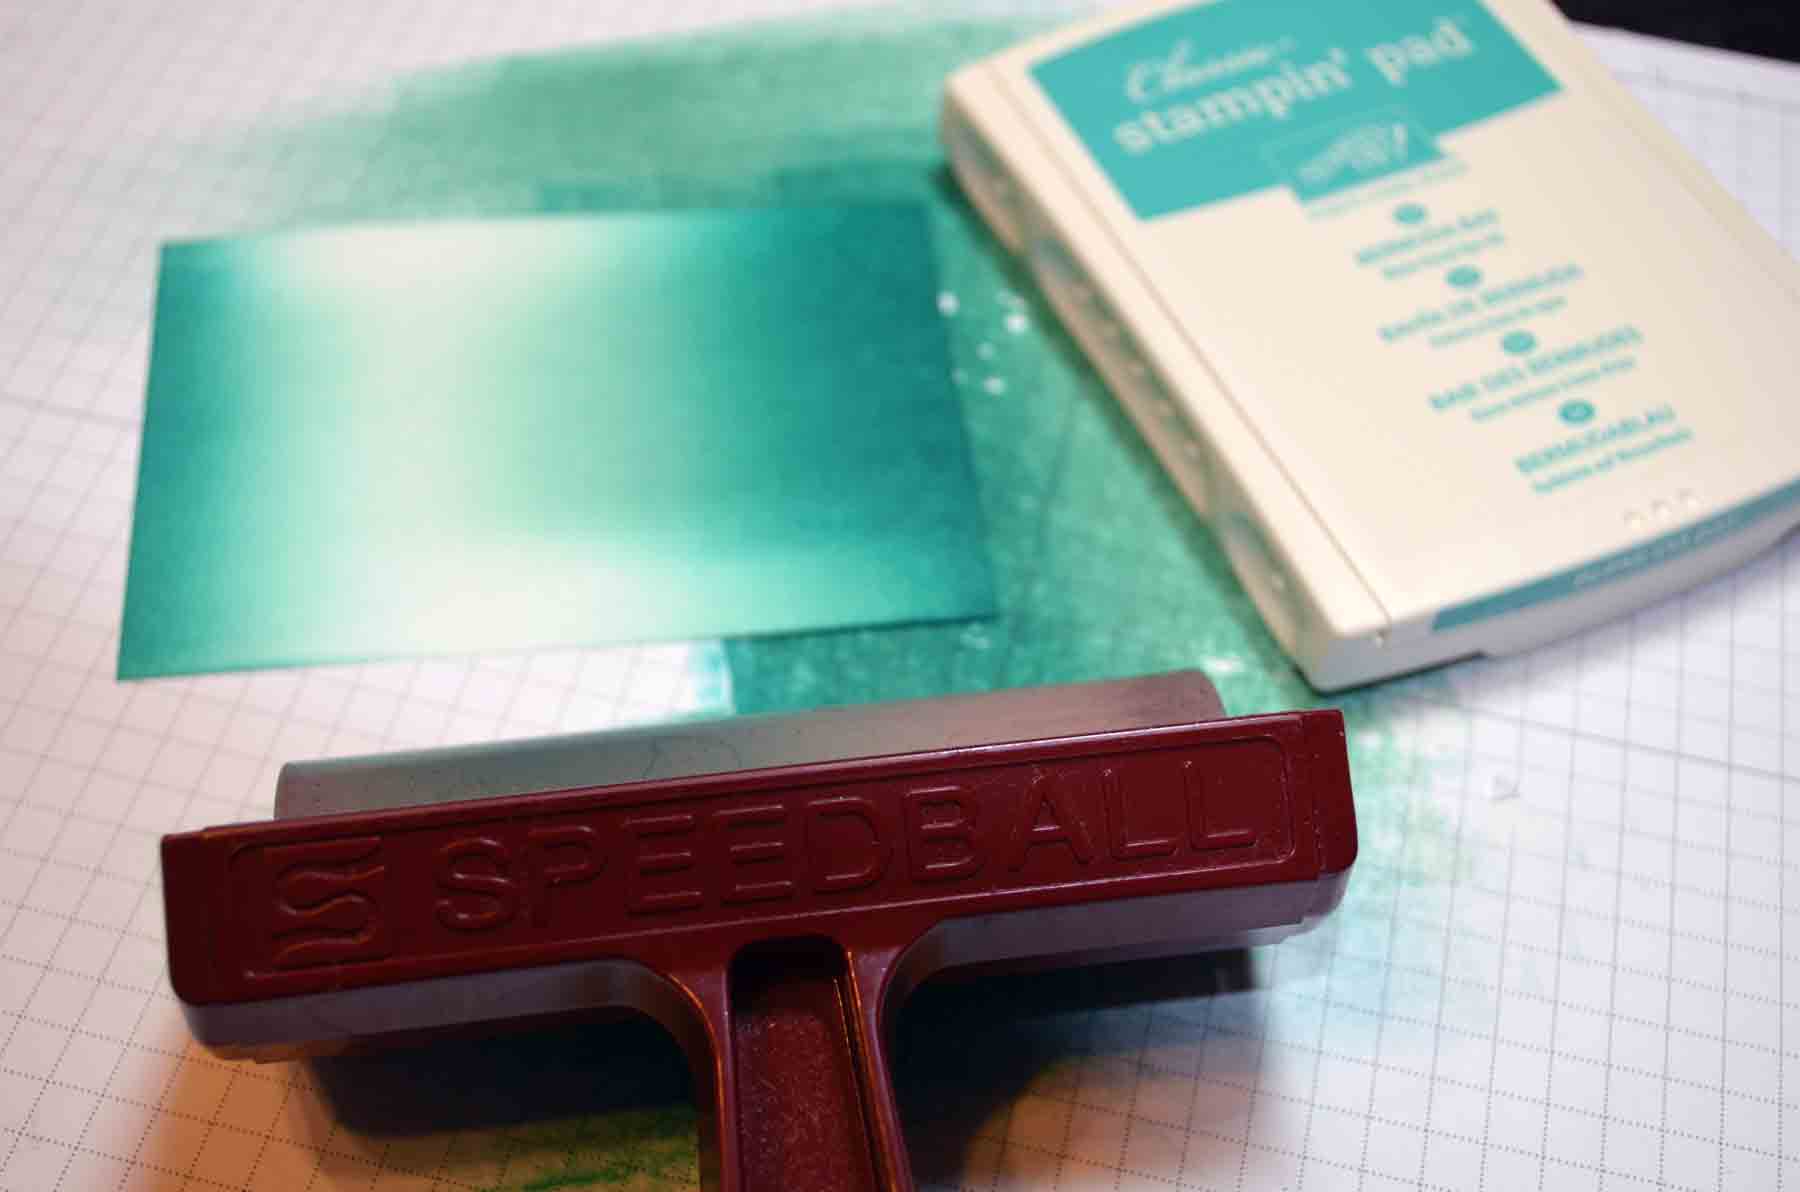
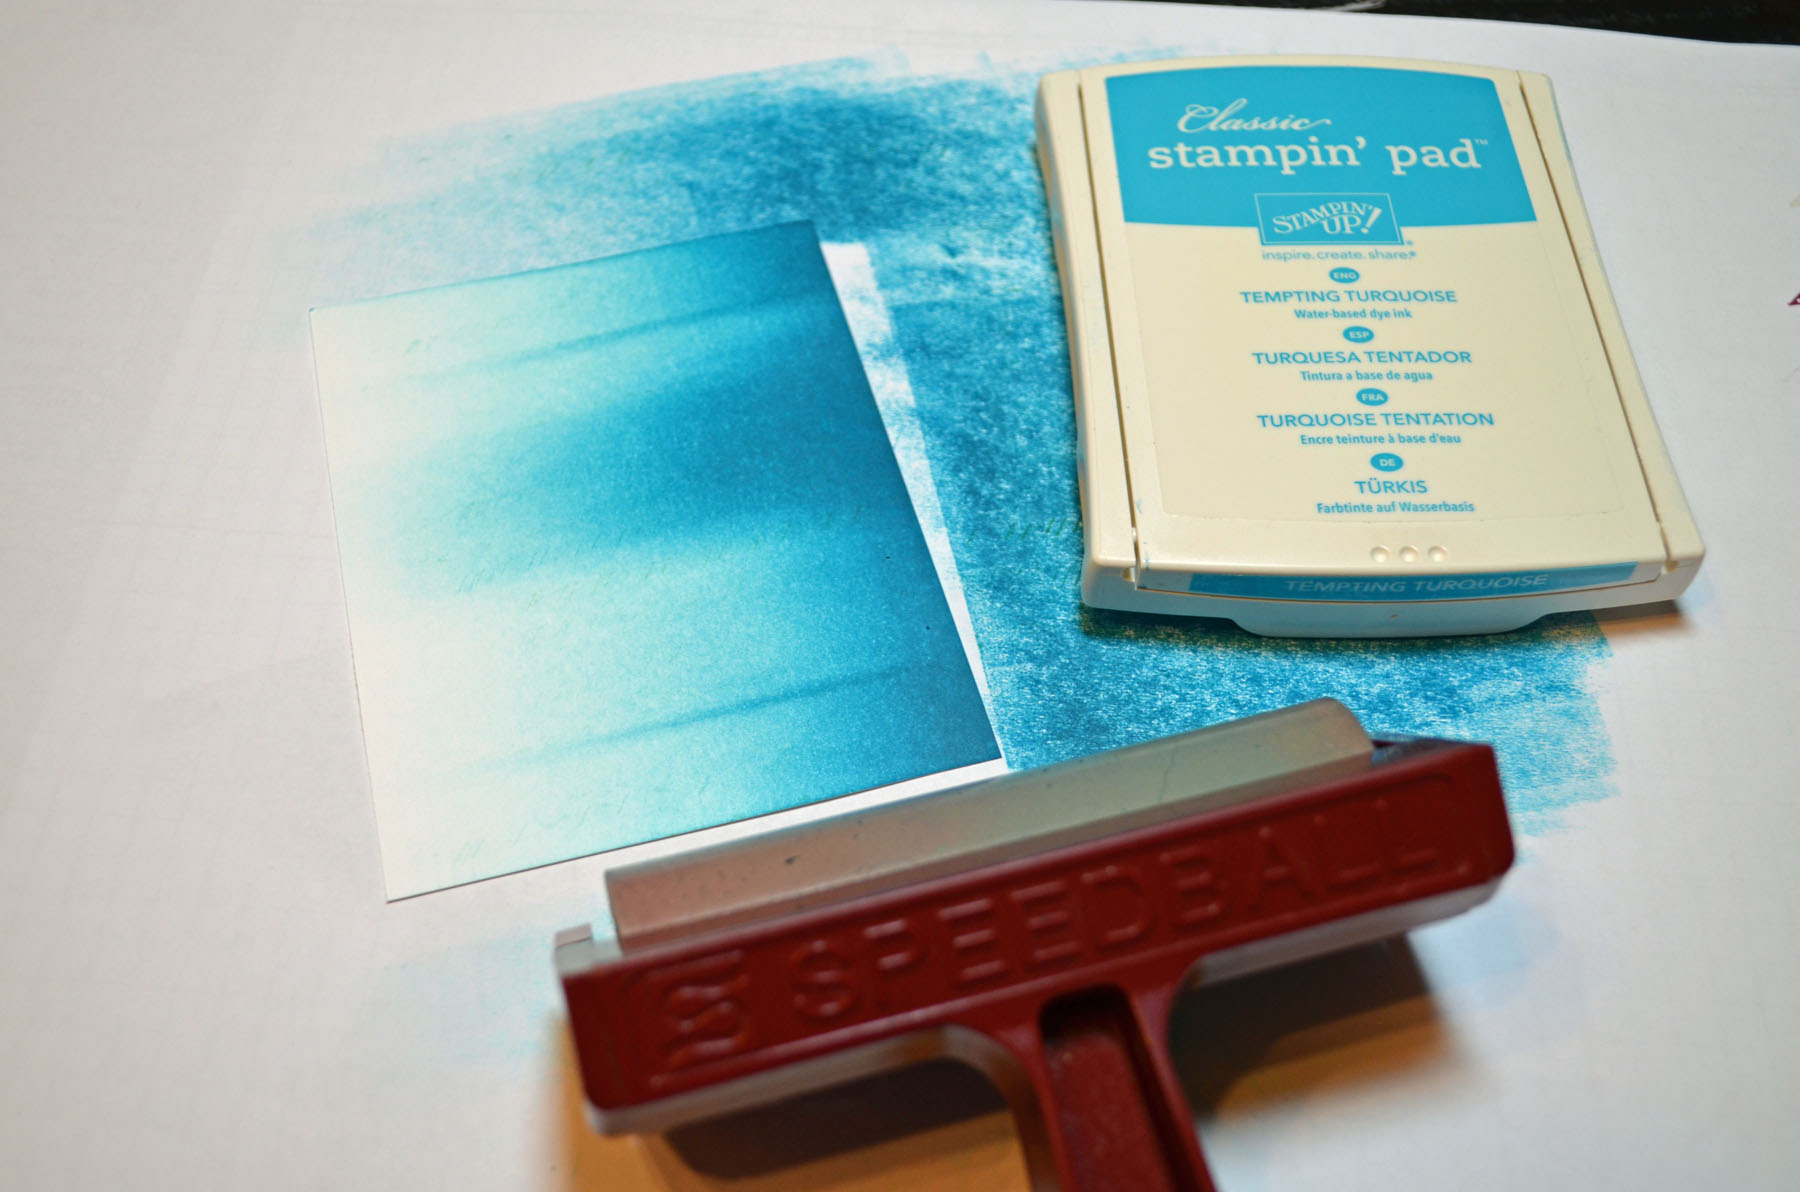
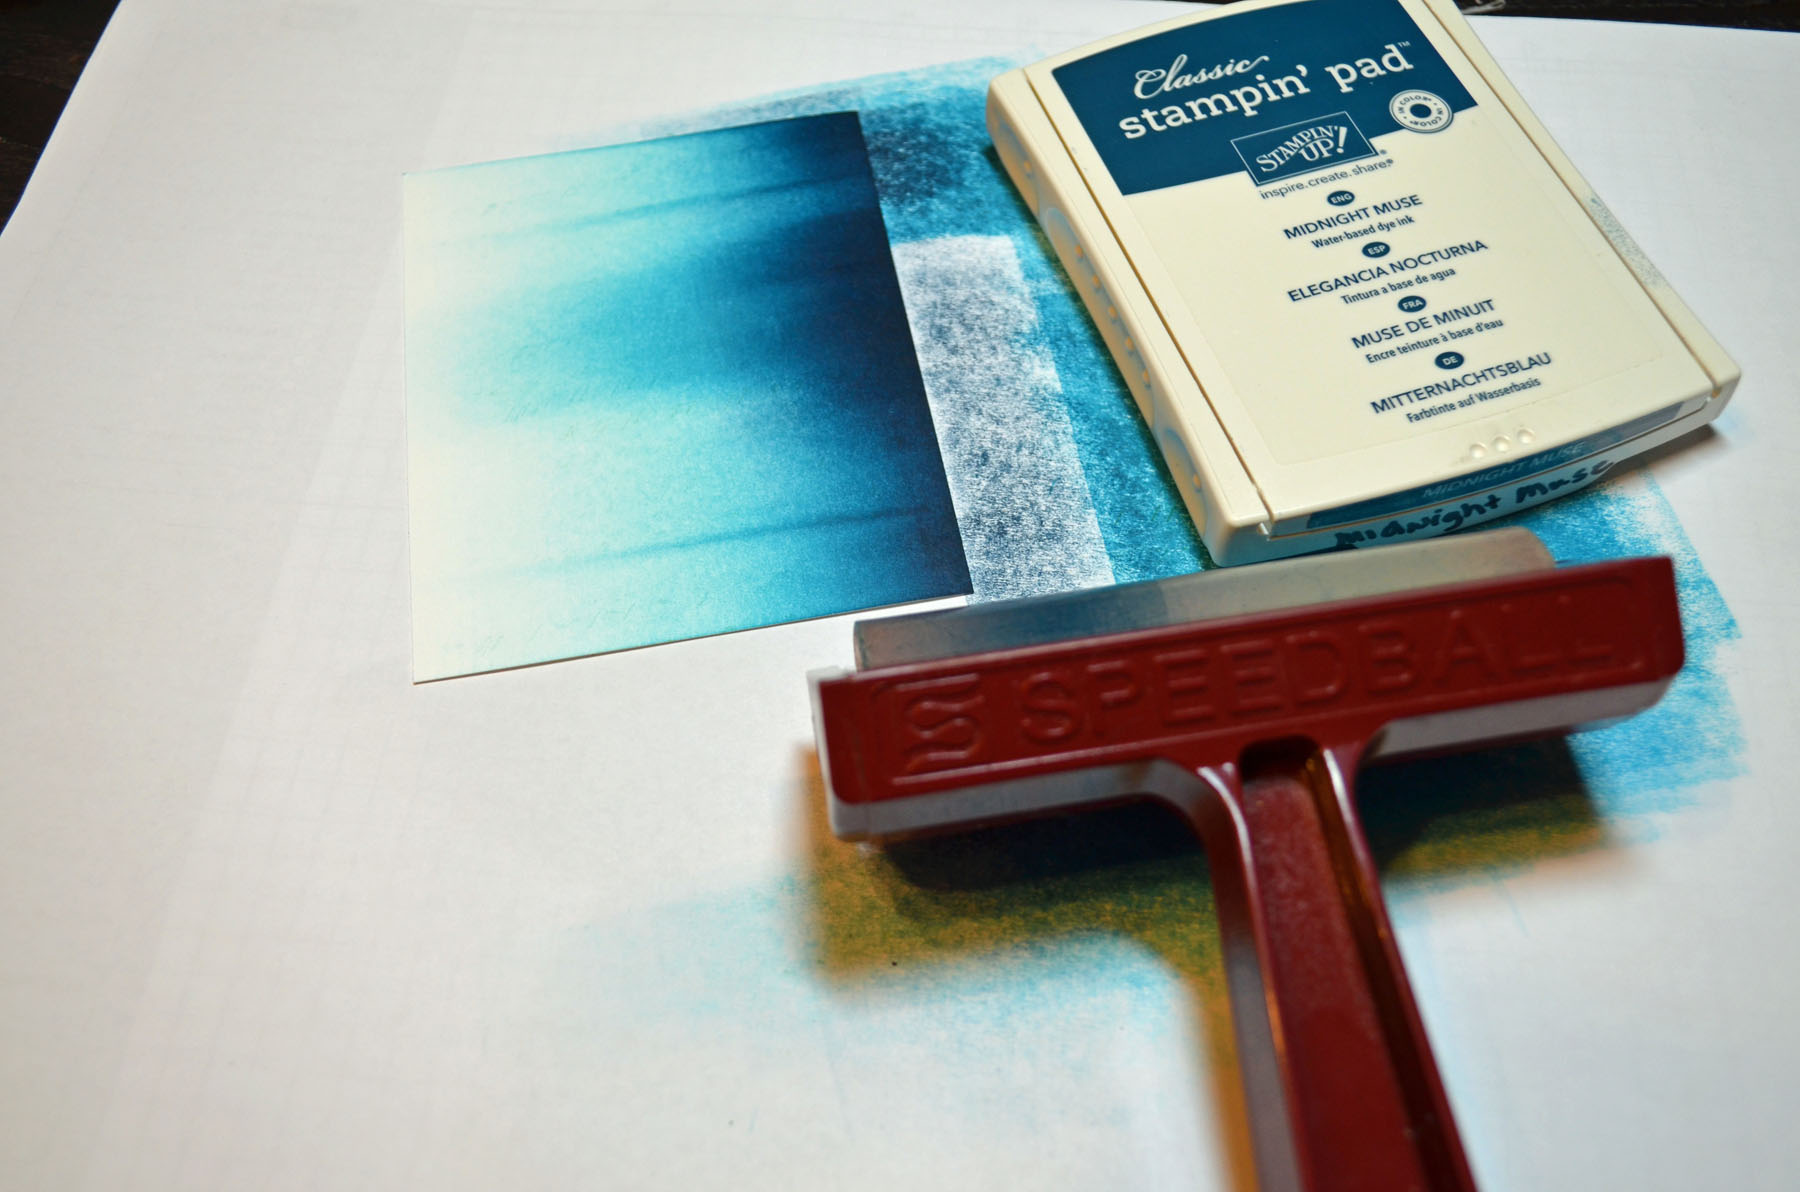
Brayered Tempting Turquoise ink on a 3.5″ x 4.5″ piece of Whisper White card stock.

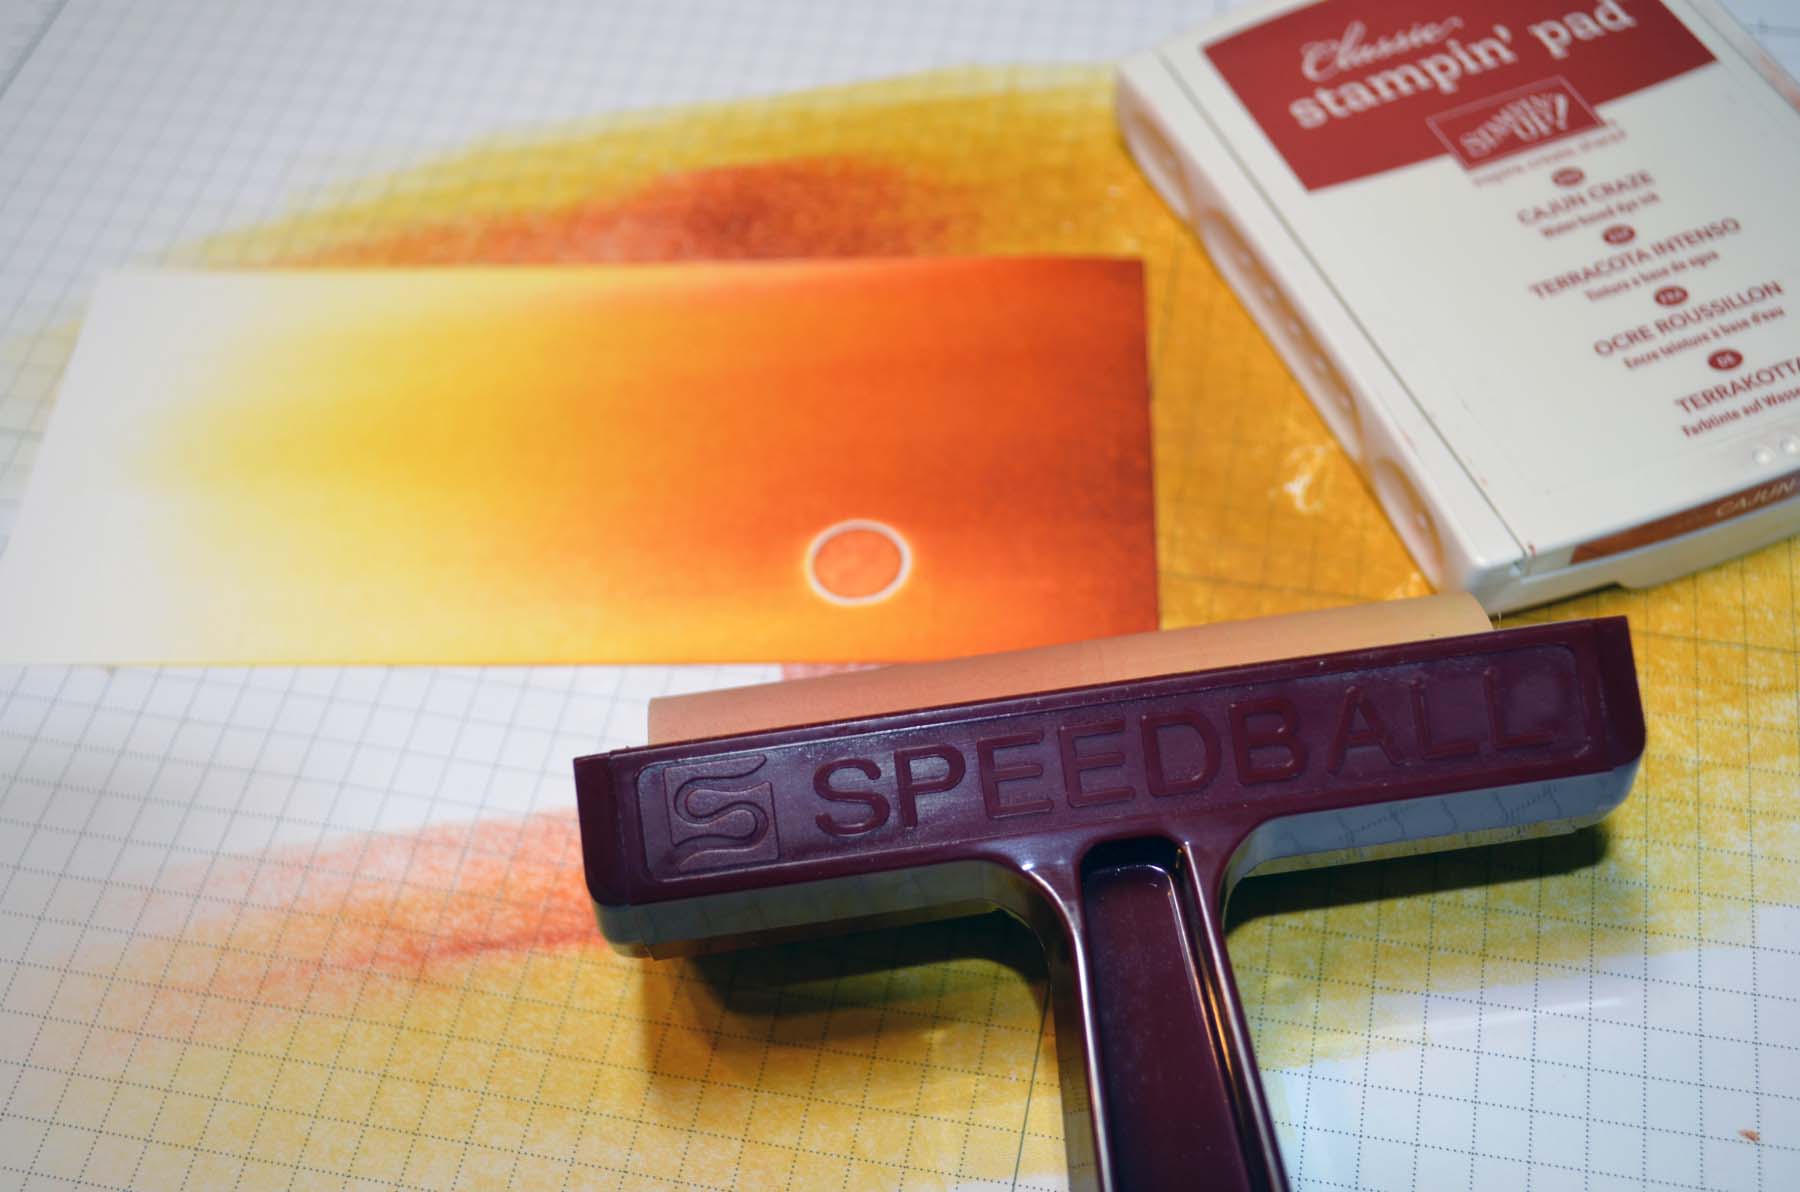
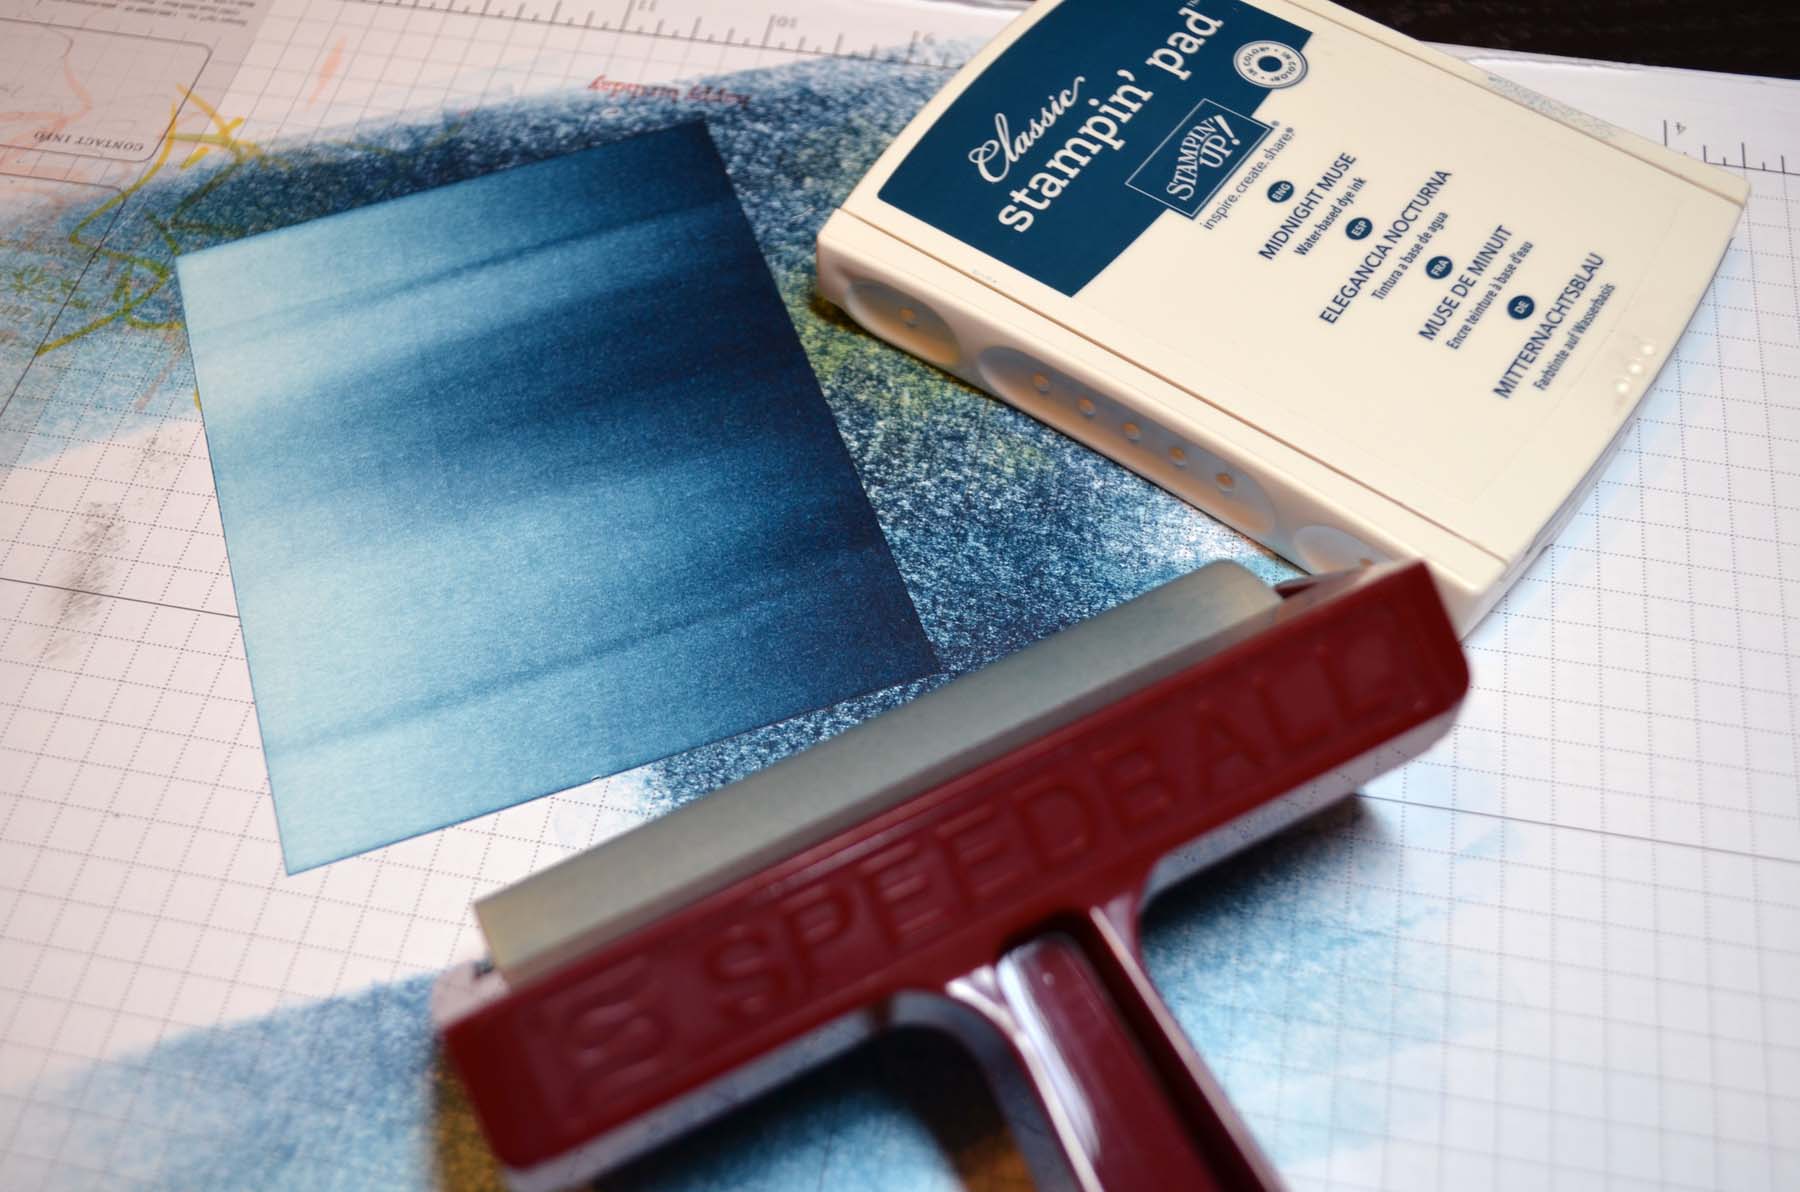
Brayered Midnight Muse ink on the card stock, not covering the Tempting Turquoise ink entirely.

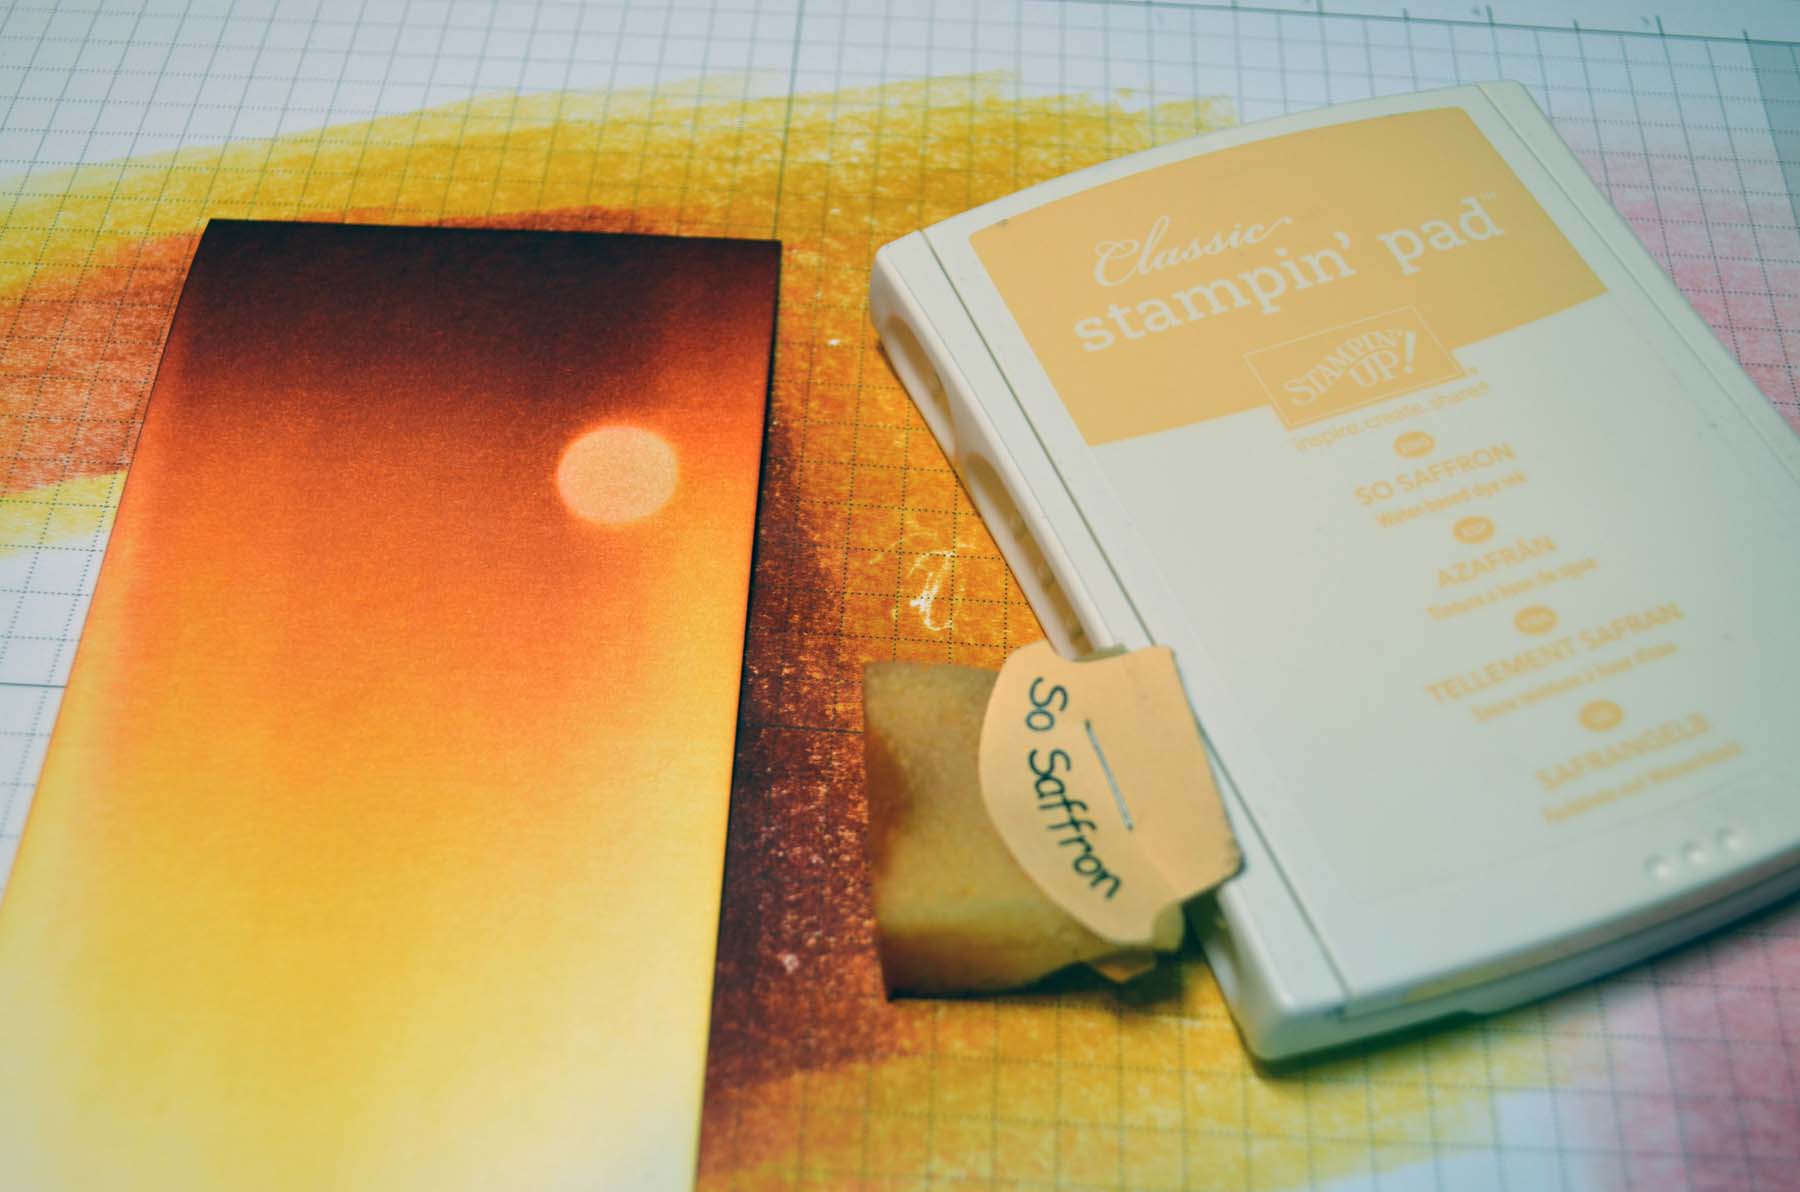
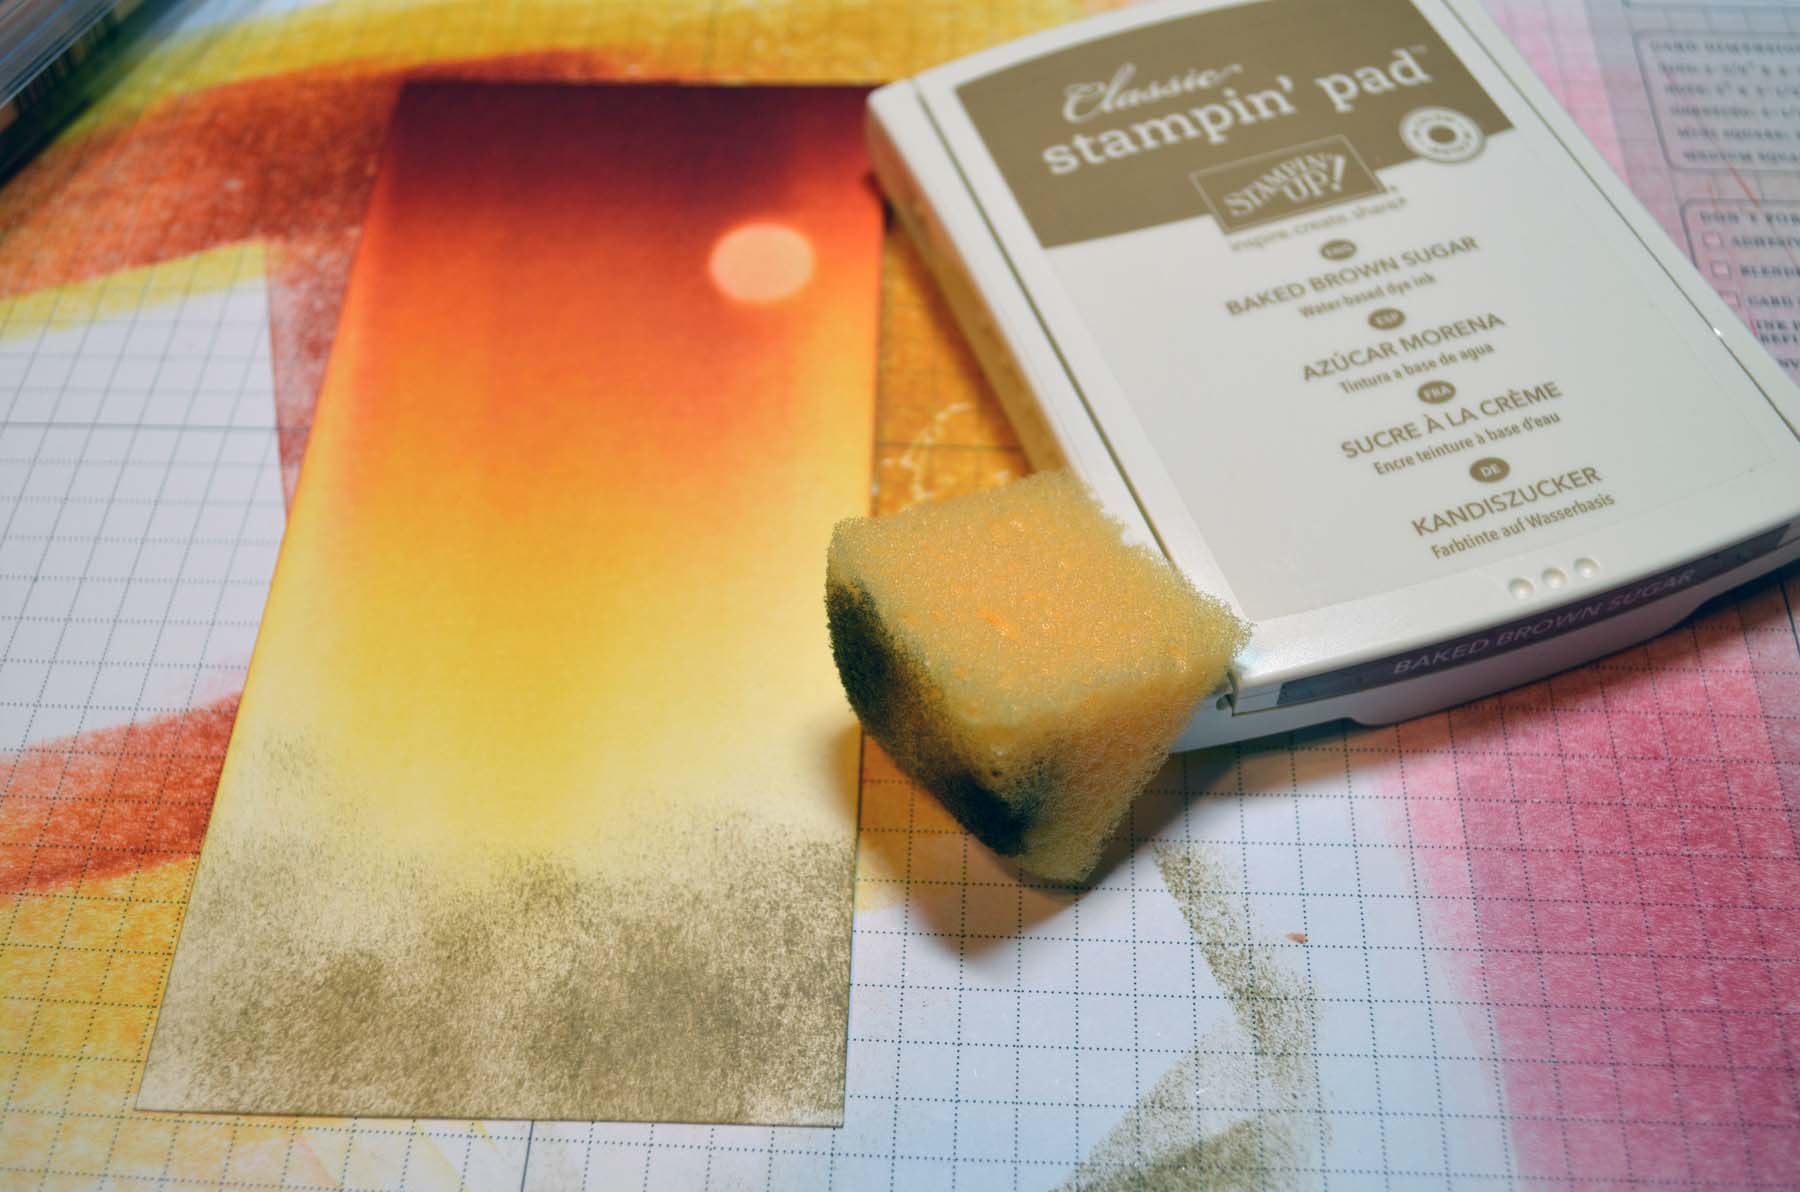
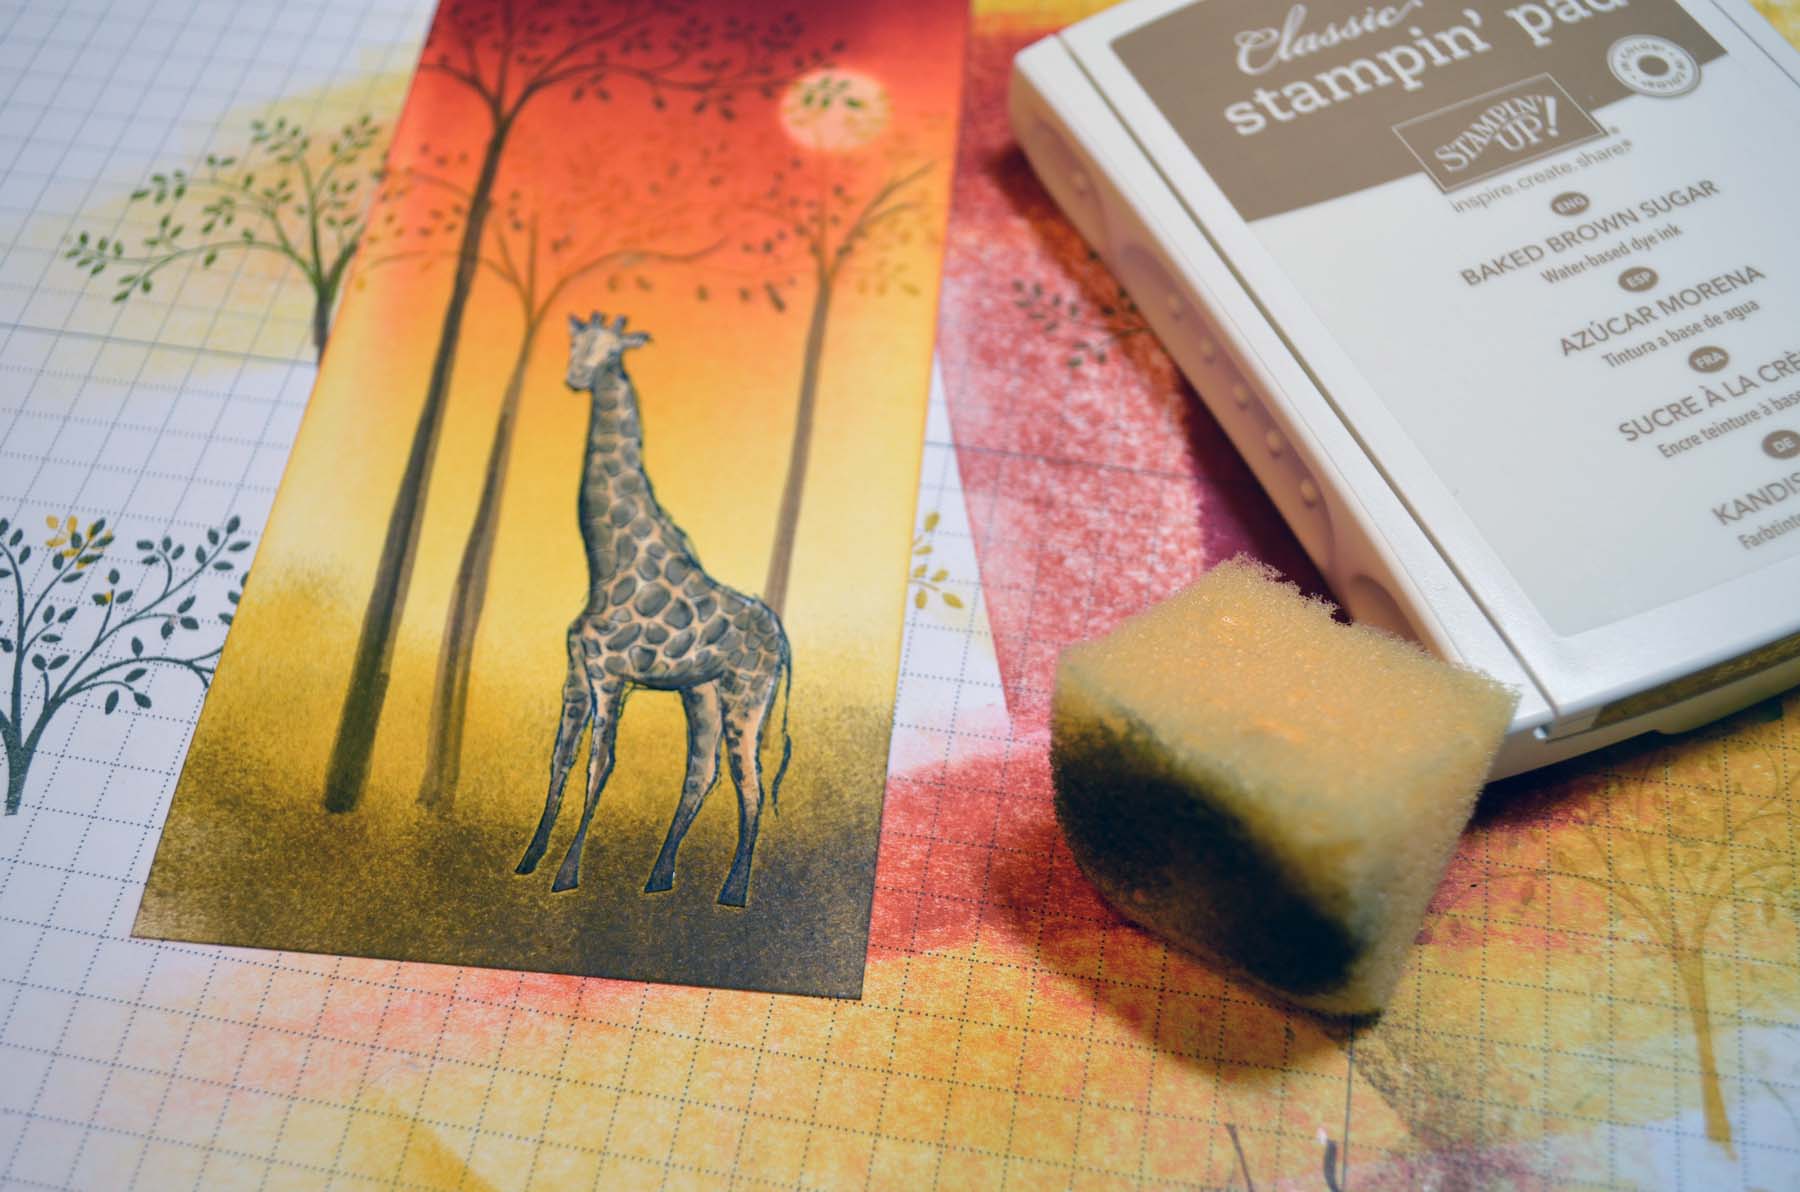
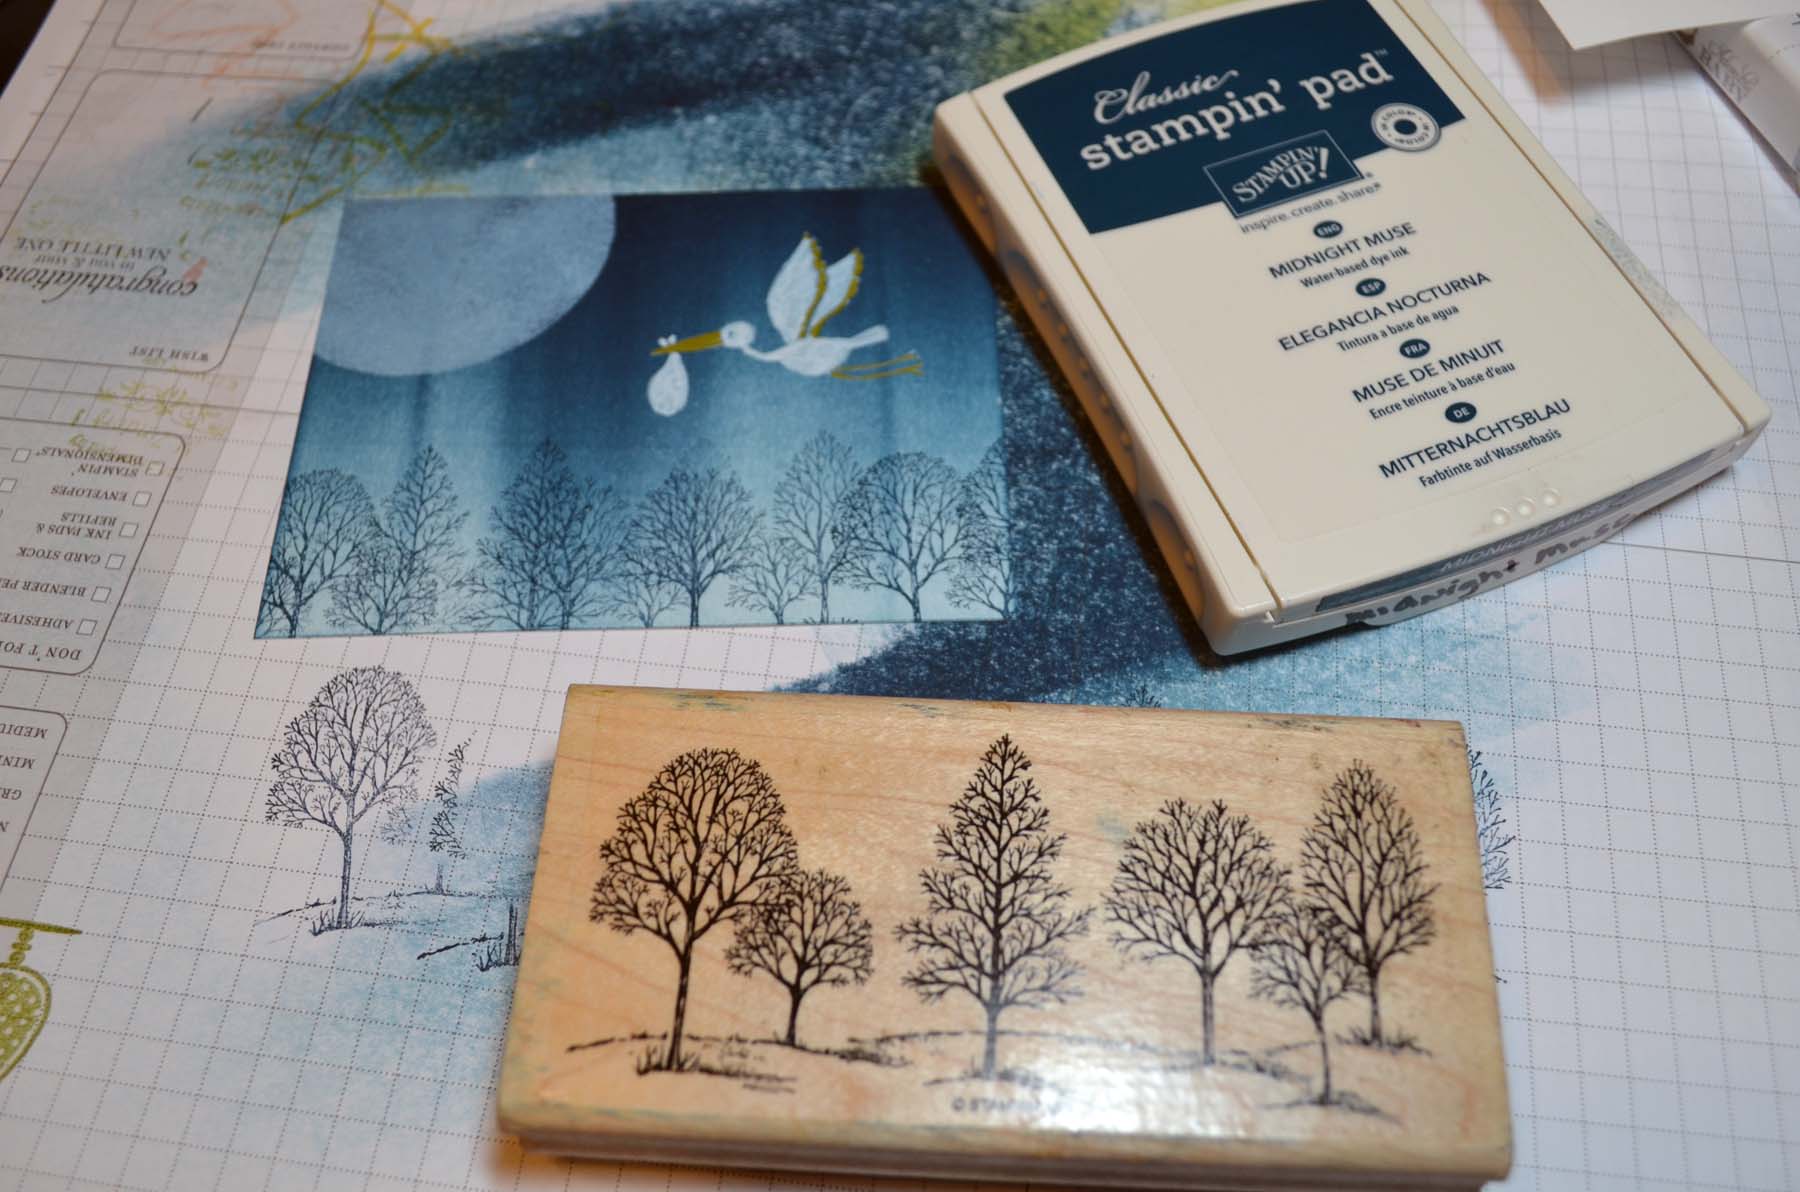
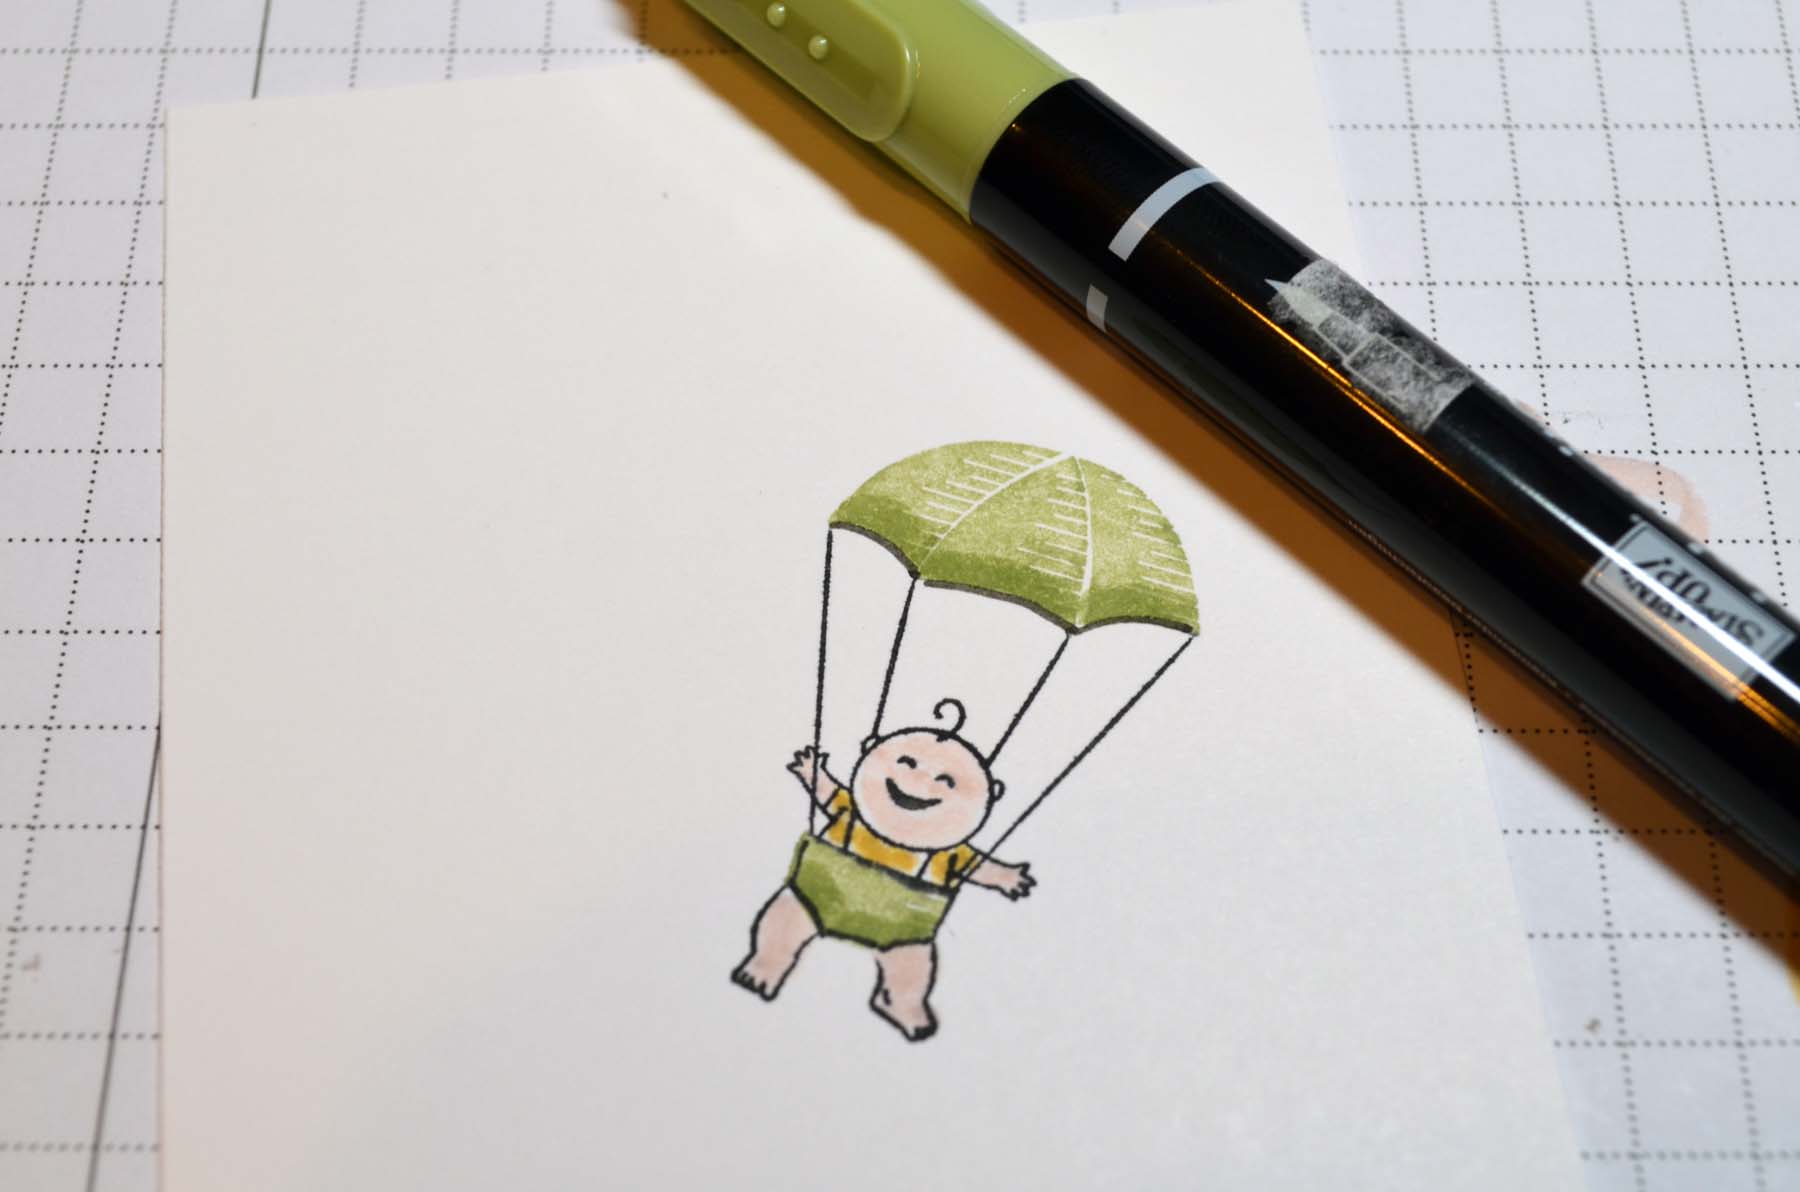
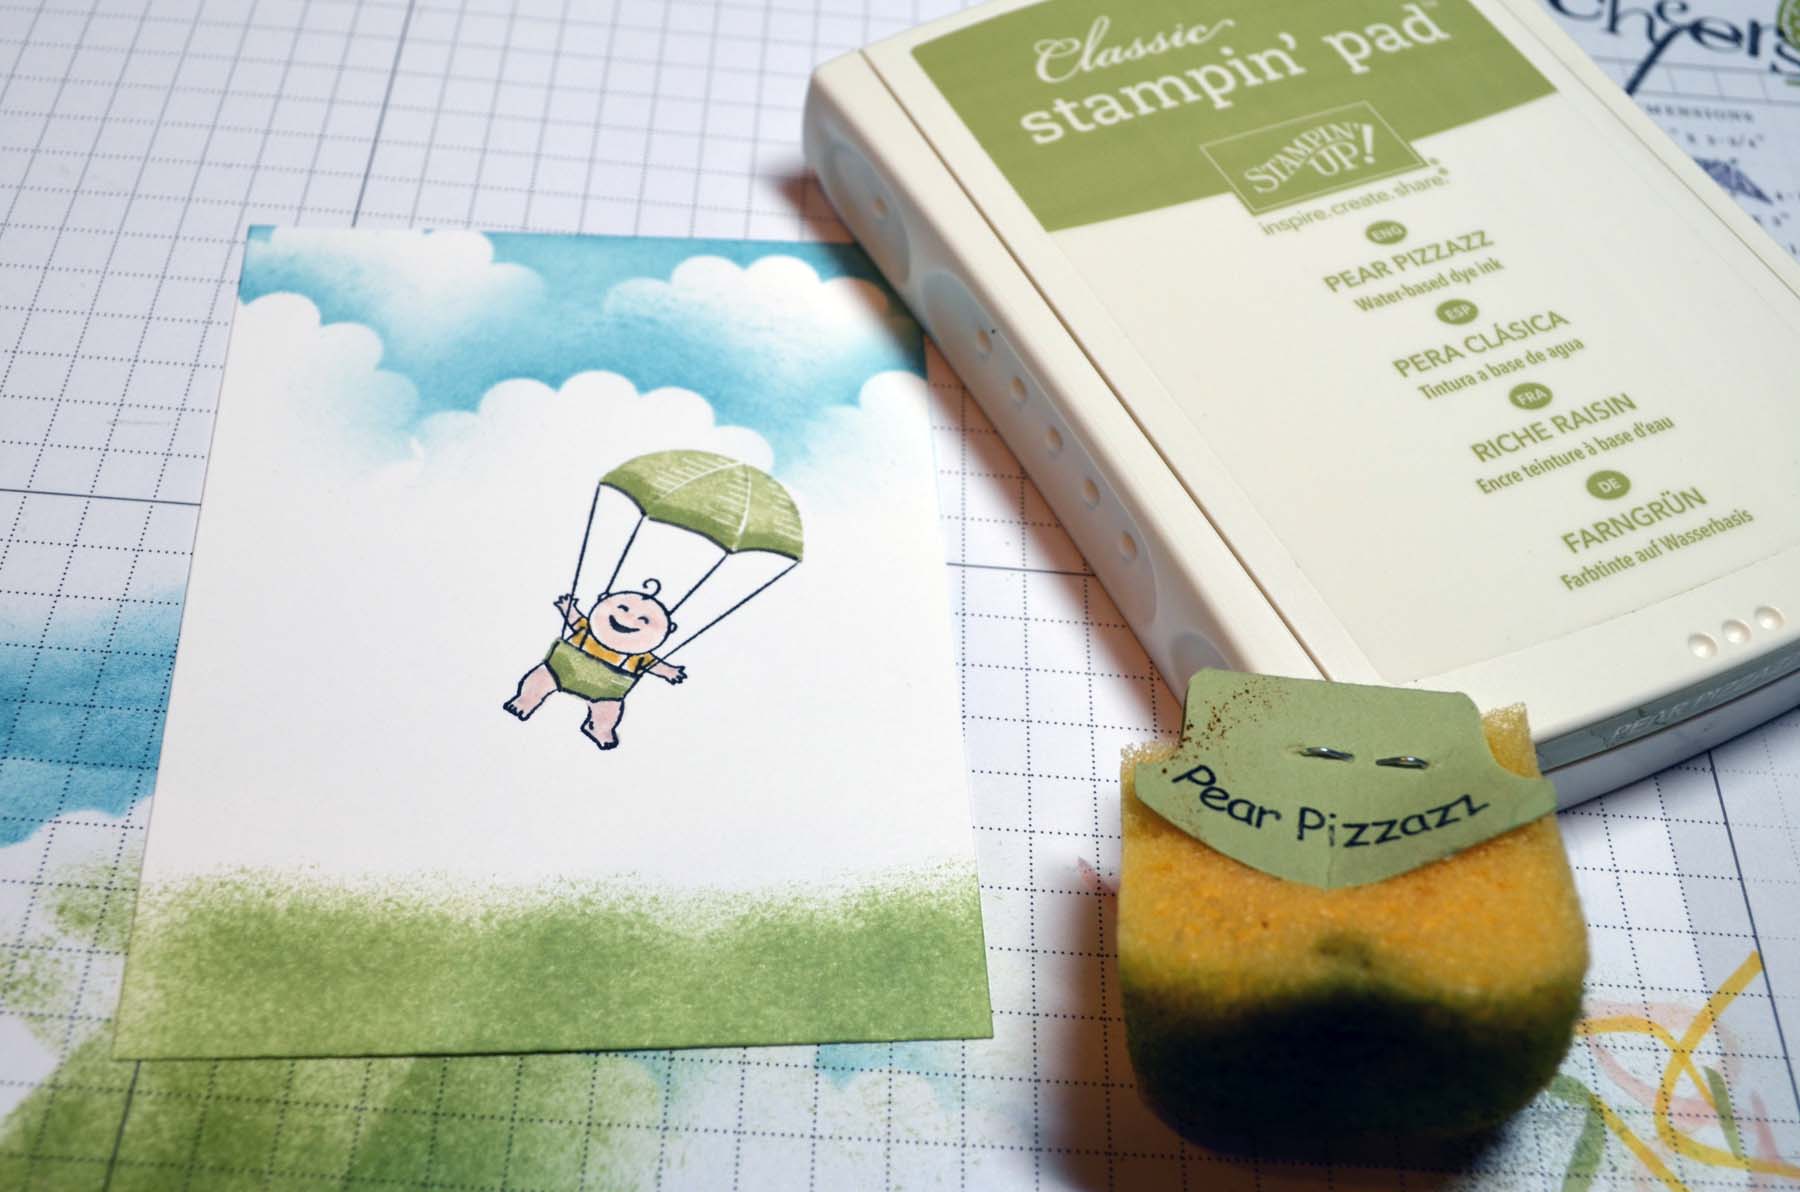
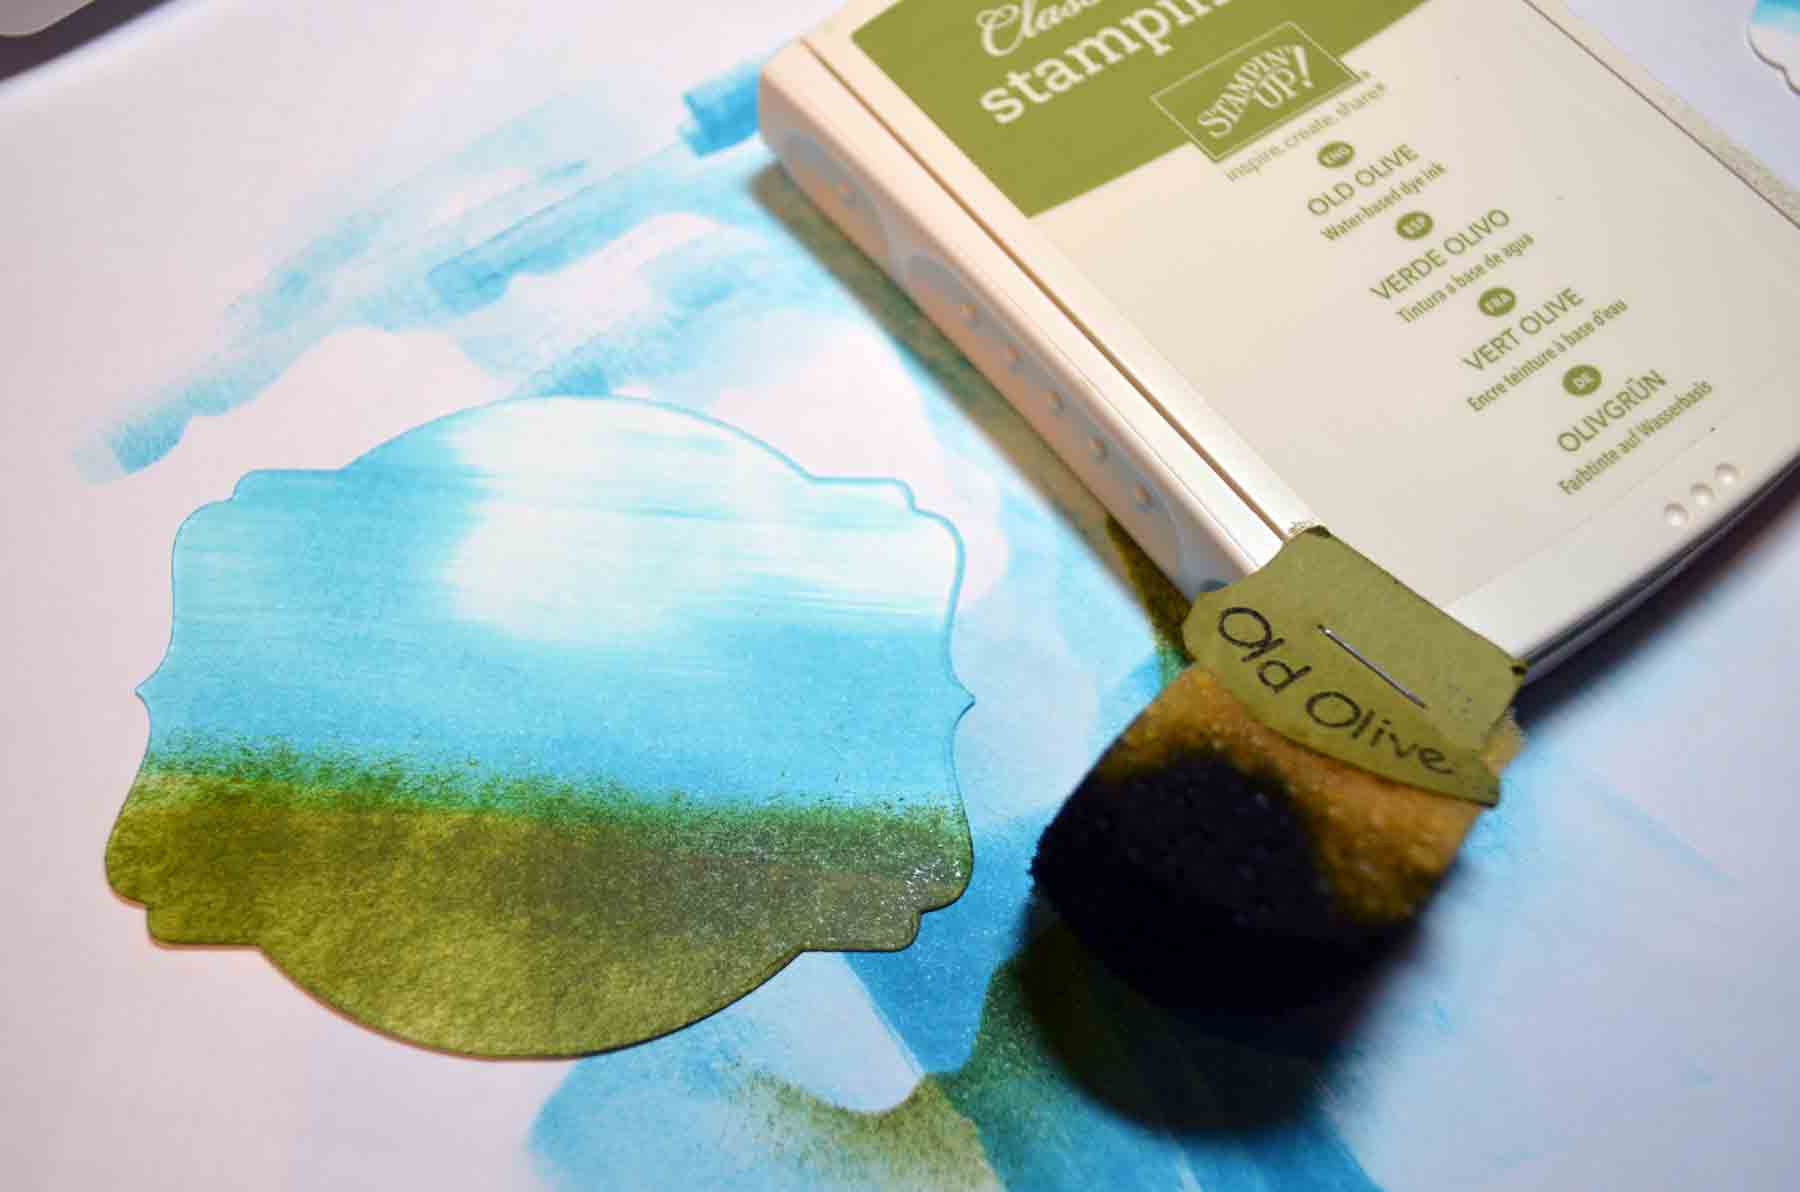
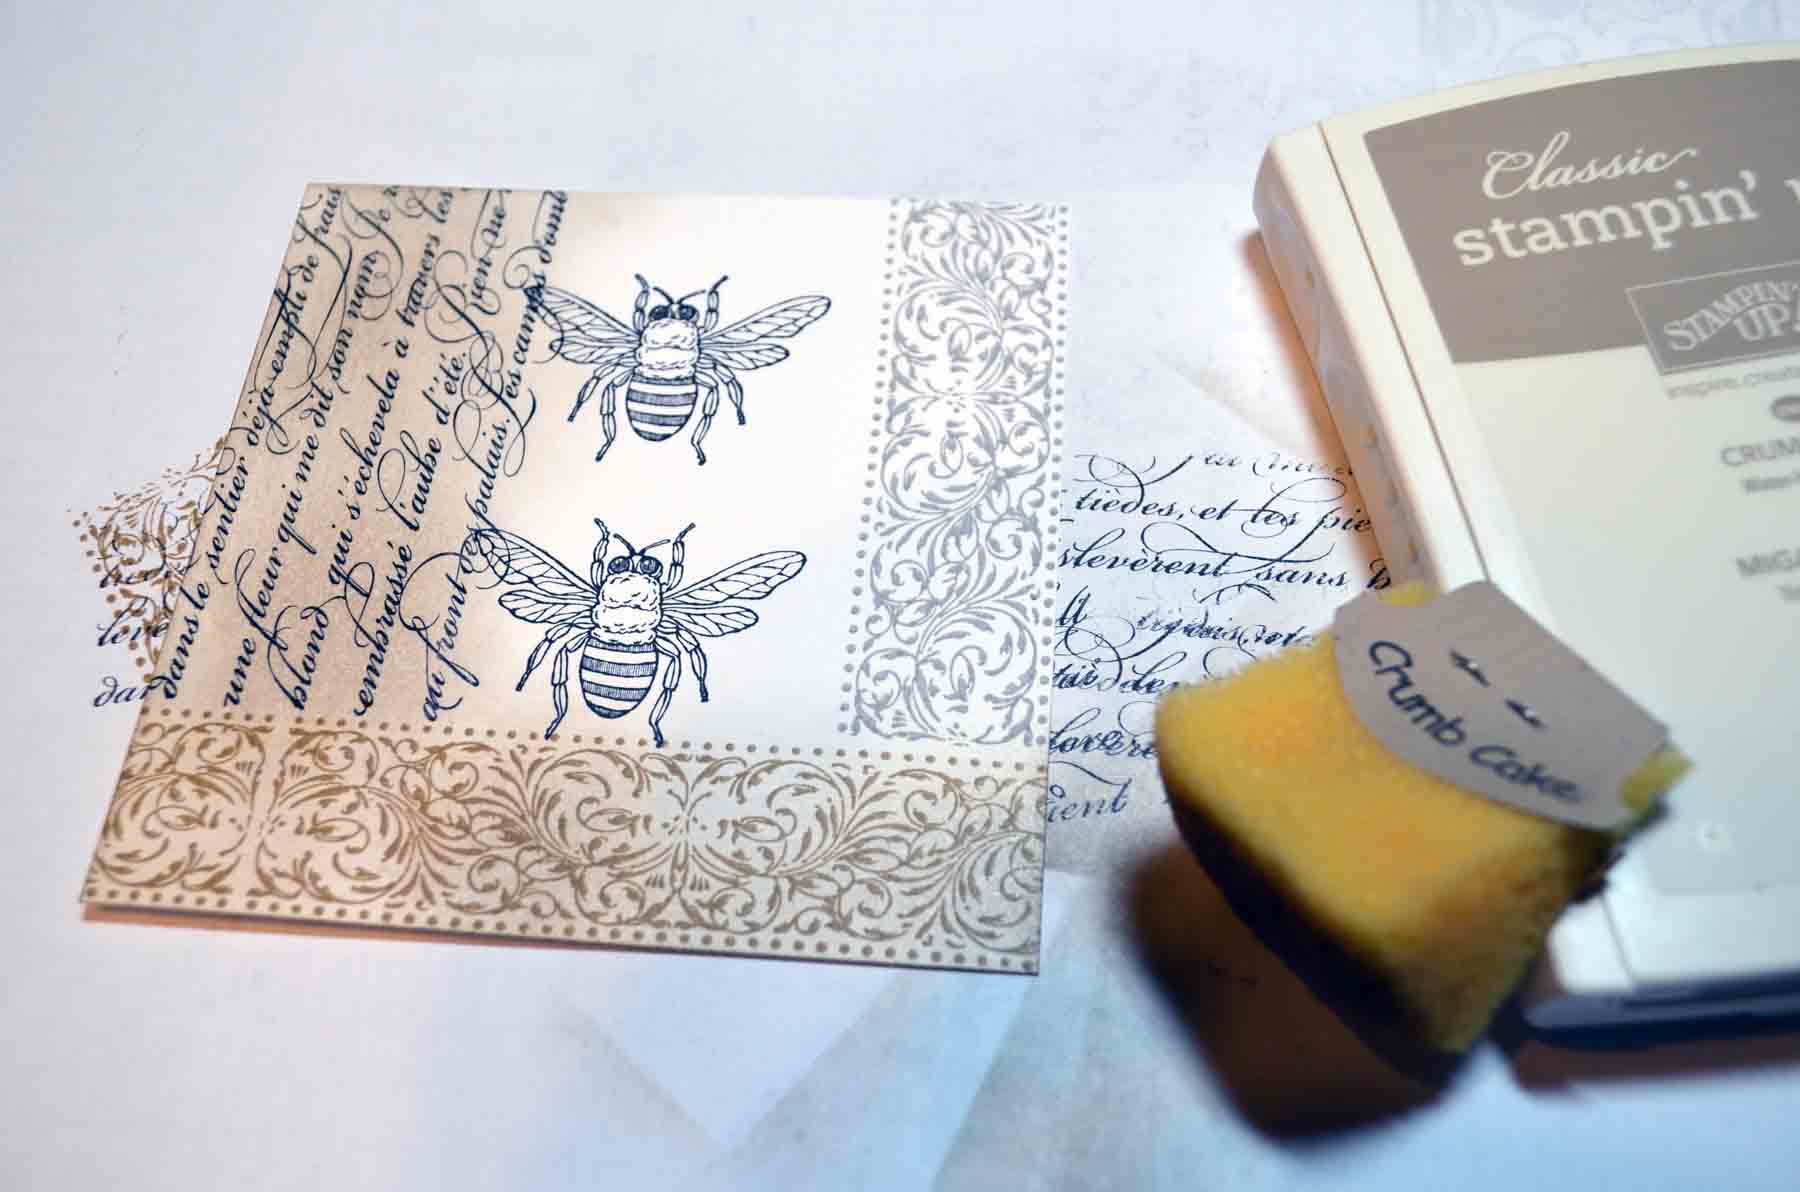
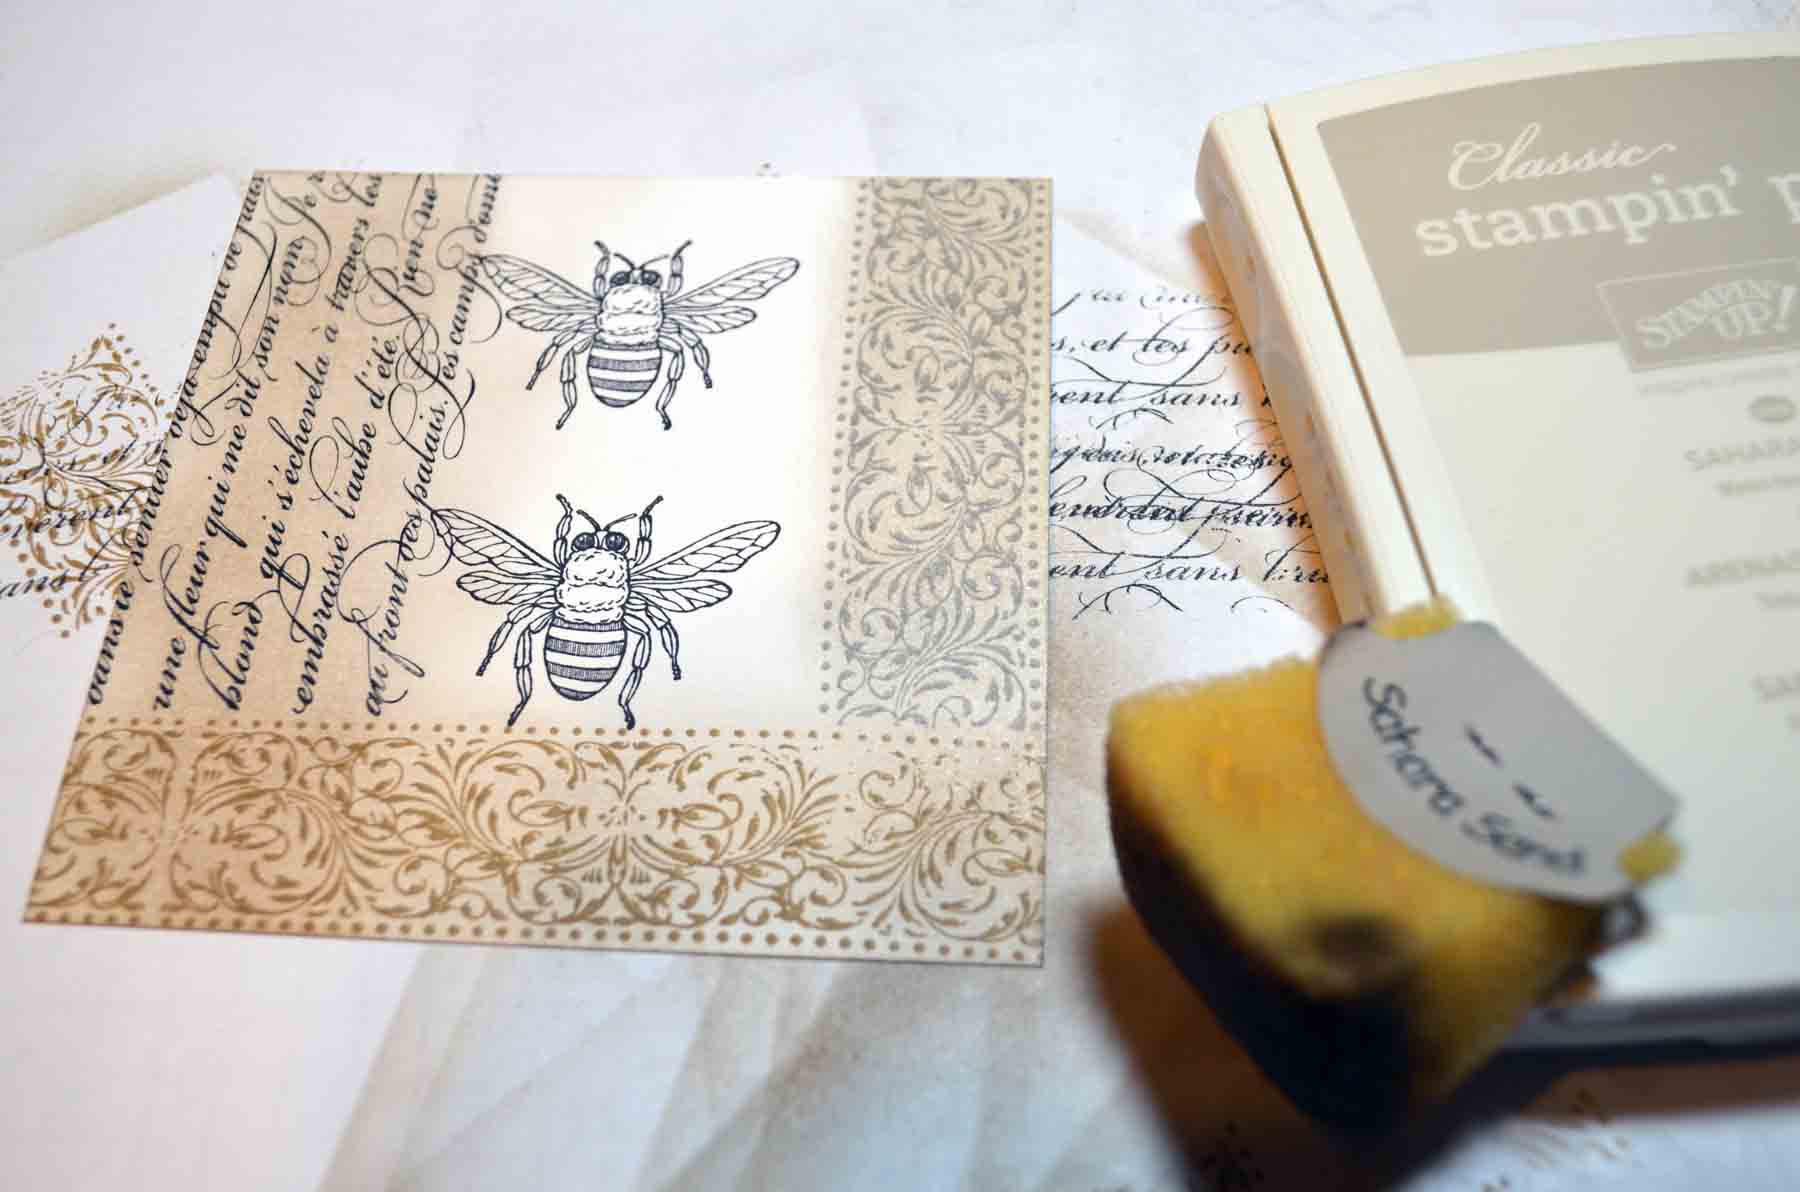
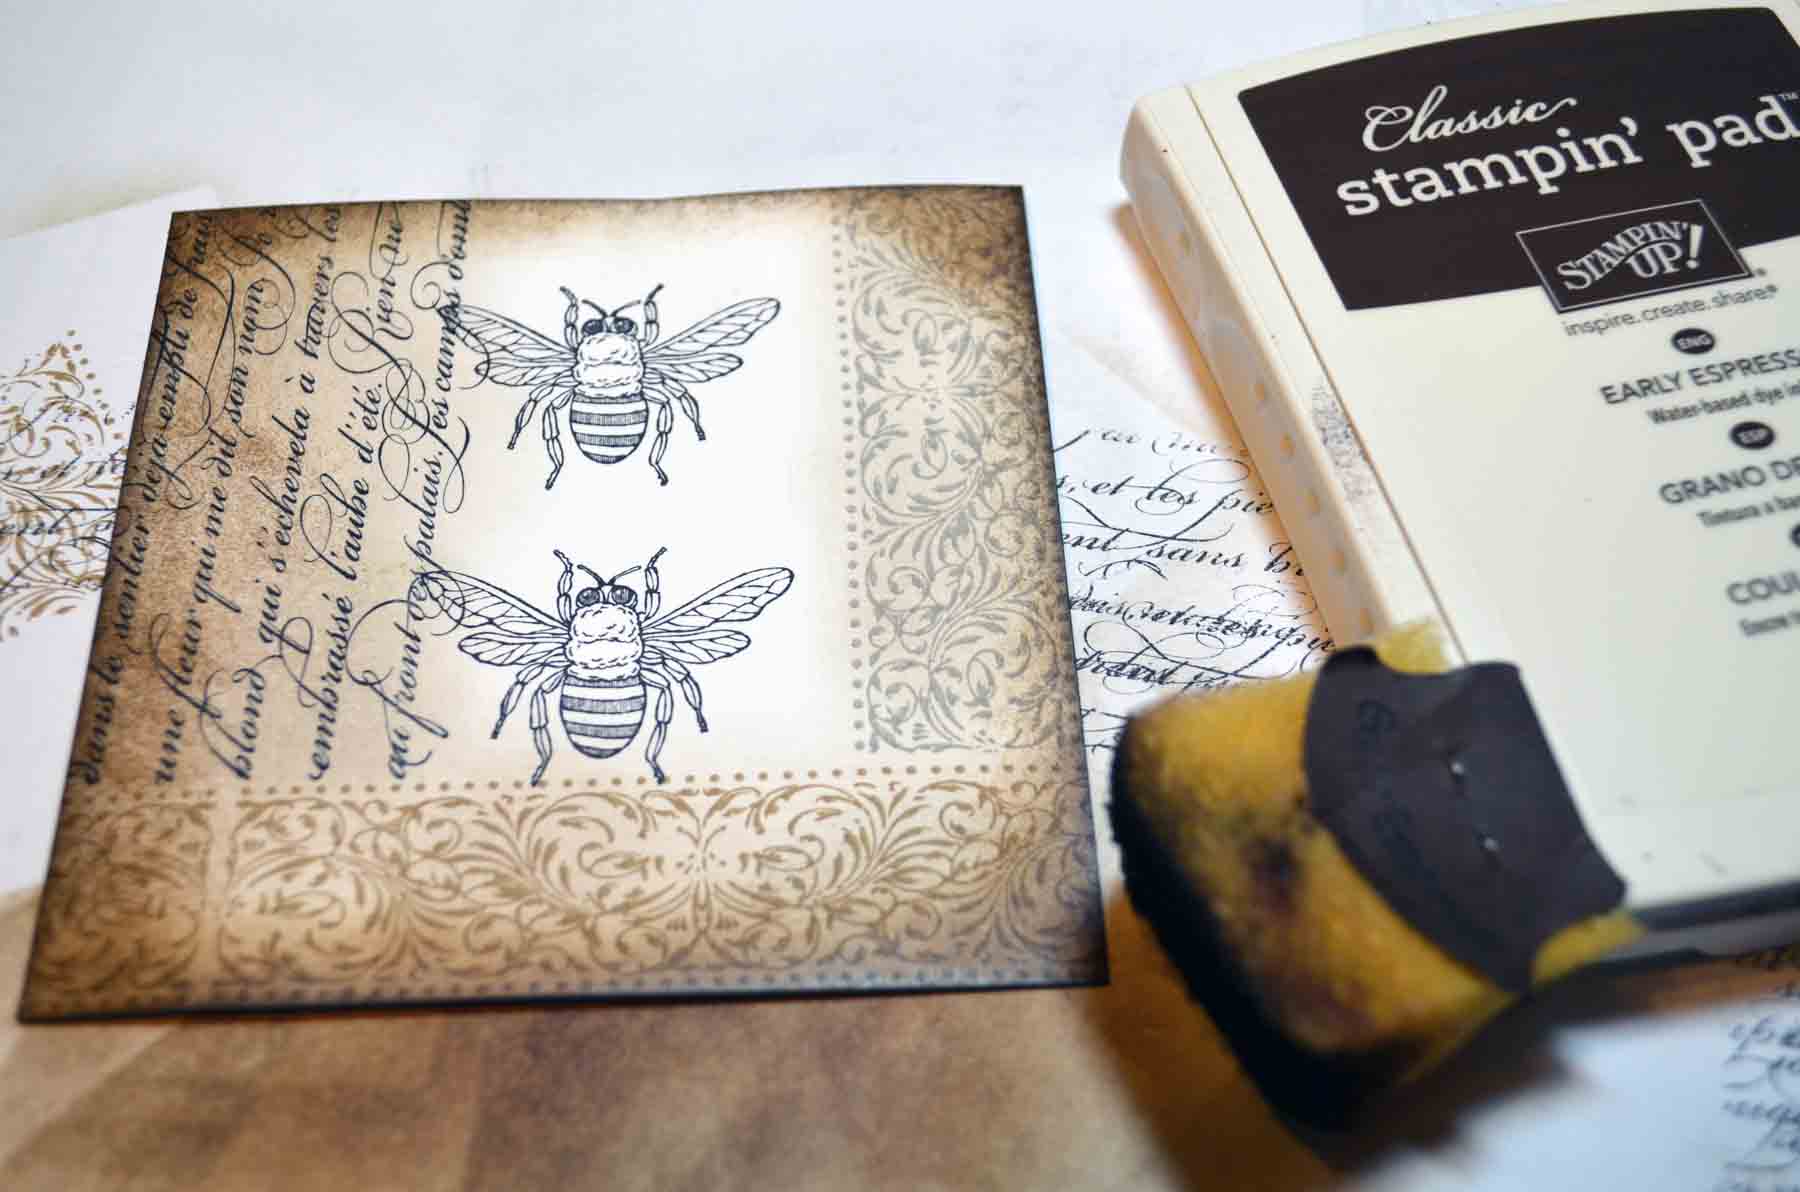
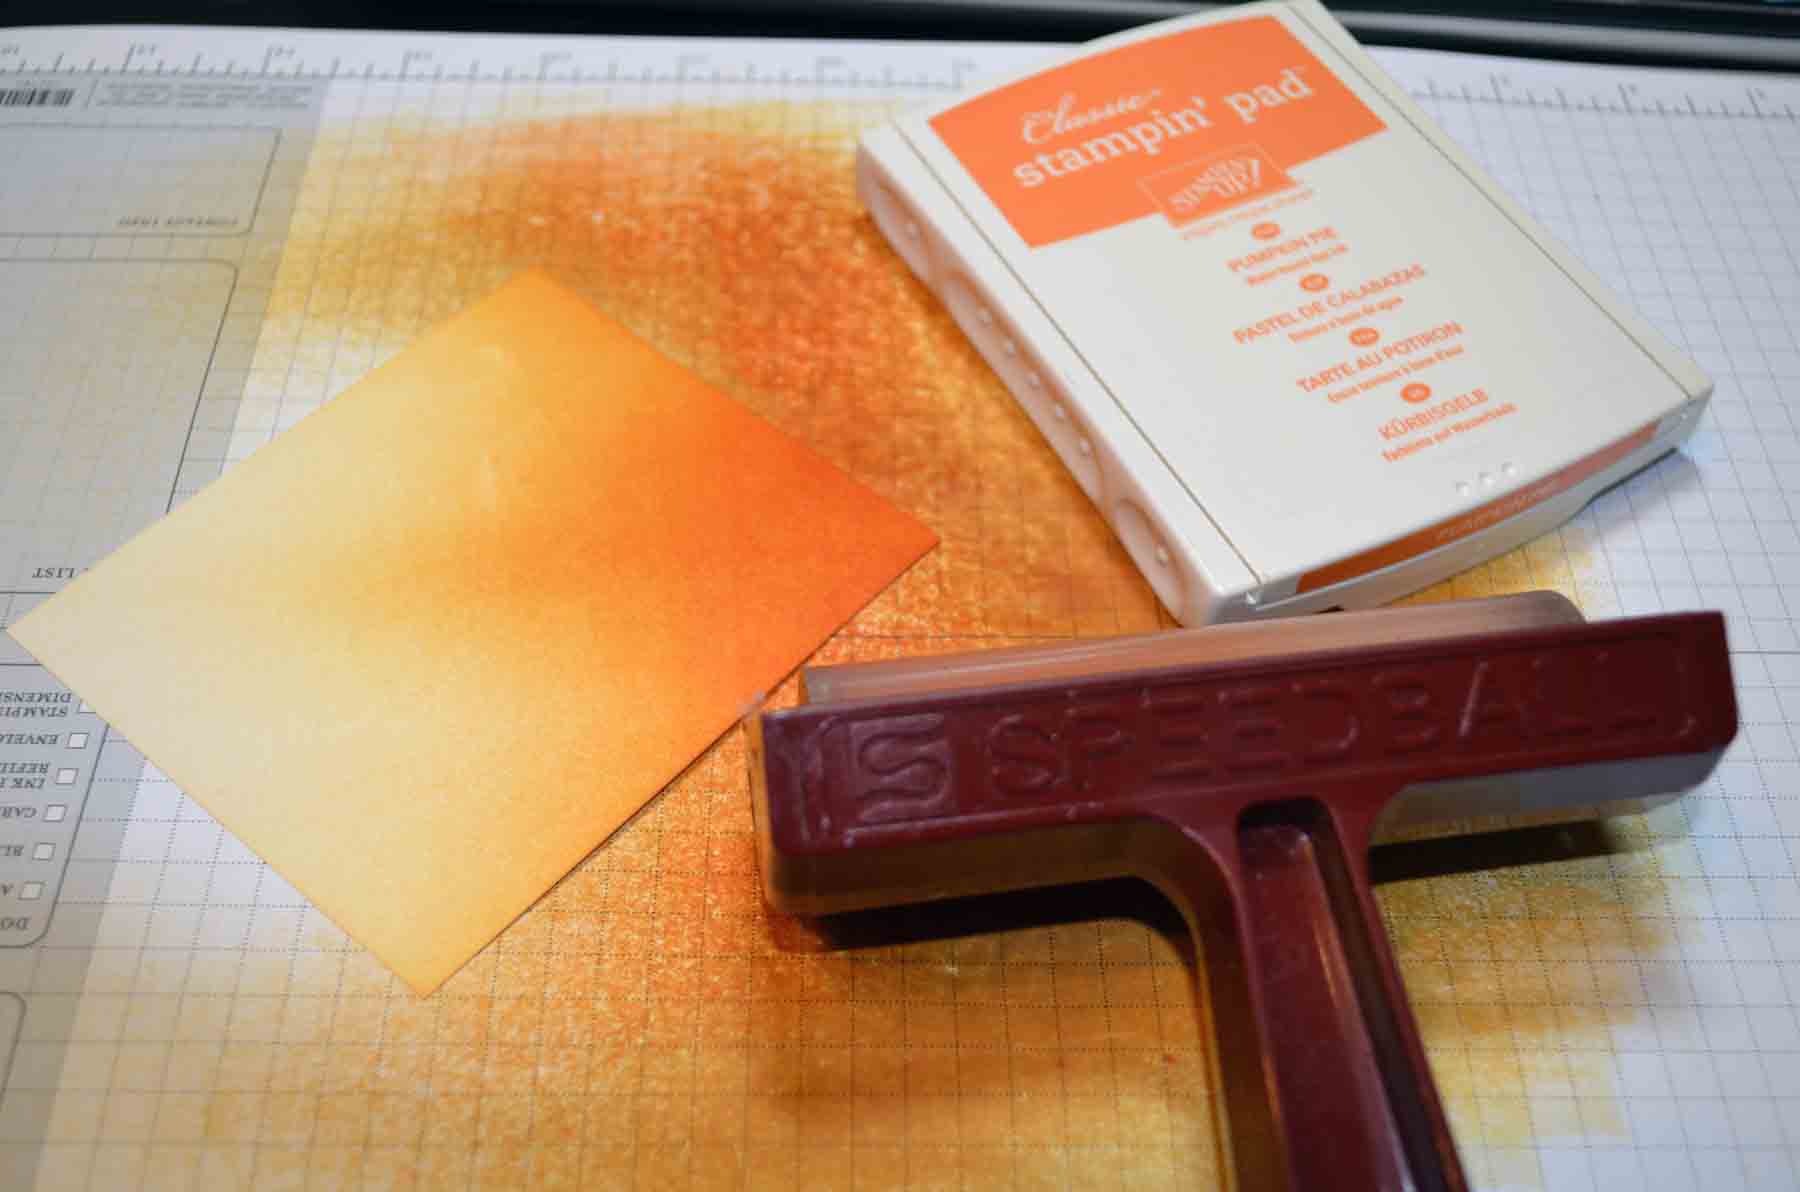
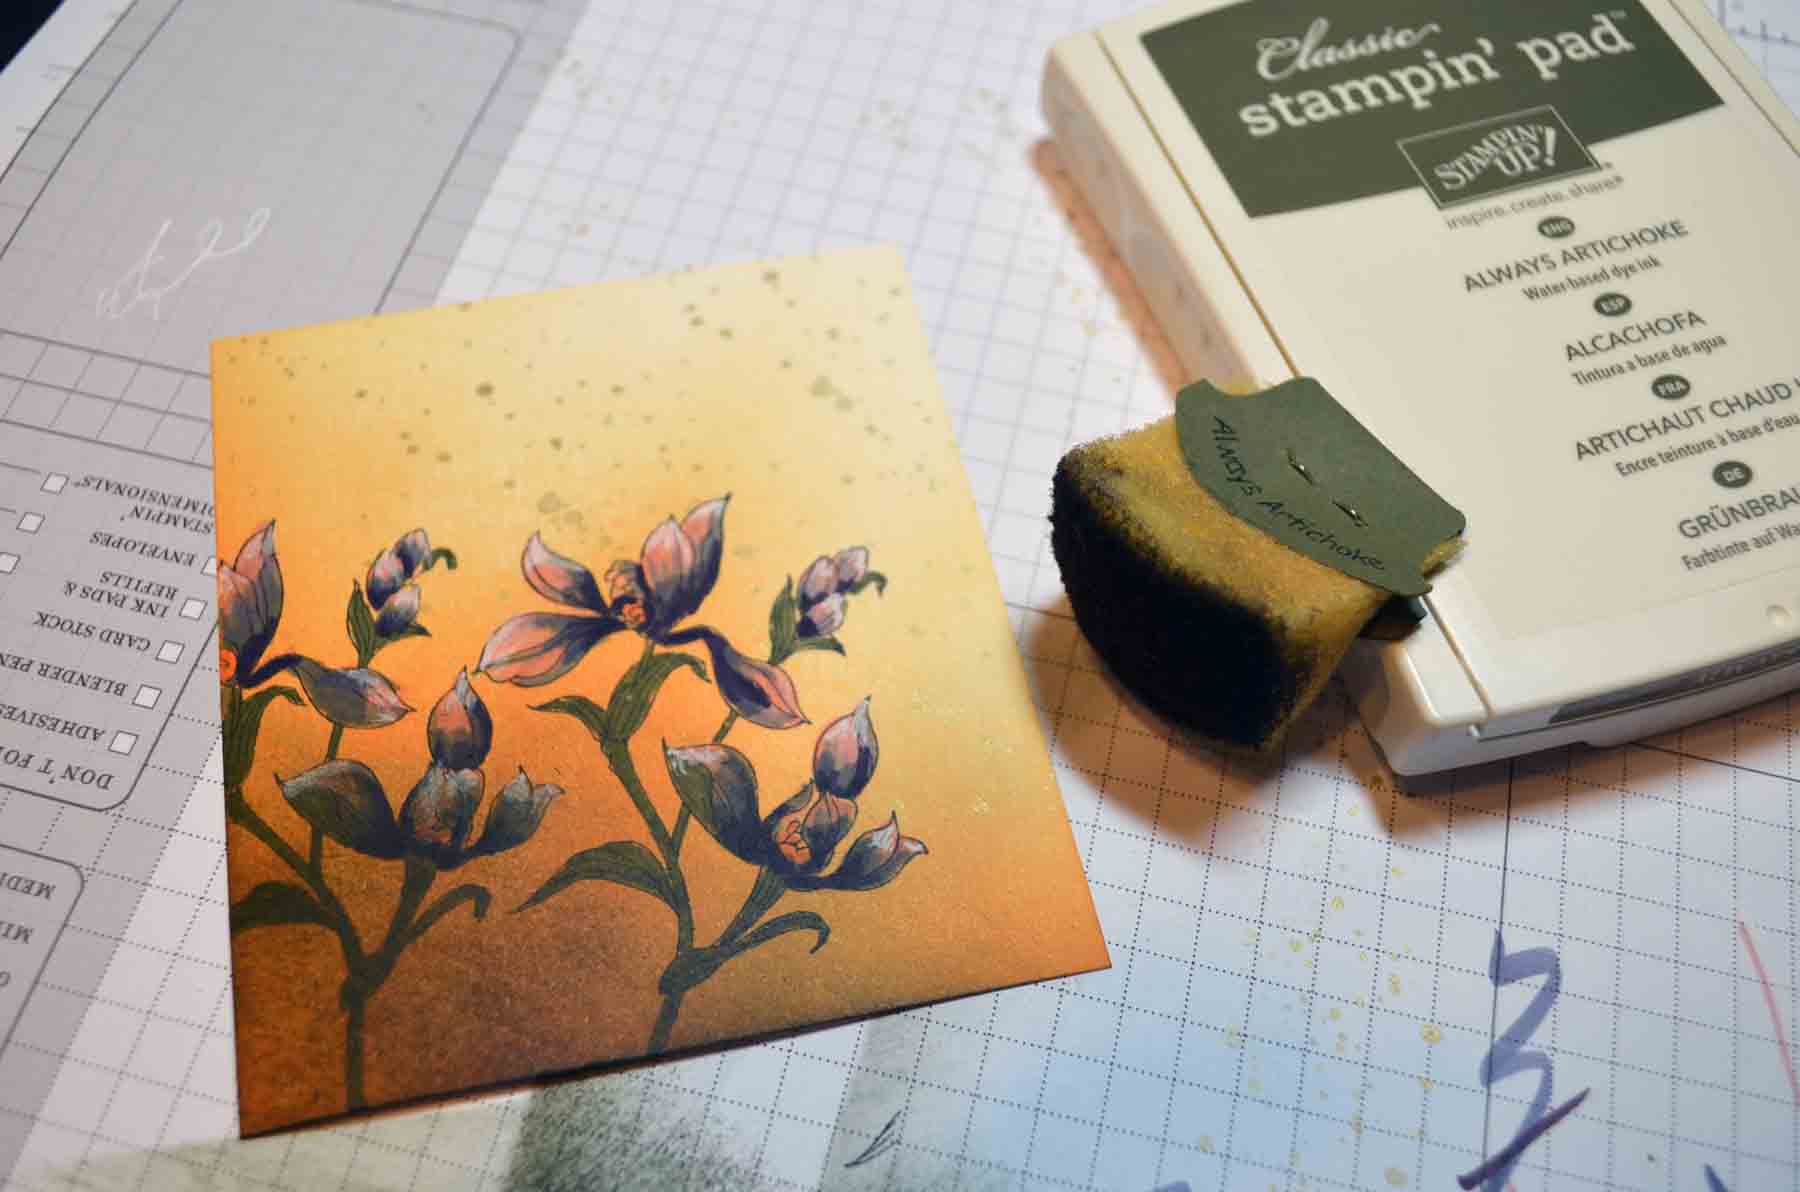
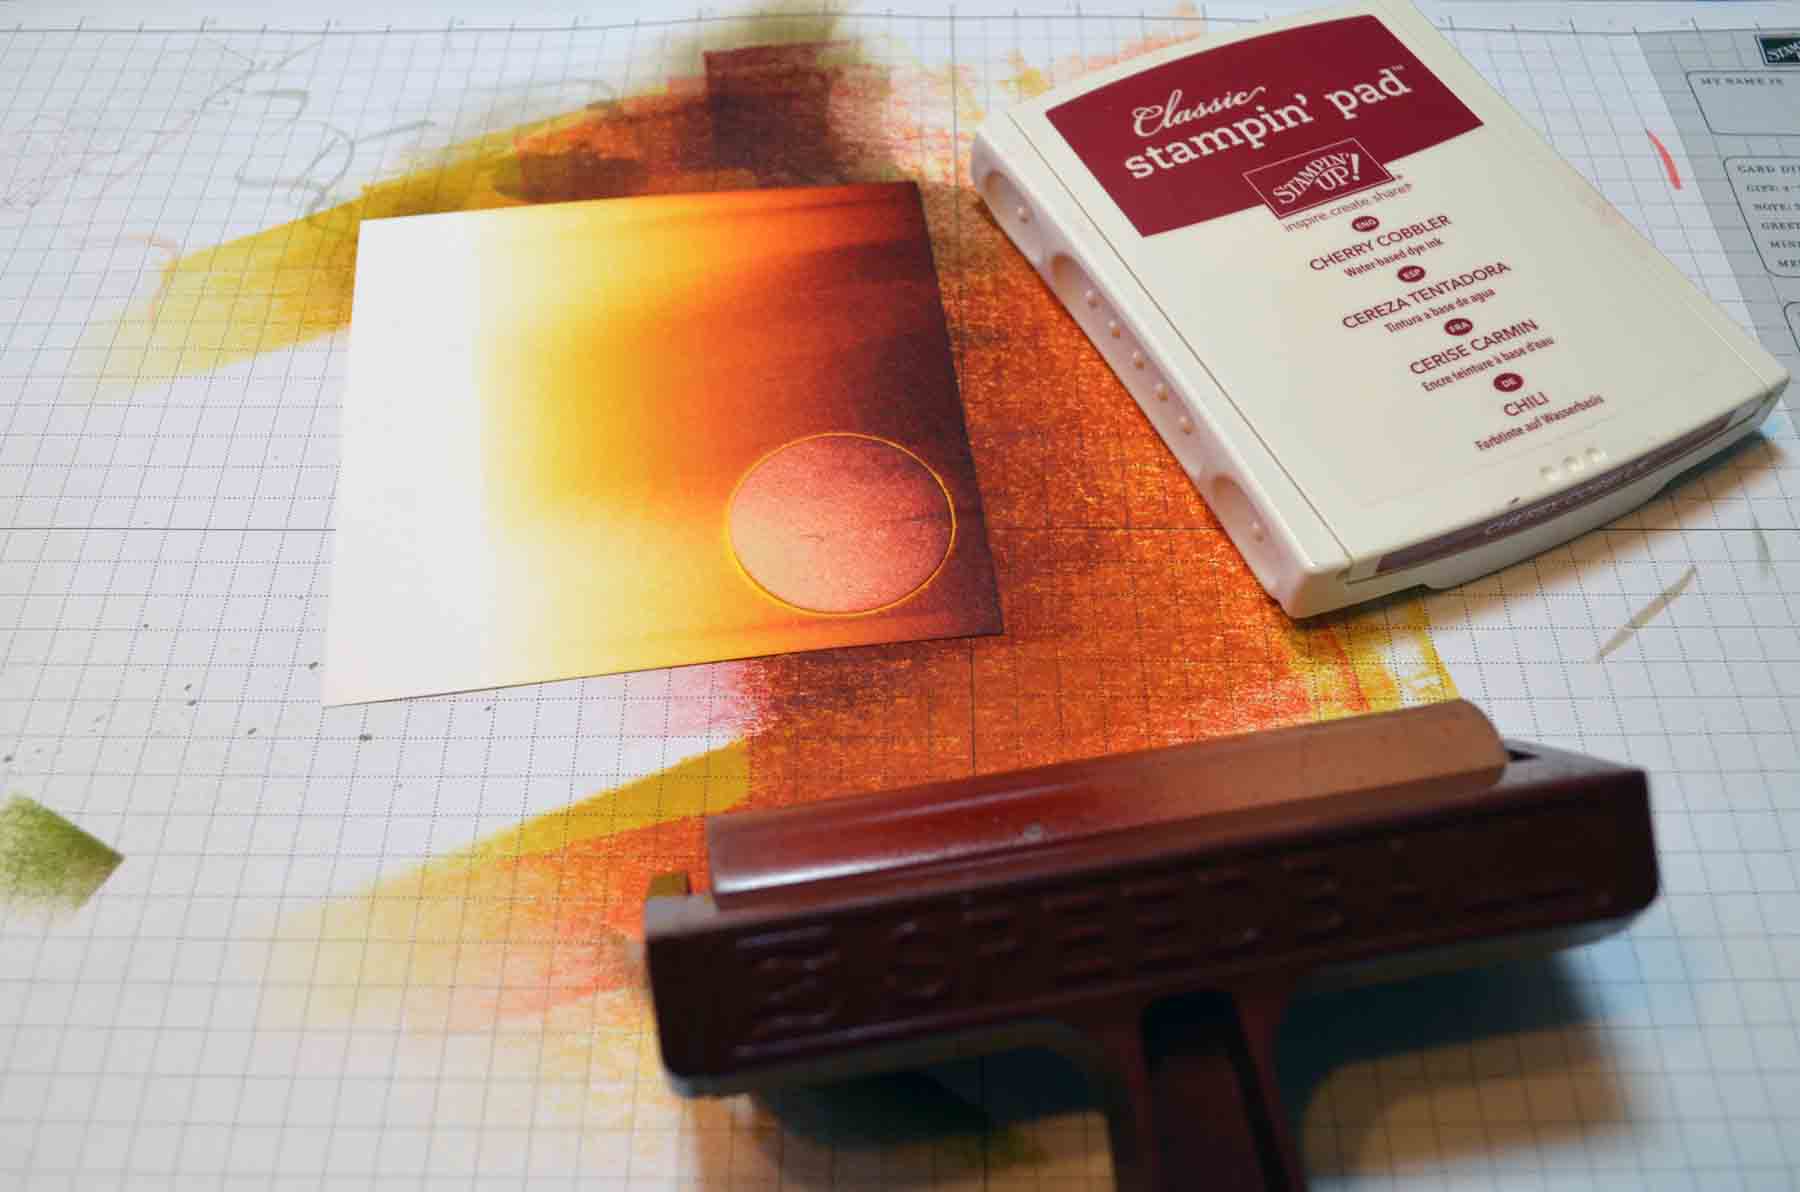
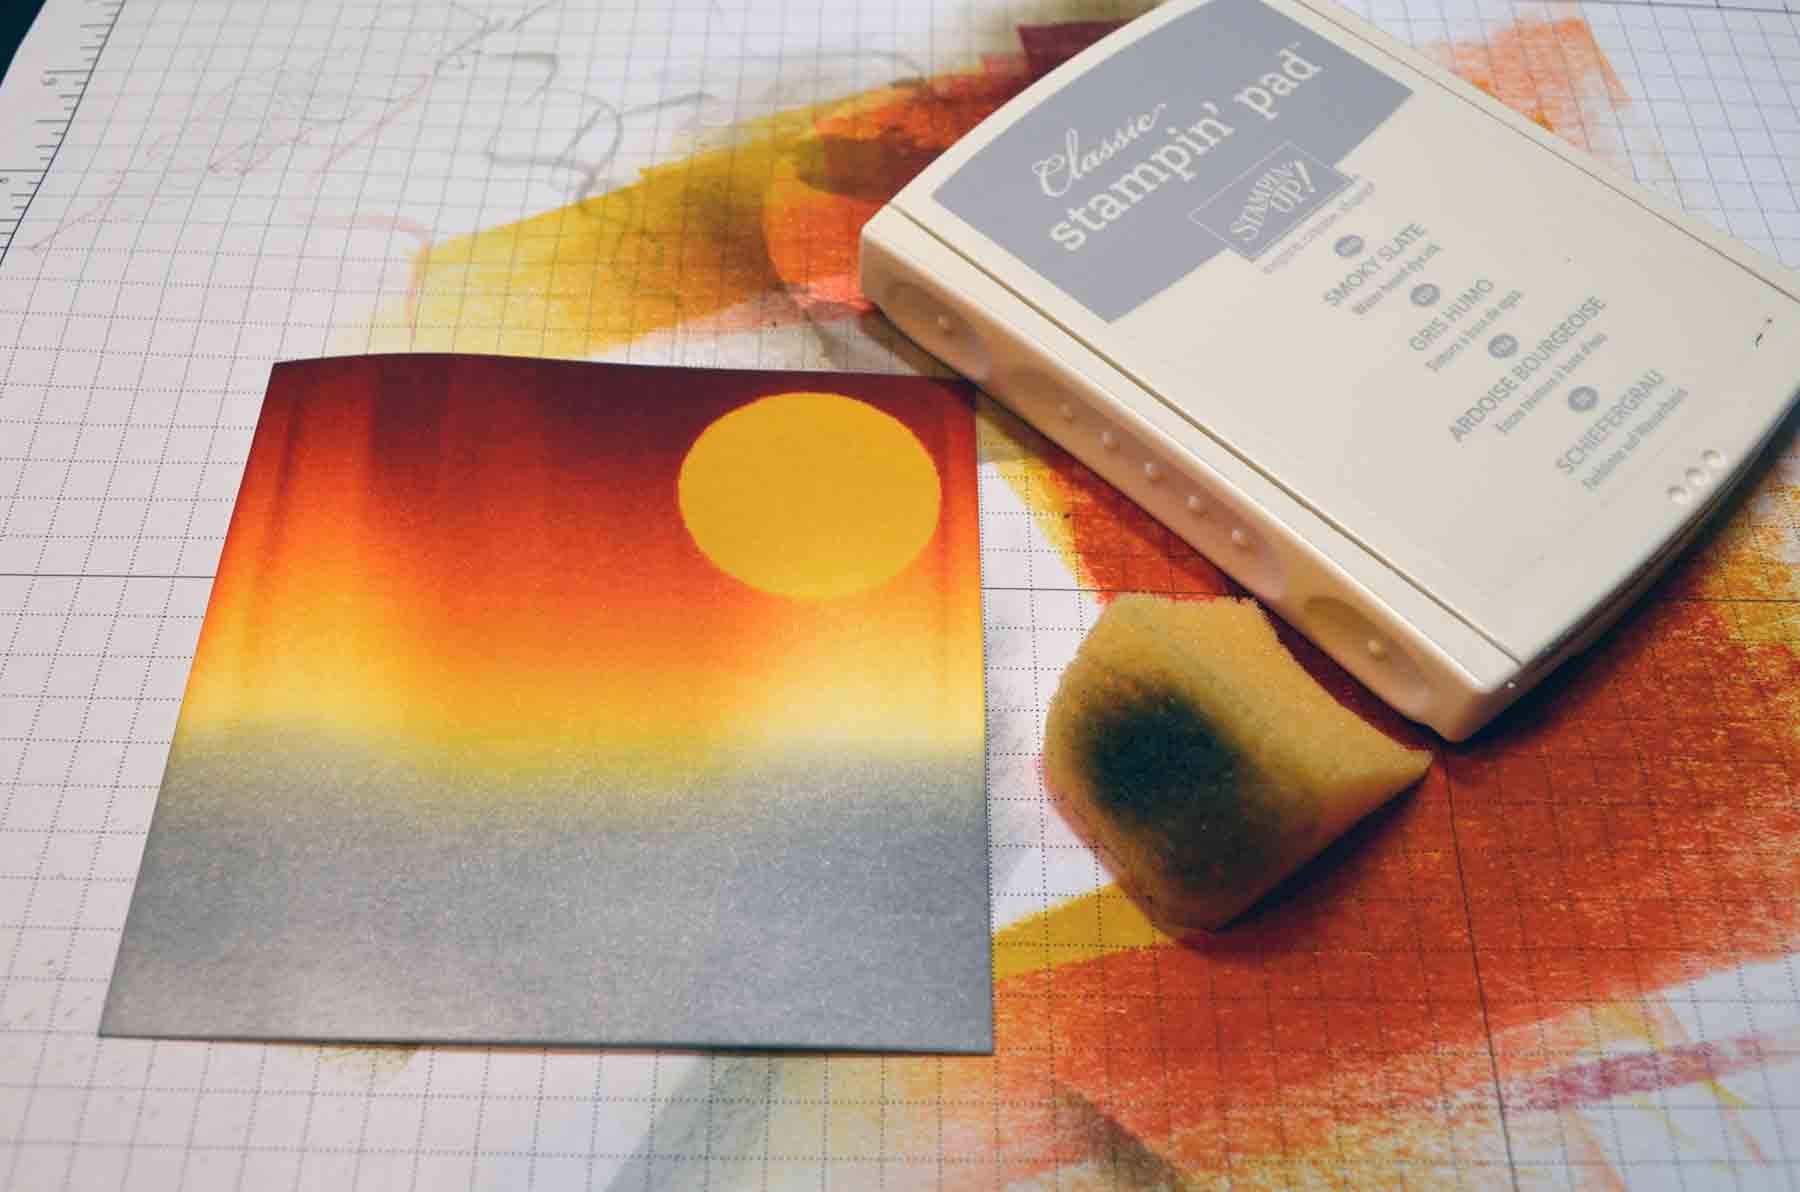
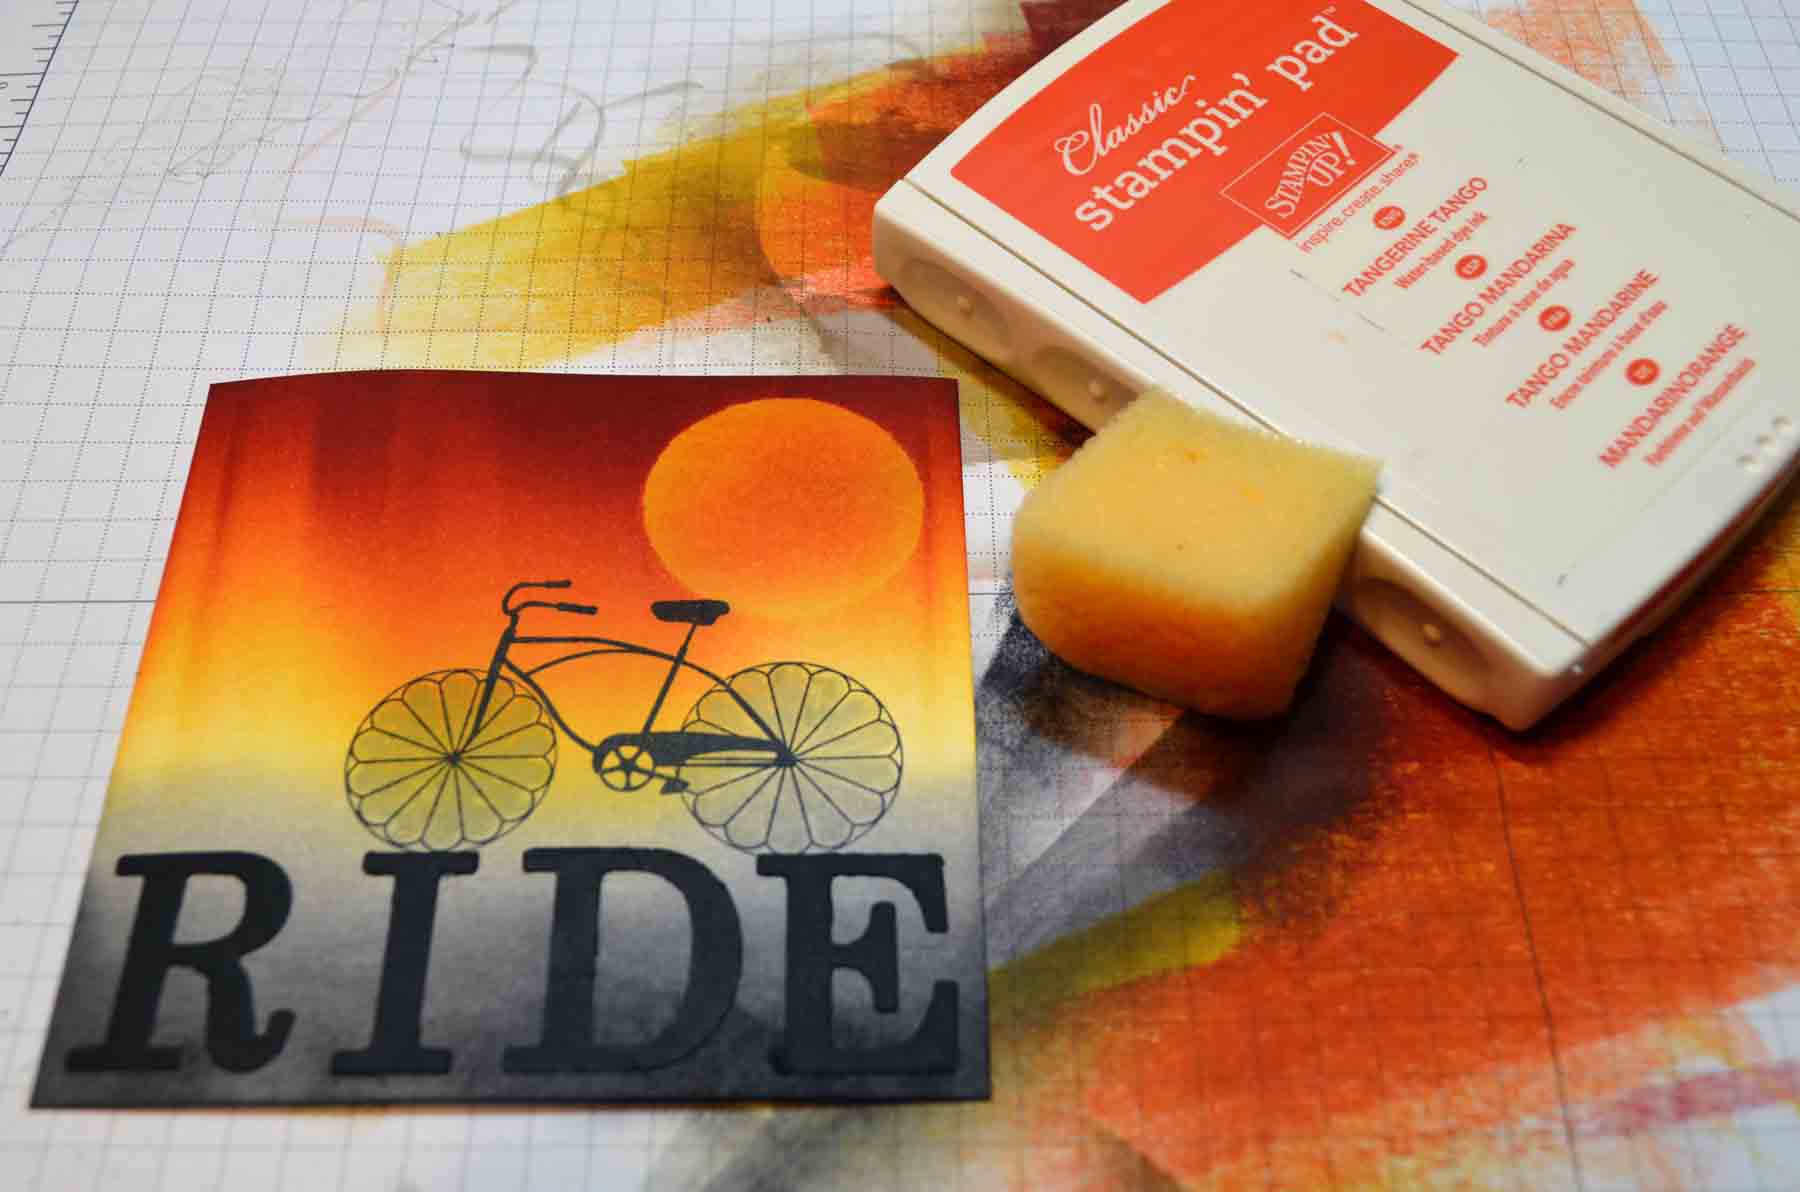
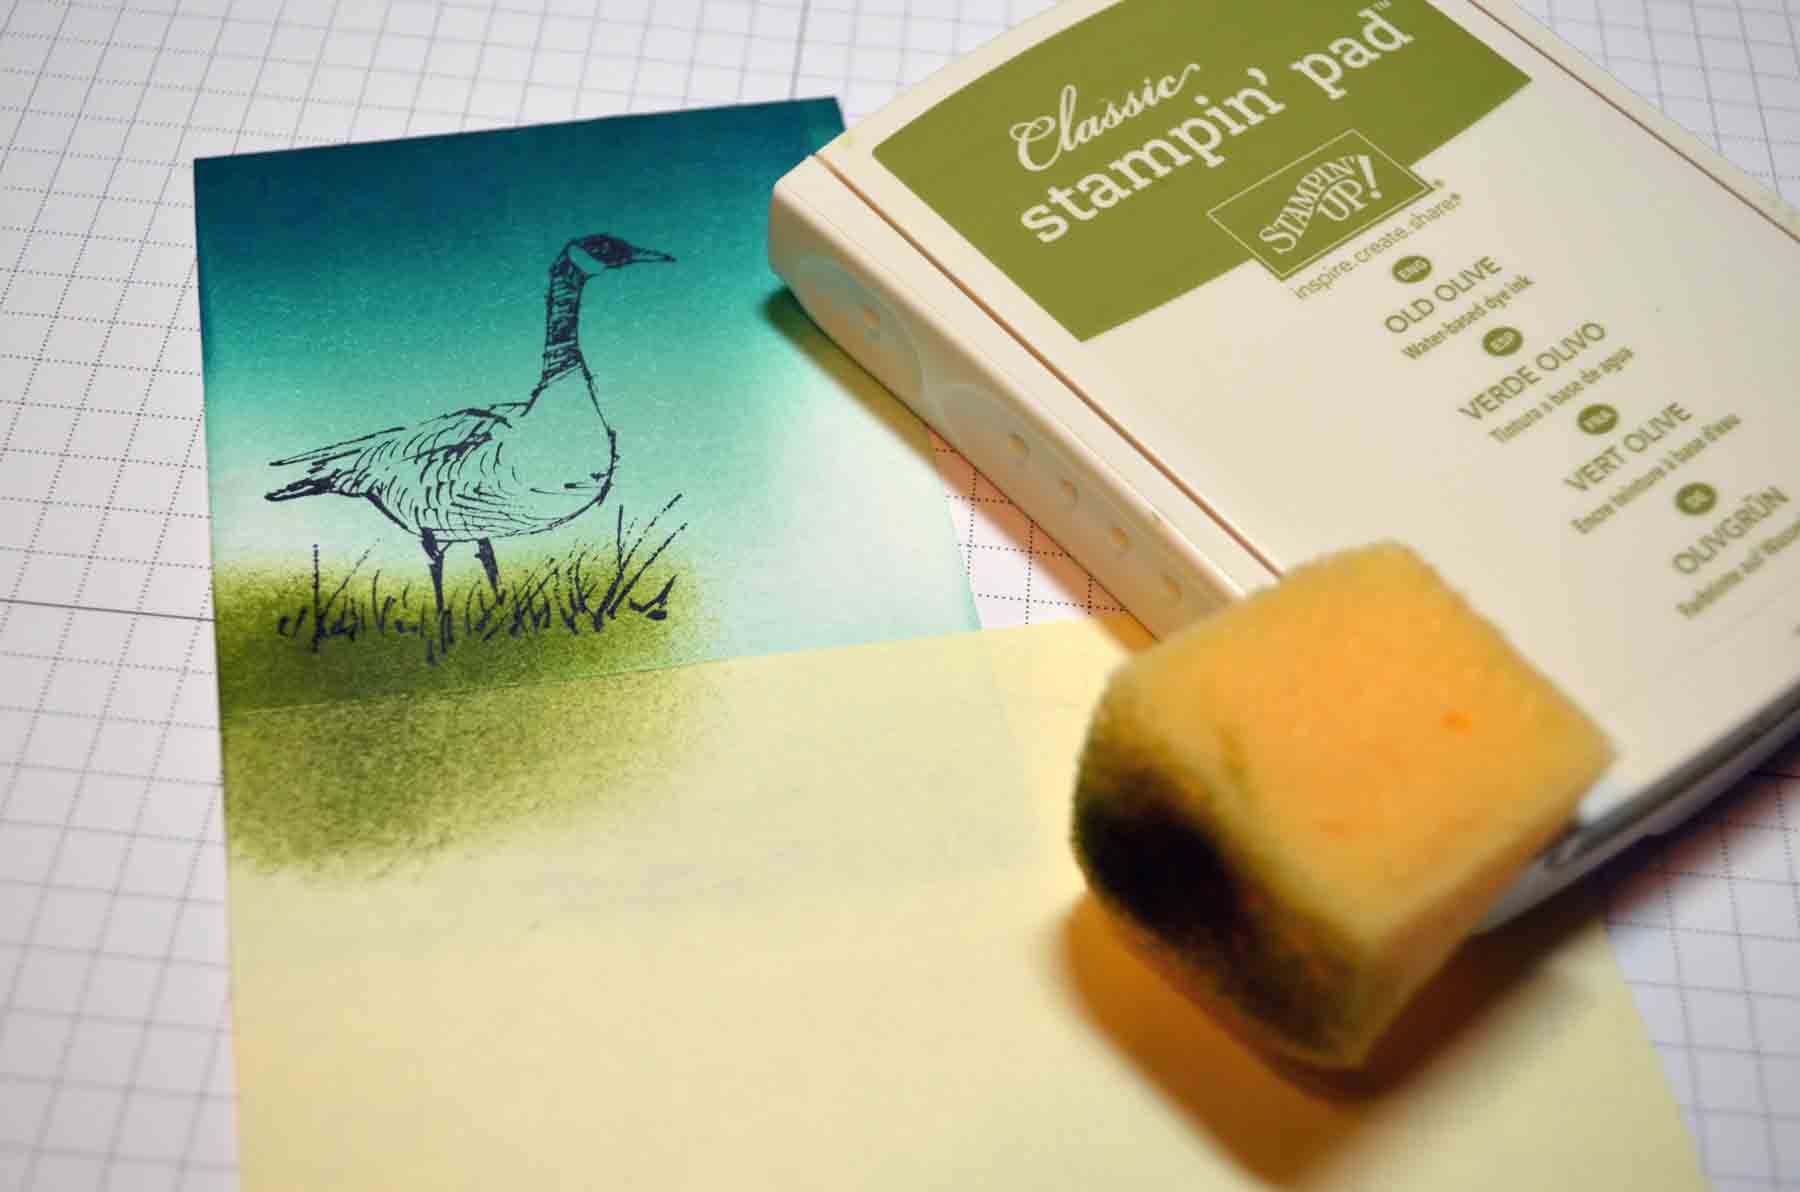
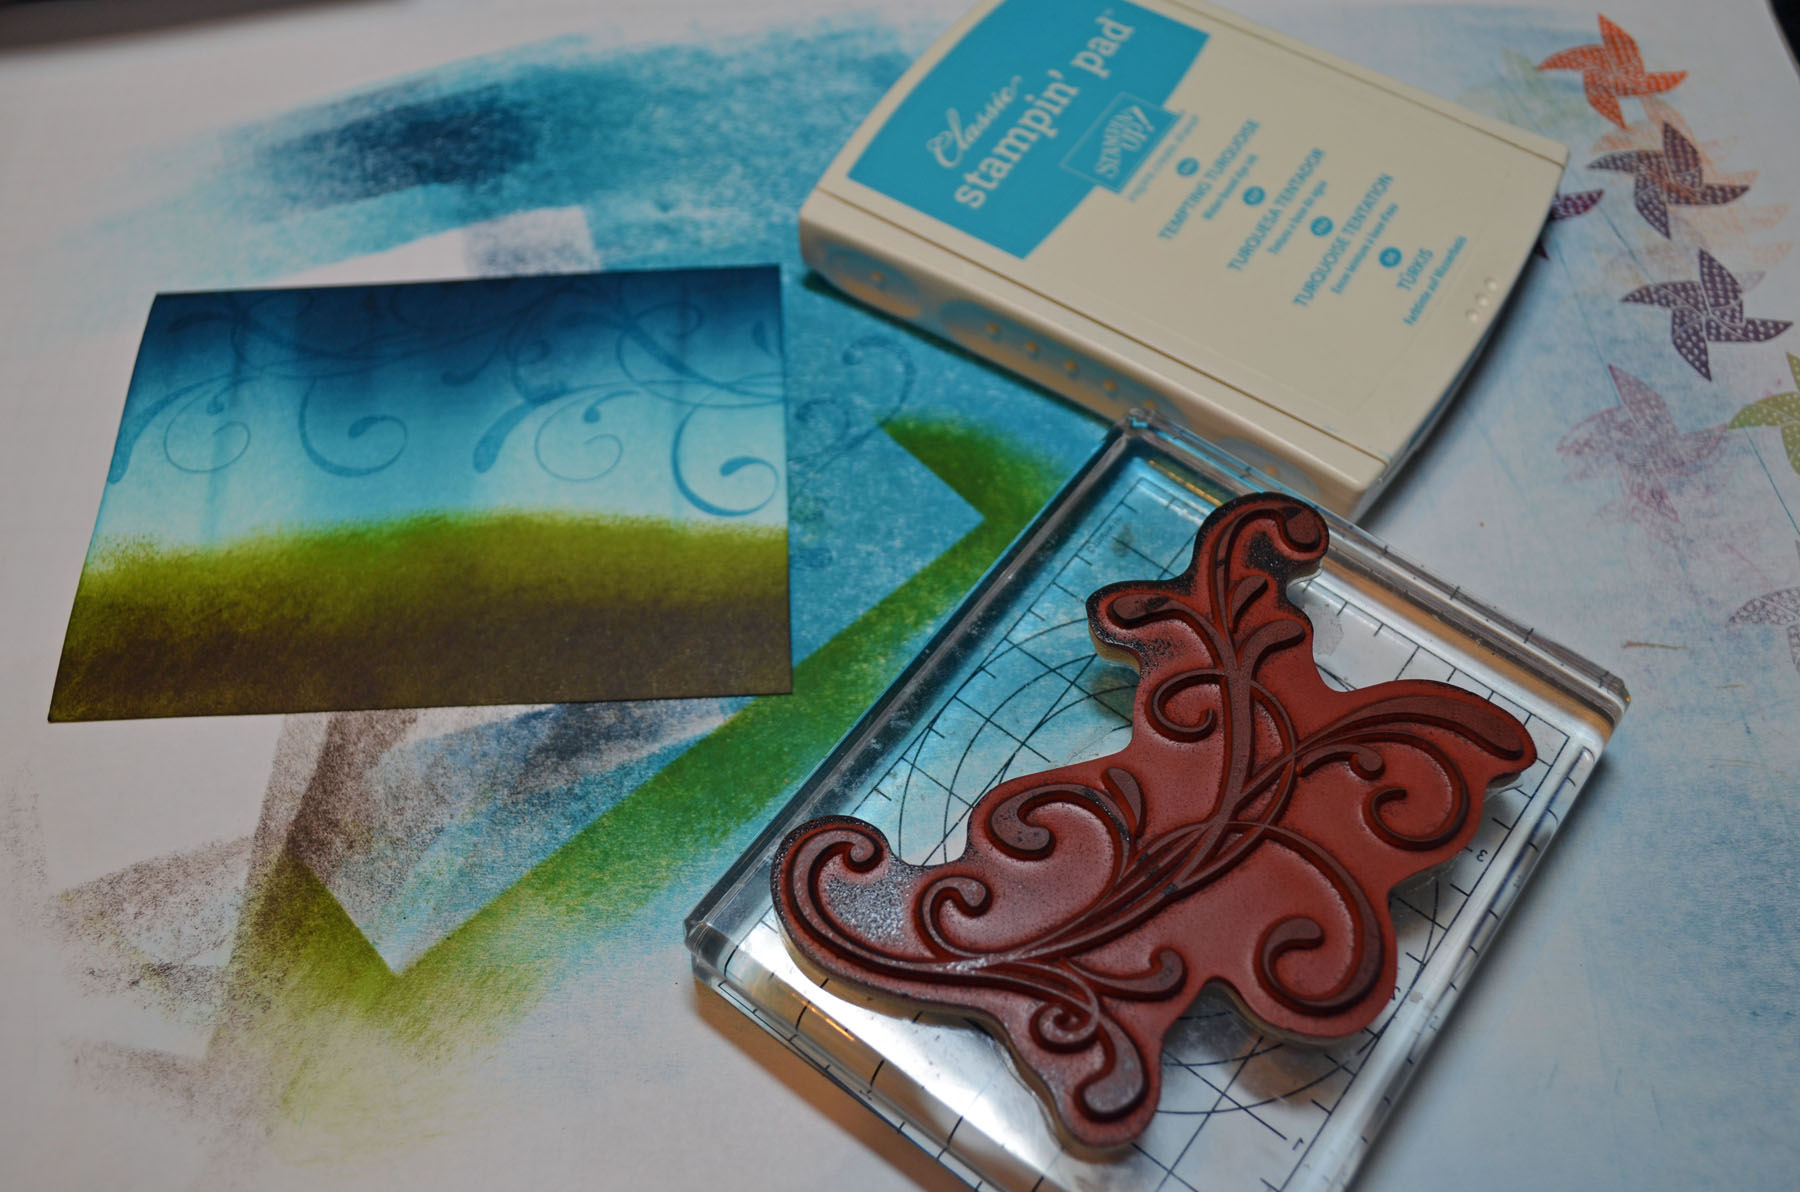
Sponged Old Olive ink at the bottom of the card stock and then sponged Early Espresso ink at the bottom.


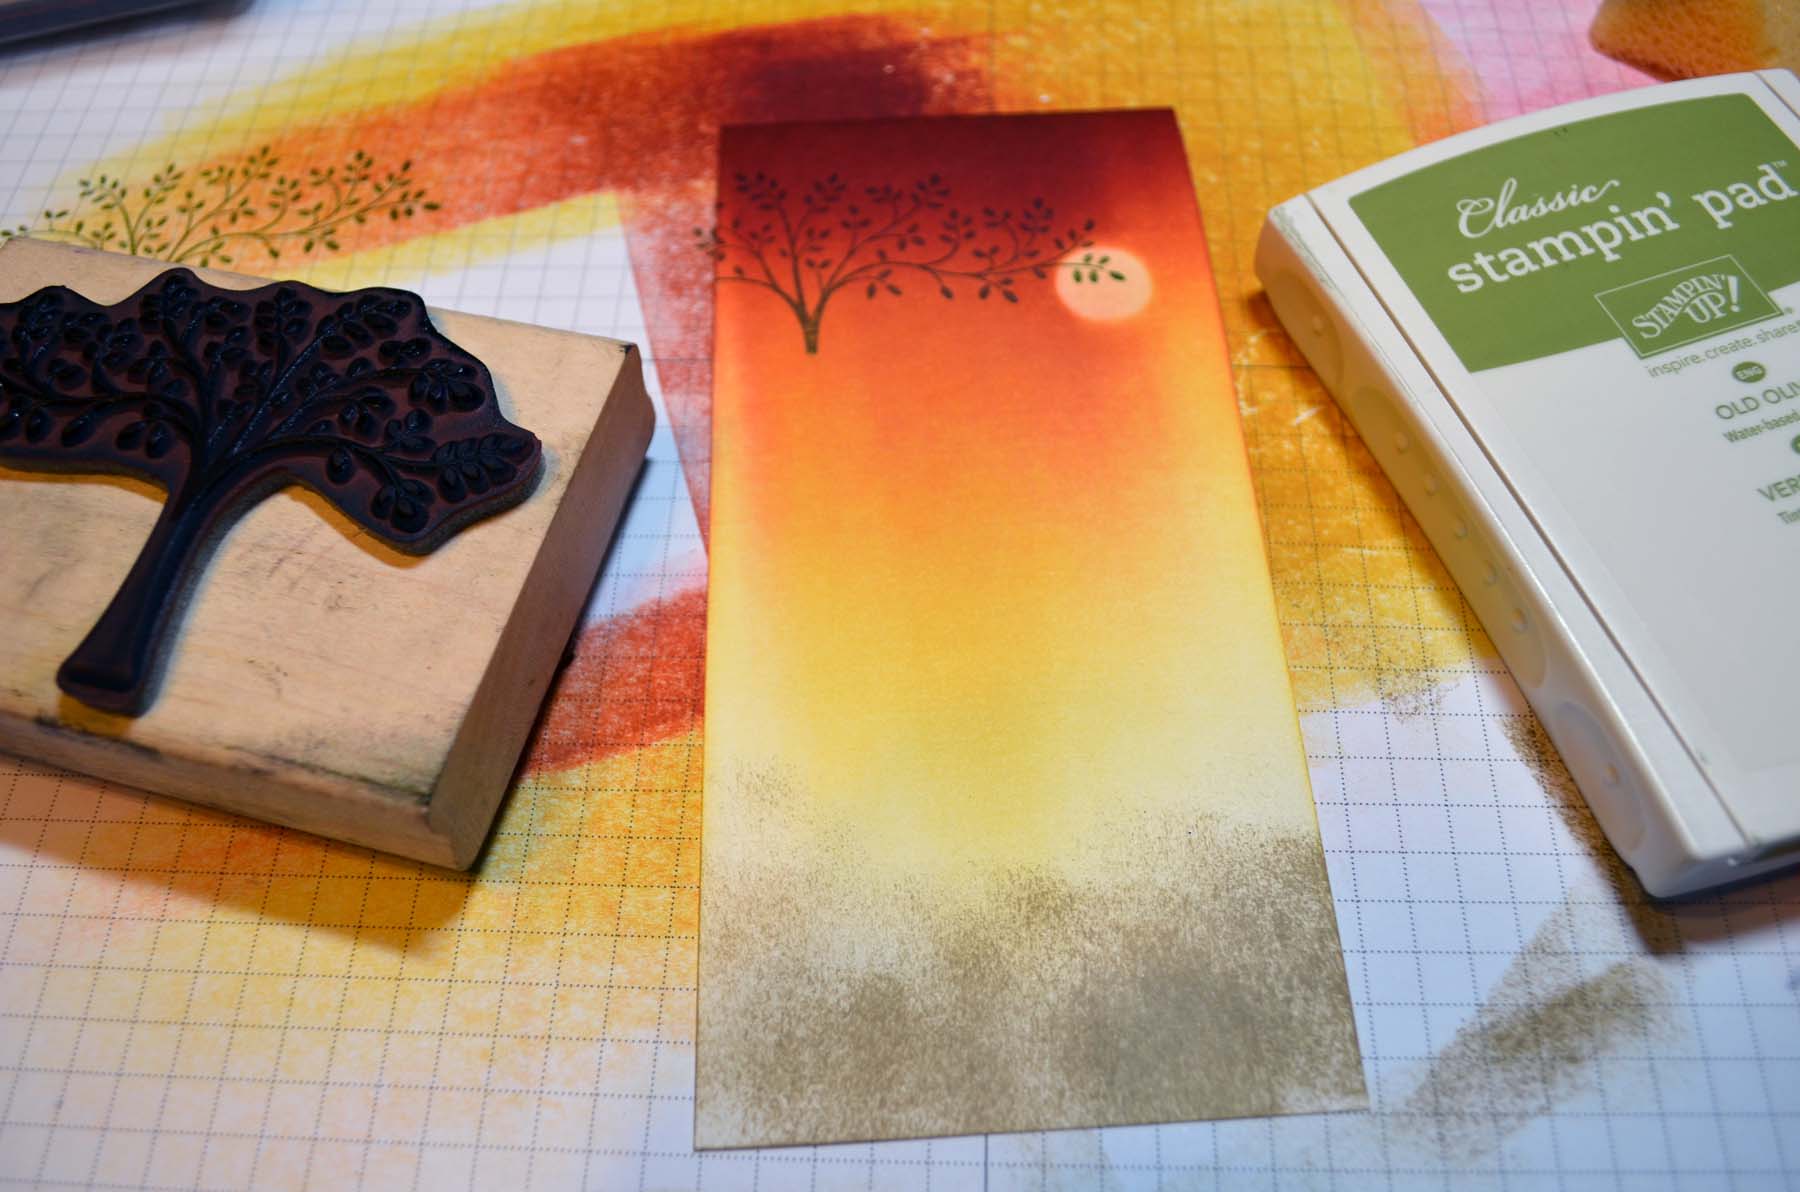
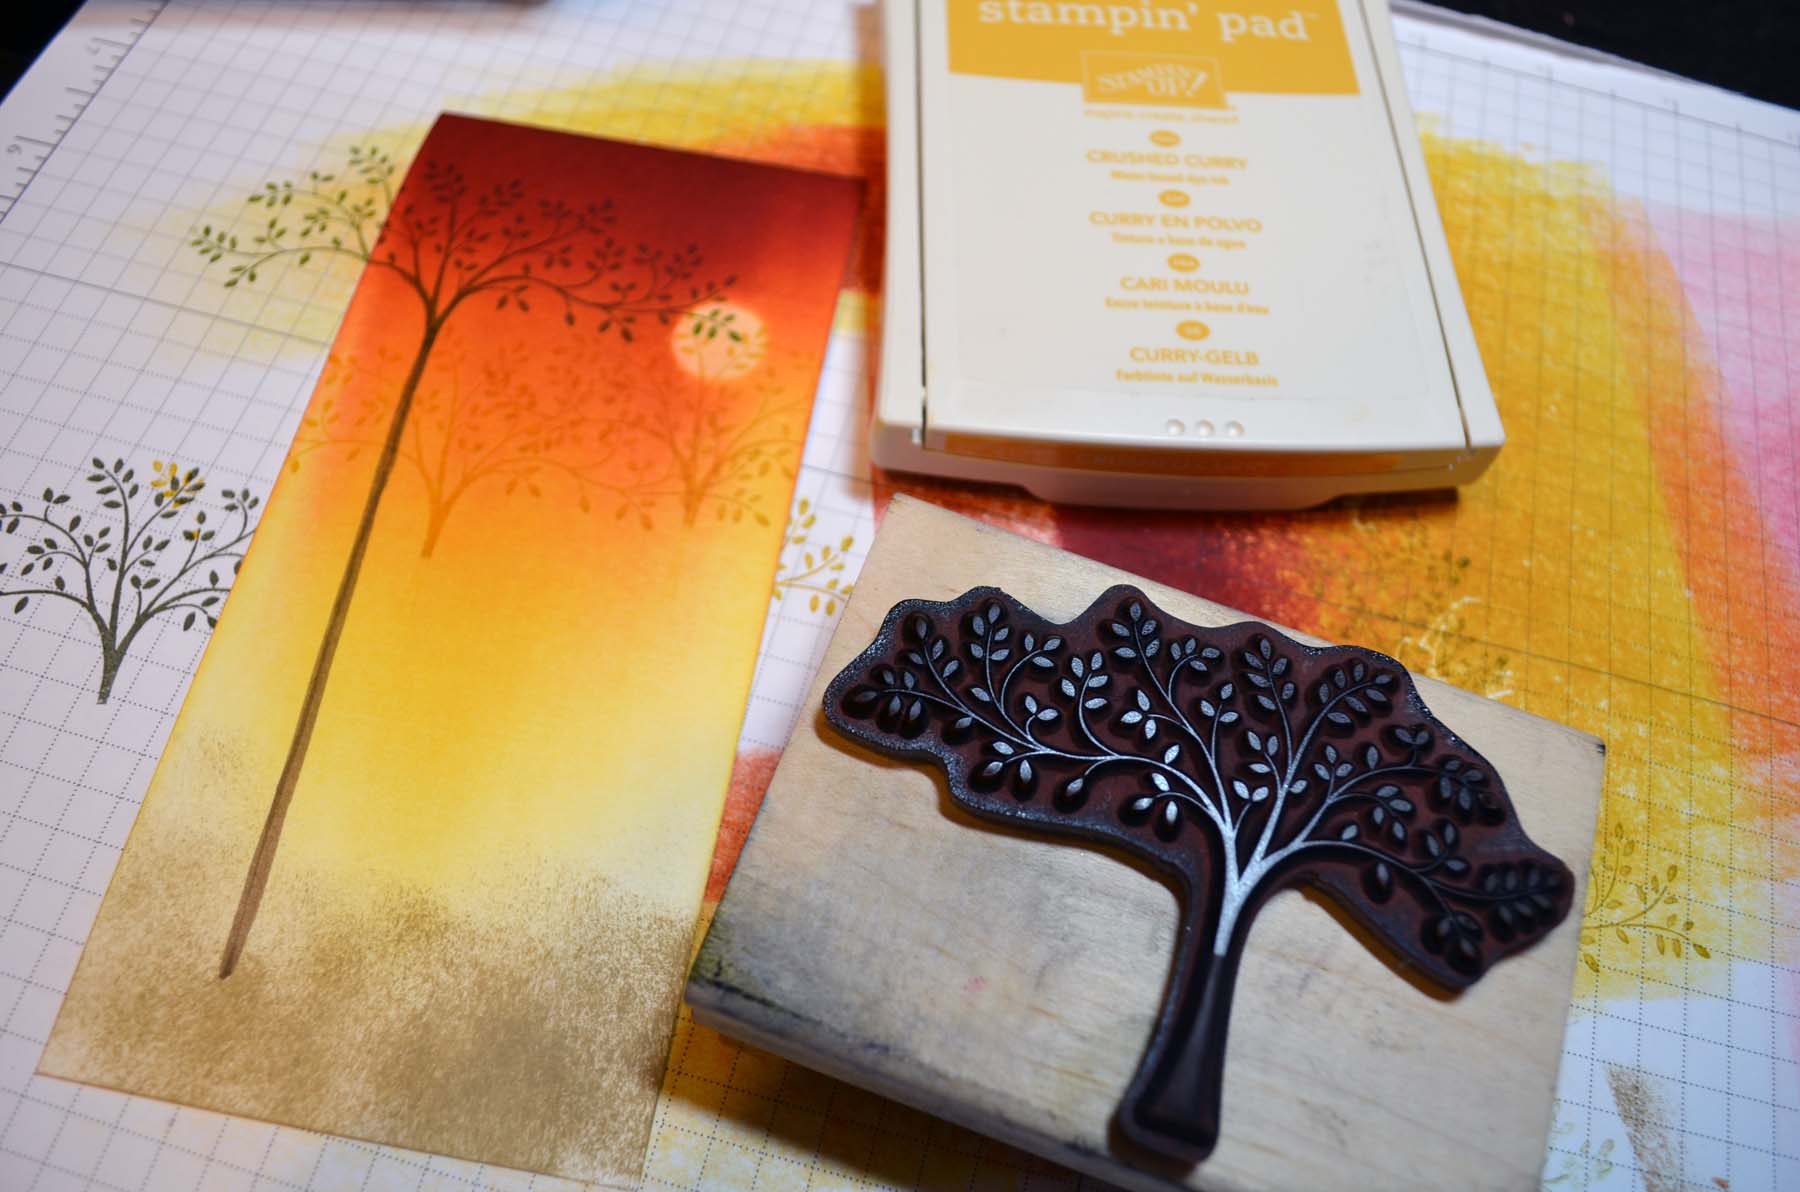
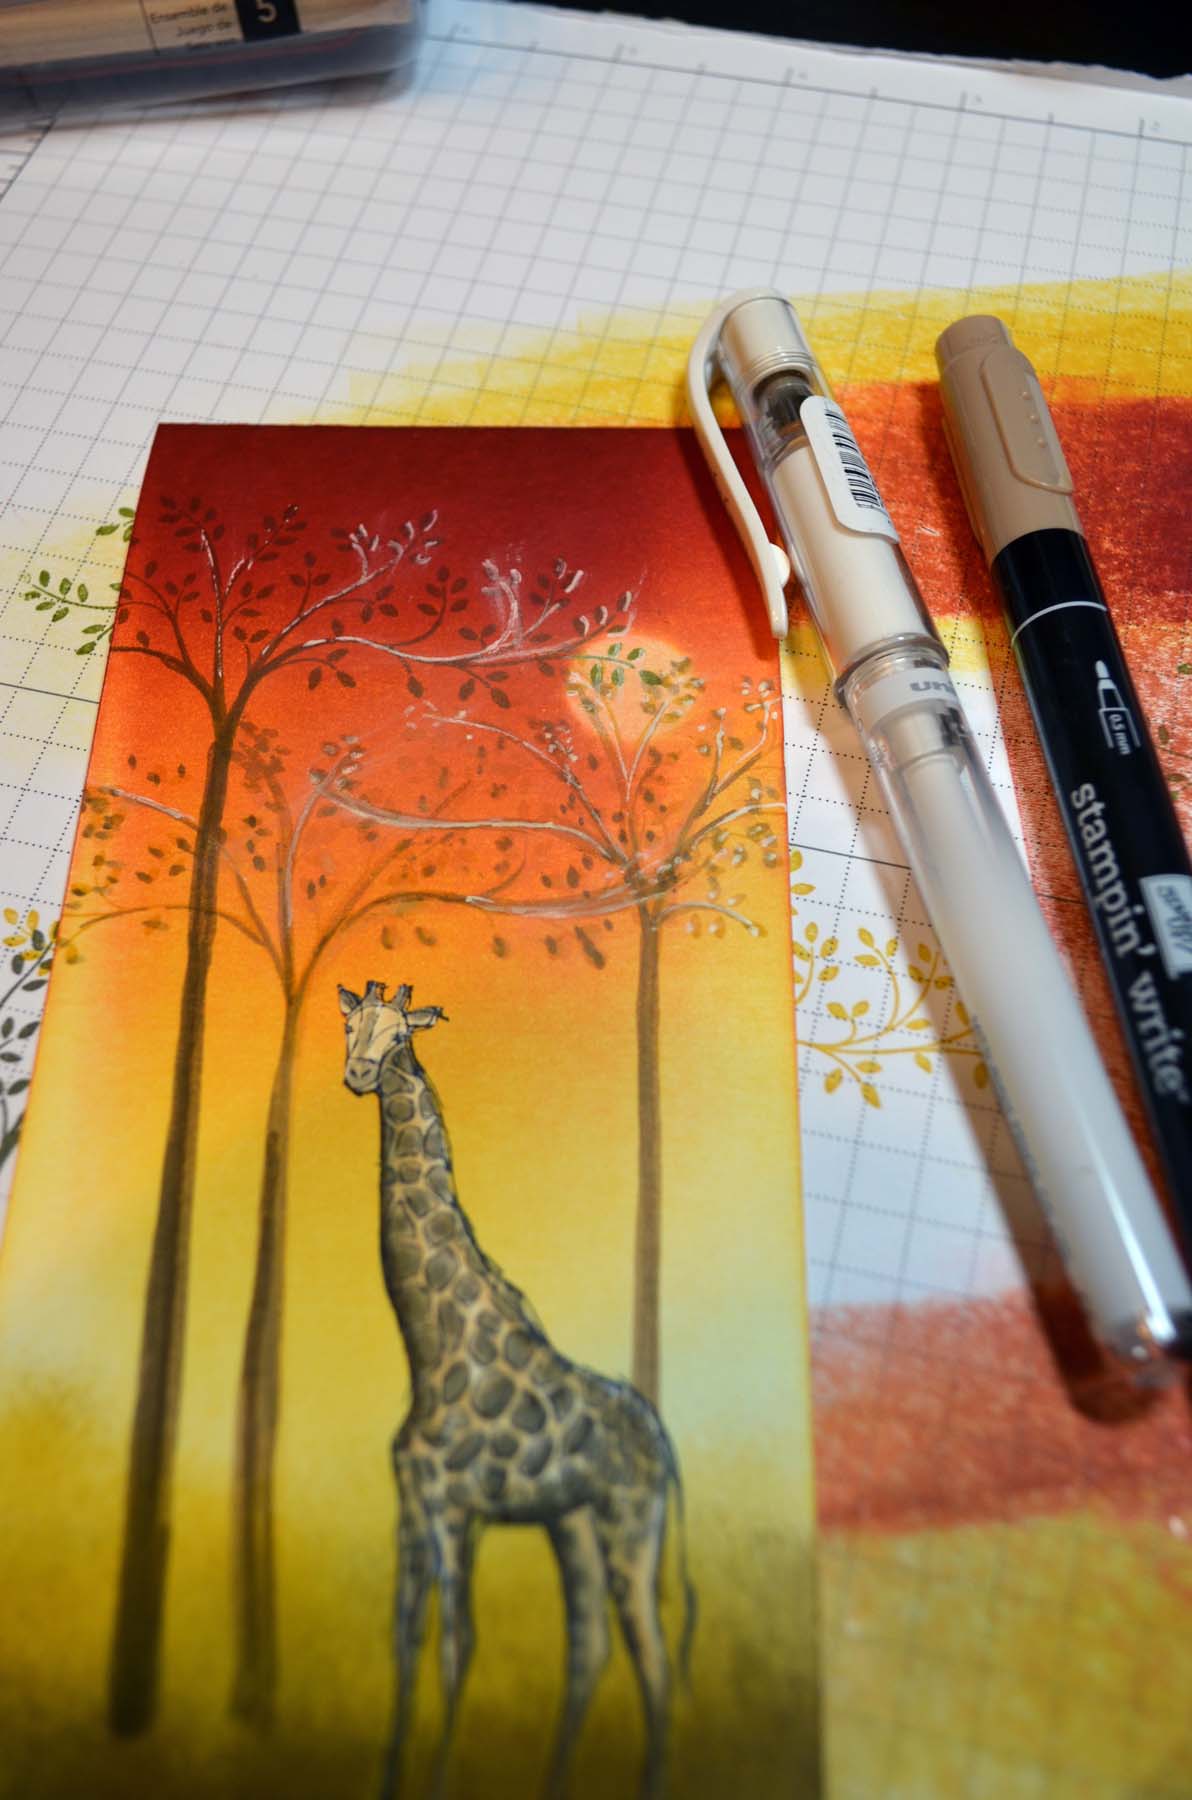
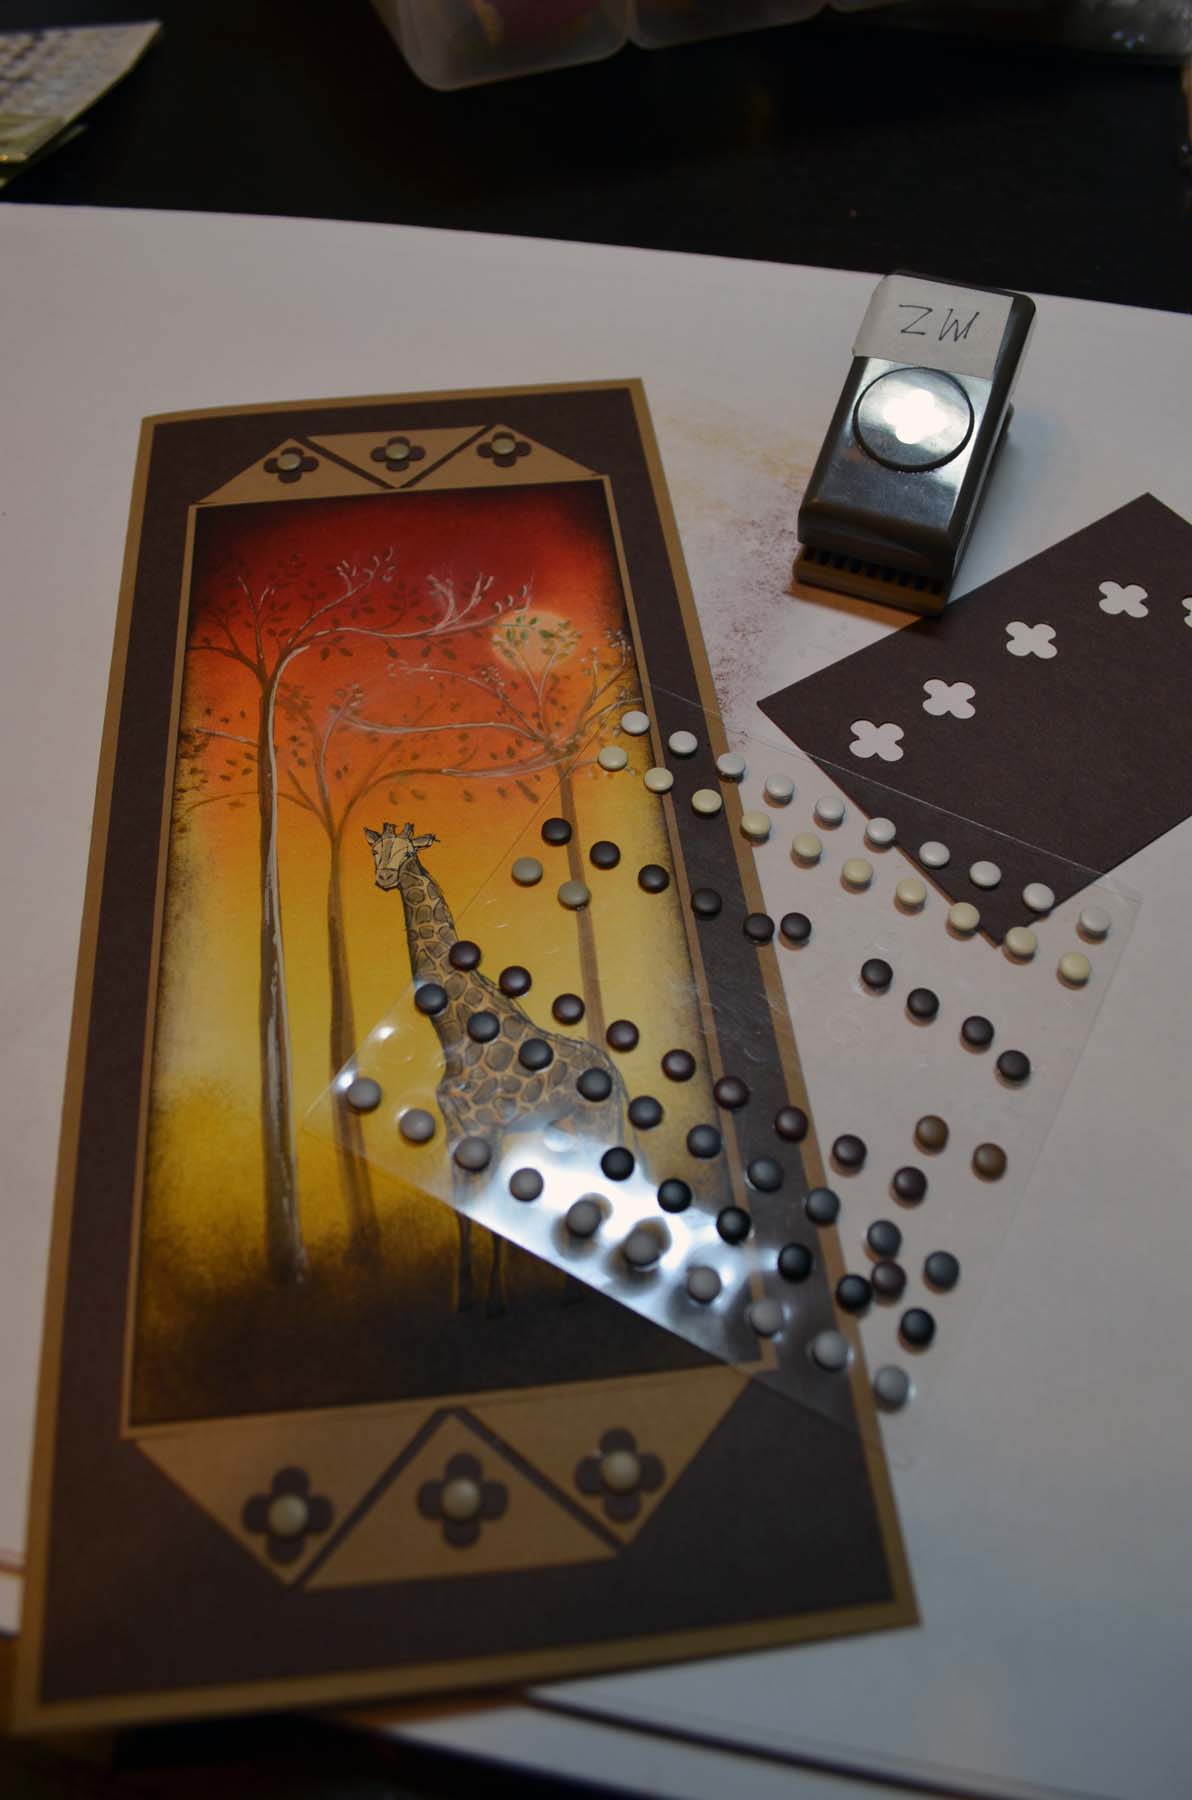
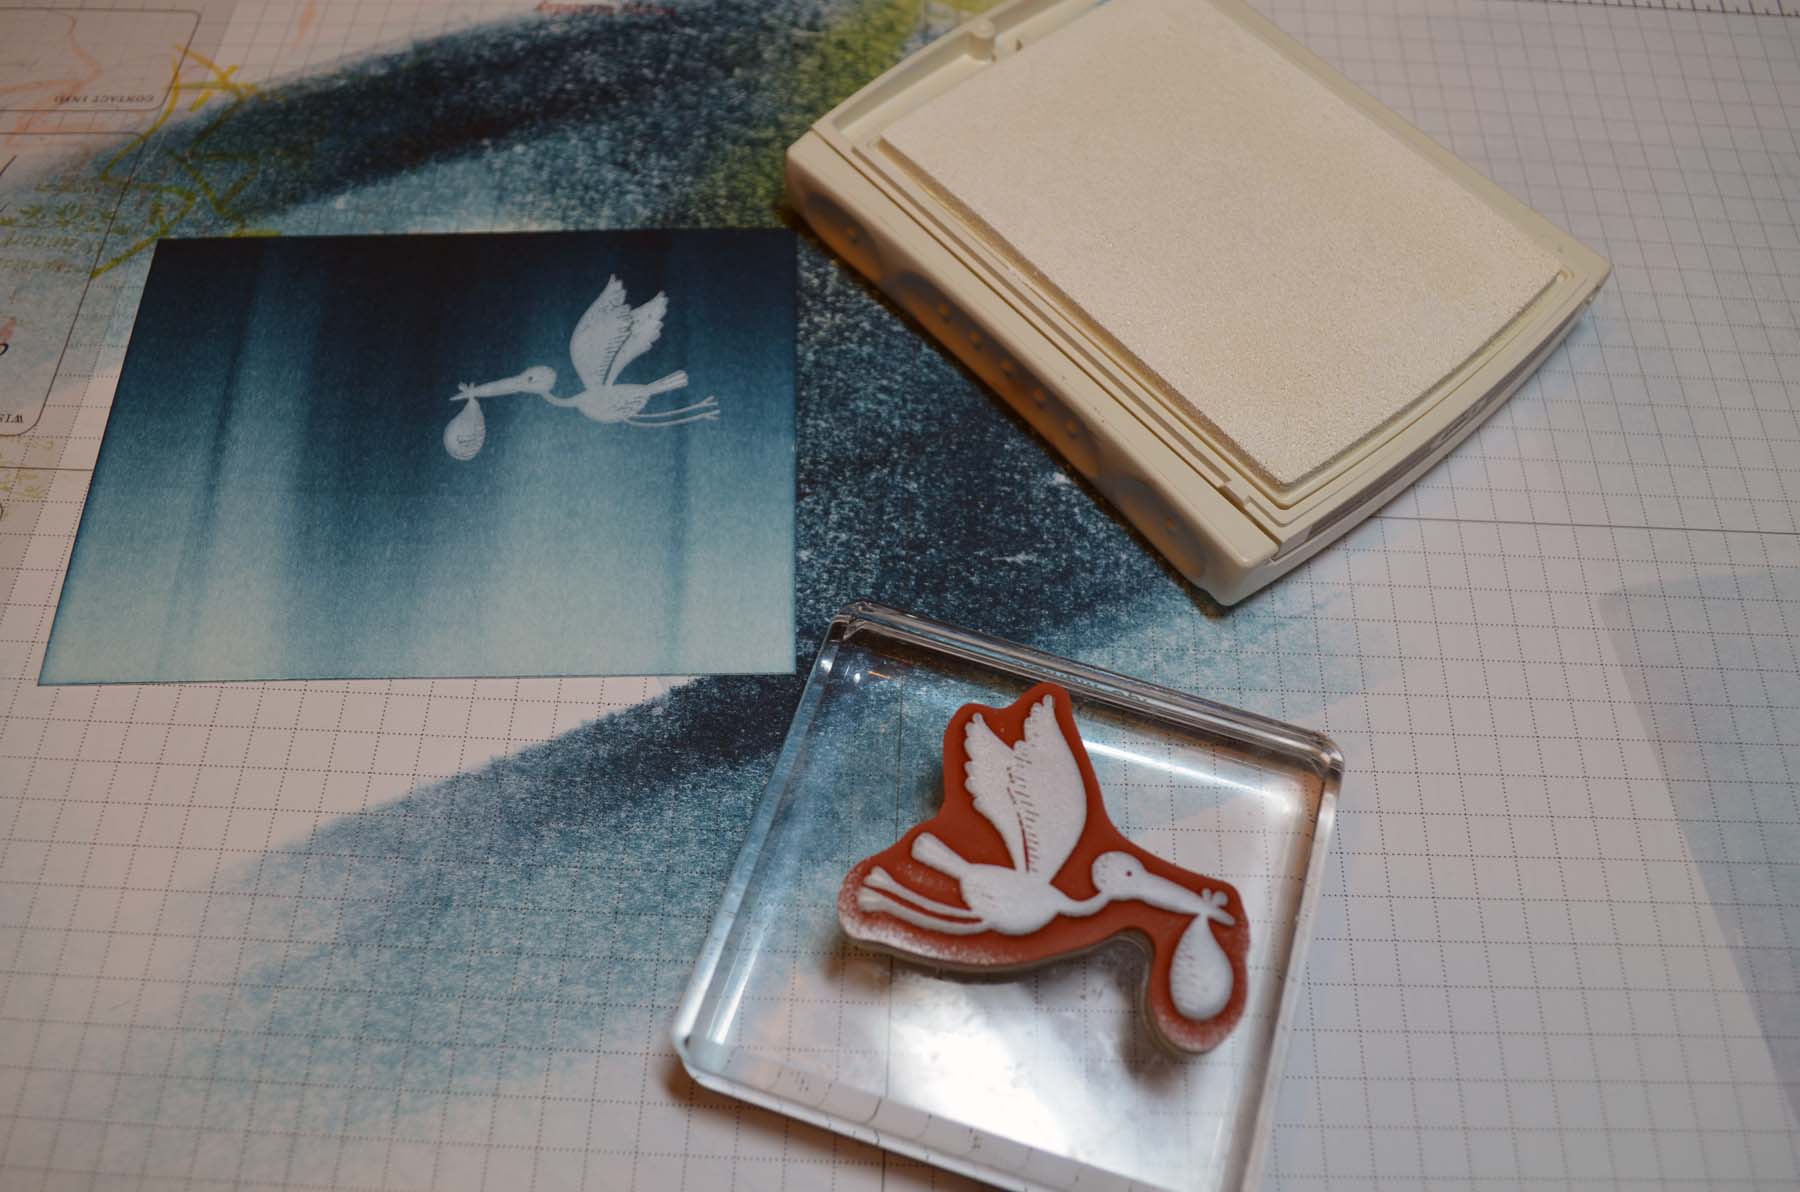
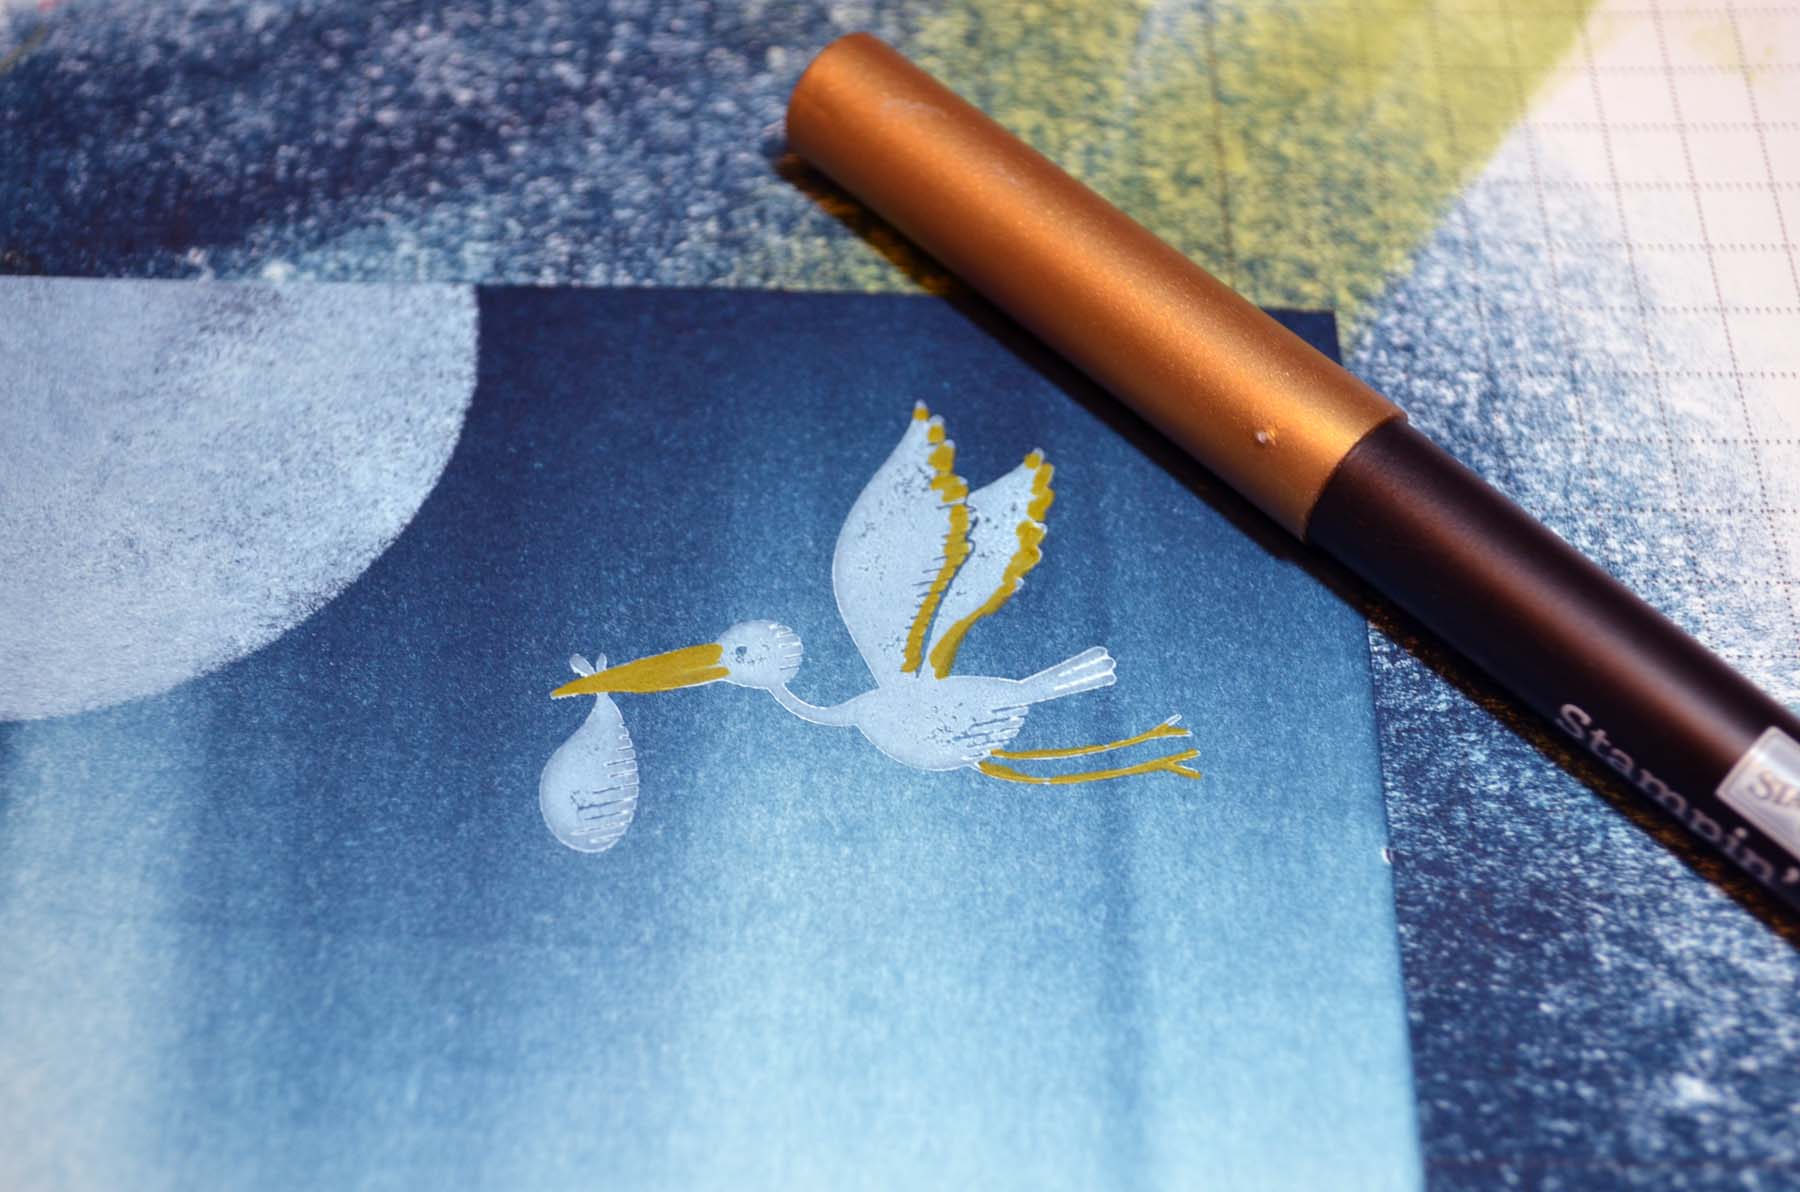
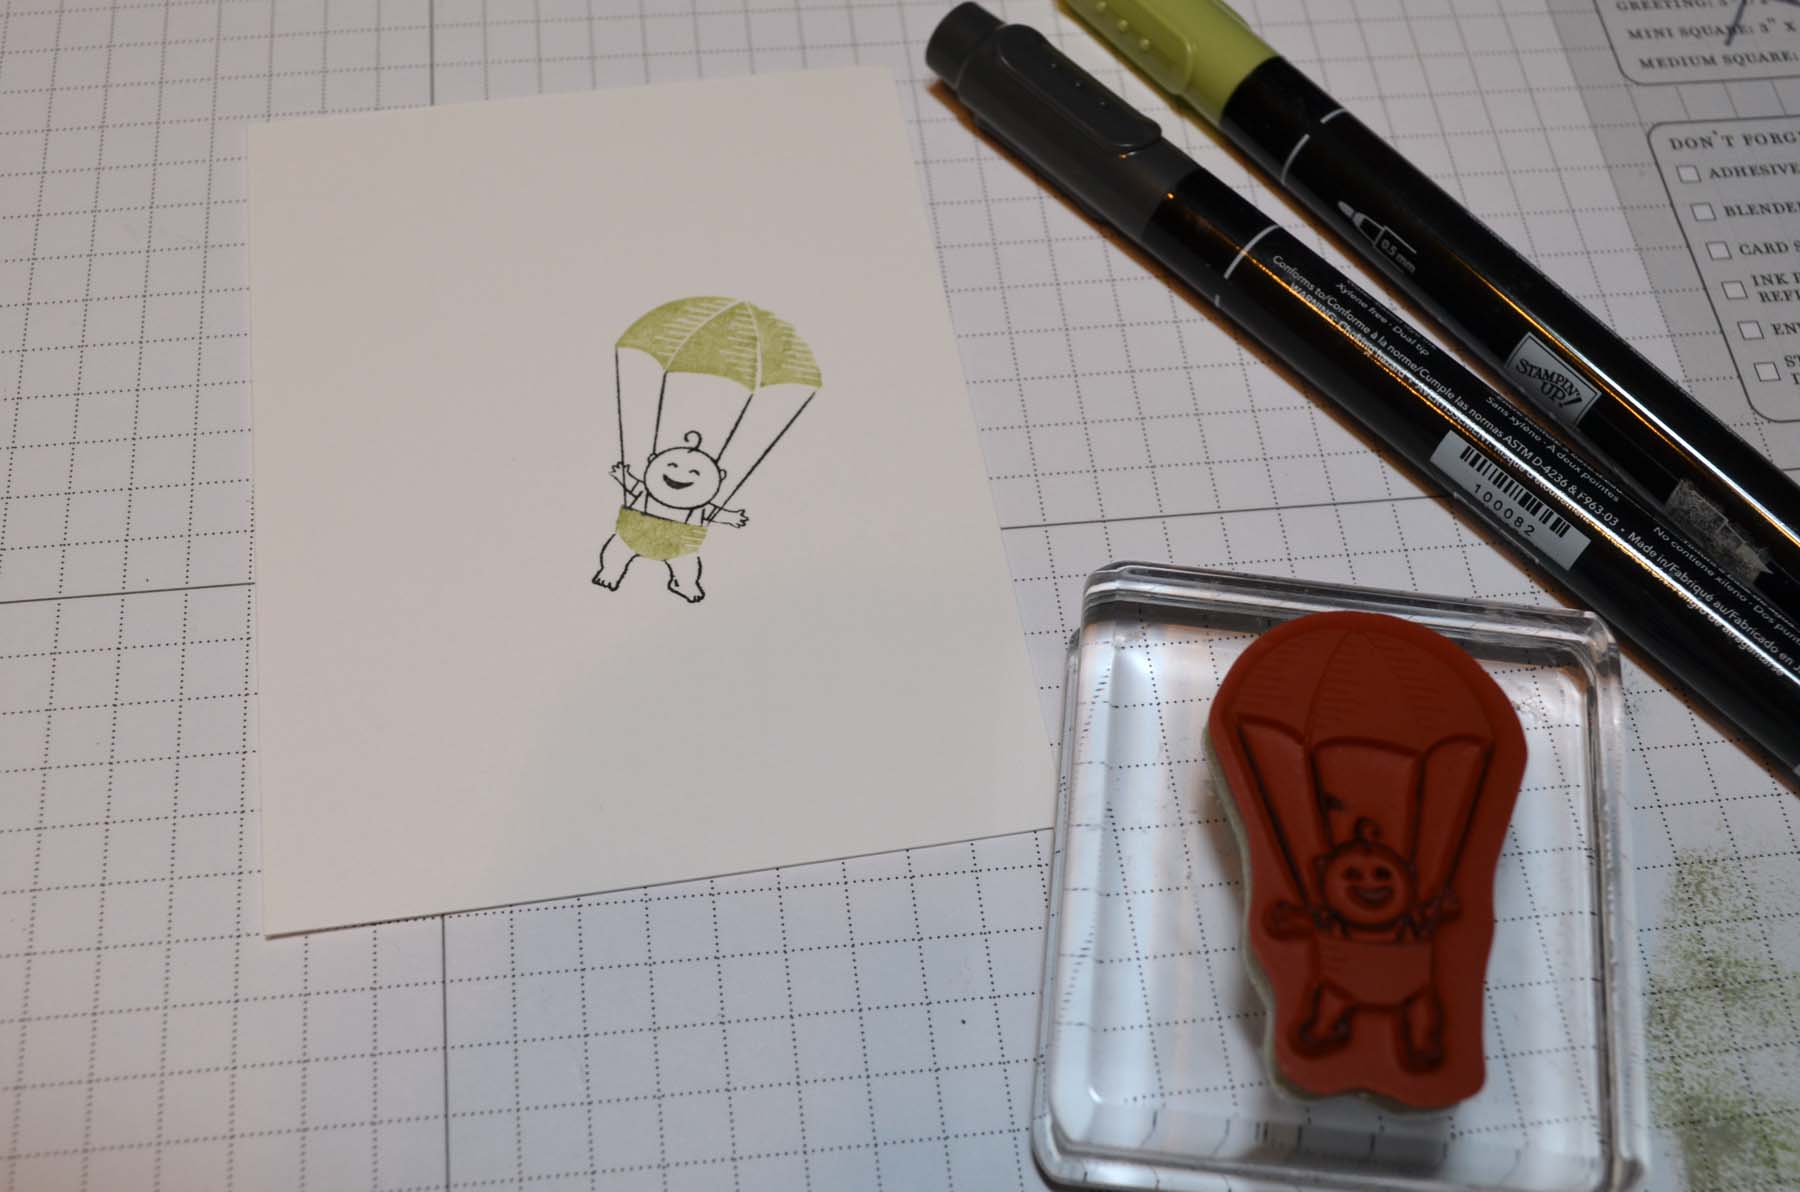
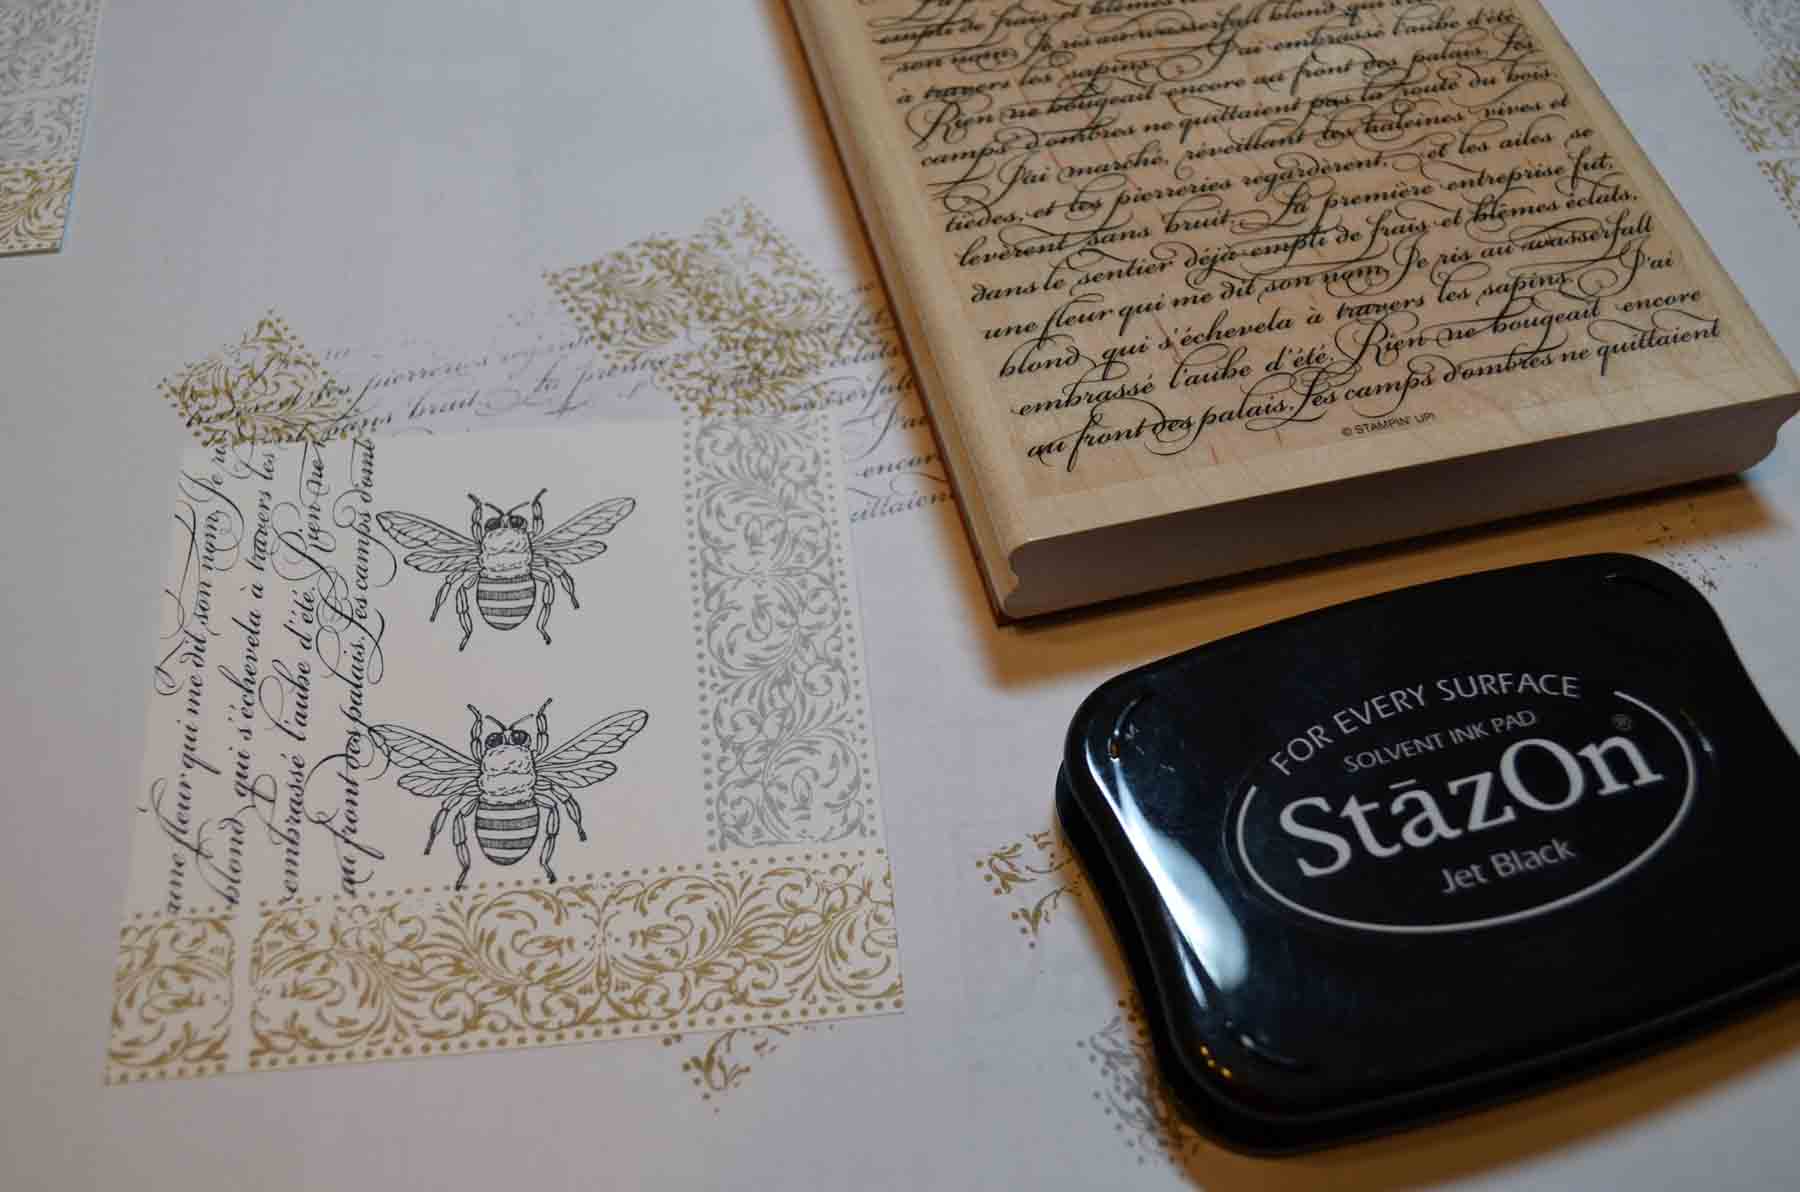
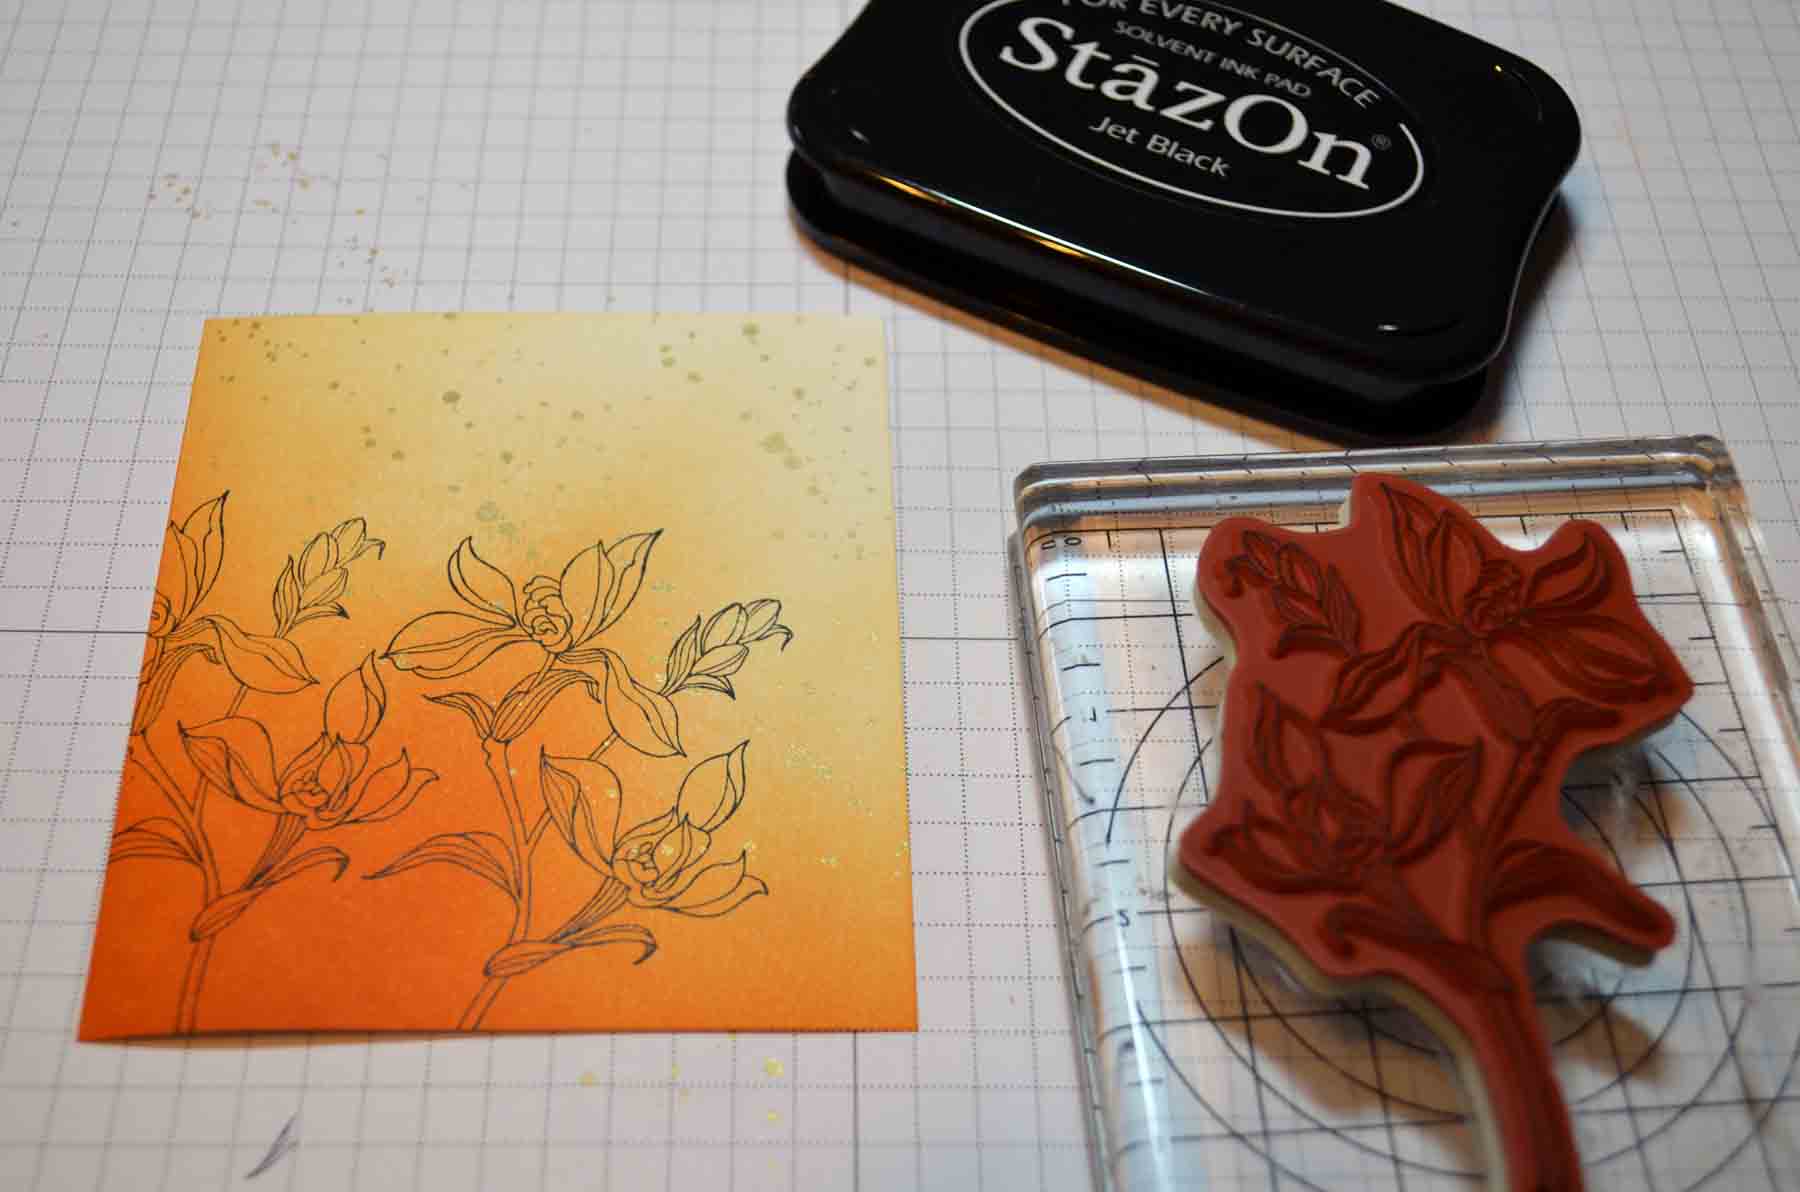
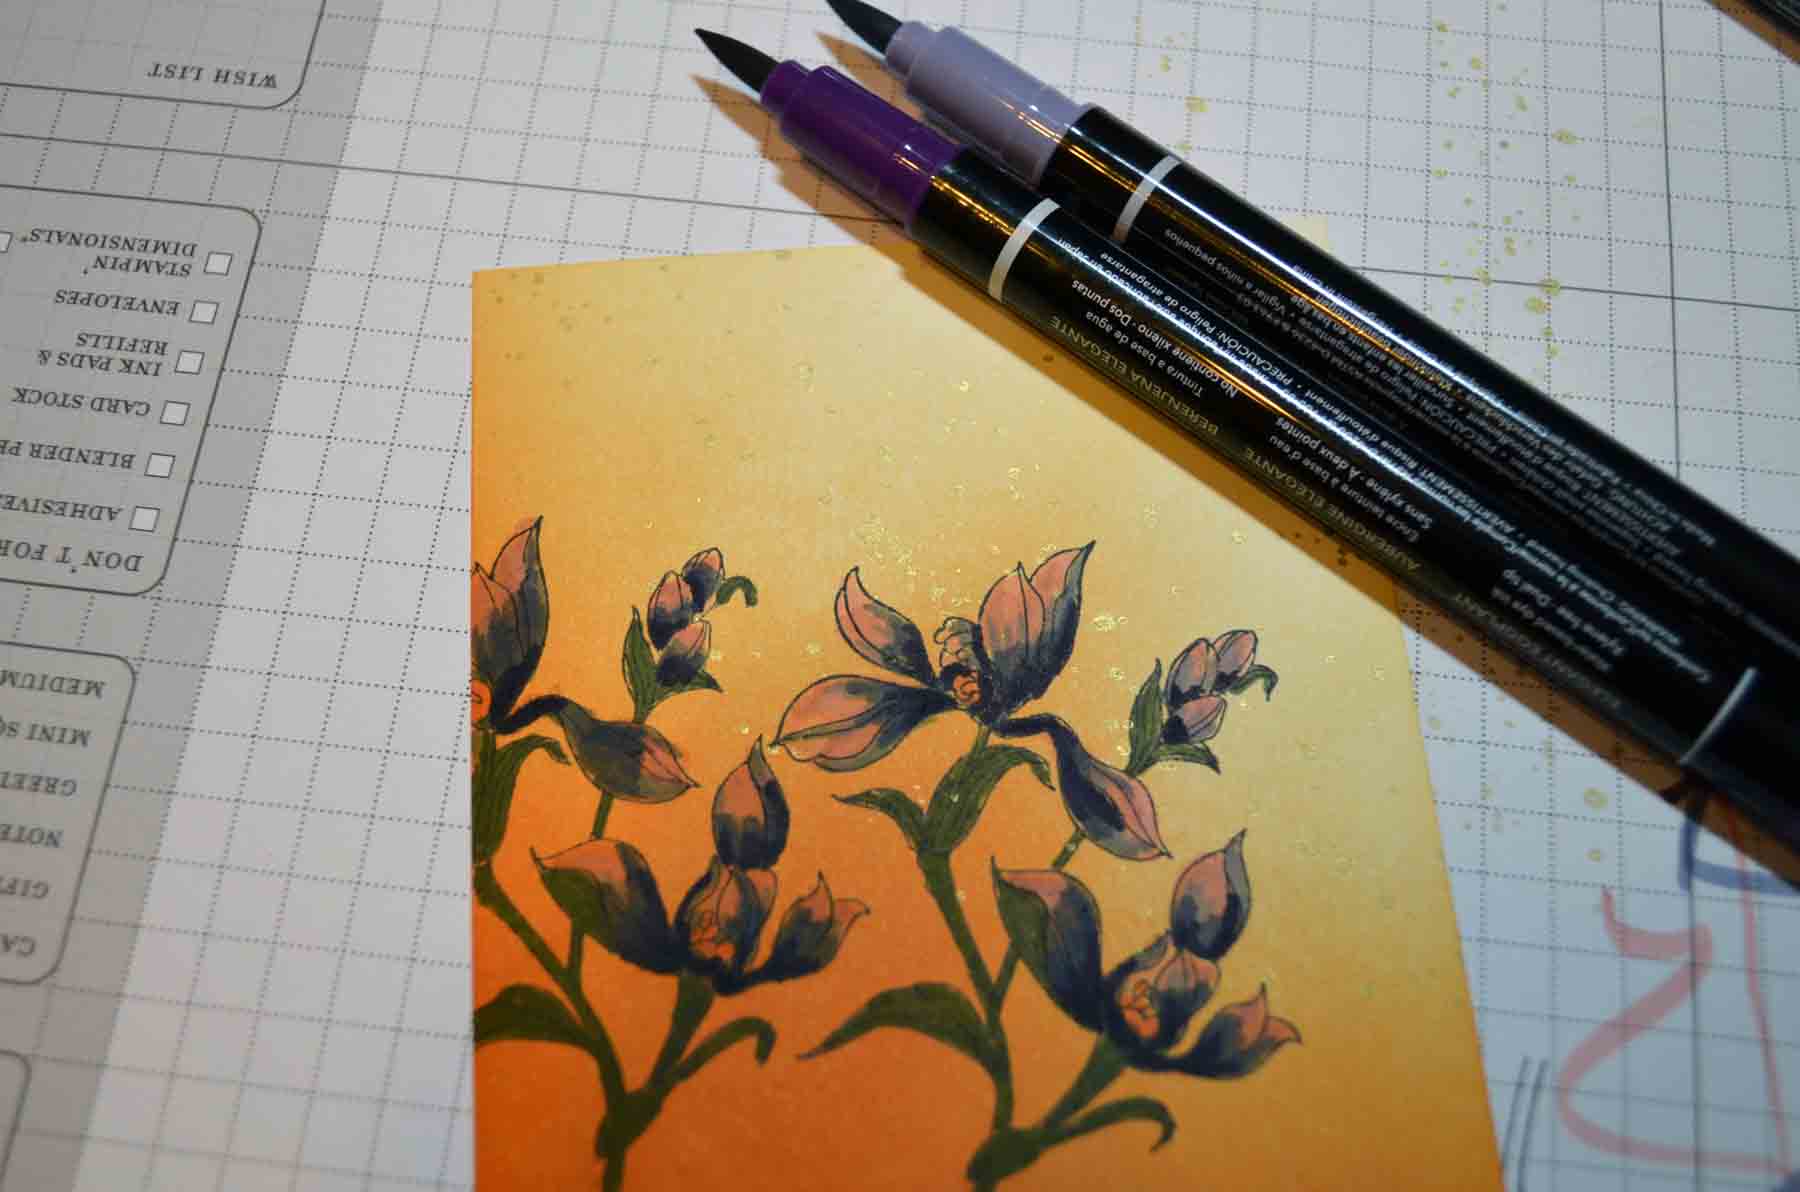
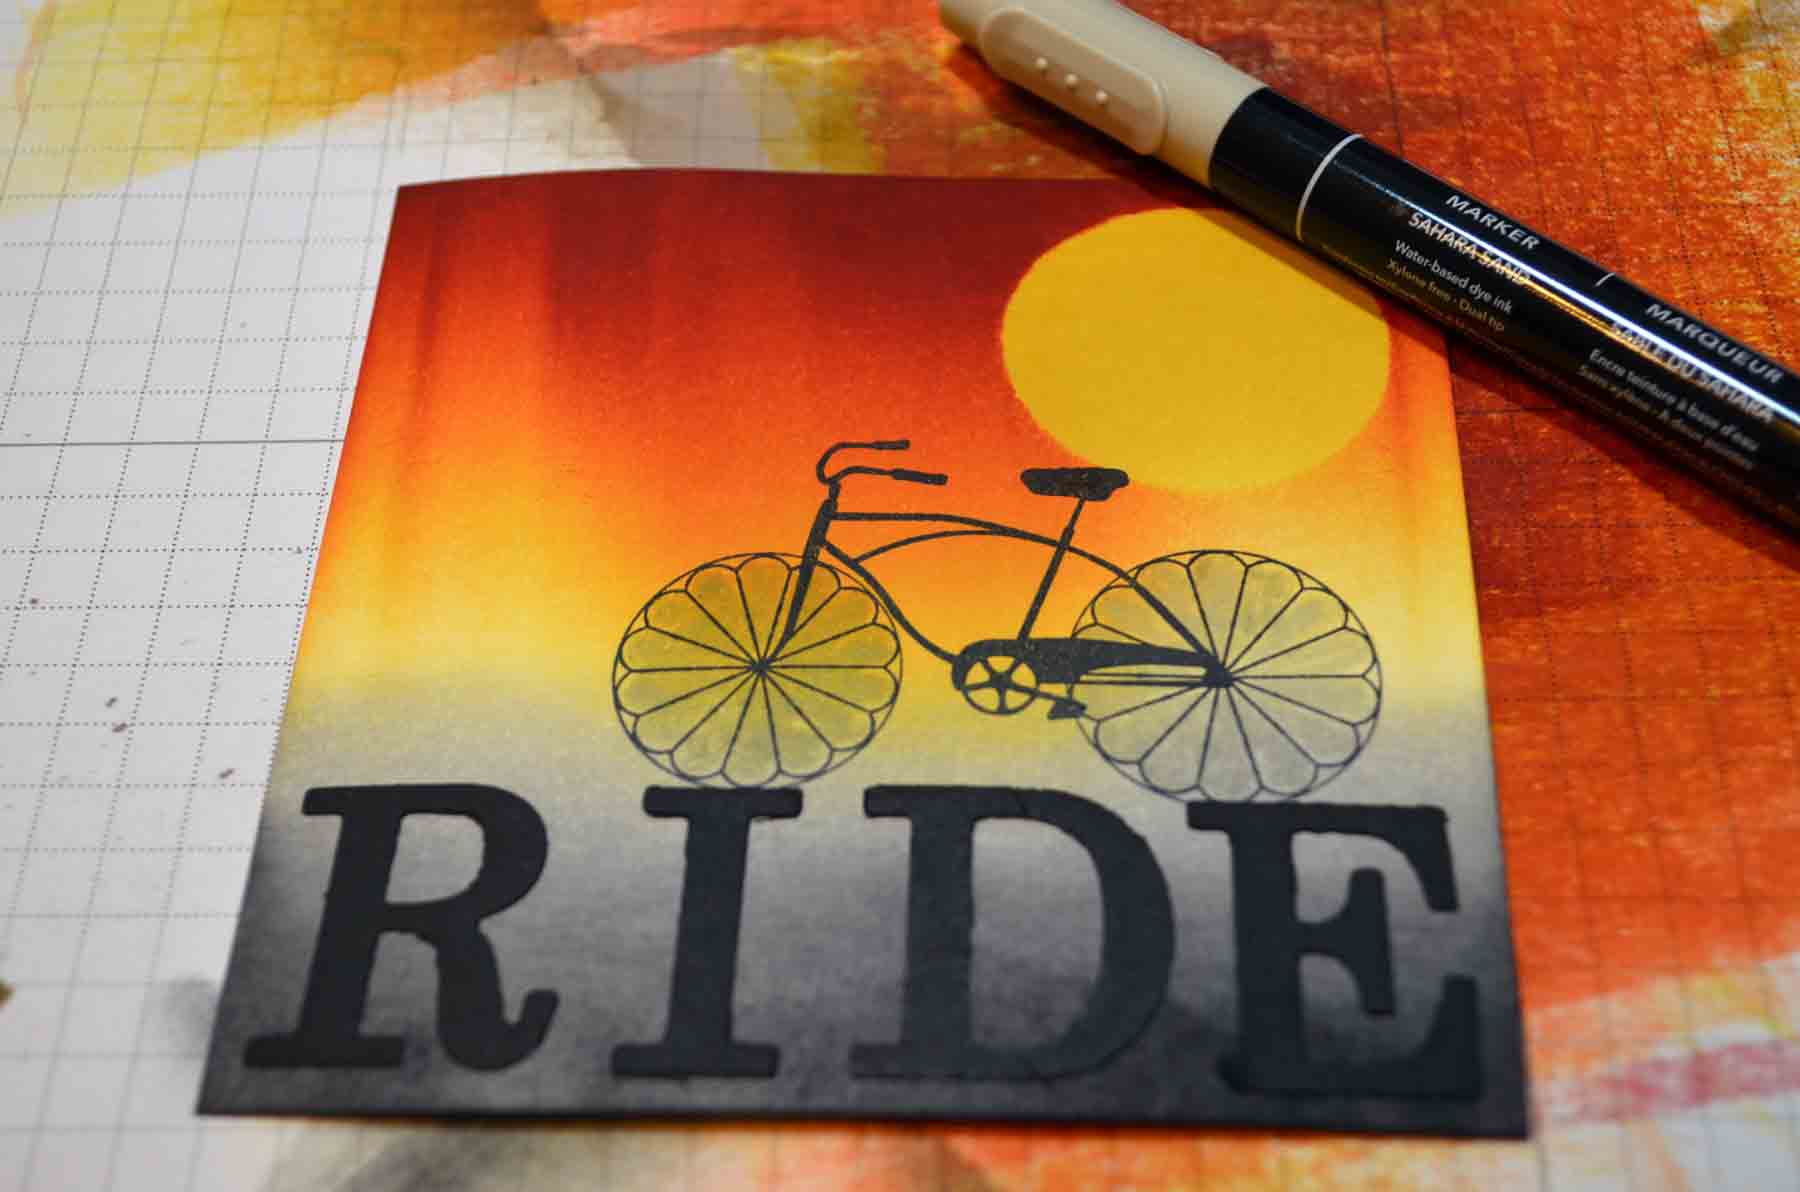
Stamped the Everything Eleanor Flourish using Tempting Turquoise ink in the sky area.

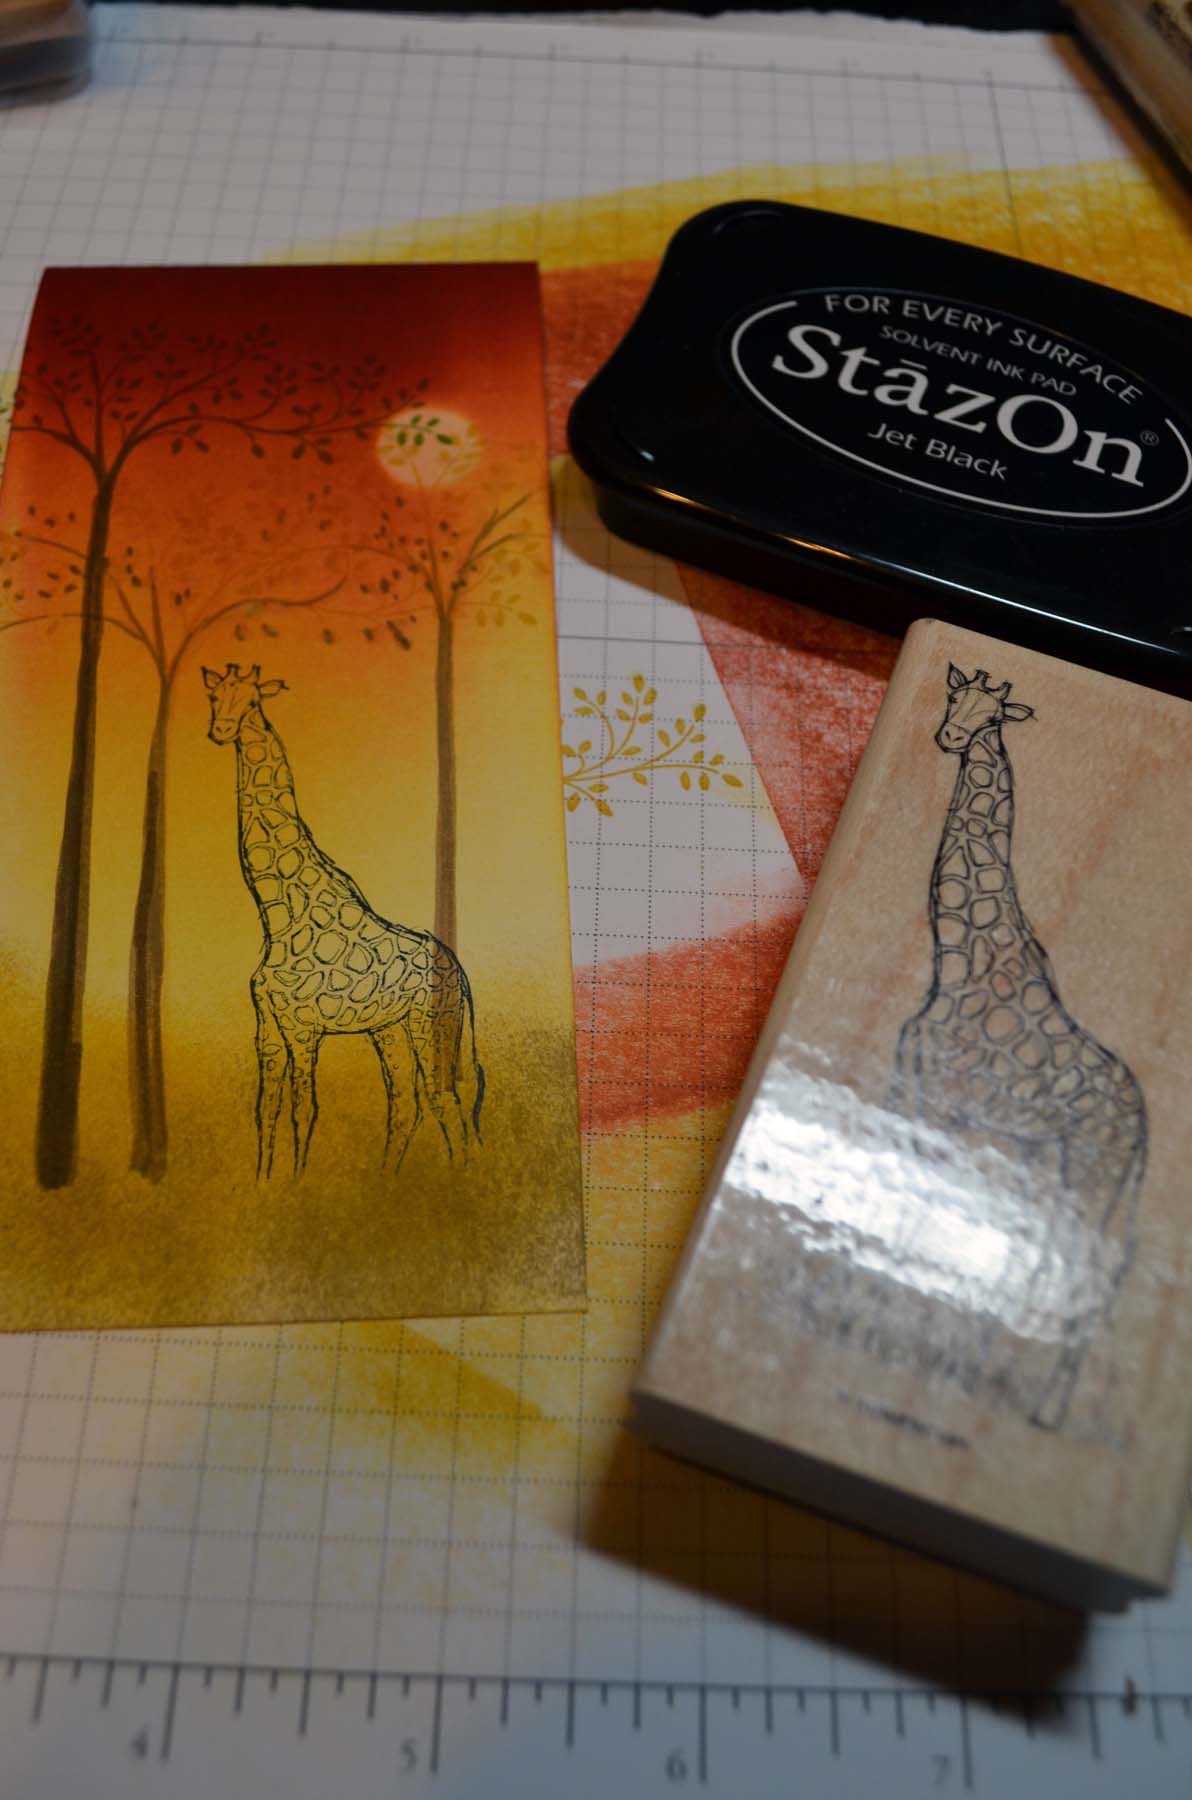
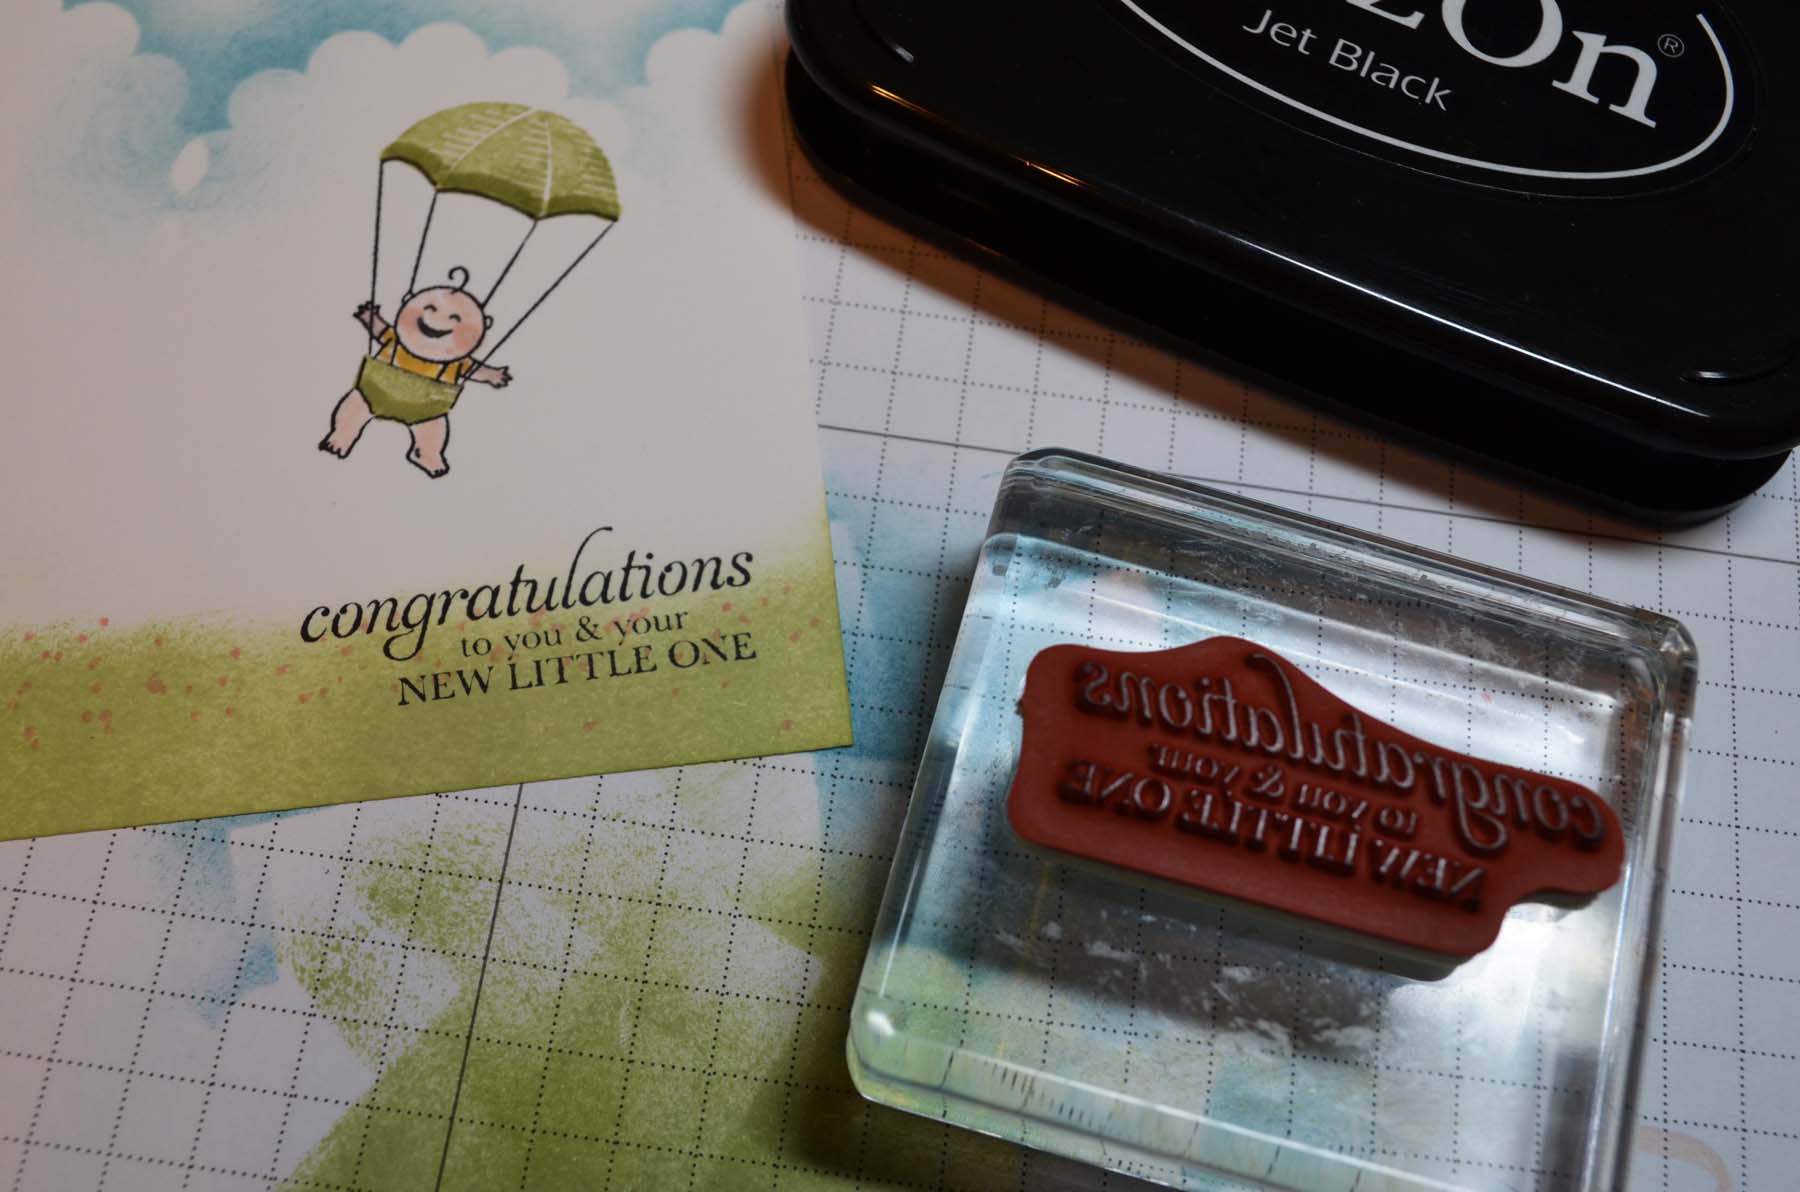
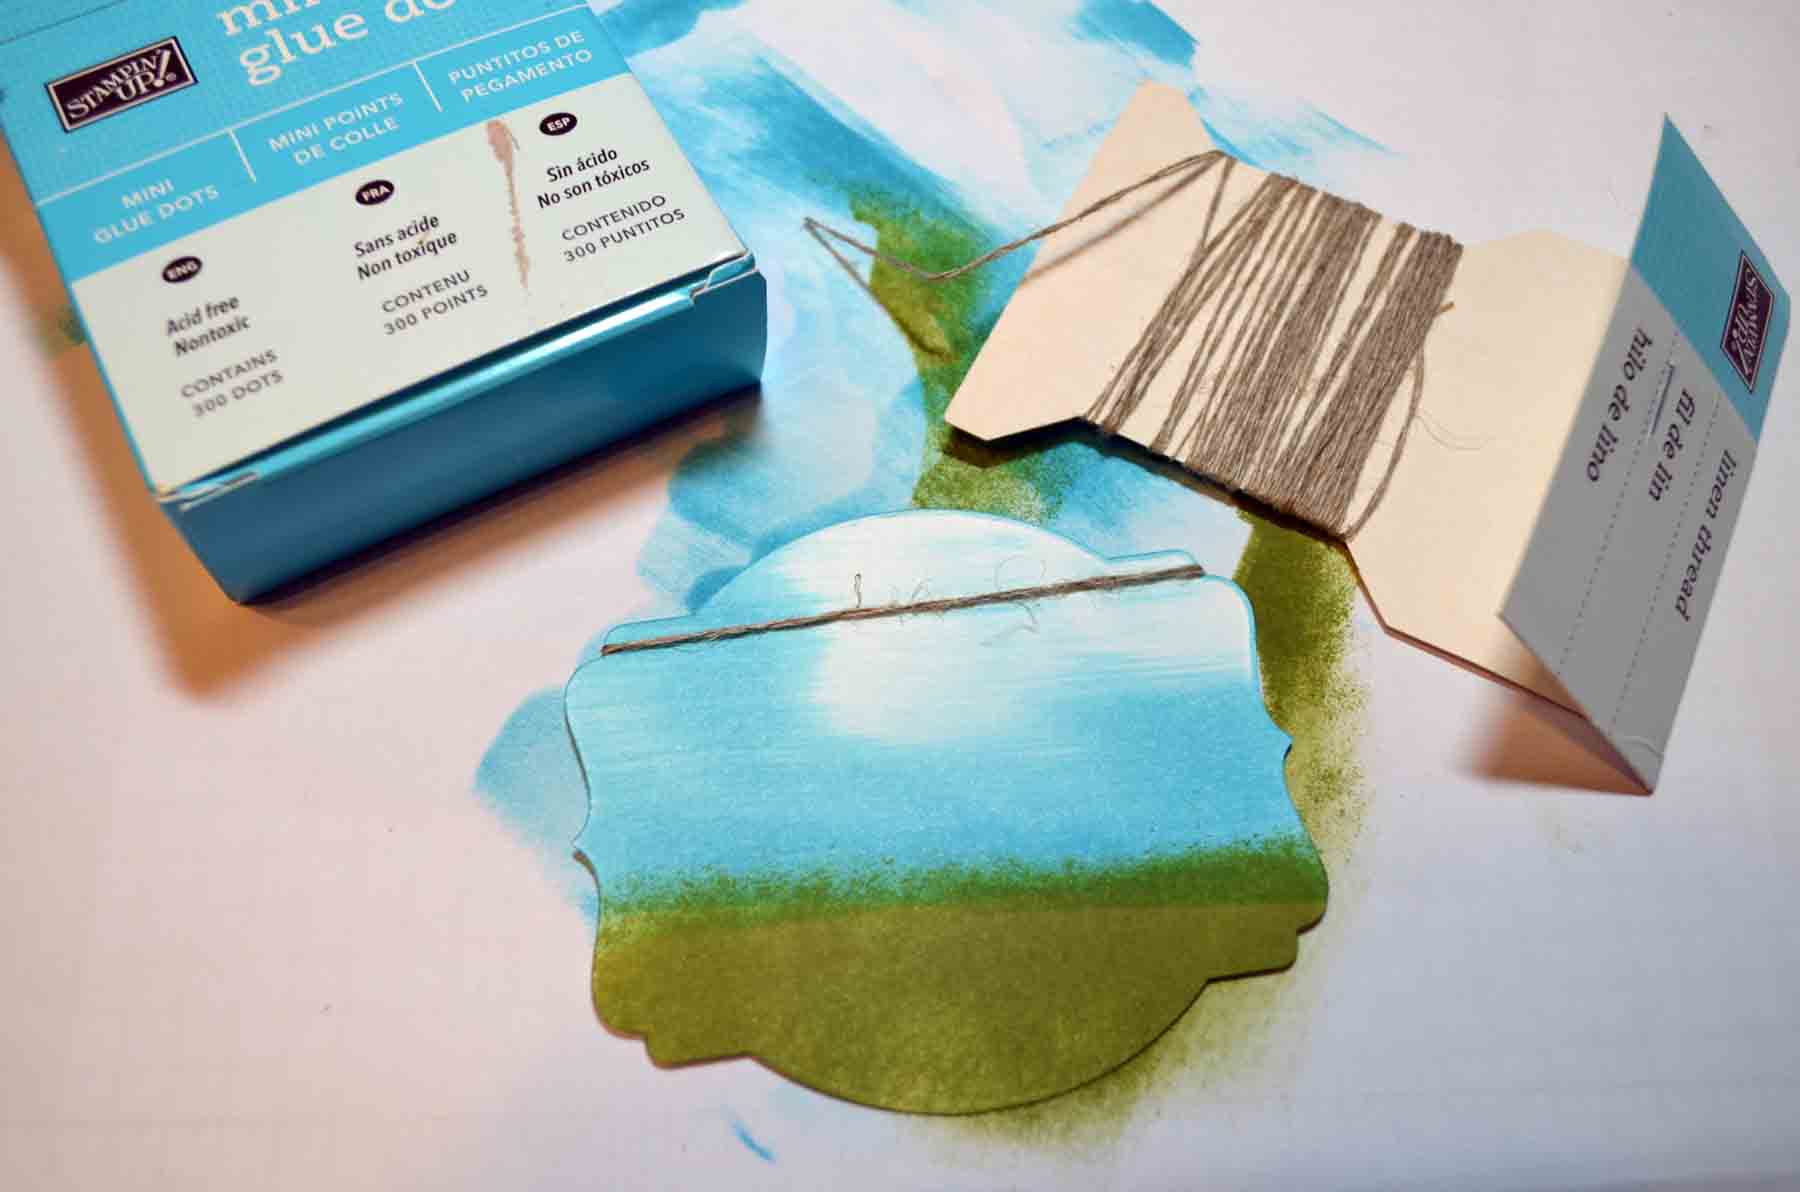
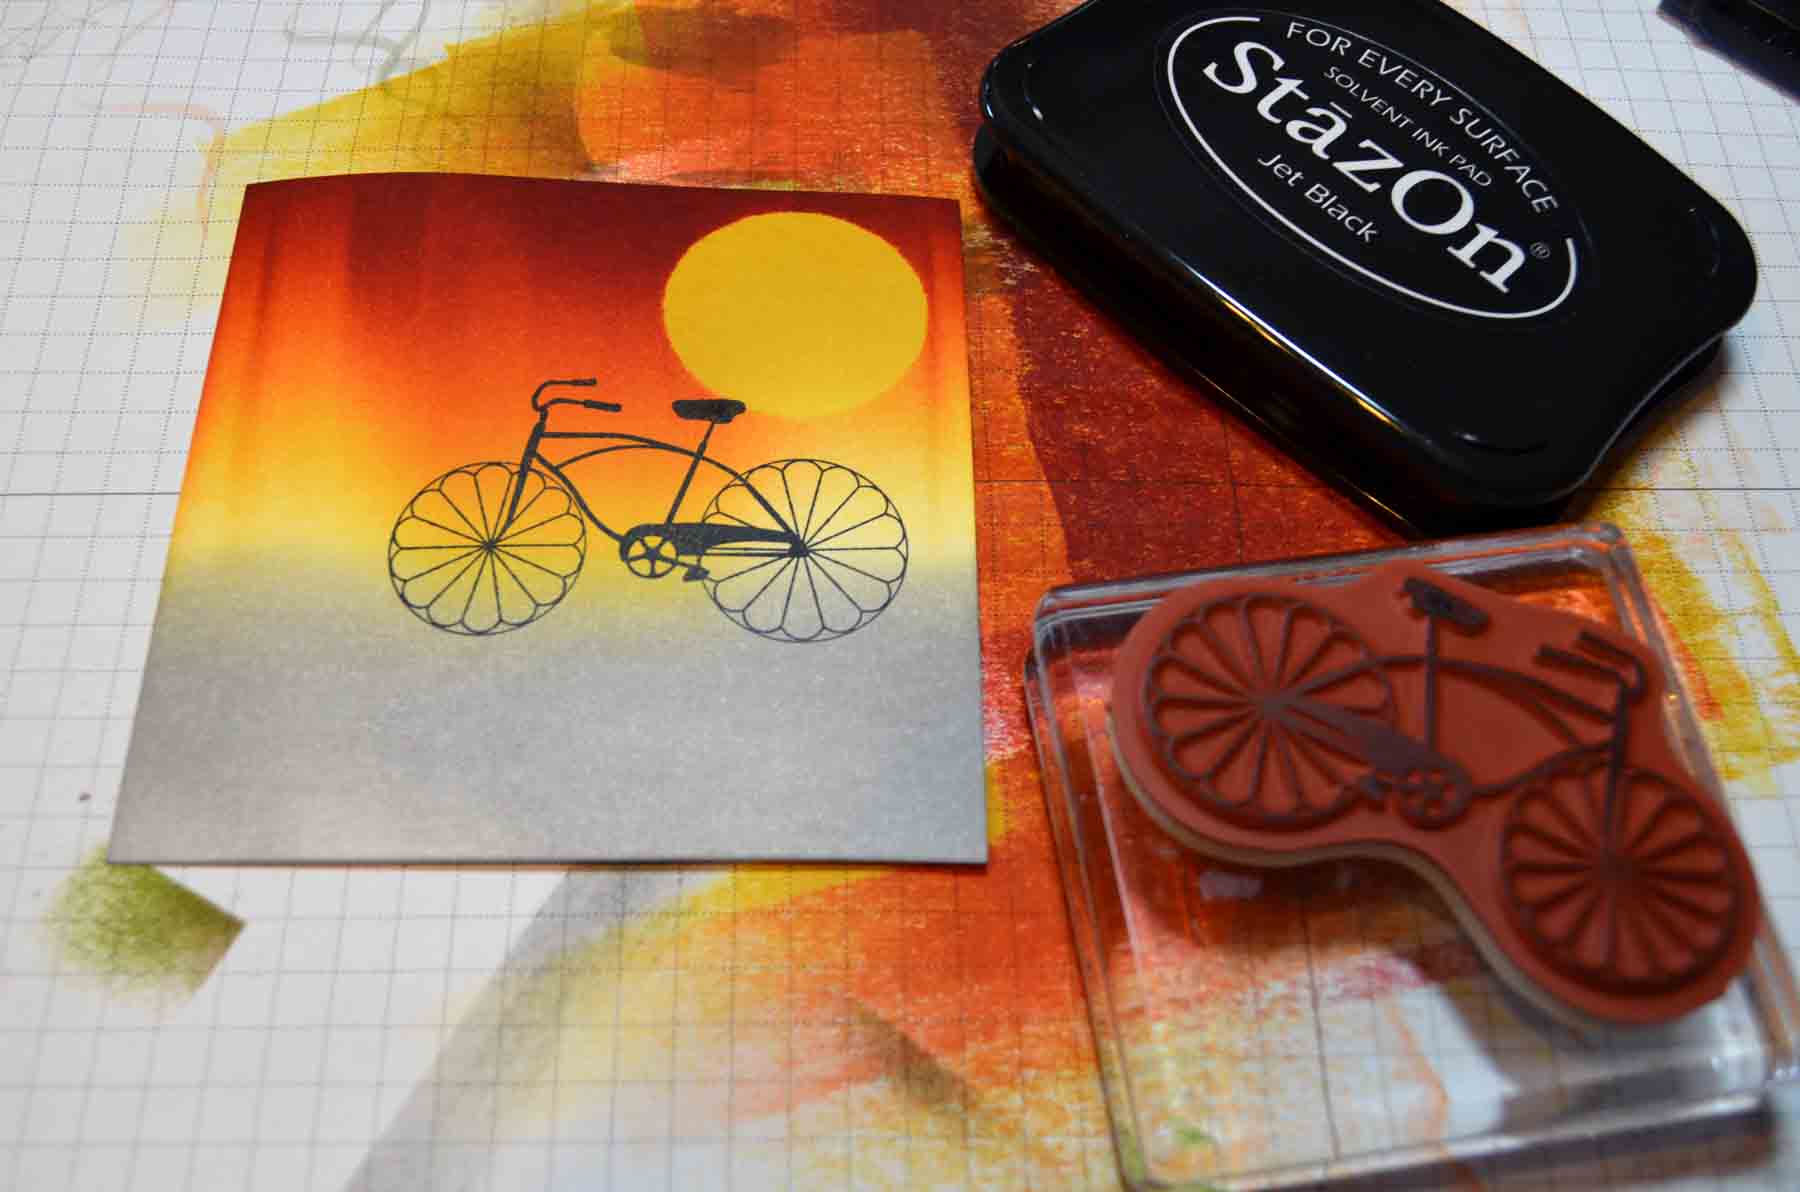
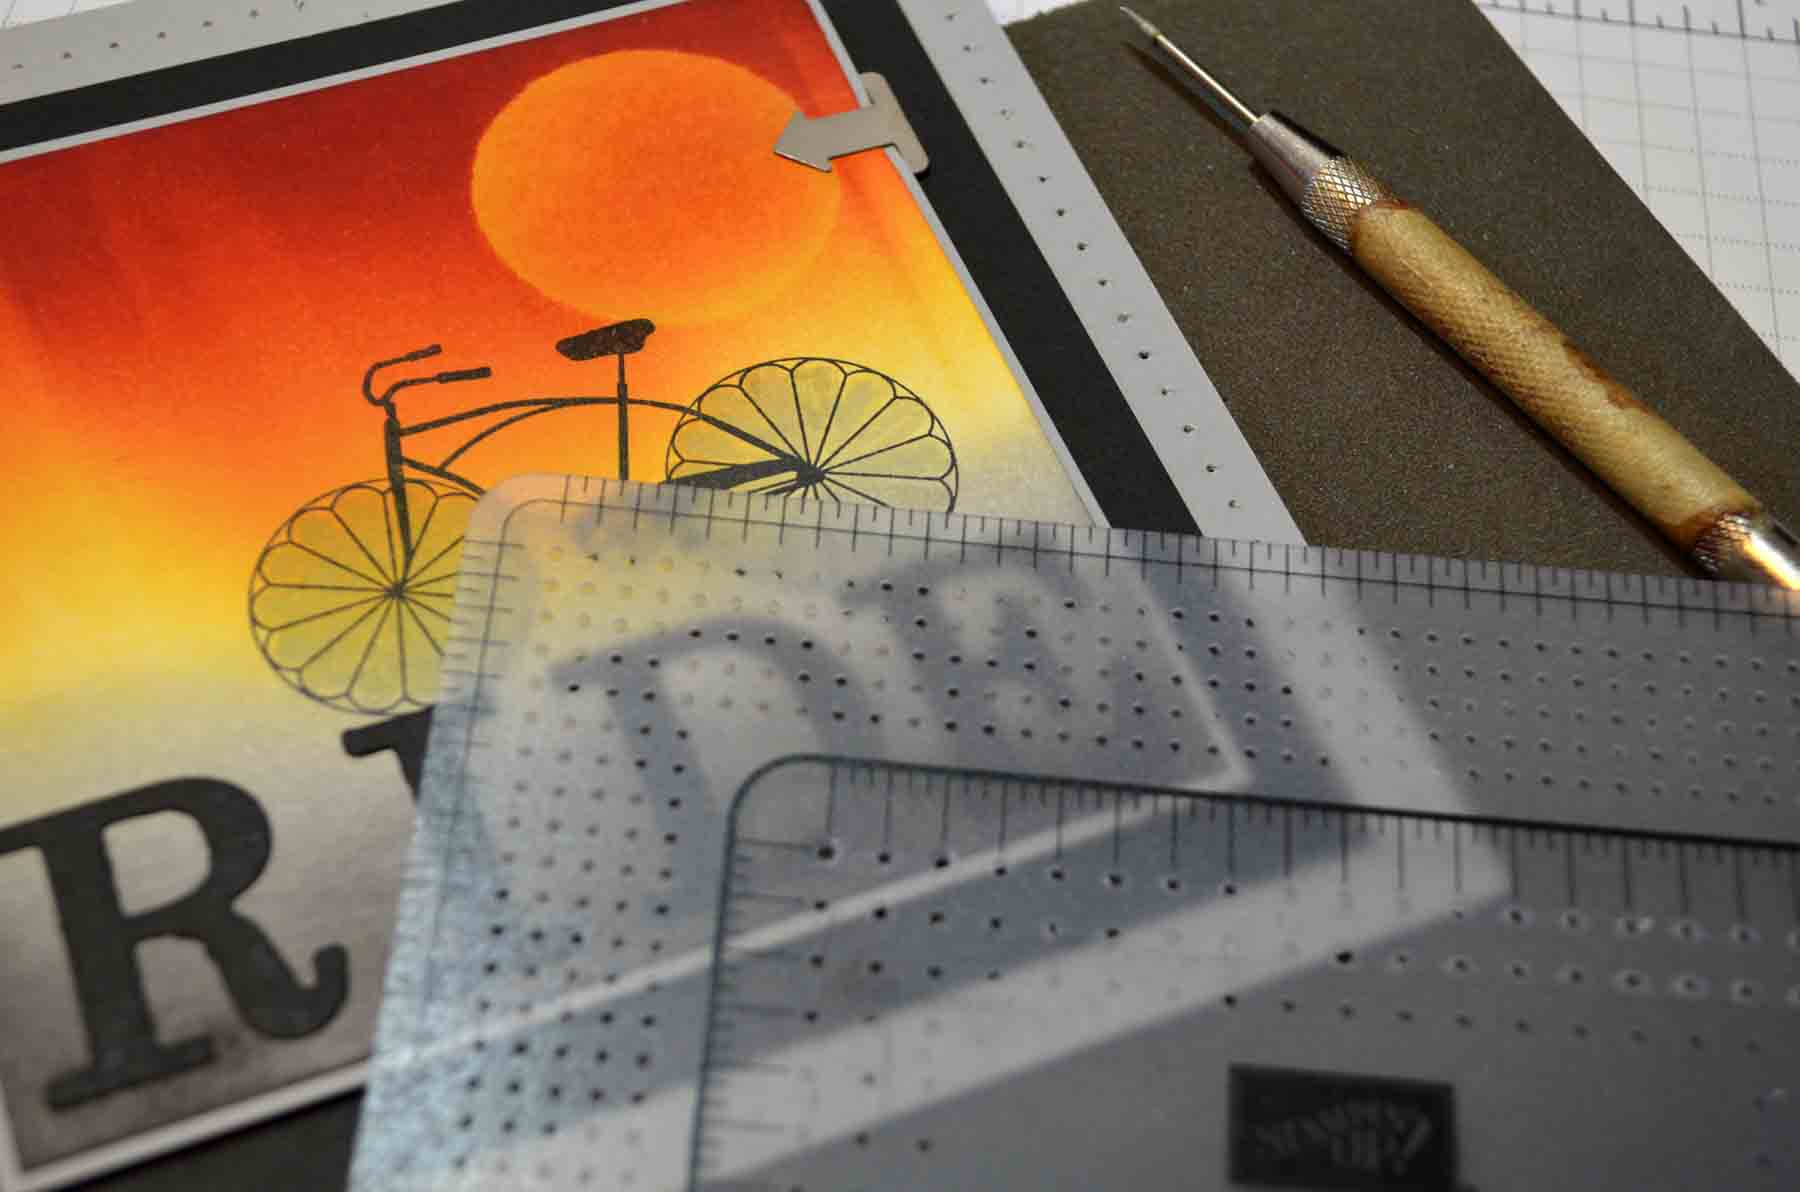
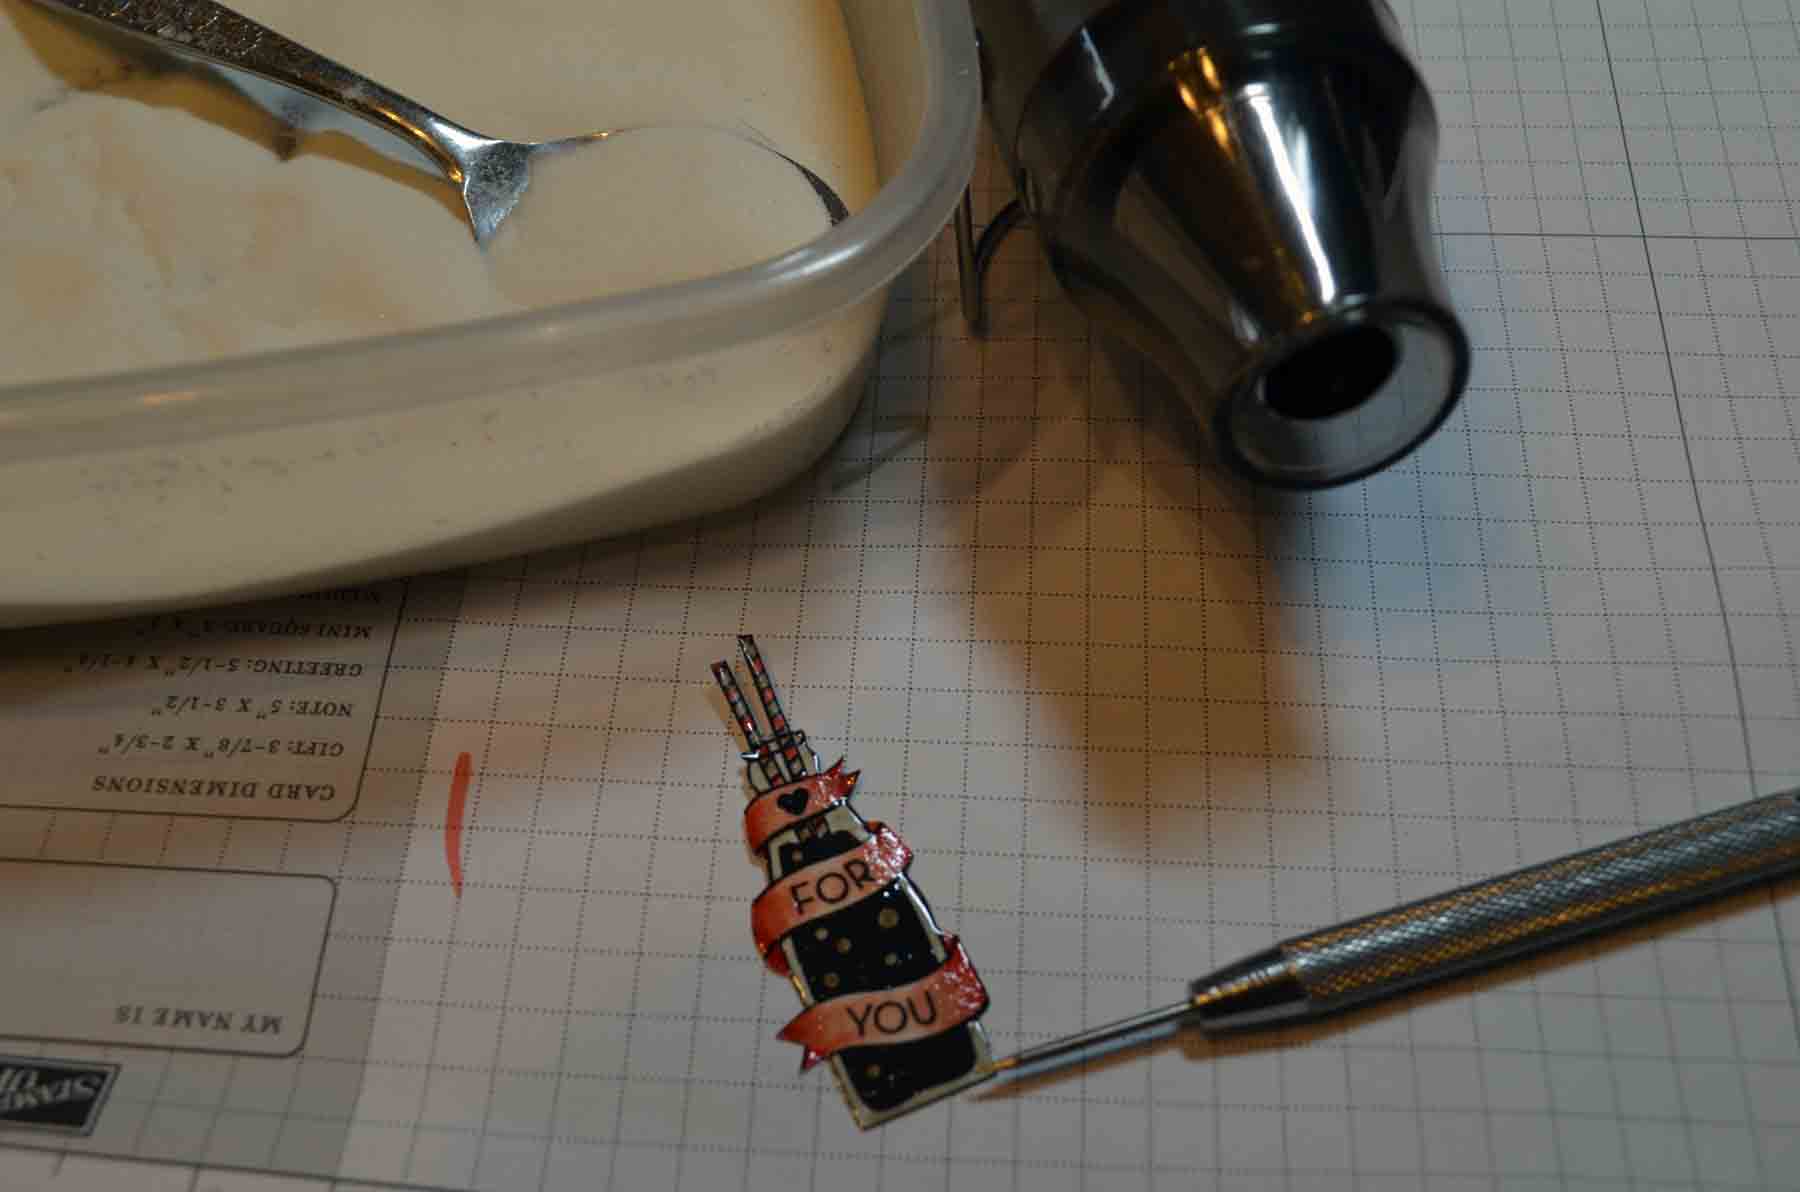
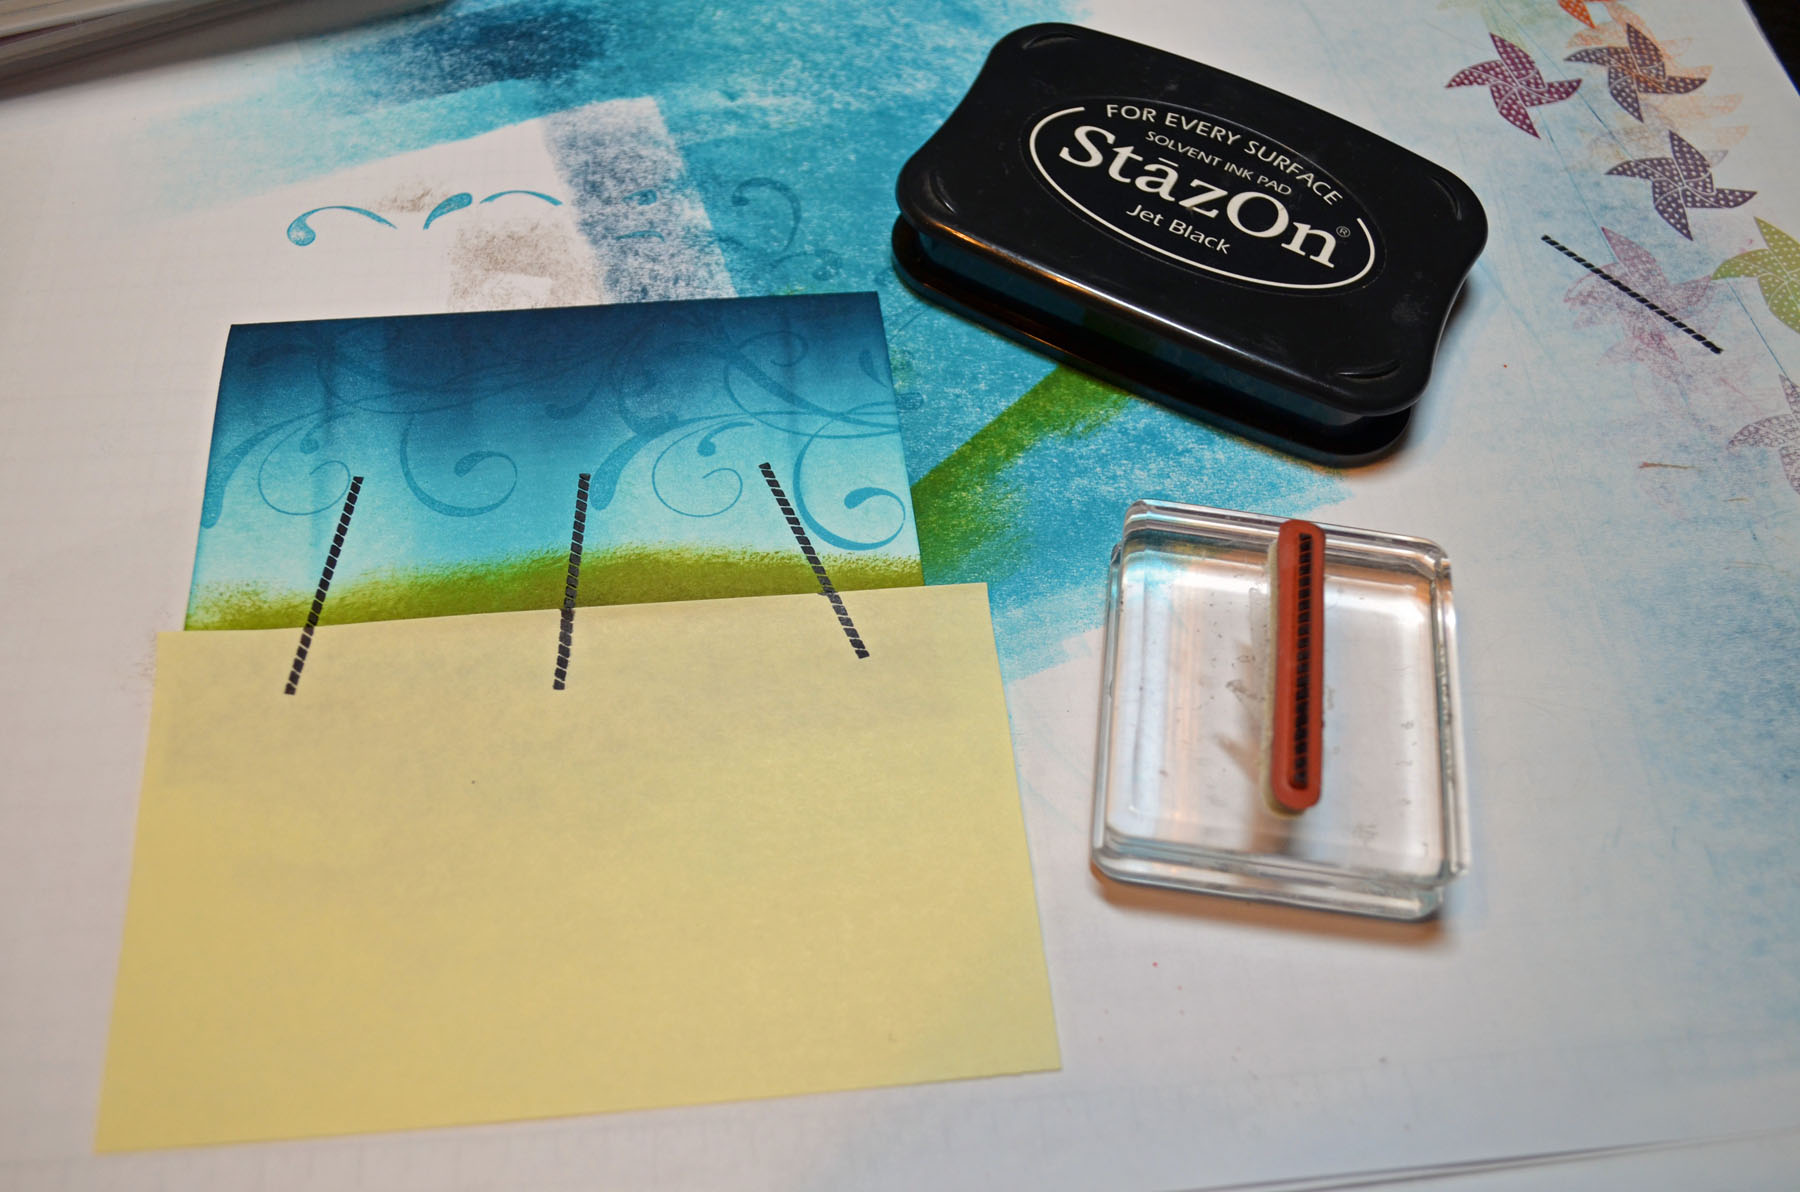
Covered most of the grassy area using a post it note and then stamped the pinwheel sticks using Stazon Jet Black ink.

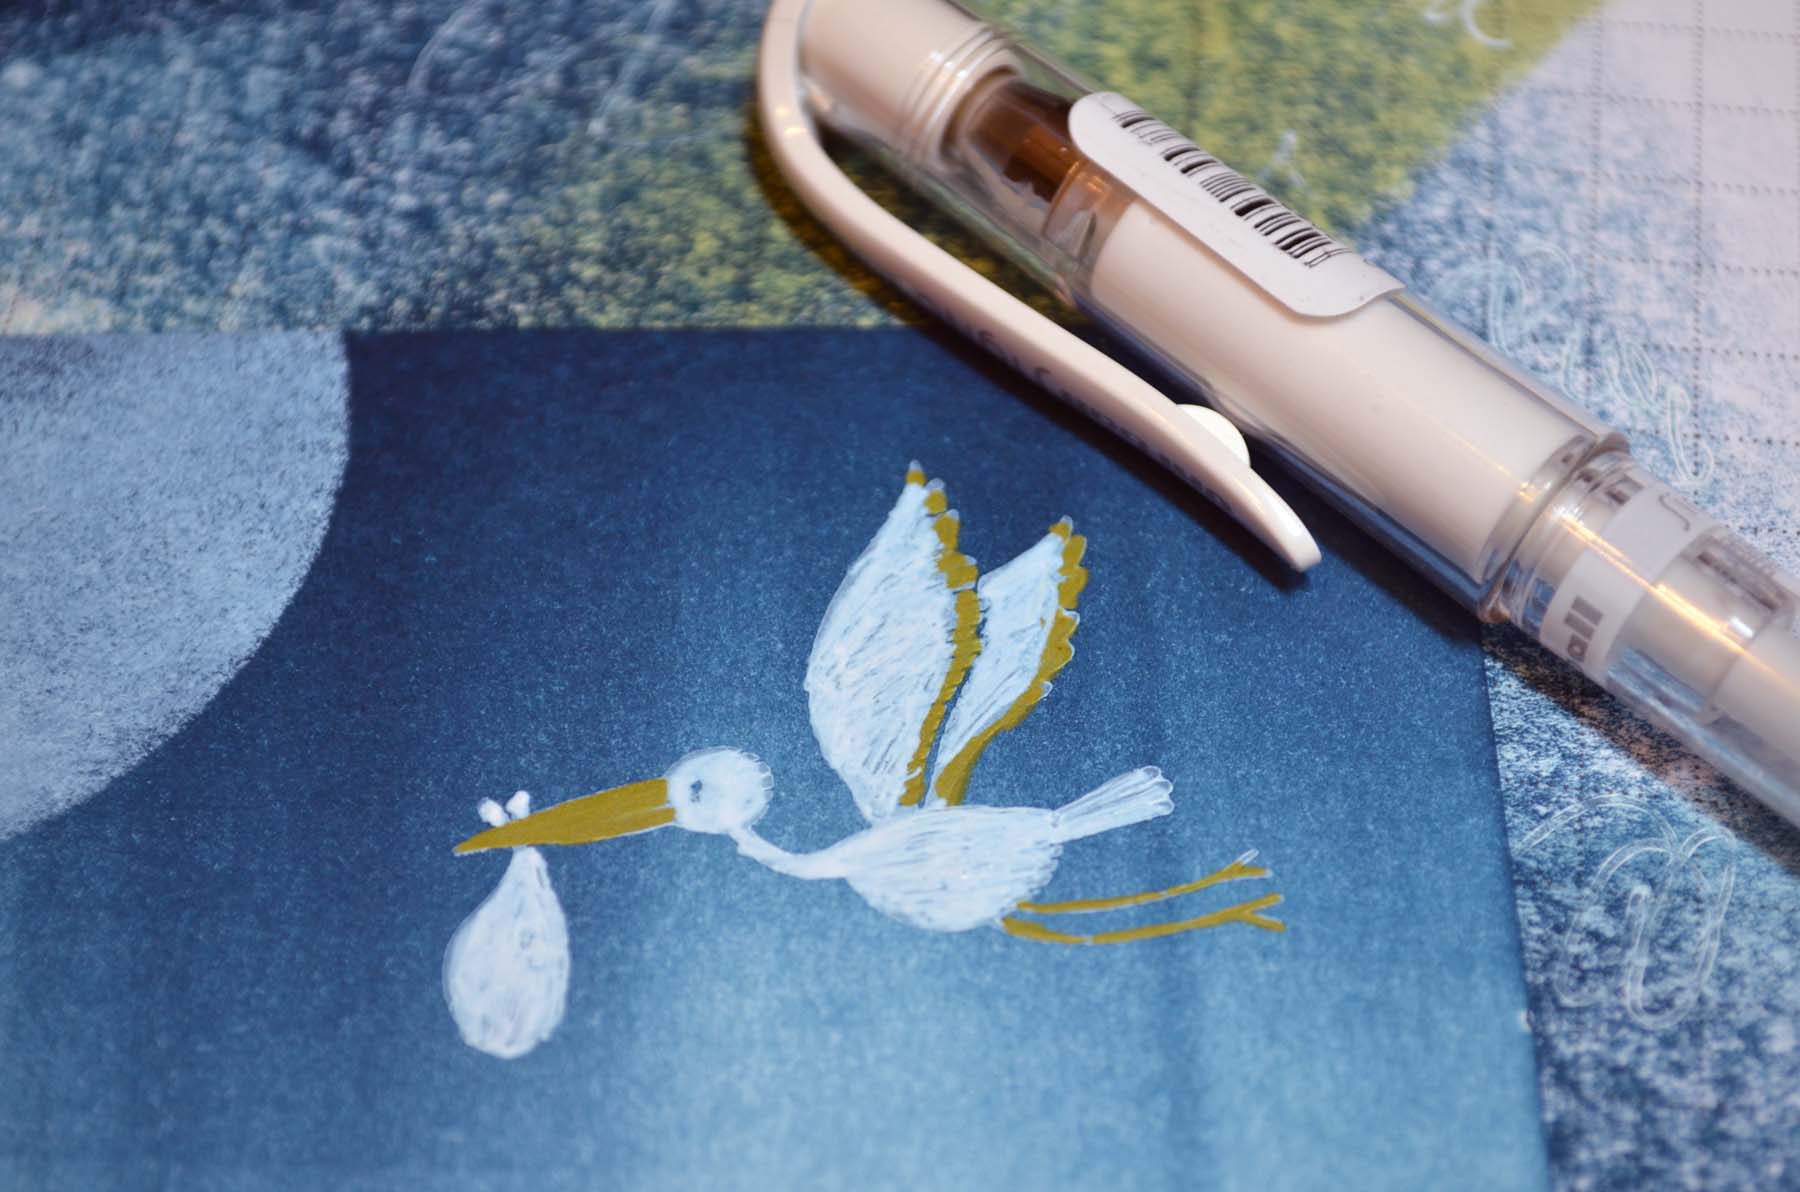
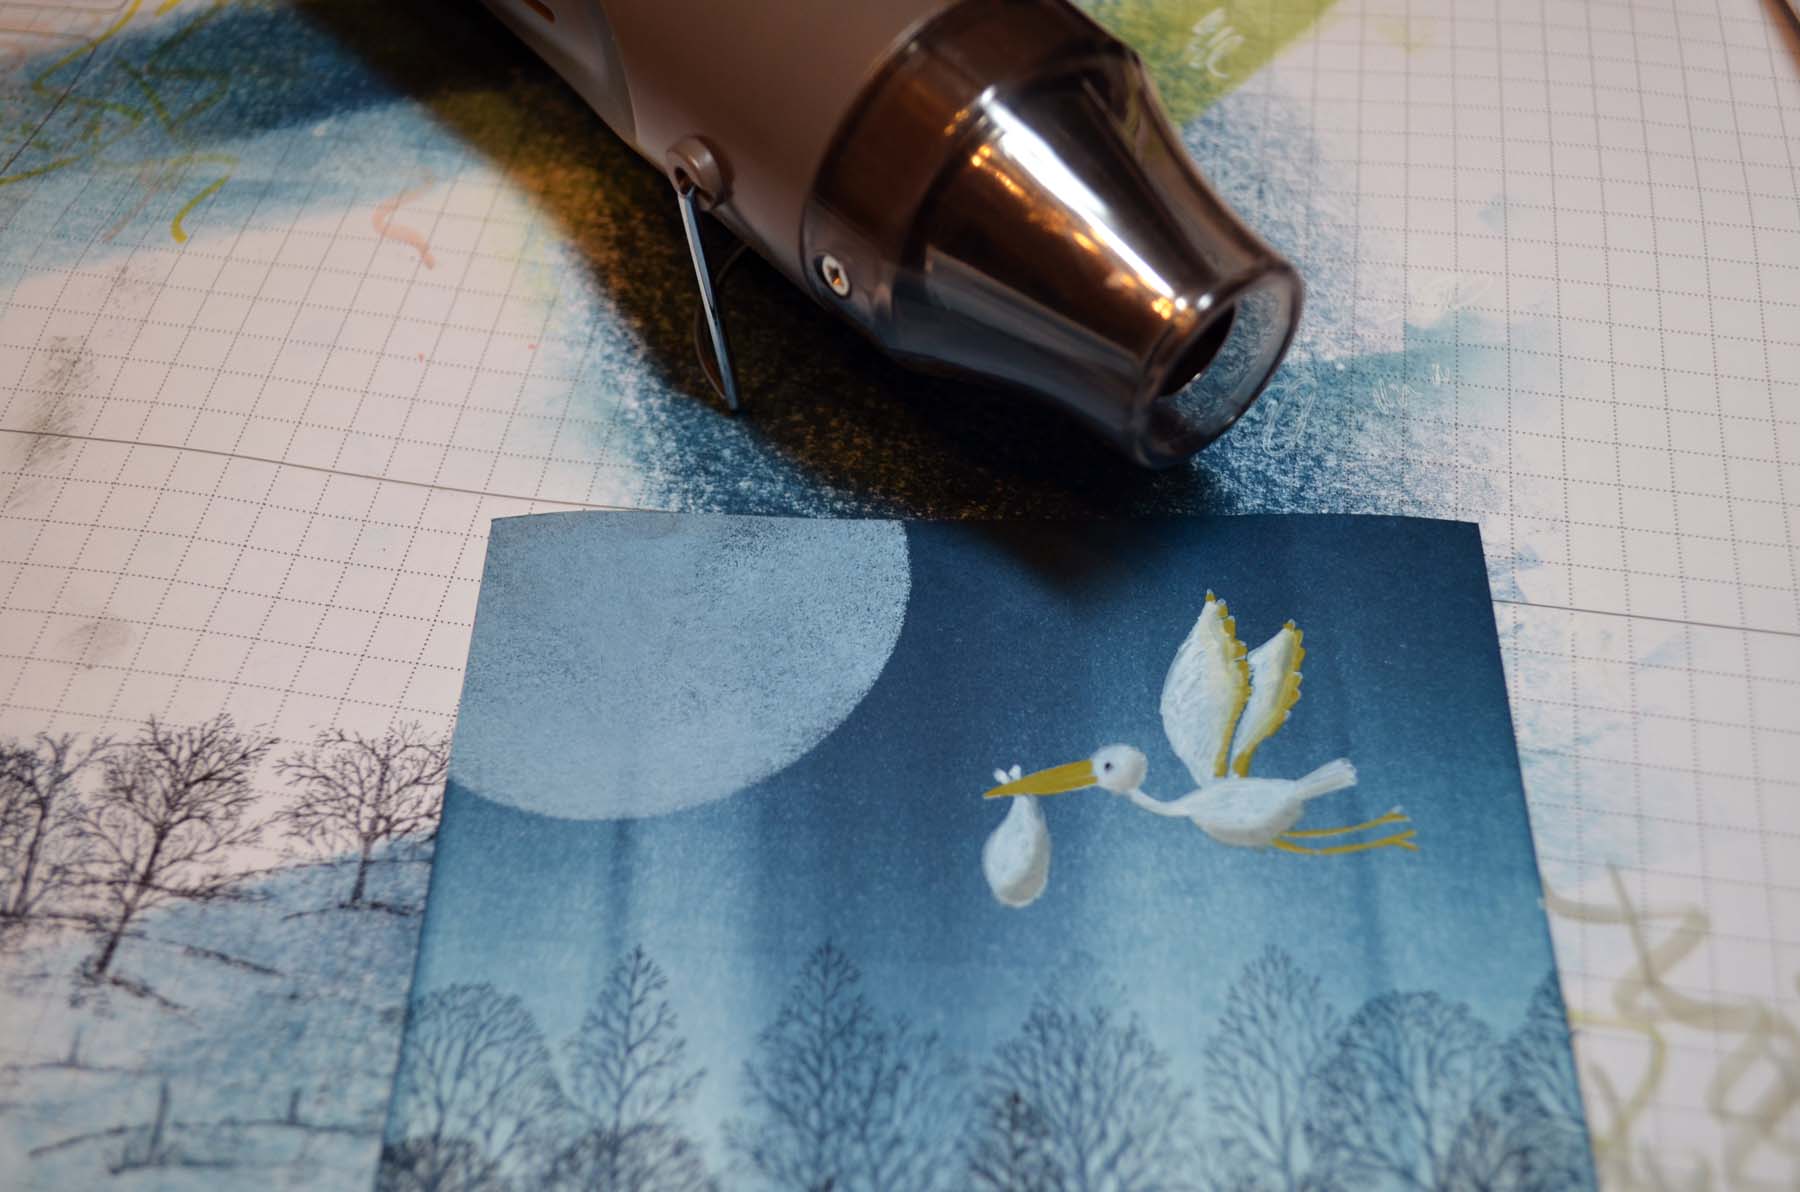
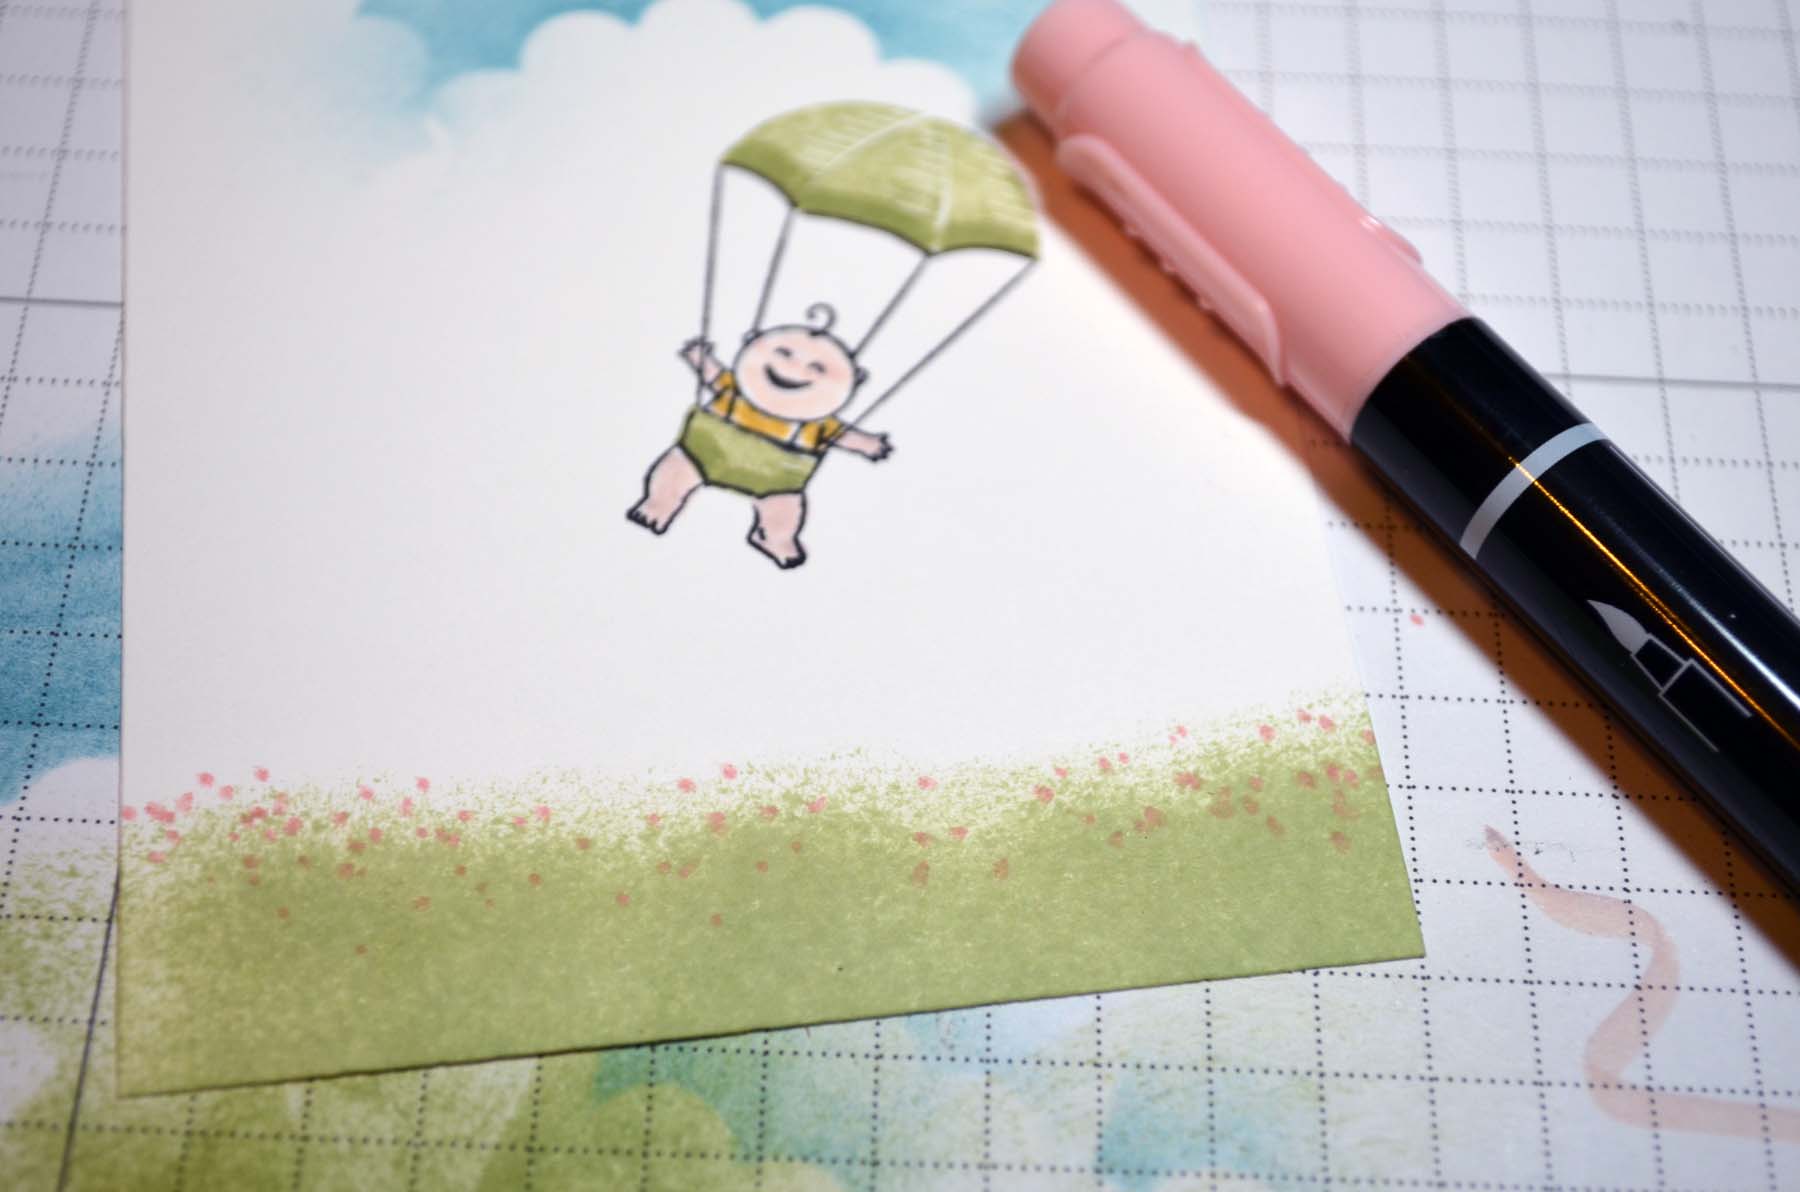
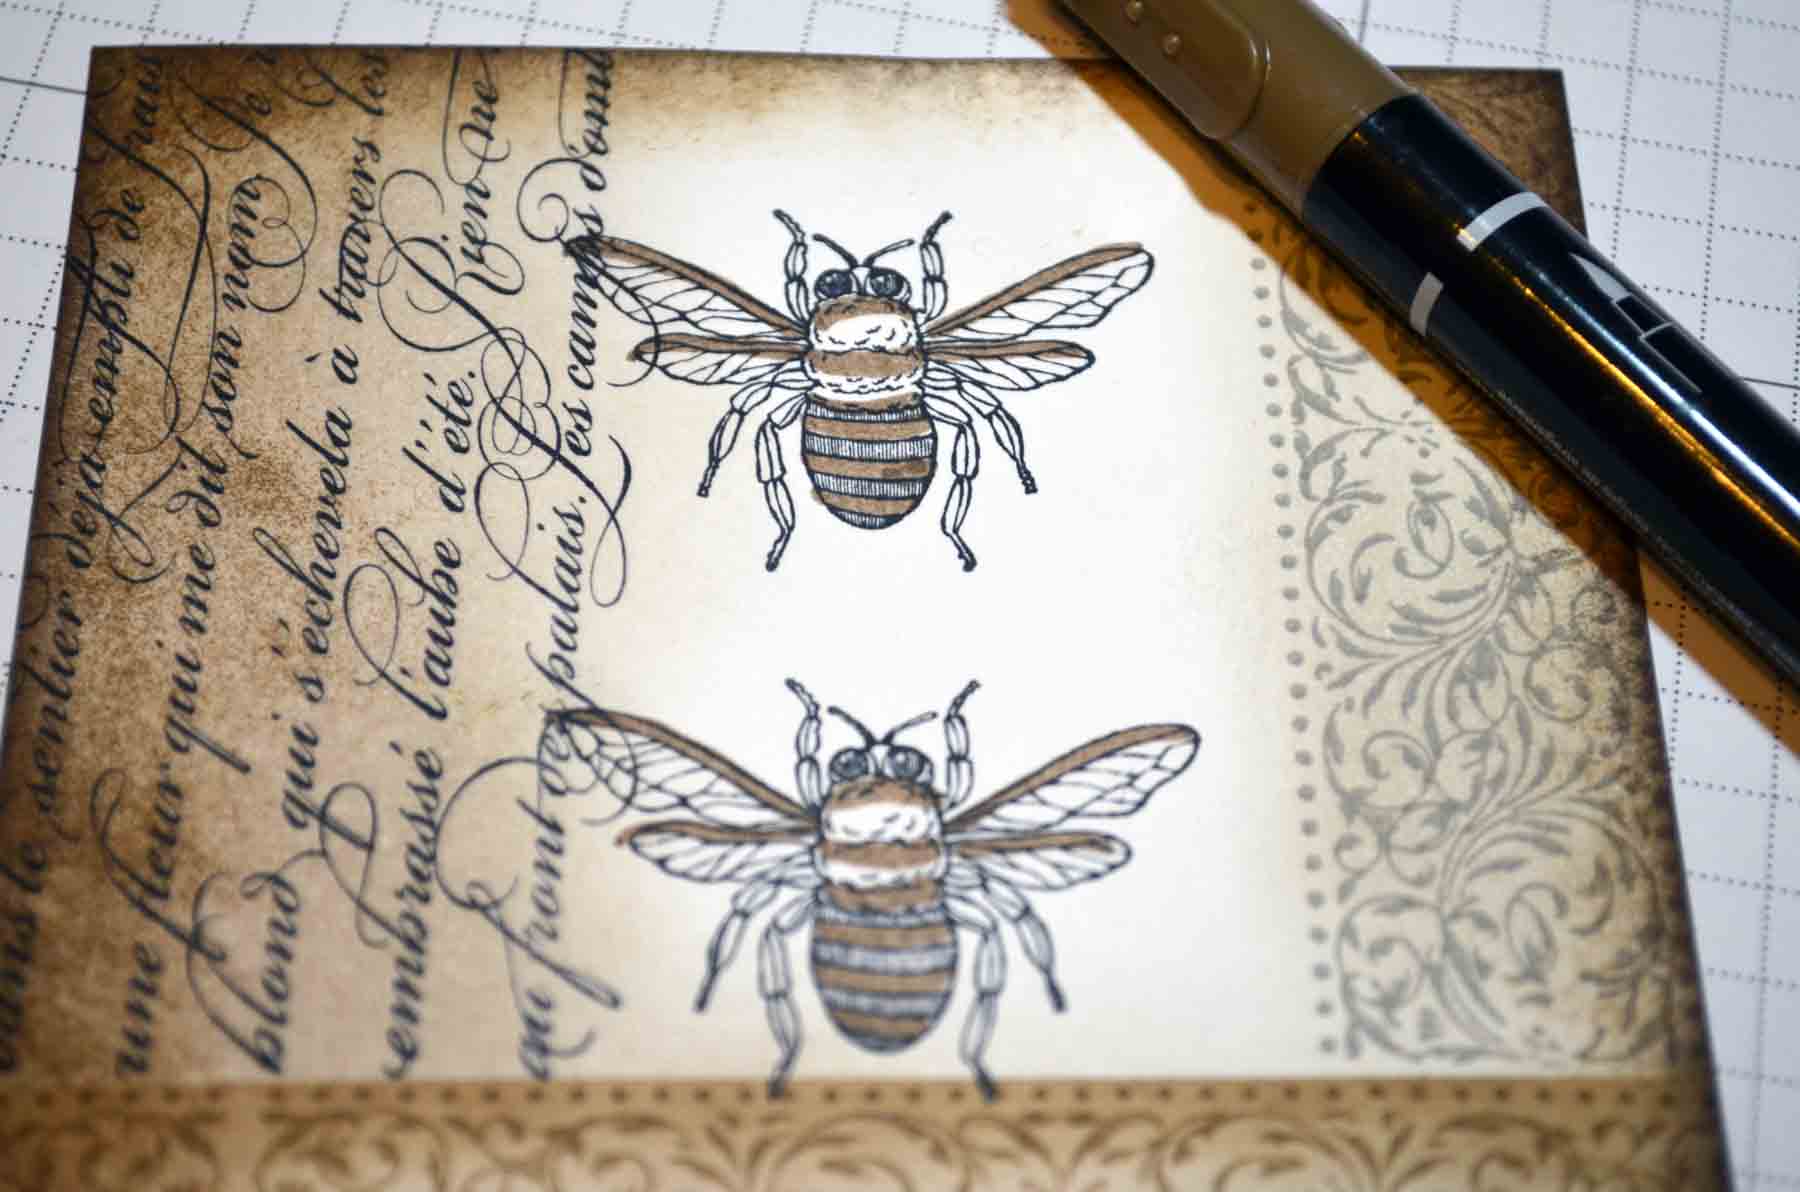
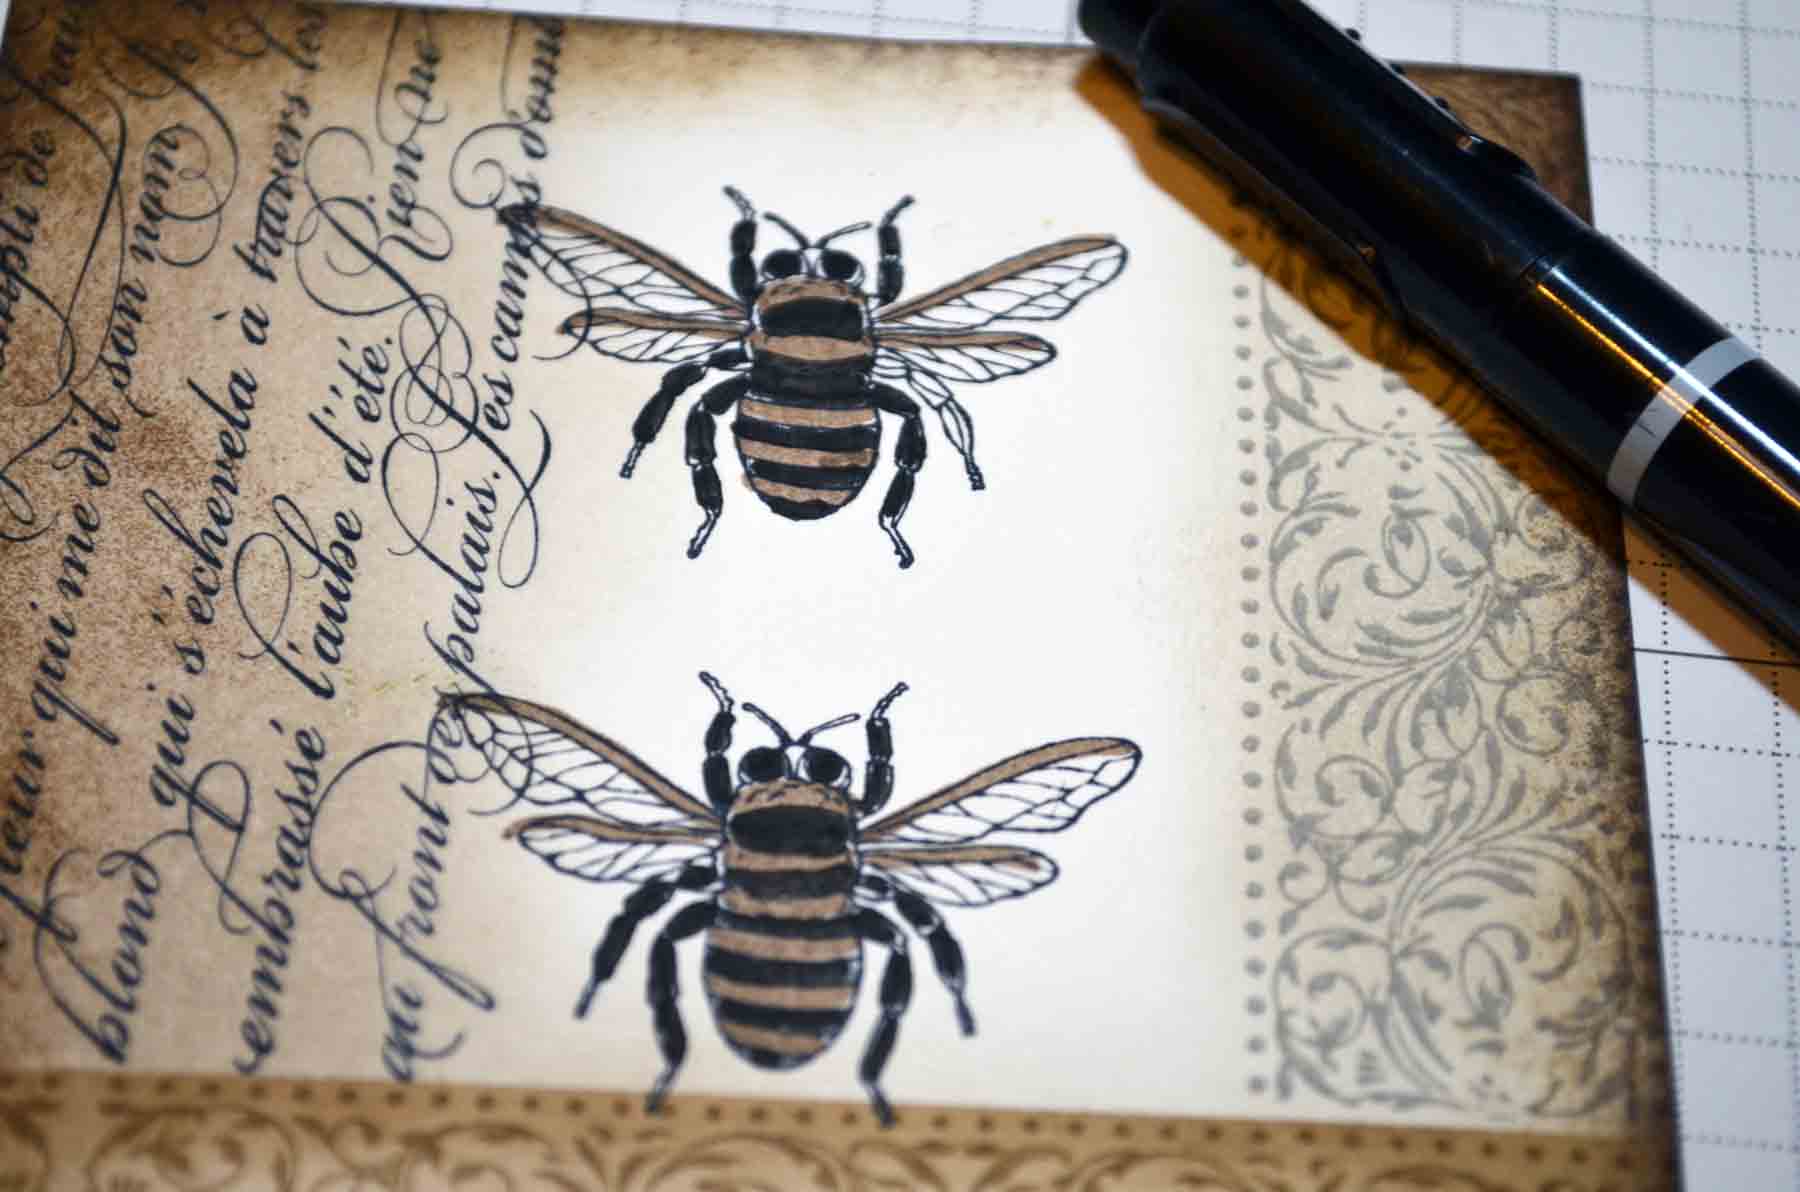
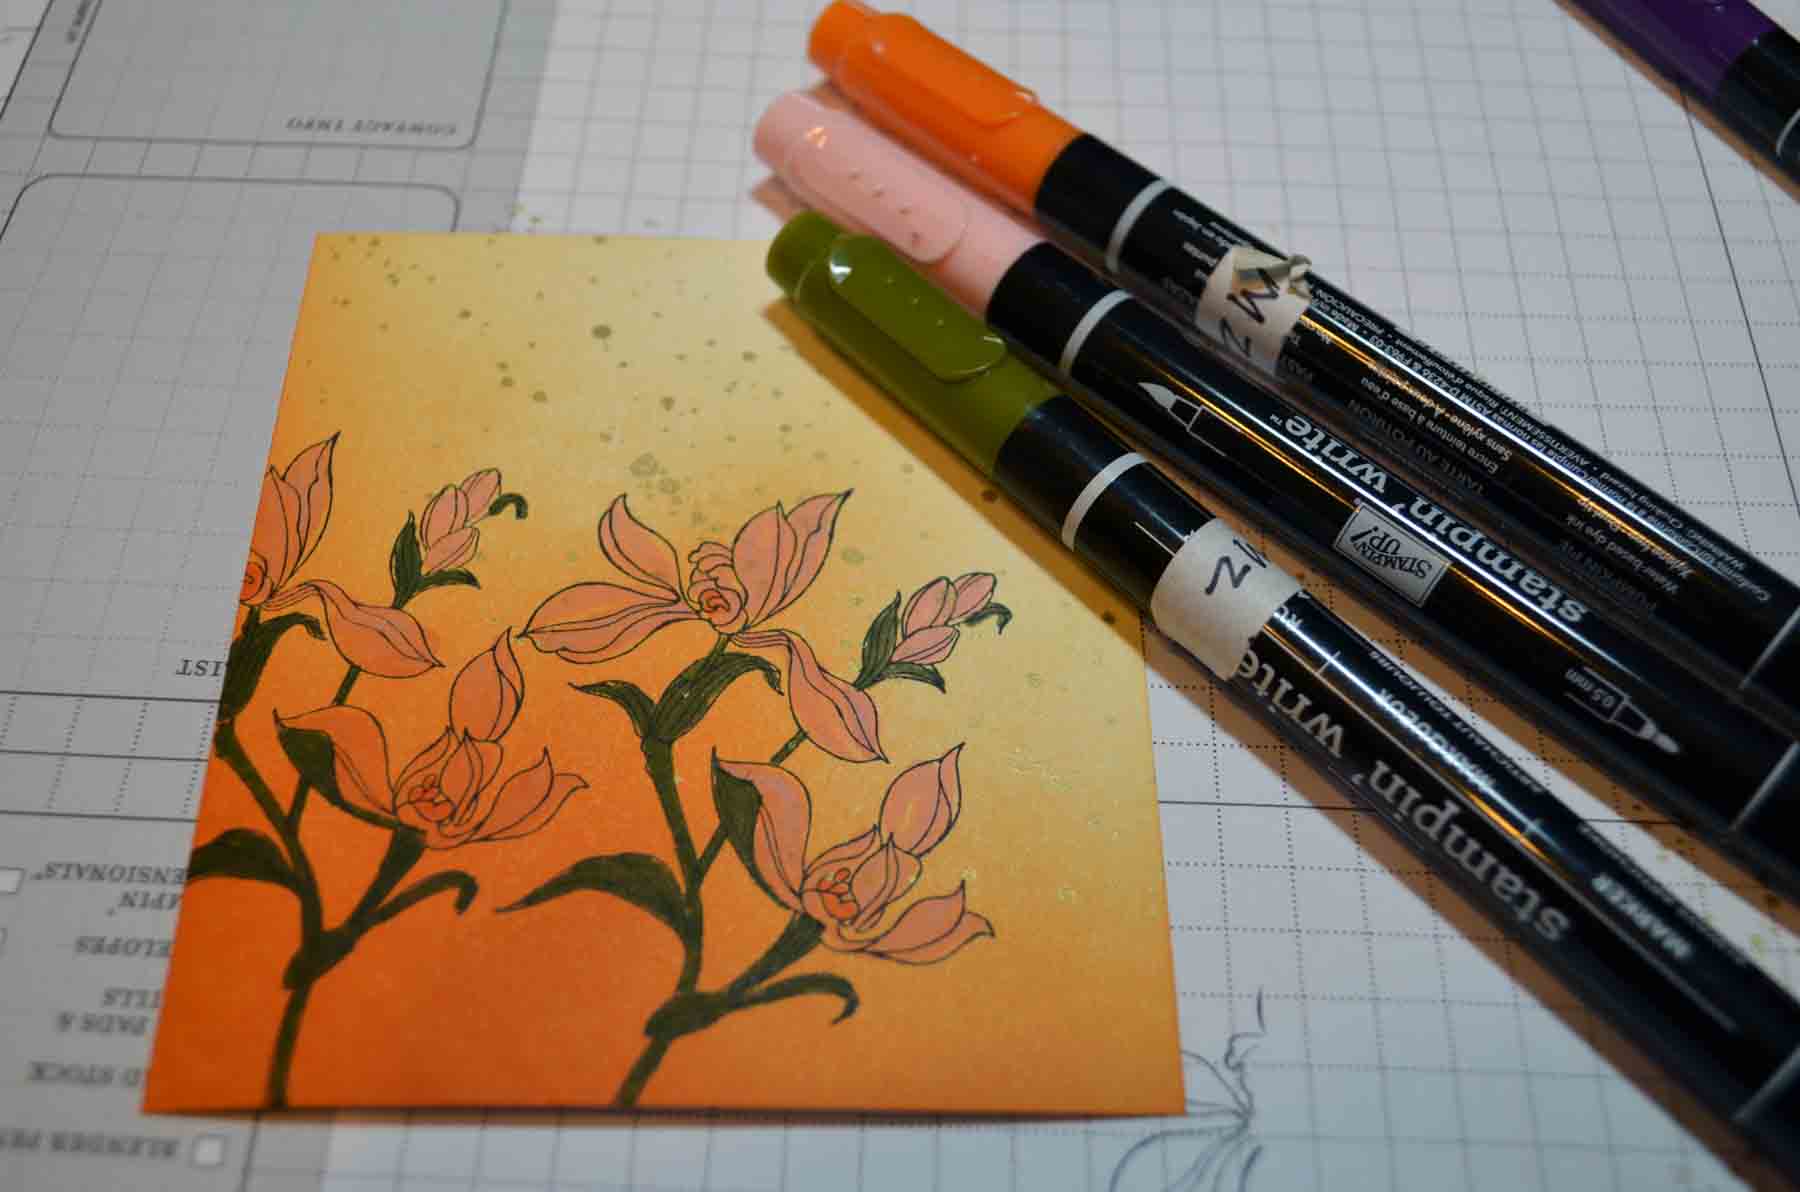
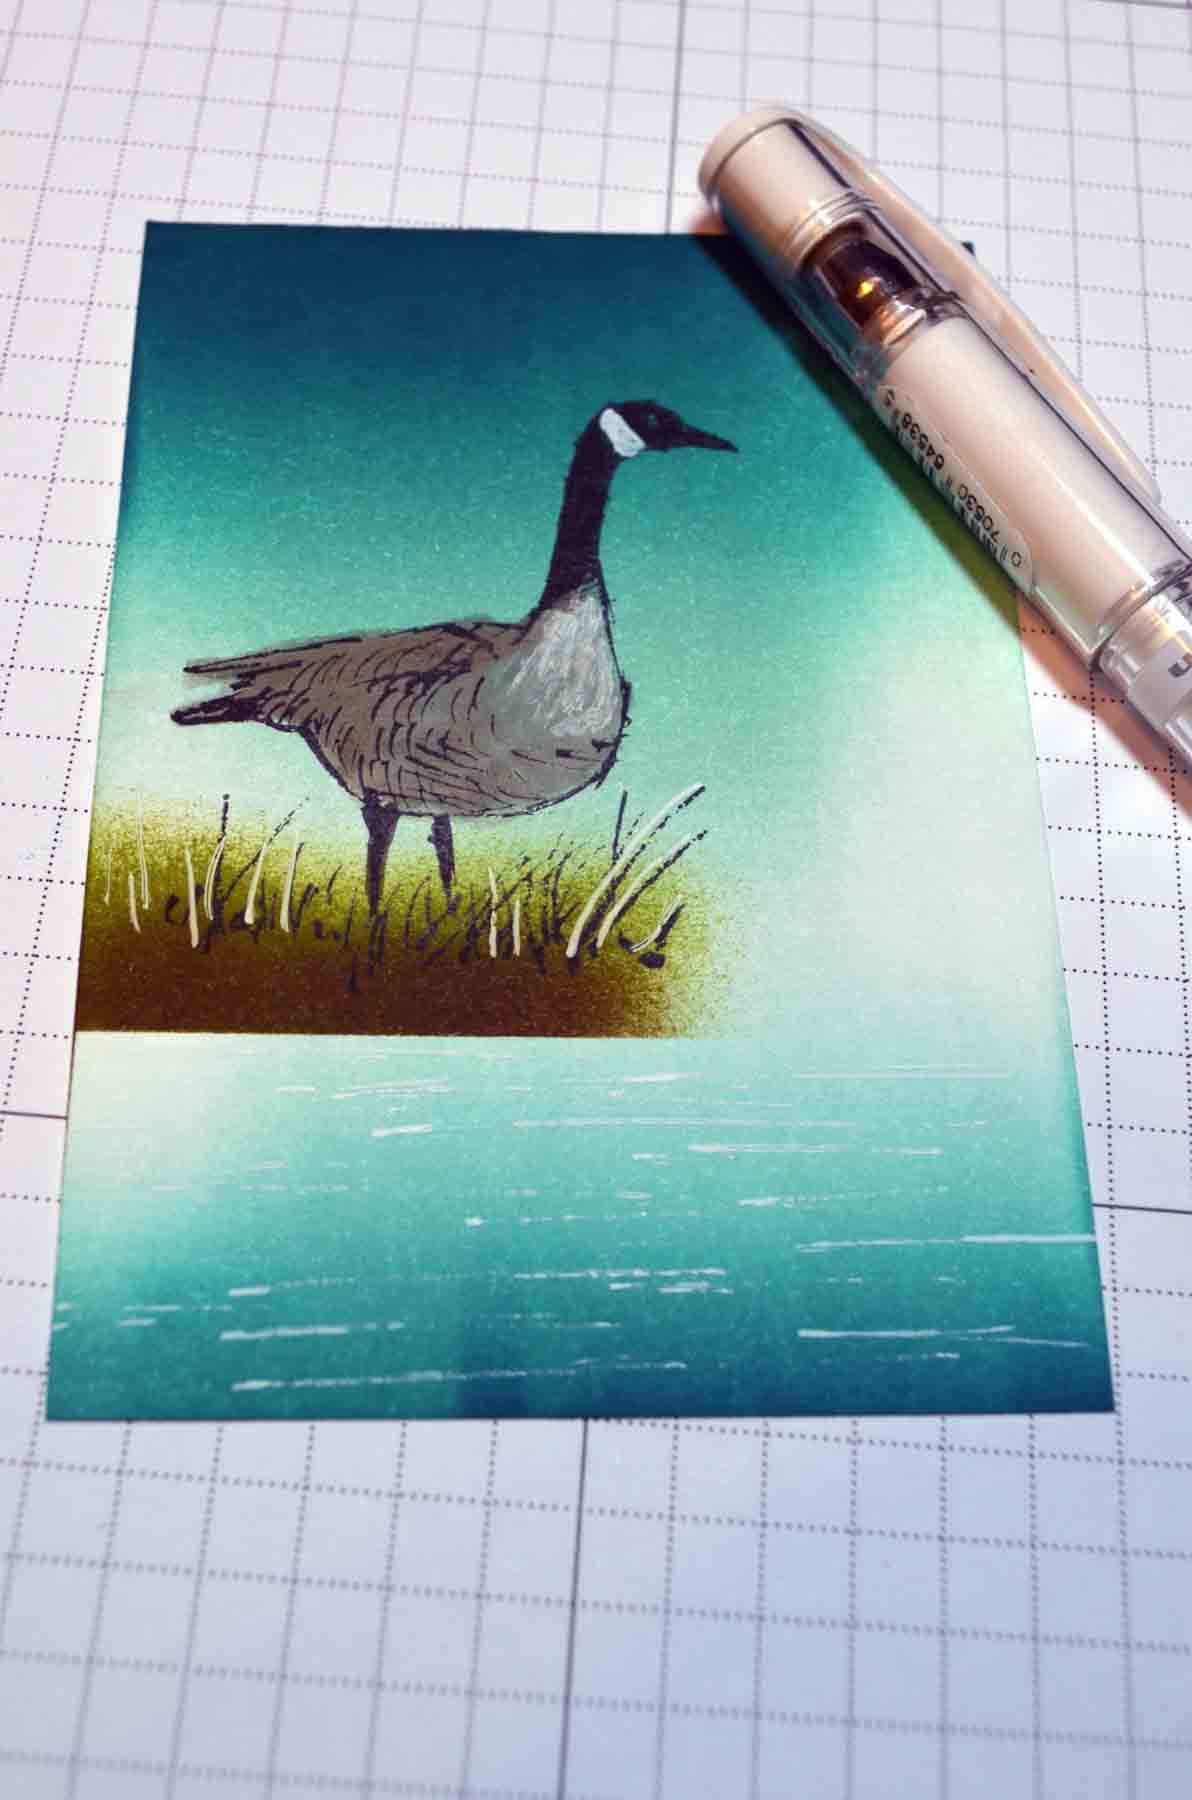
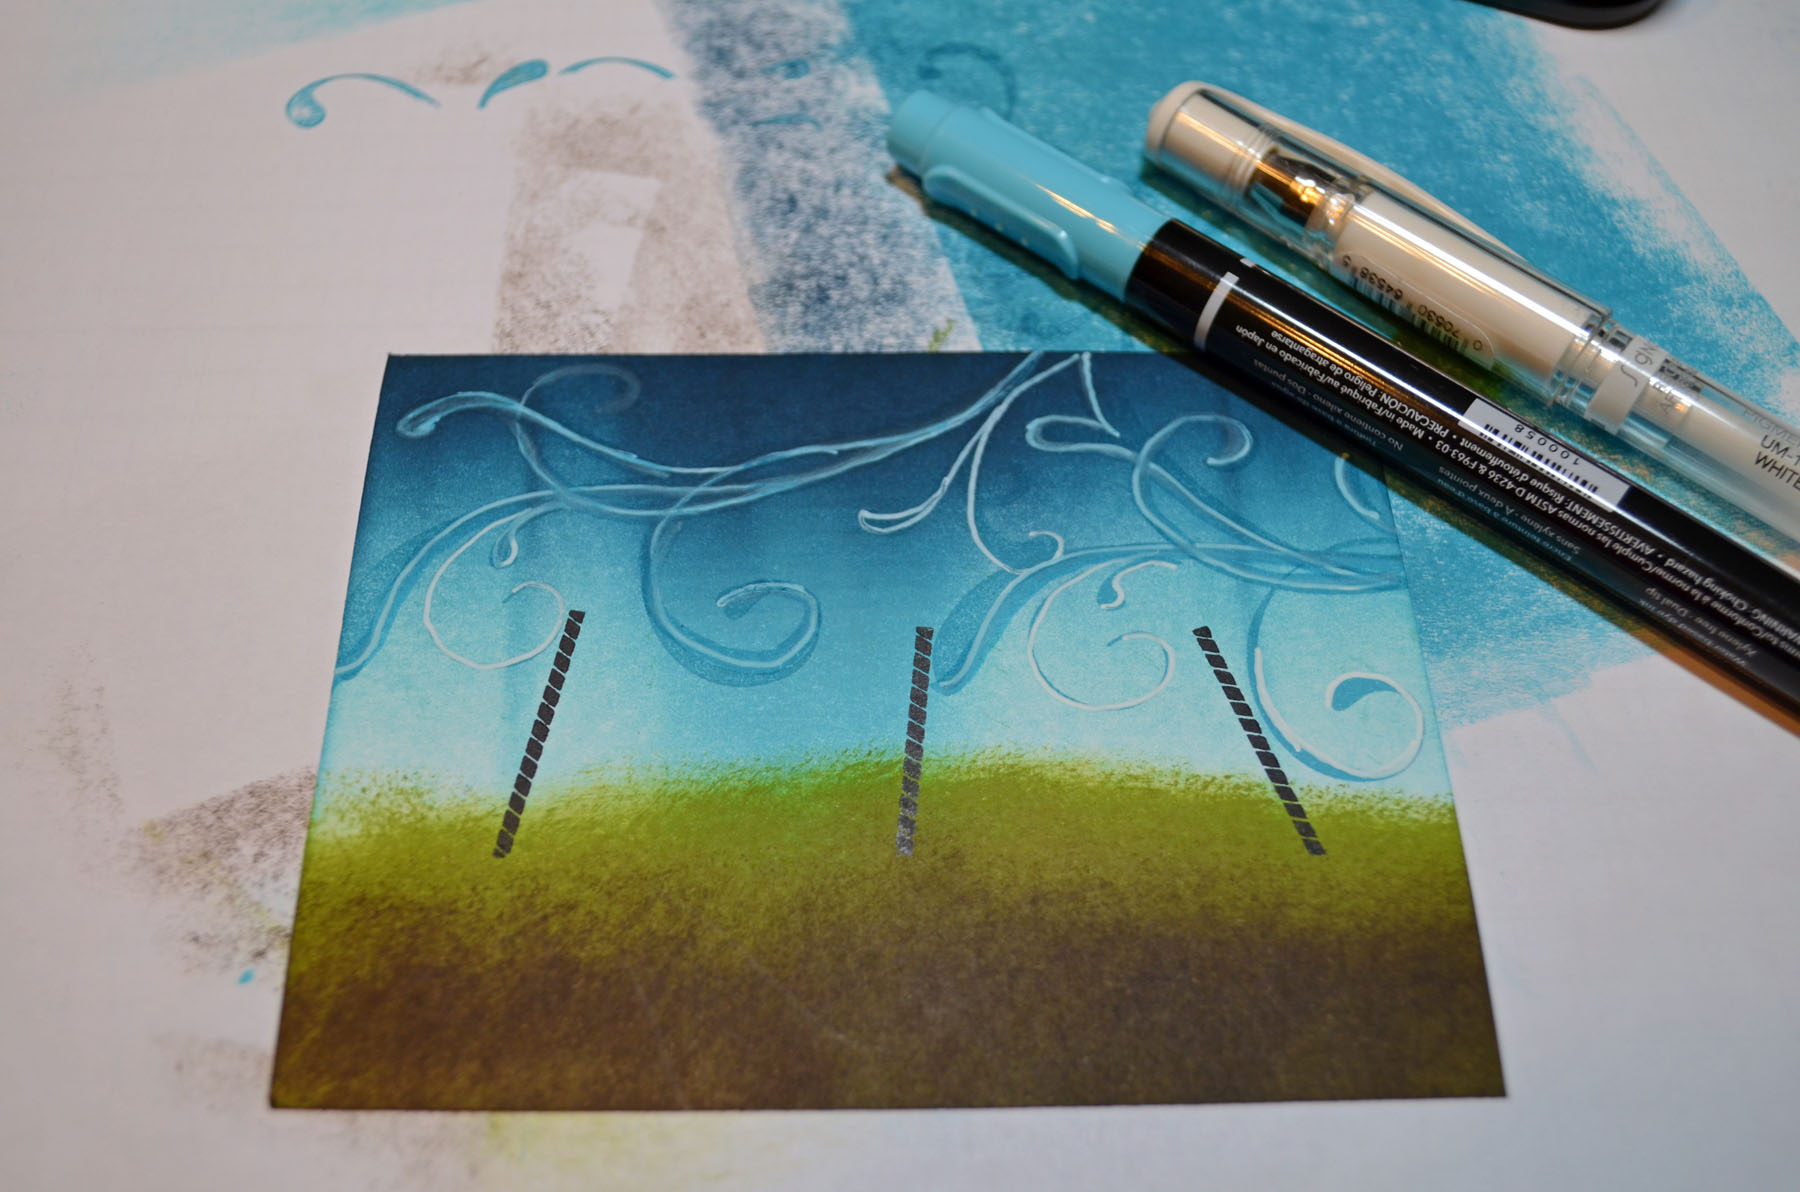
Added some white highlighting around the flourish and then went over some of it with a Tempting Turquoise marker over the White gel pen to tone it down a bit.

Added the pinwheels using Stampin’ Dimensionals to pop them up.

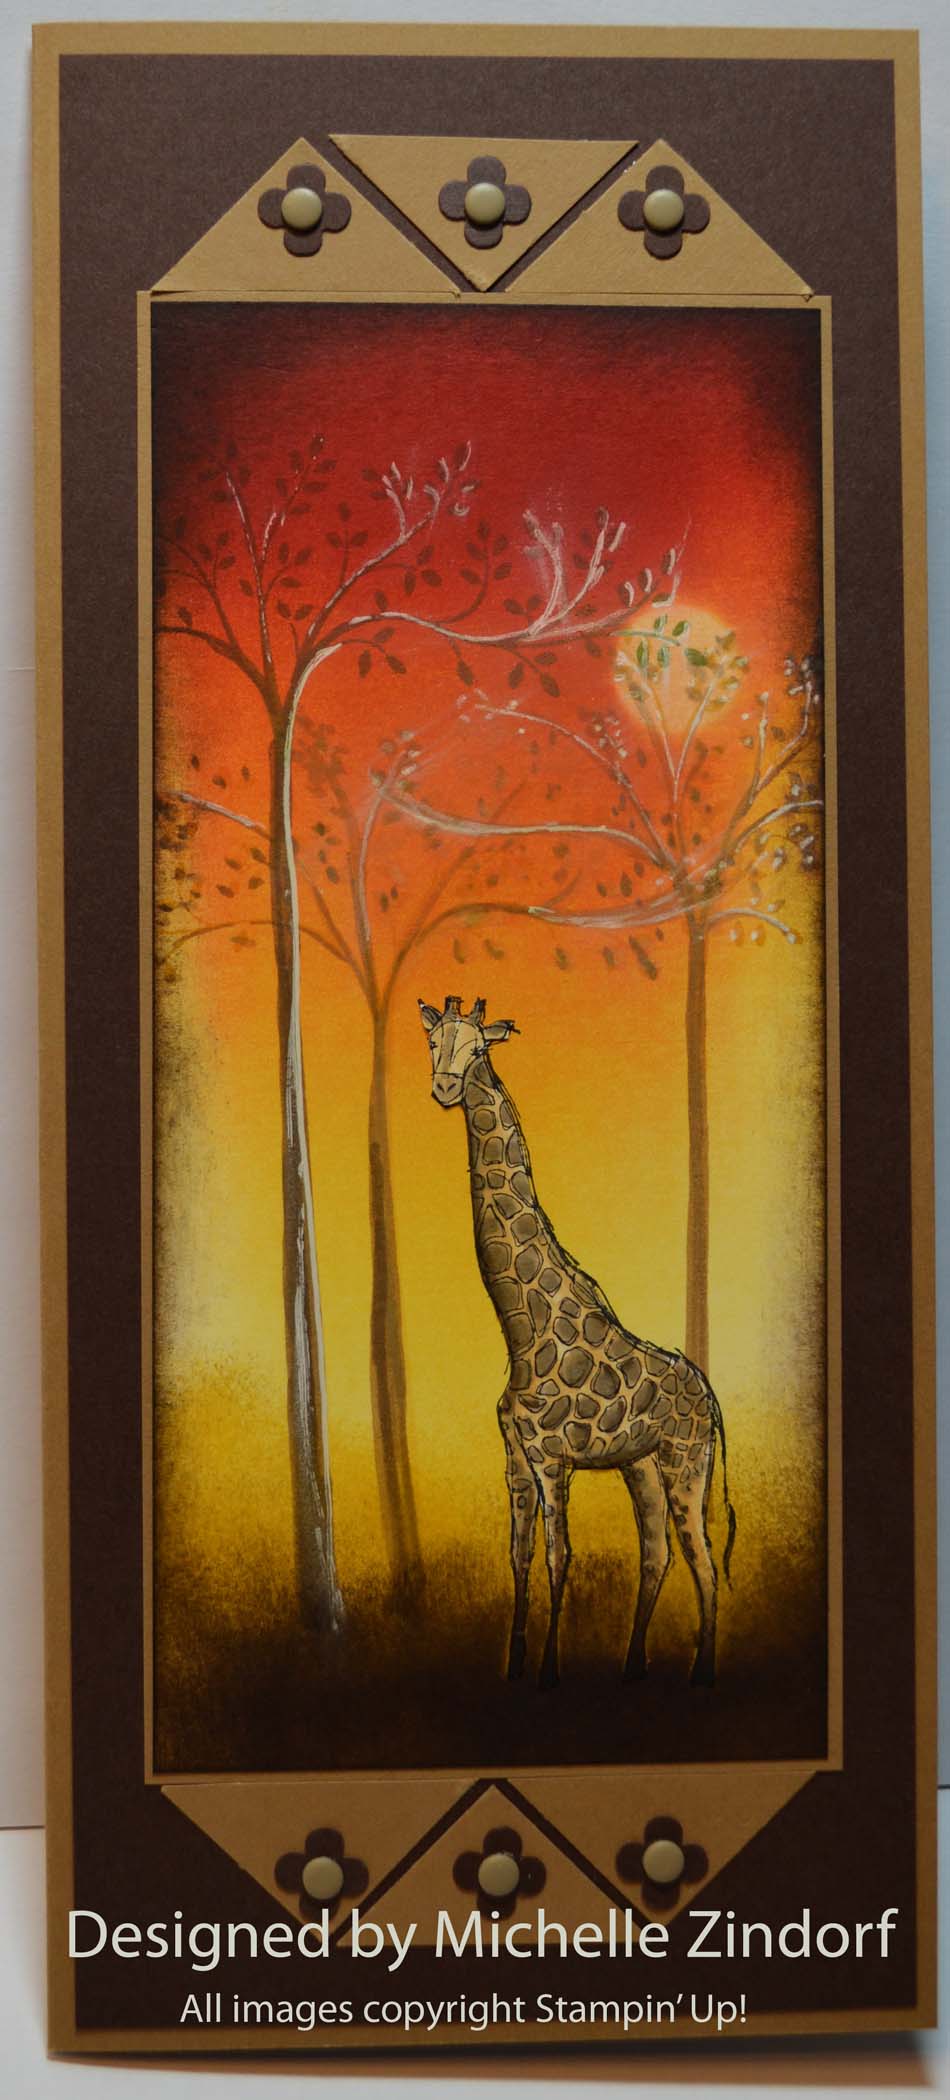
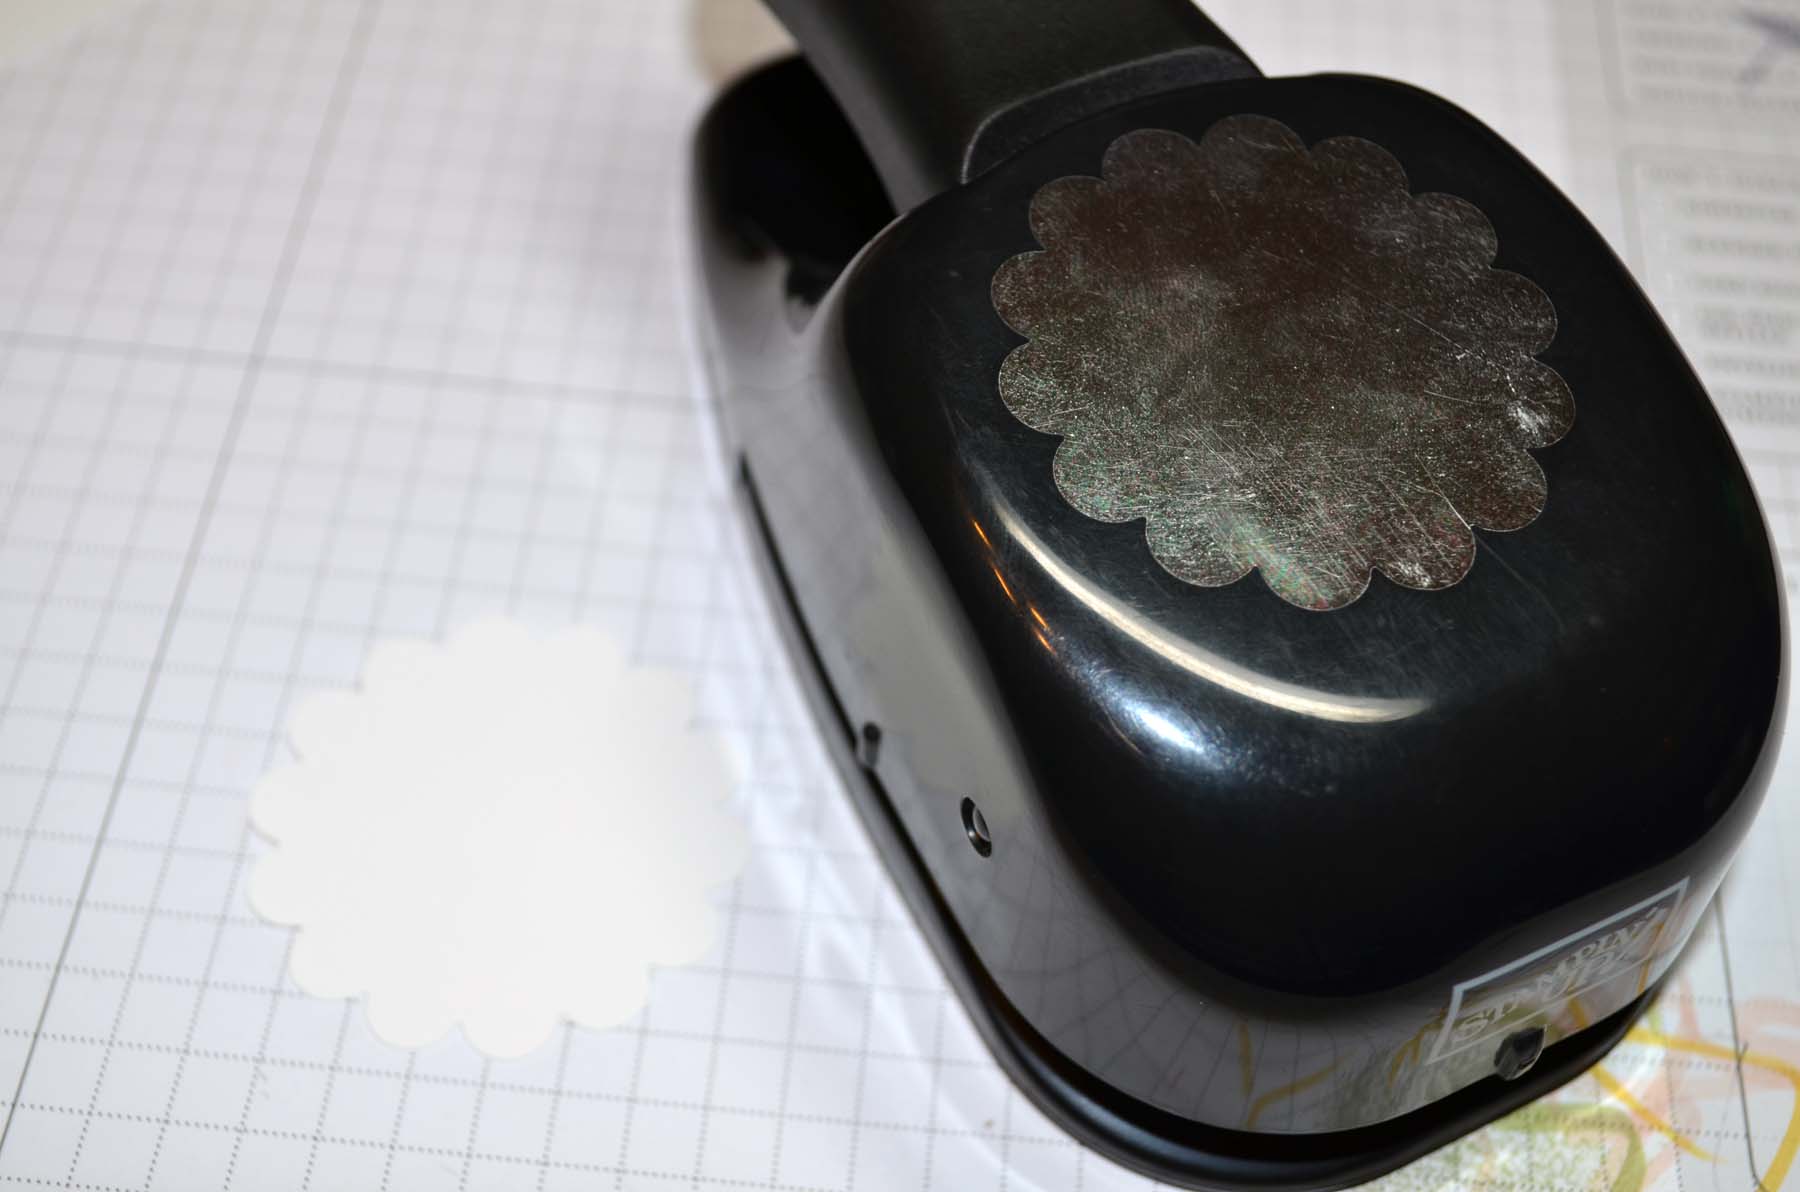
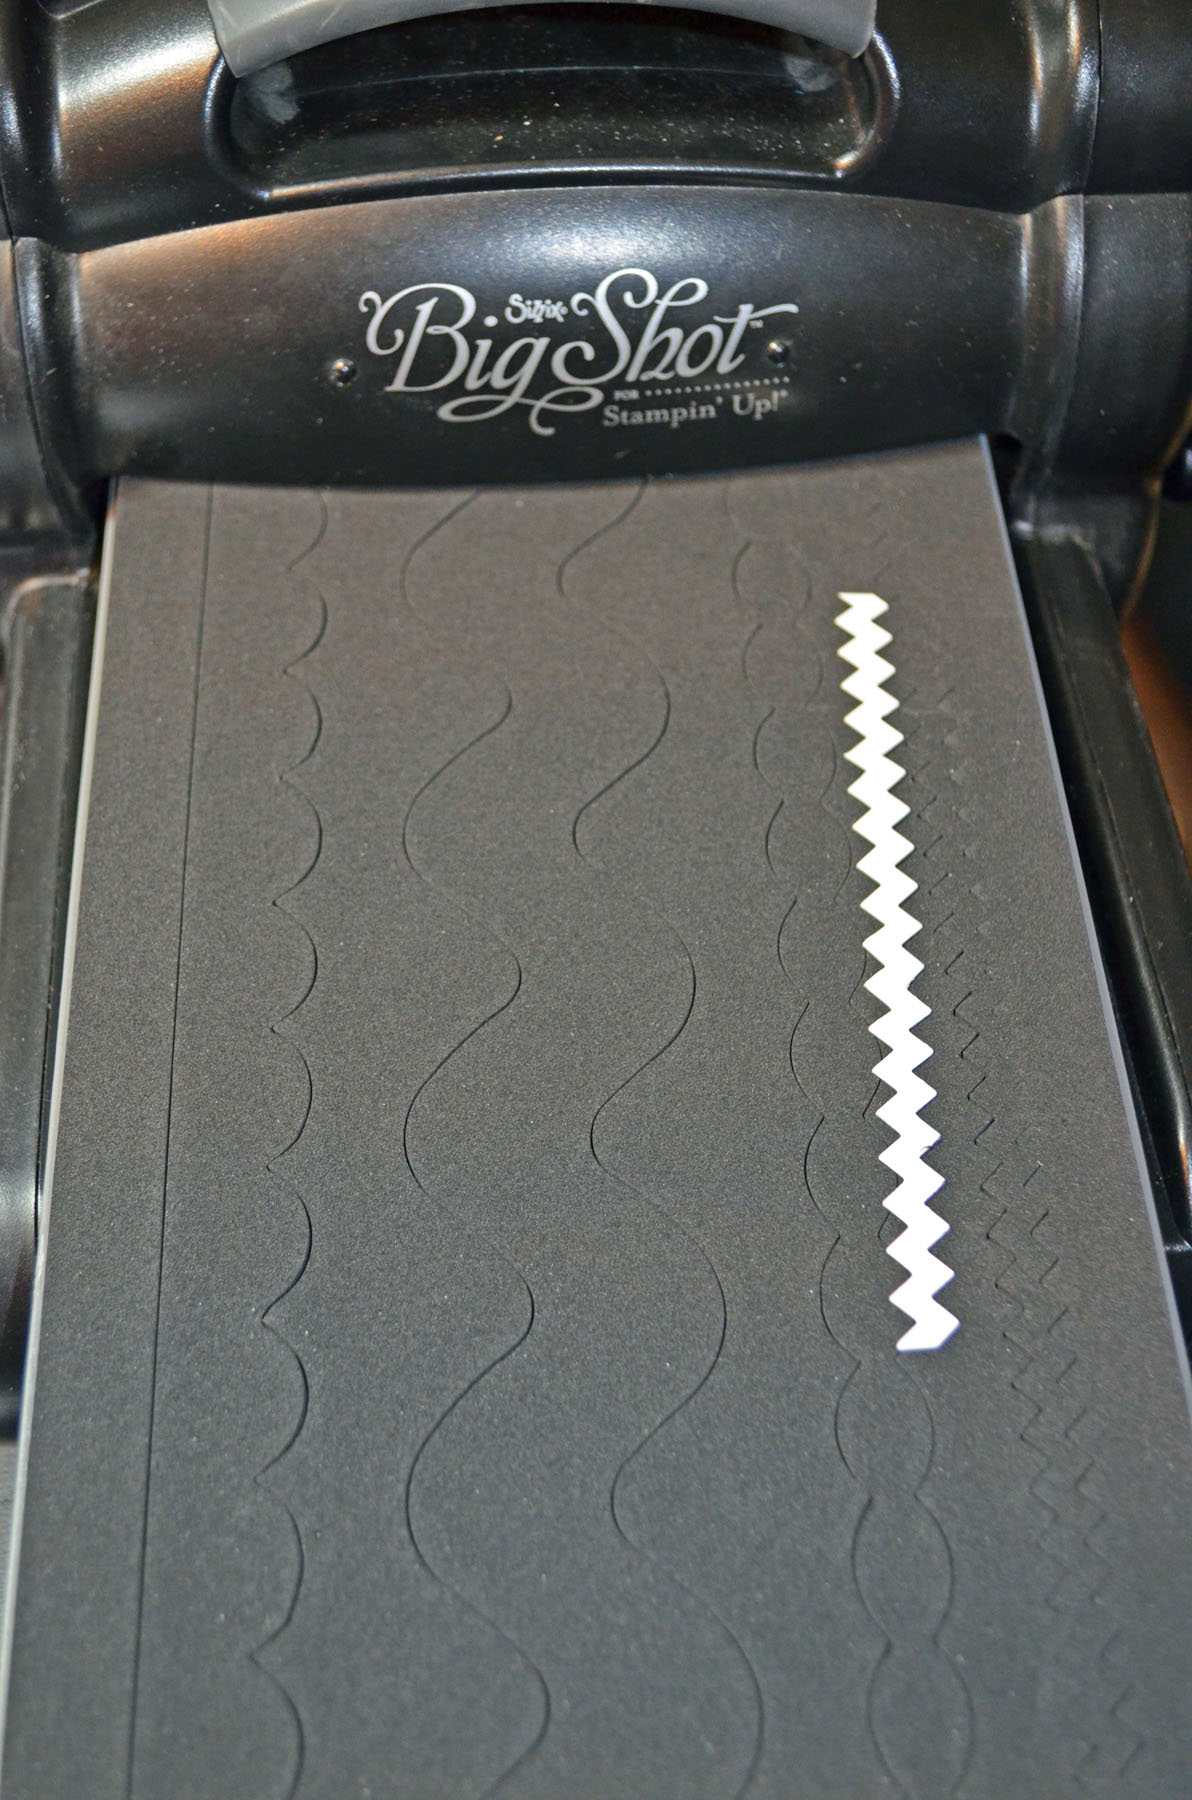
Die cut a Whisper White Rick Rack shape using the Big Shot Machine and the Tasteful Trim Die.

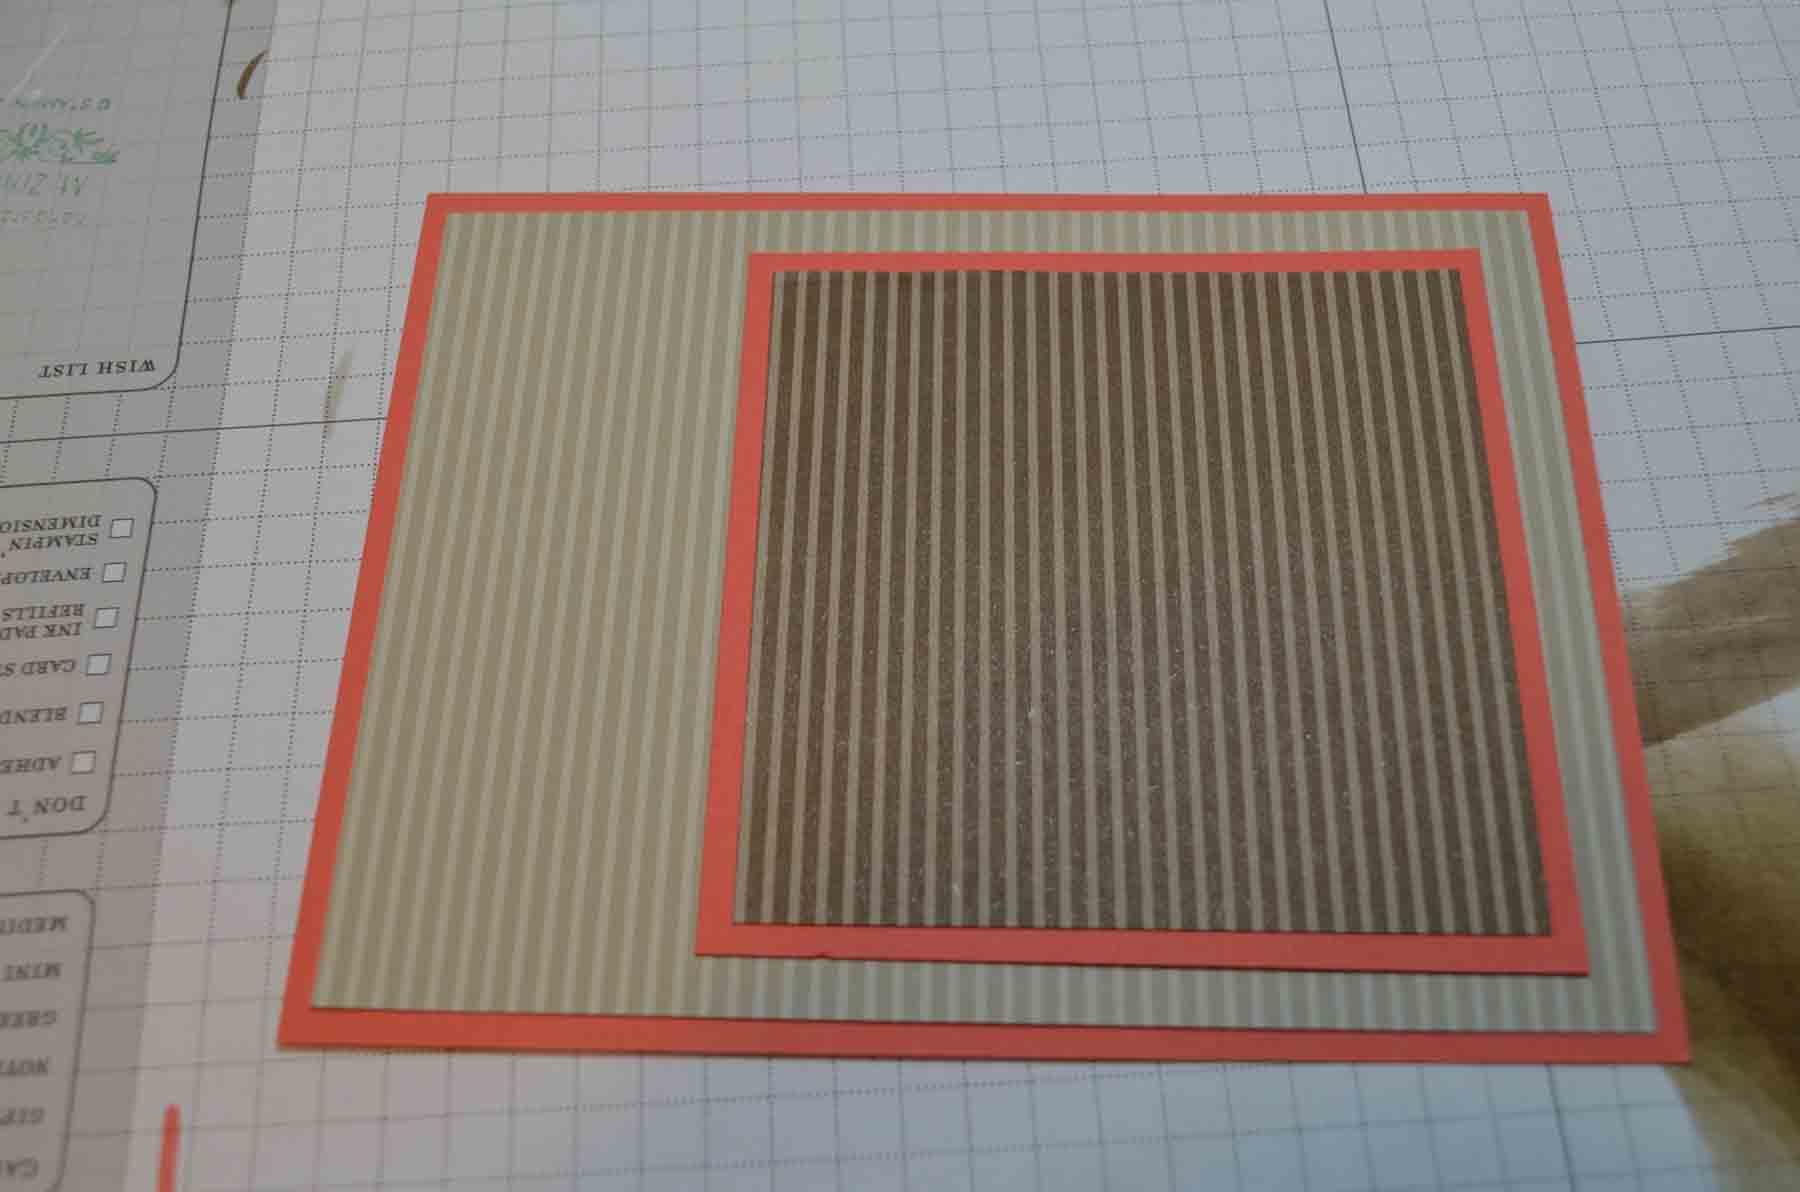
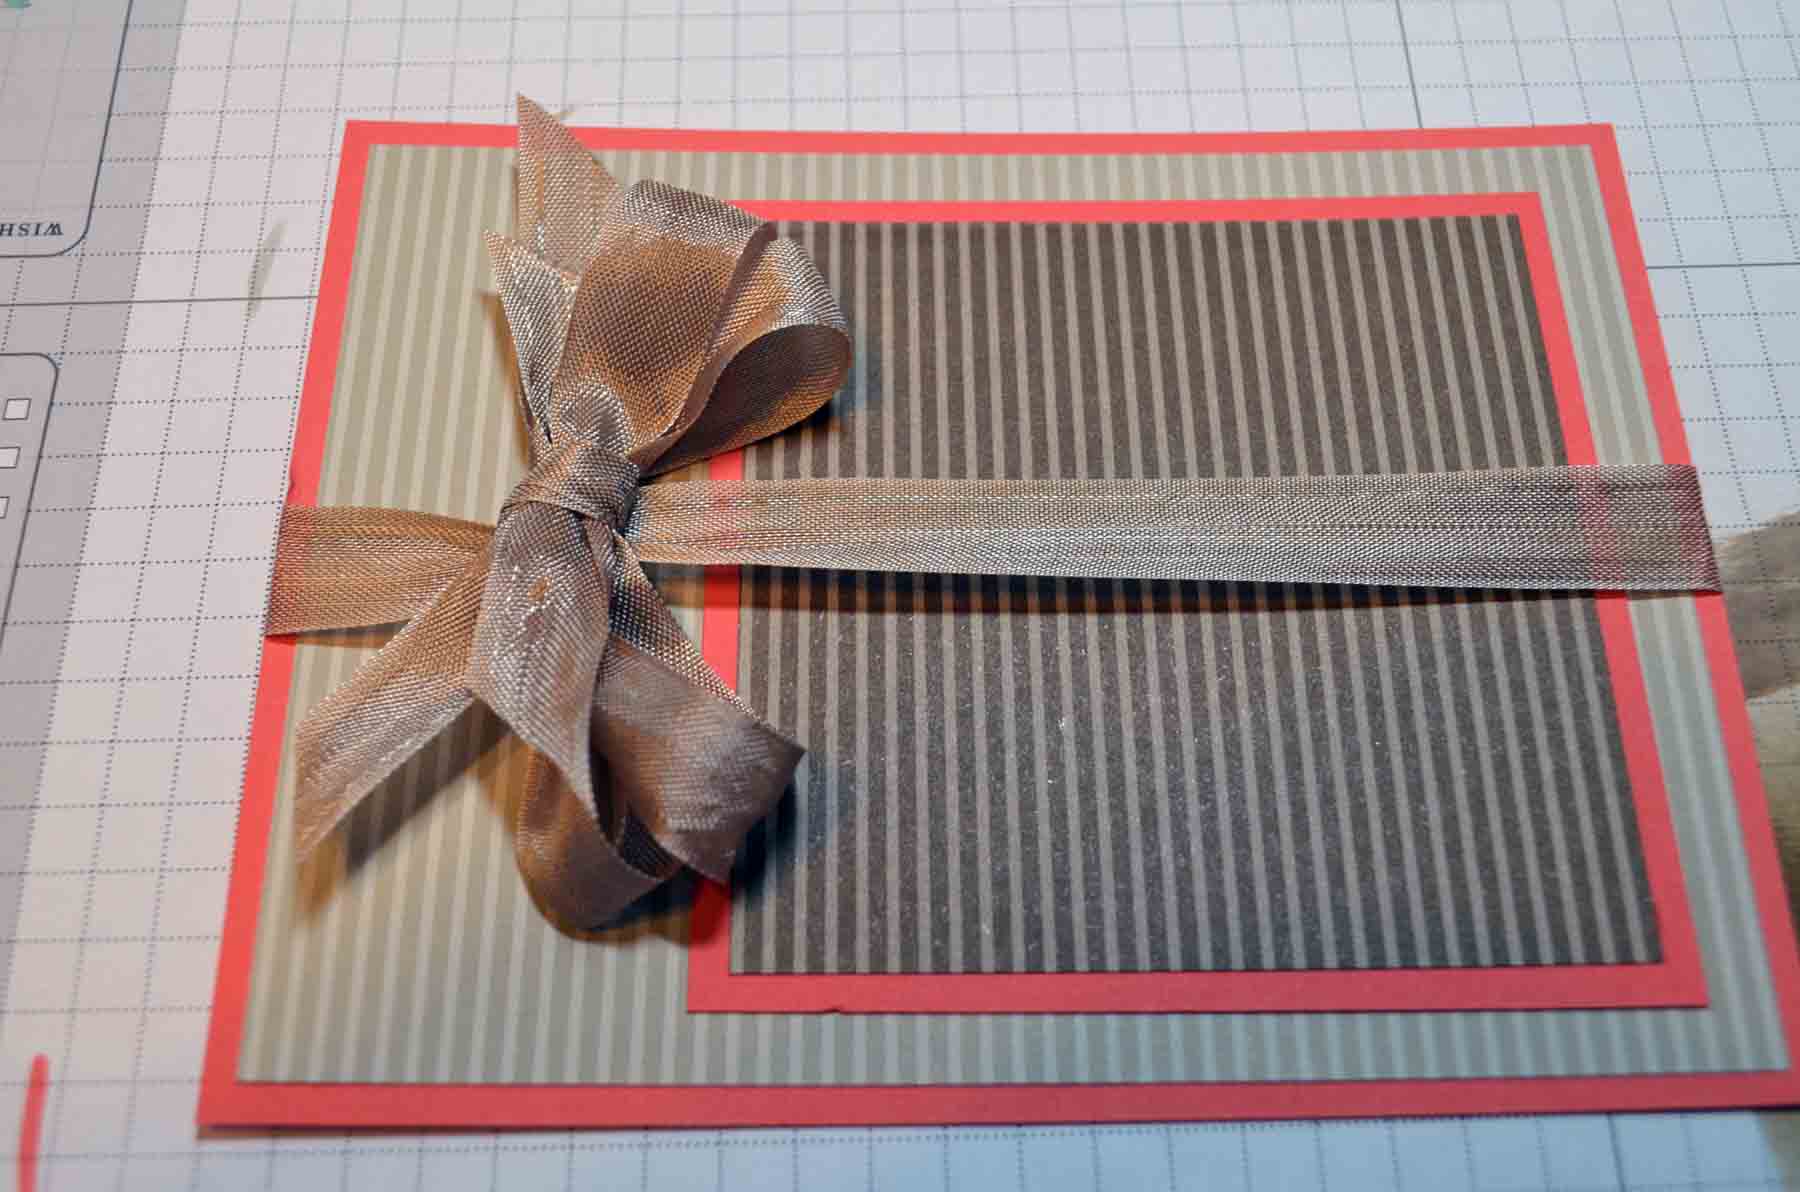
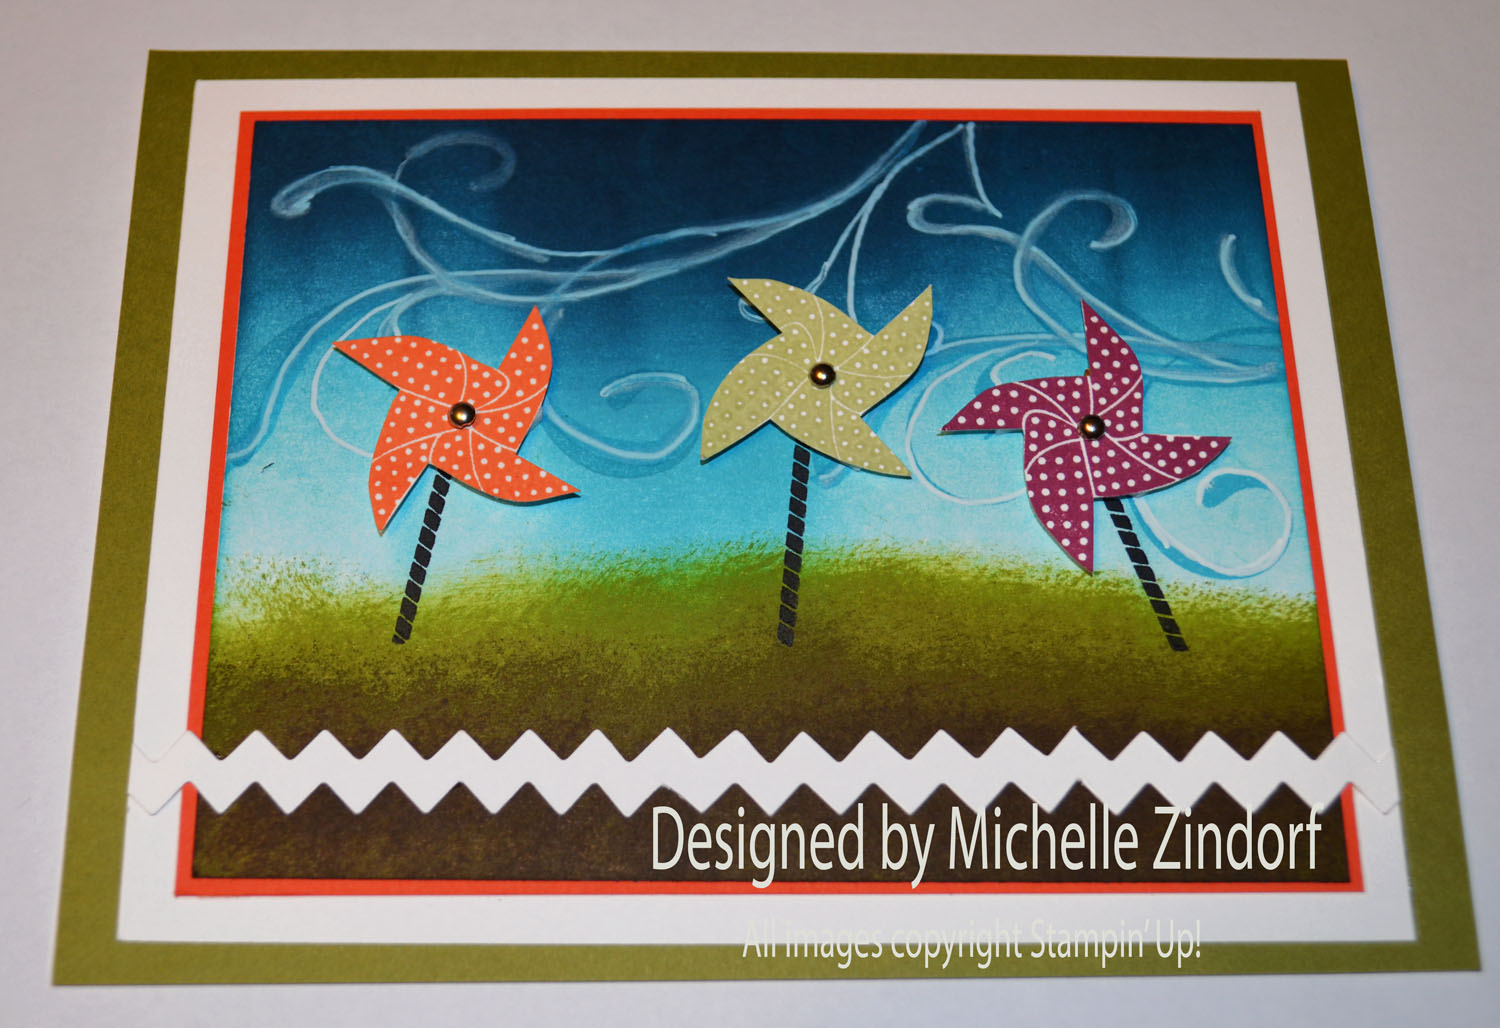
Tangerine Tango panel, Whisper White Panel, Old Olive panel and a Whisper White Card Base. Here is the finished card measuring 4.25″ x 5.5″.

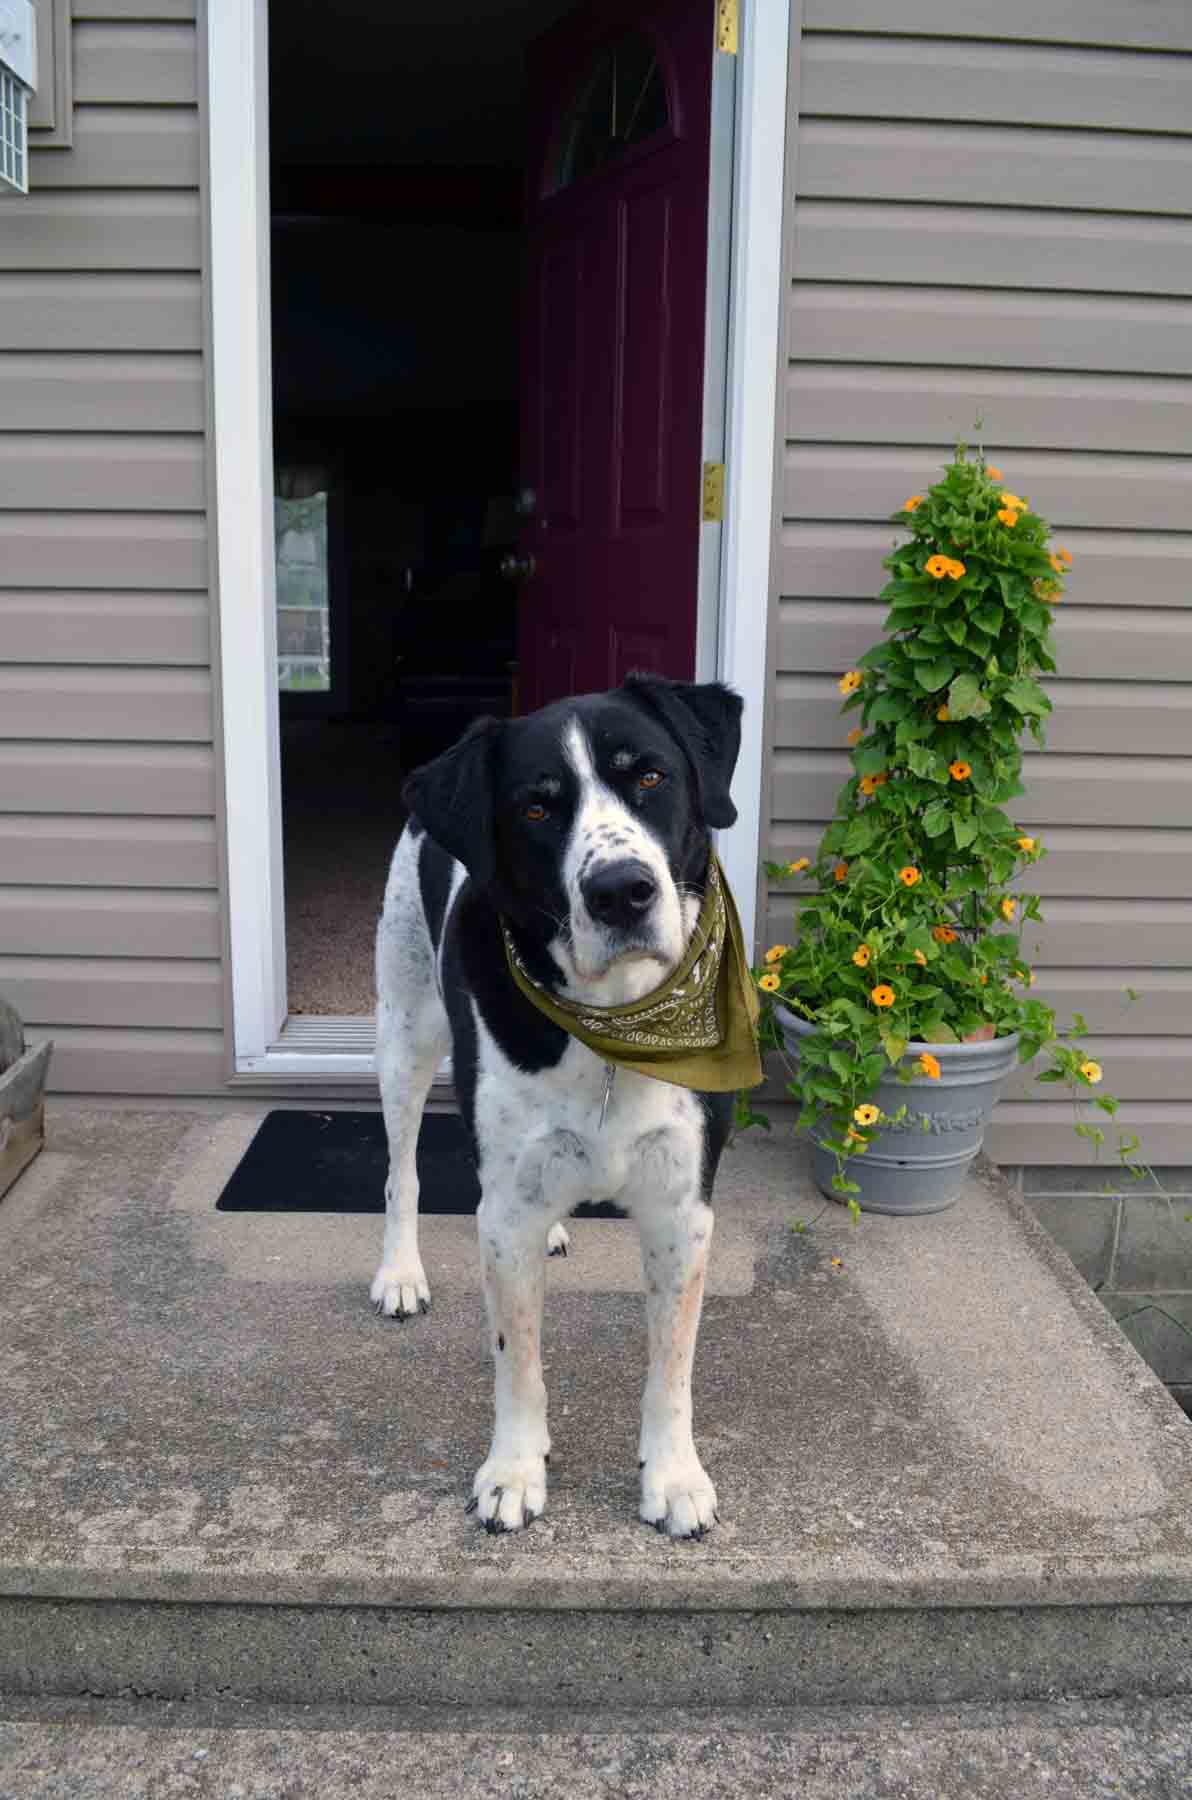
Before I close here is a picture walk through of what is happening here at the Zindorf Homestead.
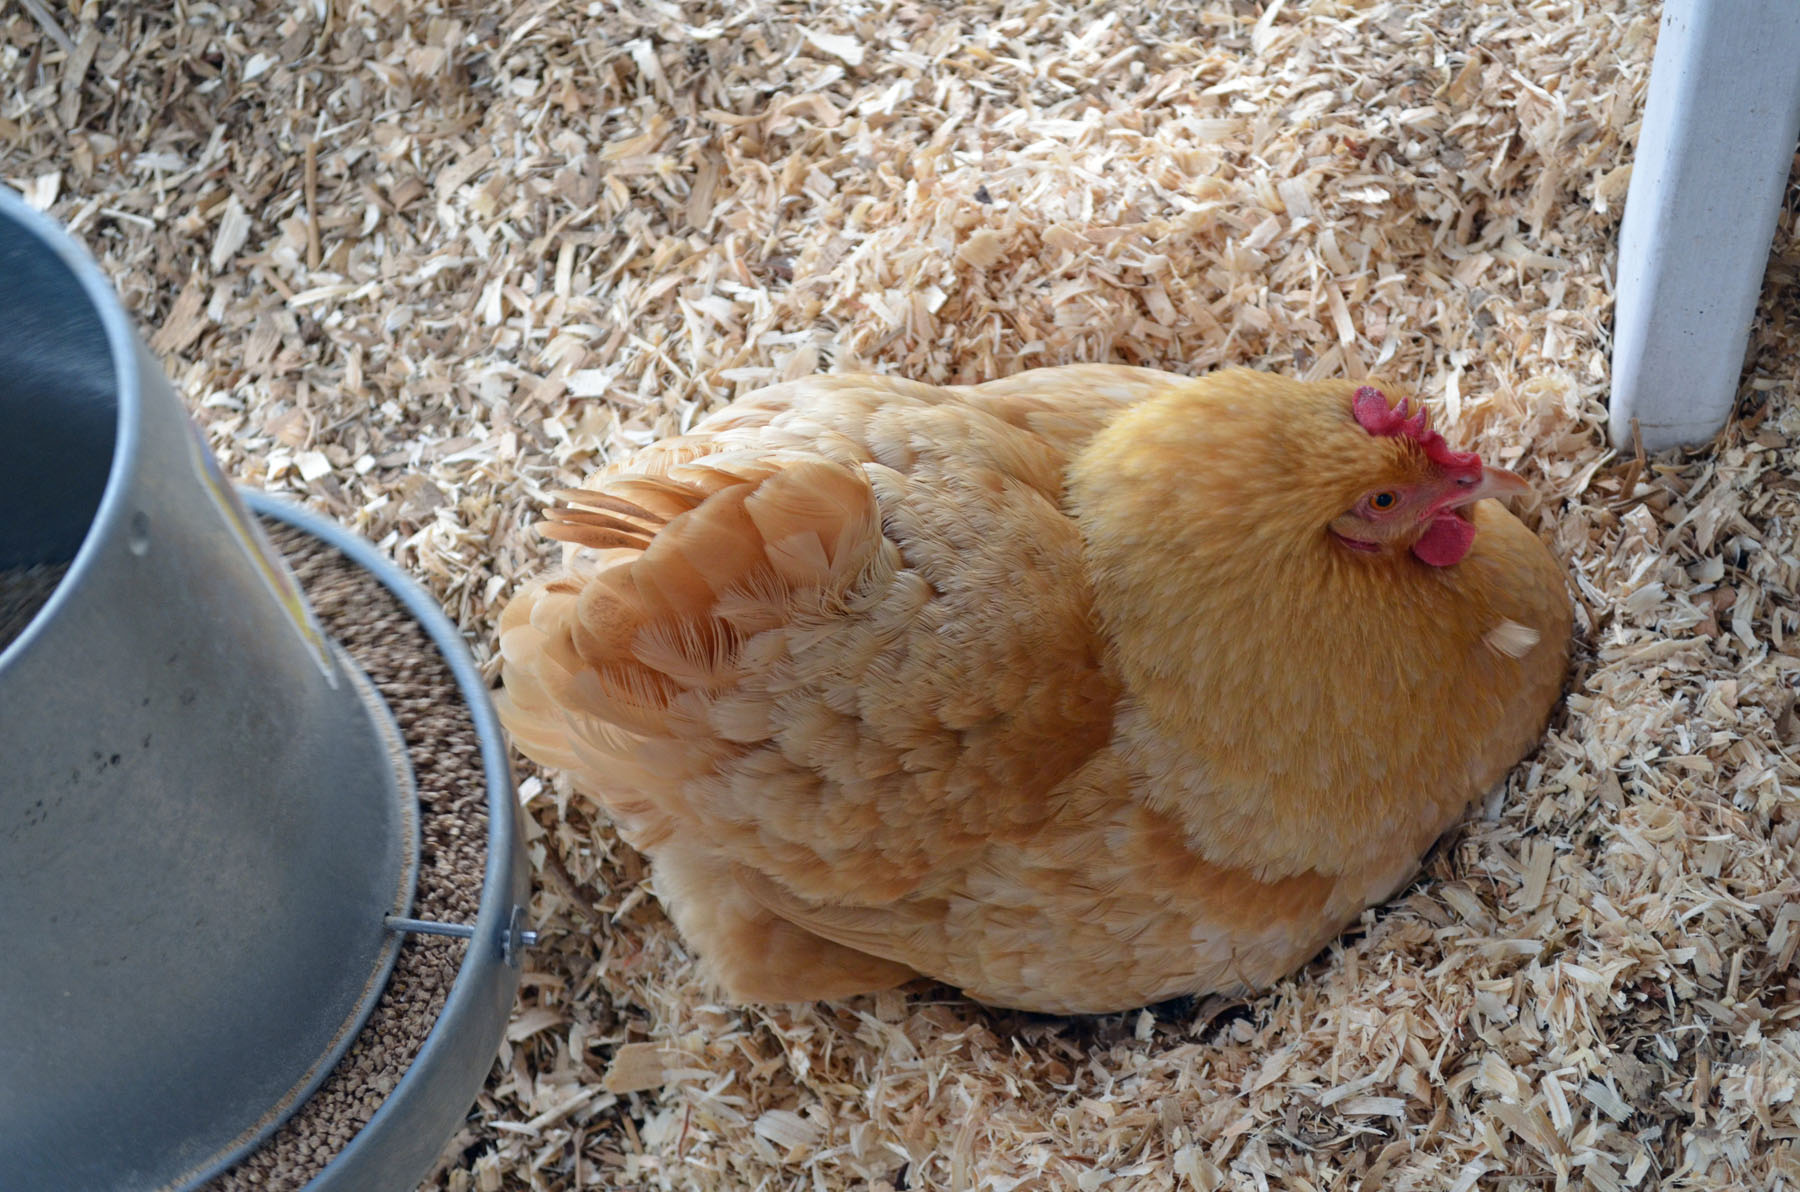
Buffy is totally a mental case right now. She is broody and wants to sit on some eggs to hatch them. Since we only have hens we don’t have any fertile eggs so she is totally out of luck. Here she is totally pissed off and puffed up since I won’t let her stay in the nest 24/7 as she would like to.


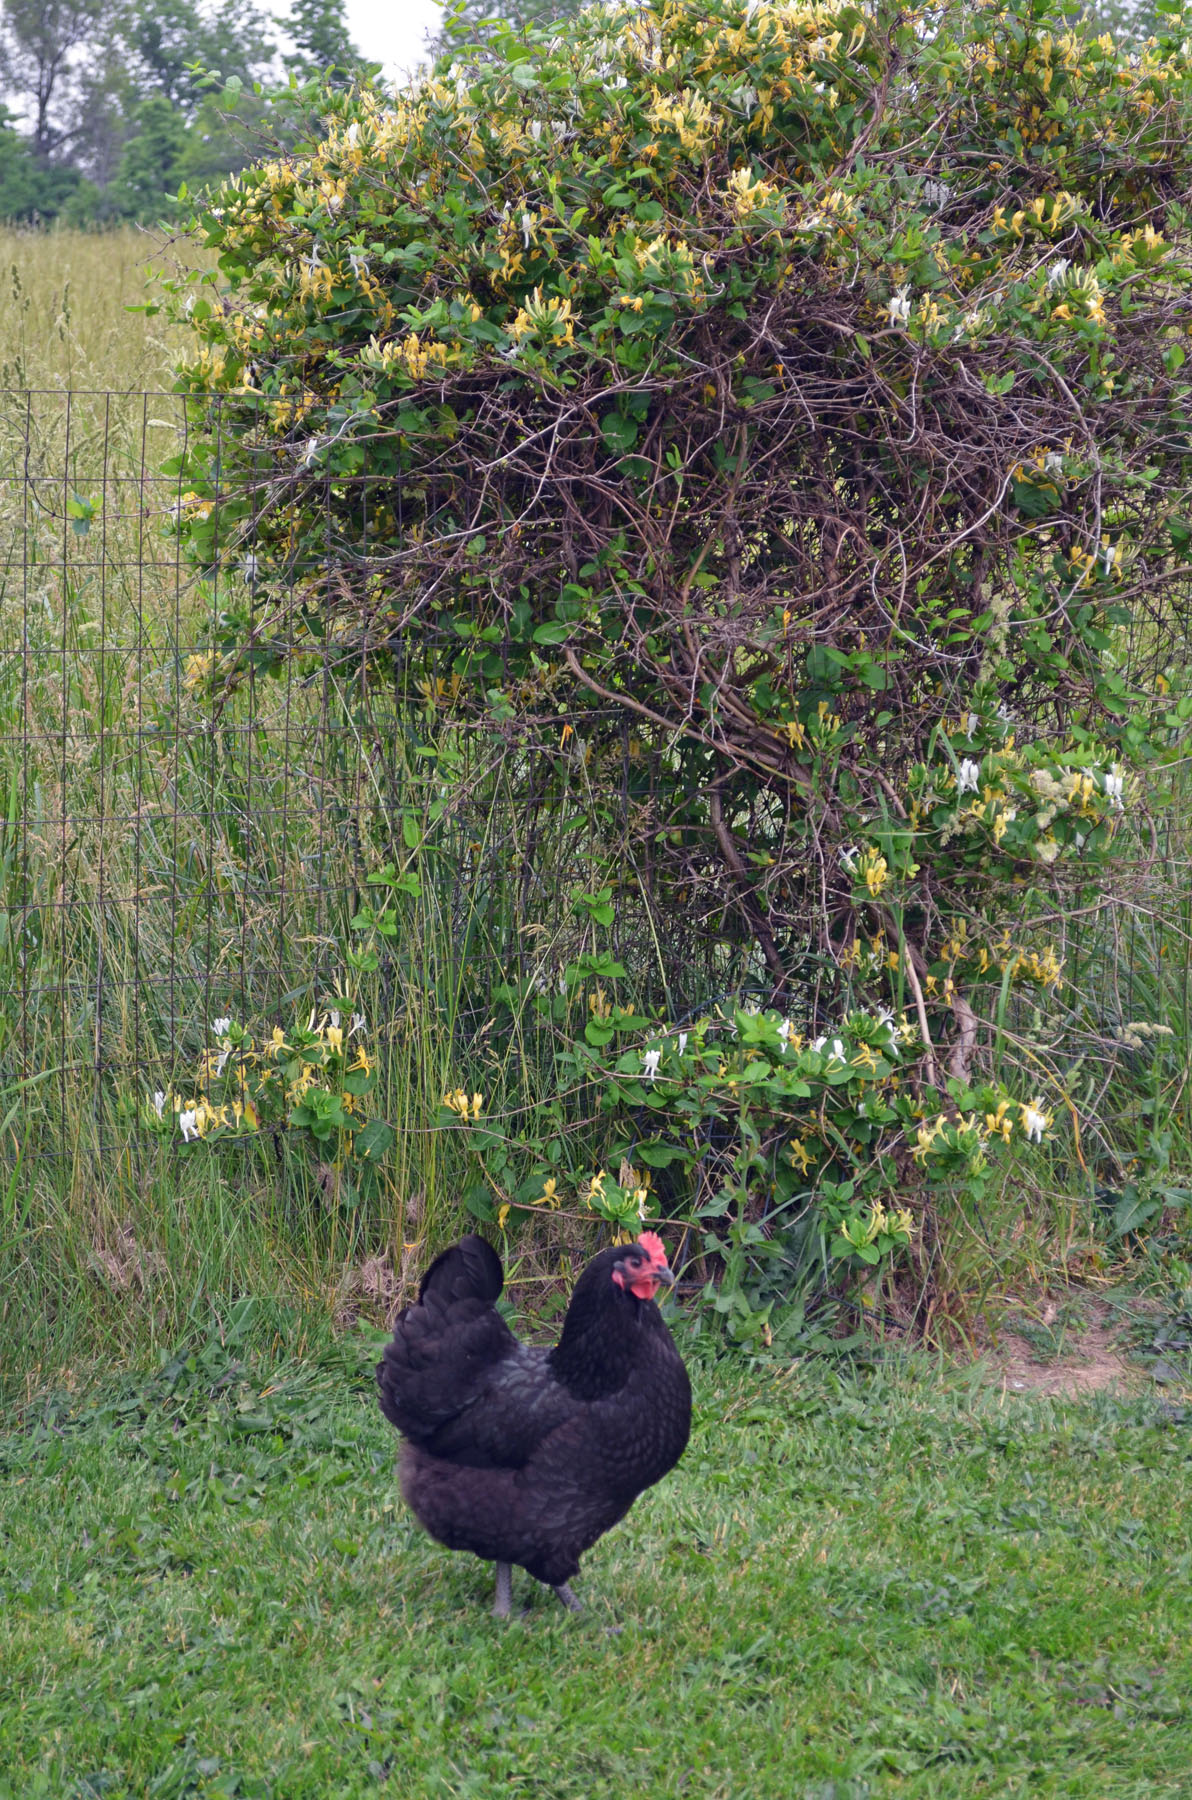
I caught Sophie out by the Honey Suckle Bush.

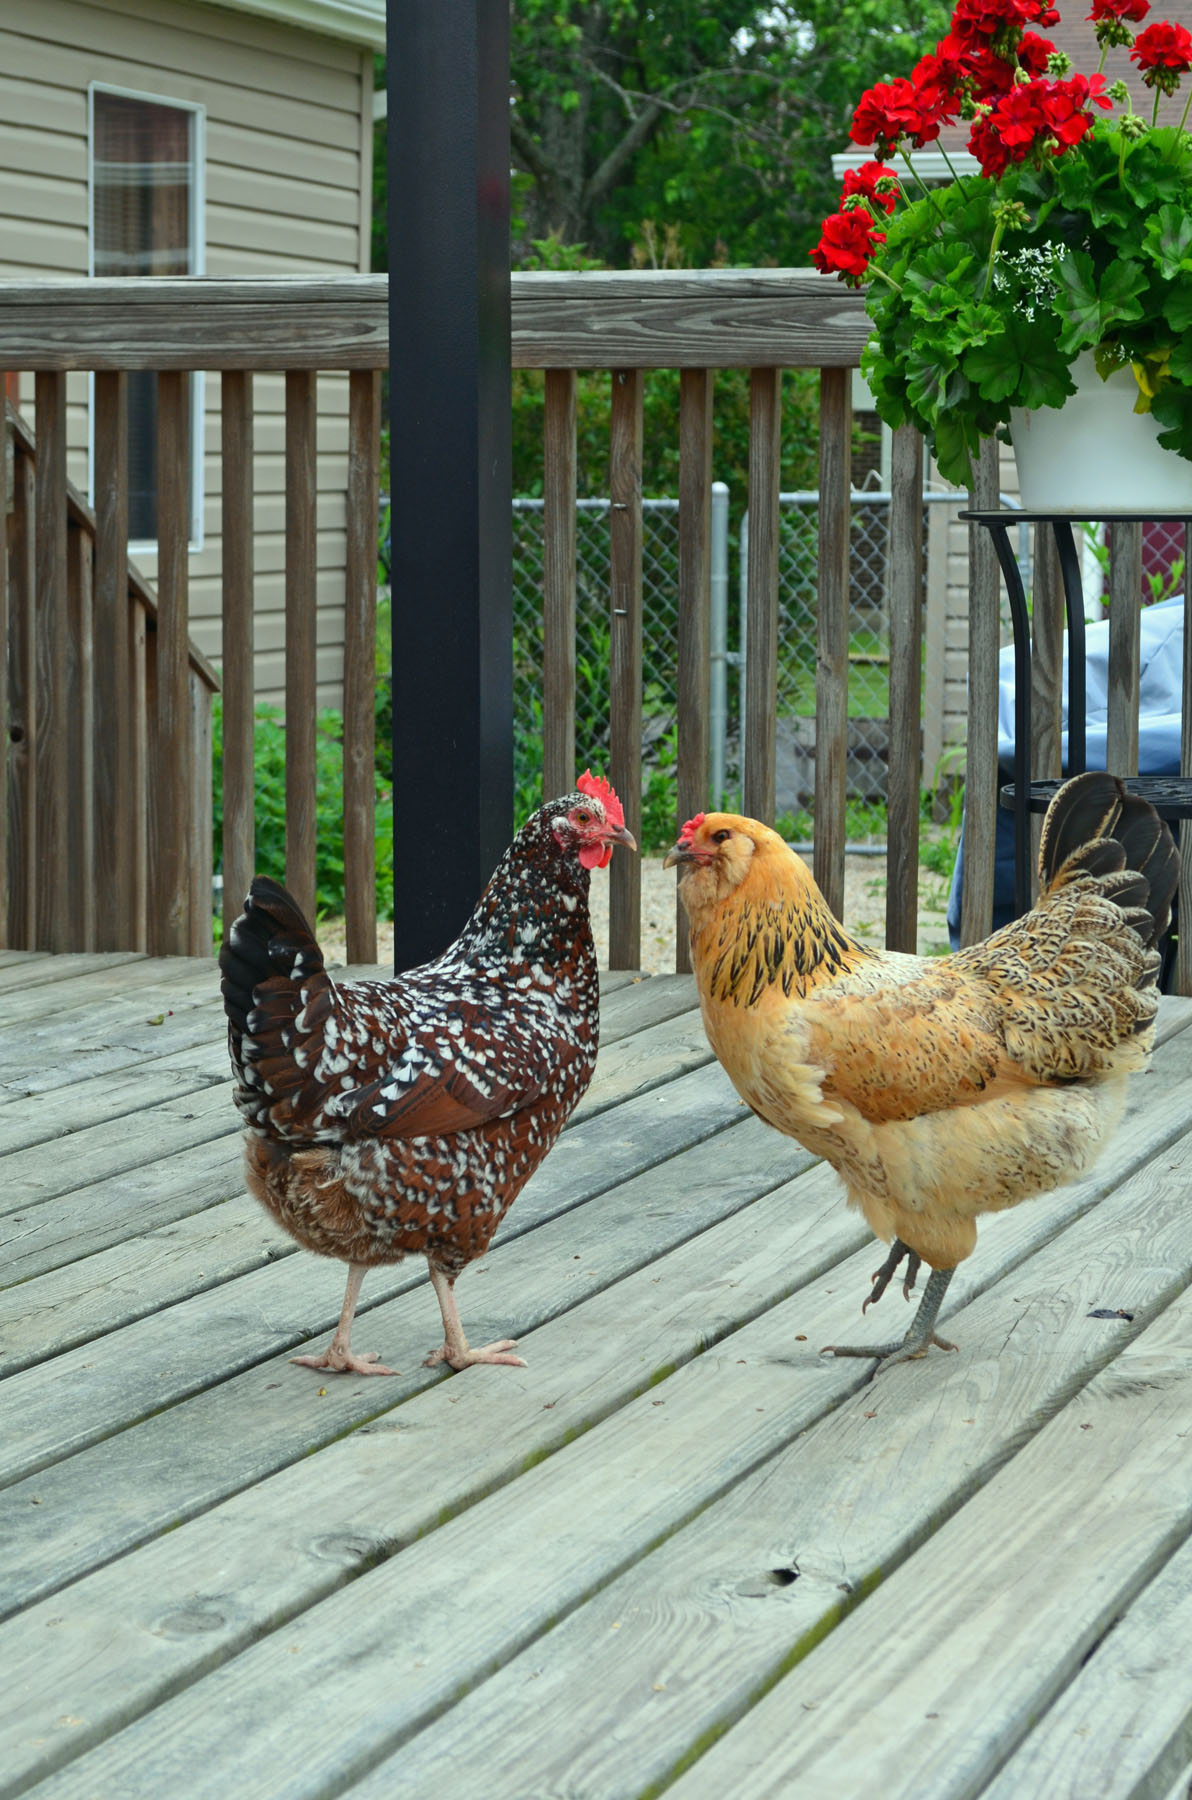
These to characters (Red and Bunny) know they are not suppose to be on the deck because they leave little unwanted packages. But here they are just the same. I think they are asking each other if I seen them.

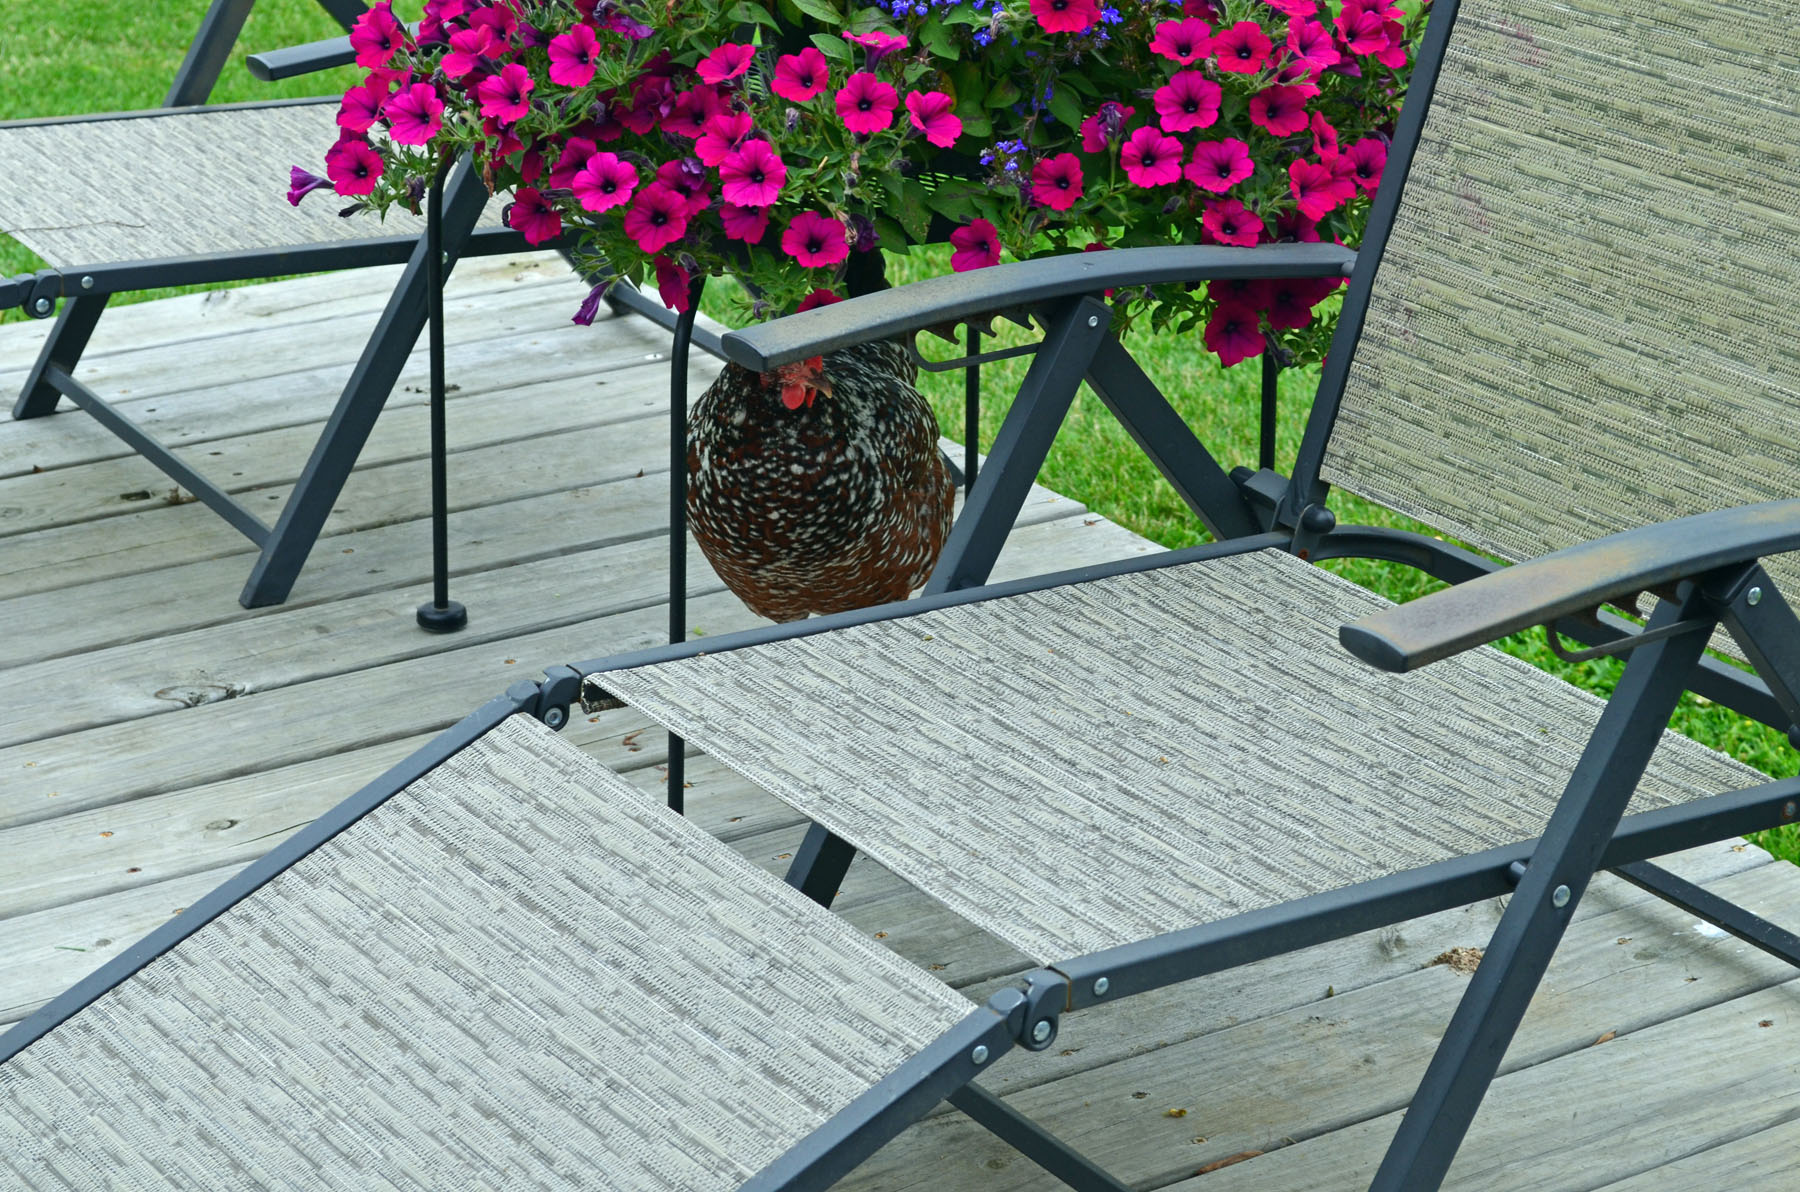
I did run them off of the top deck and then turned around to find Red hiding under the table on the lower deck, lol. She thinks I cannot see her.

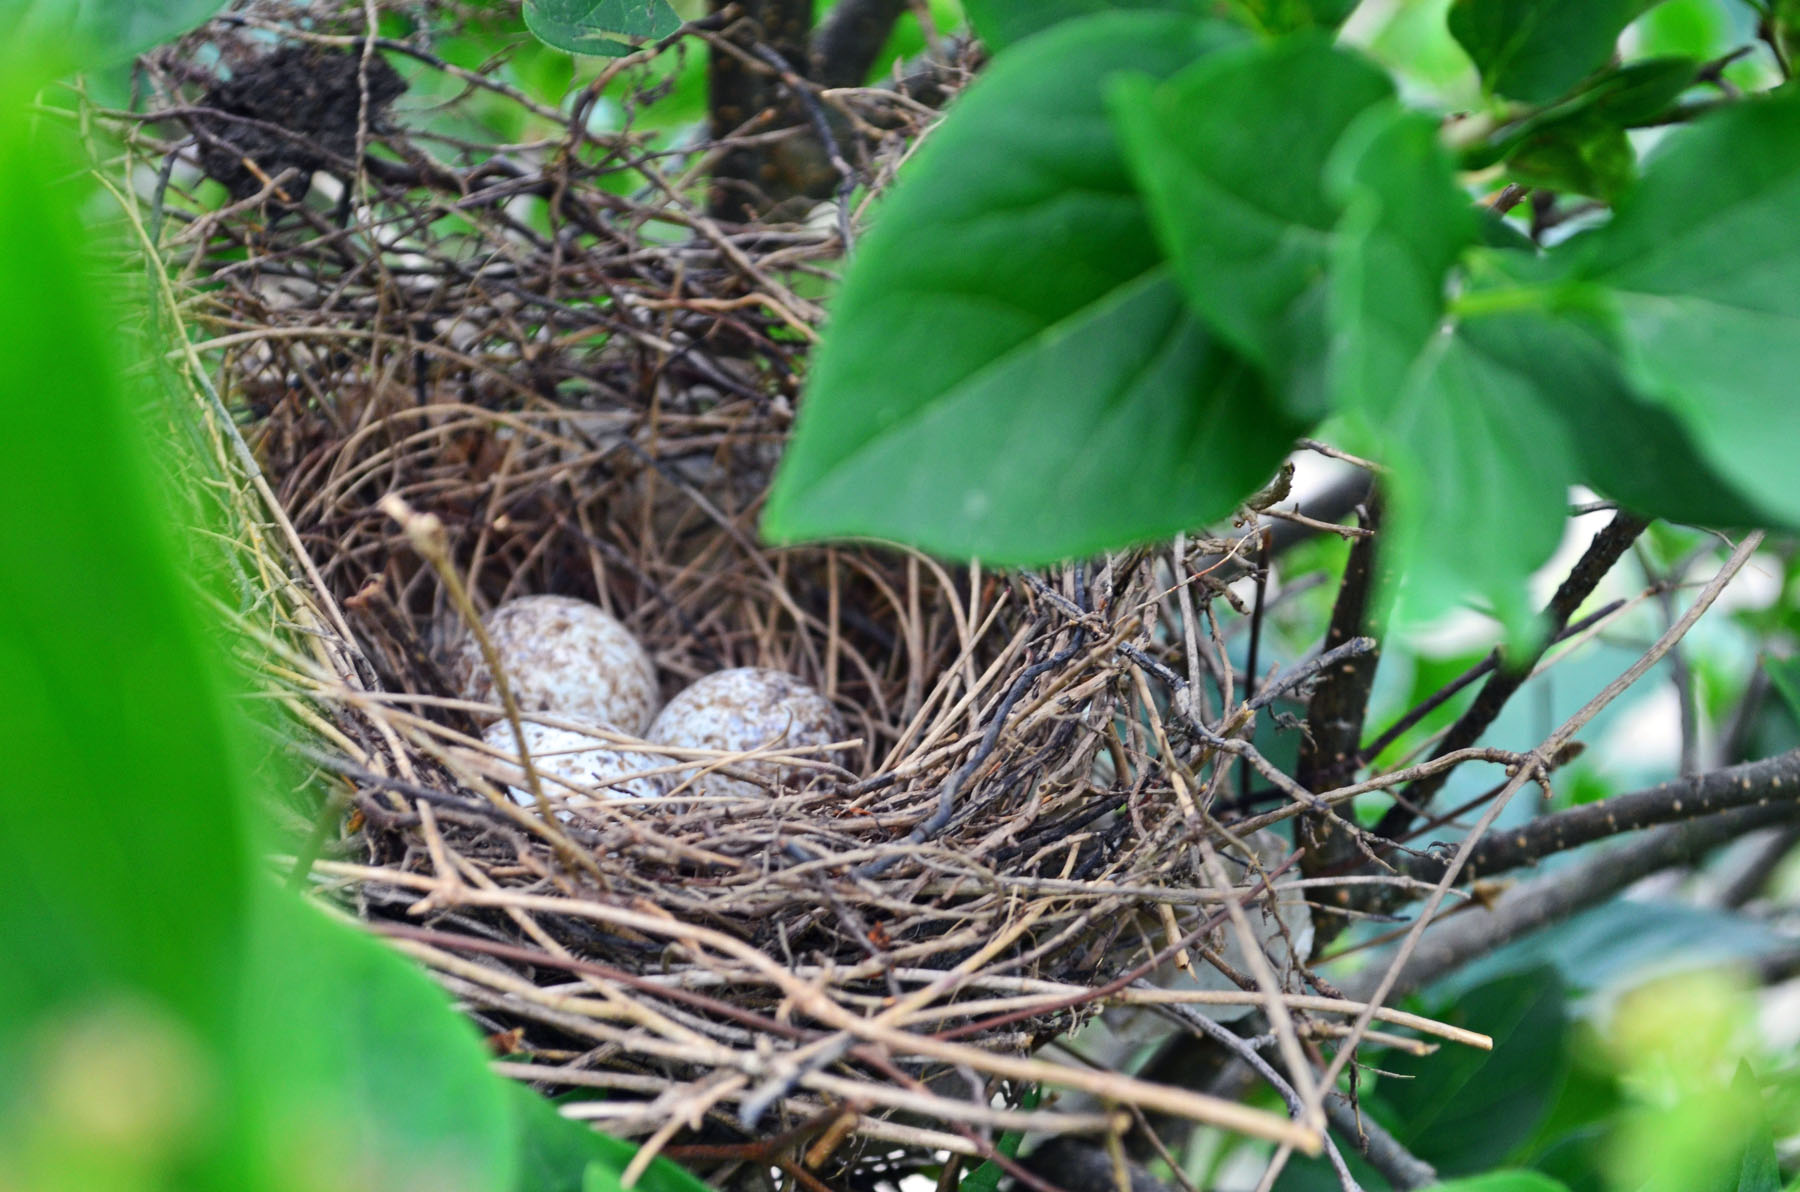
We have a pair of Cardinals nesting in our Lilac Bush.

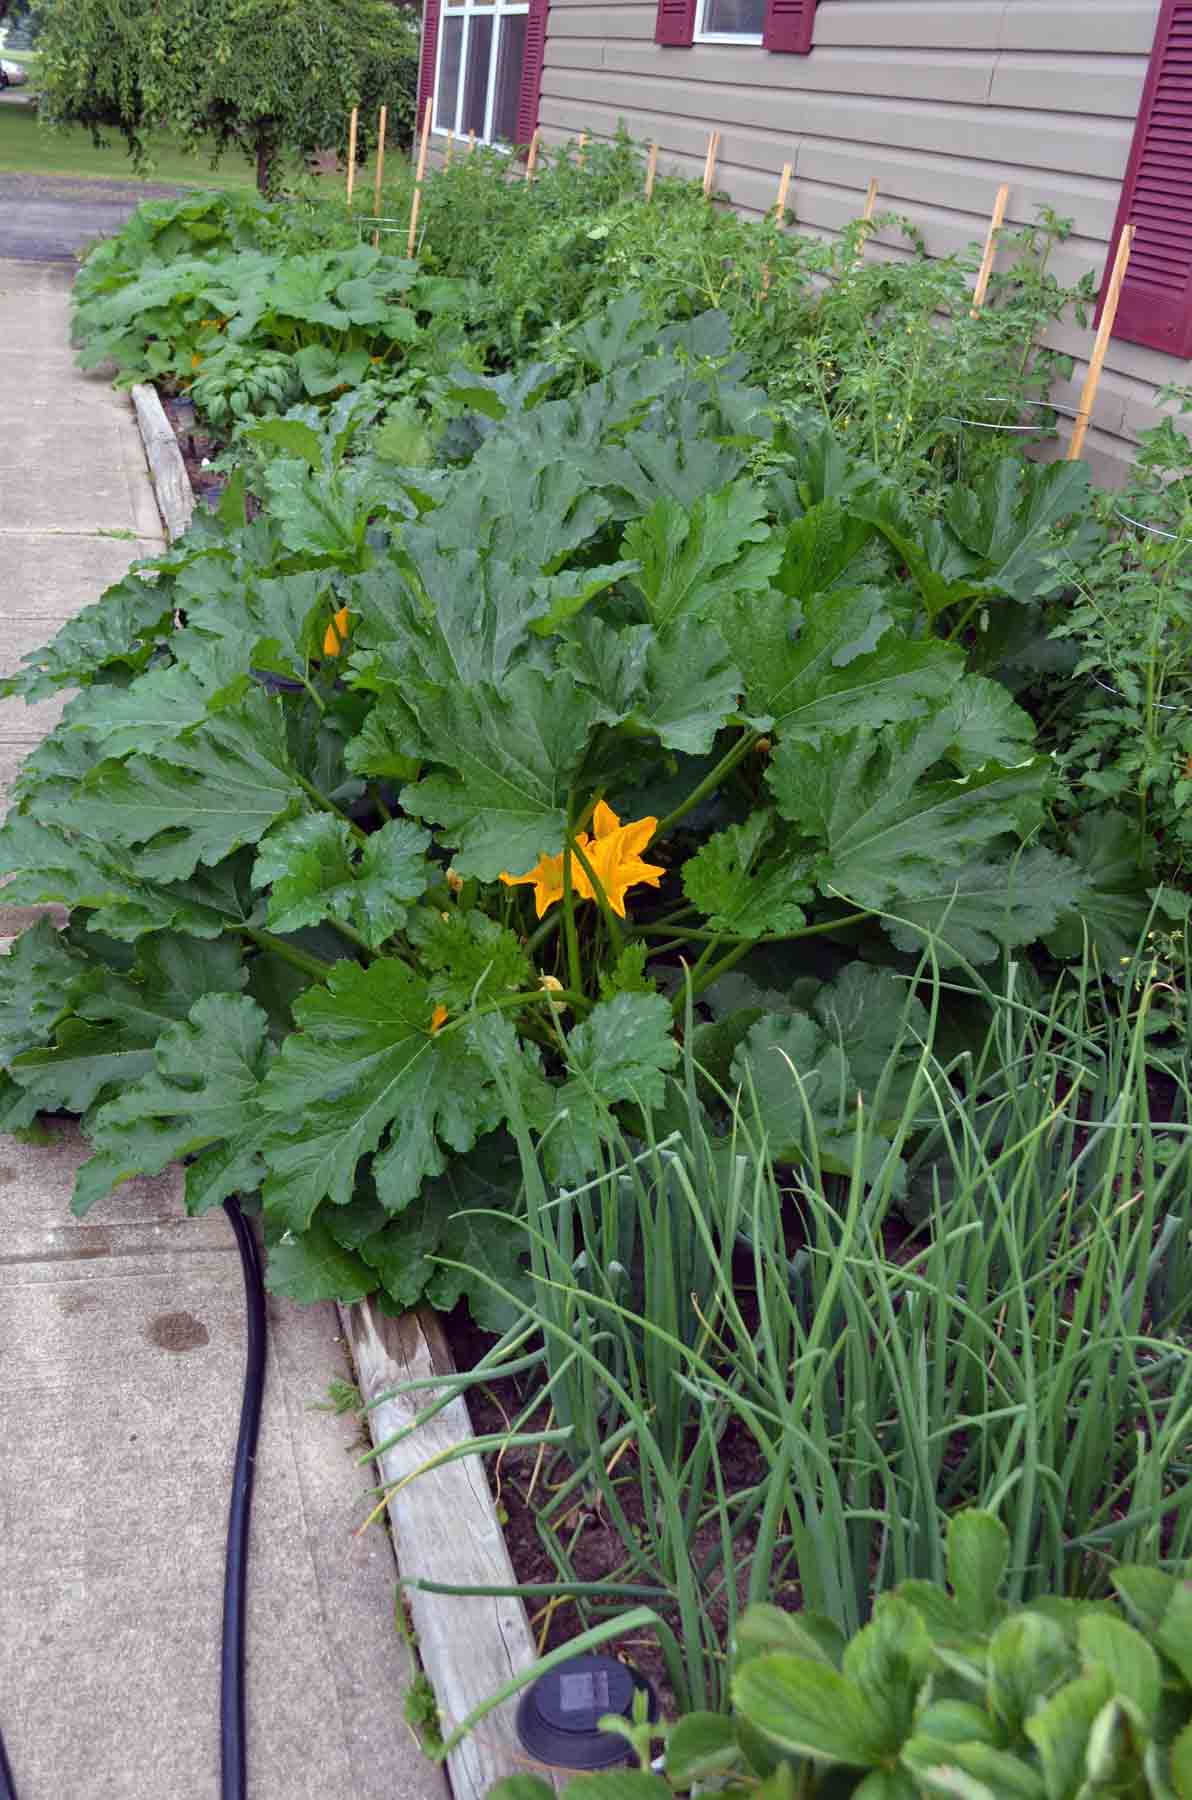
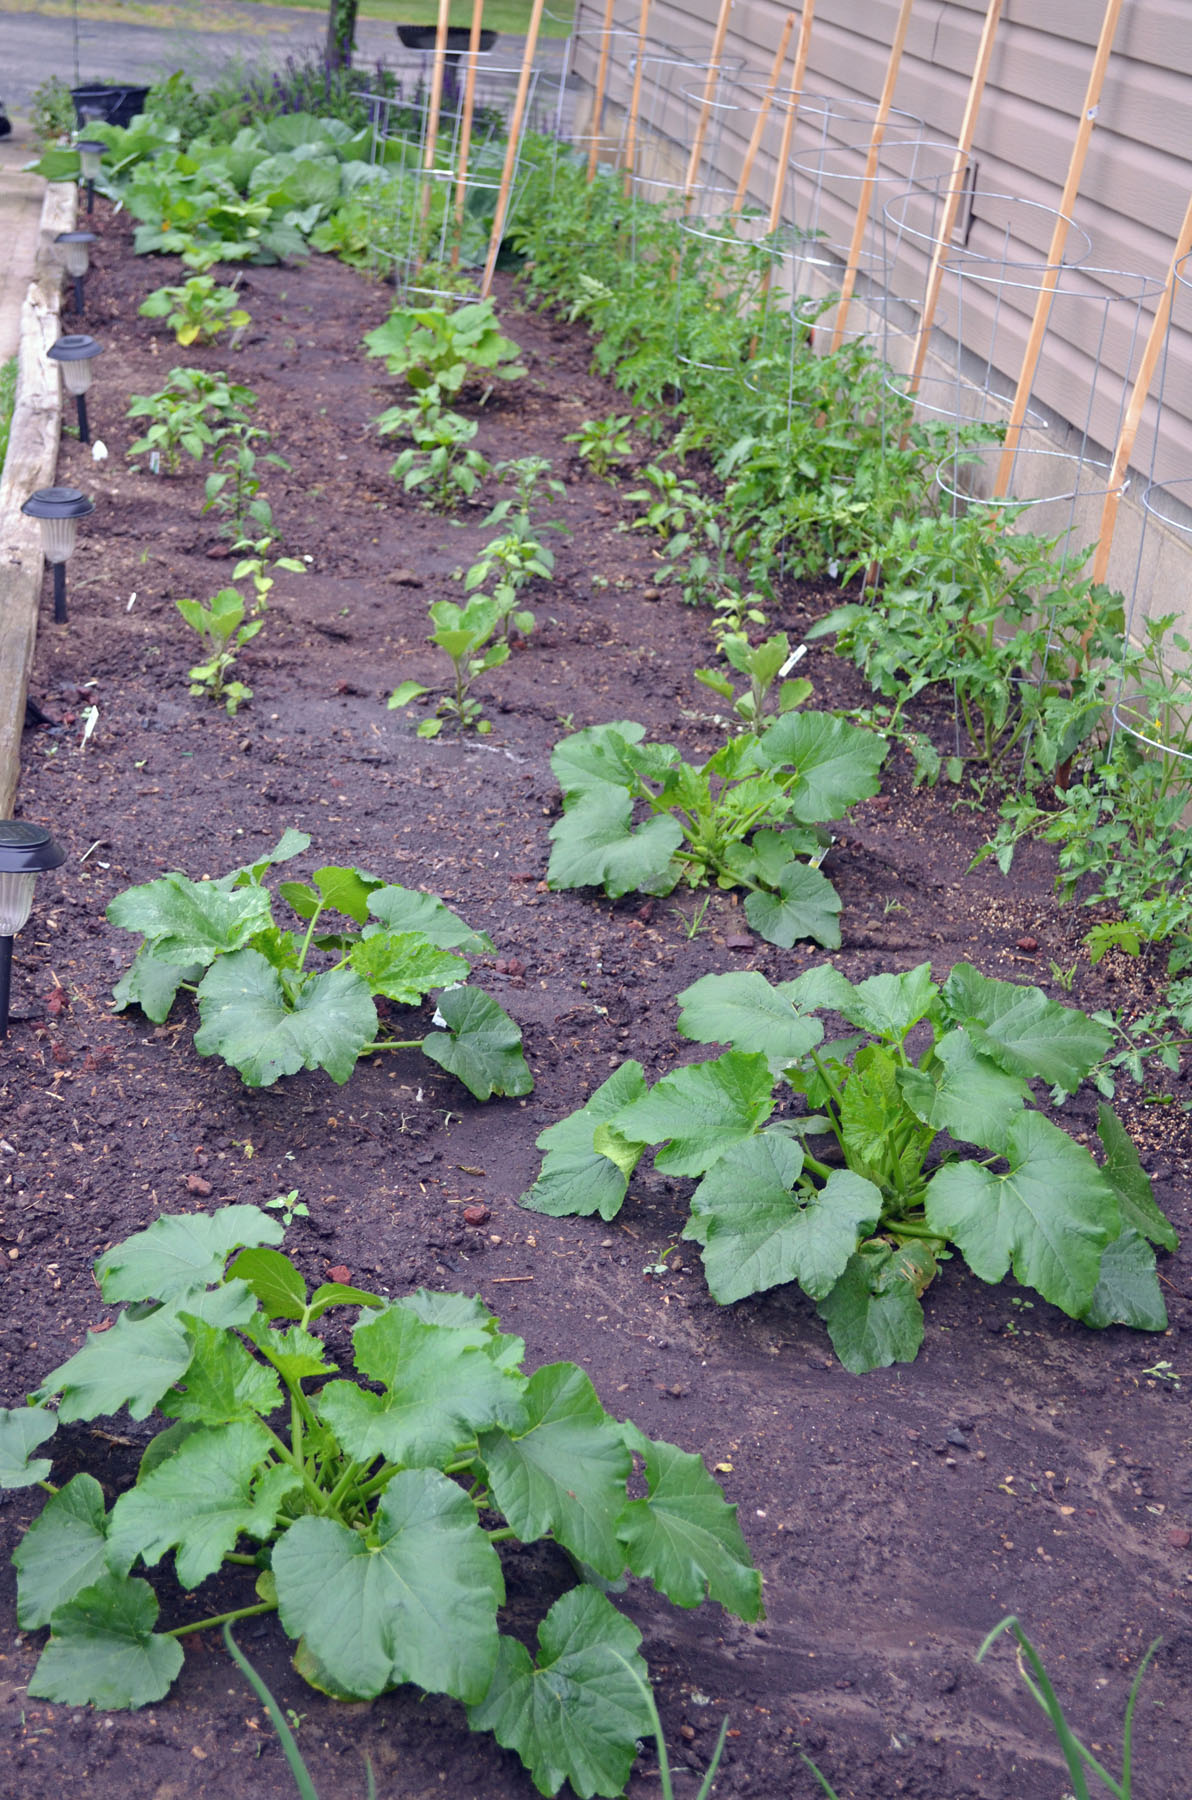
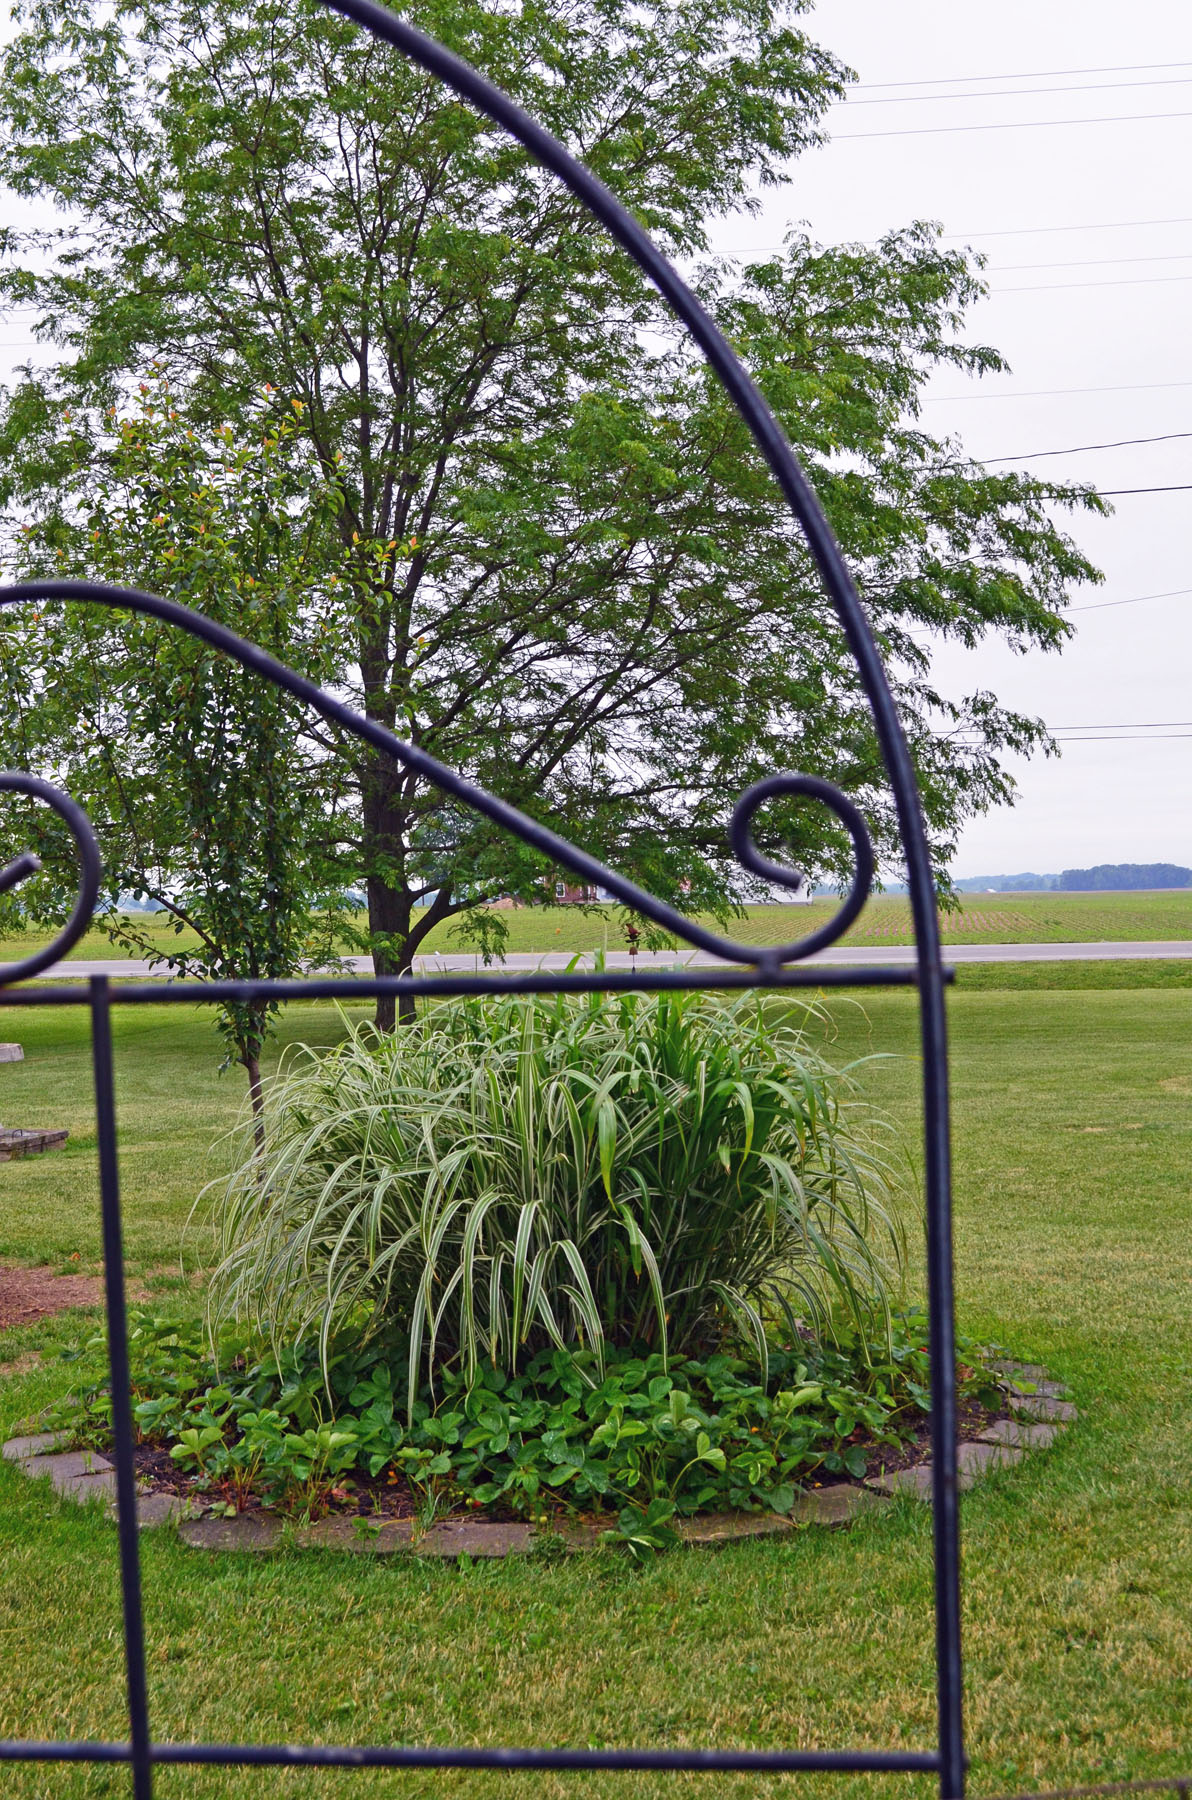
Now here is where I spend a great amount of time. Russ and I are trying to grow as much of our own food as we can. Here is a tour of our garden.
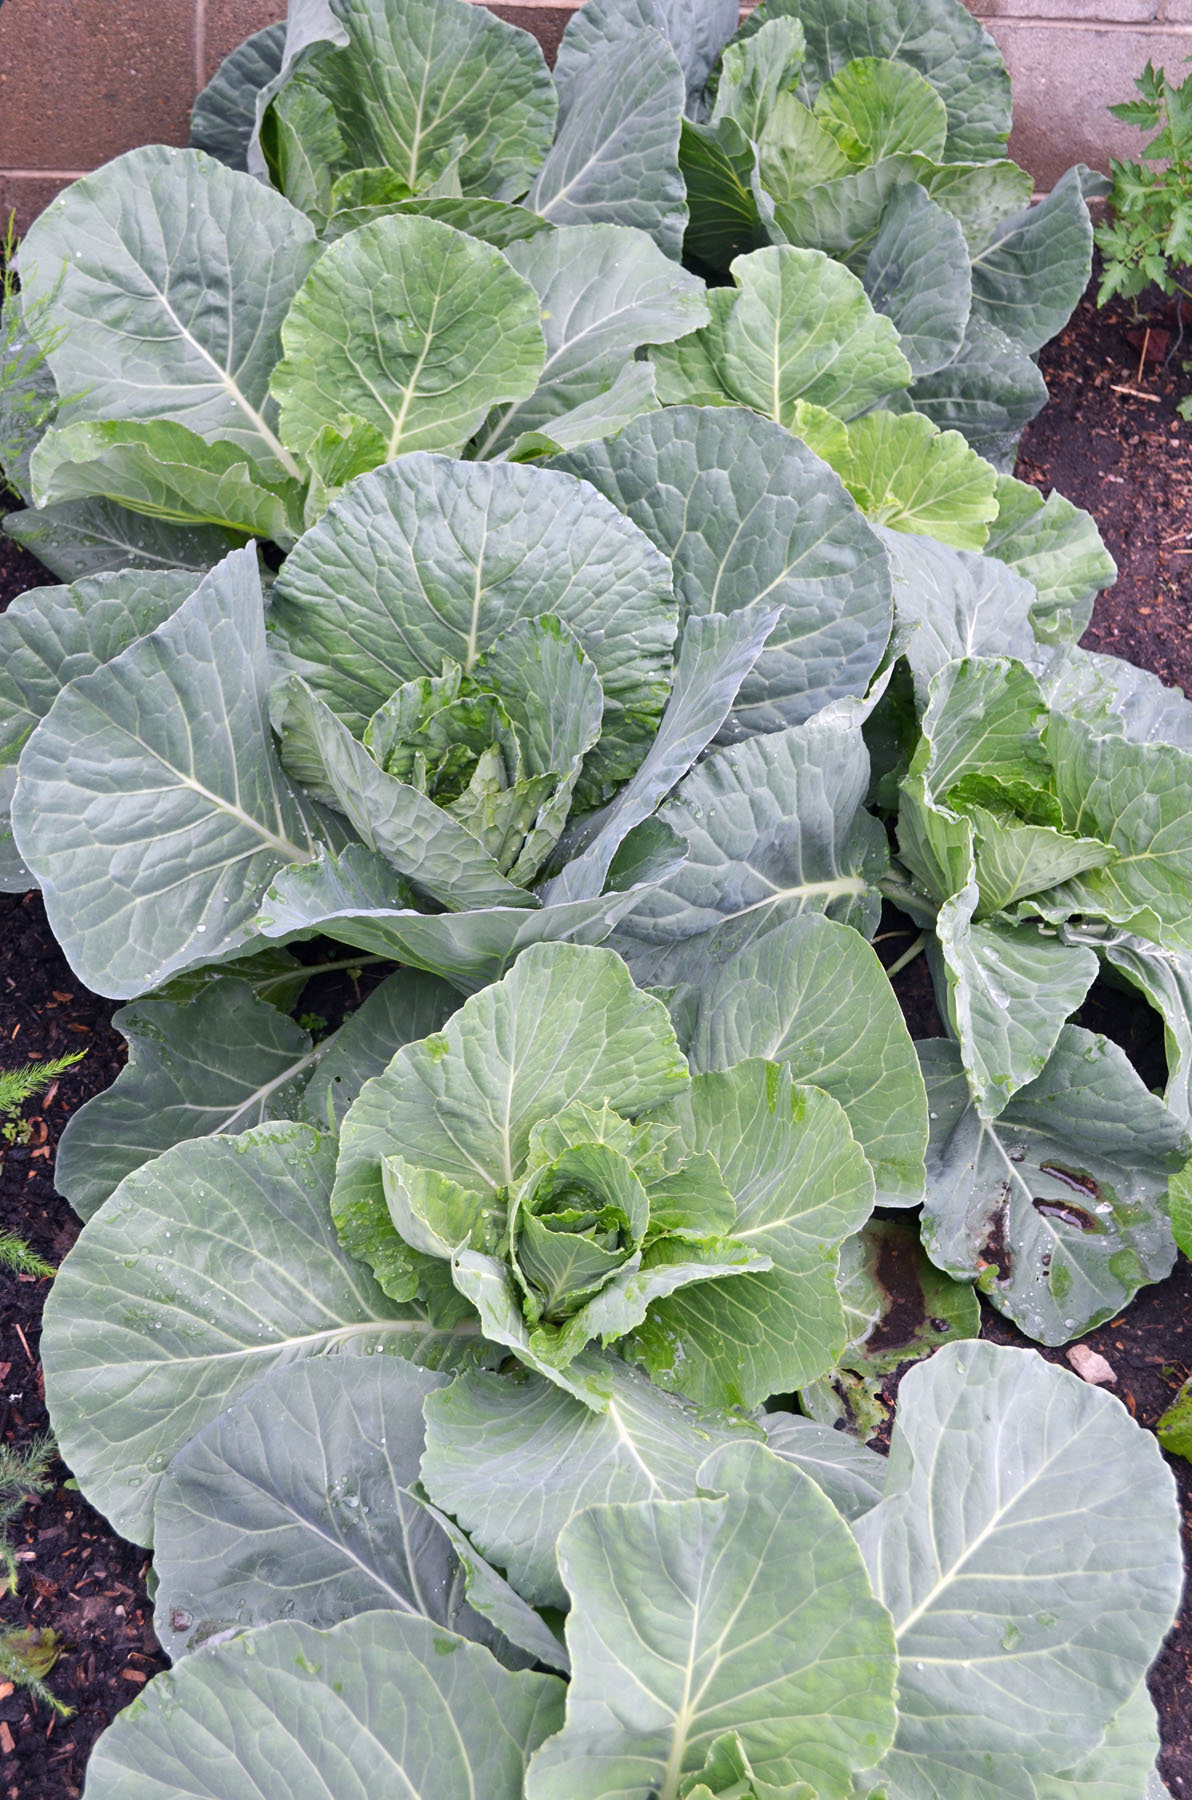
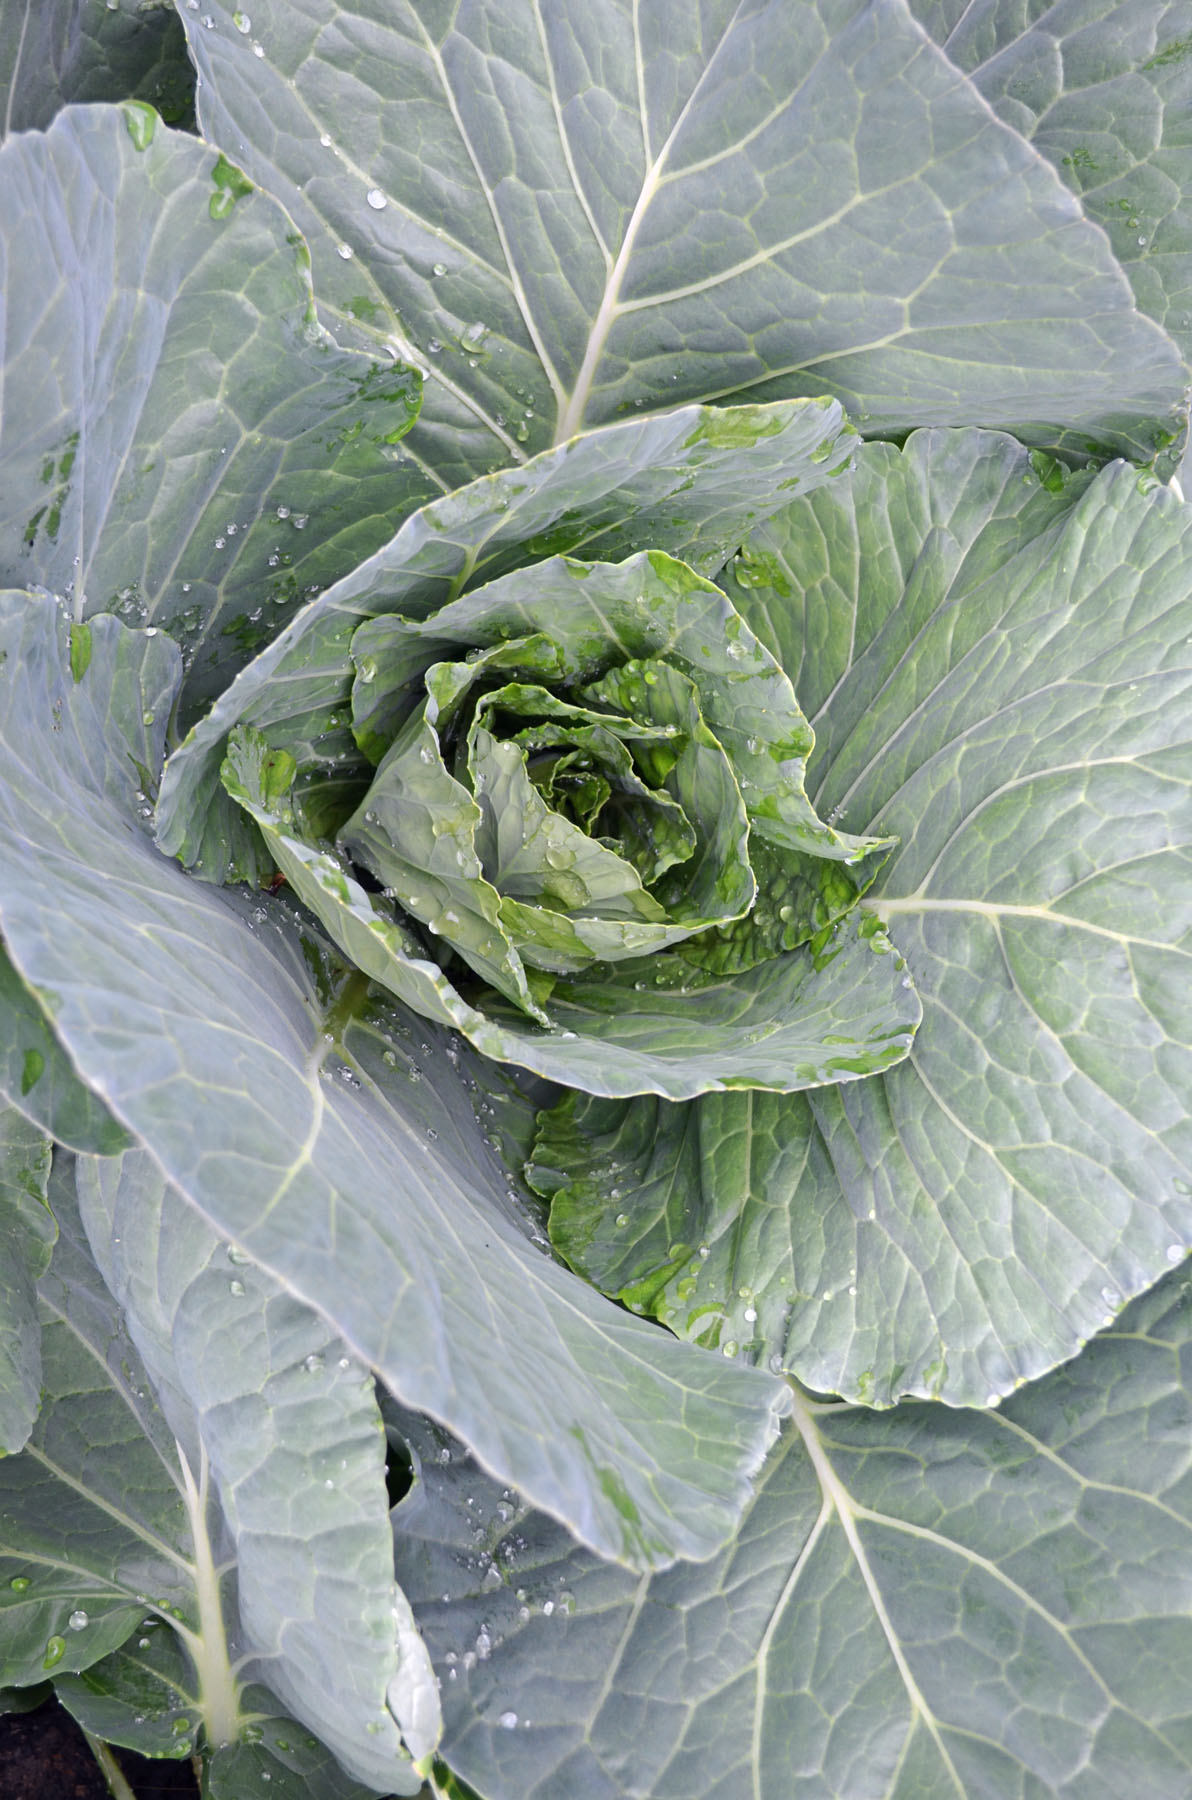
I think cabbages are one of the most beautiful veggies out there.


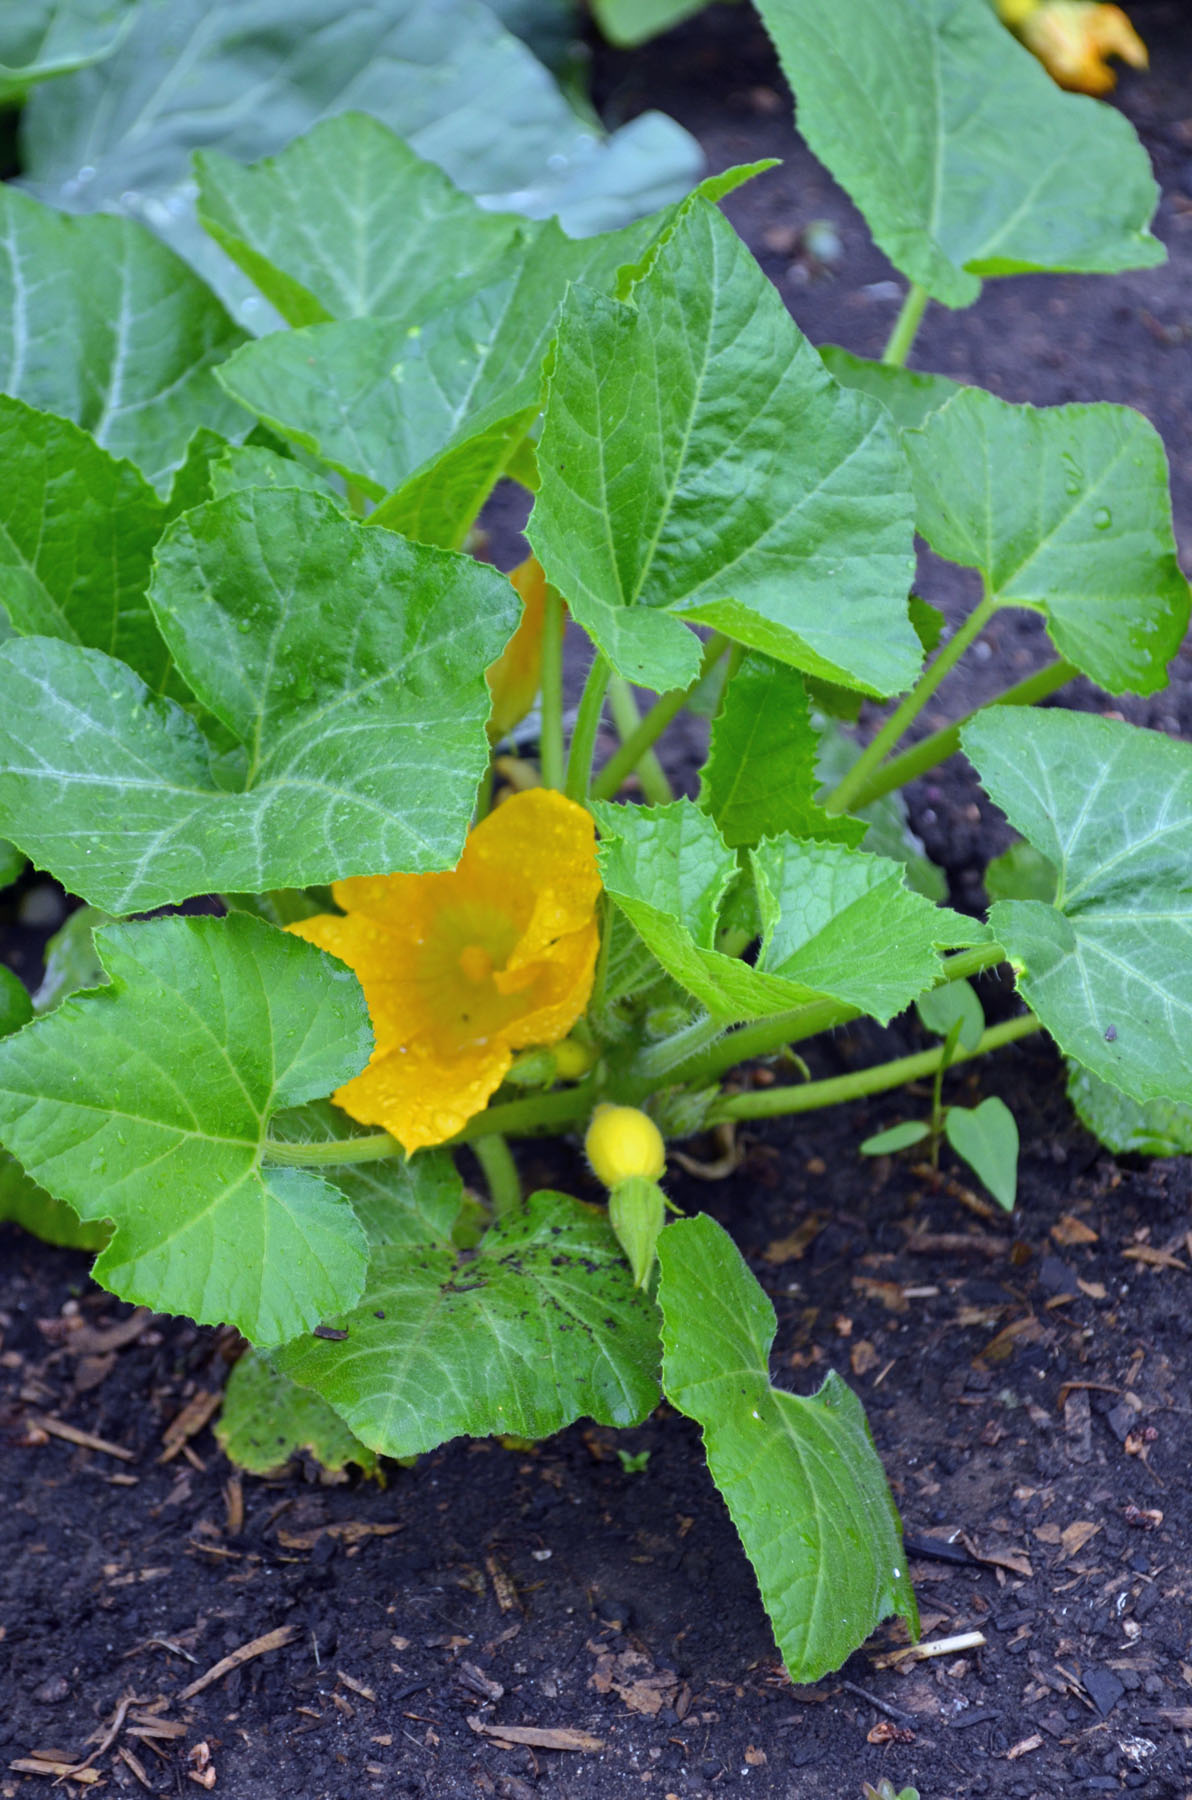
This is one of my warm weather veggie beds. Things are coming along. I’m growing Asparagus, cabbage, tomatoes, peppers, onions, squash, radishes and zucchini in this area.


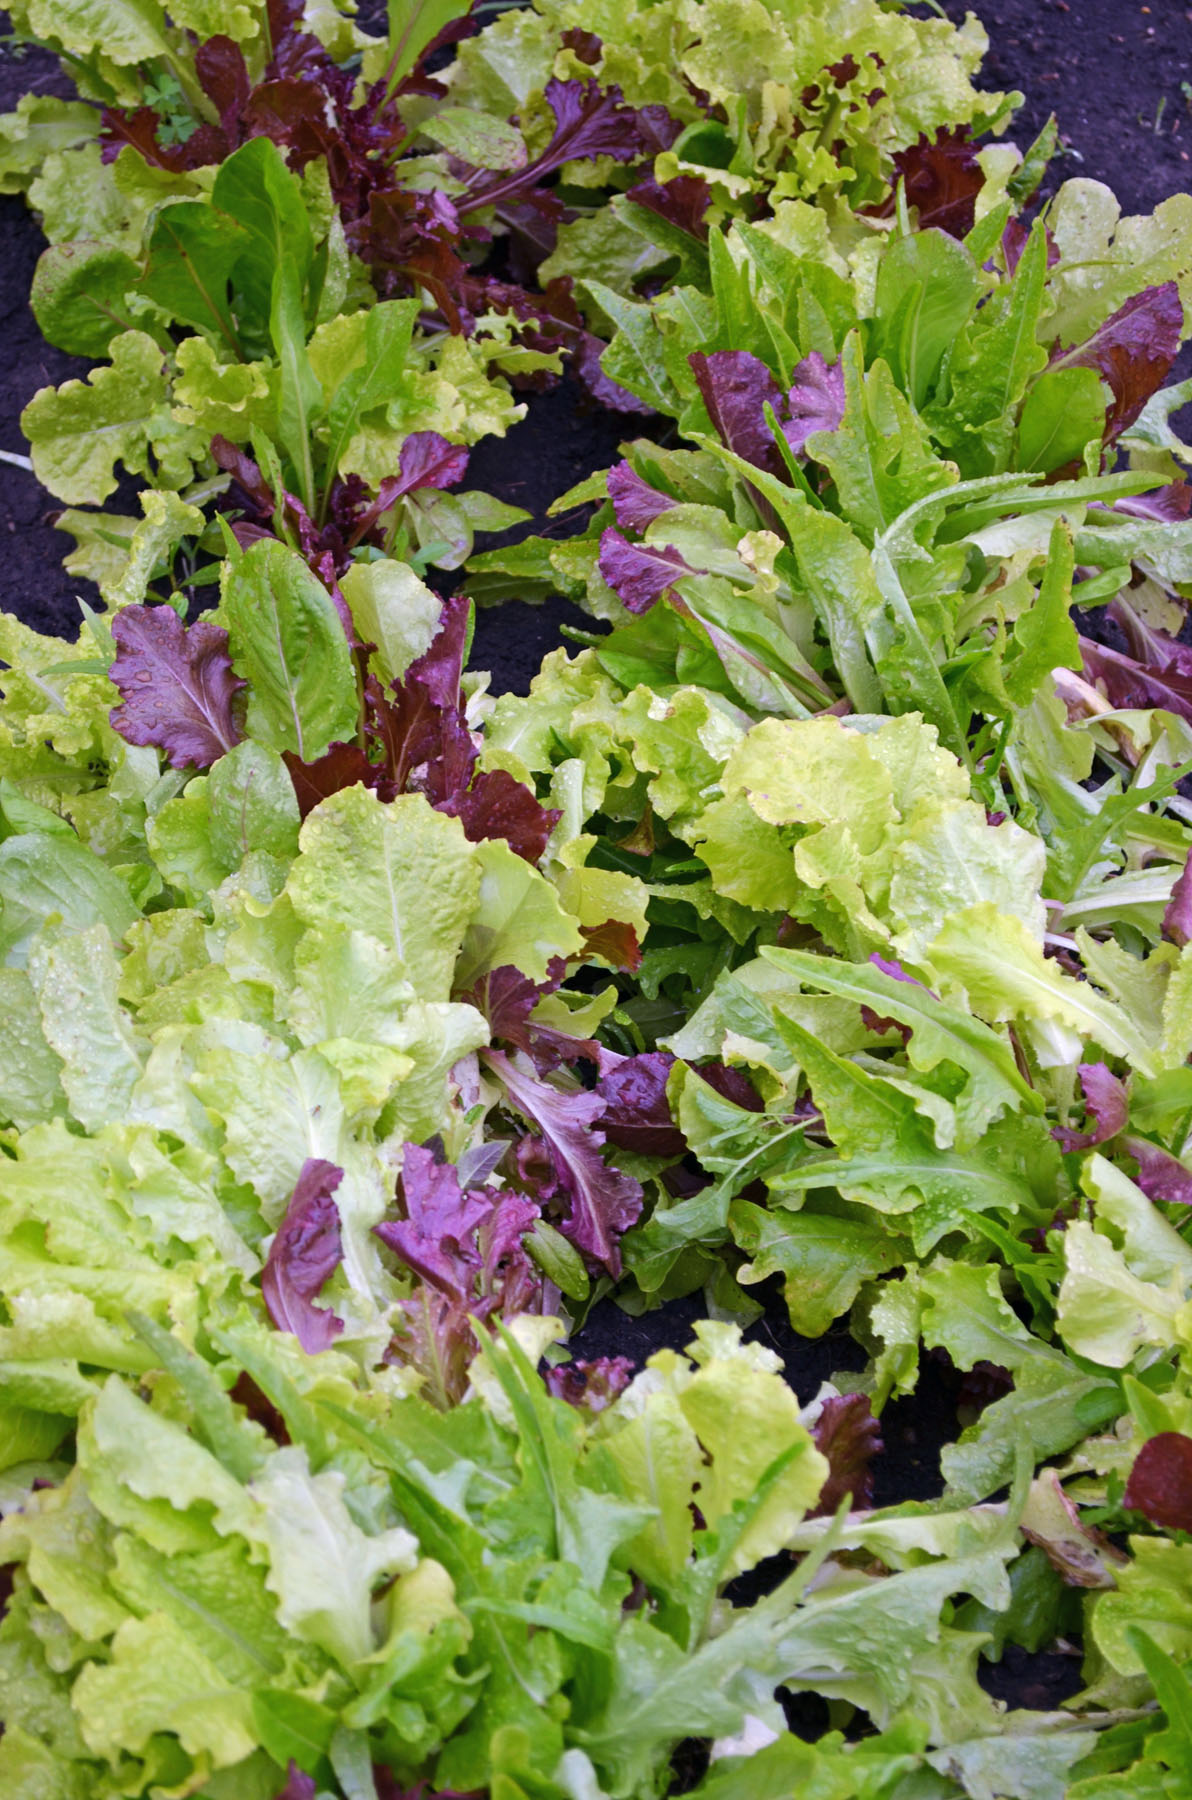
Cold weather beds – garlic, parsnips, turnips, kale and lettuce.


Another cold weather bed – Sugar Snap peas, Carrots, Beets and Spinach.

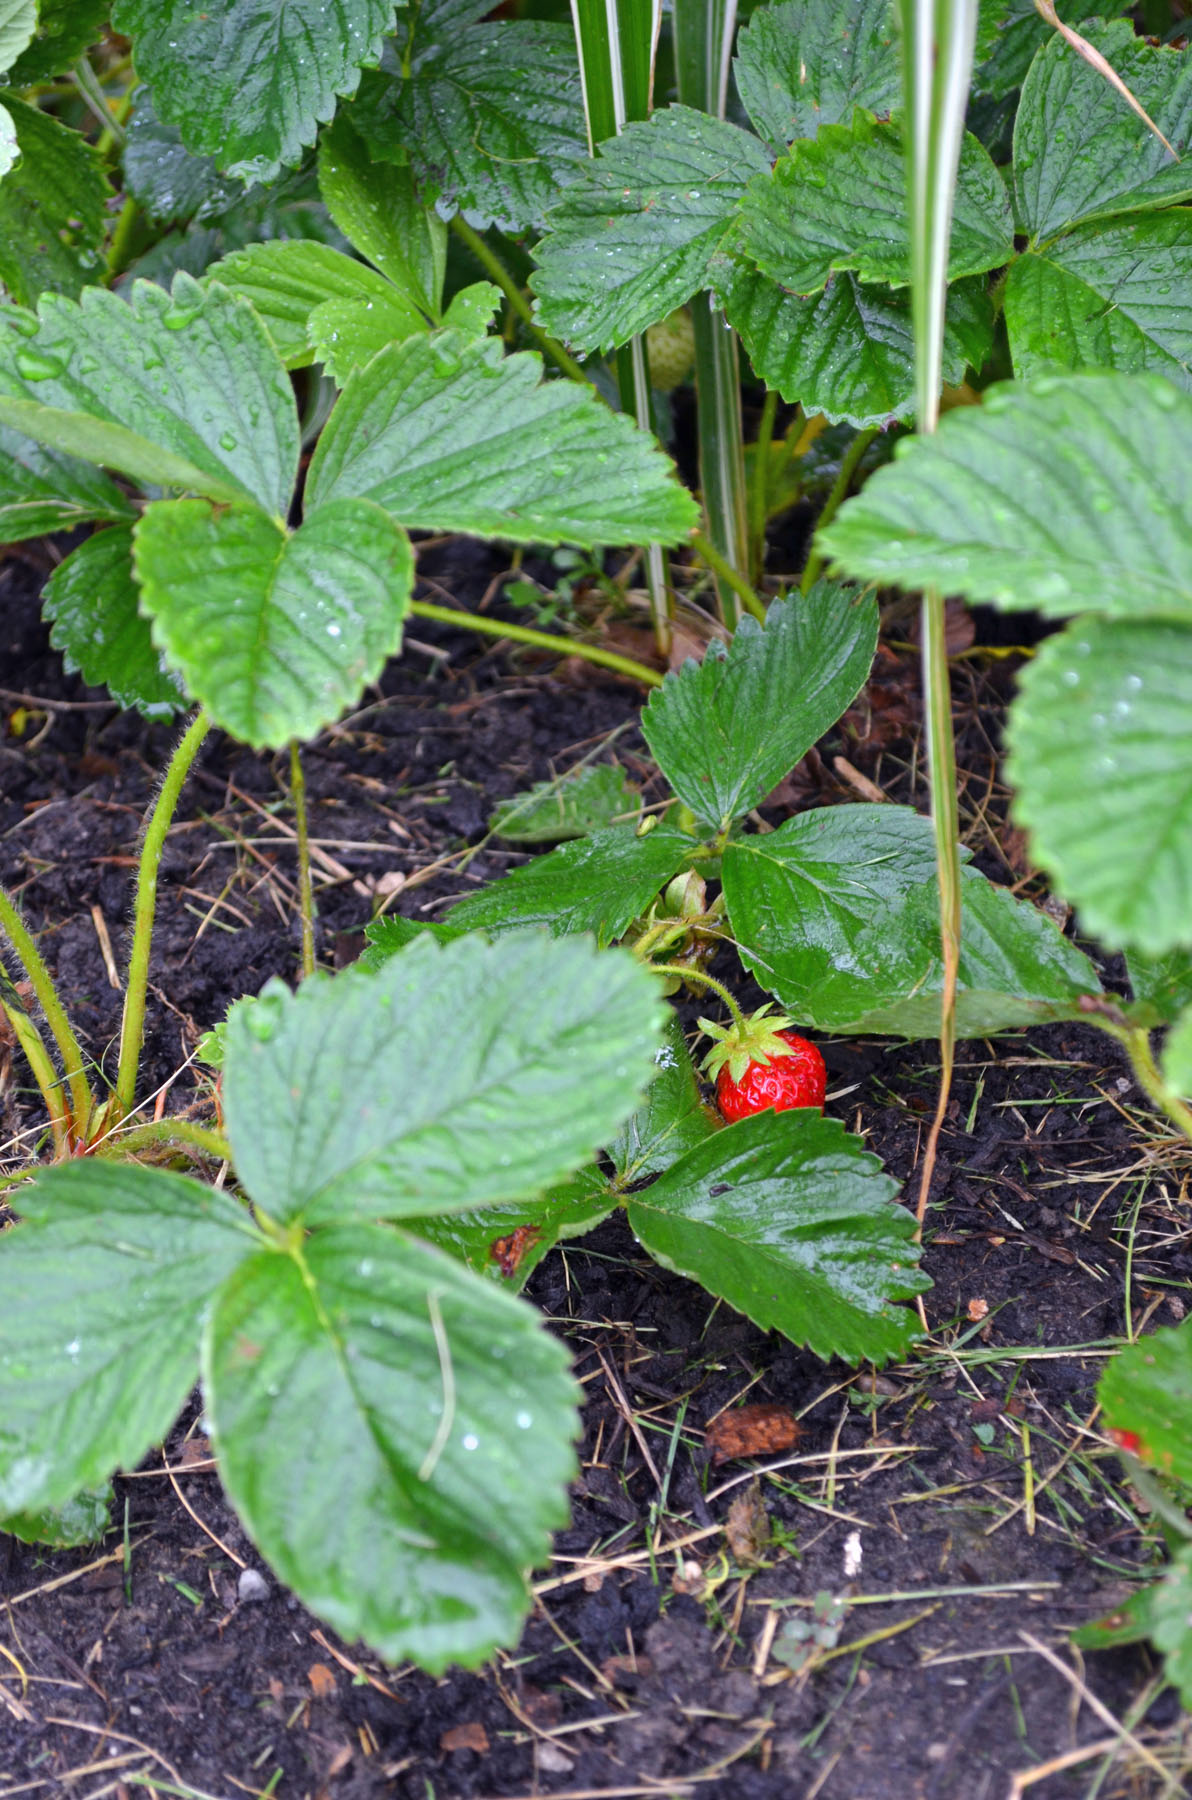
I’ve been getting about a quart a day of Strawberries from this bed, yum!


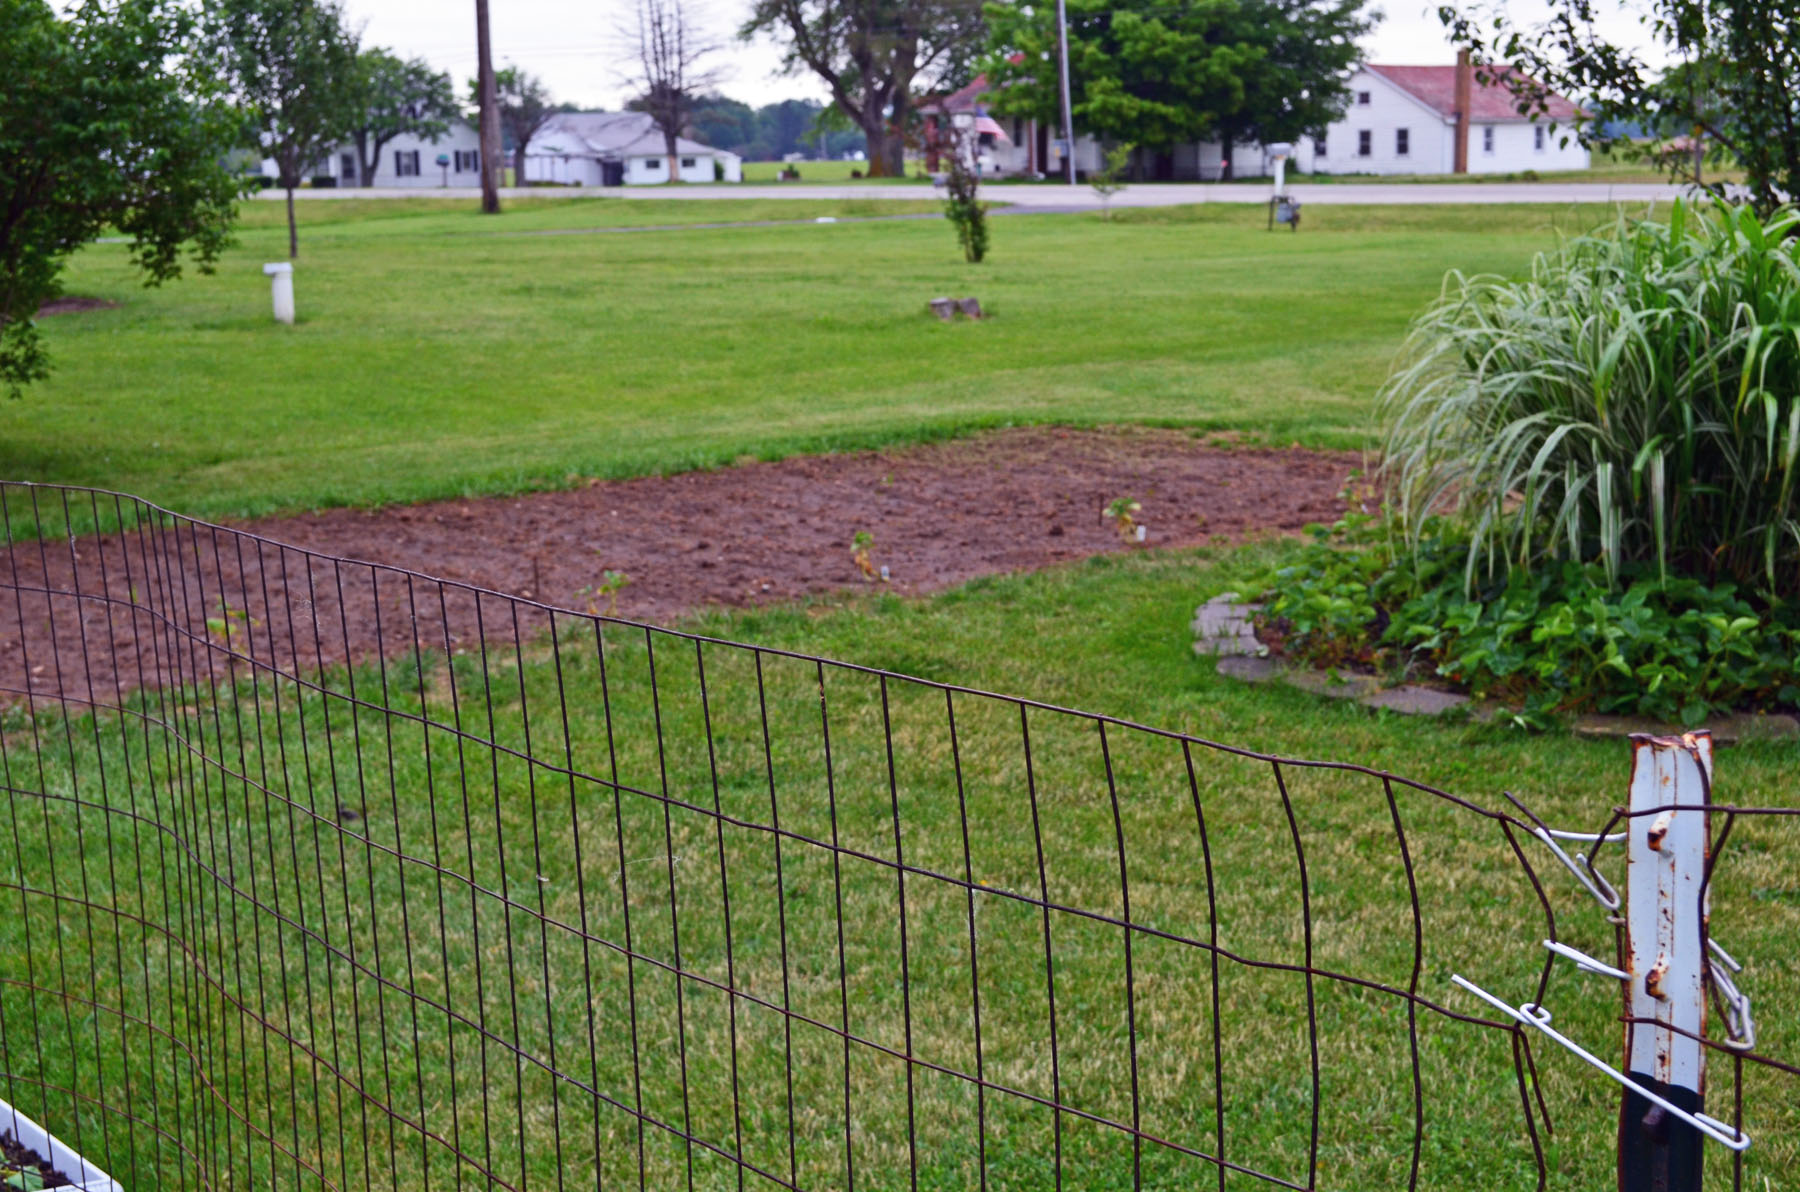
This large bed looks empty now, but I’ve planted corn, beans and cucumbers.

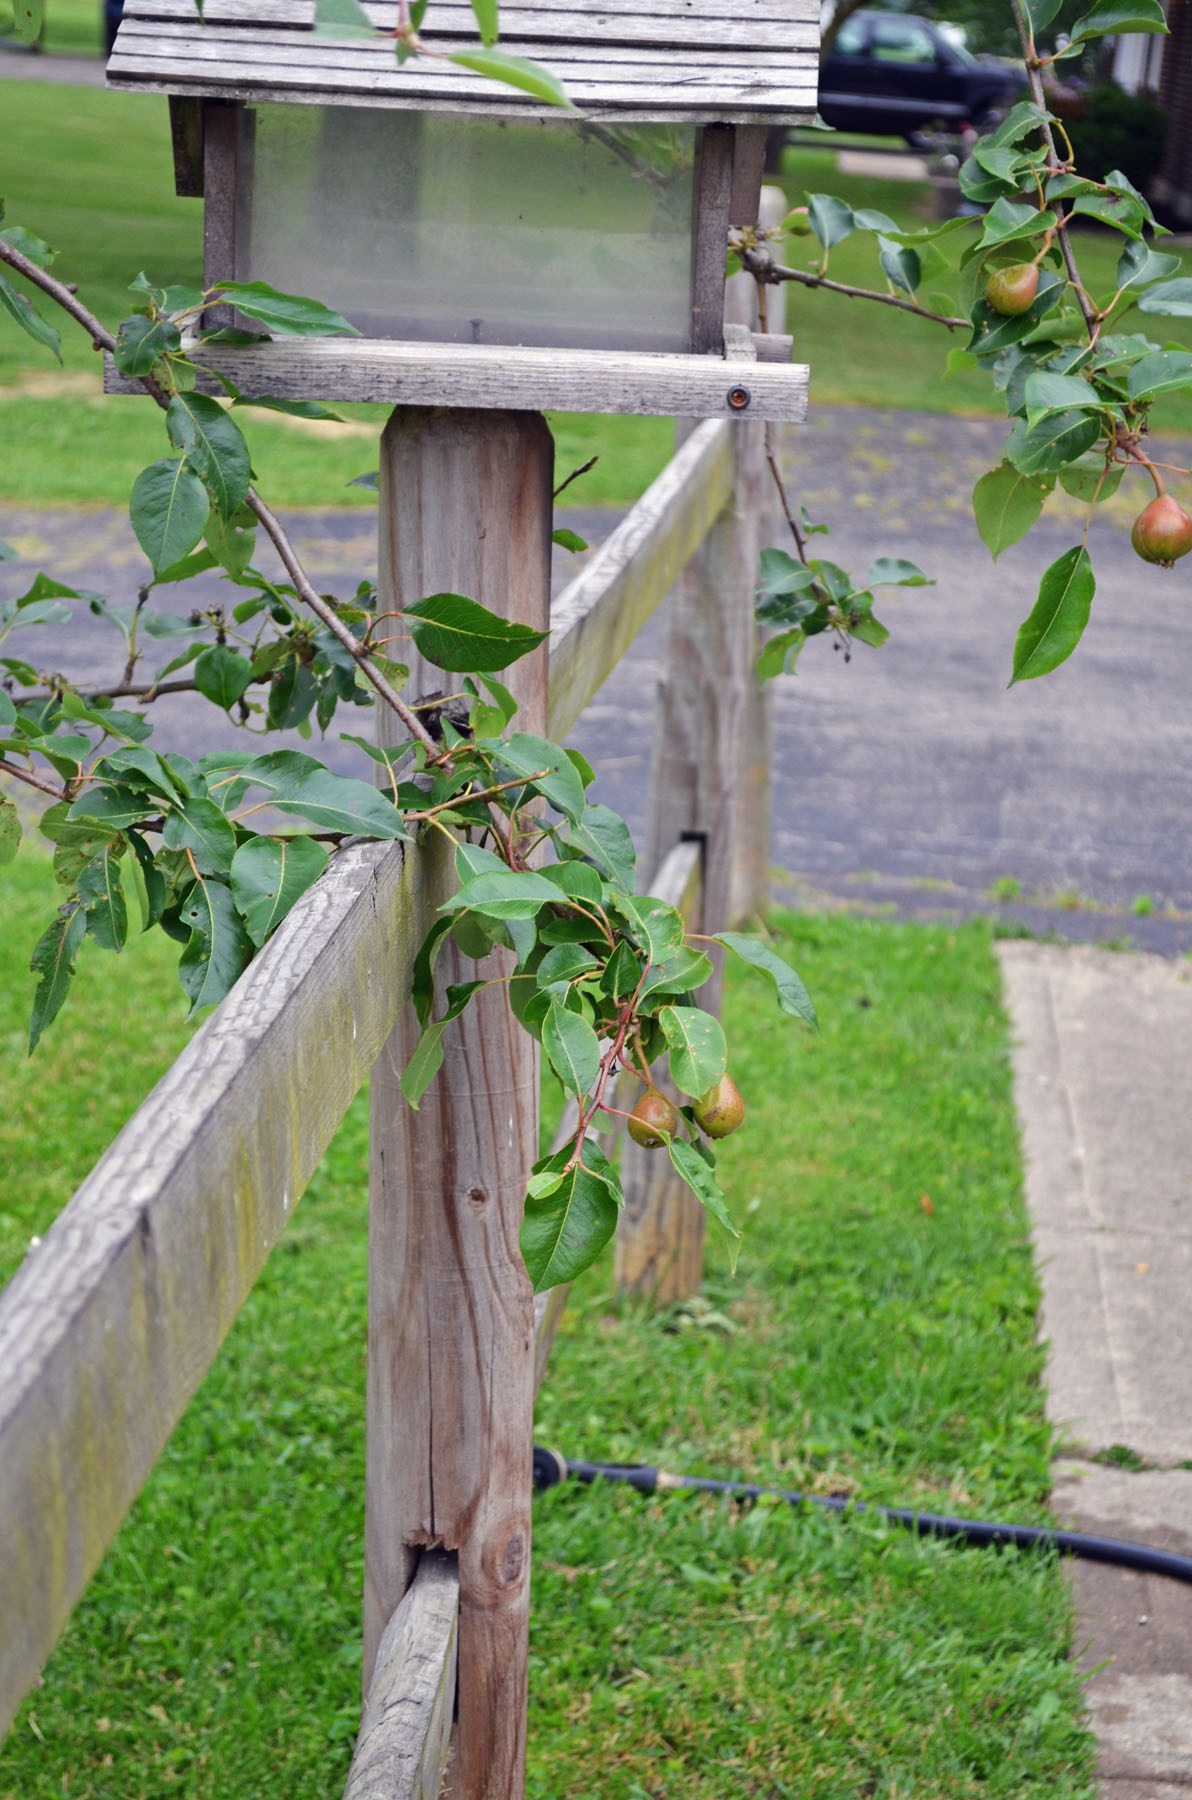
We now have pear, cherry and apple trees. Also, we have blueberry bushes. I’m hoping to add peach and plum trees in the Fall. Pear tree branches and bird feeder. Pears are coming along.


Hope you enjoyed the tour. 🙂
*********************************
Know the Code!!!!
MYSTERY HOSTESS:
With Stampin’ Up!’s announcement of the new Hostess Code, we can now “pool” Online Orders together (place them individually, orders will ship directly to you – within the US only, but use the same hostess code). When smaller orders are put in together, the larger order qualifies for HOSTESS BENEFITS.
That means FREE STAMPS (or other products) I can SHARE with YOU!
So let’s get started with May’s Online Mystery Hostess Workshop!
How do you get to be part of the Mystery Hostess Workshop?
Simply use the Hostess Code below and place a
minimum order of $50 (before tax and shipping) in my
online store by 11:00 pm on Thursday, June 13, 2013.
Important: To be part of the Online Mystery Hostess Workshop, once you add your first item to your shopping bag the hostess code must be entered just below the Special Offers section and it should say Michelle Zindorf as the Hostess.
Once all the orders are placed, on Friday morning, June 14, I will draw ONE name to get hostess benefits on the entire order! I will call/email the winner to get your choices.
Your Hostess Code is: 3MZWCWAQ
event is 11:00 pm on Thursday, June 13, 2013.
Please do not put the hostess code in if your merchandise order is $150 or more. You would lose your hostess benefits that you would have coming already.
Until my next post. . . . . .
Huge Hugs!

Weight loss in 2013: 23.4 lbs
******************************************************************
Shop my online store now CLICK HERE
******************************************************************

View the 2013-2014
annual catalog online (Flash)
 Annual catalog
Stampin’ Supplies
Product Guide
***********************************************************
Michelle’s Free Stamp Program
Don’t miss out on my Customer’s free stamp set program. Check it out! For your order of $50 in product using me as your demonstrator you will receive one virtual token. Order $100 in product receive two virtual tokens, etc. After you have collected 10 virtual tokens you will receive a free current stamp set of your choosing, a value of $30 or less.
Here is a link to my online shopping page that you can shop at 24/7 (from the comfort of your home, even in your pj’s) and the products will be shipped directly to your door step from Stampin’ Up. CLICK HERE TO SHOP. My free stamp set program will be an on going program. 
****************************************************************
The new Stampin’ Up! Annual Catalog is active on May 31, 2013. I have some on hand that can be pre-ordered. The cost is $6.50 which includes flat rate shipping. Please e-mail me at mzindorf@aim.com if you would like to purchase one.
***************************************************************
Learn How to Brayer
I now have an online beginner brayer video classes that will teach you how to brayer. CLICK HERE TO GET THEM.
**************************************************
 Also, check out my new Zindorf Naturals Soap Page. This stuff is oh so good for your skin. CLICK HERE TO CHECK IT OUT.


