
Hello Stampers,
This morning I sat down and created these Christmas Tags and I thought I would take you along on my step by step process. All of the supplies I used are listed below in this post. Ready, here we go!
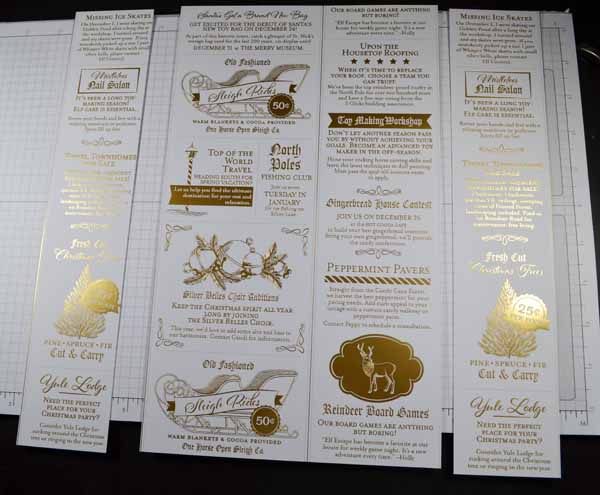
I made four tags. Cut the right and left sides off of the Wonder of the Season Specialty Designer Series Paper and then cut the two sides that you cut off in half to measure 6″ each.
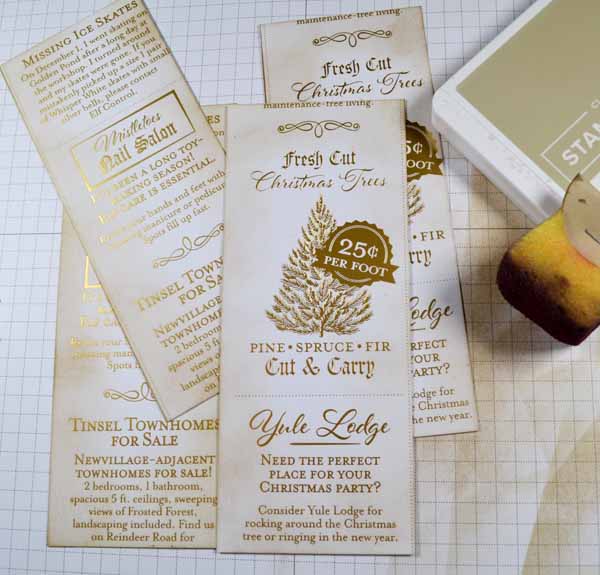
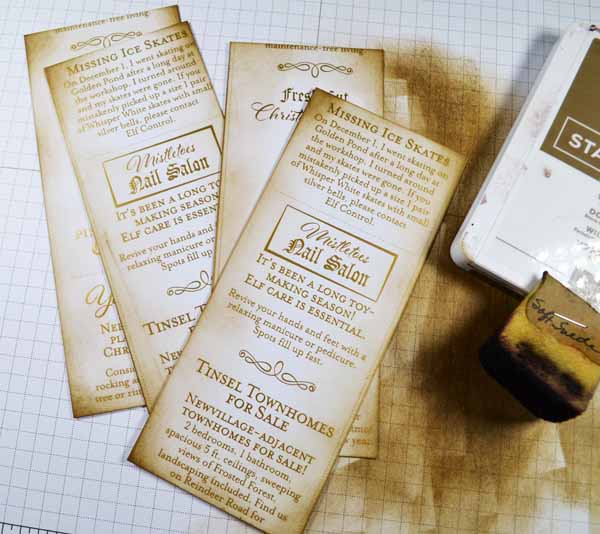
Sponge Crumb Cake ink on the panels leaving the center white and then sponge Soft Suede ink on the edges of the panels.
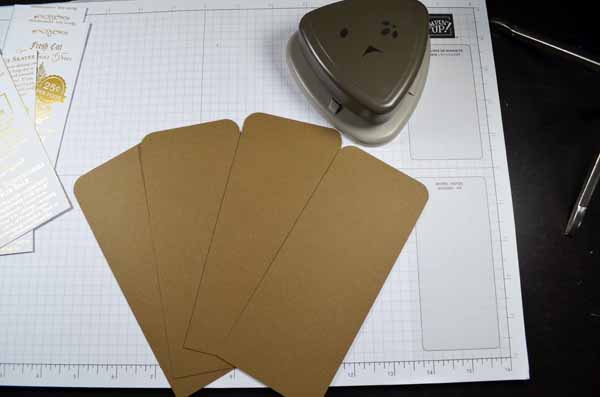
Cut (4) 2.75″ x 6.5″ Soft Suede panels and use the corner rounder punch on the top corners.
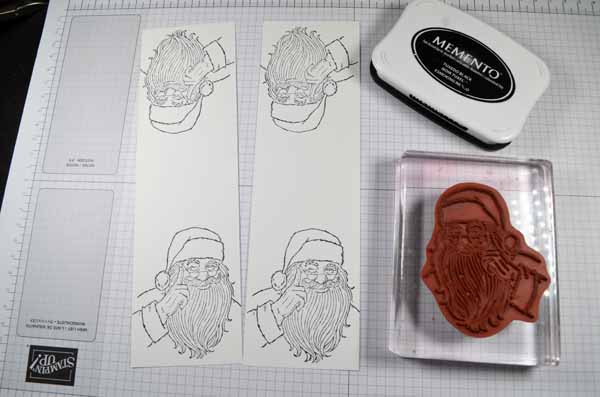
Stamp Santa (4) times on 2.5″ x 8.5″ Whisper White strips using Memento Tuxedo Black ink.

Color the Santa in with Stampin’ Blends Markers: Suite Dark Cherry Cobbler, Shadows in beard, glove, hat brim and hat ball Light Smoky Slate, Skin Ivory, checks Light Flirty Flamingo.

Cut around the head and shoulders of the image and sponge the edges of the head and shoulders with Crumb Cake ink.
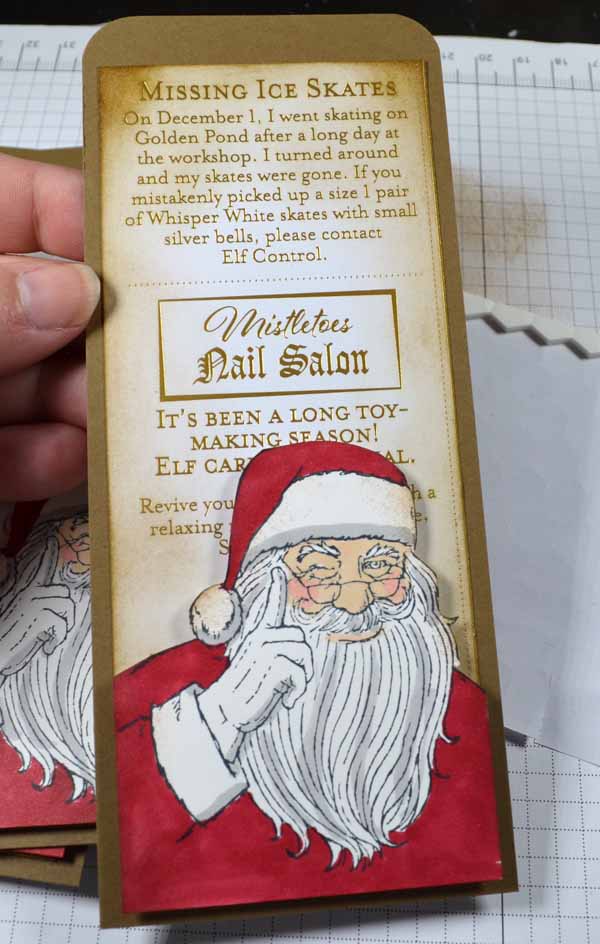
Adhere together the Crumb Cake panels, Specialty Designer Series panels and then add the Santa to the front using Stampin’ Dimensionals to pop him up.


Adhere a crossed piece of ribbon to the top of the tag using a stapler. Create a bow with an additional piece of ribbon and adhere it to the tag using Mini Glue Dots.
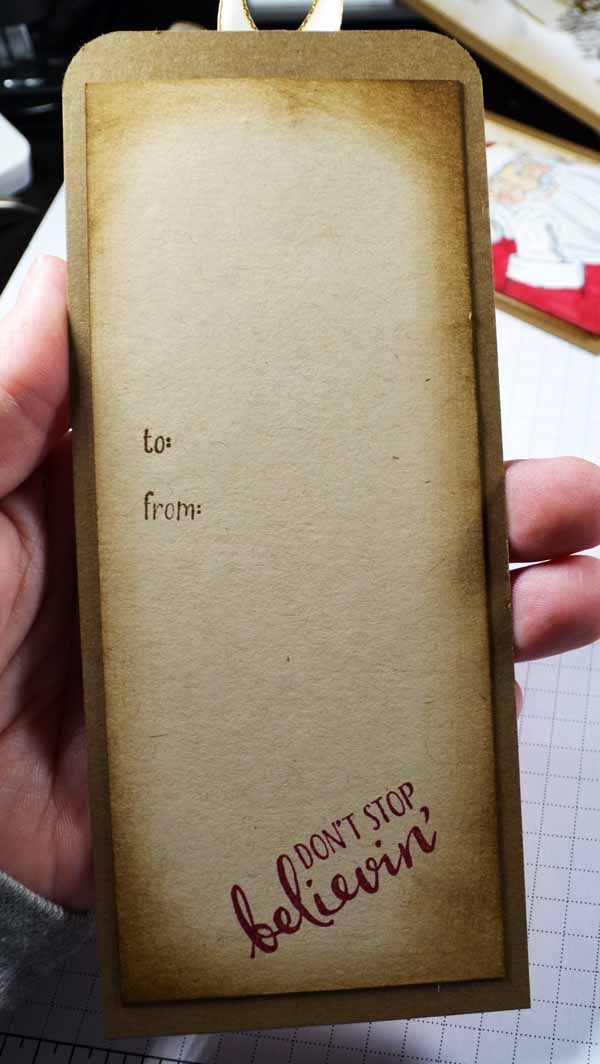
Panel on back of the tag is a 2.5″ x 6″ Crumb Cake panel, sponge Soft Suede ink on the edges, stamp the sentiment with Cherry Cobbler ink and the “to From” with Soft Suede ink. Adhere it to the back of the tag covering the staple.
Enjoy using them on your Christmas gifts this year!
******************************************
FULL SUPPLY LIST FOR THIS PROJECT (CLICK ON ITEMS TO VIEW)


 PLACE A $50 MERCHANDISE ORDER BETWEEN OCTOBER 1, 2020 AND OCTOBER 31ST, 2020 USING HOSTESS CODE 9TARMNC7 AND RECEIVE THE ENTIRE MONTH OF SEPTEMBER TUTORIALS (AT LEAST 12) FREE OF CHARGE VIA E-MAIL. THAT’S NOT ALL KEEP READING!

ALONG WITH ALL 12 OF THE PROJECT TUTORIALS FOR THE MONTH OF OCTOBER, 2020, YOU WILL GET A RECAP OF ALL OF THEM AT THE END OF THE MONTH AND YOU WILL ALSO RECEIVE 1 VIRTUAL TOKEN FROM ME FOR EACH $50 IN MERCHANDISE PURCHASED WITH YOUR ORDER. **COLLECT 10 TOKENS AND RECEIVE A FREE STAMP SET OF YOUR CHOICE UP TO A $30 VALUE FROM ME WITH MY CUSTOMER LOYALTY PROGRAM.
TO RECEIVE THIS OFFER PLEASE USE HOSTESS CODE:9TARMNC7 WHEN PLACING YOUR ORDER.
$150+ ORDER: PLEASE DO NOT ADD THE HOST CODE SO YOU WILL GET THE HOSTESS CREDITS. YOU WILL AUTOMATICALLY QUALIFY FOR THE 12 FREE TUTORIALS FOR THE MONTH PLUS THE TOKENS.


The first nine tutorials in this month’s tutorial package. Three more fun and creative tutorials to come this month!

**Please note, customer appreciation tokens expire after 2 years.
******************************************
TO PURCHASE THIS MONTH’S SINGLE TUTORIALS OR THIS MONTH’S TUTORIAL PACKAGE AT A DISCOUNT CLICK HERE FOR DETAILS.

SAVE 15% ON DESIGNER SERIES PAPER!
We all love gorgeous Designer Series Paper, and during this incredible sale, you can enjoy a 15% discount on select papers from our current catalogs! Now is a great time to stock up and save on some of our most popular paper designs!


3 thoughts on “Don’t Stop Believin’ Christmas Tag Tutorial”