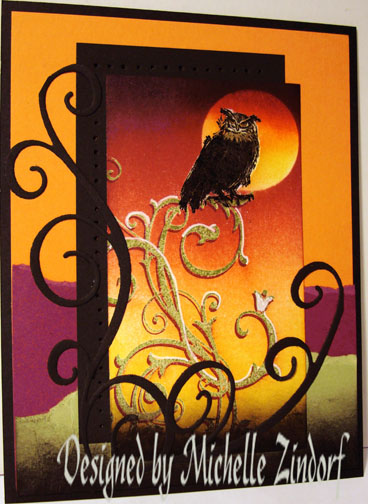
You just never know what I will put up on my blog from one day to the next, lol. My last post was a tropical scene, now today I am featuring a Winter scene. I do this for myself, so I won’t get stagnate in my creativity. It feels good to step out and do a Winter scene in August. Some of you stamper out there are probably already making, or at least preparing for your Christmas cards. So here is one to inspire you.
Update: If you are registered for the Atlanta, GA Brayer workshops a change has been made to the location. Please click Here to view it.
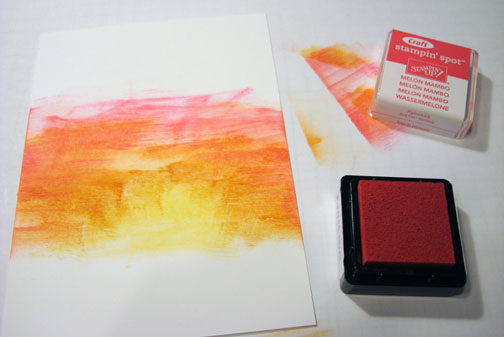
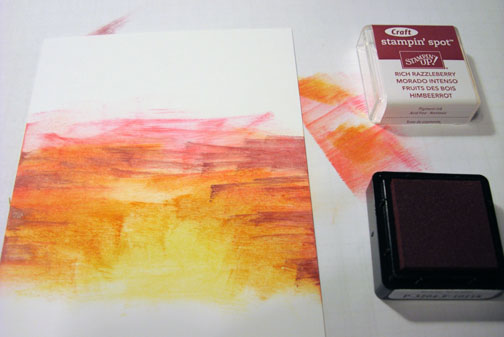
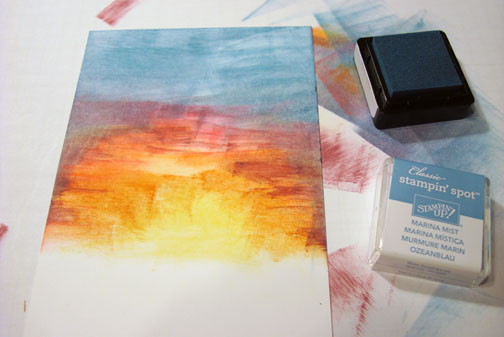
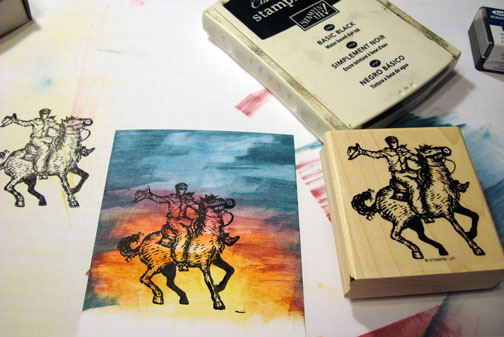
Let’s get started. . . . . .
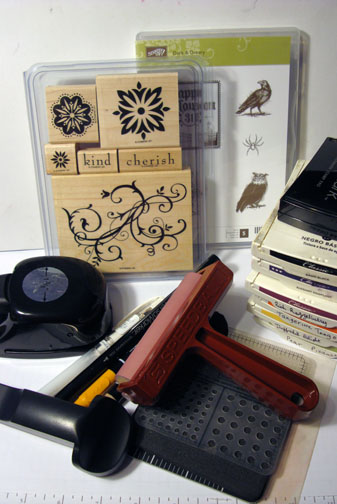
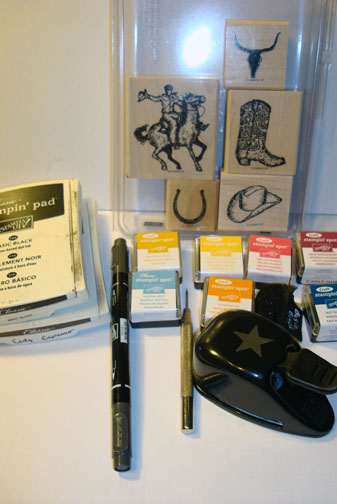
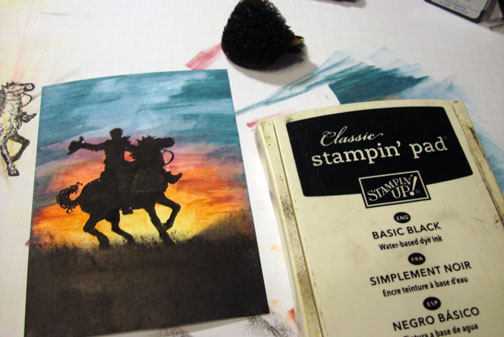
Supplies:
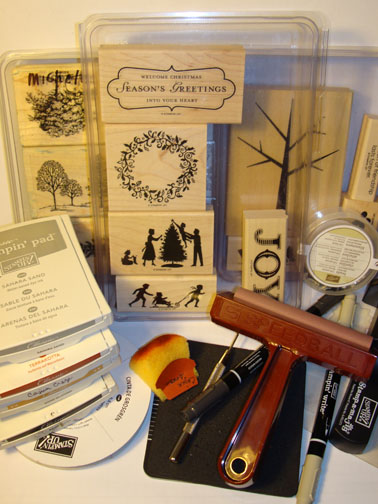
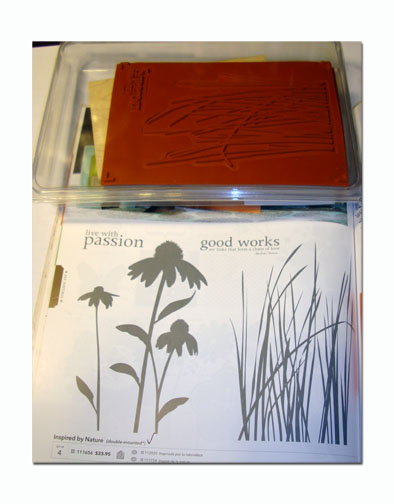
| Stamps: Stampin’ Up! Welcome Christmas, Season of Friendship and Lovely as a Tree |
| Paper: Stampin’ Up! Basic Black, River Rock and Whisper White |
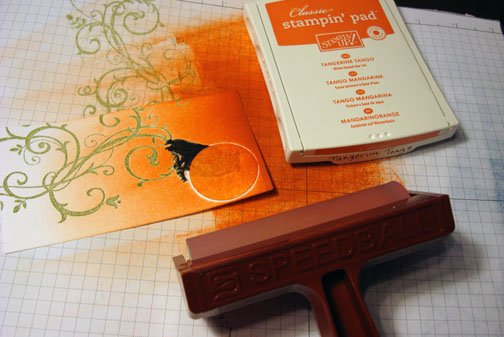
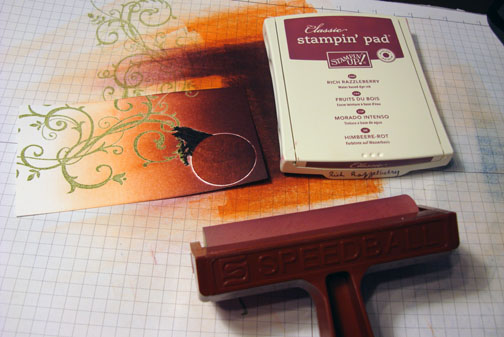
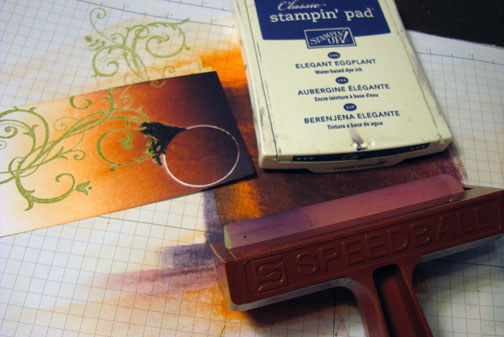
| Ink: Stampin’ Up! Sahara Sand, Cajun Craze, More Mustard and Basic Black |
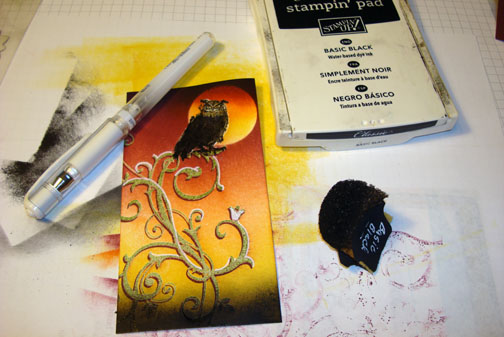
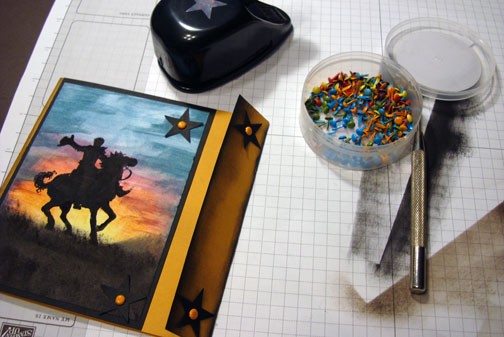
| Accessories: Stampin’ Up! Whisper White Ribbon, Basic Black Brads, Sponge, Brayer, Piercing Tools, Sahara Sand Marker, Stamp-a-ma-Jig and Post it notes |
The brand new USA Idea book and Catalog is here. For your copy, please send a check for $9.95 to Michelle Zindorf, P.O. Box 116, West Alexandria, OH 45381 or send it via paypal to mzindorf@aim.com USA only. Want a copy of the new Holiday Mini Catalog that will be out on September 1, 2010? E-mail your mailing address to mzindorf@aim.com and I will get one in the mail to you. ![]() Are you getting inspiration from this blog? One way you can help support it is to order your Stampin’ Up products through me. Click HERE to place an order. Want to become a Stampin’ Up Demonstrator , receive a 20% discount on product and earn instant income on orders? Consider being part of my Stampin’ Up Team and start your own business. Click HERE for more information.
Are you getting inspiration from this blog? One way you can help support it is to order your Stampin’ Up products through me. Click HERE to place an order. Want to become a Stampin’ Up Demonstrator , receive a 20% discount on product and earn instant income on orders? Consider being part of my Stampin’ Up Team and start your own business. Click HERE for more information.
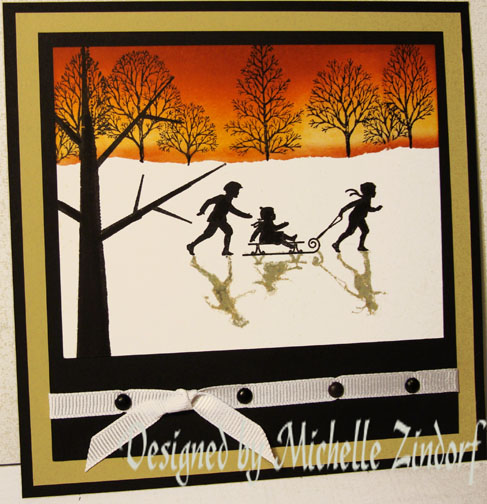
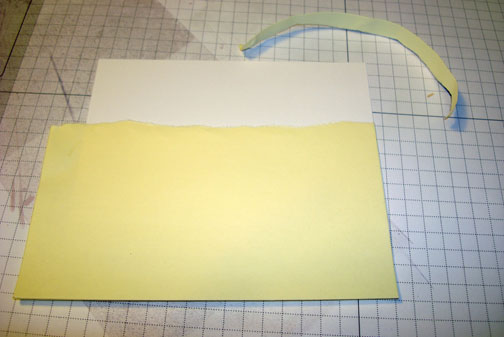
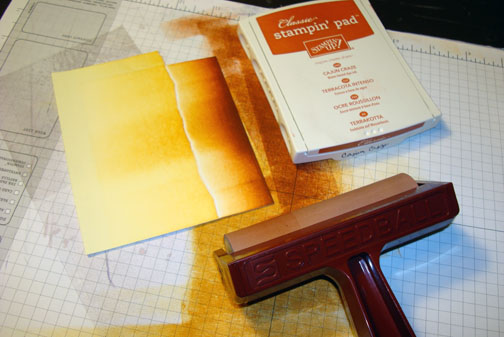
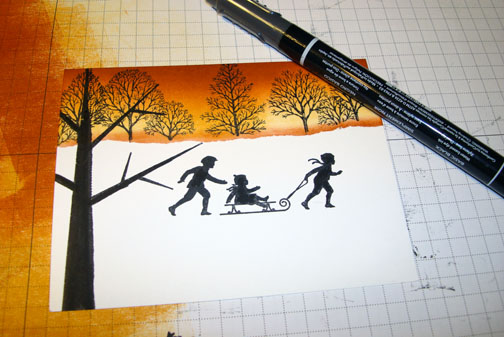
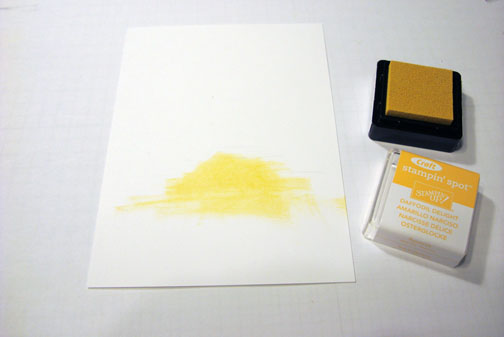
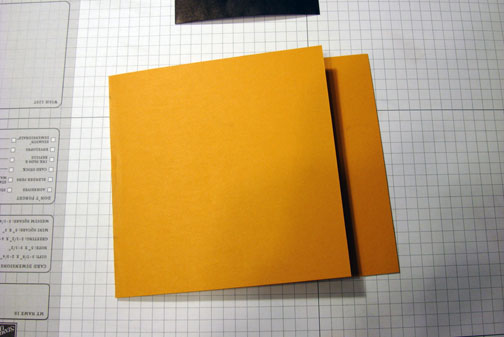
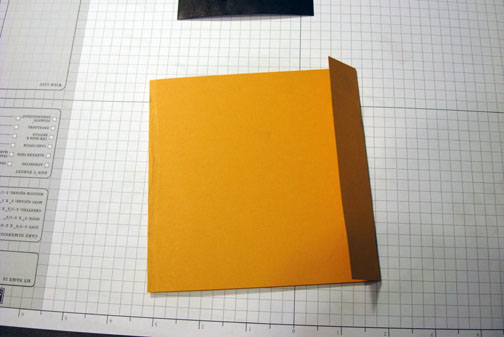
Masked the bottom of a 3.5″ x 4.5″ piece of Whisper White card stock using a Post it Note that has a bit of the sticky edge torn off.
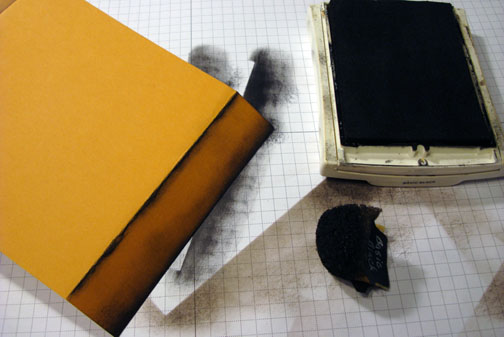
Brayered More Mustard ink at the top of the card stock.
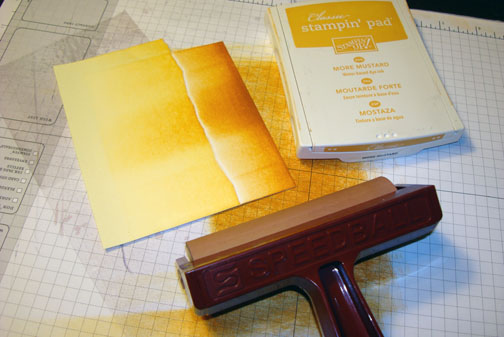
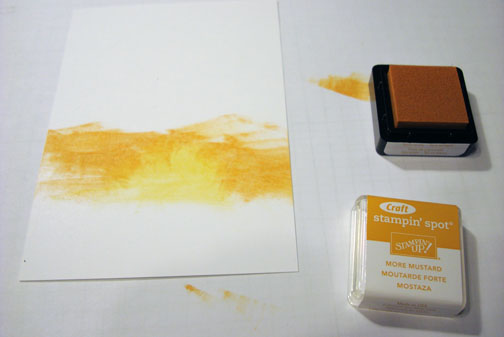
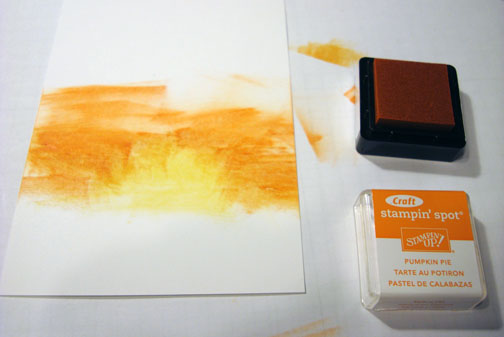
Brayered Cajun Craze ink at the very top of the card stock, not covering the More Mustard ink entirely.
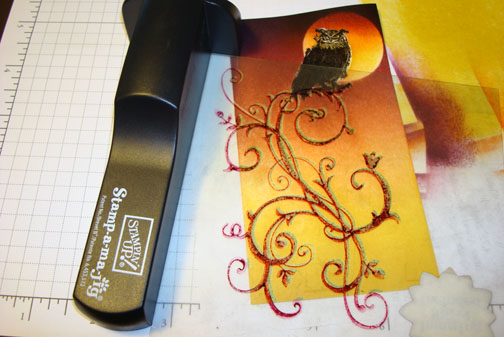
Stamped the Trees from the Stampin’ Up! Lovely as a Tree set twice using Basic Black ink. When I stamped it I stamped the ground area of the stamp on the Post it Note.
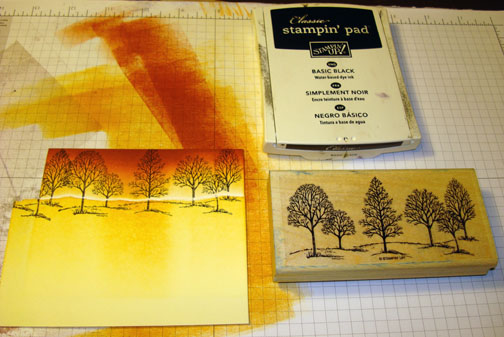
Sponged Cajan Craze ink at the Post it Note edge, just catching the card stock.

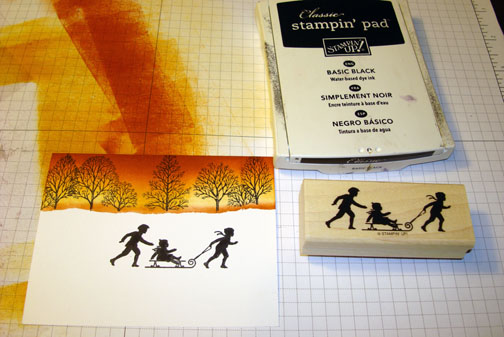
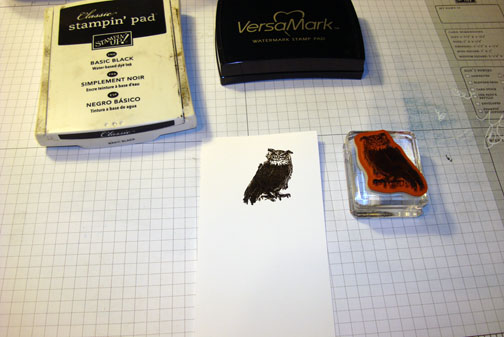
Removed the mask and stamped the Children stamp from the Stampin’ Up! set Welcome Christmas using Basic Black ink.
Stamped the Tree from the Stampin’ Up! set Season of Friendship using Basic Black ink.
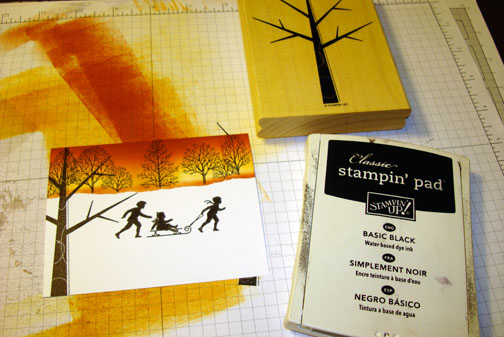
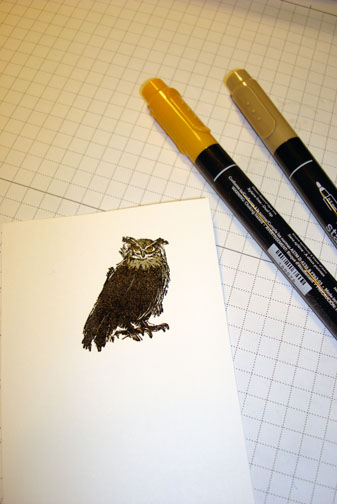
Colored in the tree with a Basic Black marker to omit the design in the tree.
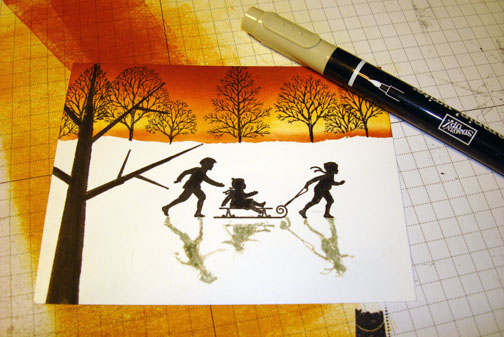
Stamp the children stamp on the Stamp-a-ma-jig plastic sheet with Sahara Sand ink. Flipped the plastic Sheet over onto the card stock and rubbed the back of the plastic sheet to create the shadow.

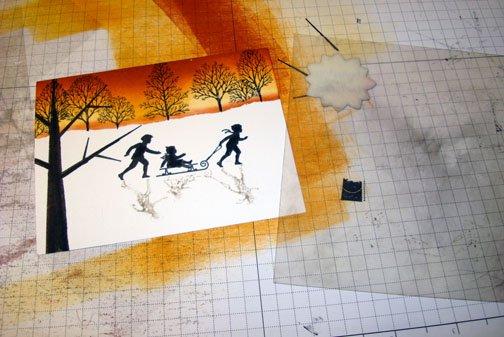
The shadow is very faint so I colored it in with a Sahara Sand marker.
Added Basic Black and River Rock card stock panels, Whisper White Ribbon and Basic Black Brads.
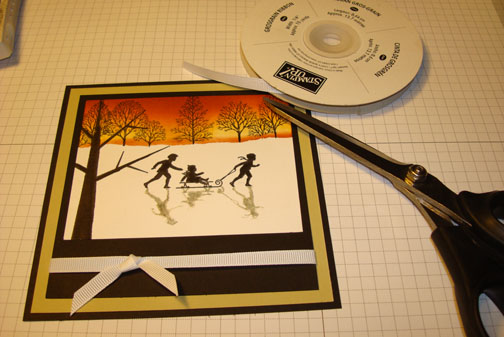

Here is the finished card measuring 5.5″ square.
May you be inspired by something out of the ordinary today.
Until my next post, stay cool.
Hugs,
Michelle
 Get ready for Brayer Workshops! I am coming to the following locations, click the location name for more information.
Piedmont, Alabama (Near GA border close to Cedartown)
Auburn, Washington (near Seattle)
Fayette, Tennessee near Nashville, TN & Huntsville, AL
Syracuse (Bridgeport), New York
Here is a link to my workshop calendar where you can see all of my travel schedule and to get info on beginner and advanced Brayer workshops: http://zindorf.blogs.splitcoaststampers.com/workshop-calendar
Link to my Stampin’ Up website where you can order all of your must have Stampin’ Up products from me 24-7: http://michellezindorf.stampinup.net
Frequently asked questions answers: http://zindorf.blogs.splitcoaststampers.com/frequently-asked-questions/


