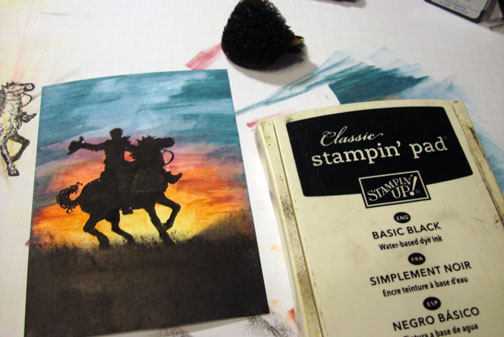
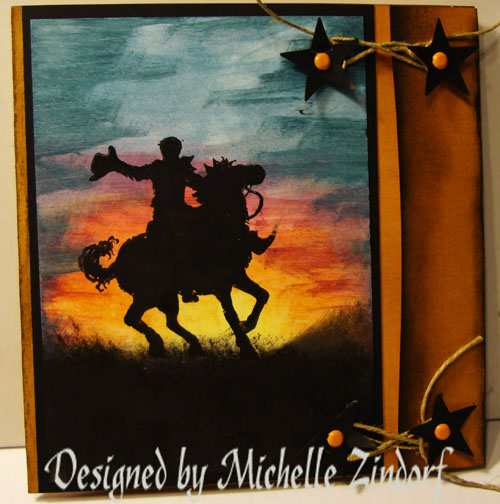
Do you ever look at a stamp and wonder what it would look like as a silhouette? I decided to use the cowboy out of the the new Stampin’ Up! set Out West as a silhouette and it worked out great.
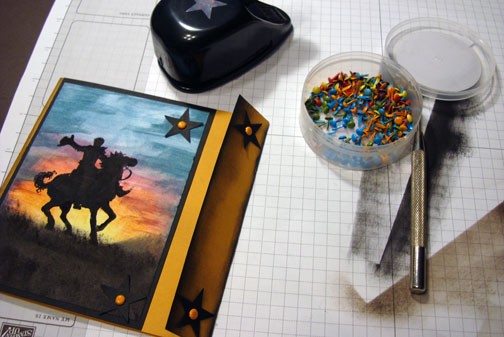
Hang out a moment and check this direct to paper tutorial out. I love, love, love smearing ink! Note: I used ink spots, but you can use the full size pads also for this technique. Be sure to just use the edge of the pad when smearing.
Let’s get started. . . . . . . .
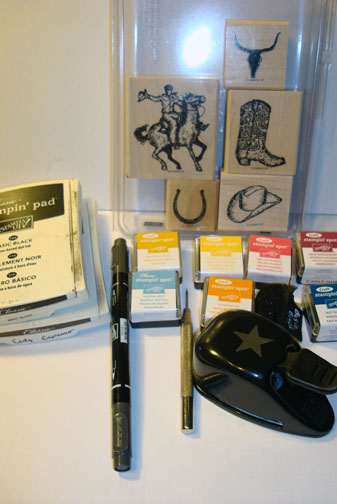
Supplies:
| Stamps: Stampin’ Up! Out West |
| Paper: Stampin’ Up! Whisper White, More Mustard and Basic Black |
| Ink: Stampin’ Up! Early Espresso, Basic Black, Melon Mambo, More Mustard, Daffodil Delight, Pumpkin Pie, Marina Mist, Not Quite Navy and Rich Razzelberry |
| Accessories: Stampin’ Up! star punch, More Mustard brads, sponge, Basic Black marker and thin twine. |
The brand new USA Idea book and Catalog is here. For your copy, please send a check for $9.95 to Michelle Zindorf, P.O. Box 116, West Alexandria, OH 45381 or send it via paypal to mzindorf@aim.com USA only. Want a copy of the Summer Mini Catalog? E-mail your mailing address to mzindorf@aim.com and I will get one in the mail to you. ![]() Are you getting inspiration from this blog? One way you can help support it is to order your Stampin’ Up products through me. Click HERE to place an order. Click HERE to check out the Stampin’ Up! catalogs. Want to become a Stampin’ Up Demonstrator , receive a 20% discount on product and earn instant income on orders? Consider being part of my Stampin’ Up Team and start your own business. Click HERE for more information.
Are you getting inspiration from this blog? One way you can help support it is to order your Stampin’ Up products through me. Click HERE to place an order. Click HERE to check out the Stampin’ Up! catalogs. Want to become a Stampin’ Up Demonstrator , receive a 20% discount on product and earn instant income on orders? Consider being part of my Stampin’ Up Team and start your own business. Click HERE for more information.
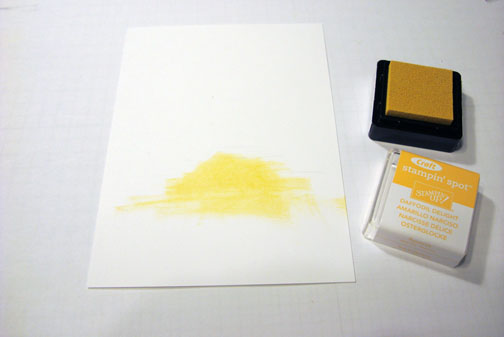
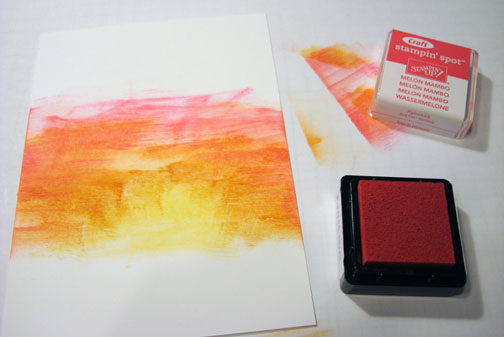
Smeared Daffadil Delight ink on a 3.25″ x 4.75″ piece of Whisper White card stock using the edge of the ink pad.
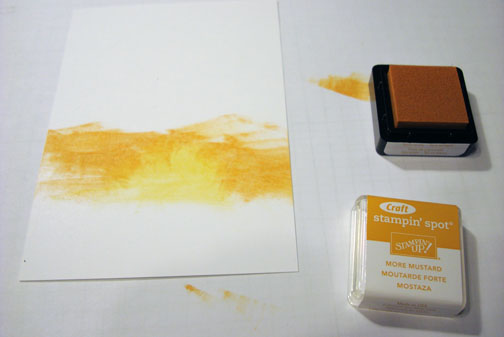
Added More Mustard ink.
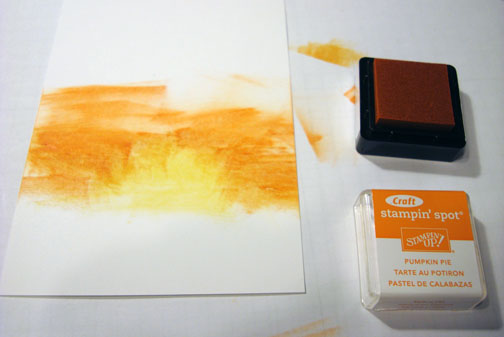
Added Pumpkin Pie ink.
Added Melon Mambo ink.
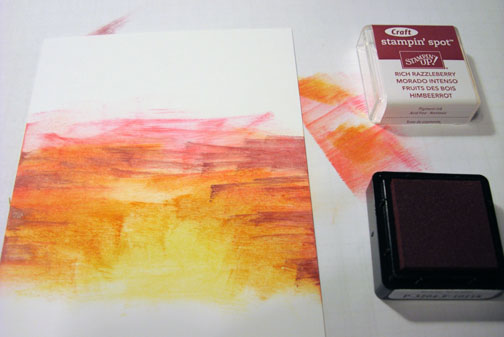
Added Rich Razzleberry ink.
Added Marina Mist ink.
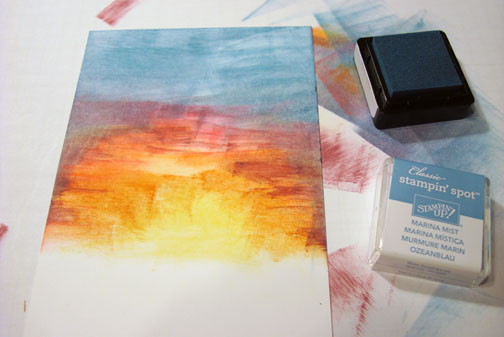
Added Not Quite Navy ink.

Stamped the cowboy using Basic Black ink.
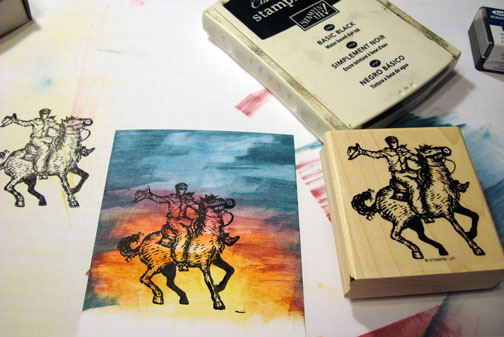
Colored in the image to make it a silhouette using a Basic Black marker.

Sponged Basic Black ink in for the ground area.
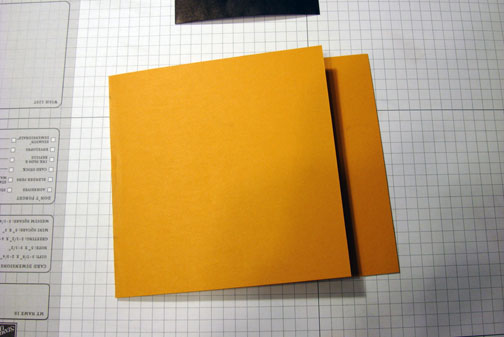
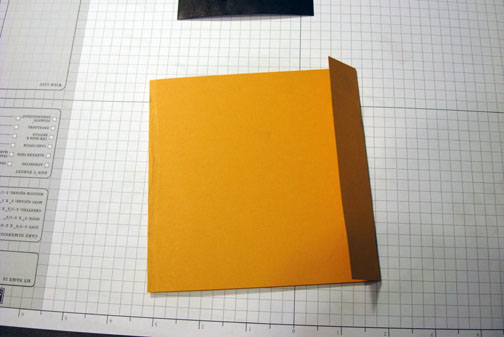
Cut a 5″ x 11″ piece of More Mustard card stock. Folded it so there was a 1″ piece hanging over the right side. Fold the 1″ piece toward the left.

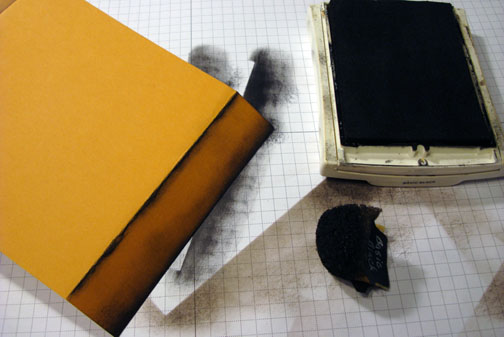
Grunged up the edges of the card stock with sponged Early Espresso ink.

Added sponged Basic Black ink to the flap.
Punched 4 stars out of Basic Black card stock and put them on the card using More Mustard brads.
Added a bit of thin twine to close the card.
Here is the finished card measuring 5″ square.
Now I am off to prepare some out of this world projects for my Venice, Florida workshops this weekend.
May your day be freaking fantastic!
Until my next post. . . . . . .
Hugs,
Michelle
 Get ready for Brayer Workshops! I am coming to the following locations, click the location name for more information.
Piedmont, Alabama (Near GA border close to Cedartown)
Auburn, Washington (near Seattle)
Fayette, Tennessee near Nashville, TN & Huntsville, AL
Syracuse (Bridgeport), New York
Here is a link to my workshop calendar where you can see all of my travel schedule and to get info on beginner and advanced Brayer workshops: http://zindorf.blogs.splitcoaststampers.com/workshop-calendar
Link to my Stampin’ Up website where you can order all of your must have Stampin’ Up products from me 24-7: http://michellezindorf.stampinup.net
Frequently asked questions answers: http://zindorf.blogs.splitcoaststampers.com/frequently-asked-questions/

36 thoughts on “Southwest Cowboy -Tutorial #354”