
Tomatoes, onions and Peppers, OH MY!


Well what do you do when you have these veggies coming out of the garden in basketful’s? You make salsa, that’s what. Some people may think I am crazy for vegetable gardening and canning the things that I grow in my garden instead of picking them up off of the grocery store shelf. Let me tell you, I know exactly what’s in my canned goods. No pesticides or preservatives, low salt etc., etc. Also, there is nothing better than to sit down to a meal and say I grew this and canned it. Not to mention the taste is 100 times better than store bought. So for all those reasons, I love to can!
The next best thing to growing your own is to pick up the veggies at your local famers market or grocery store.
One more thing I love about canning is decorating the jars, grin. People love to get these special jars as gifts. Stampin’ Up has made it so easy to make that jar extra wonderful with their new Friendship Preserves stamp set and coordinating Window Frames Framelits Dies and Festive Paper Piercing Pack. Check it out below.
Here are a few Stampin’ Up Reminders before I start the project.
 The new Stampin’ Up! Holiday Mini catalog is now in effect. I love all of Stampin’ Up’s products, but the new mini catalog just blew me away (CLICK HERE TO VIEW THE HOLIDAY MINI CATALOG). I especially love the coordinating products that you can get as a bundle at a discount. Gotta love a discount, right? Especially for those products to make your holiday gifts and cards.

Don’t miss out on my Customer free stamp set program. Check it out! Along with a handmade thank you card from me for your order you will receive a token for each $50 in product you ordered using me as your demonstrator. After you have collected 10 tokens you will receive a free current stamp set of your choosing, a value of $39 or less. Here is a link to my online shopping page that you can shop at 24/7 (from the comfort of your home, even in your pj’s) and the products will be shipped directly to your door step from Stampin’ Up: CLICK HERE TO SHOP. My free stamp set program will be an on going program. 
Want a new annual catalog shipped to you? I will be happy to send you one. The catalog is free, but there is a $5 shipping charge. Note, I will only sell or ship within the United States do to Stampin’ Up! policies. Please contact me at mzindorf@aim.com. Payment can be sent via Paypal or check.
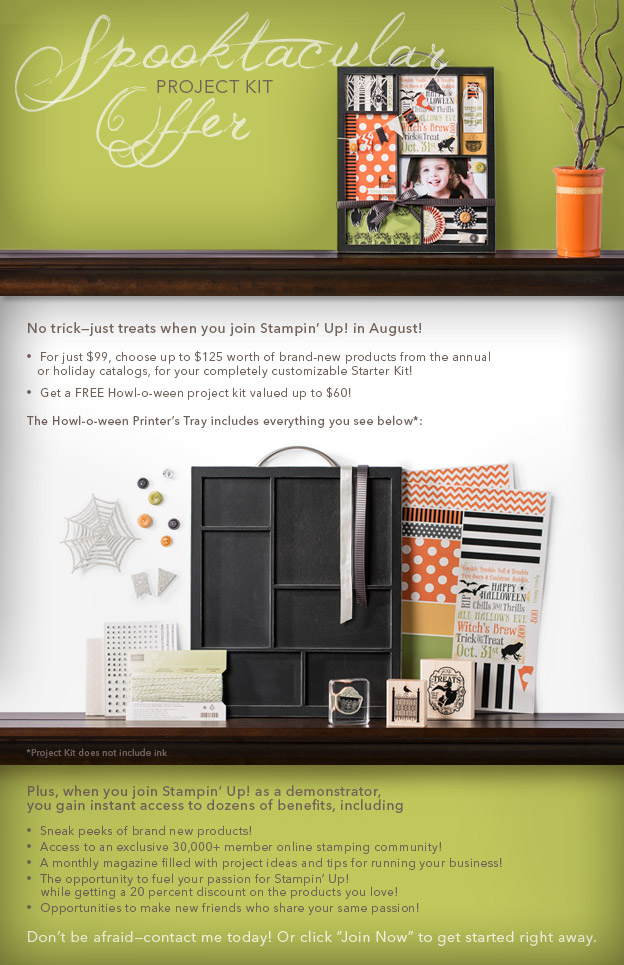
You can join my Stampin’ Up! team and become a Stampin’ Up! Demonstrator now for the great new price of $99, CLICK HERE TO CHECK IT OUT. Contact me whether you want to start your own business or just enjoy the 20% discount on products.
Want to purchase one of my original cards or some Stampin’ Up! retired sets CLICK HERE.
Now on with today’s tutorial. . . . . . .
Supplies for the jar tag:
Stamps: Stampin’ Up! Friendship Preserves
Card Stock: Stampin’ Up! Whisper White, Old Olive and Stampin’ Up Designer Series Paper
Ink: Stampin’ Up! Real Red and Old Olive
Accessories: Stampin’ Up! Sponge, Real Red and Old Olive Markers, Festive Paper Piercing Pack, Framelits – Window Frames Collection, Sticky Tape, glue dots, Big Shot Machine.
Are you getting inspiration from this blog? One way you can help support it is to order your Stampin’ Up products through me. Click HERE to place an order and have your order delivered directly to your door step from Stampin’ Up!


My photos are a bit wacky today. Bare with me. I found it is not a good idea to take a photo of a boiling pot of water with steam coming up off of it steaming up your lens, lol. You all probably new that, but I came from the school of hard knocks so I had to learn it the hard way.
If you have never canned before, I suggest you get a book on canning to get the basics down.
Ingredients:
1 cup distilled white vinegar
1/4 cup sugar
1 tablespoon salt
3 pounds tomatoes, seeded and diced
1/2 pound onions, finely diced
1-2 jalapeno peppers, finely diced
1 cup chopped fresh cilantro (optional)
Note: I have doubled this recipe today. The list above is for one batch that makes 7 cups.
I started making my salsa by washing and blanching my tomatoes.
I blanched them by putting them in boiling water for 1-2 minutes to get the skin to split. At that point, take them out and put them in ice water to cool them down. You are not trying to cook them just killing the bacteria on them and to get the skin to loosen up.
Take them out of the ice water and drain in a colander.


The skins will now slide right off of the tomatoes. So skin them and core them with a paring knife. I save the skin and core to add to my compost pile, now that’s a whole different topic.
Once they have been skinned and cored slice it down the middle and remove the seeds by squeezing it. I do this over a separate bowl to catch the seeds and juice.

I didn’t want to waste the tomato juice so I strained it through a cheese cloth and saved it for breakfast tomorrow. To yummy to through out.


I chopped all of the tomatoes, onions and peppers I needed for the salsa. My food processor is a great help for the onion and peppers.

Prepared my jars and lids by boiling them.

Put the vinegar, sugar and salt in a non reactive pan and brought it to a boil.
Added my tomatoes, onions and peppers and brought them back to a boil for 5 minutes.

Added the cilantro and took the pan off of the heat.
Filled my jars, wiped off the rim of the jars, put on my tops and screw bands. Hand tightened them and put them in my canner for 15 minutes.


After 15 minutes in the canner, take the pot off of the burner and take the lid off. Leave the jars in the water for 5 more minutes.

Remove the jars from the canner and put them on a towel on your counter. Listen for the jars to ping. This is an indication that they sealed properly. 🙂 You now have SALSA. Where are the chips!
Now for the tags:
Stamped the Yum stamp using Real Red ink on Whisper White card stock.

Colored the leaves in with an Old Olive marker.

Using the Window Frames Collection Framelits, cut out the yum stamped image. Using the next size die cut out an Old Olive piece to go under my main tag. Also cut out the smallest die using Whisper White card stock.


Pierced around the edge of the Old Olive piece using the coordinating Festive Paper Piercing Pack and piercing tool.

Hand wrote Salsa and the date on the small Whisper White piece and sponged Old Olive ink around the edge.

Punched circles from Real Red card stock using the 1 3/4″ circle punch. Adhered the salsa piece to it.

Adhered the yum tag to the Old Olive piece and then to a 1″ strip of Stampin’ Up designer series paper. I used sticky strip to adhere the tag to the DSP strip so the tag would lay flat when wrapped around the jar. Adhered the strip around the jar using a few glue dots so it didn’t slide around. Also added the Salsa tag to the top of the jar. People need to know what’s in the jar, right?

There are my salsa jars all ready to be eaten or gifted.
I hope you liked today’s tutorial. It made me hungry. I think I need to find those chips now.
Until my next post. . . . .
Hugs,


 Get ready for Brayer and Direct to Paper Workshops! I am coming to the following locations, click the location name for more information.


 The new Stampin’ Up! Holiday Catalog is now in effect. I love all of Stampin’ Up’s products, but the new catalog just blew me away (CLICK HERE TO VIEW THE HOLIDAY CATALOG). I especially love the coordinating products that you can get as a bundle at a discount. Gotta love a discount, right? Especially for those products to make your holiday gifts and cards.
 Get ready for Brayer and Direct to Paper Workshops! I am coming to the following locations, click the location name for more information.


