
Hello There,
Today’s tutorial is inspired by an beautiful painting by Michael Timmons titled Floral Cochineal. What first drew me to his painting was the colors and then the layers of flourishes he used. It inspired me so very much that I instantly wanted to sit down and see if I could create something very similar using my Stampin’ Up! products. So here it is. What do you think?
I titled this piece Emboss, Emboss Inspired Mountain because there is a lot of embossing in this project. Did you know you can emboss over embossing. That’s right and the second embossing ends up behind the first. It’s a fun technique. One thing to know before you start a scene like this is to start with your forground and work towards your background. Check out the complete tutorial below.
********************************************
I’ve added this card to my sales page where you will also find some great deals on retired stamp sets. CLICK HERE TO CHECK IT OUT
********************************************
Now on with today’s tutorial. . . . . . .
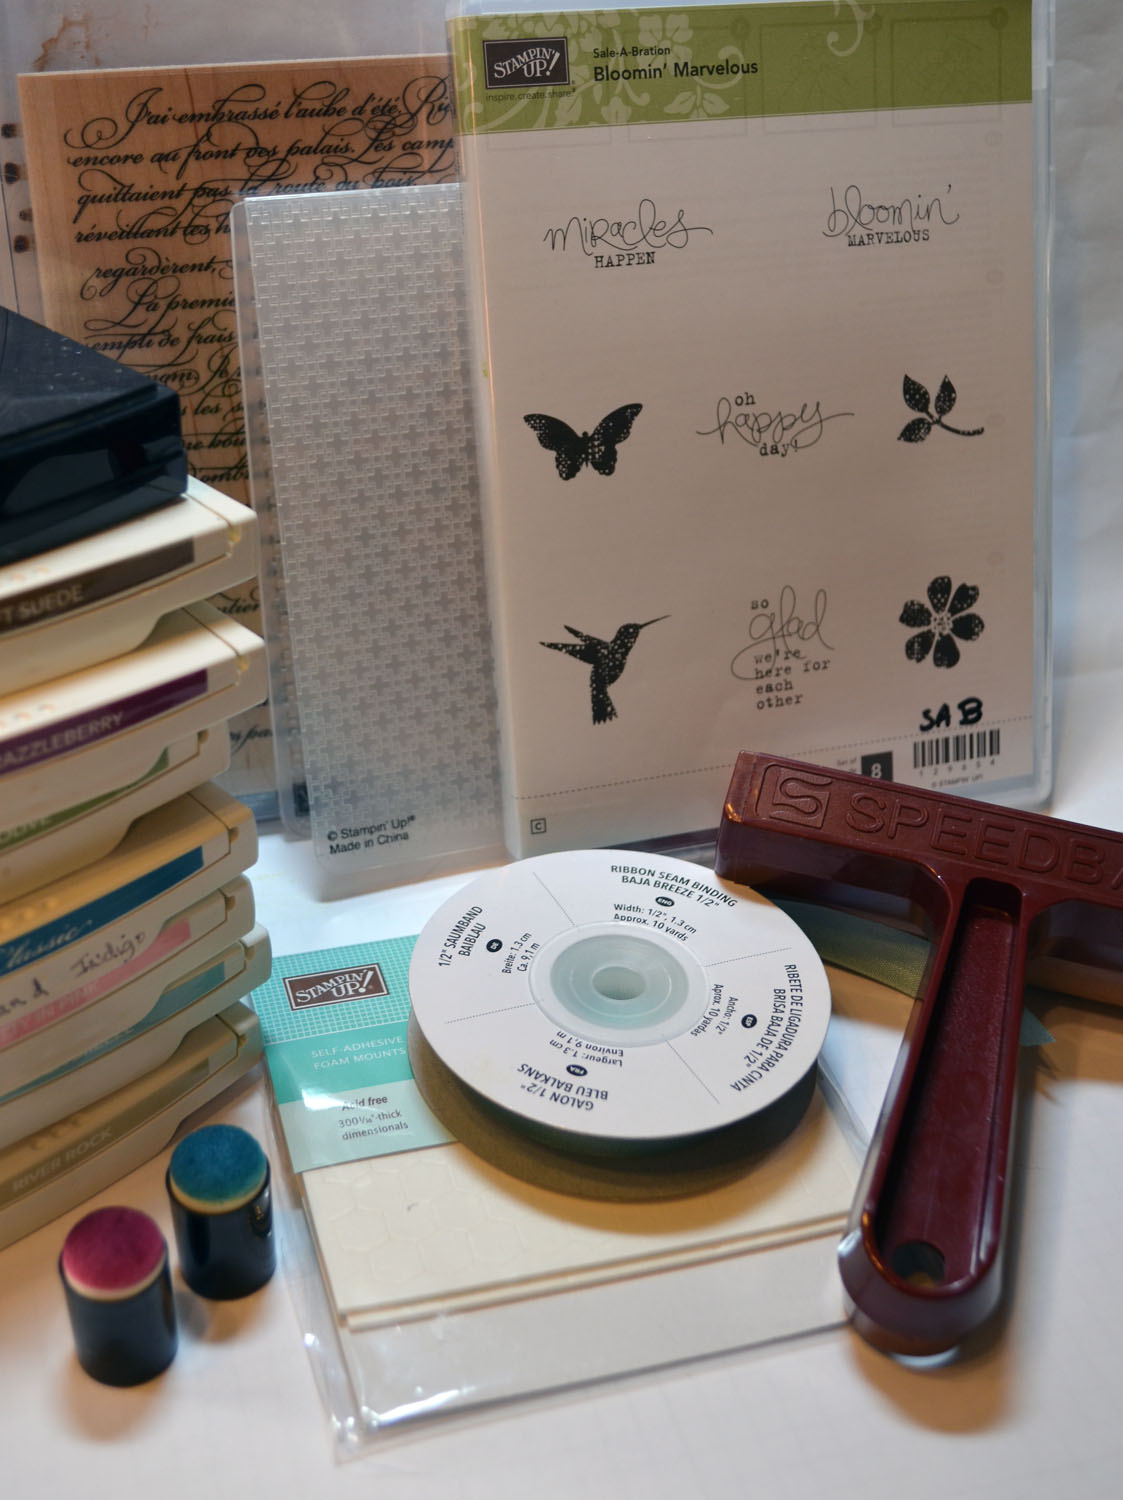
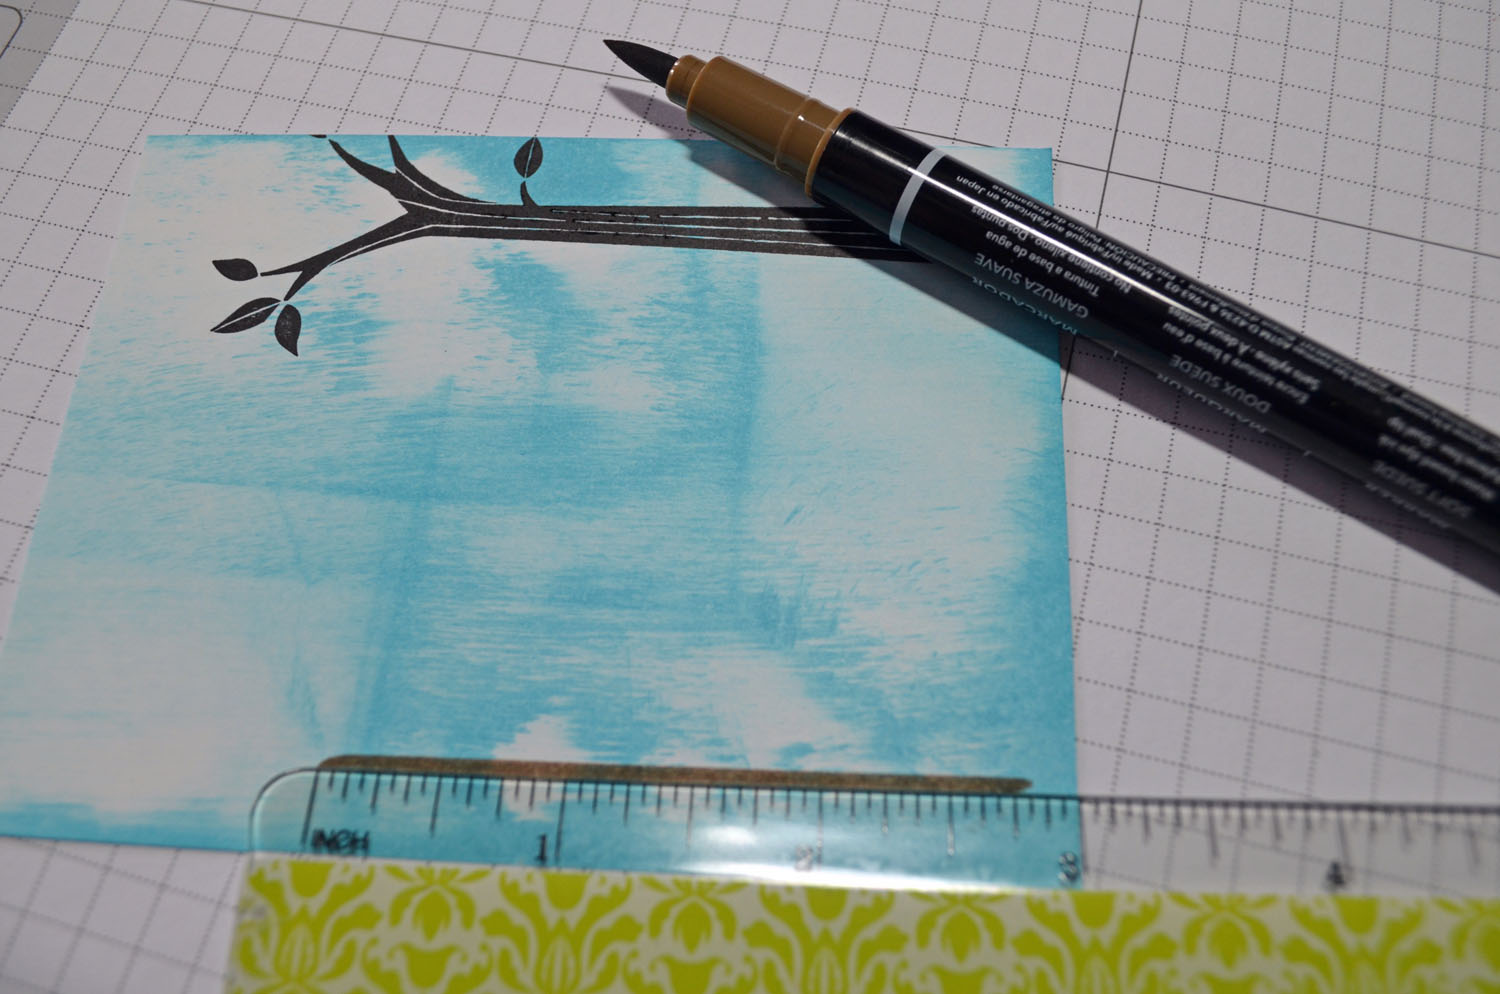
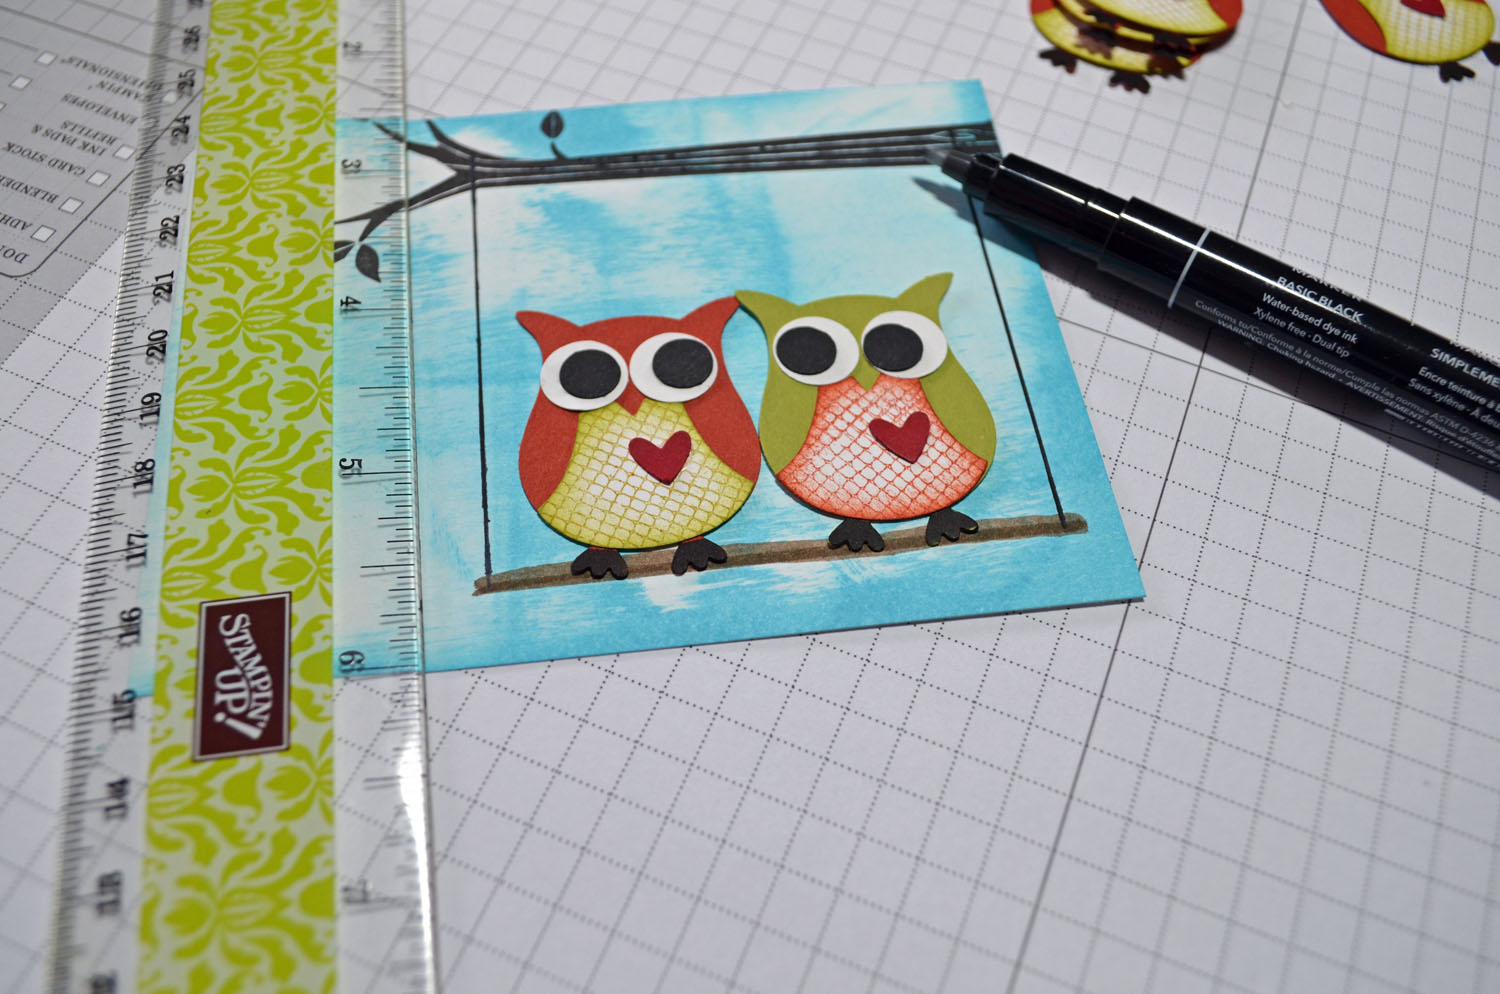
Project Supplies:
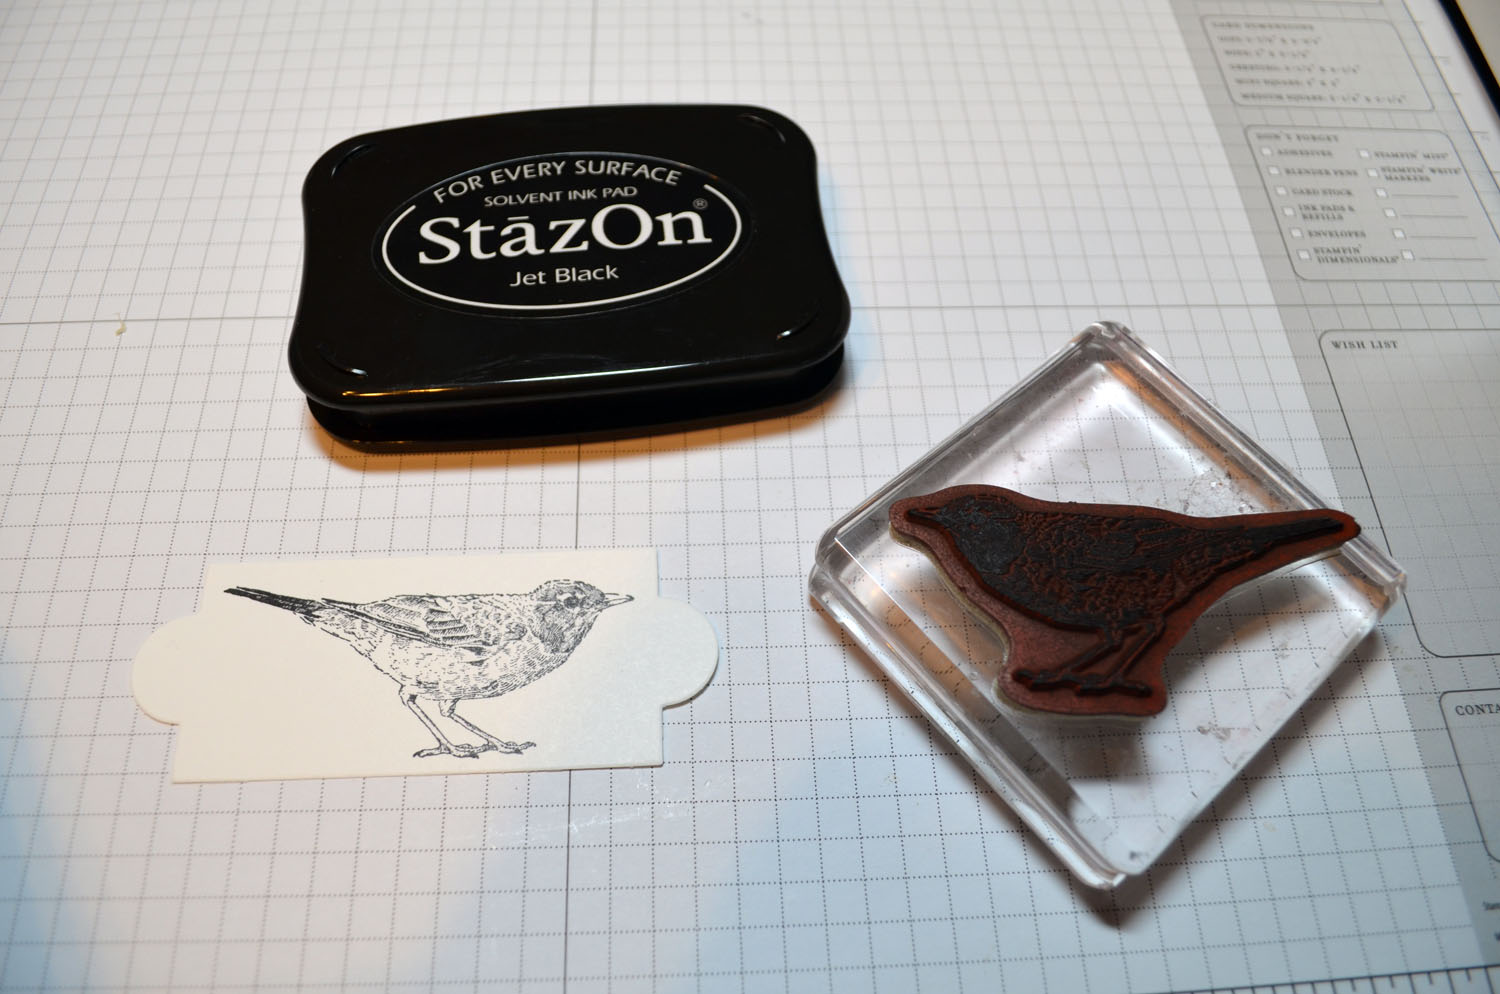
Stamps: Stampin’ Up! Flowering Flourishes (item number 126367) and Tiny Tags
Card Stock: Stampin’ Up! Whisper White, Old Olive, Early Espresso and Cherry Cobbler
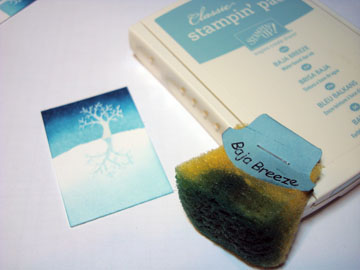
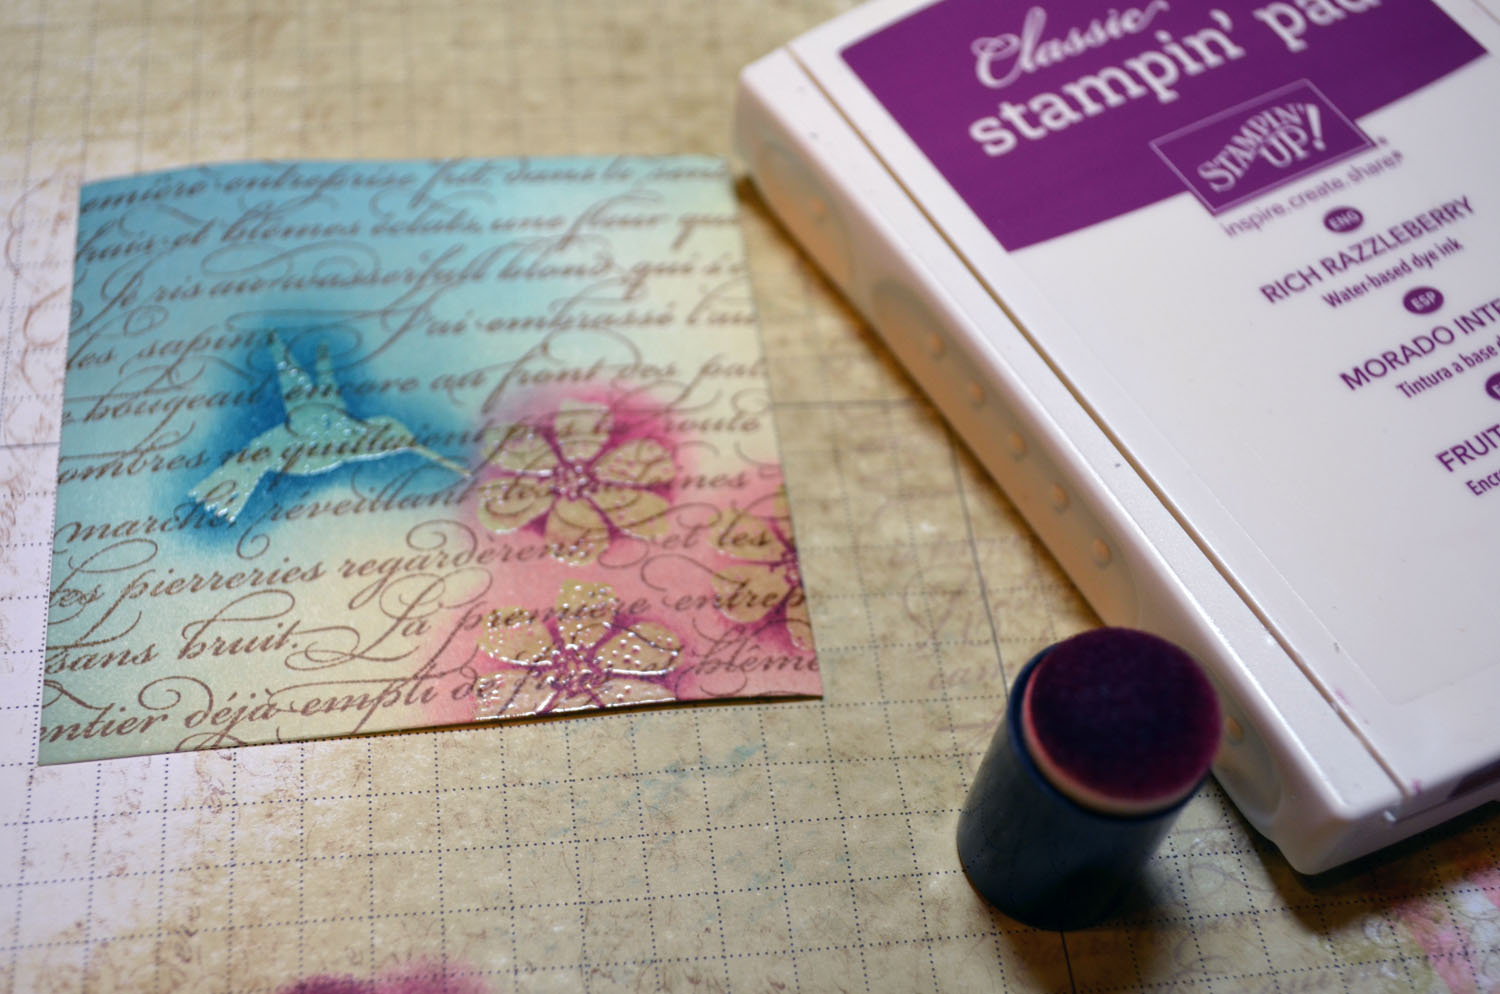
Ink: Stampin’ Up! More Mustard, Pumpkin Pie, Cajun Craze, Basic Black, Cherry Cobbler, Early Espresso and Old Olive
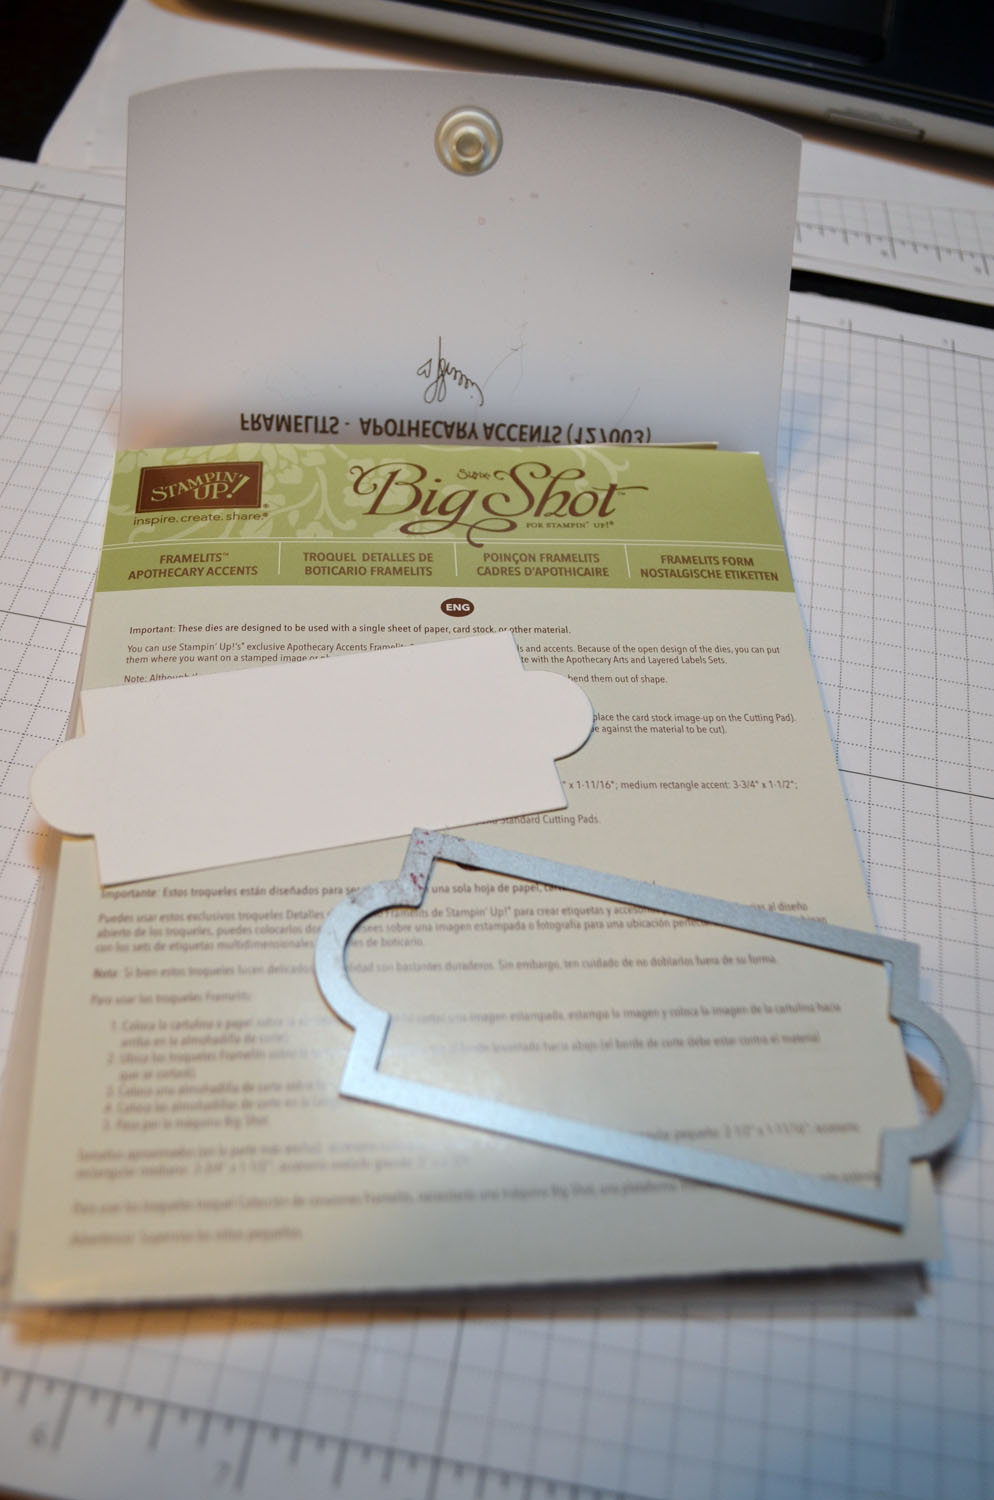
Accessories: Stampin’ Up! sponges, Versamark Pad, Piercing Tools, Exacto knife, glass mat, Framelits – Labels Collection, Big Shot Machine, Clear embossing powder and a heat gun

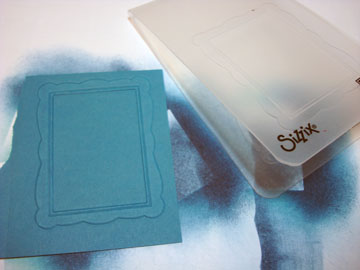
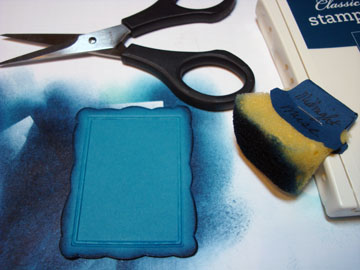
Started by die cutting a Whisper White piece using the second to the largest Framelit from the Labels Collection. Also cut the Largest one out of Old Olive card stock.


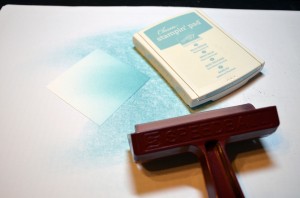
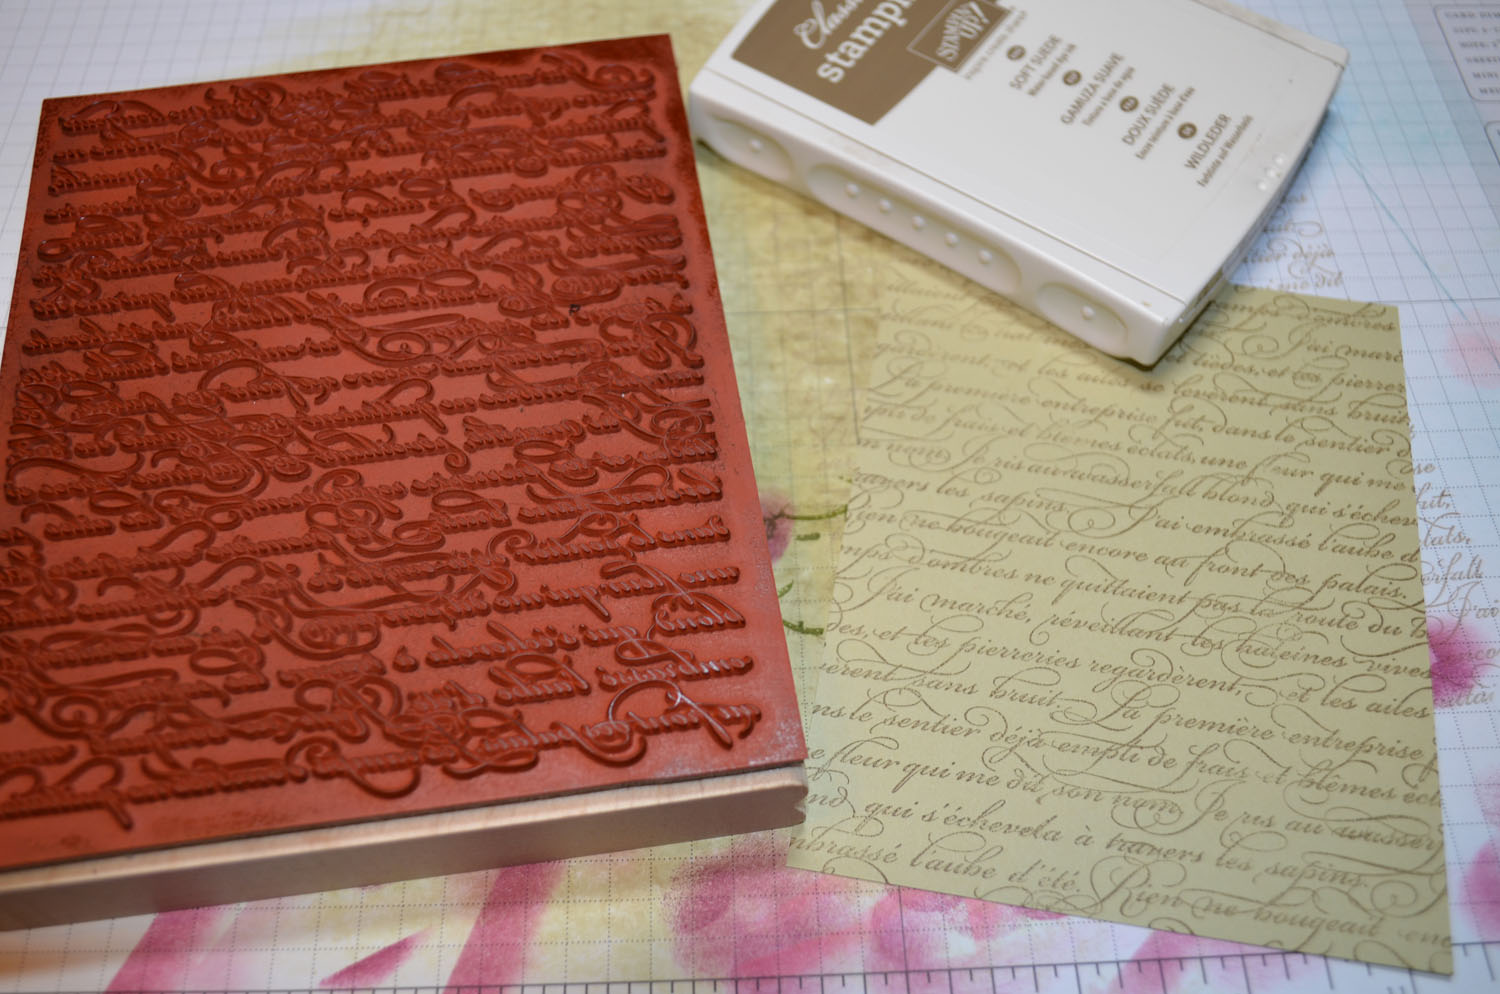
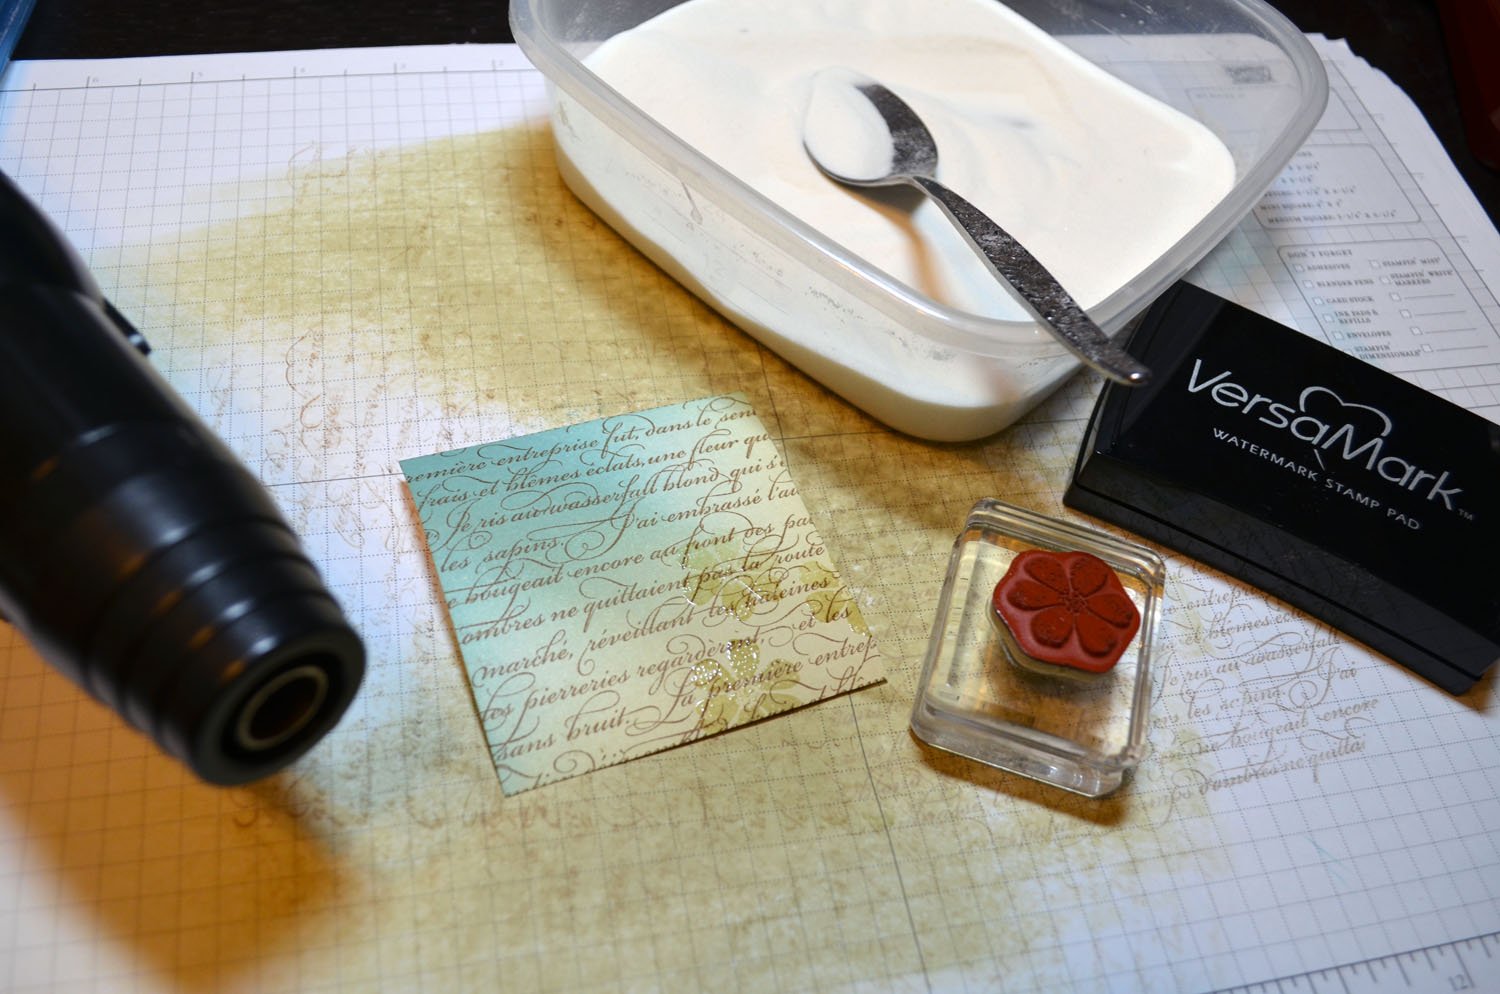
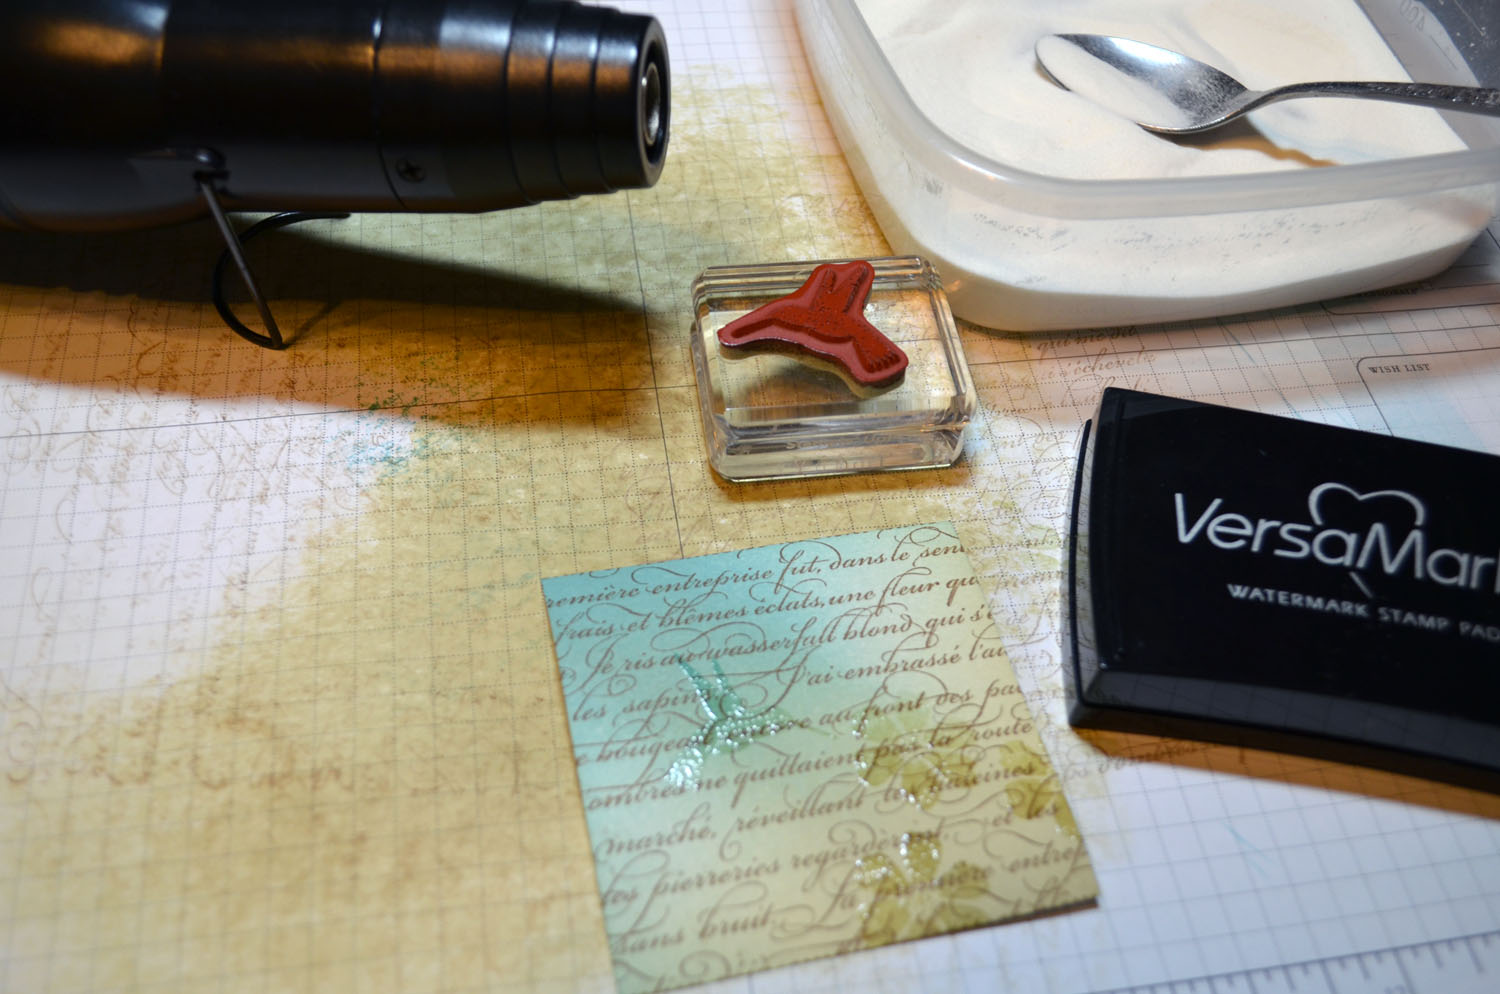
Stamped the flourish from the Flowering Flourishes set by loading my stamp with Versamark and then Cajun Craze ink before stamping it.

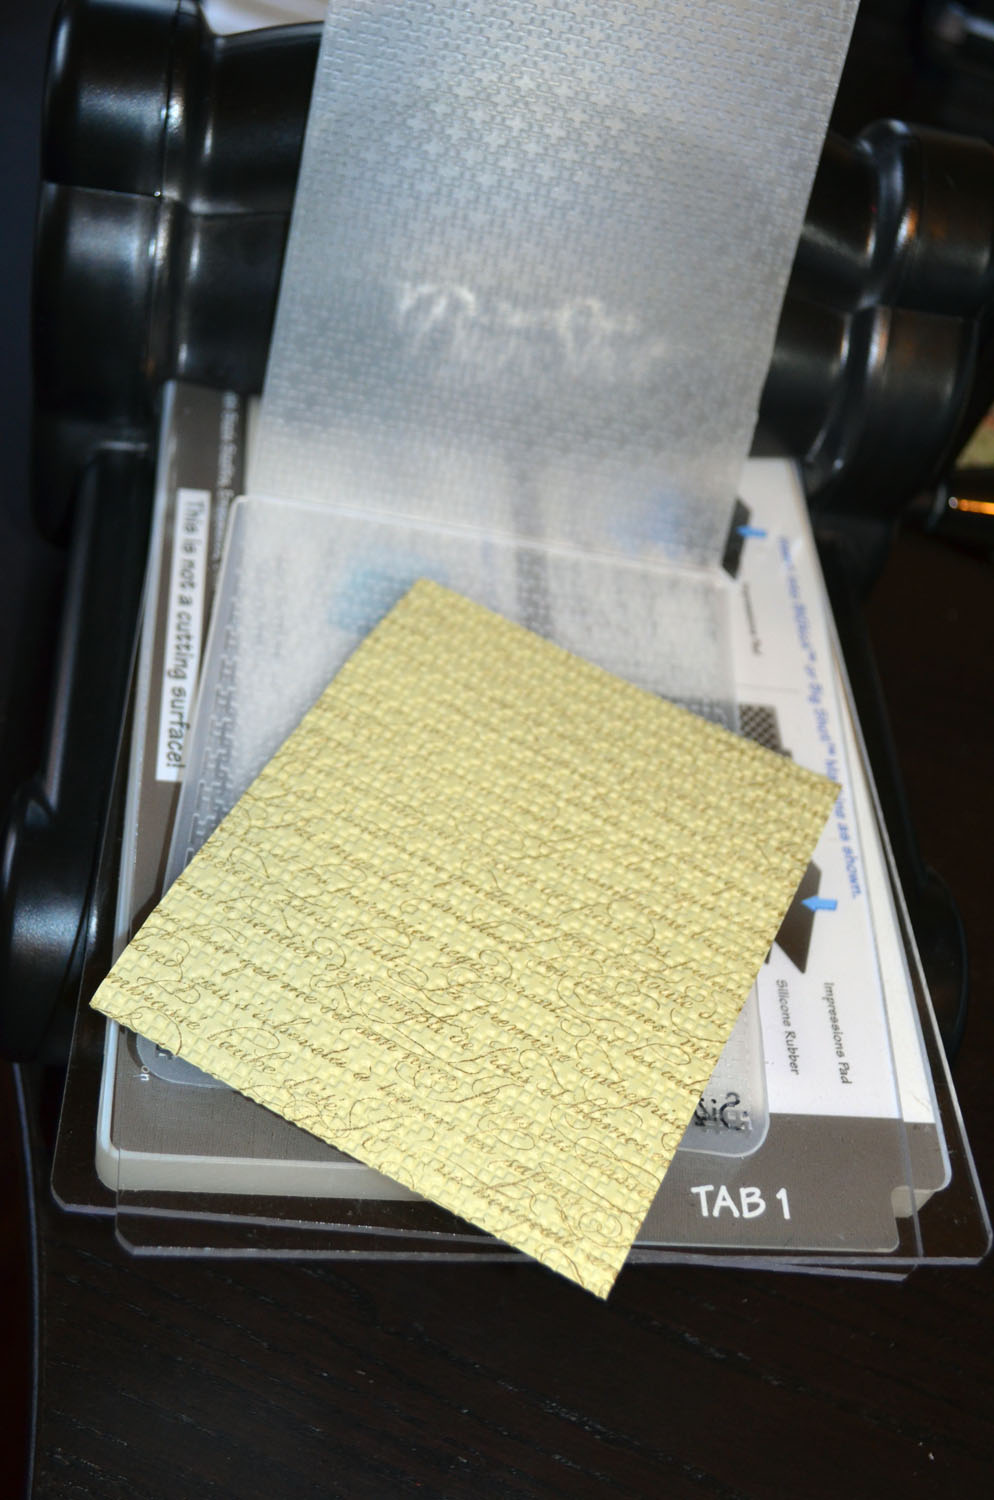
Heat embossed the image using clear embossing powder and a heat gun.

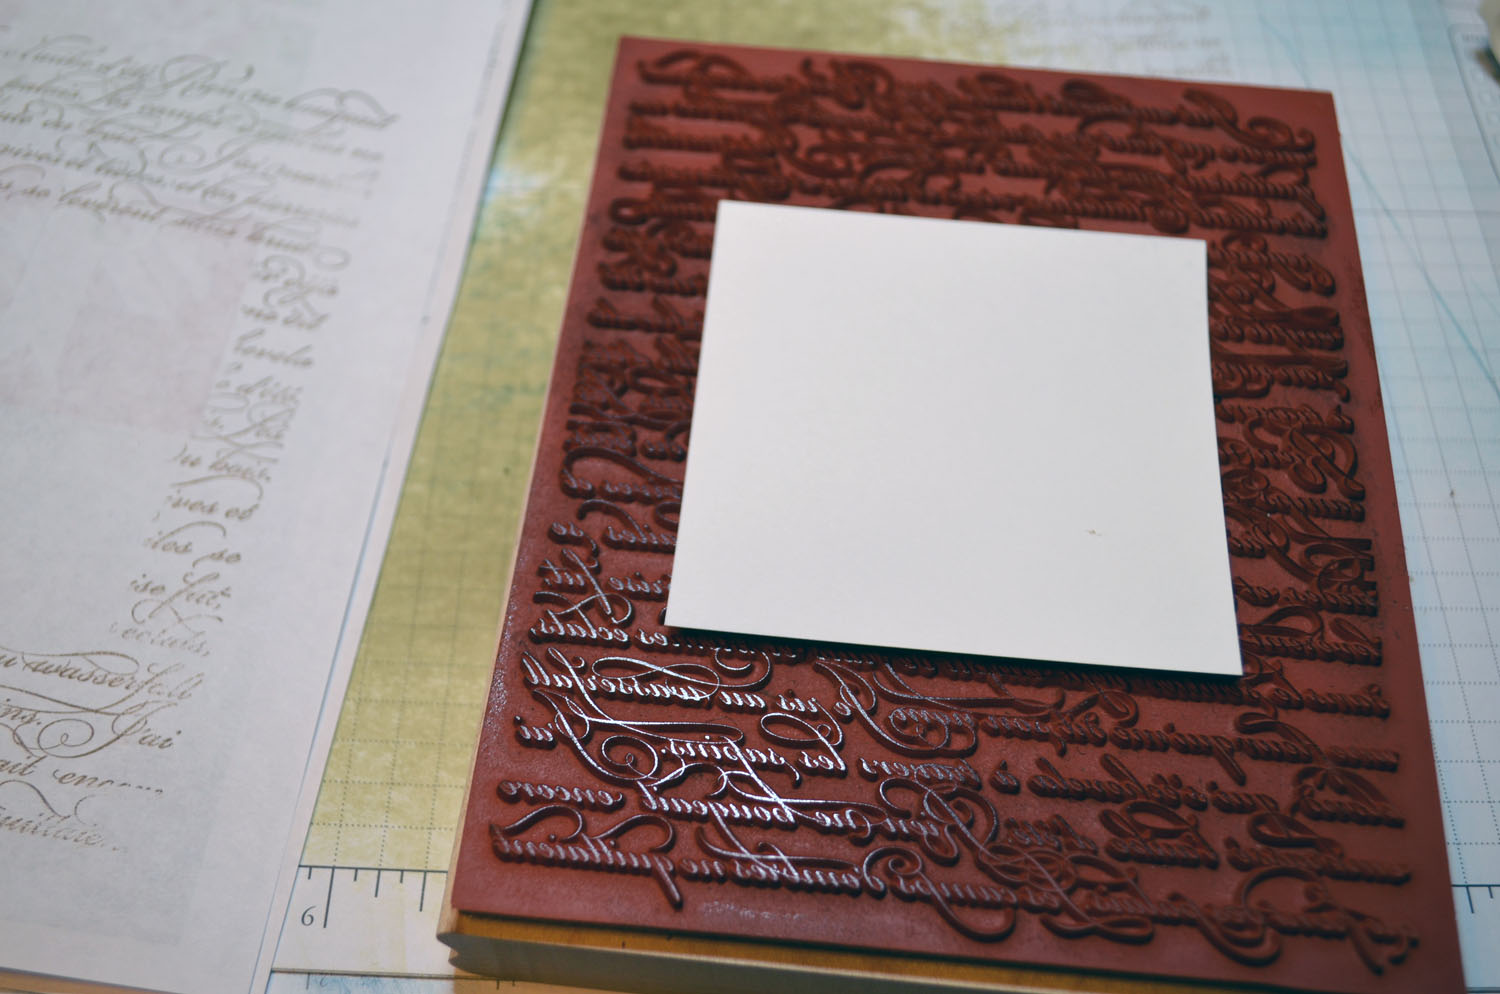
Stamp the stamp from the Tiny Tags set by loading with Versamark and then Old Olive ink before stamping it each time down the right side of the card stock.

Heat embossed the images using clear embossing powder and a heat gun.

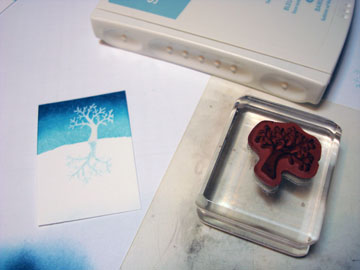
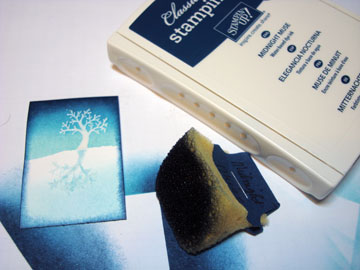
Cut mountain mask out of a scrap piece of card stock using a class mat and an Exacto Knife.

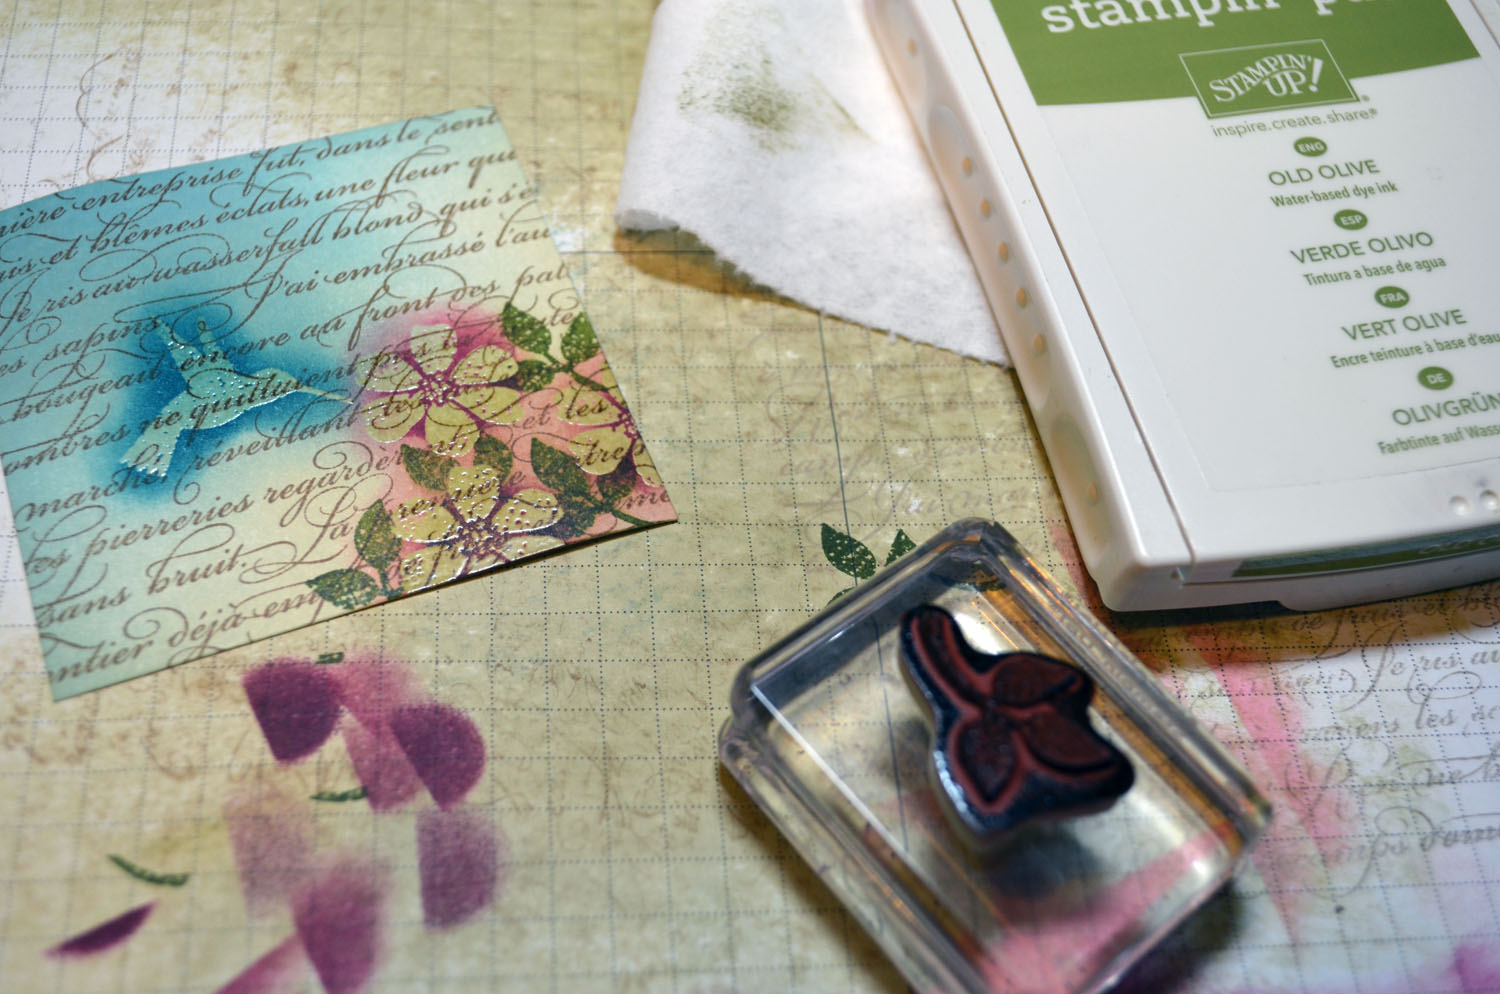
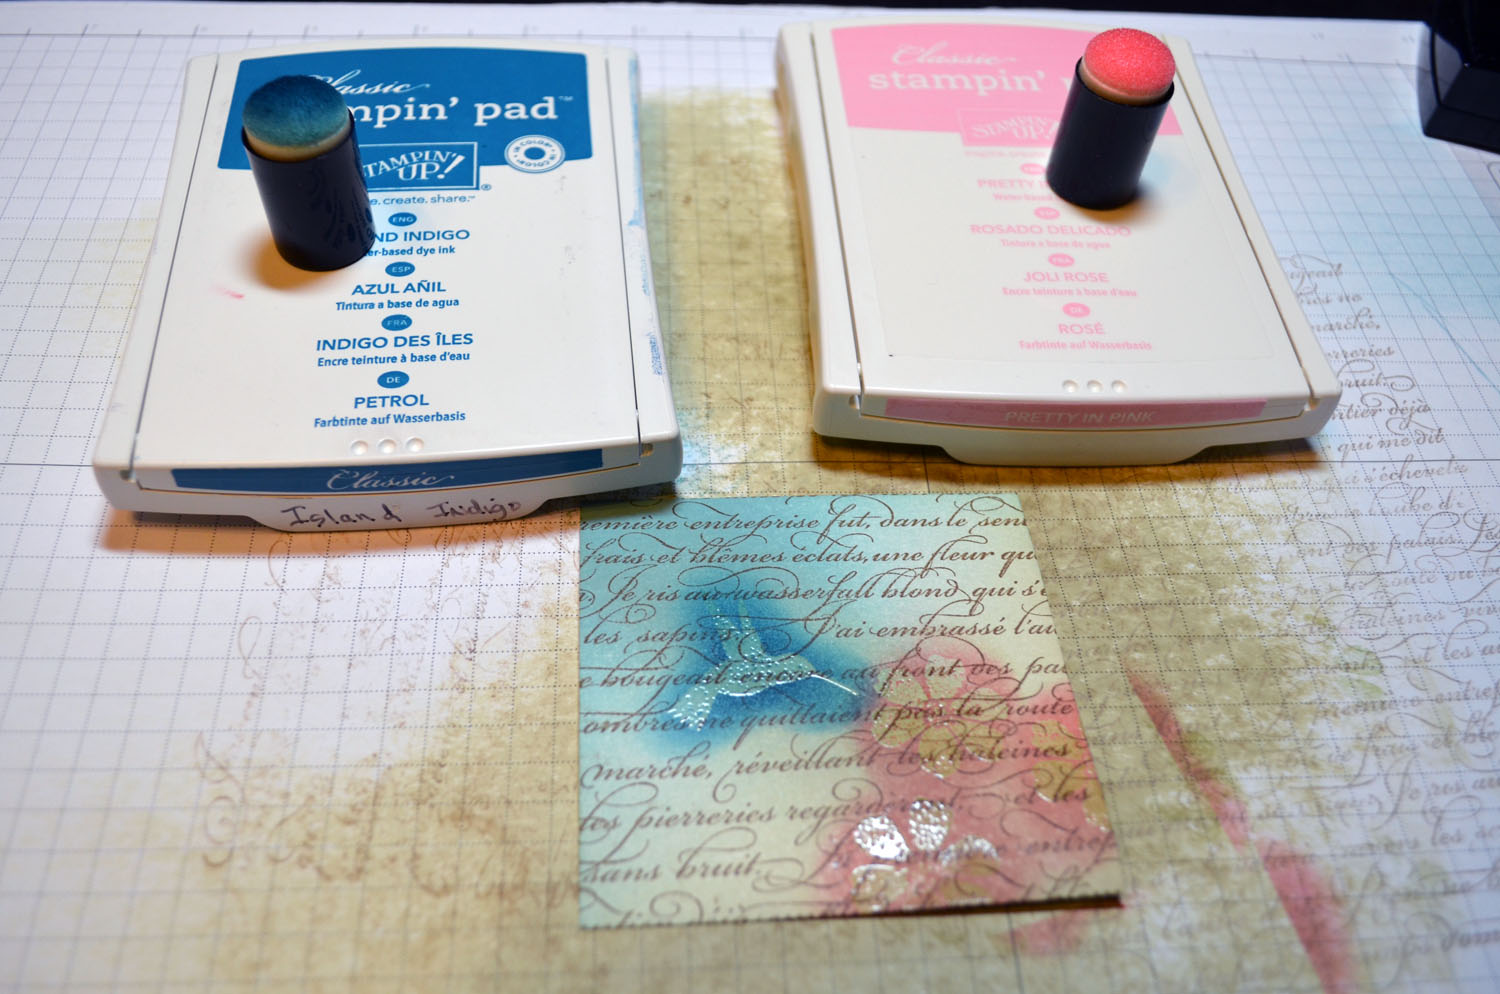
Used the bottom part of the mask on the bottom of the card stock and then stamped another flourish from the Flowering Flourishes set by loading the stamp with Versamark and More Mustard ink before stamping it. I only wanted this image to be in the sky.

Heat embossed the image using clear embossing powder and a heat gun.

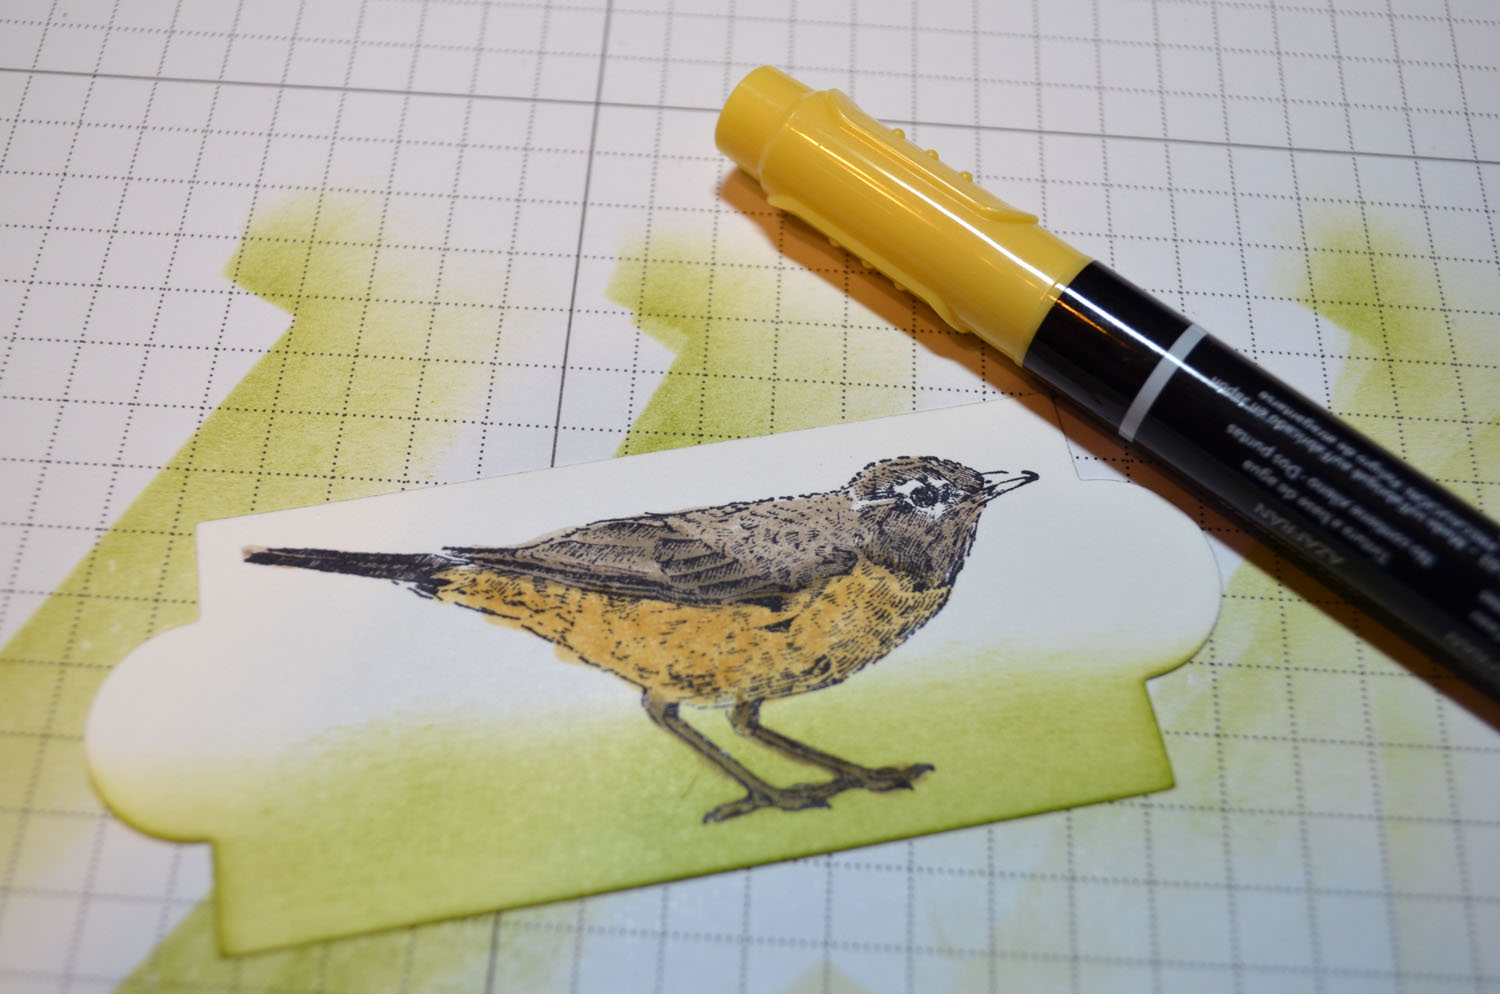
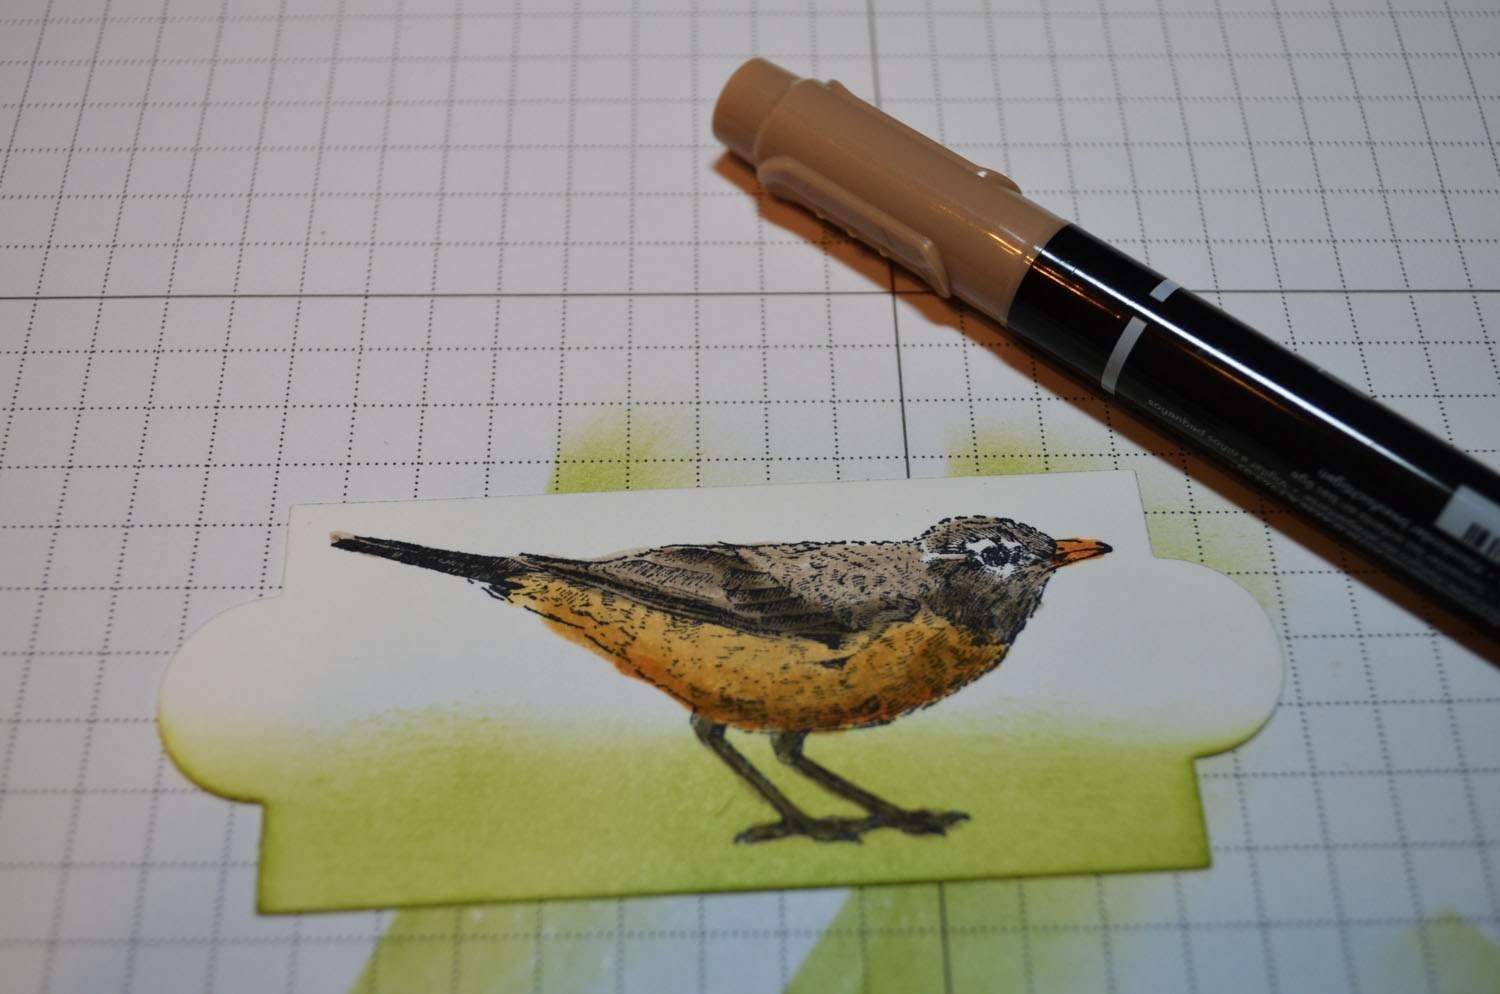
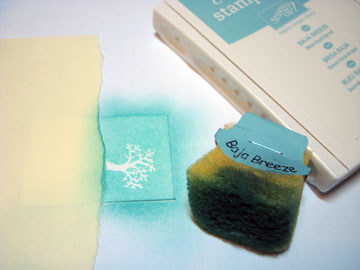
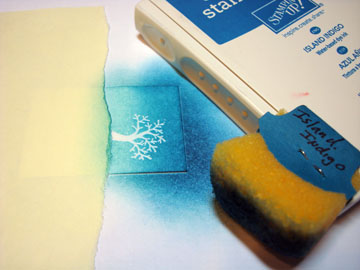
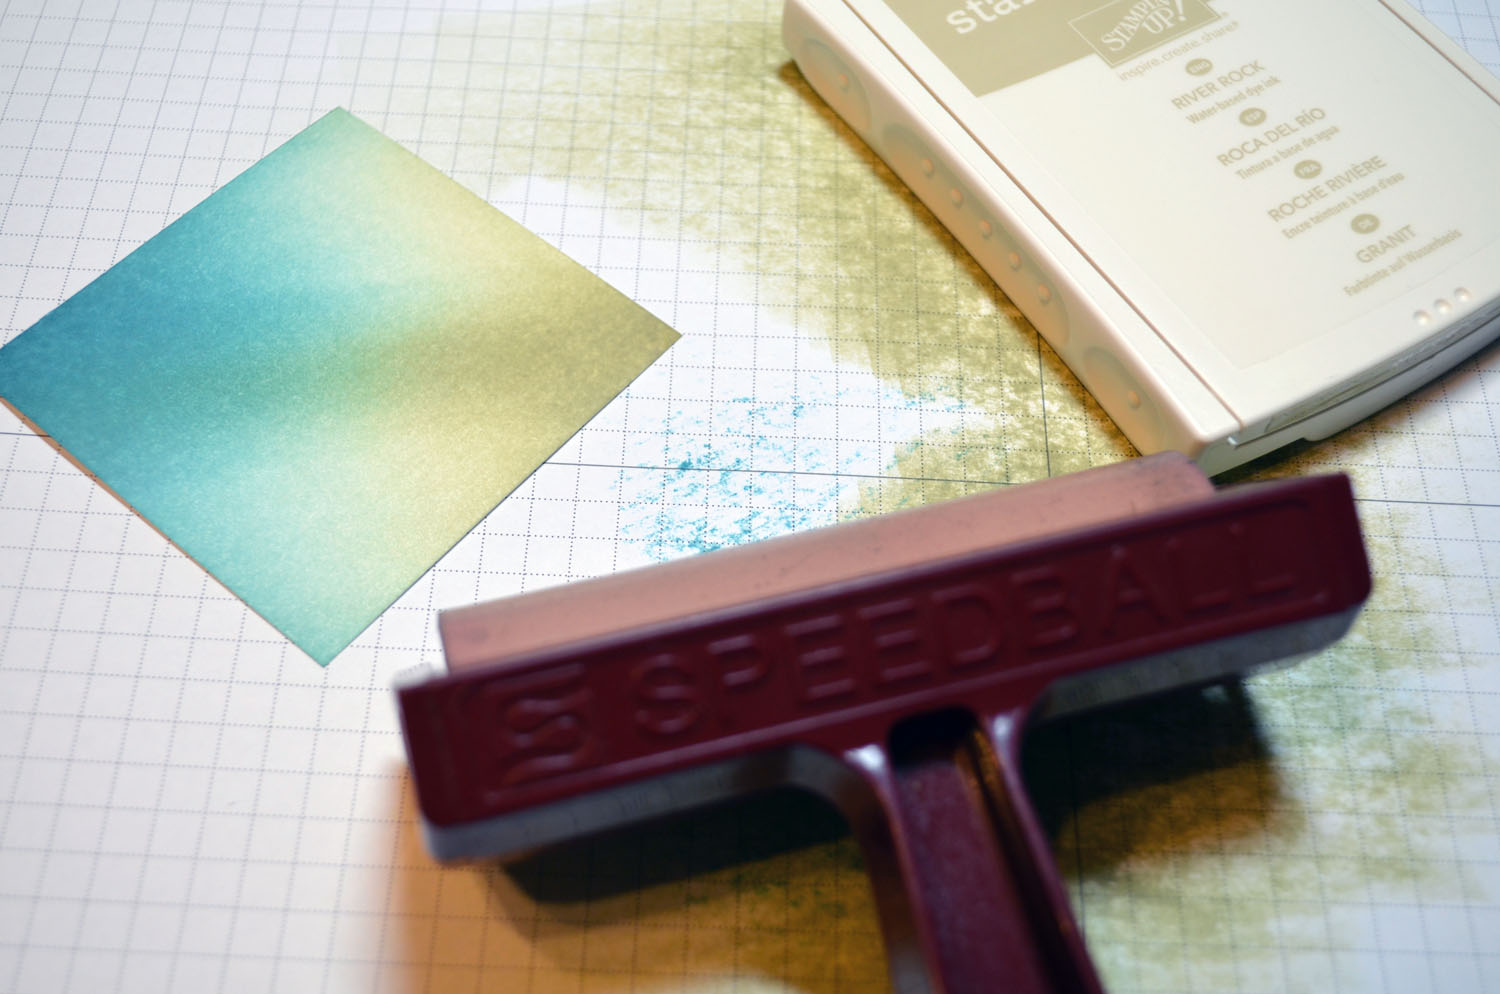
Sponged More Mustard ink in the sky.

Sponged Pumpkin Pike ink in the sky.

Sponged Cajun Craze ink in the sky.

Sponged Cherry Cobbler ink in the sky.

Removed the mask and gently wiped the ink off of the embossed images.

Masked the top of the card stock and stamped the stamp from the Tiny Tags set all over the large hill by loading my stamp with Versamark and Old Olive ink before stamping it each time.

Embossed the images using clear embossing powder and a heat gun.

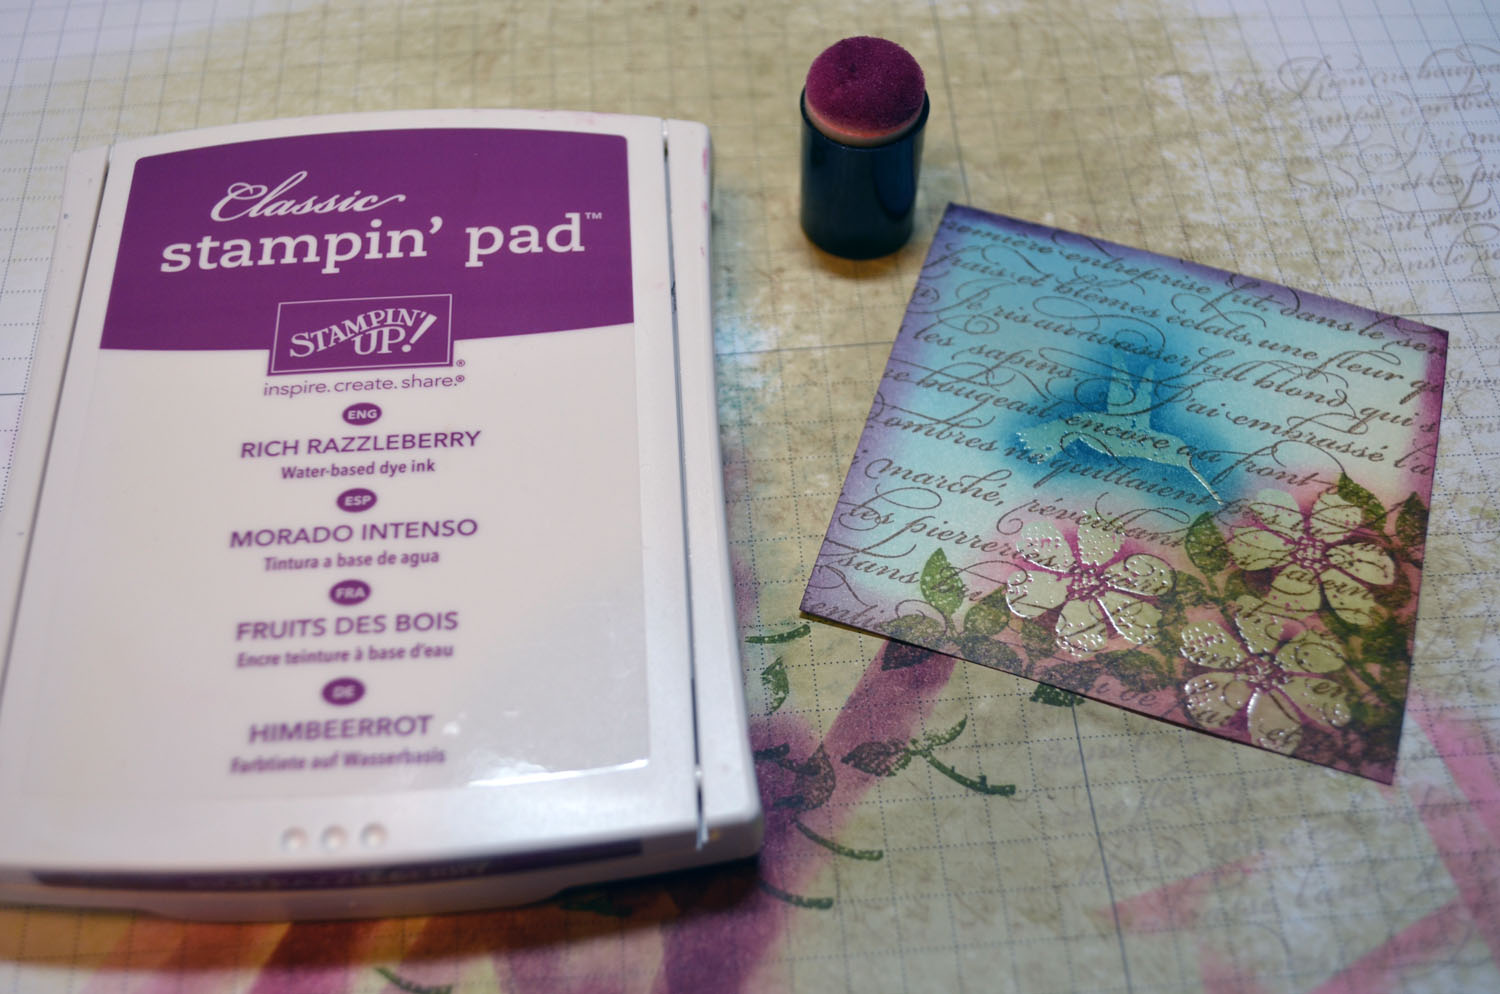
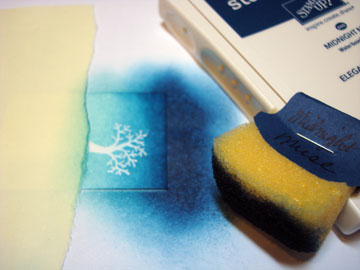
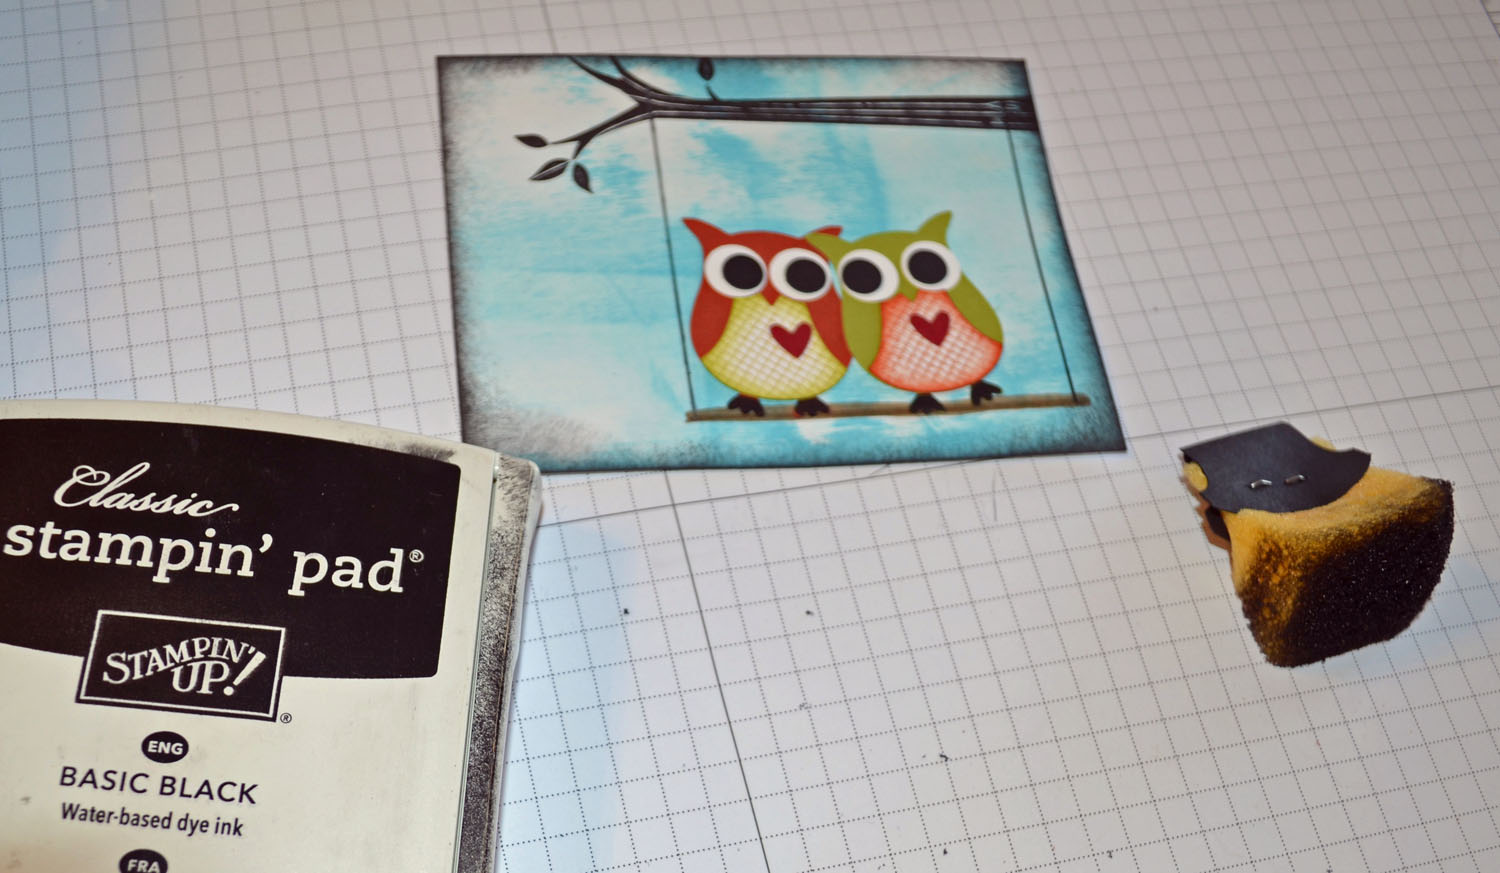
Sponged Cherry Cobbler ink over the bottom of the card stock.

Sponged Early Espresso ink at the top of the hill and then sponged Basic Black ink along the masked edge to darken the outline.

Removed the mask and gently wiped the ink from the embossed images using a paper towel.

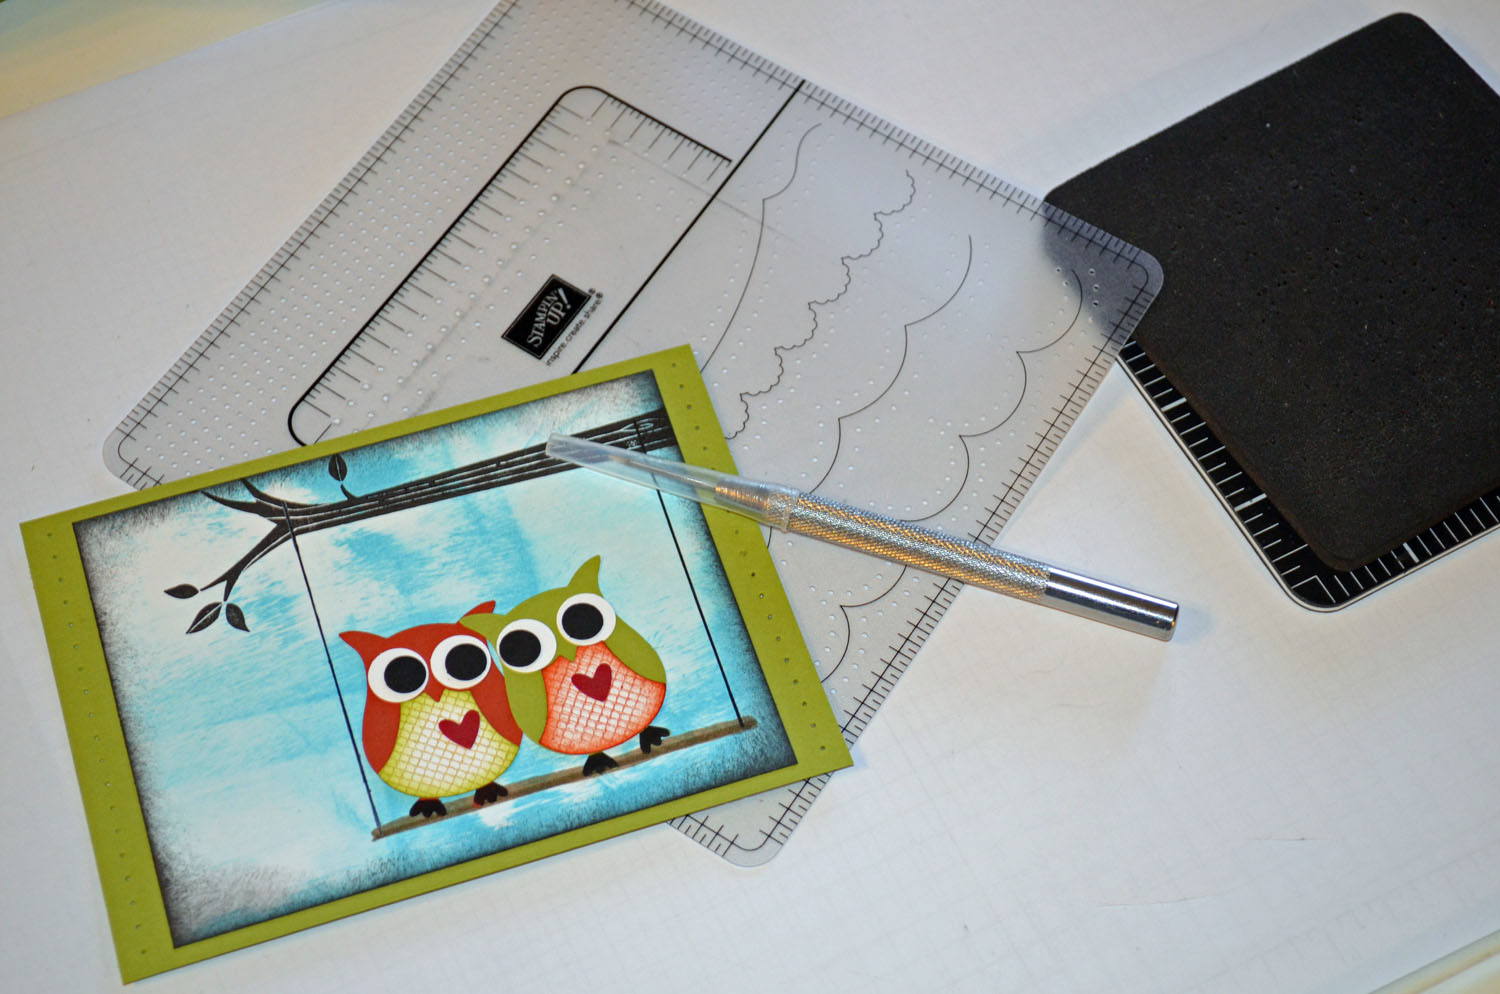
Added a Modern Label Punched from Early Espresso ink. Cut this punch in half.

Also added a 6.5″ x 10″ Whisper White card stock base folded in half, 5″ x 6.5″ Old Olive panel, 4.75″ x 6.25″ Cherry Cobbler Panel, 4.25″ x 5″ Early Espresso panel, and the Old Olive die cut.
Pierced seven holes at the top and bottom of each side of the Cherry Cobbler panel using piercing tools.

Here is the finished card measuring 5″ x 6.5″.
*******************************
Photo of the day. . . . .Basil Spouts

********************************
Have a super weekend!
Until my next post. . . . . .
Check out the awesome things happening at Stampin’ Up! below.
Hugs,

Weight loss in 2013: 12.4 lbs
********************************
A few reminders of things you will want to check out. . . . . . . .

Stampin’ Up’s fabulous Spring Catalog Get your supplies to rock those Spring projects.
Sale-a-bration brochure showing the totally terrific stamps and things you can get for free with a $50 order.
***********************************************************
Michelle’s Free Stamp Program
Don’t miss out on my Customer’s free stamp set program. Check it out! Along with a handmade thank you card from me for your $50 order you will receive a token for each $50 in product you ordered using me as your demonstrator. After you have collected 10 tokens you will receive a free current stamp set of your choosing, a value of $39 or less. Here is a link to my online shopping page that you can shop at 24/7 (from the comfort of your home, even in your pj’s) and the products will be shipped directly to your door step from Stampin’ Up. CLICK HERE TO SHOP. My free stamp set program will be an on going program. ![]()
**************************************************
It’s the time of year us Stampin’ Up! Fans look forward to, it’s Sale-a-bration time!!!! The best time of year to get your Stampin’ Up! products. Why you ask?

Shop and receive a free Sale-a-bration product for every $50 you spend. CLICK HERE TO CHECK OUT THE SALE-A-BRATION PRODUCTS! This is a long brocure so be sure to scan right when viewing. . . . .

***********************************************************************

Join Stampin’ Up! during Sale-a-bration and chose $156.50 in product in your kit for just $99. That’s 25% more product! Start a business or just enjoy being a demonstrator to receive the 20% discount.

*************************************************
.jpg)
It’s a Magical Paper Escape Every Month!
Check this out, you can now get a monthly kit called Paper Pumpkin from Stampin’ Up! that includes exclusive stamps and everything you will need for a great project. You can get more info on this great product at www.mypaperpumpkin.com They even have a try me kit! You won’t want to miss out on even one of these kits. . . . . . . Please select me as your demonstrator when placing your order.
Also. . . . . . .
There is now a great stamp kit, Dude Your Welcome, for the men in your life. Check it out!
Guys don’t always have the easiest time expressing themselves, but with the Dude, You’re Welcome! kit, they’ll have
- Four wood-mount stamps (double-mounted) with the perfect sentiment for every occasion
- Twelve 4″ x 6″ postcards in four different (manly) colors
- Twelve gray envelopes
- A Basic Gray Classic Stampin’ Pad
- An instructional guide (for the most novice stamper!)
Basically, the kit includes everything a dude needs to create the perfect manly card that any woman would adore, all packaged in an appropriately masculine box.
This set can be purchased now with item number 132807. Great gift idea!
********************************************
![]()
Have you checked out the great clearance rack at Stampin’ Up! CLICK HERE


