
Hello There,
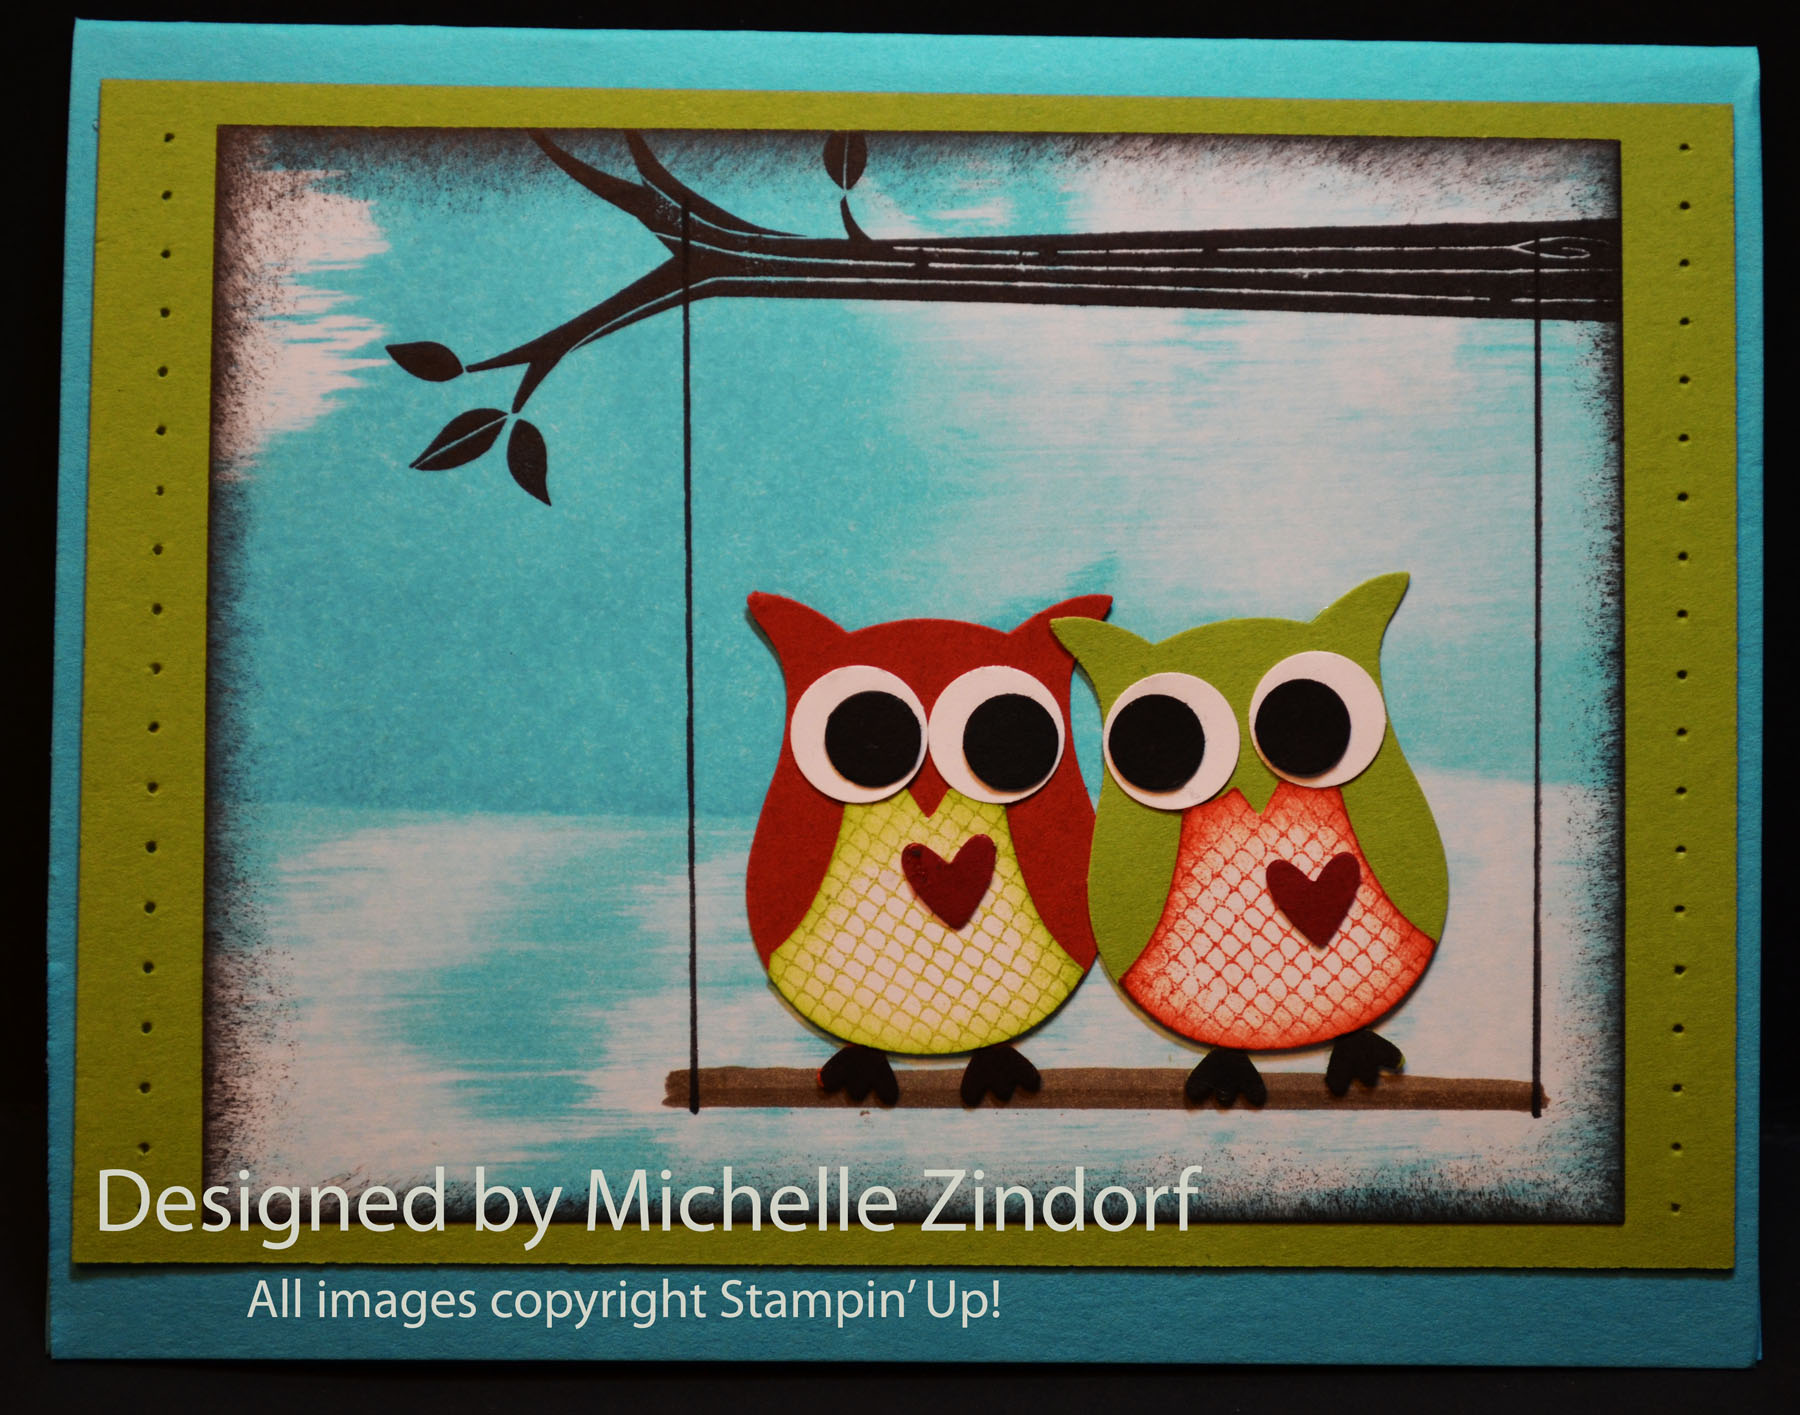
I’m having fun with this free Stampin’ Up! Sale-a-bration set, Feeling Sentimental. Today I decided to light the phone booth up with a street light. What do you think?
Check out my tutorial below for this card.
Before I start the tutorial though, I have a blog candy winner to announce! The winner is. . . . . . . .

Jodi Mosher who wrote “Blog candy!, can’t get much better than that. Except maybe your weight lose! Congratulations and best of luck to you on how ever far you plan to go.”
Congratulations Jodi Mosher!!! Please e-mail your shipping address to me at mzindorf@aim.com within 30 days and I will get this great set out to you.
As always, thanks to everyone for playing along.
********************************************
I’ve added this card to my sales page. CLICK HERE TO CHECK IT OUT
********************************************
Now on with today’s tutorial. . . . . . .
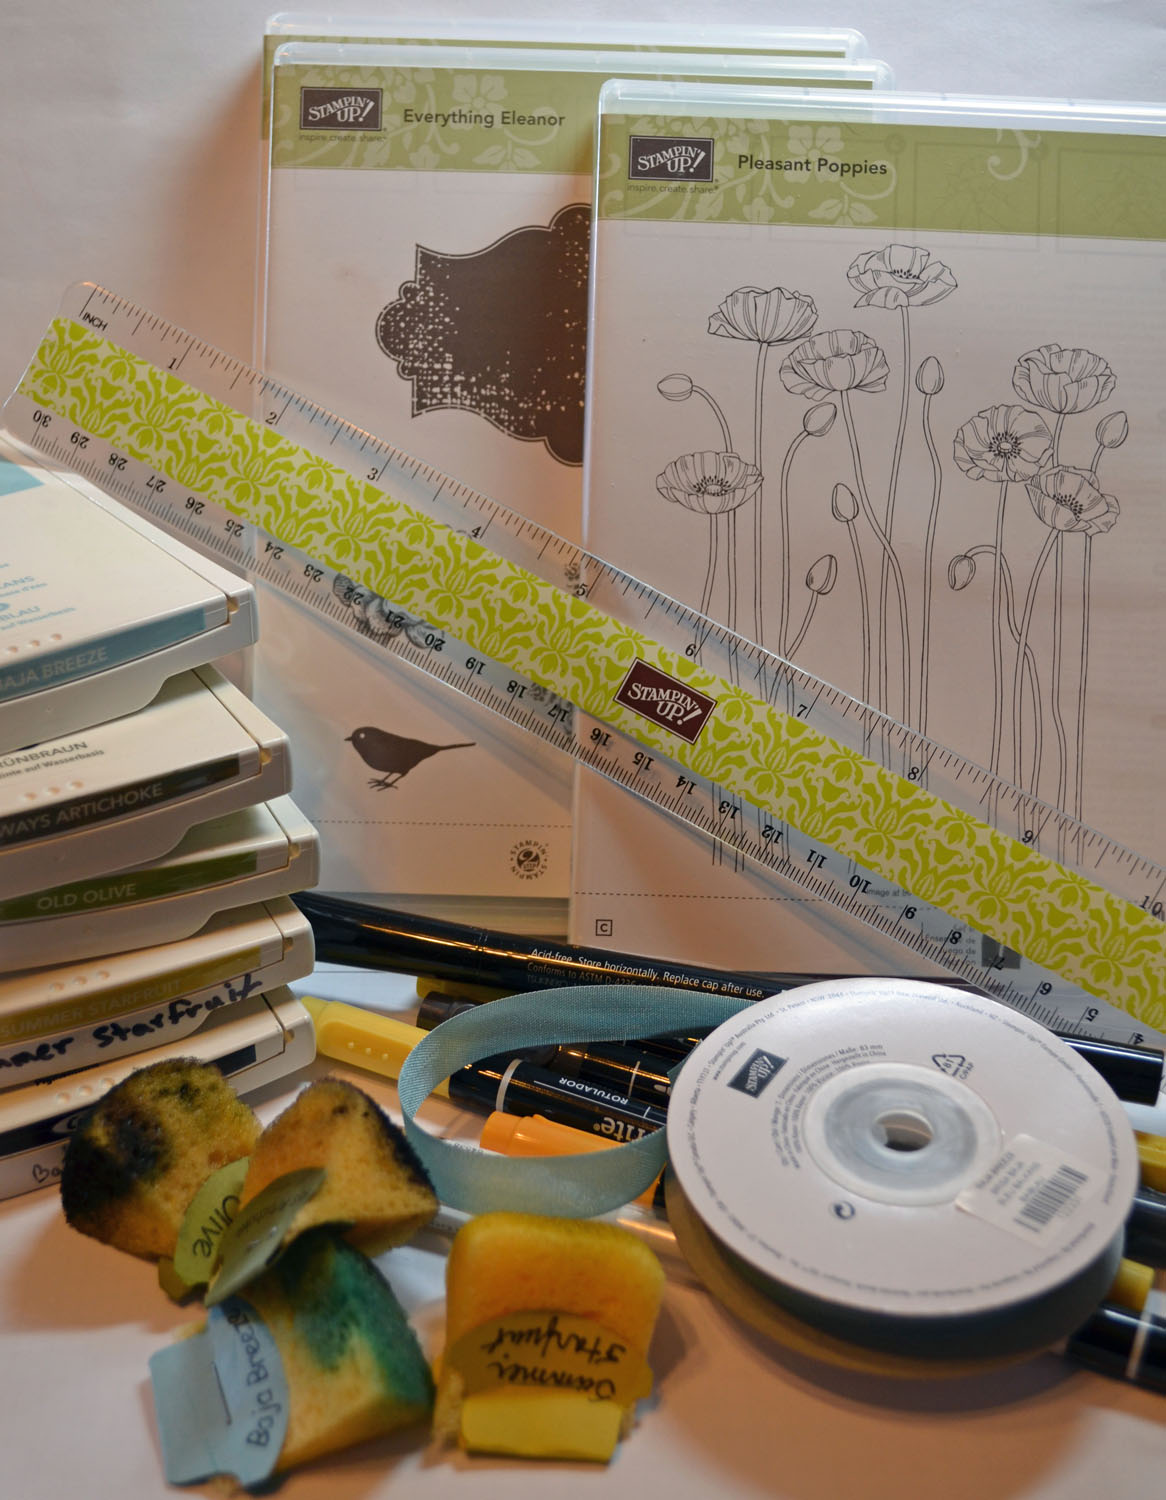
Project Supplies:
Stampin’ Up! Stamps: Feeling Sentimental (Free Sale-a-bration set, item number 129630) CLICK HERE TO CHECK OUT THE SALE-A-BRATION PRODUCTS!
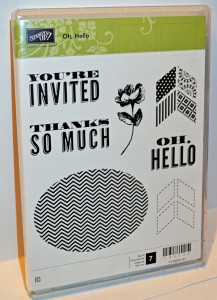
OH, Hello (Sentiment)
Card Stock: Stampin’ Up! Whisper White, Basic Black, Basic Gray, Cherry Cobbler and Going Gray Striped DSP
Ink: Stampin’ Up! Sahara Sand, Daffodil Delight, Marina Mist, Not Quite Navy, Night of Navy, Soft Suede, Basic Black
Accessories: Stampin’ Up! sponges, Basic Black Ribbon, Silver Brads, Real Red, Daffodil Delight markers, circle punches, piercing tools, Versamarker, Clear Embossing powder, heat gun and corner rounder punch.

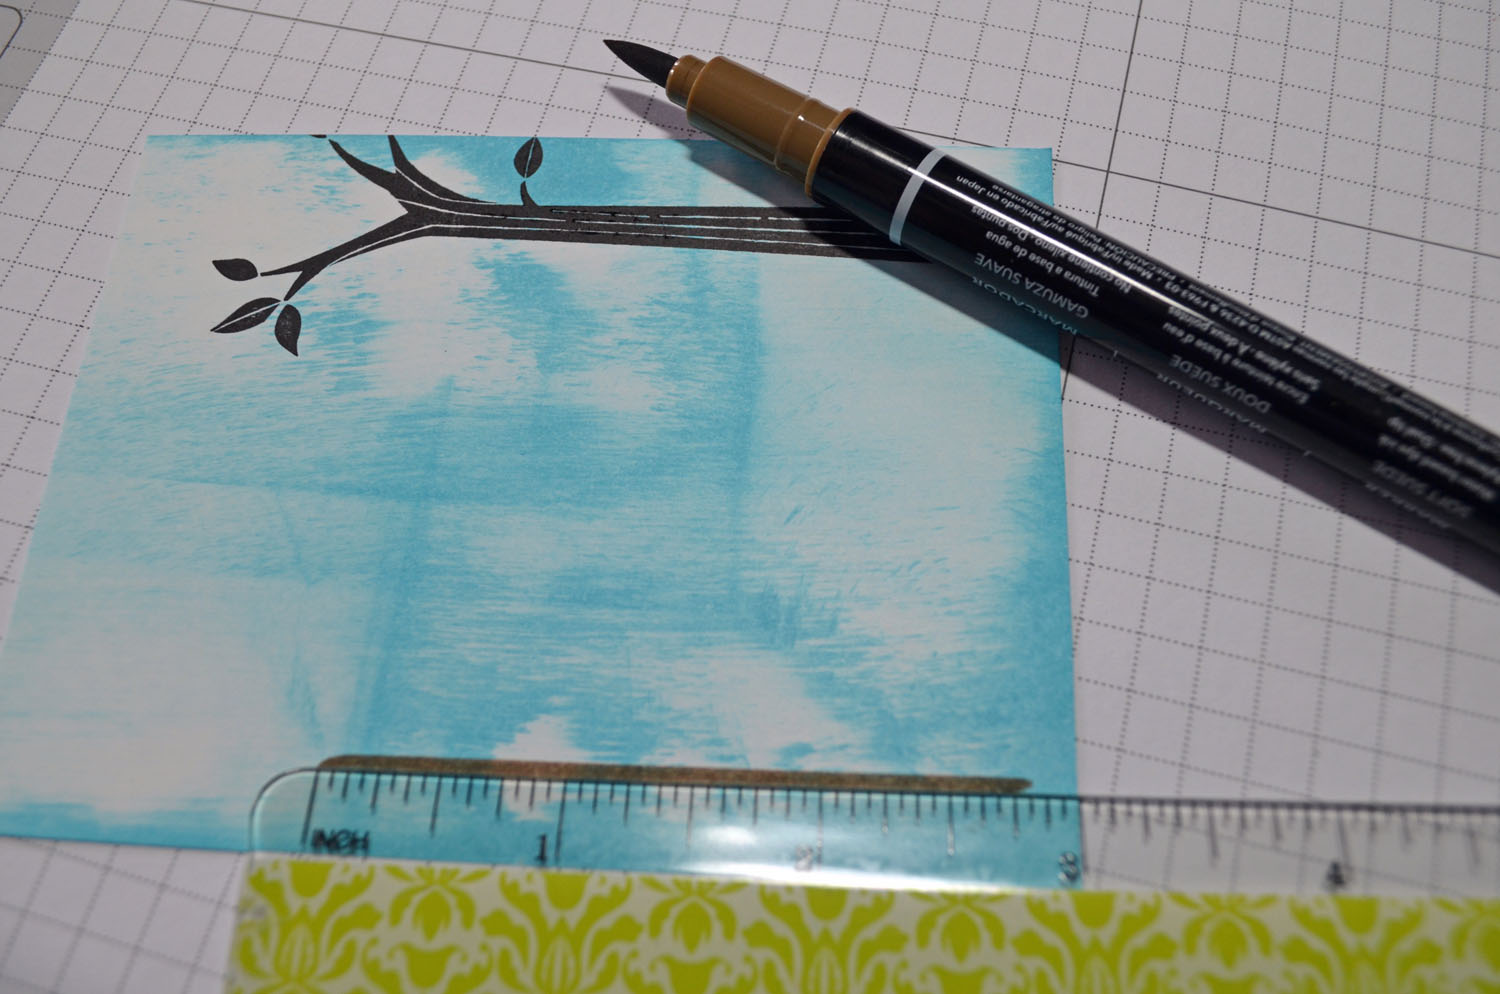
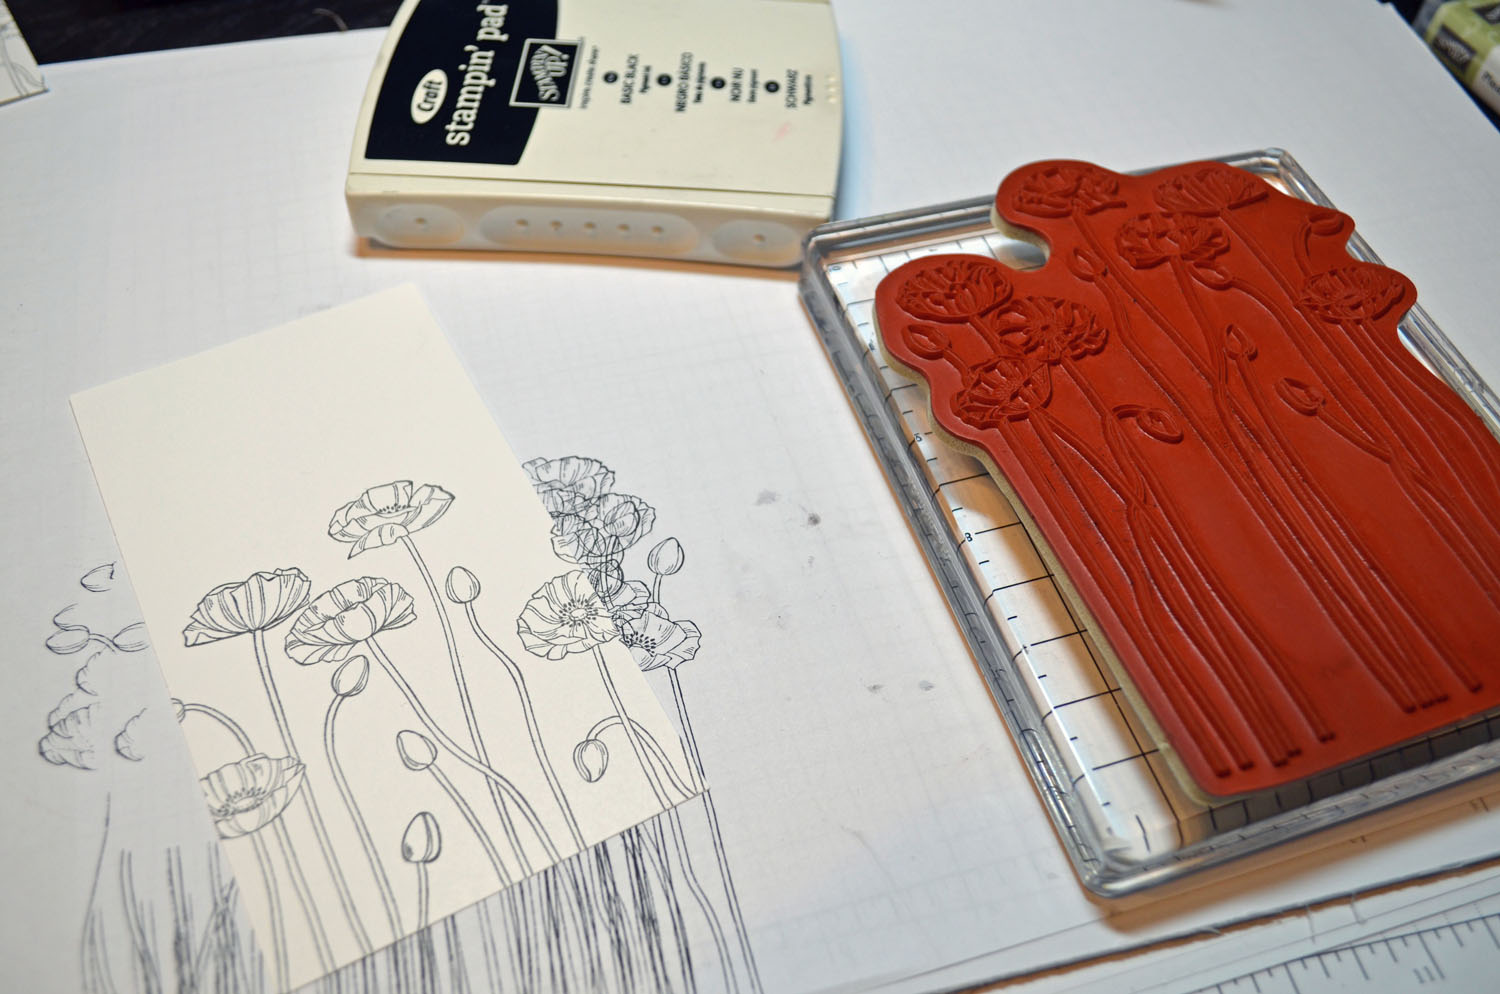
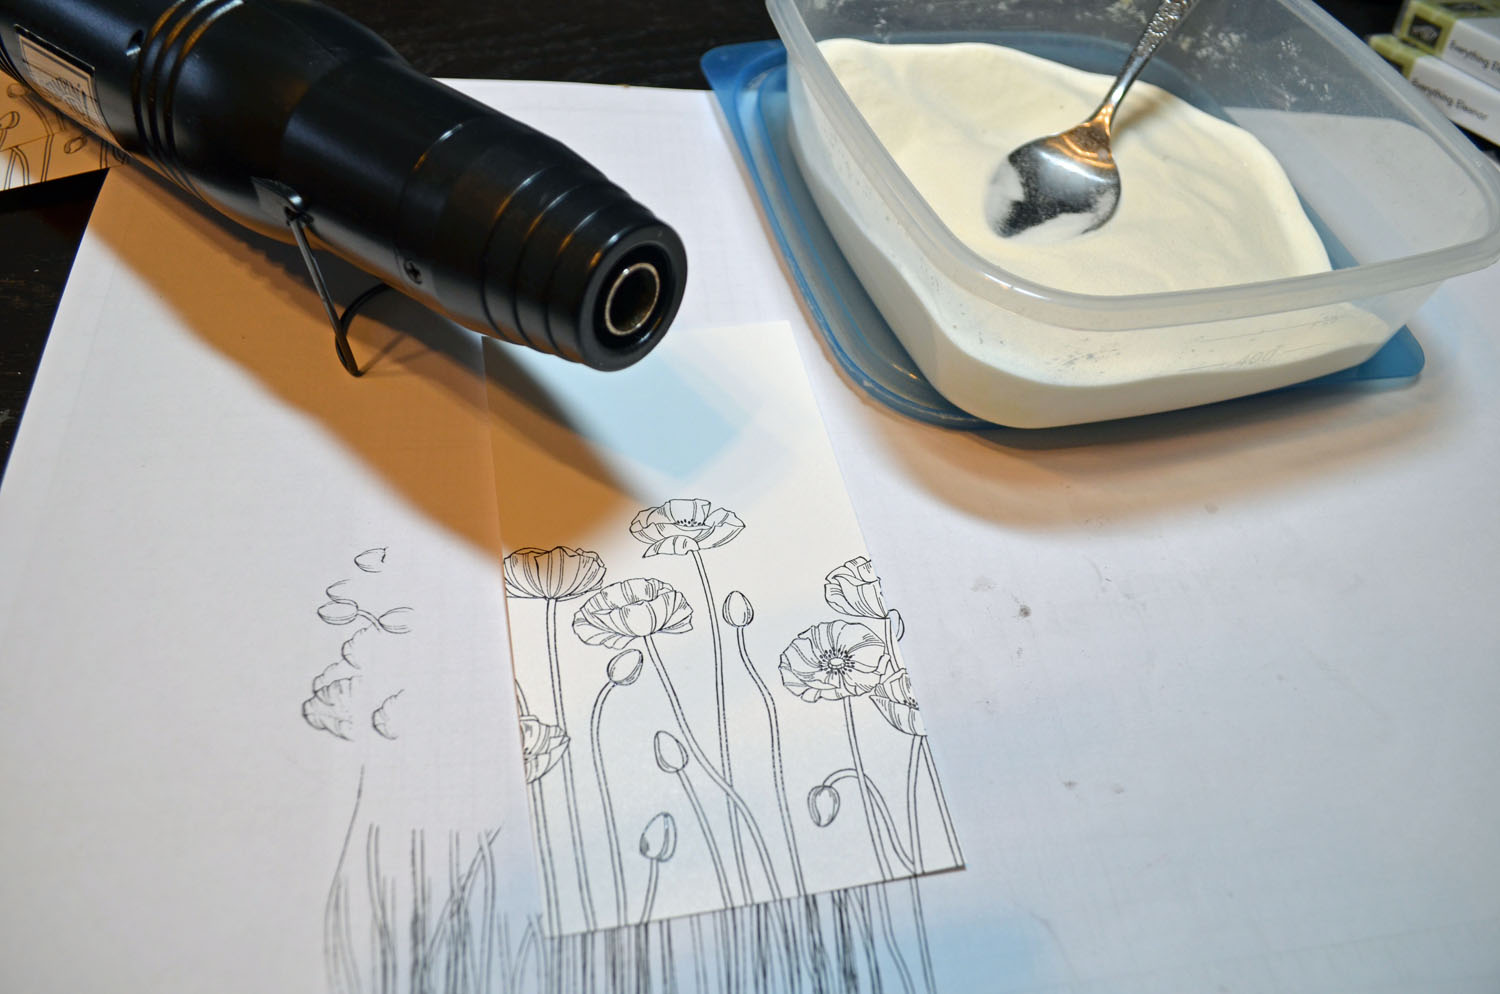
Stamped phone booth with Craft Basic Black ink on a 4.75″ x 3.5″ piece of Whisper White card stock and then heat embossed the image using clear embossing powder and a heat gun.


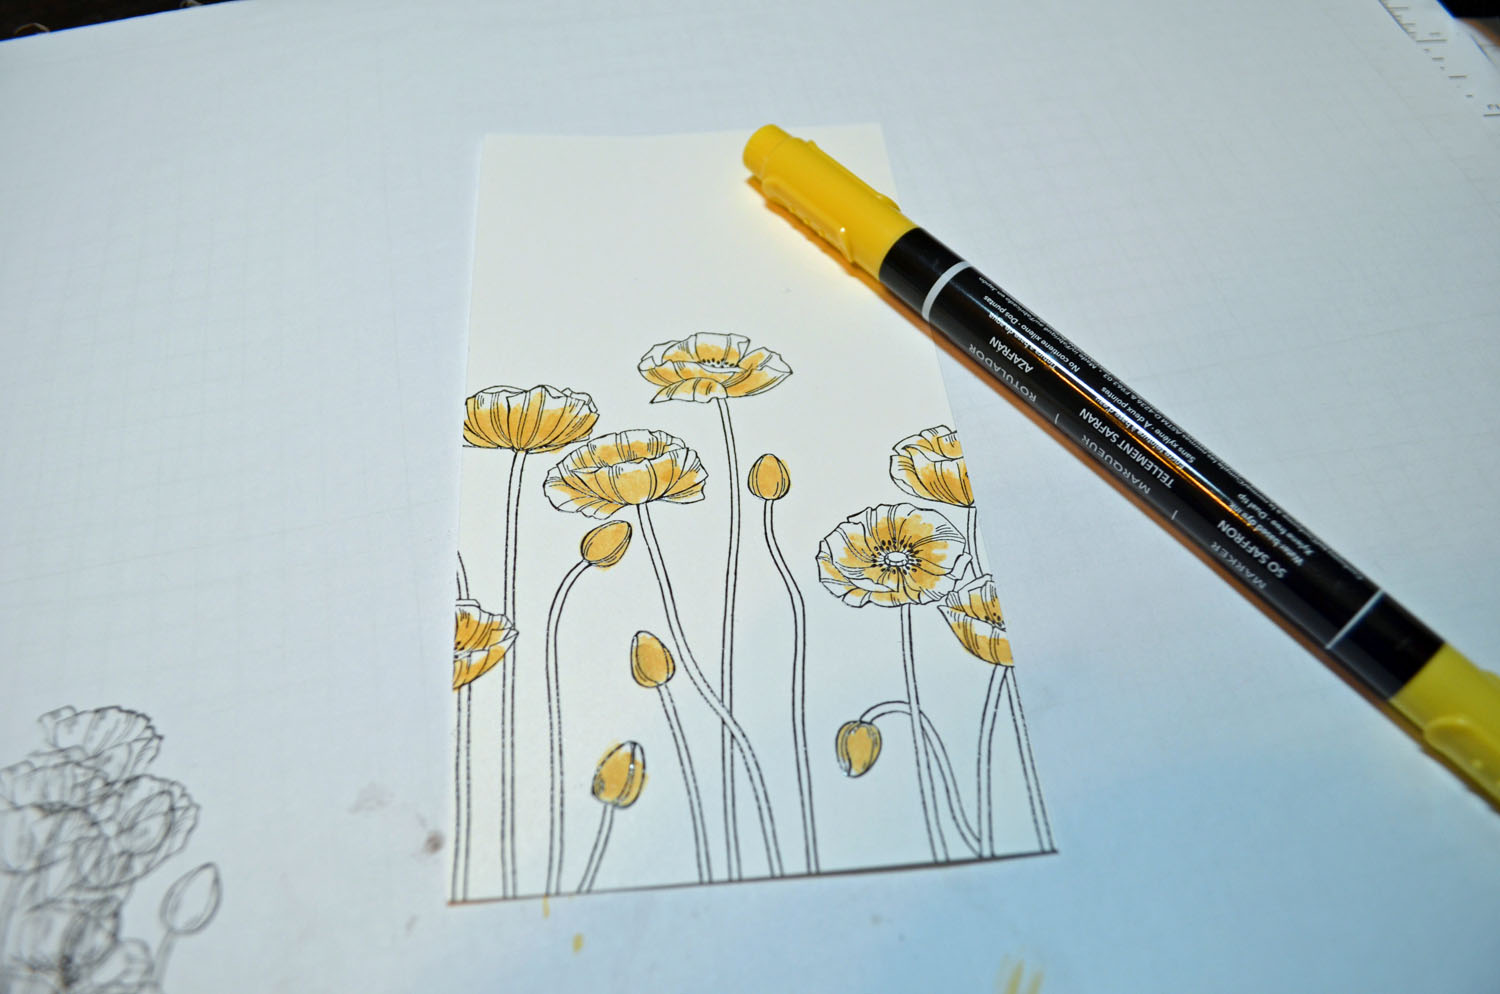
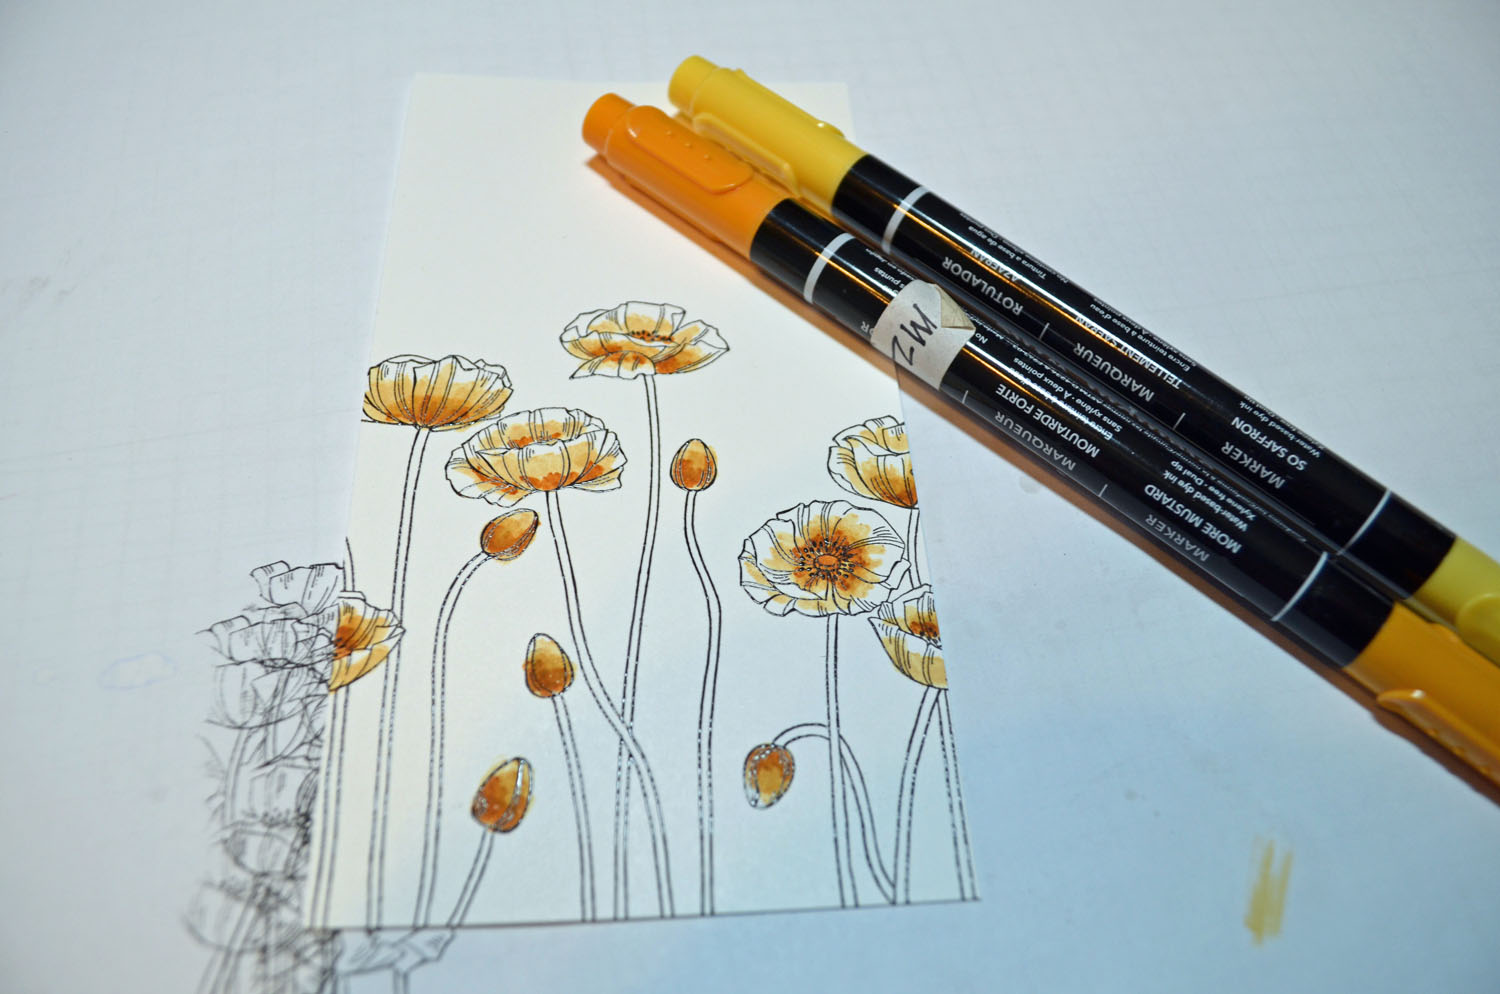
Colored the phone booth using Real Red and Daffodil Delight markers.

Dried the image using a heat gun. This is so the markers will set a bit and not smear around as much in the next step.

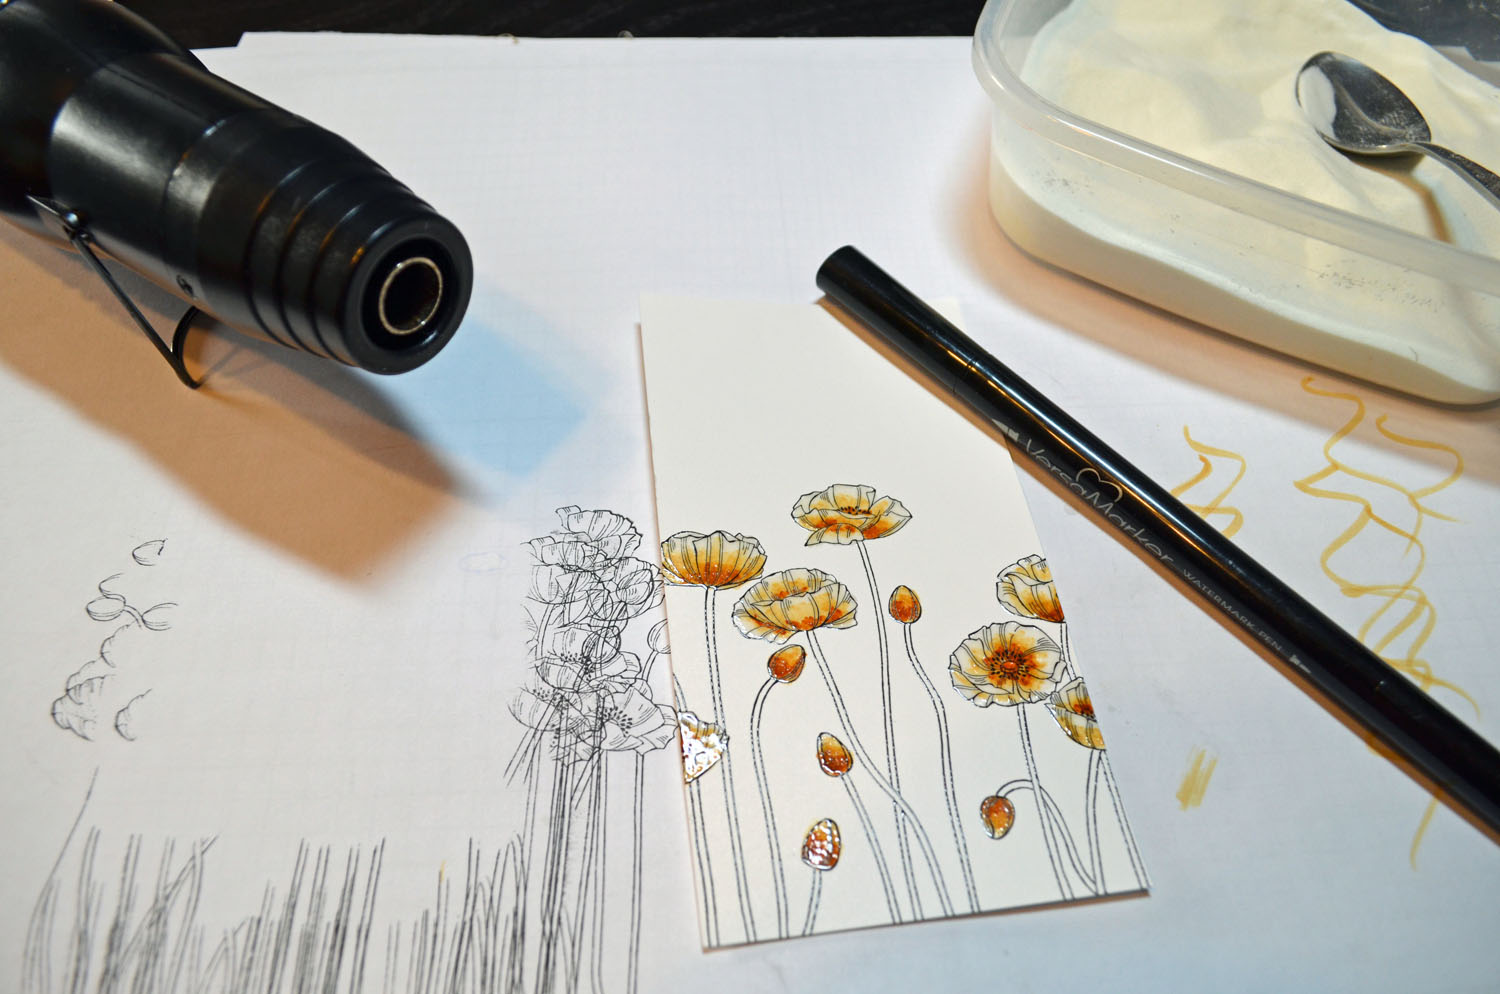
Colored over the phone booth using a Versamarker and then heat embossed the image using clear embossing powder and a heat gun.

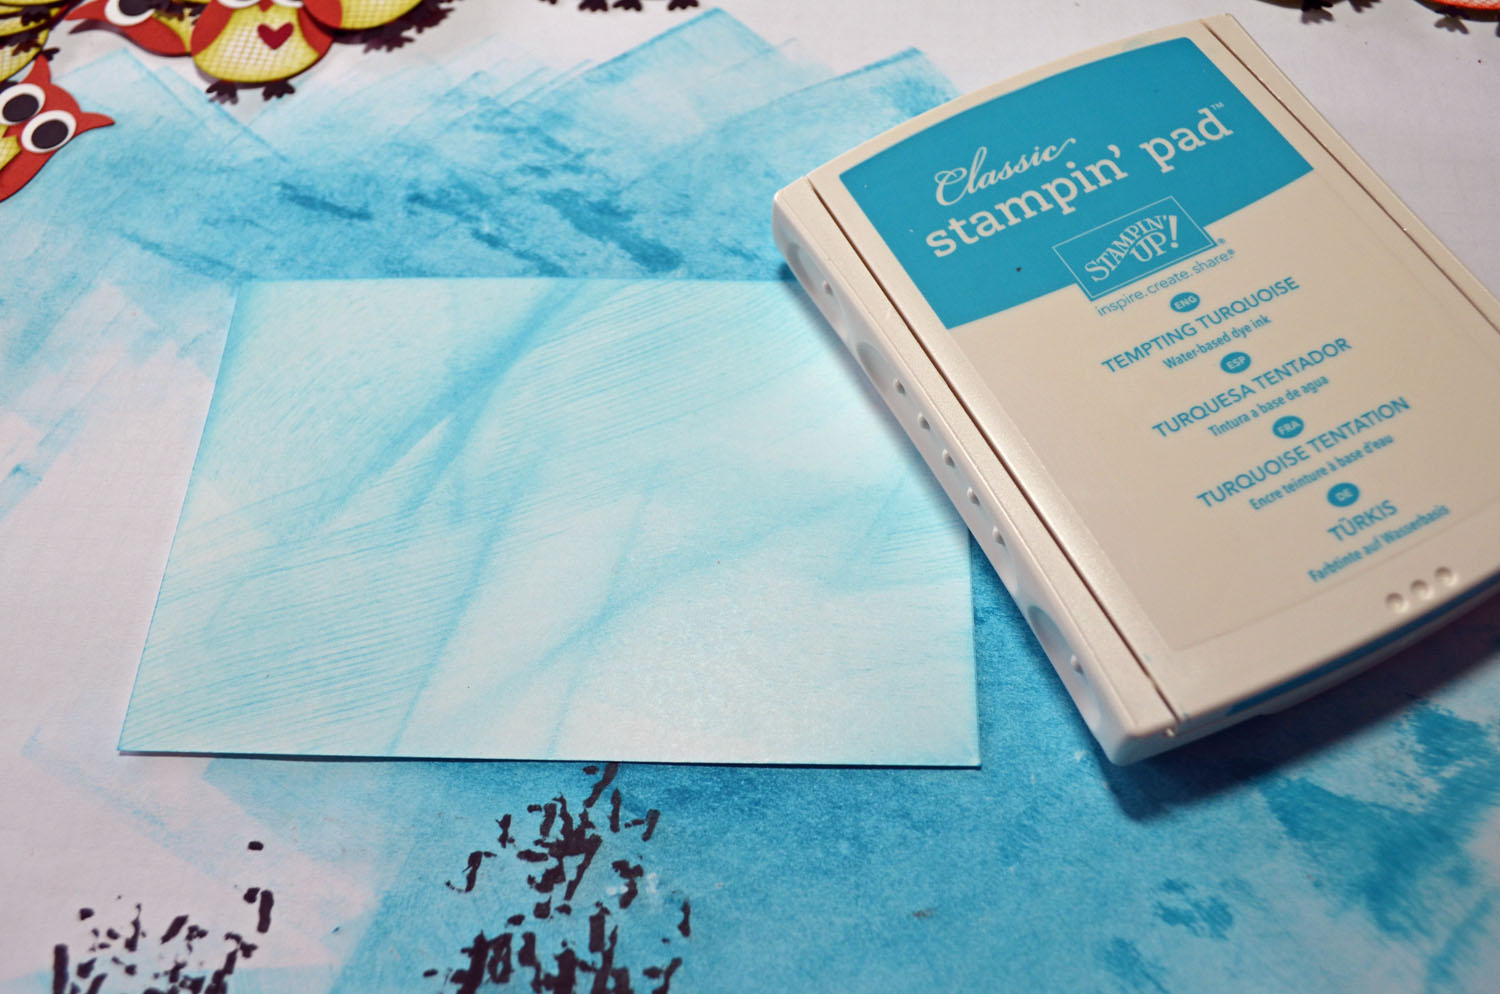
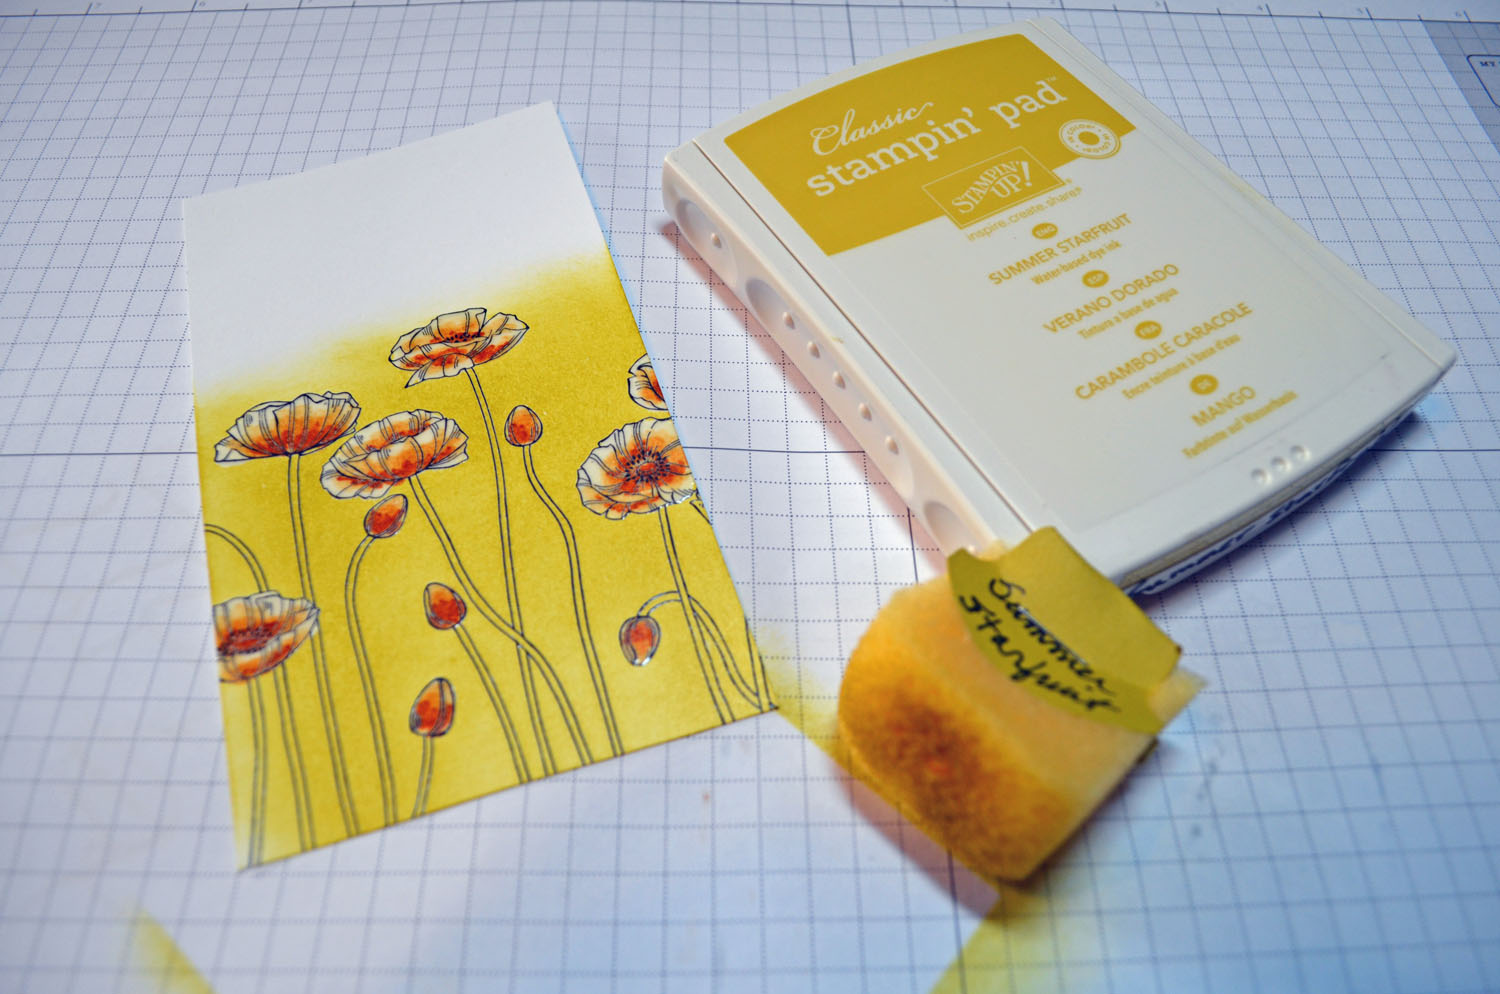
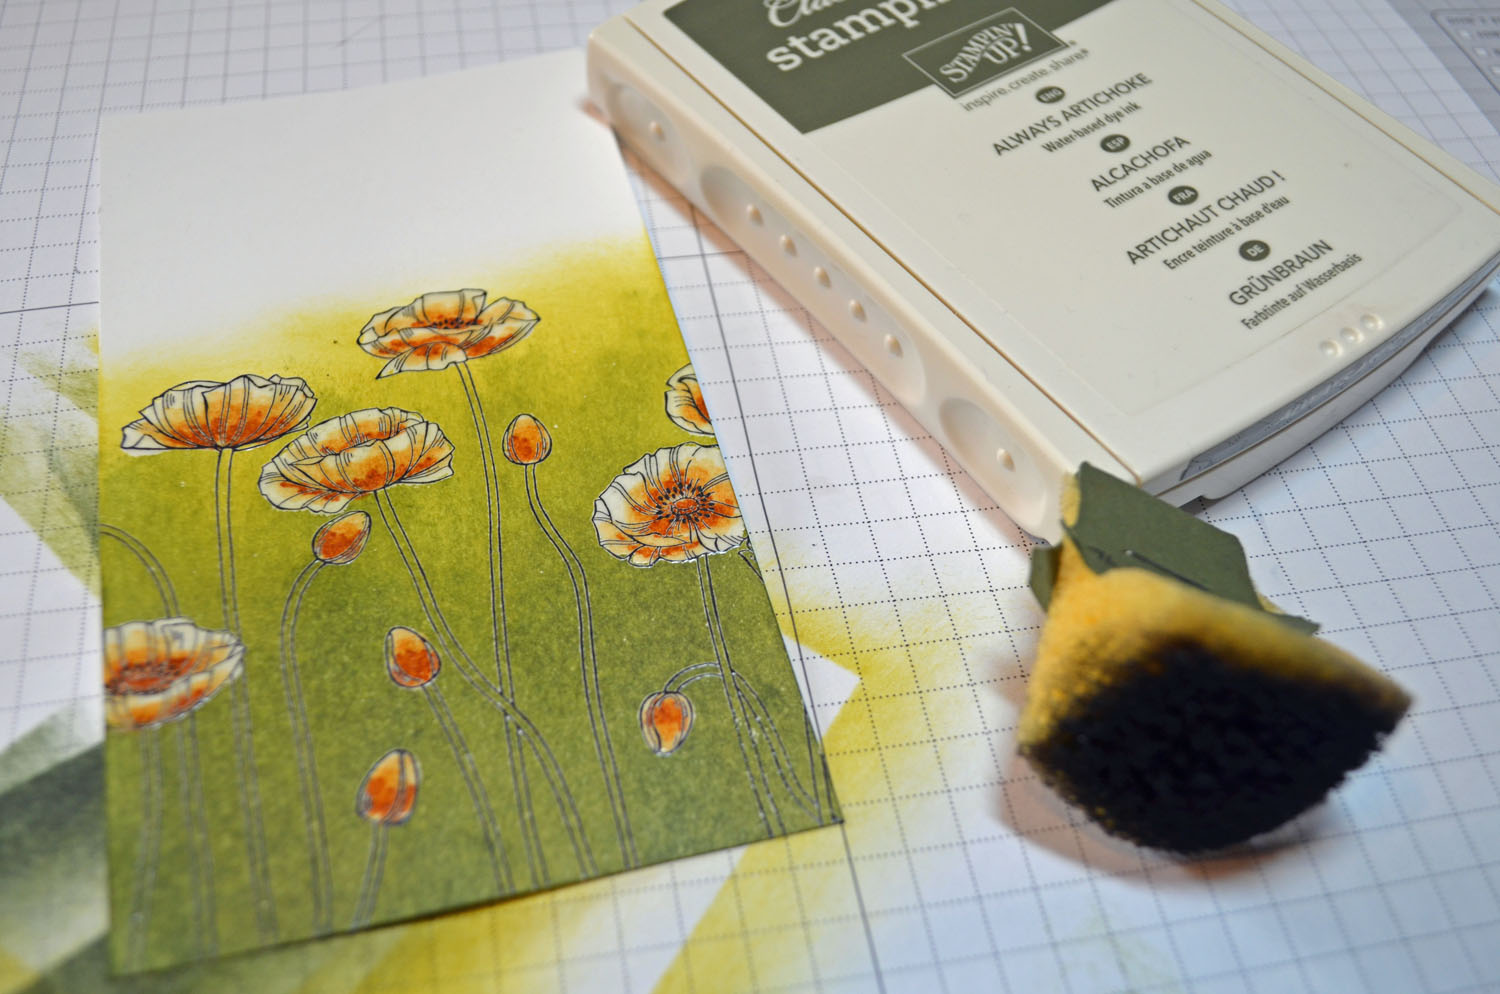
Sponged Daffodil Delight ink on the card stock.

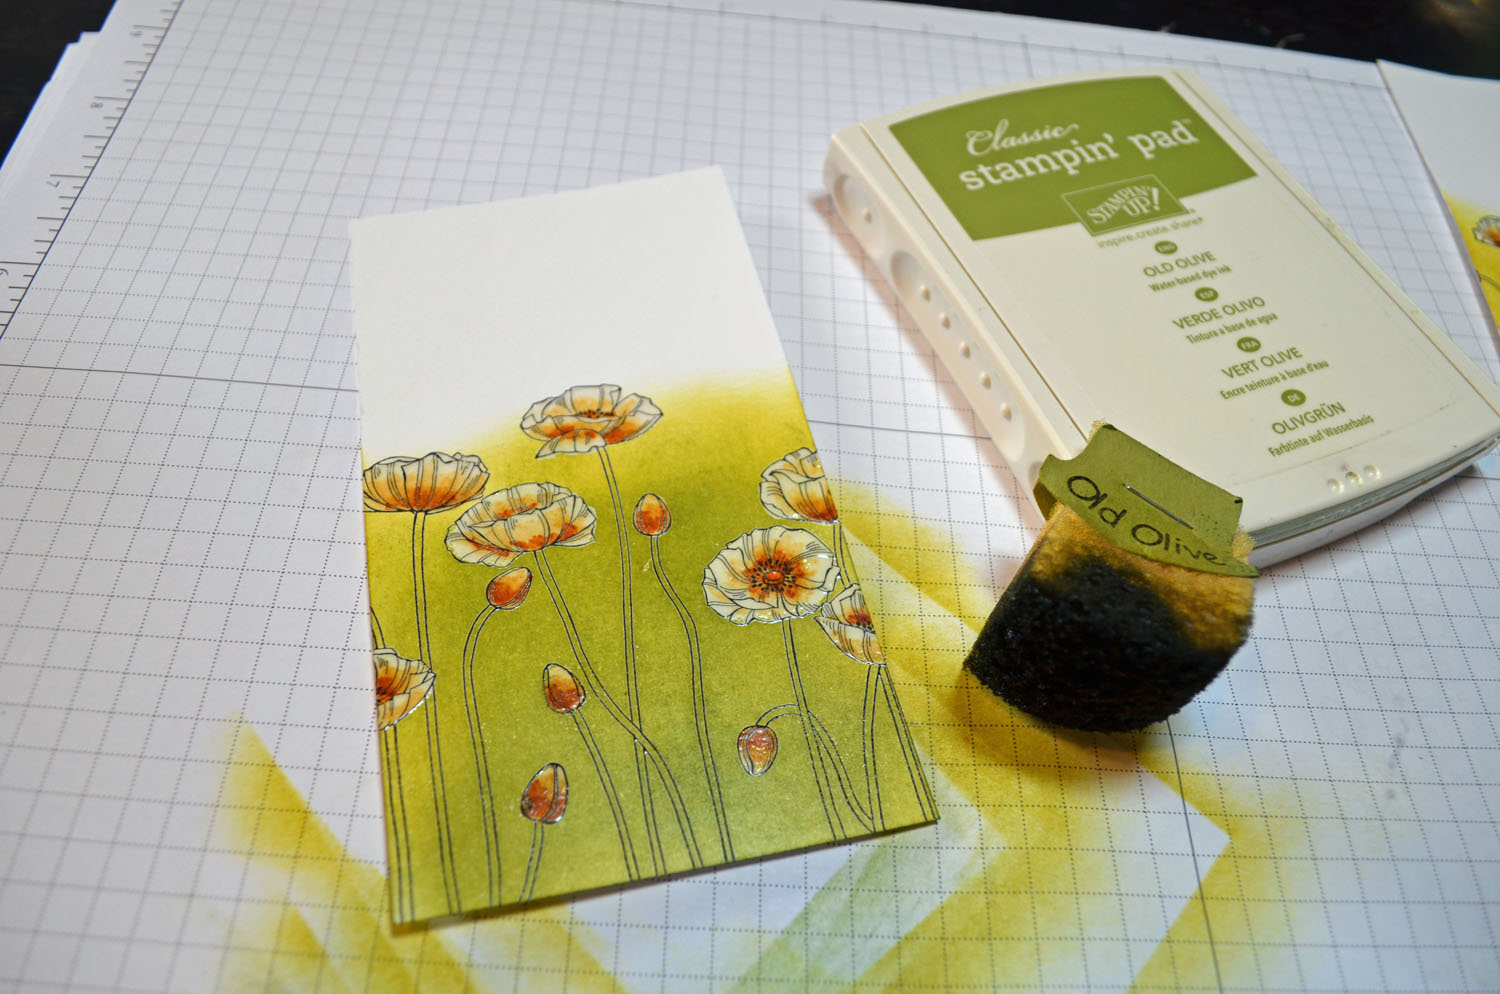
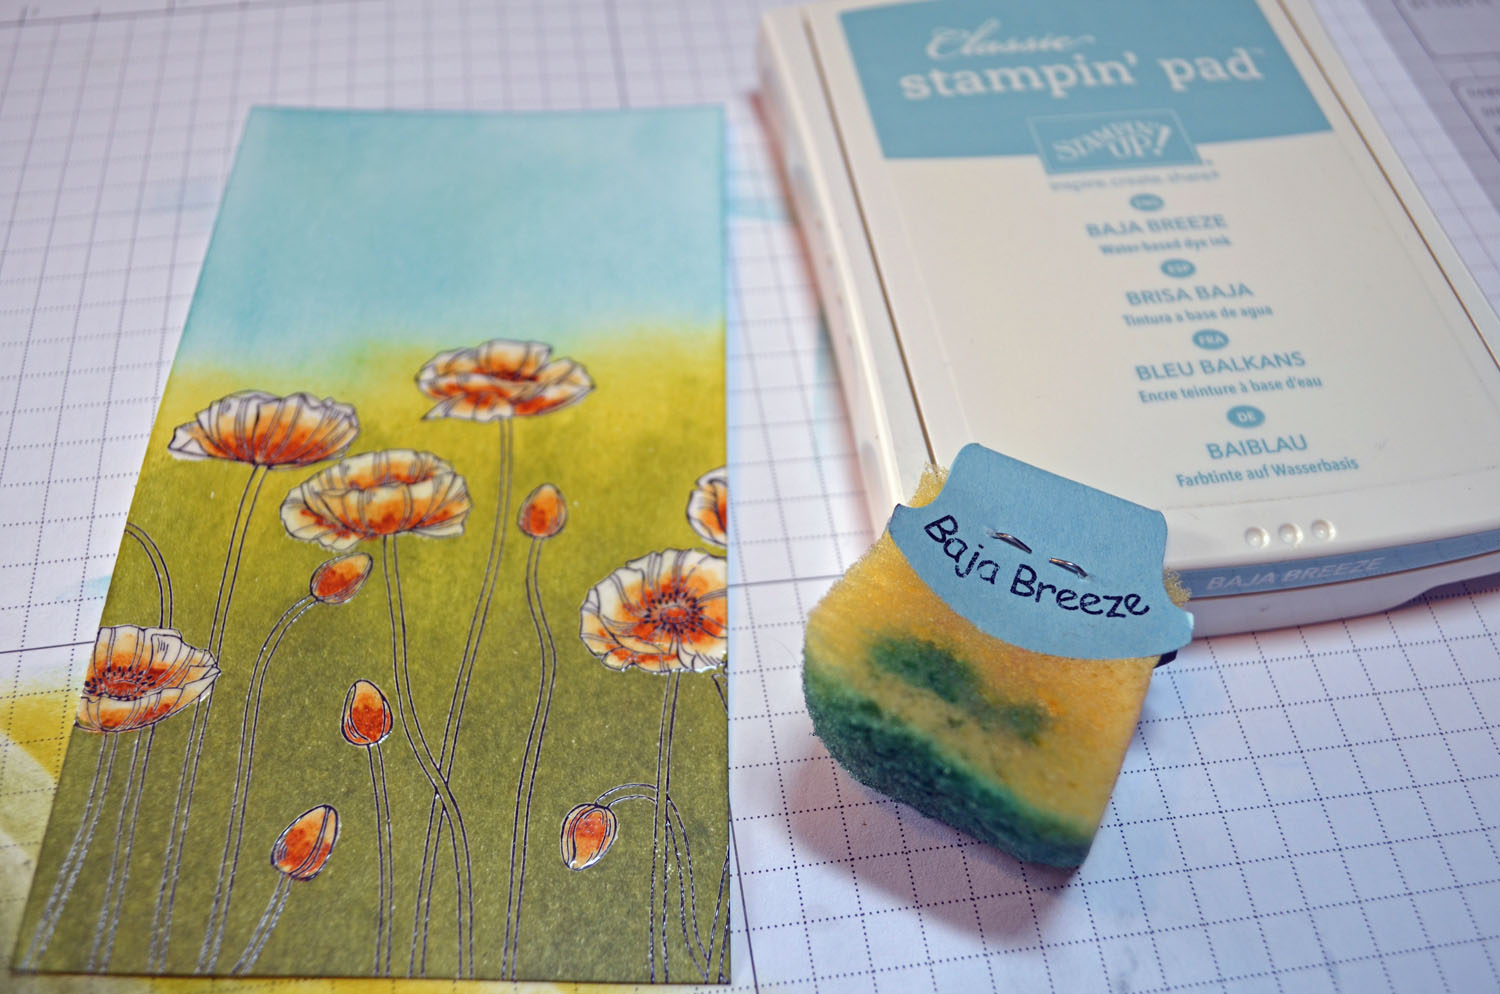
Sponged Marina Mist ink on the card stock.

Sponged Not Quite Navy on the card stock.

Sponged Night of Navy ink on the card stock.

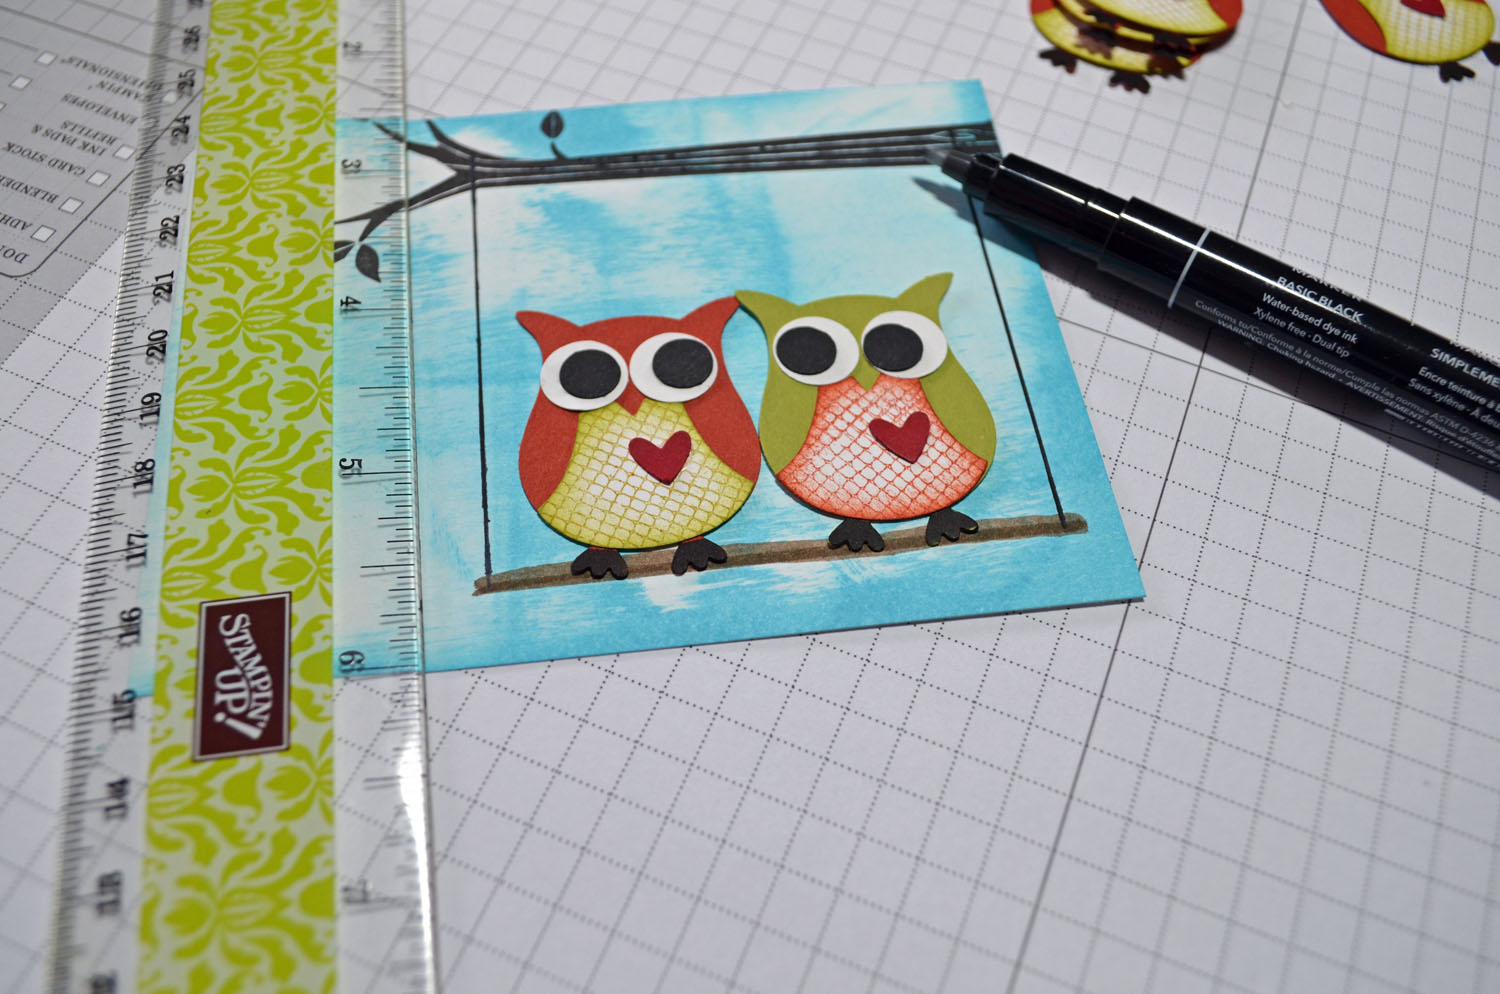
Punched to small circles, one from Basic Black and one from Daffodil Delight. Layered the smaller circle inside of the other one. Added a Basic Black card stock strip for a light post.

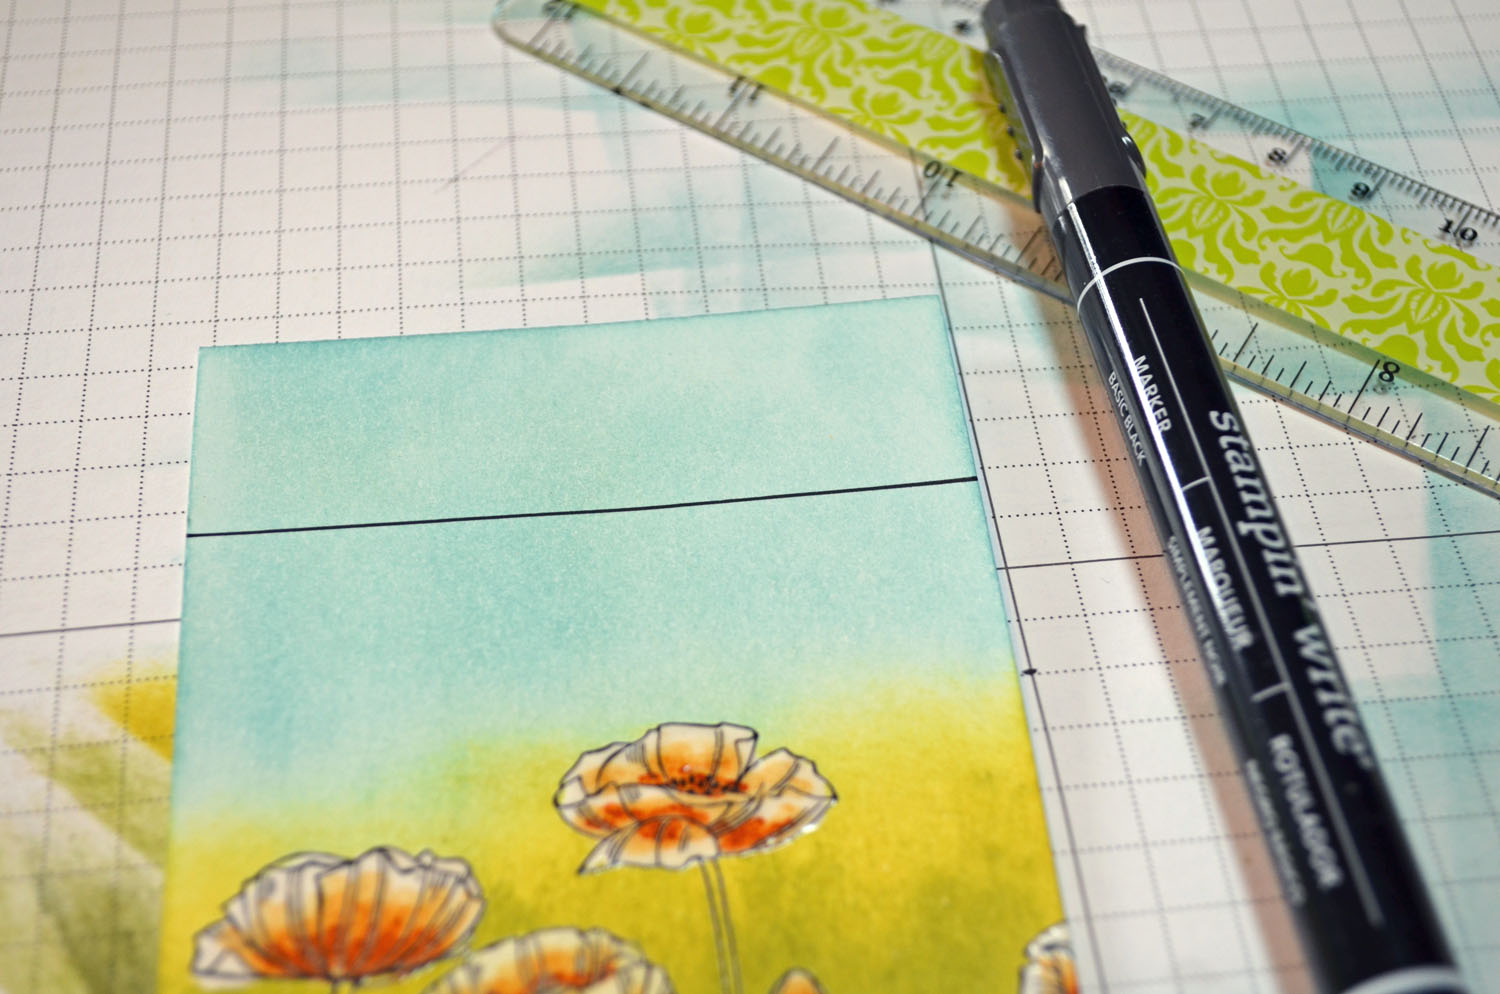
Added a hook shape to attach the light to the post with a Basic Black marker.

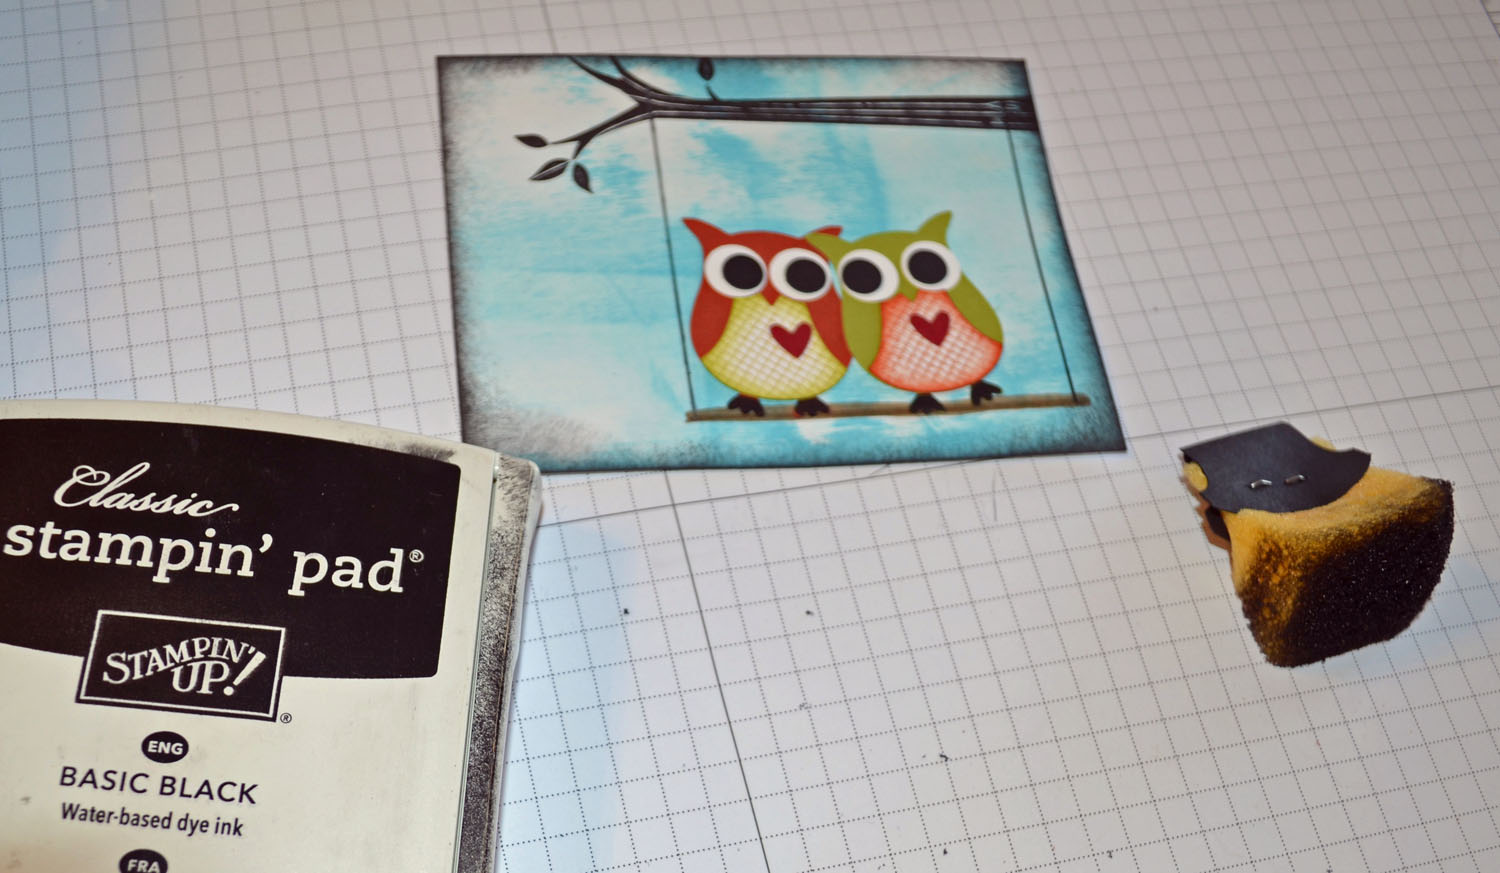
Sponged Sahara Sand ink at the bottom of the card stock.

Sponged Soft Suede ink at the bottom of the phone booth for a shadow.

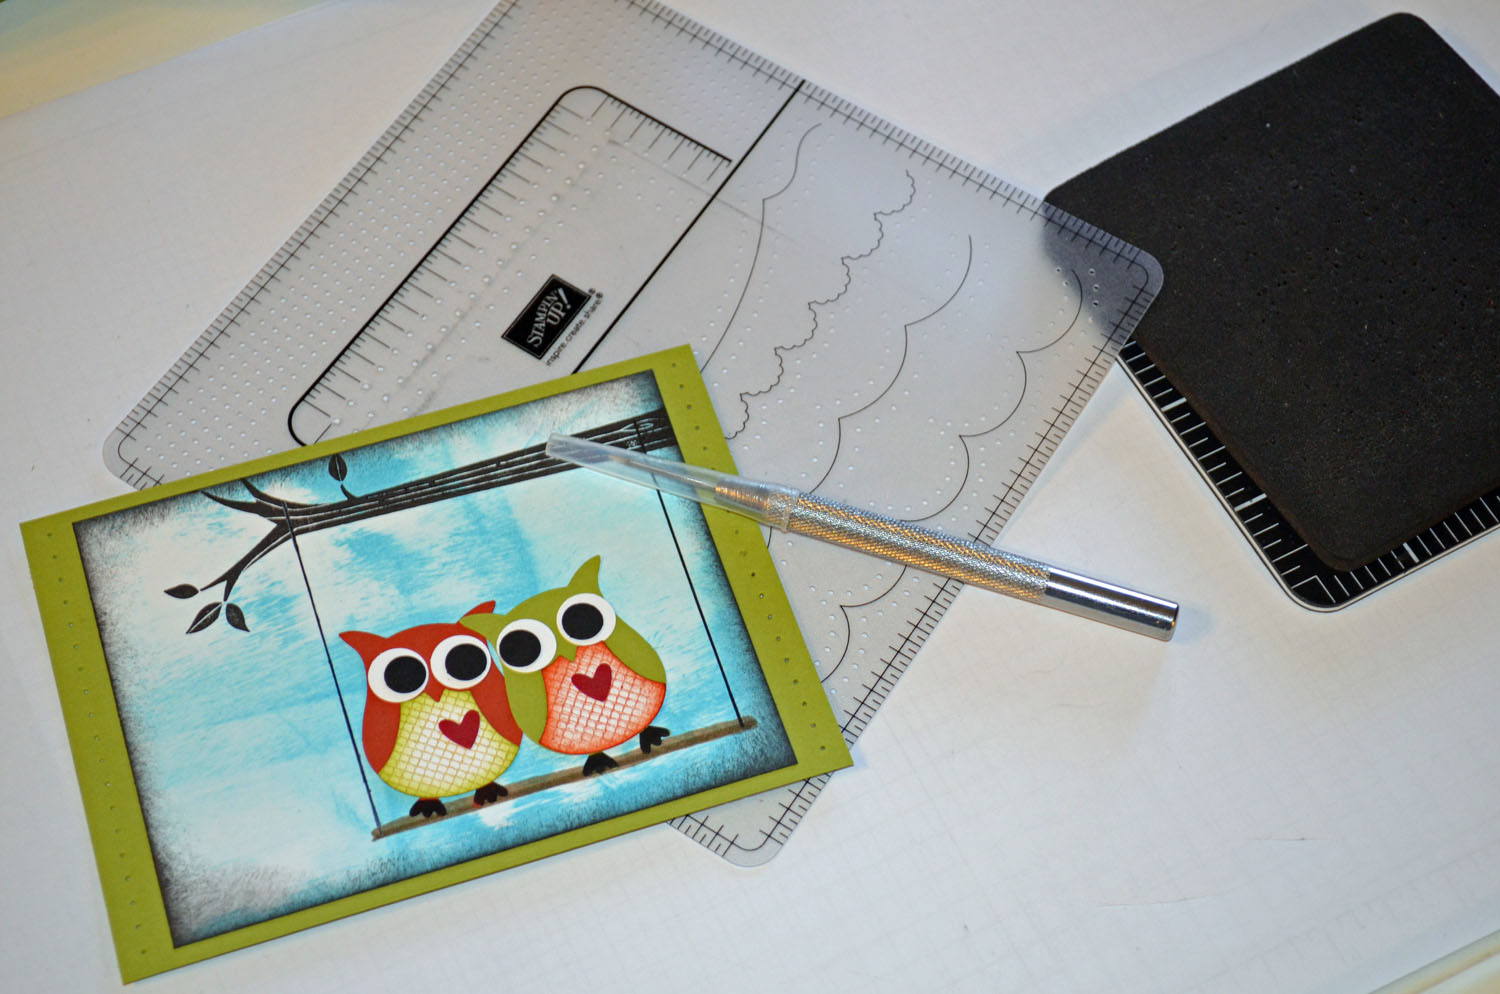
Cut a Basic Black card stock panel 3.75″ x 5″. Used the corner rounder on the top left and bottom right corners of the black panel and the main image panel.
Sponged Basic Black ink around the edges of the main image panel.

Stamped OH, Hello with Basic Black ink.

Added a 4.75″ x 6.25″ Basic Gray panel, 2″ x 6″ piece of Basic Gray striped DSP, Cherry Cobbler strip of card stock and Basic Black Ribbon.

Added Silver Brads and a 5″ x 6.5″ piece of Basic Black card stock.

Added a Whisper White card base. Here is the finished card measuring 5″ x 6.5″.

May your day be filled with sunshine.
Until my next post. . . . . .
Check out the awesome things happening at Stampin’ Up! below.
Hugs,

*******************************************
Weight loss in 2013: 9.5 lbs
*************************************************
It’s the time of year us Stampin’ Up! Fans look forward to, it’s Sale-a-bration time!!!! The best time of year to get your Stampin’ Up! products. Why you ask?

Shop and receive a free Sale-a-bration product for every $50 you spend. CLICK HERE TO CHECK OUT THE SALE-A-BRATION PRODUCTS! This is a long brocure so be sure to scan right when viewing. . . . .

***********************************************************************

Join Stampin’ Up! during Sale-a-bration and chose $156.50 in product in your kit for just $99. That’s 25% more product! Start a business or just enjoy being a demonstrator to receive the 20% discount.

*************************************************
.jpg)
It’s a Magical Paper Escape Every Month!
Check this out, you can now get a monthly kit called Paper Pumpkin from Stampin’ Up! that includes exclusive stamps and everything you will need for a great project. You can get more info on this great product at www.mypaperpumpkin.com They even have a try me kit! You won’t want to miss out on even one of these kits. . . . . . . Please select me as your demonstrator when placing your order.
Also. . . . . . .
There is now a great stamp kit, Dude Your Welcome, for the men in your life. Check it out!
Guys don’t always have the easiest time expressing themselves, but with the Dude, You’re Welcome! kit, they’ll have
- Four wood-mount stamps (double-mounted) with the perfect sentiment for every occasion
- Twelve 4″ x 6″ postcards in four different (manly) colors
- Twelve gray envelopes
- A Basic Gray Classic Stampin’ Pad
- An instructional guide (for the most novice stamper!)
Basically, the kit includes everything a dude needs to create the perfect manly card that any woman would adore, all packaged in an appropriately masculine box.
This set can be purchased now with item number 132807. Great gift idea!
********************************************
Check out the brand new Spring Catalog and get all those supplies you need for your up coming projects.

**********************************************************
![]()
Have you checked out the great clearance rack at Stampin’ Up! CLICK HERE
New items added!
CHECK OUT MY STAMPING EVENTS Click here to see my event calendar


