
Hello There and Happy New Year!
I’m refreshed after having a week of down time. My holidays were wonderful since I got to spend them with loved ones. That’s the very best kind of holiday in my opinion.
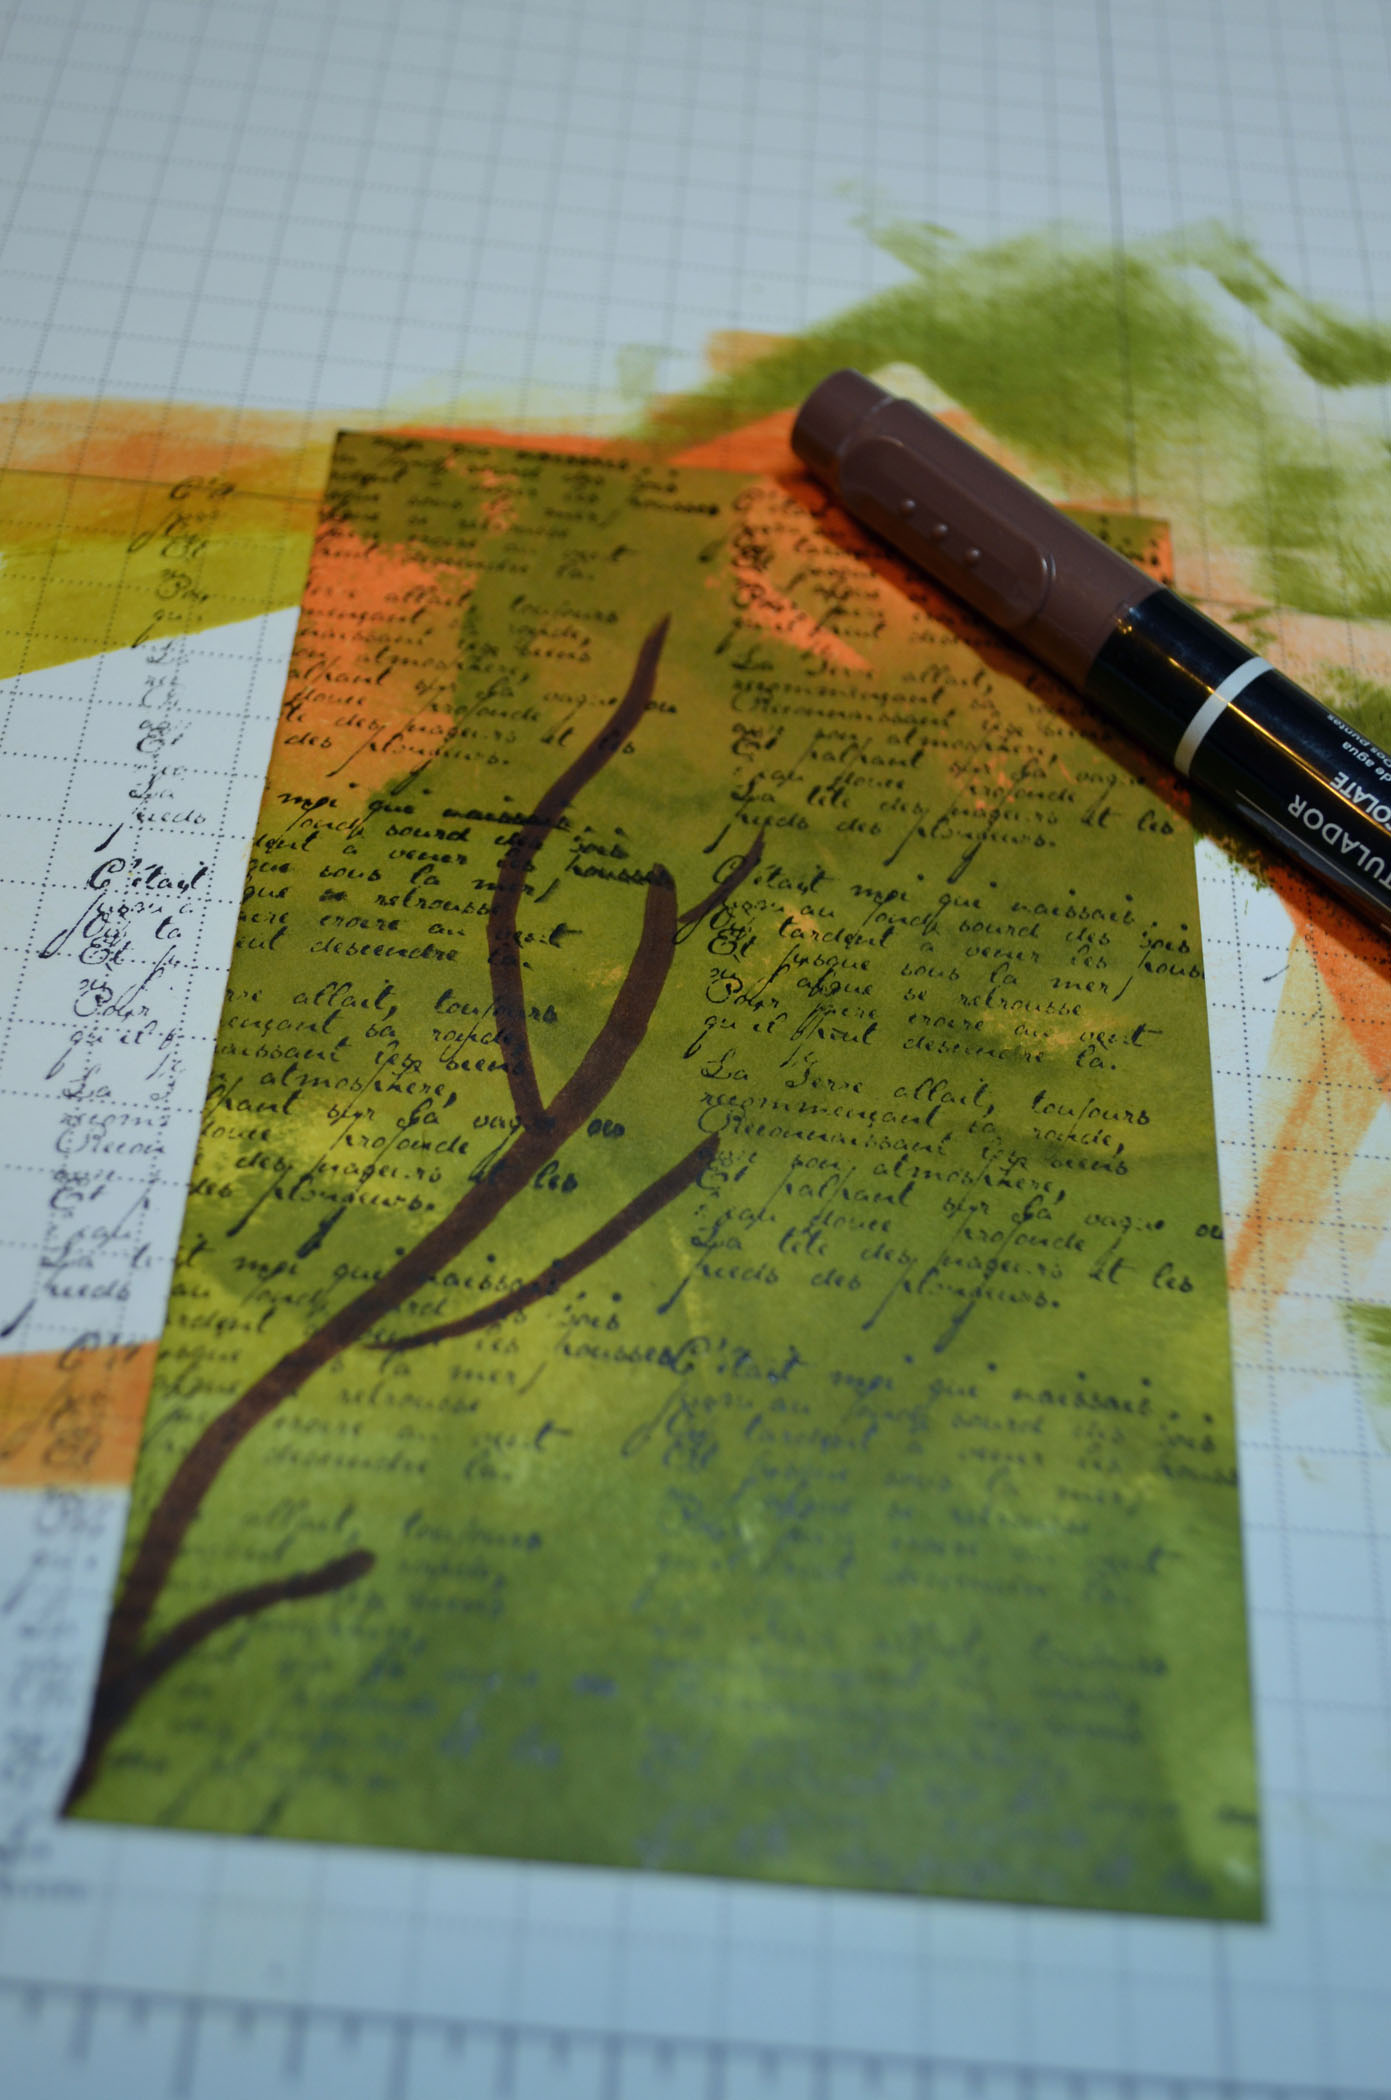
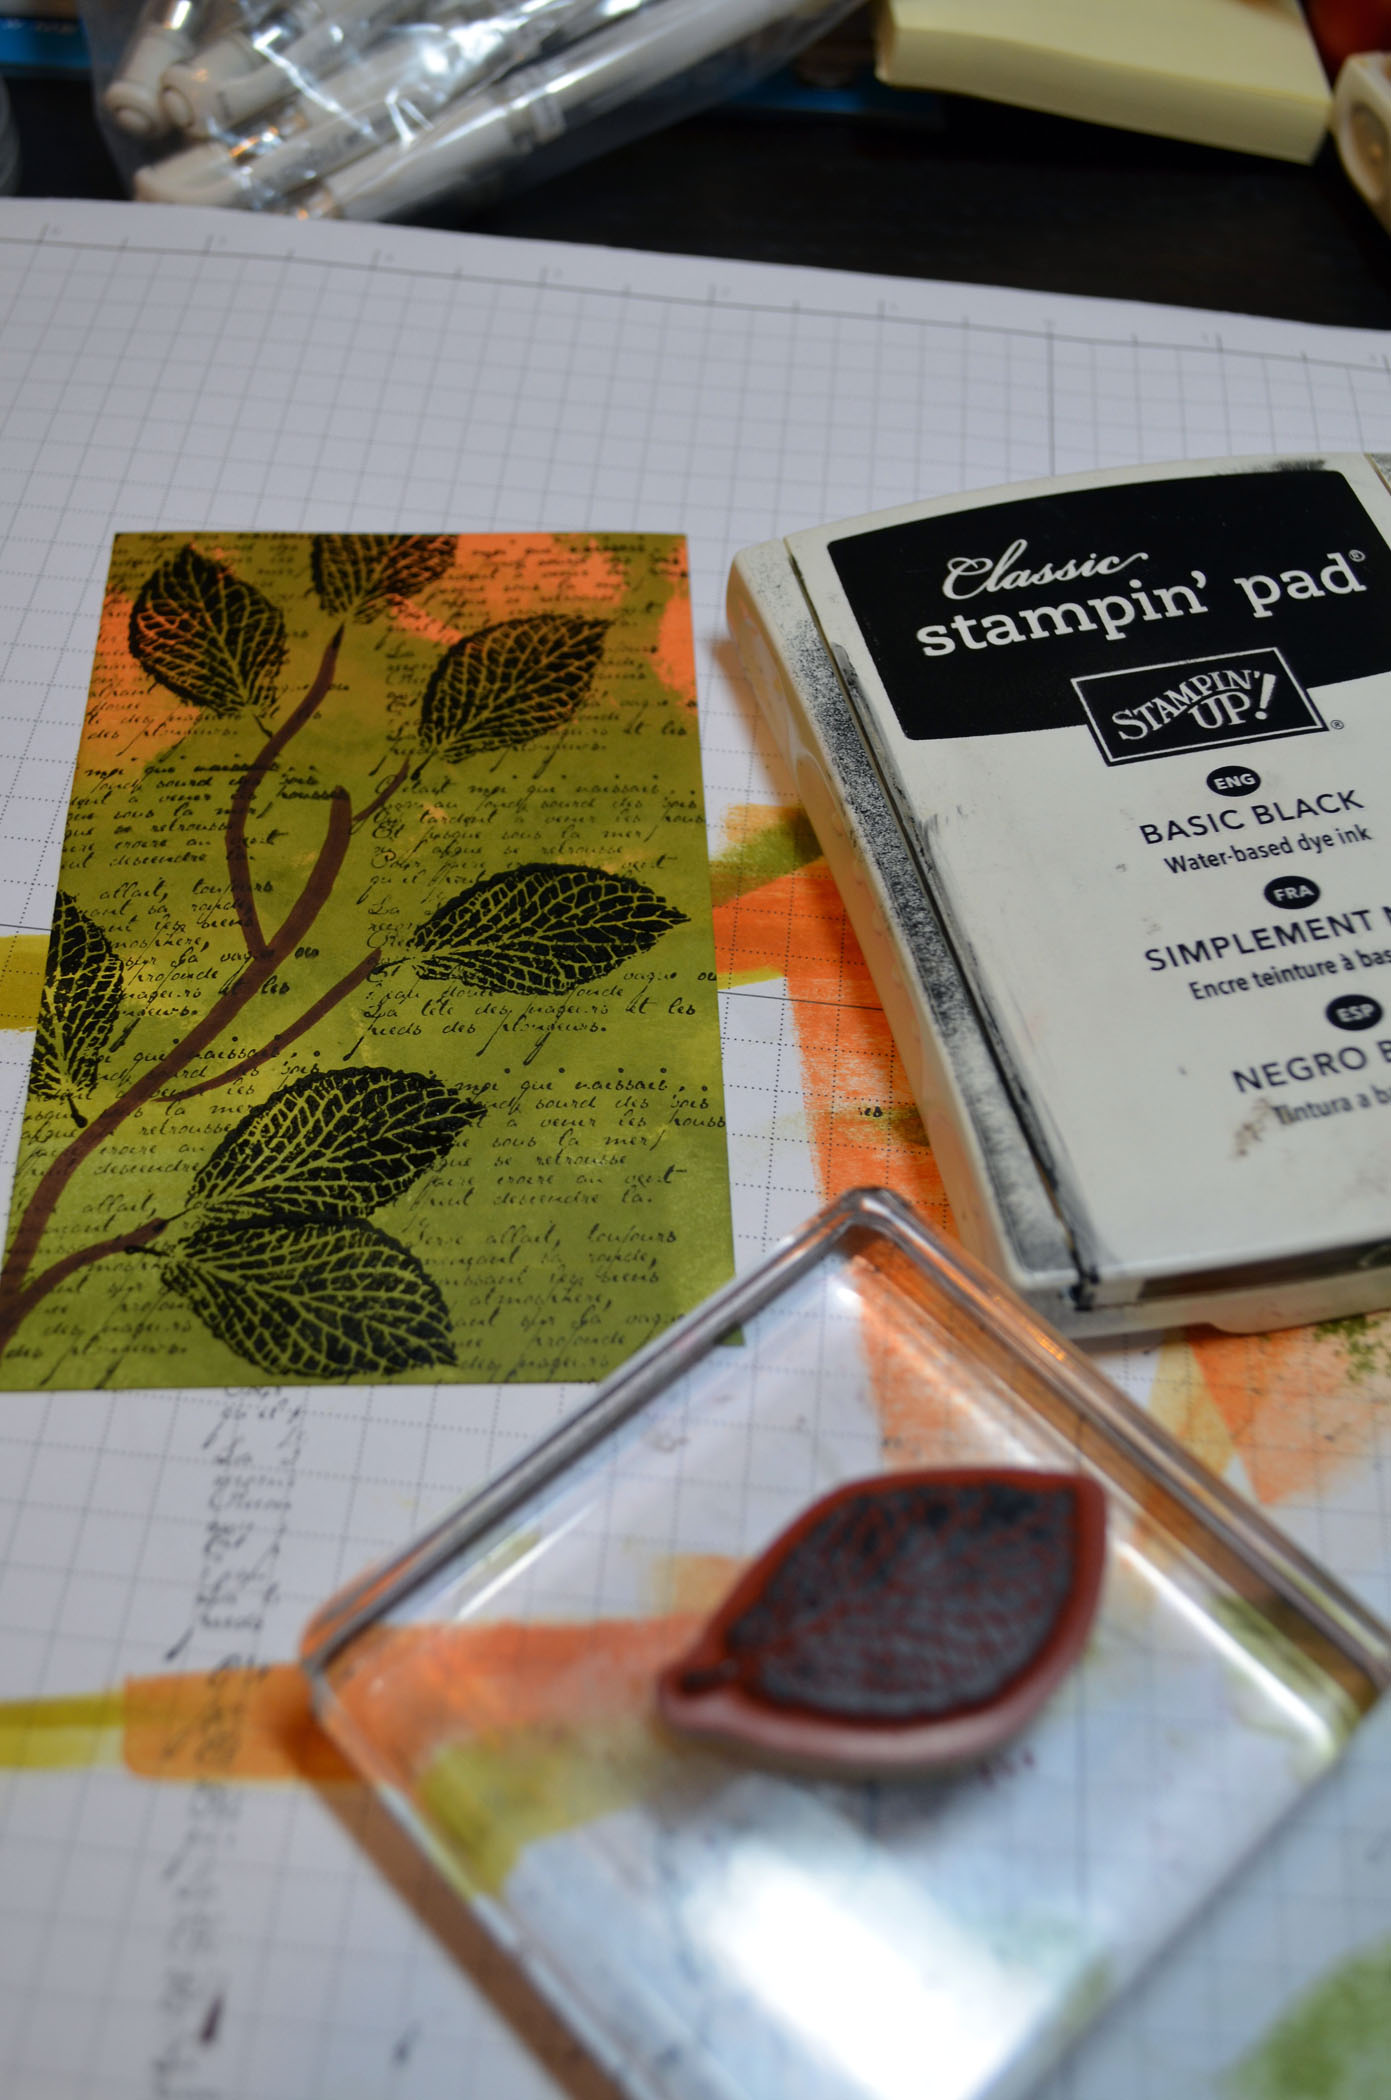
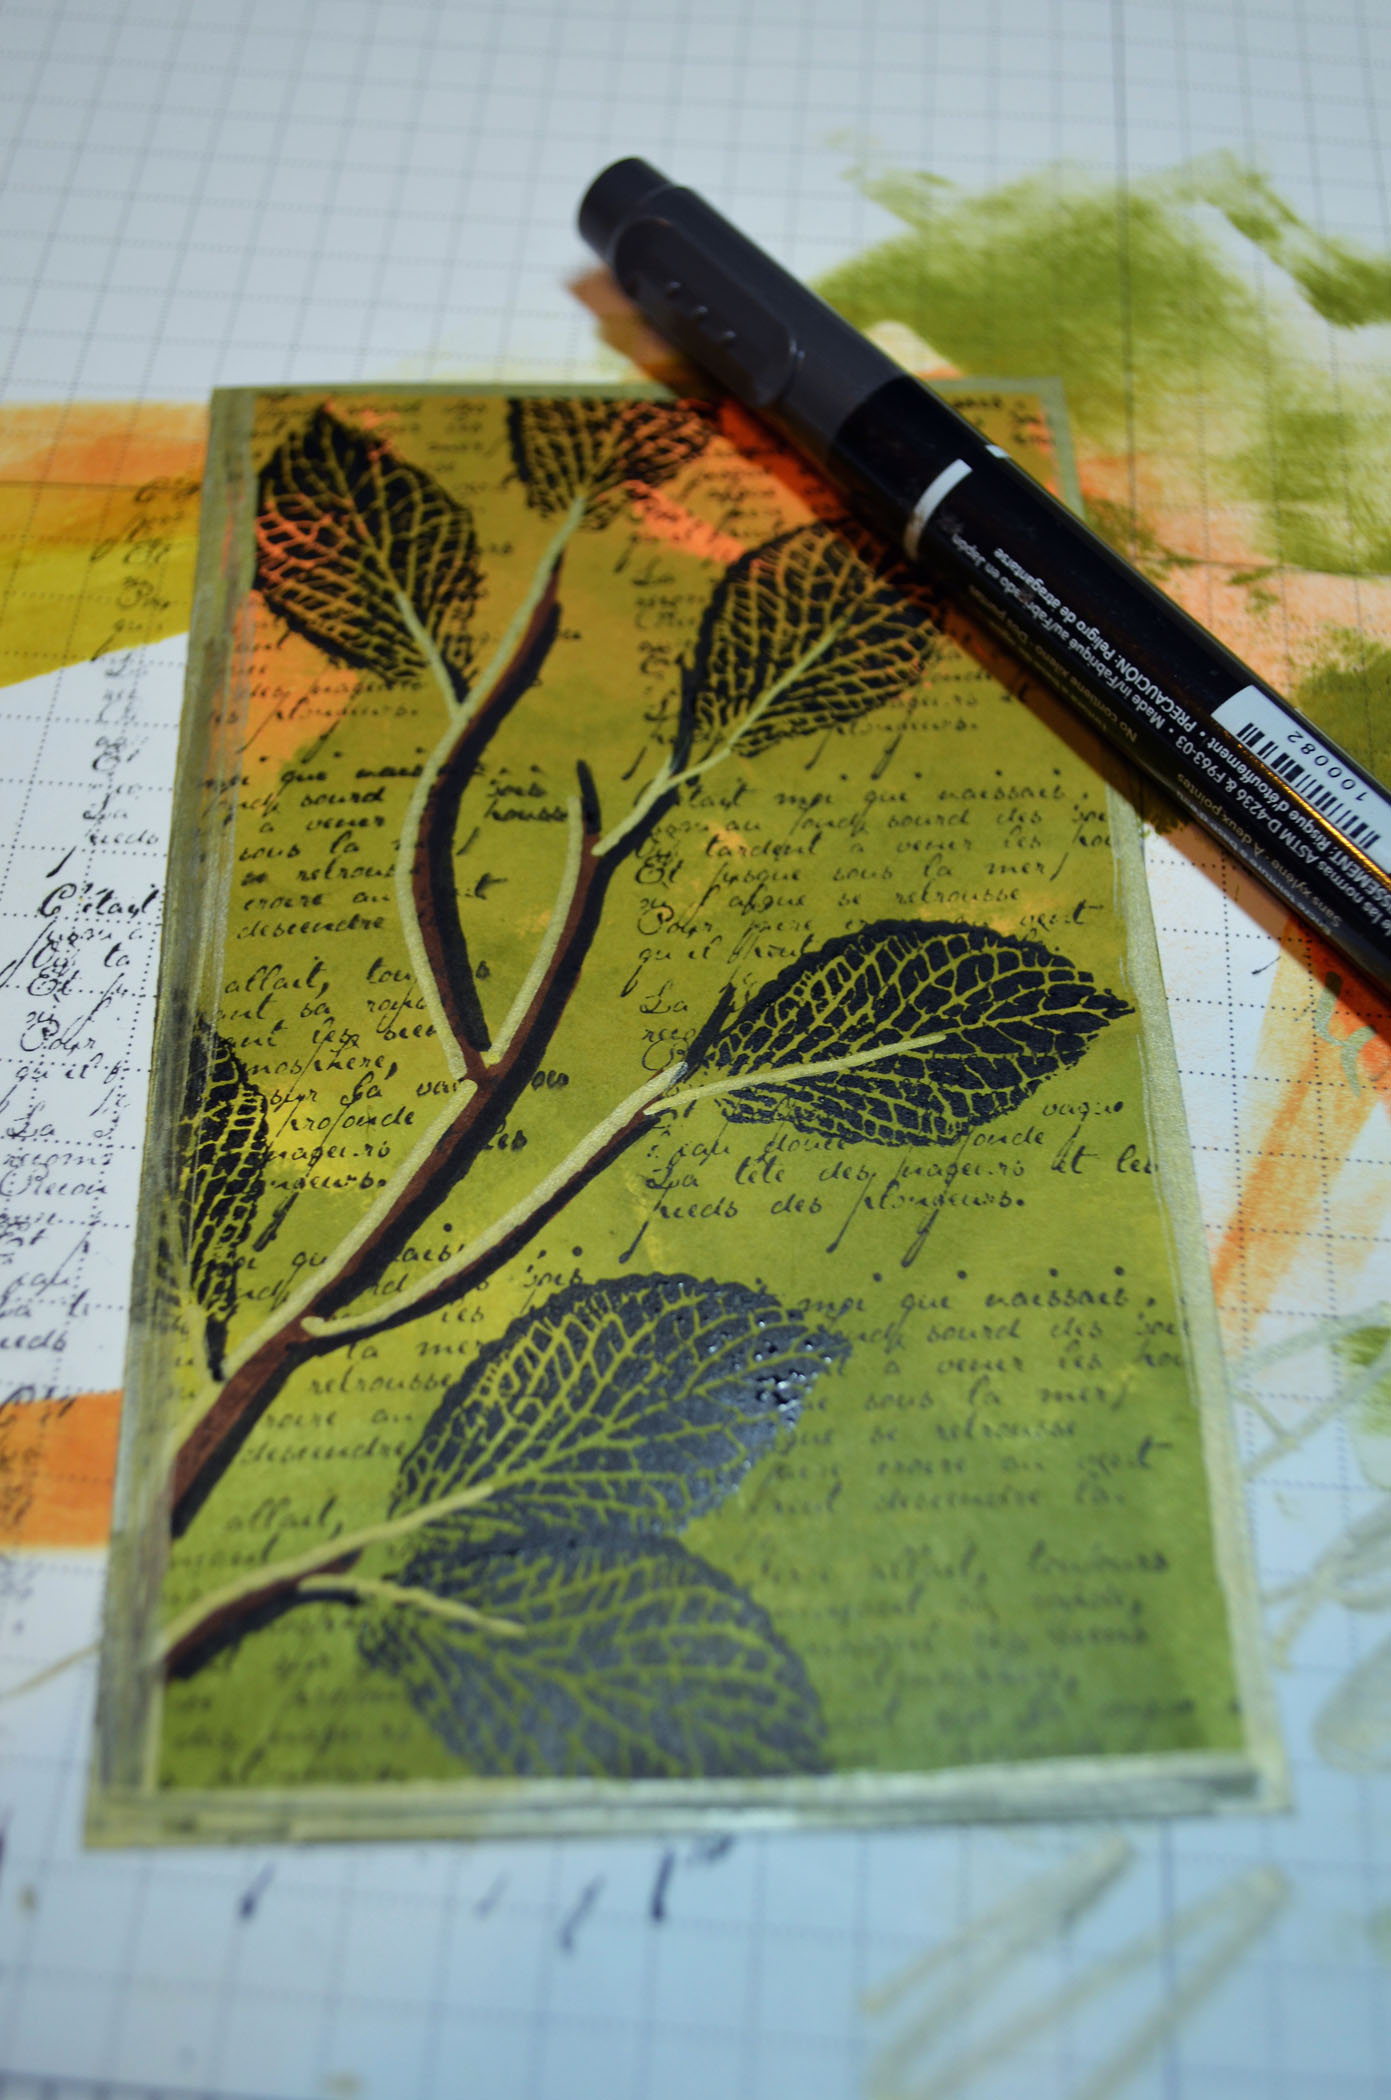
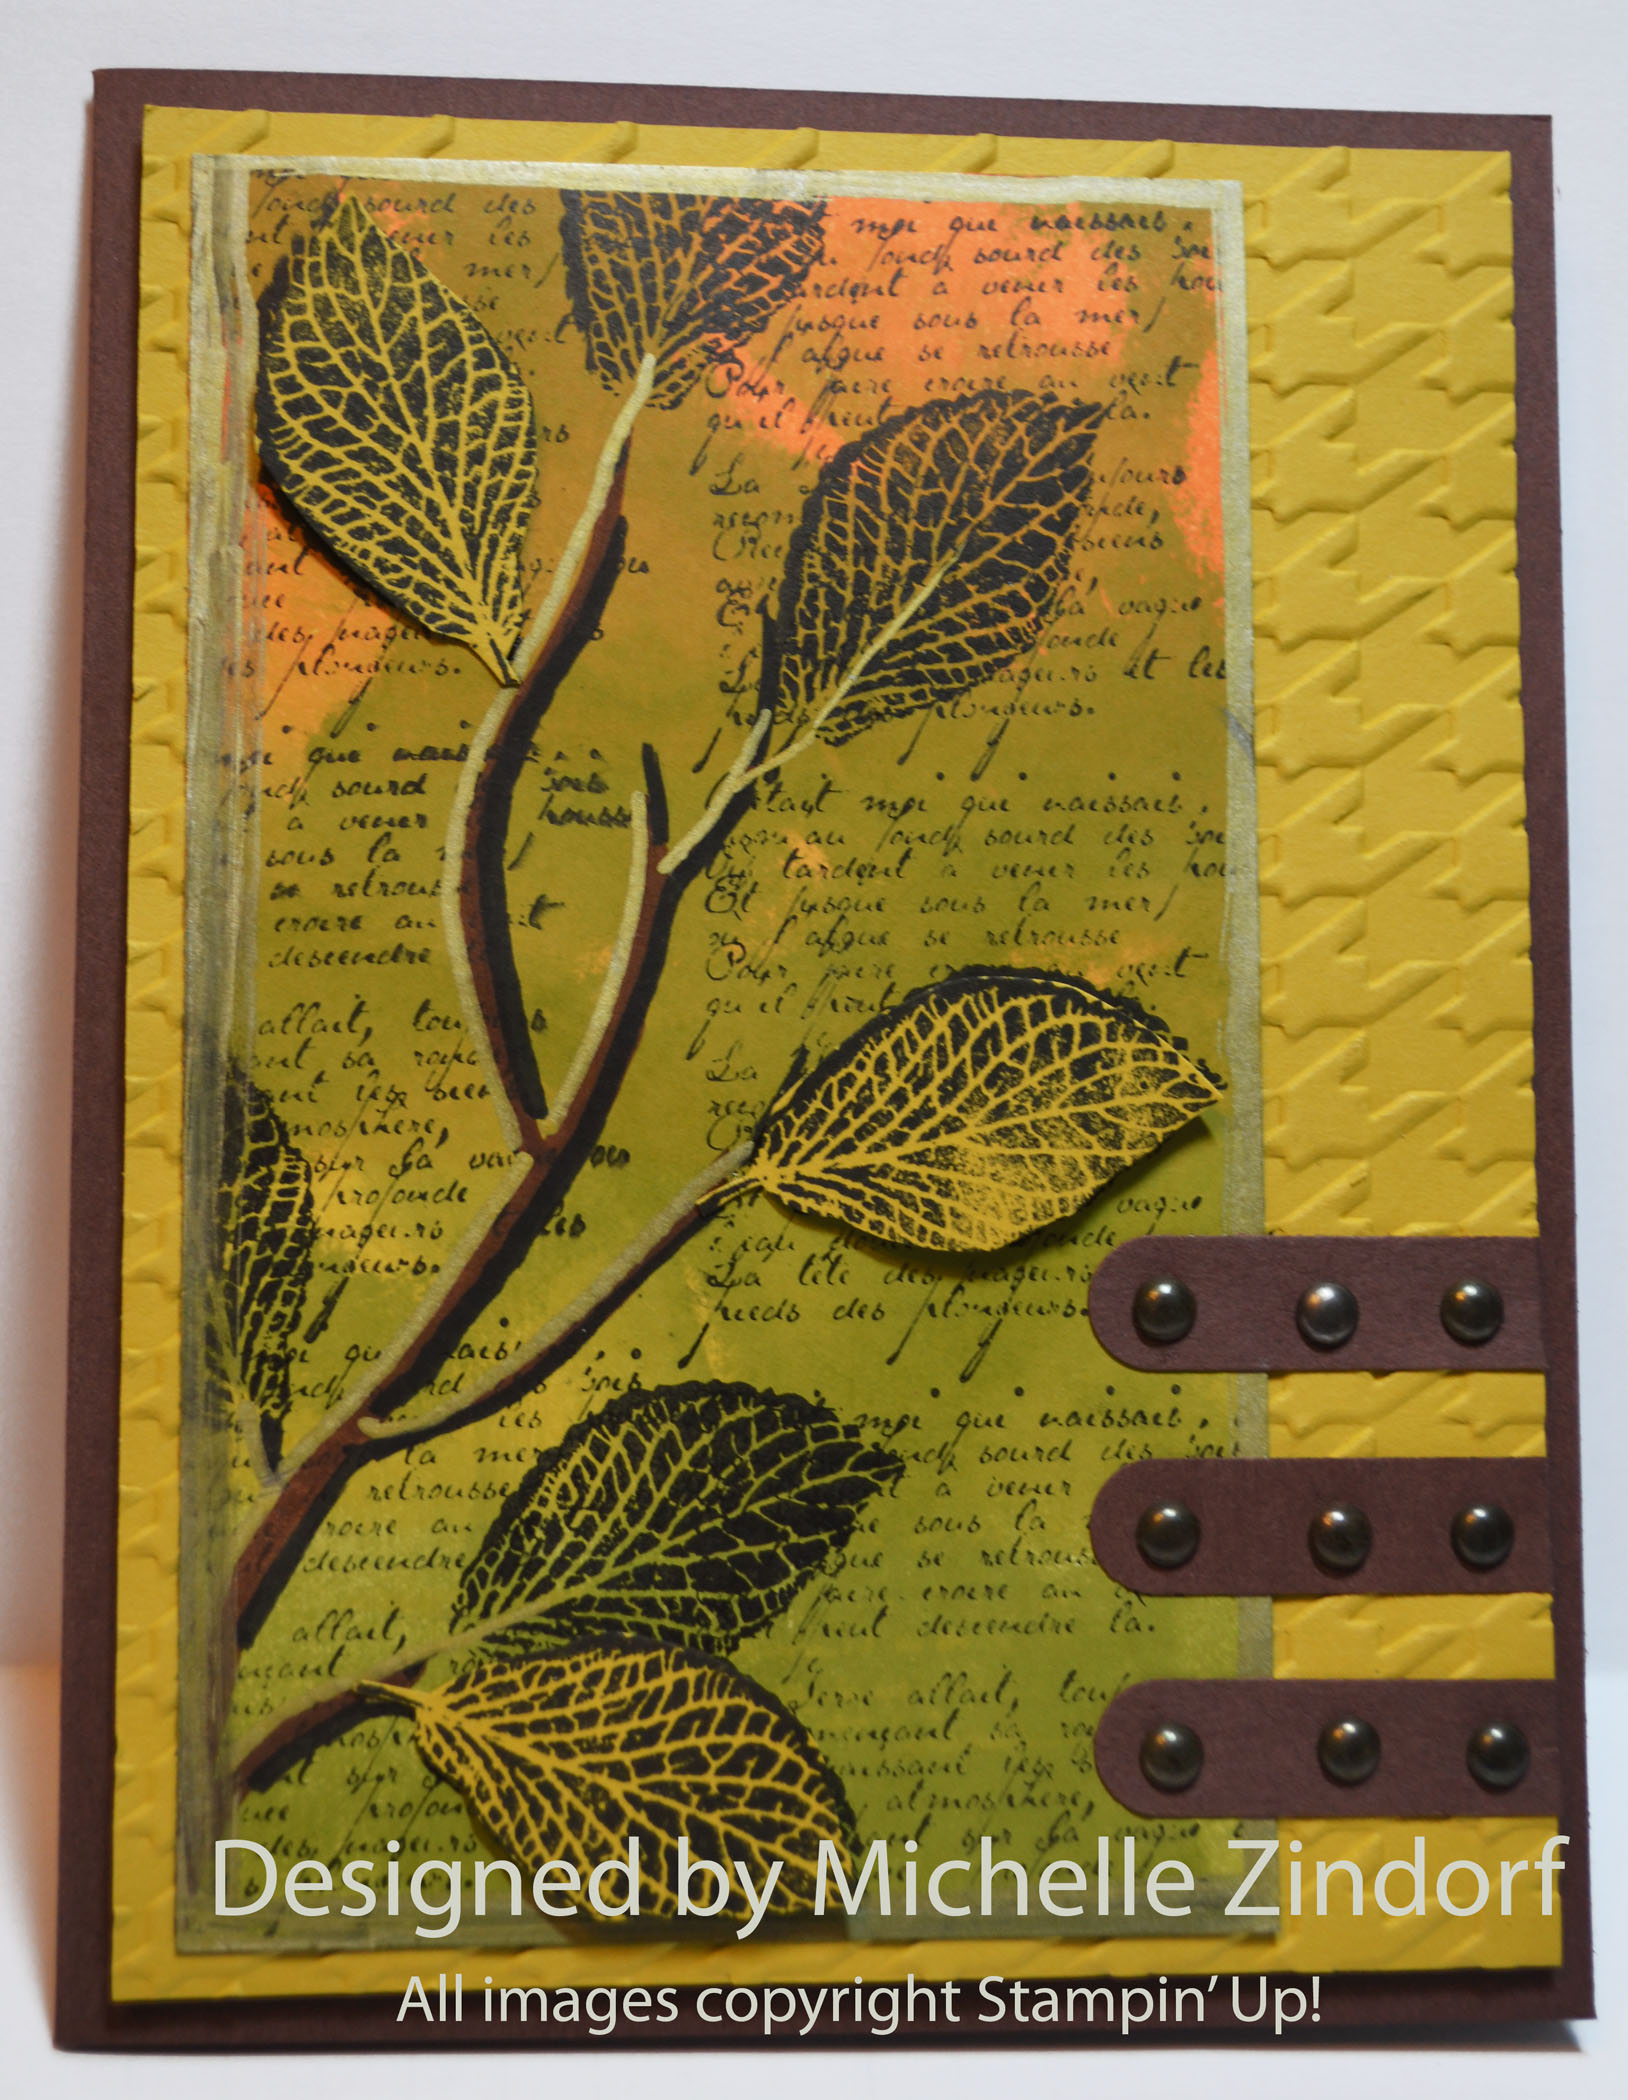
During my week of serenity my Stampin’ Up! Spring Mini Catalog pre-order arrived, so I spent some time just cooking up in my mind some projects. Now it is time to put them on paper. Take note of the stamp set I used today, By The Tide (item number 129120). This will be available starting tomorrow January 3, 2013 through May 31, 2013. Awesome stamp set!
My project was done using the Direct to Paper technique. Hang out a while and check it out.
****************************************
Now on with today’s tutorial. . . . . . .
Project Supplies:
Stampin’ Up! Stamps: By the Tide (item number 129120)
Card Stock: Stampin’ Up! Whisper White, Calypso Coral and River Rock
Ink: Stampin’ Up! Soft Suede, Calypso Coral, River Rock and Pool Party
Accessories: Stampin’ Up! Sponge, Pool Party Ribbon, Color Spritzer, Soft Suede, Calypso Coral and Blush Blossom Markers, Stampin’ Dimensionals
*******************************************
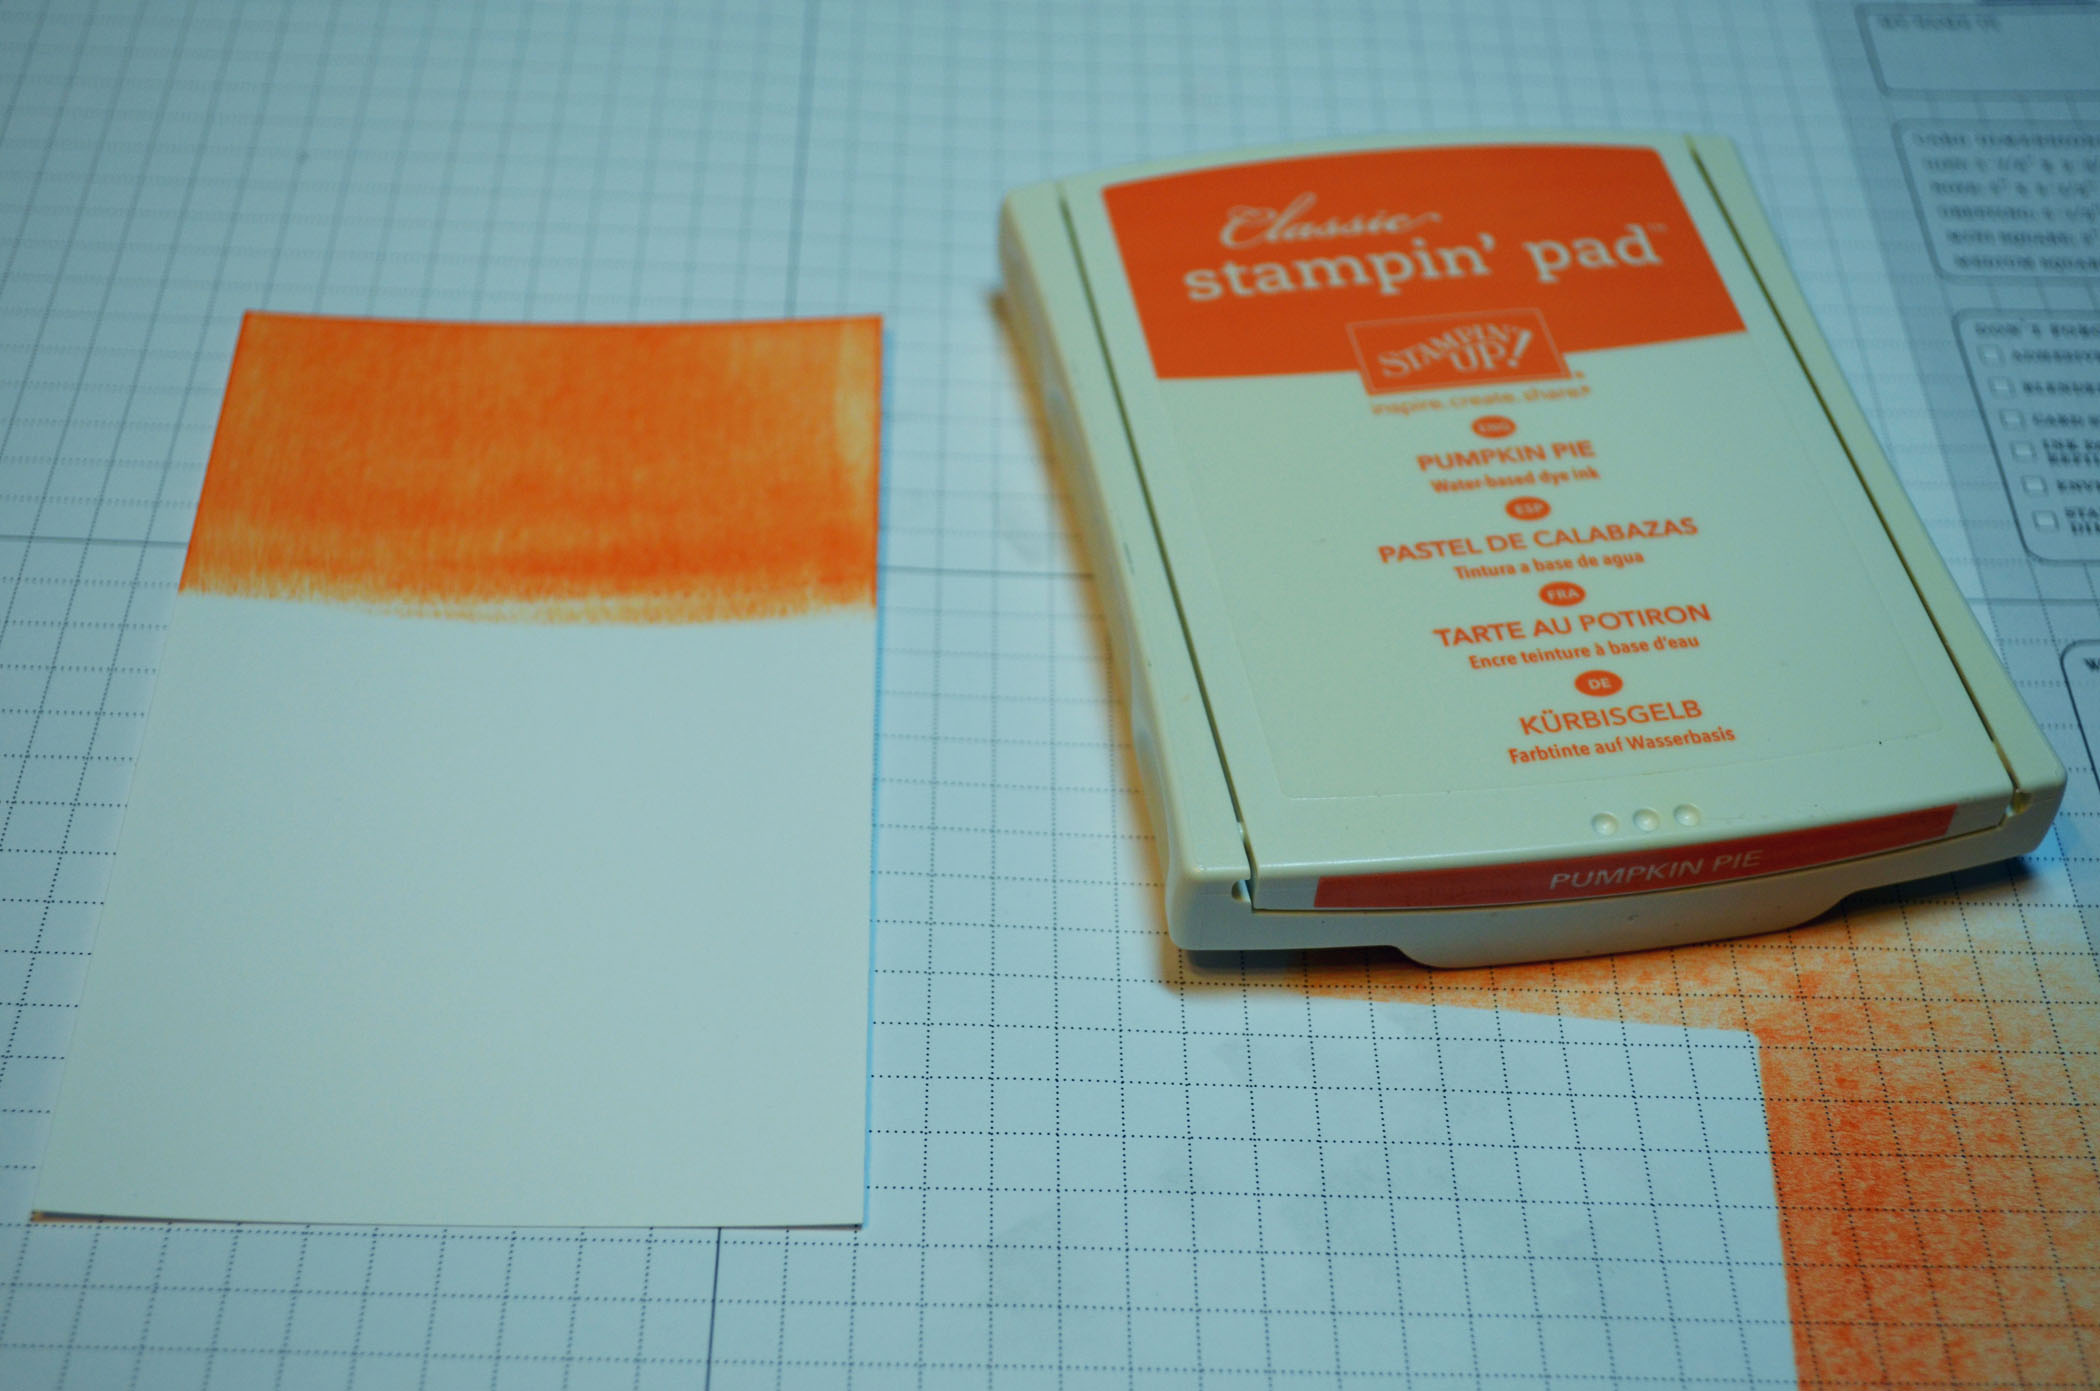
Start with a 3.25″ square piece of Whisper White Card Stock. Smear Pool Party ink left to right over the top portion of the card stock using the ink pad.

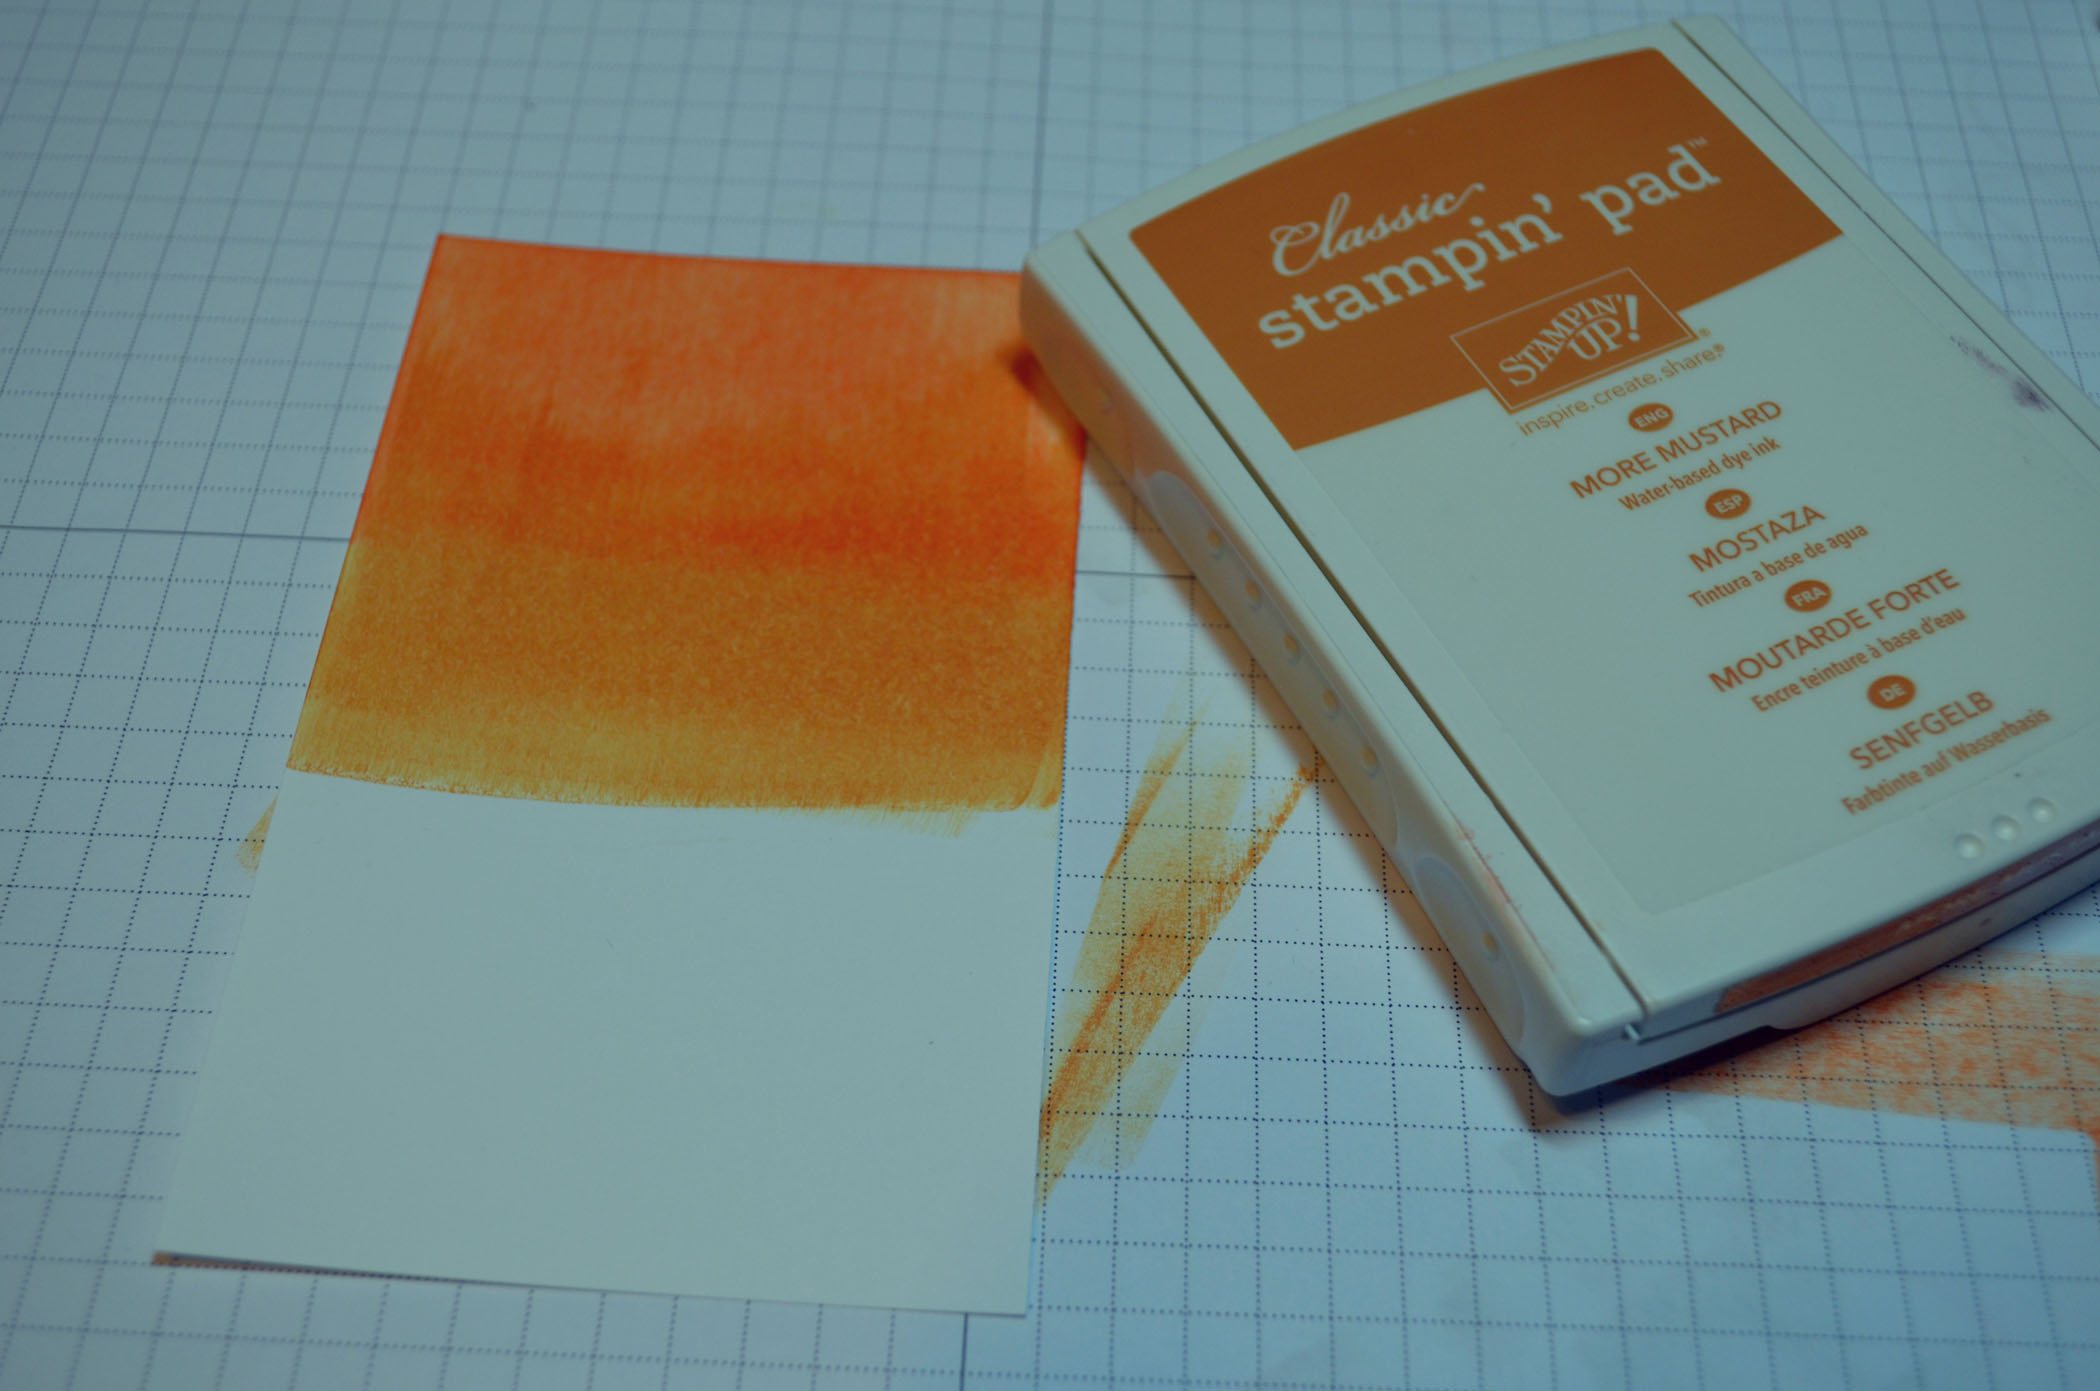
Smear River Rock ink from left to right using the ink pad on the bottom portion of the card stock.

Stamped the plant using River Rock ink. I used a light color so this plant would appear to be in the background.

Stamped two seahorses using Soft Suede ink.

Added ink to the very end of my River Rock ink pad and then smeared the ink pad across the bottom of the card stock to create another level of sand.

Using the Color Spritzer Tool and a Soft Suede marker, spritzed dots over the sand area.

Put a Calypso Coral line down the seahorses backs and then colored the whole seahorses in using a Blush Blossom marker. This blended the Calypso Coral some.

Added a bit more Calypso Coral marker to the very back of the seahorses and to their gil on their head.

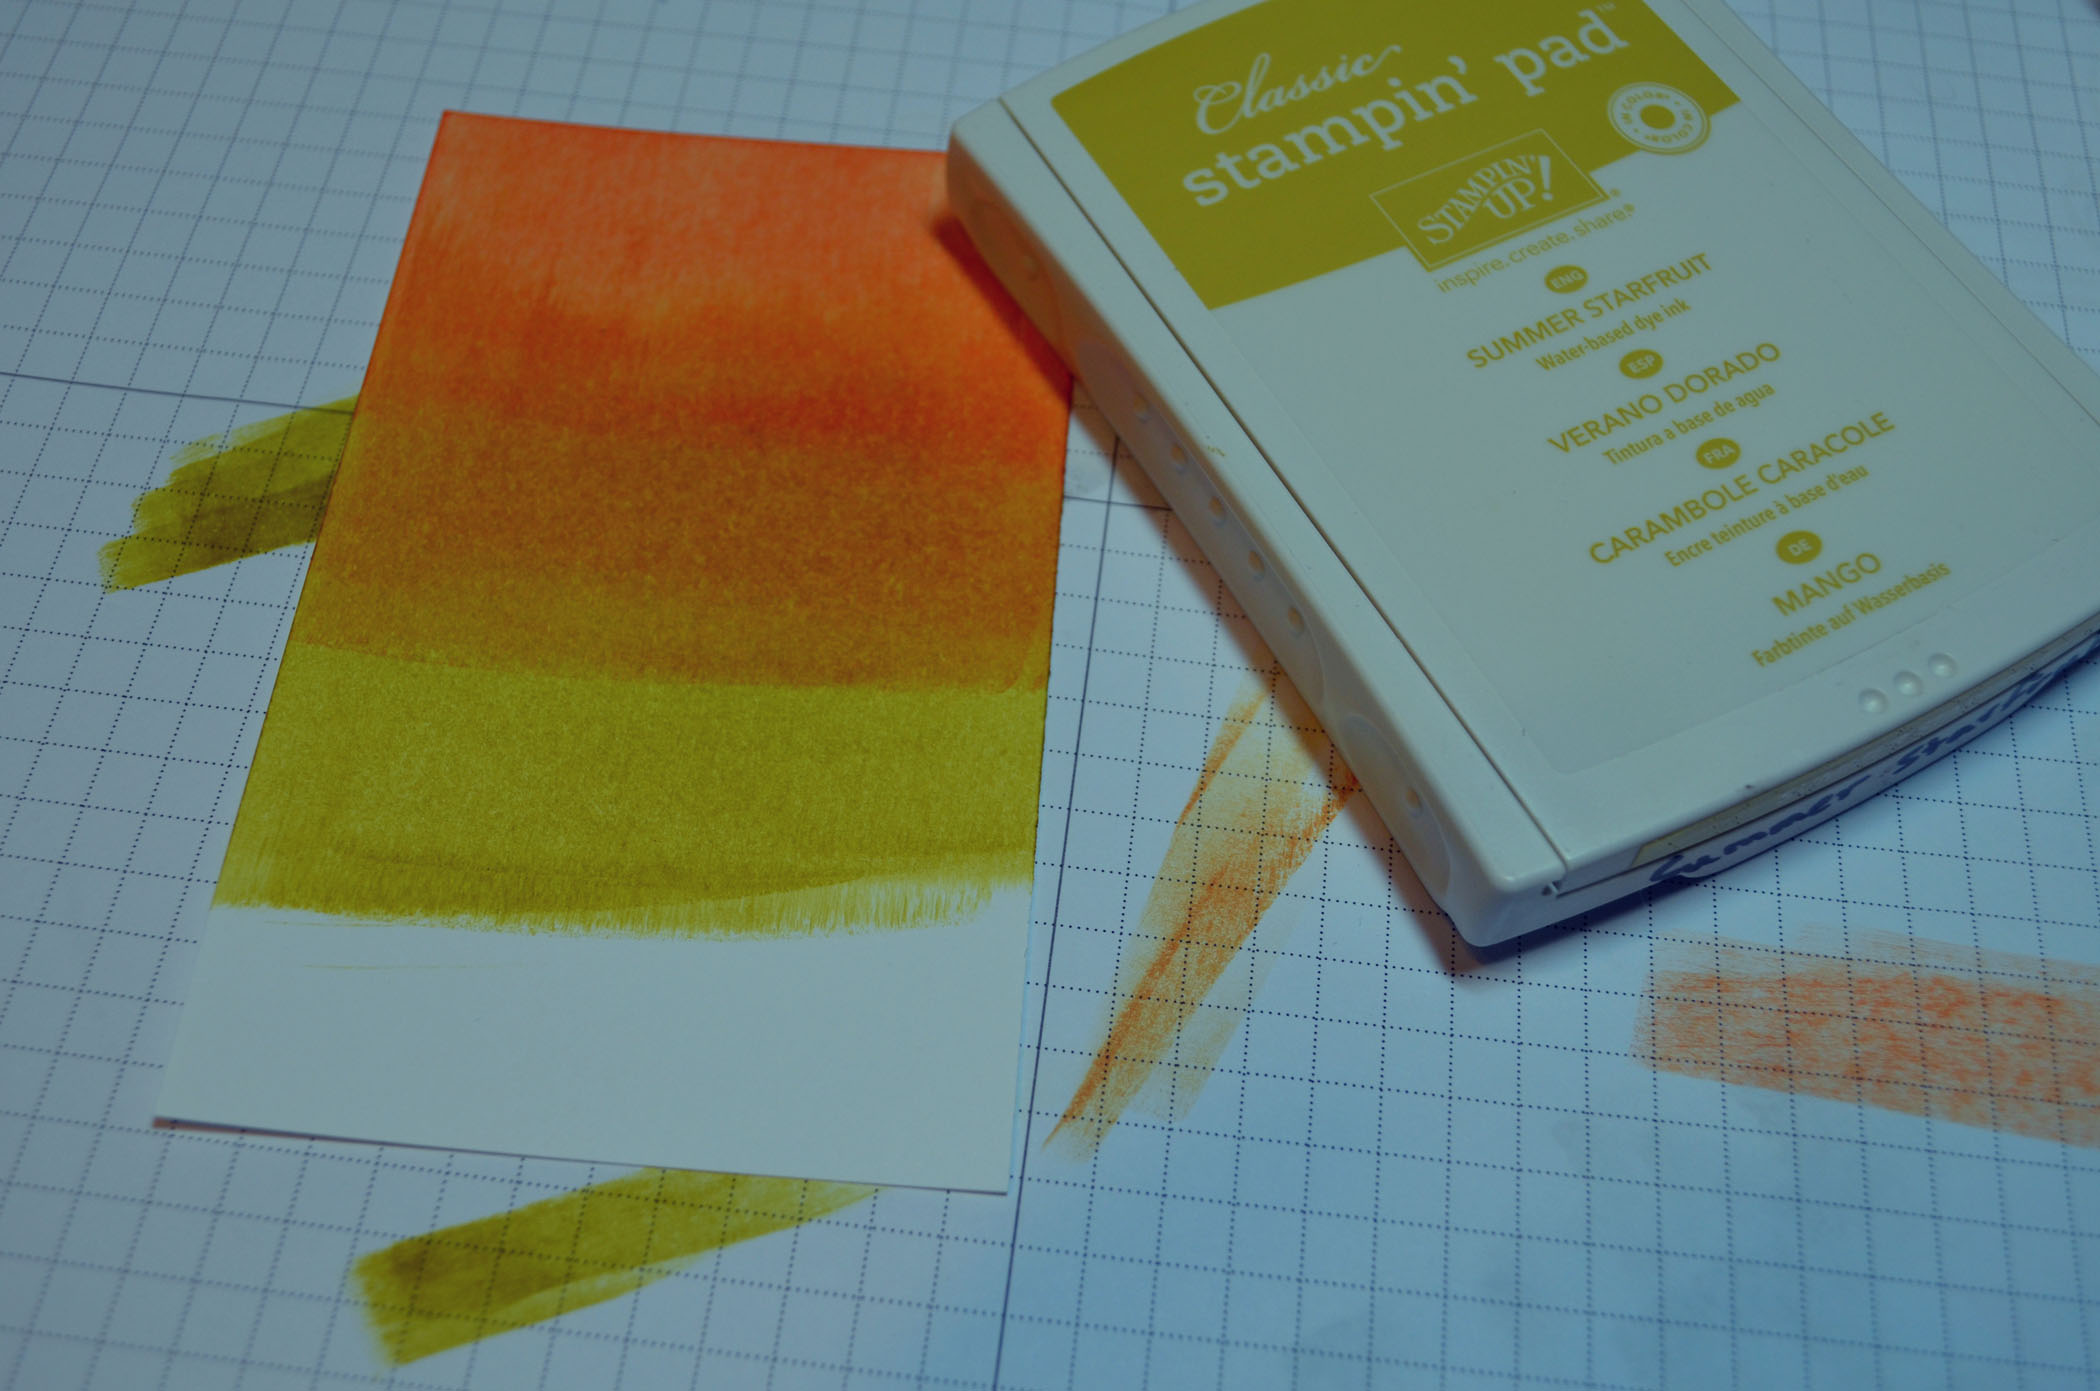
Stamped another plant using Calypso Coral ink.

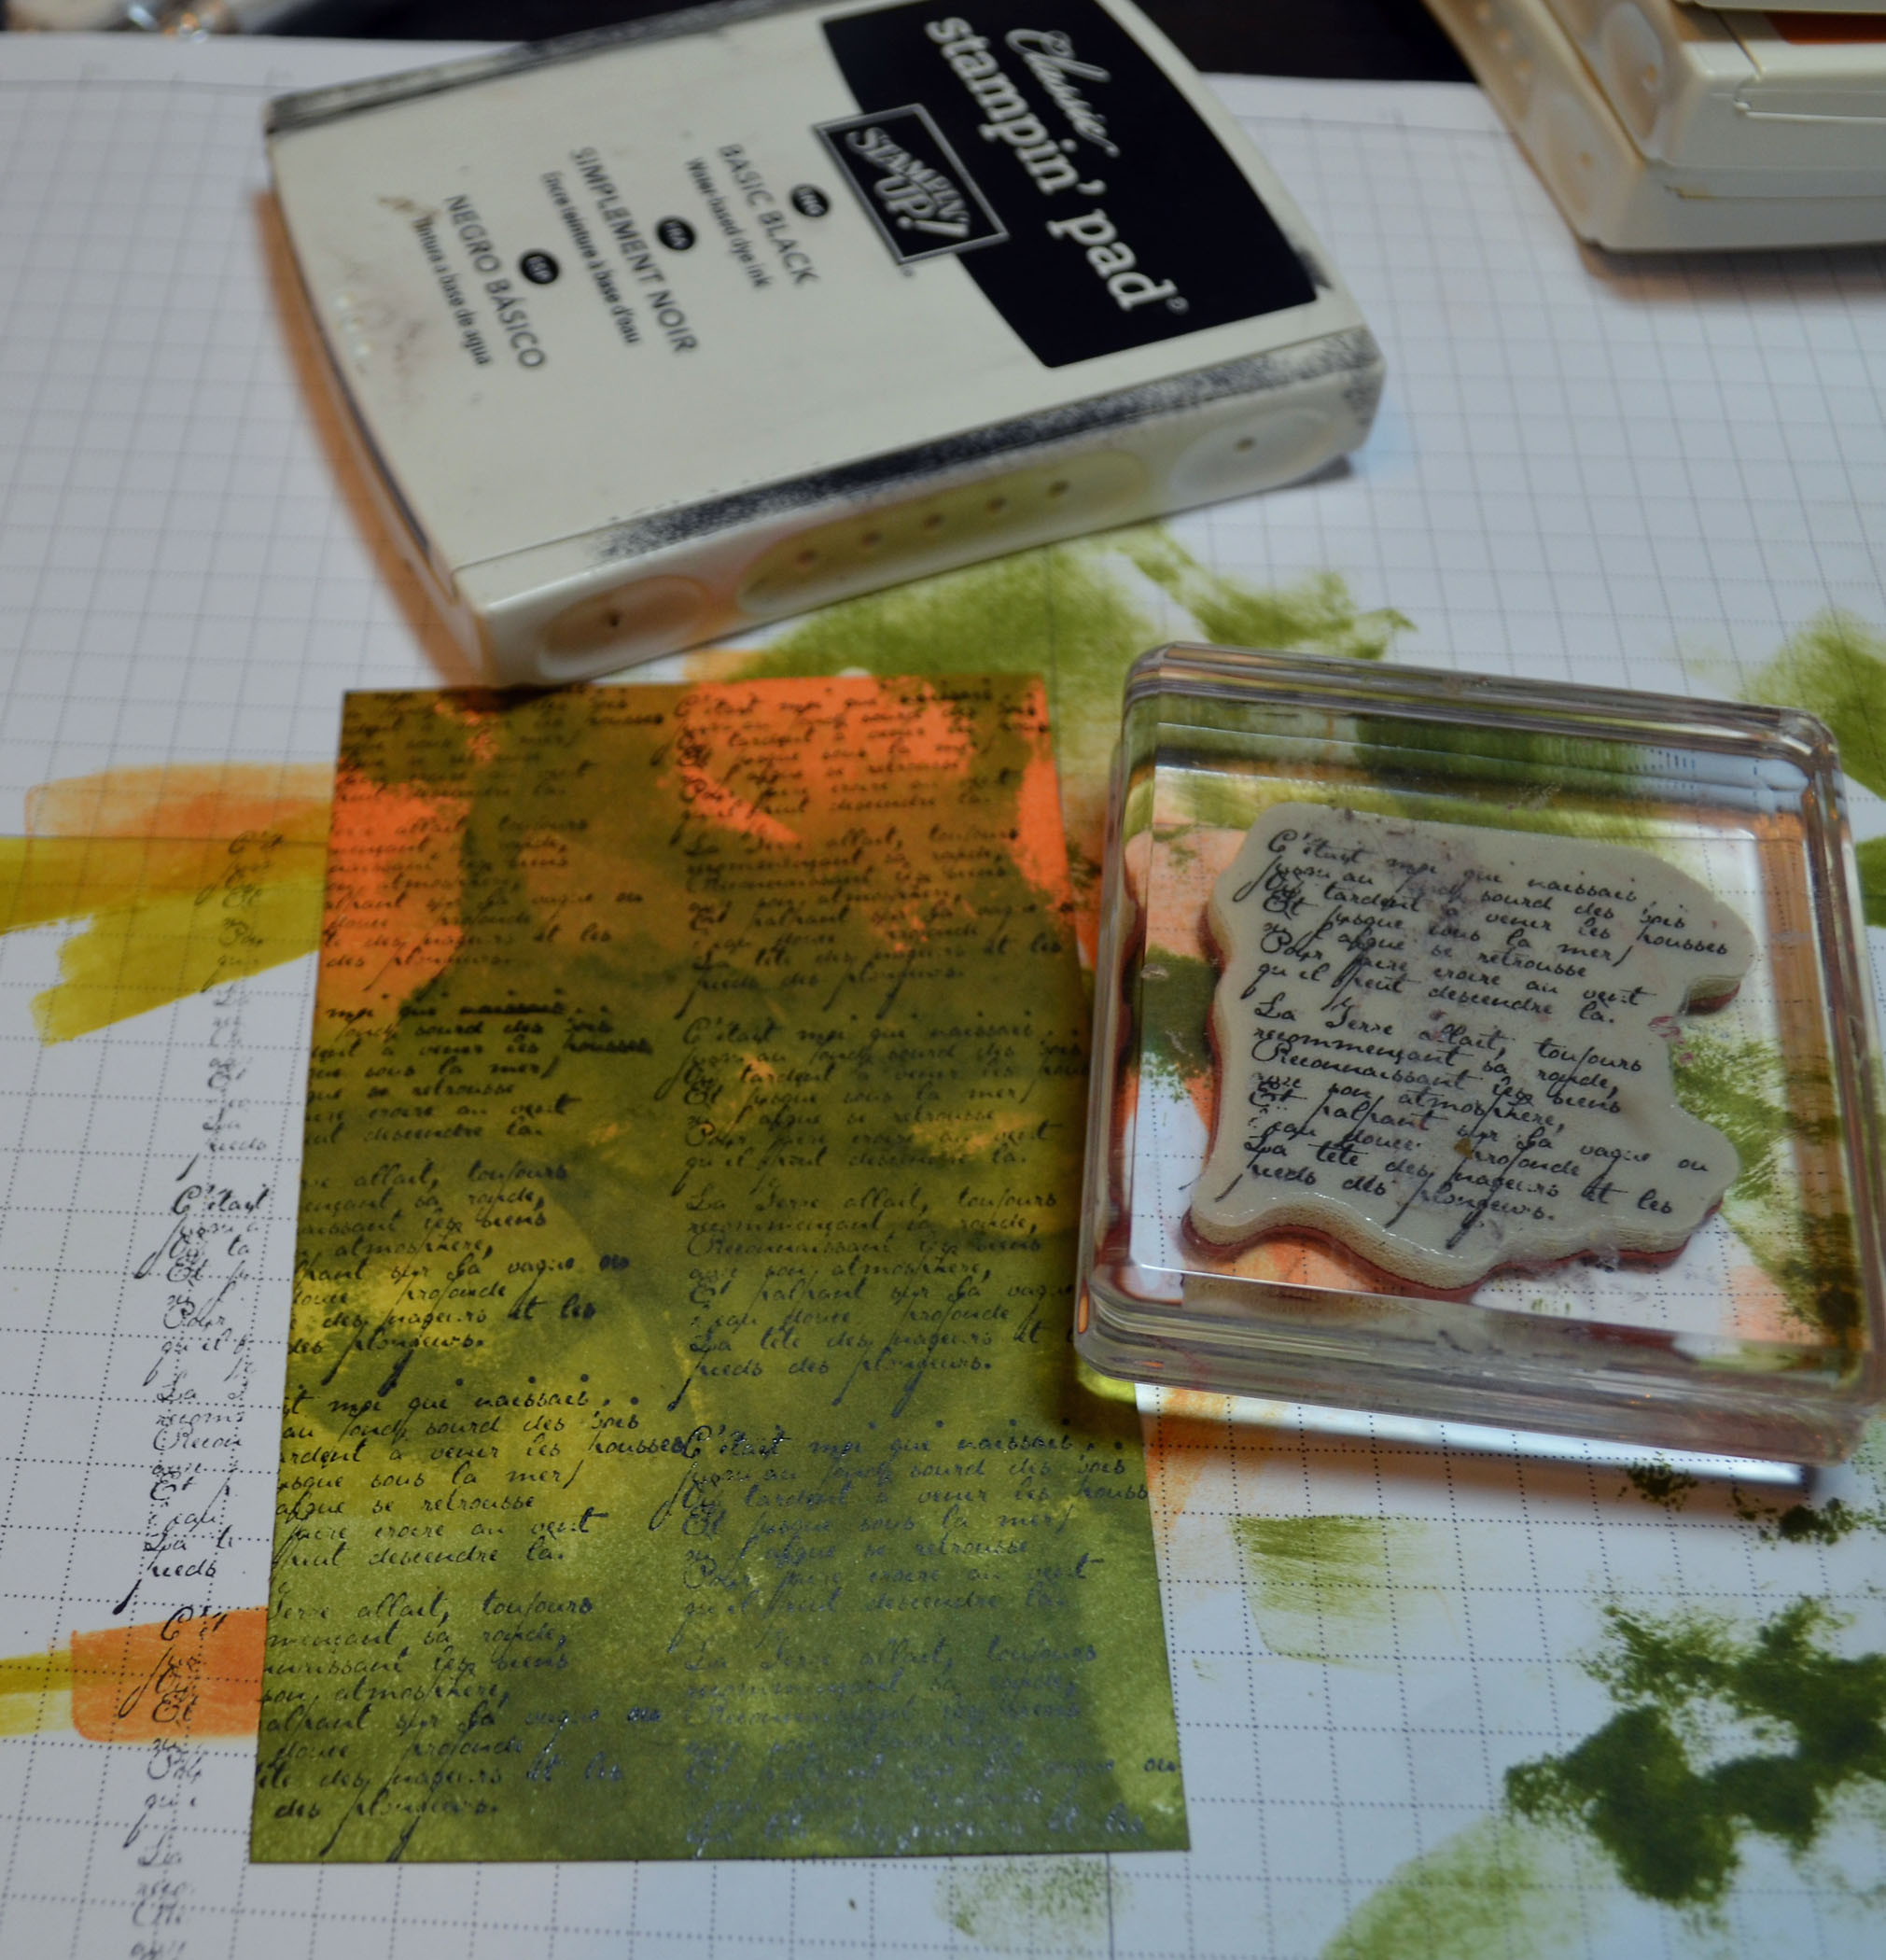
Cut a 5″ square piece of River Rock card stock and stamped the writing stamp using Calypso Coral ink down the left side of the card stock. Not sure why the color is off on this photo, sorry.

Sponged Soft Suede ink around the edges of the main image panel and River Rock panel.

Added a 5.25″ Calypso Coral Card base and a 3.5″ square Calypso Coral panel underneith the main image panel. Also added a Pool Party ribbon.
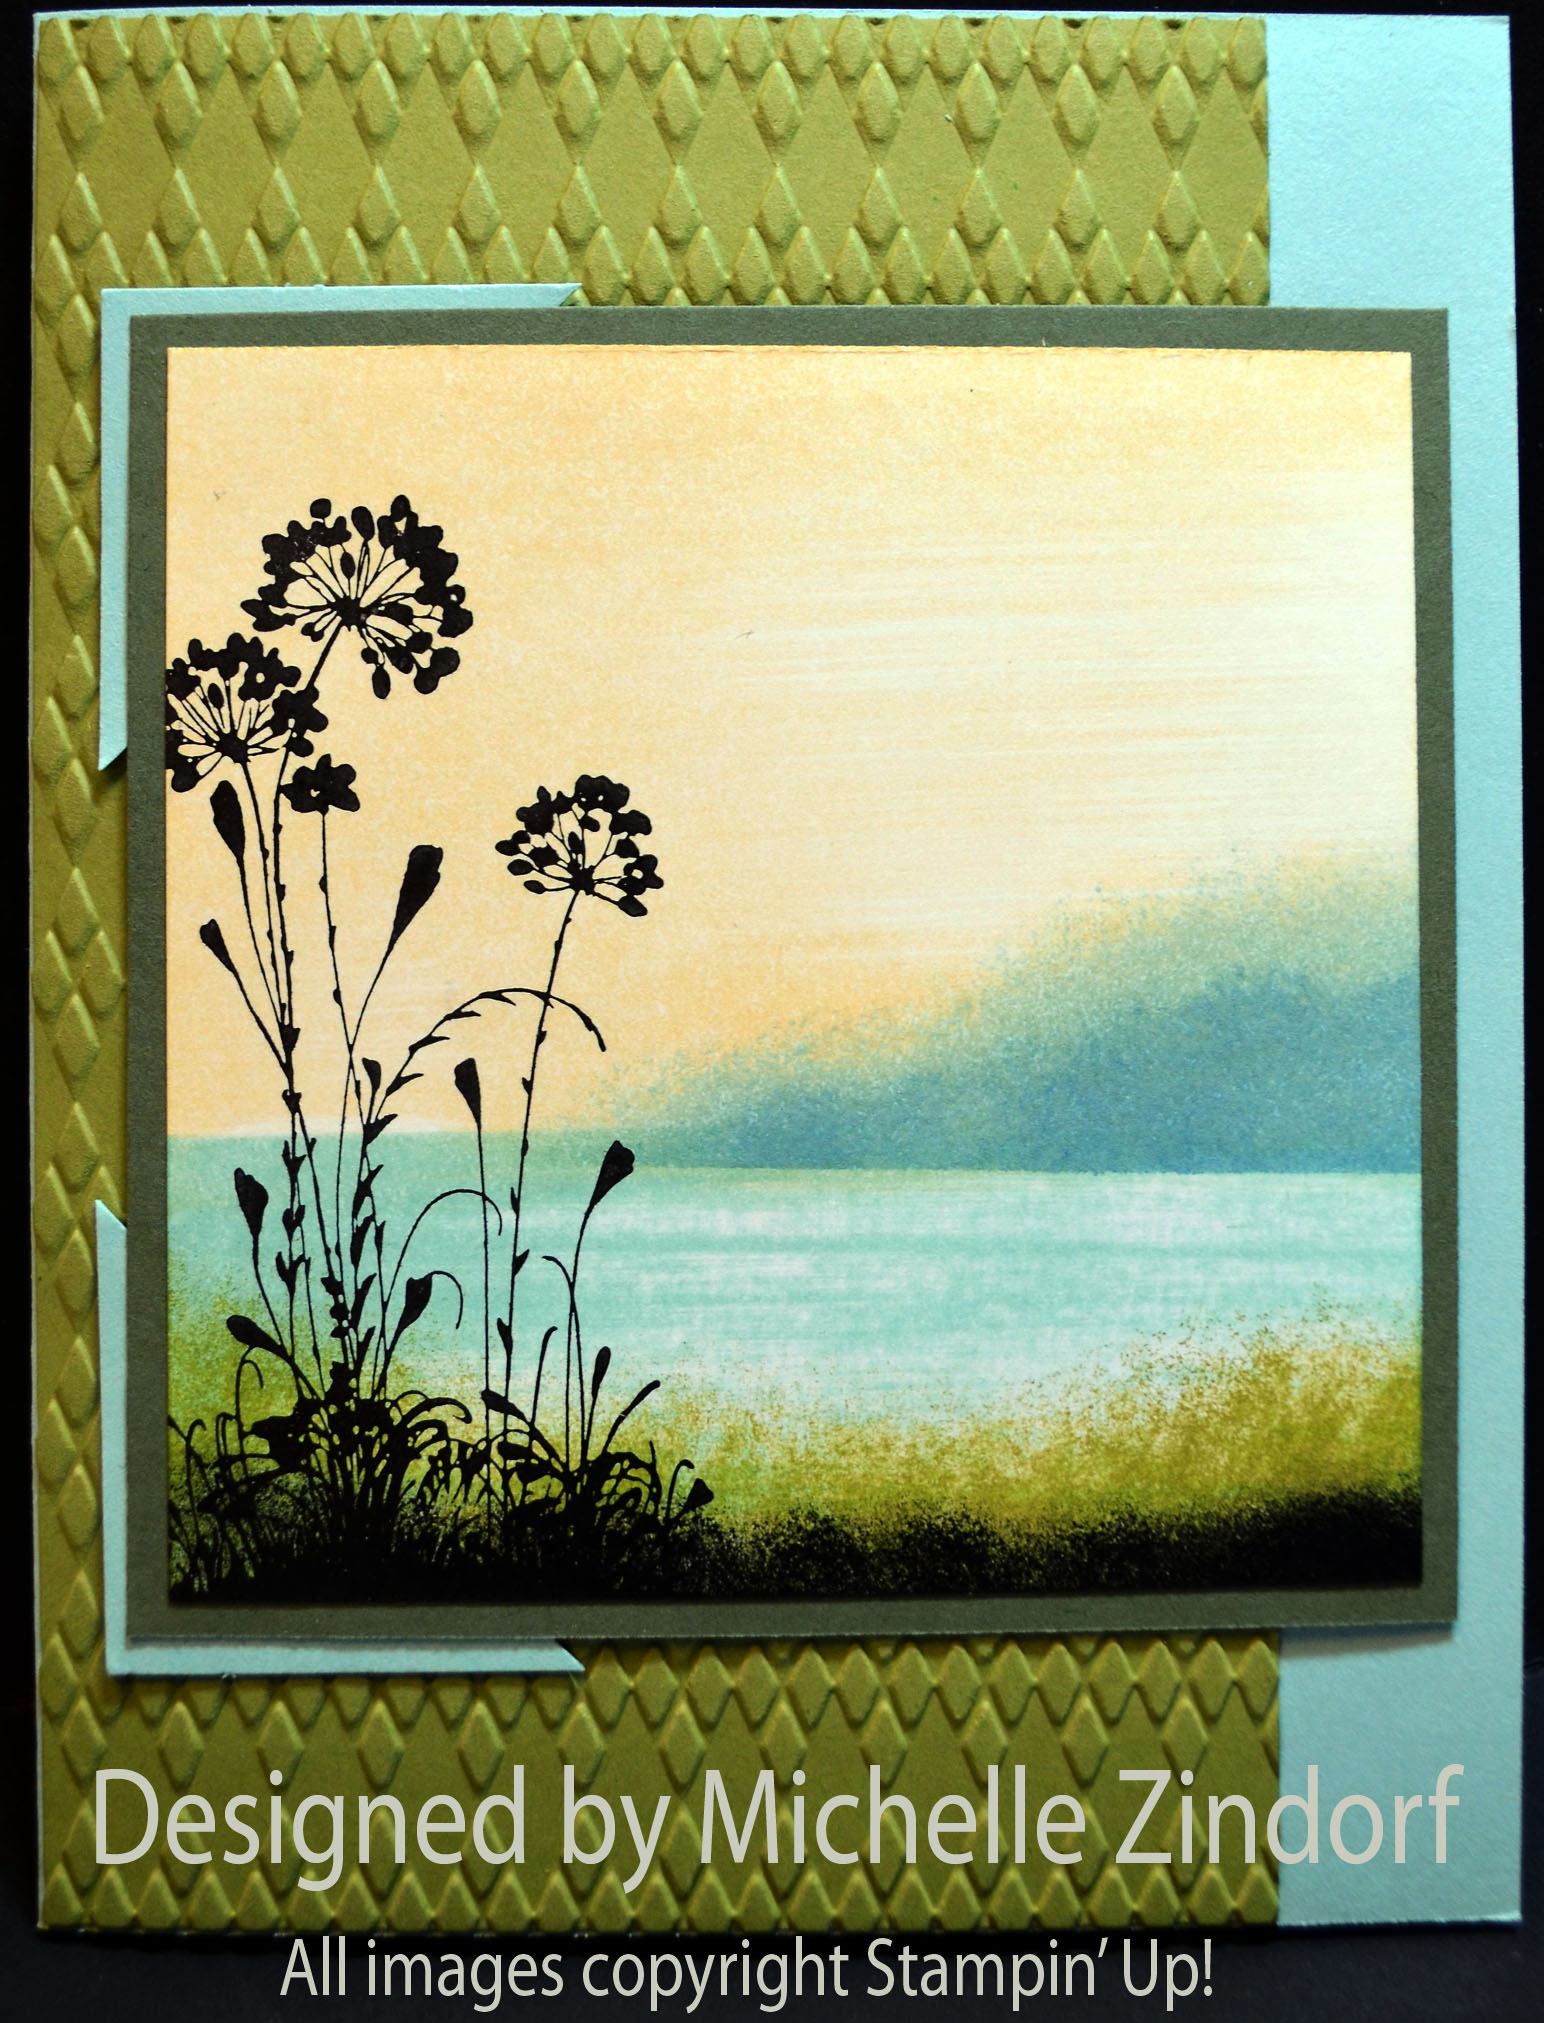
Here is the finished card measuring 5.25″ square.
May your day be sunshine and friends.
Check out the great deals at Stampin’ Up! below.
Until my next post. . . . . .
Hugs,

*****************************************************
Let’s Create Together!
Host a private card class. I’ll come to you and teach you and your friends the fun of stamping. No prior stamping experience needed. This is a super fun night/afternoon out for the ladies. You as hostess will earn some great Stampin’ Up! products. CLICK HERE TO SEE THE HOSTESS BENEFITS.
I have some wonderful projects to create. Please contact me at 937-344-1312 or via e-mail at mzindorf@aim.com and we will set it up. I’m currently filling my calendar now (it fills fast) for those of you who live in the following Ohio and Indiana Counties:
Ohio: Montgomery, Preble, Greene, Clark, Miami, Darke, Butler, Warren, Clinton, Hamilton, Shelby
Indiana: Wayne, Fayette, Union, Franklin, Randolph
*************************************************
CHECK OUT MY STAMPING EVENTS Click here to see my event calendar
*************************************************
CLICK HERE TO SEE THE LATEST STAMPIN’ UP! PROMOTION AND TO SHOP NOW!

**********************************************************
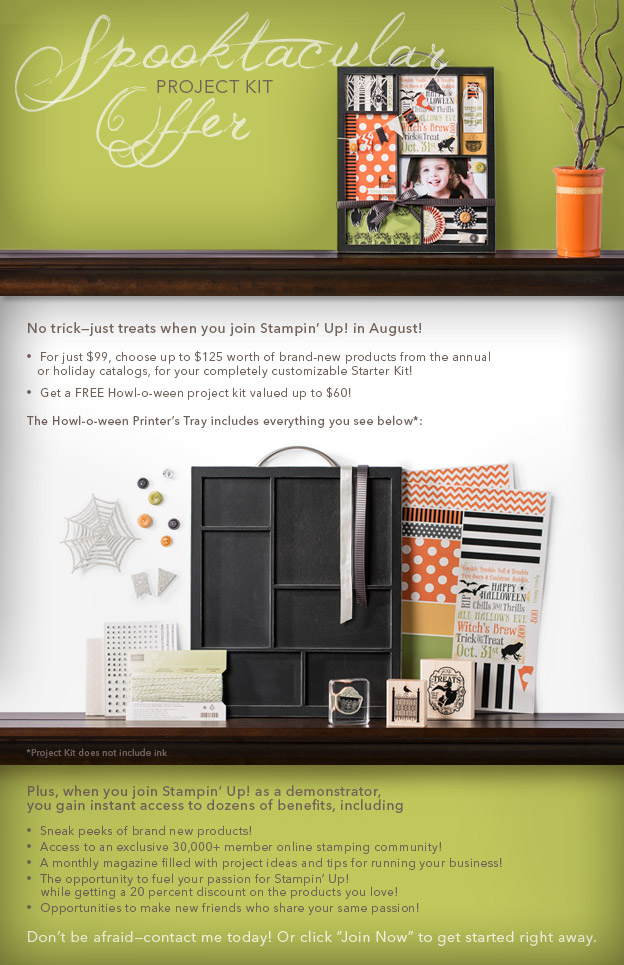
Joining Stampin’ Up!
You can join my Stampin’ Up! team and become a Stampin’ Up! Demonstrator now for the great new price of $99, and you can create your own kit, CLICK HERE TO CHECK IT OUT. Contact me whether you want to start your own business or just enjoy the 20% discount on products.
*************************************************************
![]()
Have you checked out the great clearance rack at Stampin’ Up! CLICK HERE
***********************************************************
Get Free Stamps
Don’t miss out on my Customer free stamp set program. Check it out! Along with a handmade thank you card from me for your order you will receive a token for each $50 in product you ordered using me as your demonstrator. After you have collected 10 tokens you will receive a free current stamp set of your choosing, a value of $39 or less. Here is a link to my online shopping page that you can shop at 24/7 (from the comfort of your home, even in your pj’s) and the products will be shipped directly to your door step from Stampin’ Up: CLICK HERE TO SHOP. My free stamp set program will be an on going program. ![]()
************************************************************
Last Day to order from the Holiday Catalog!
 (CLICK HERE TO VIEW THE HOLIDAY CATALOG). I especially love the coordinating products that you can get as a bundle at a discount. Gotta love a discount, right? Especially for those products to make your holiday gifts and cards.
***************************************
Want an annual catalog shipped to you? I will be happy to send you one. The catalog is free, but there is a $5 shipping charge. Note, I will only sell or ship within the United States do to Stampin’ Up! policies. Please contact me at mzindorf@aim.com. Payment can be sent via Paypal or check.
****************************************


