
Hey There,
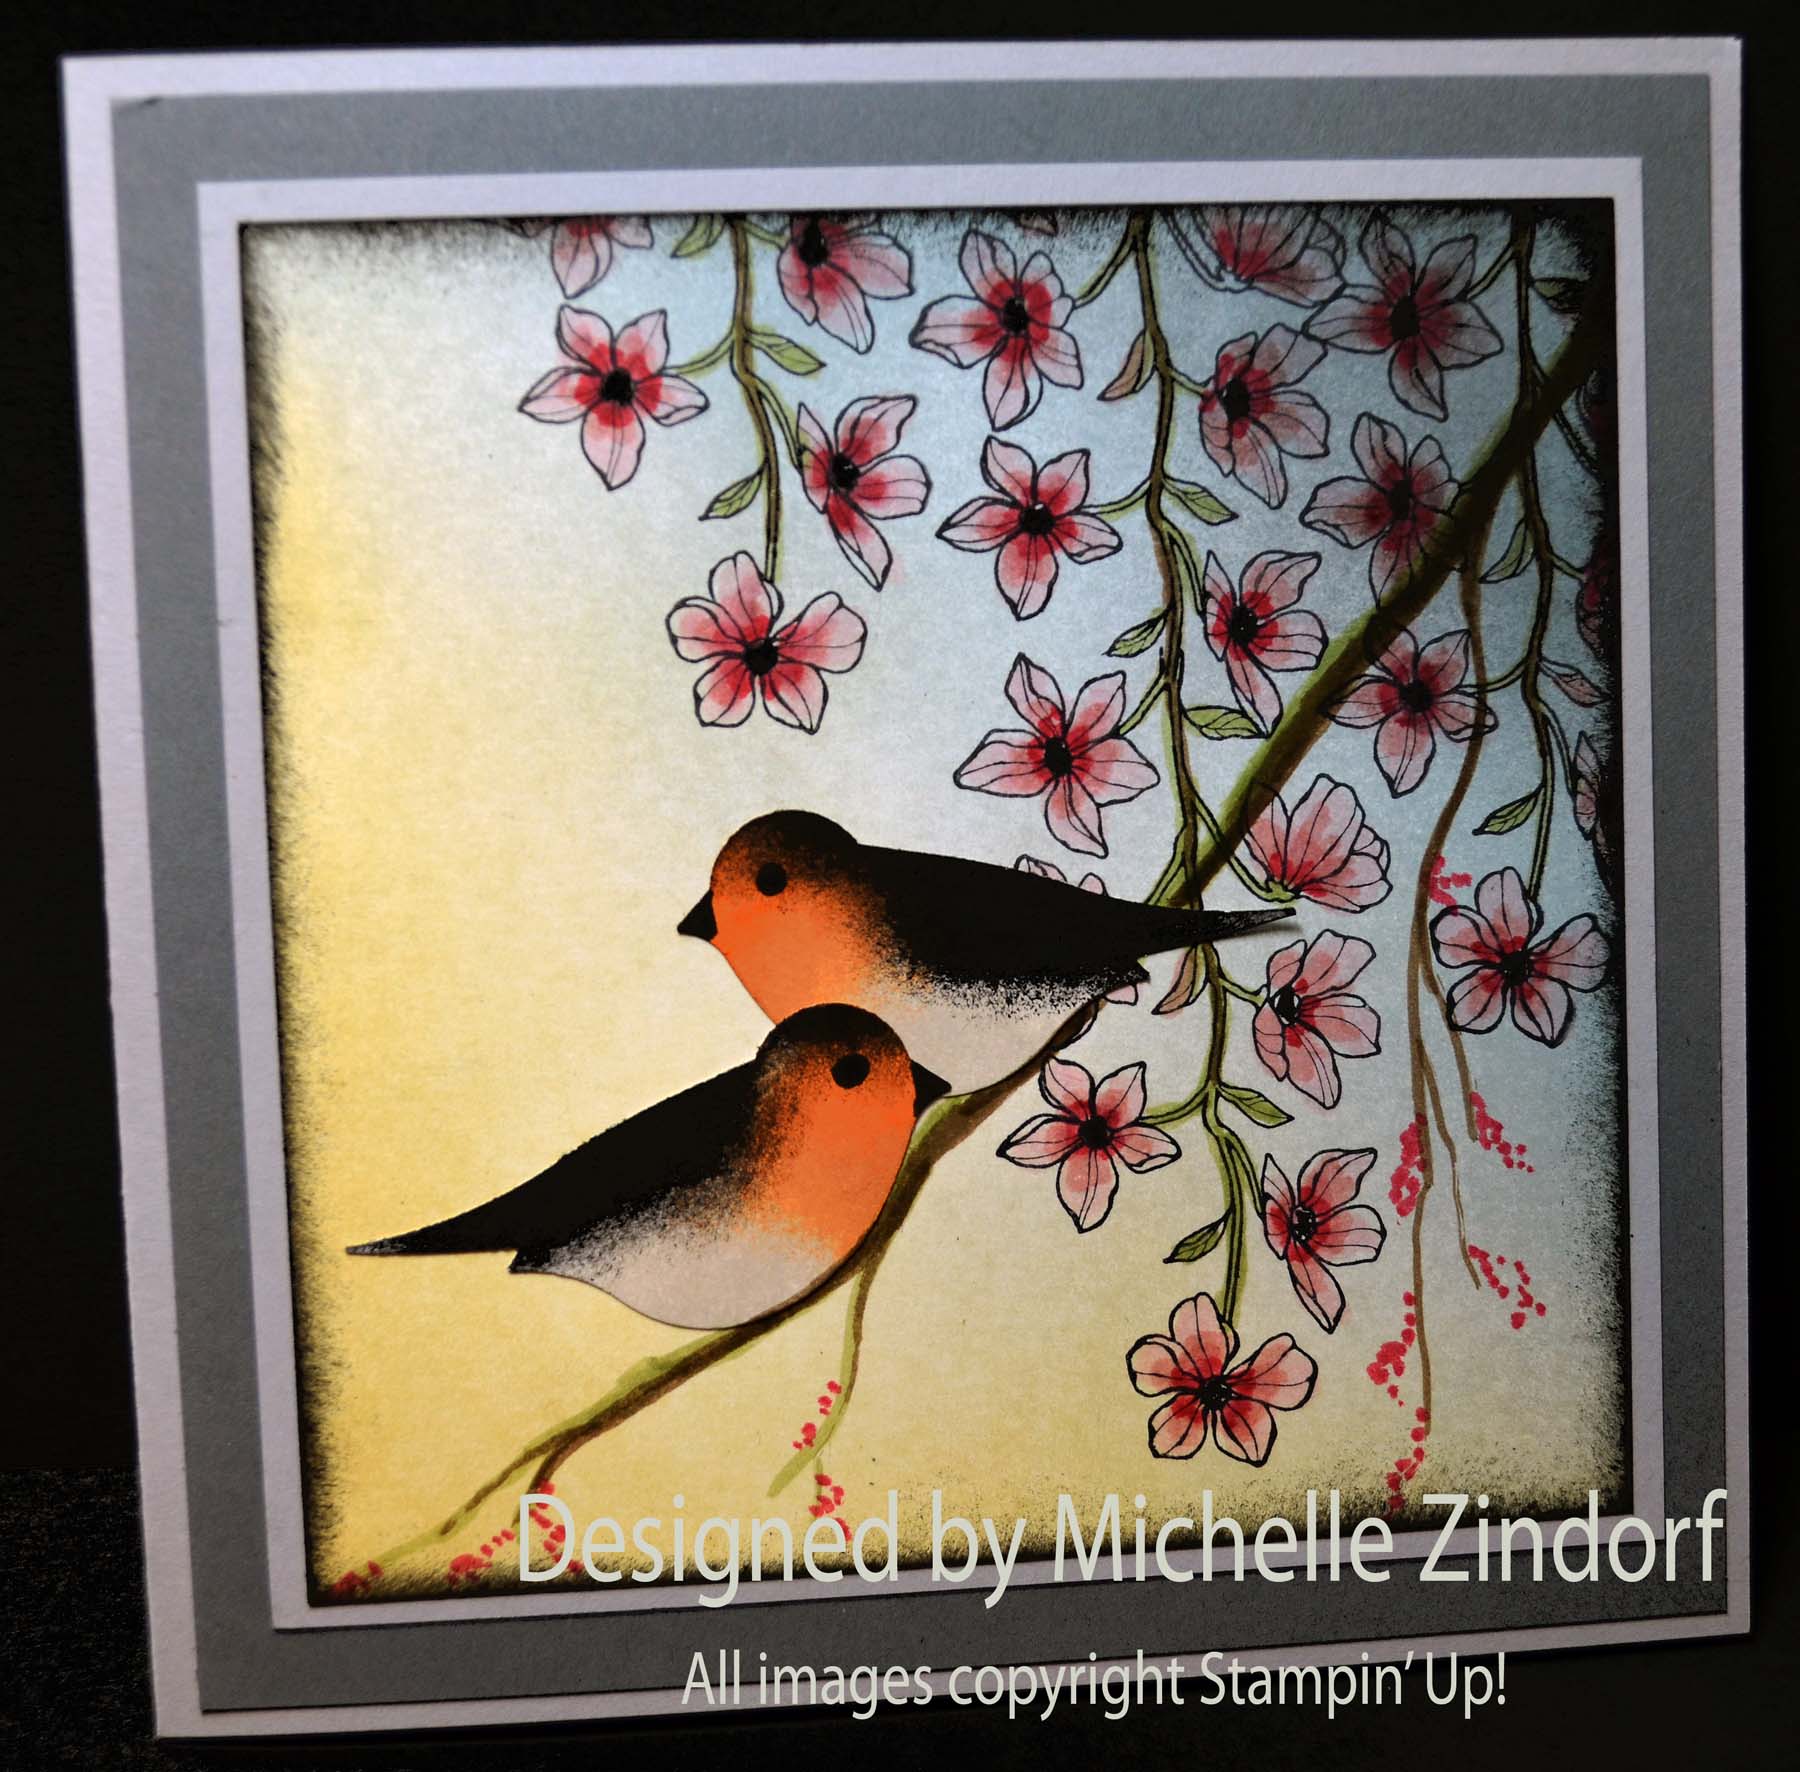
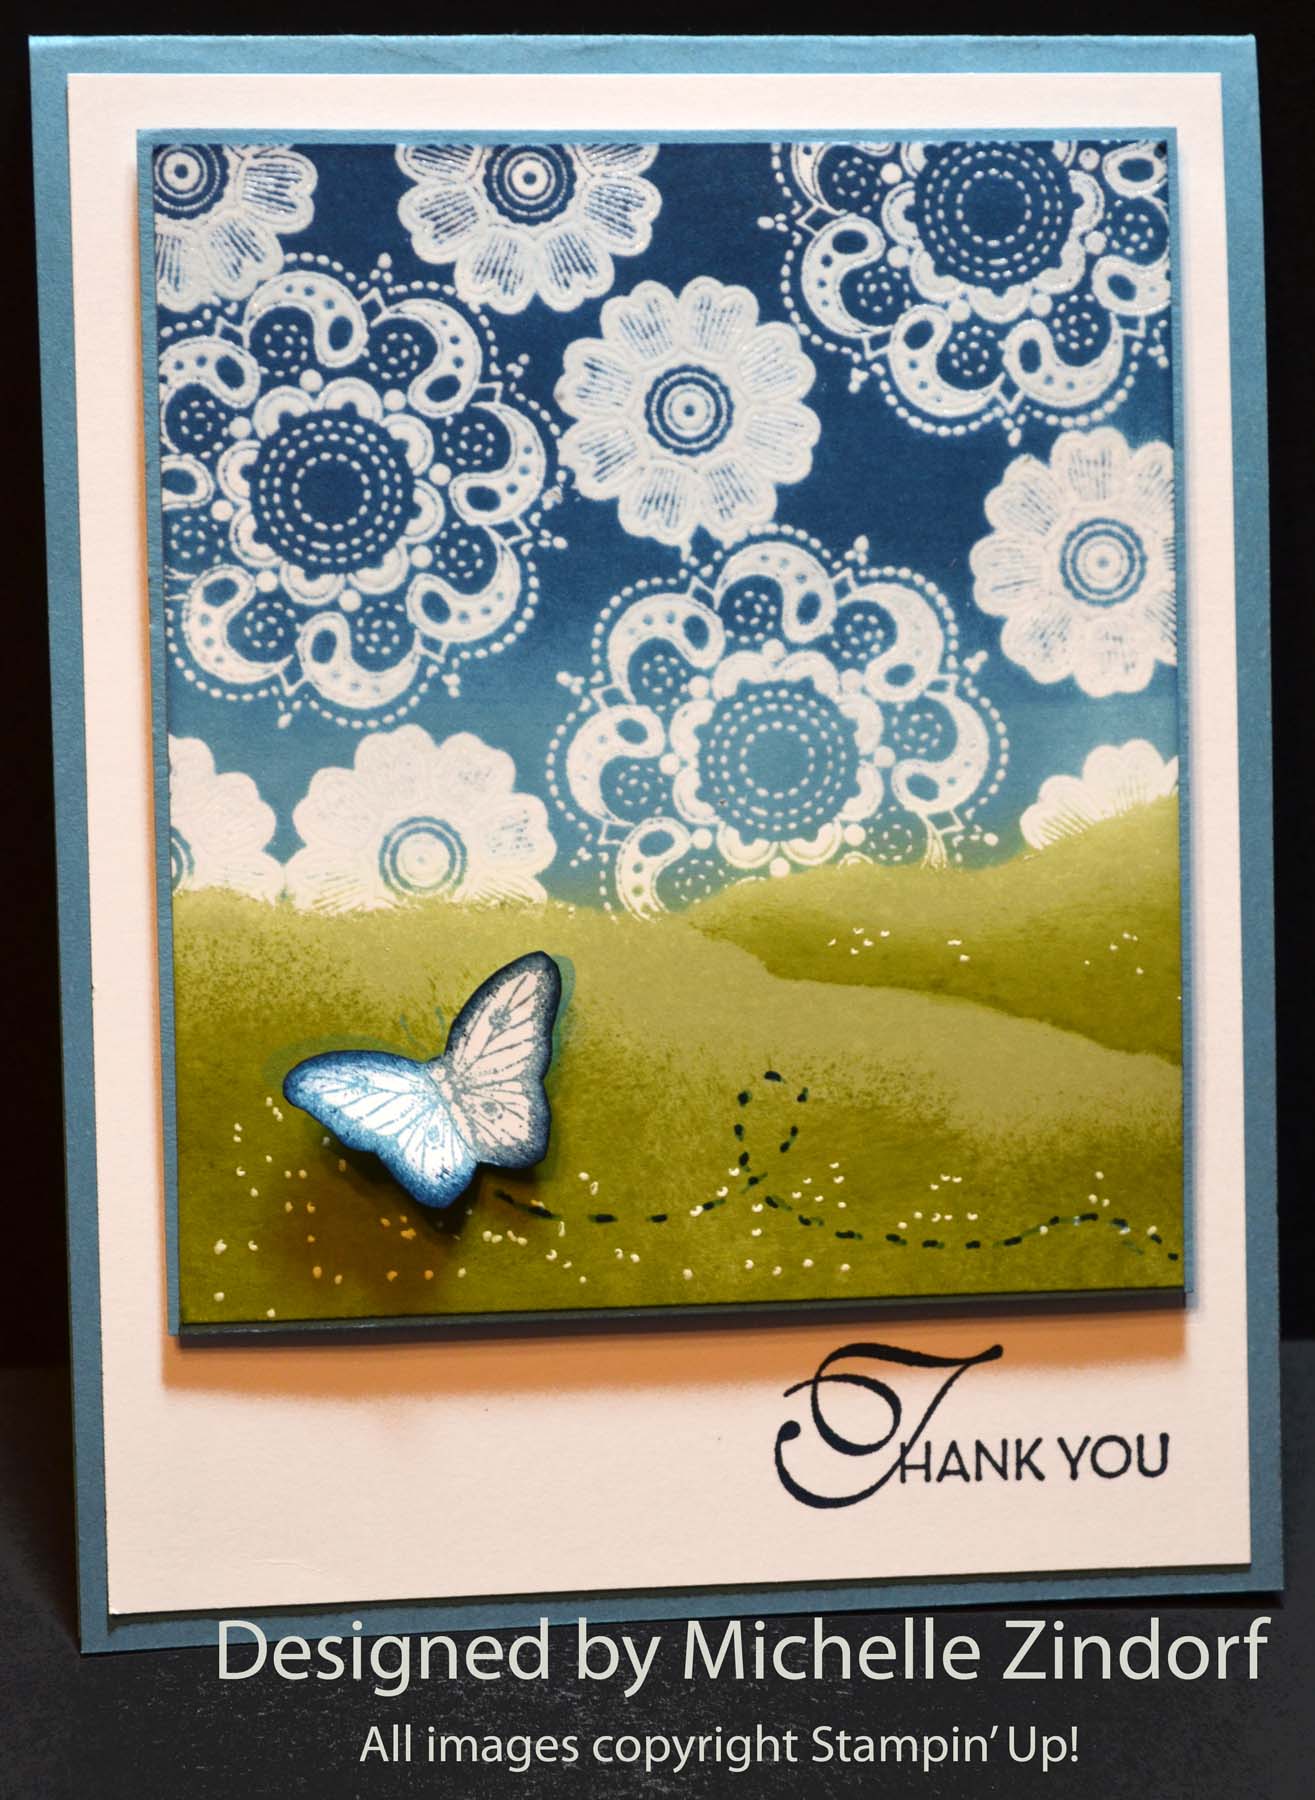
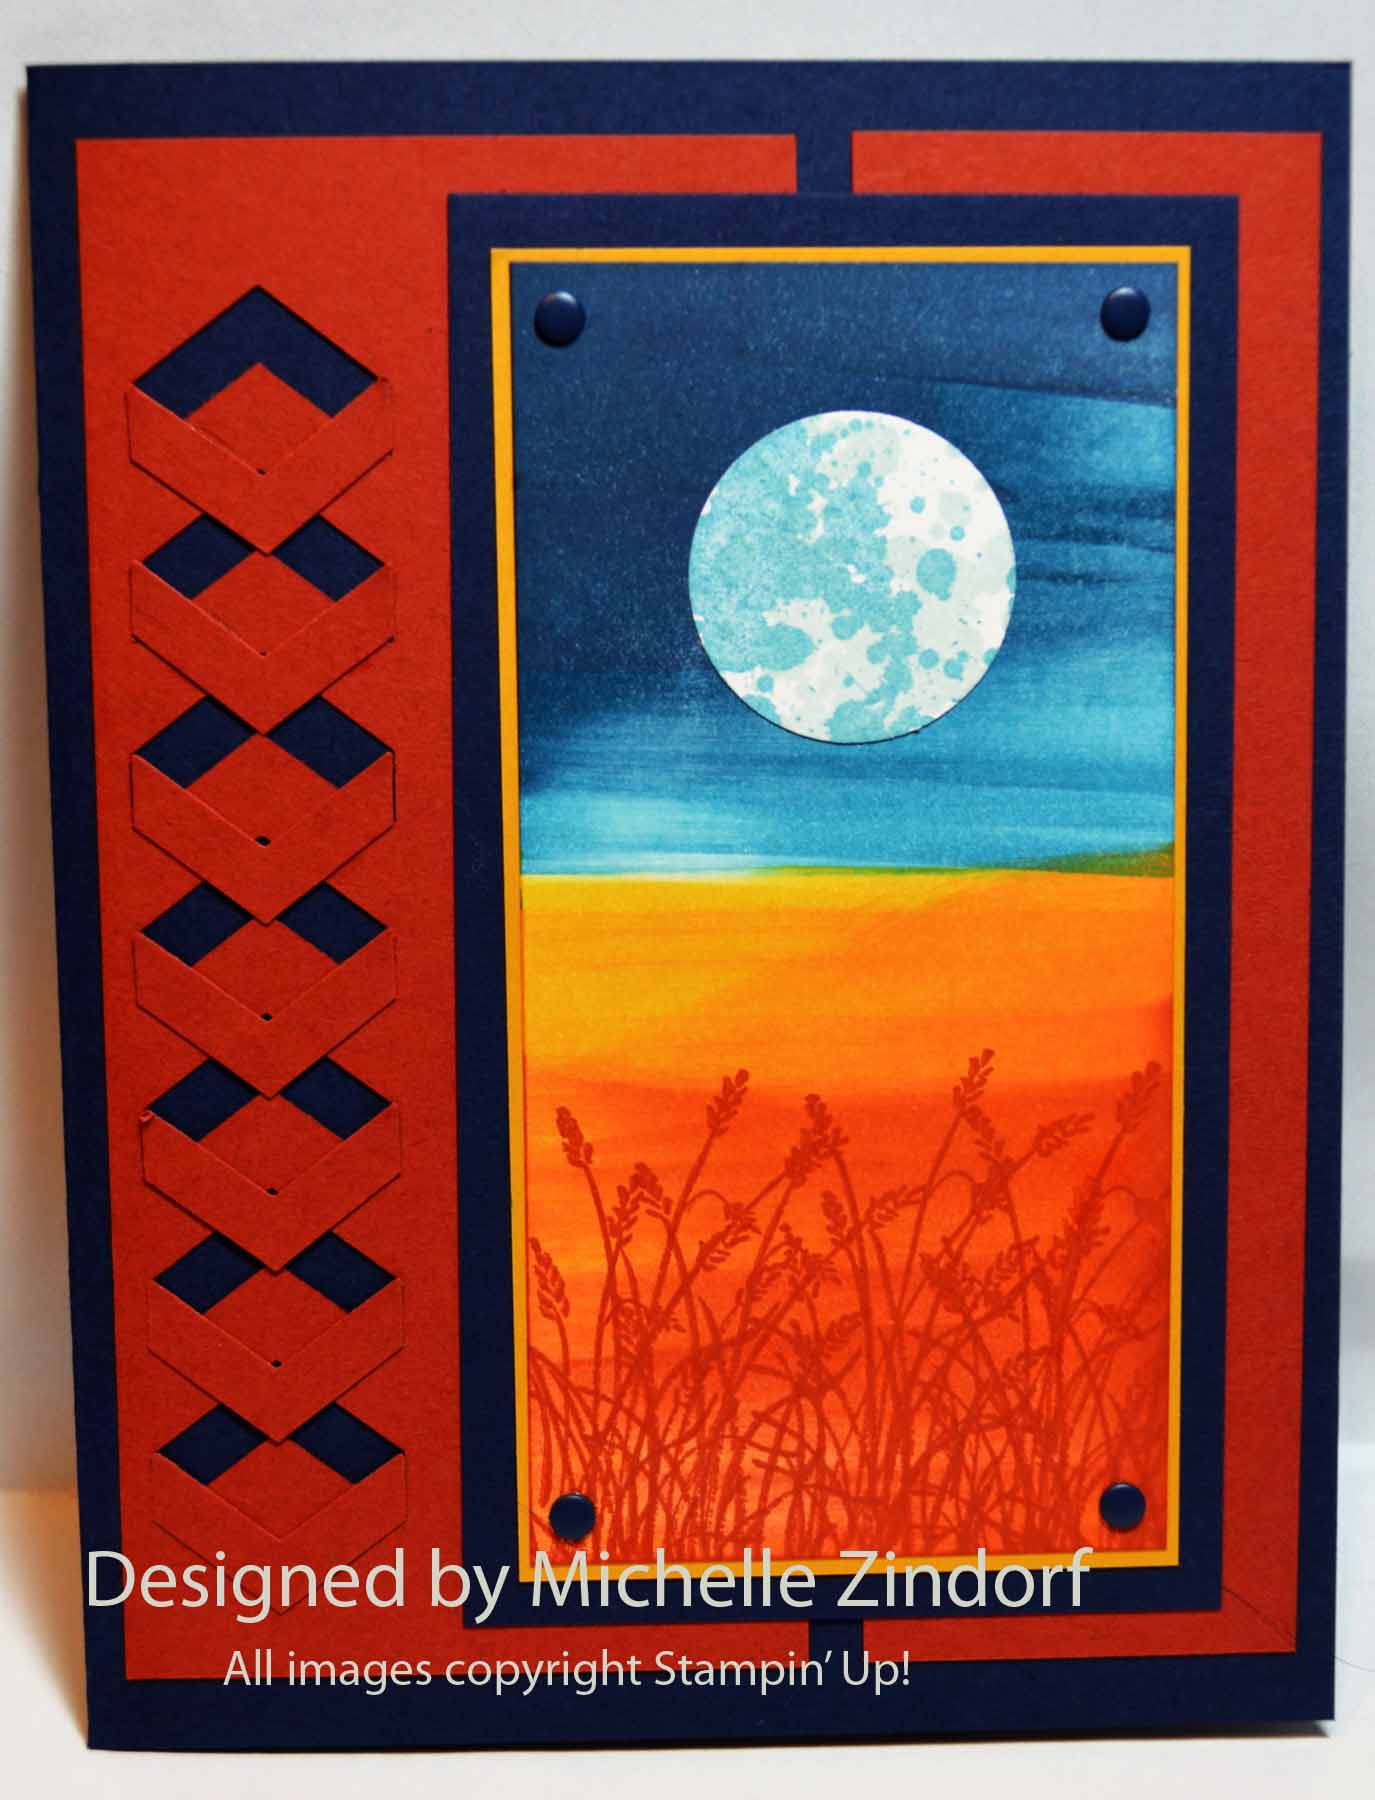
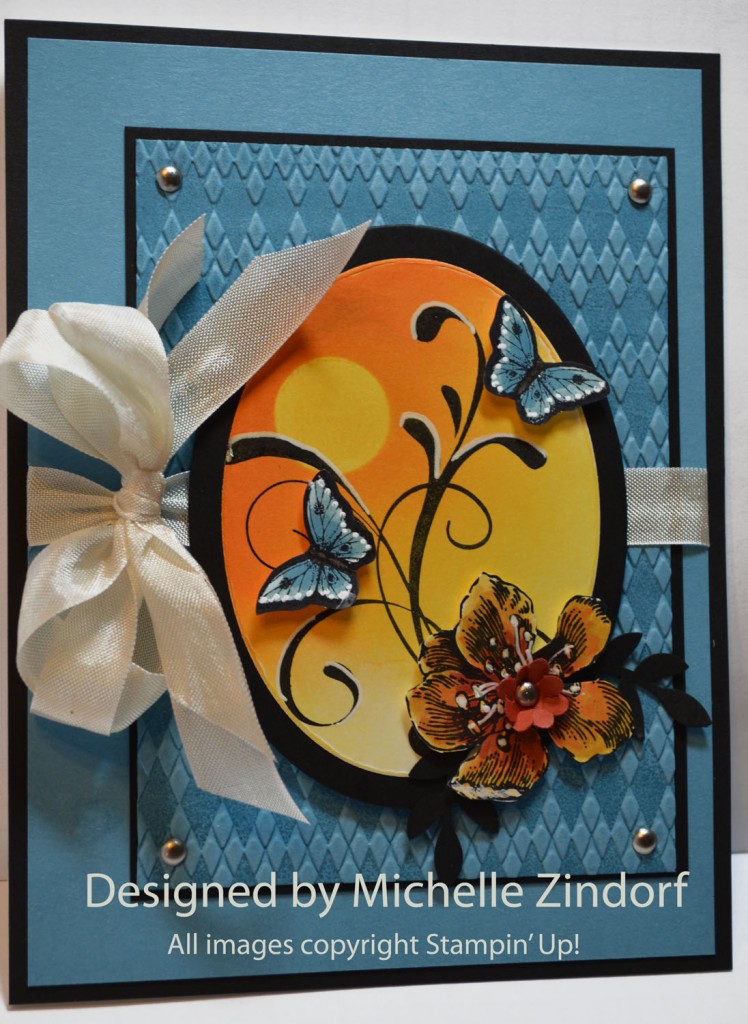
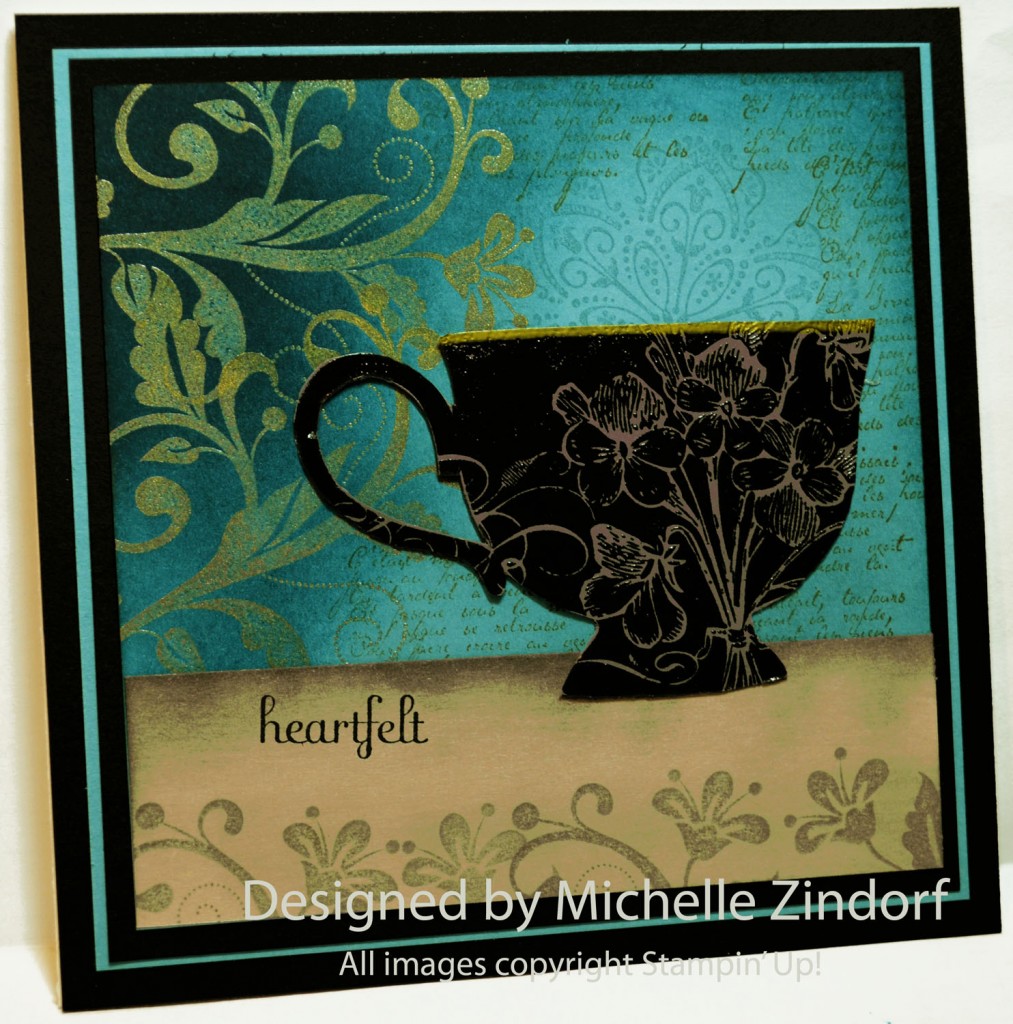
How about a little floral card today? I combined the Stampin’ Up! stamp sets Papillion Potpourri and Everything Eleanor to bring you this Spring Card Tutorial. Check it out below.
********************************************
I’ve added this card to my sales page where you will also find some great deals on retired stamp sets. CLICK HERE TO CHECK IT OUT********************************************
Now on with today’s tutorial. . . . . . .
Project Supplies:
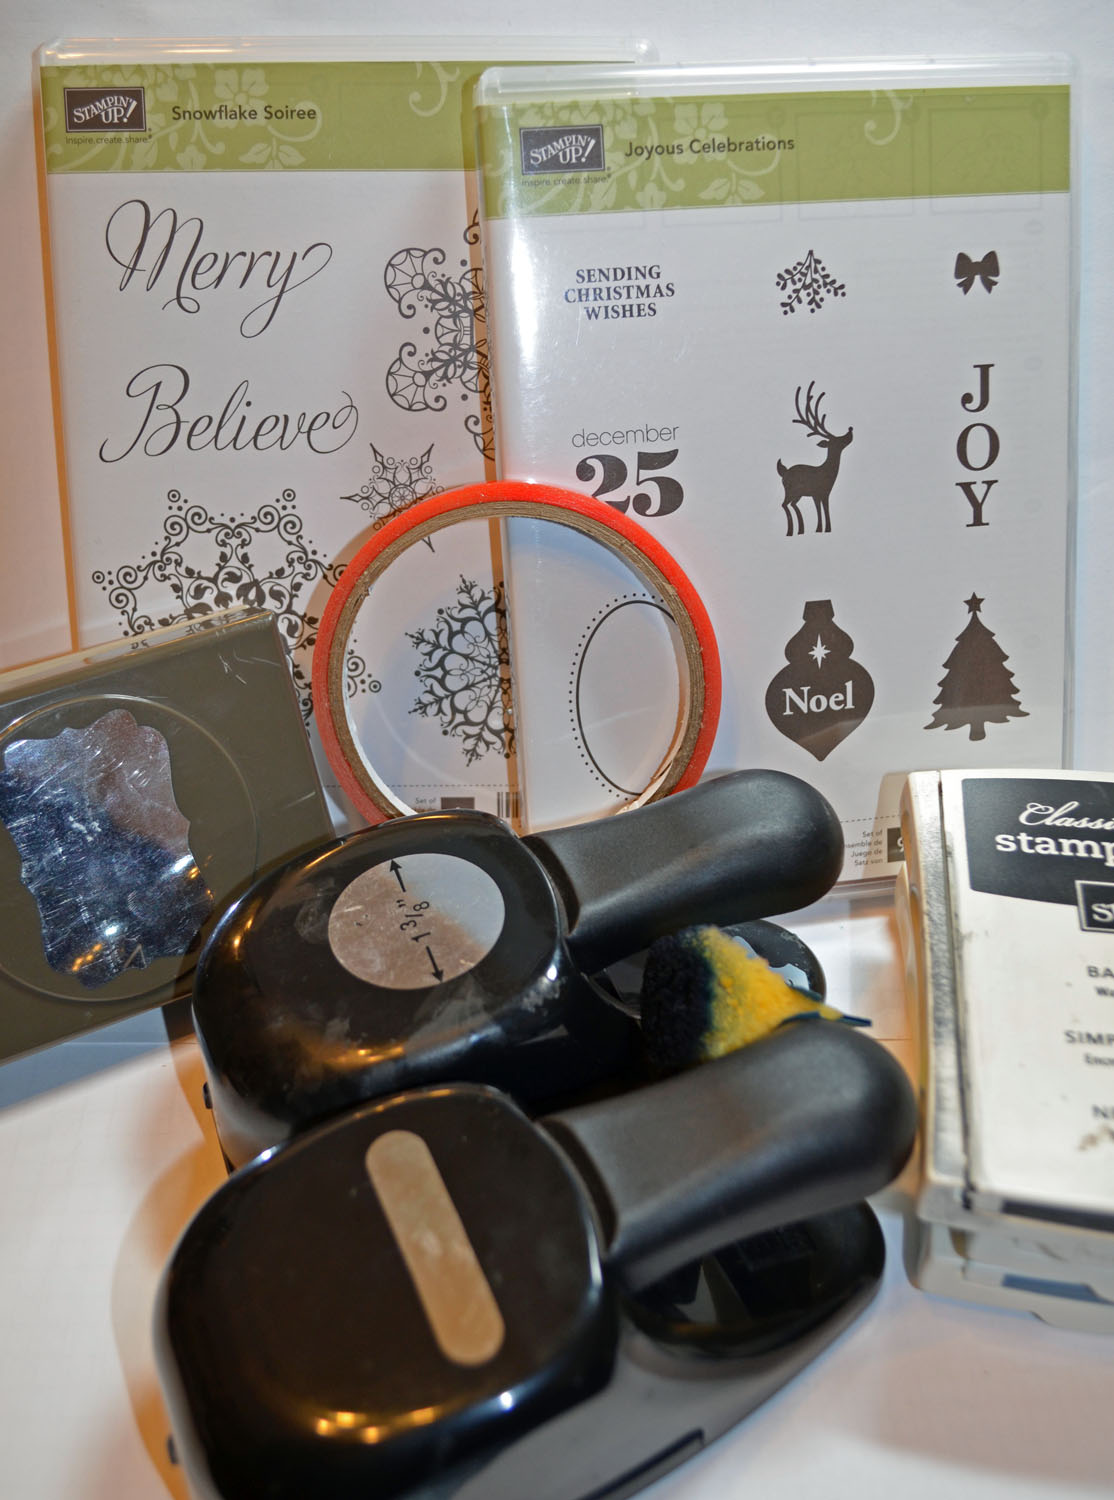
Stamps: Stampin’ Up! Papillion Potpourri (item #123759) and Everything Eleanor (item #124164)
Card Stock: Stampin’ Up! Whisper White, Marina Mist and Basic Black
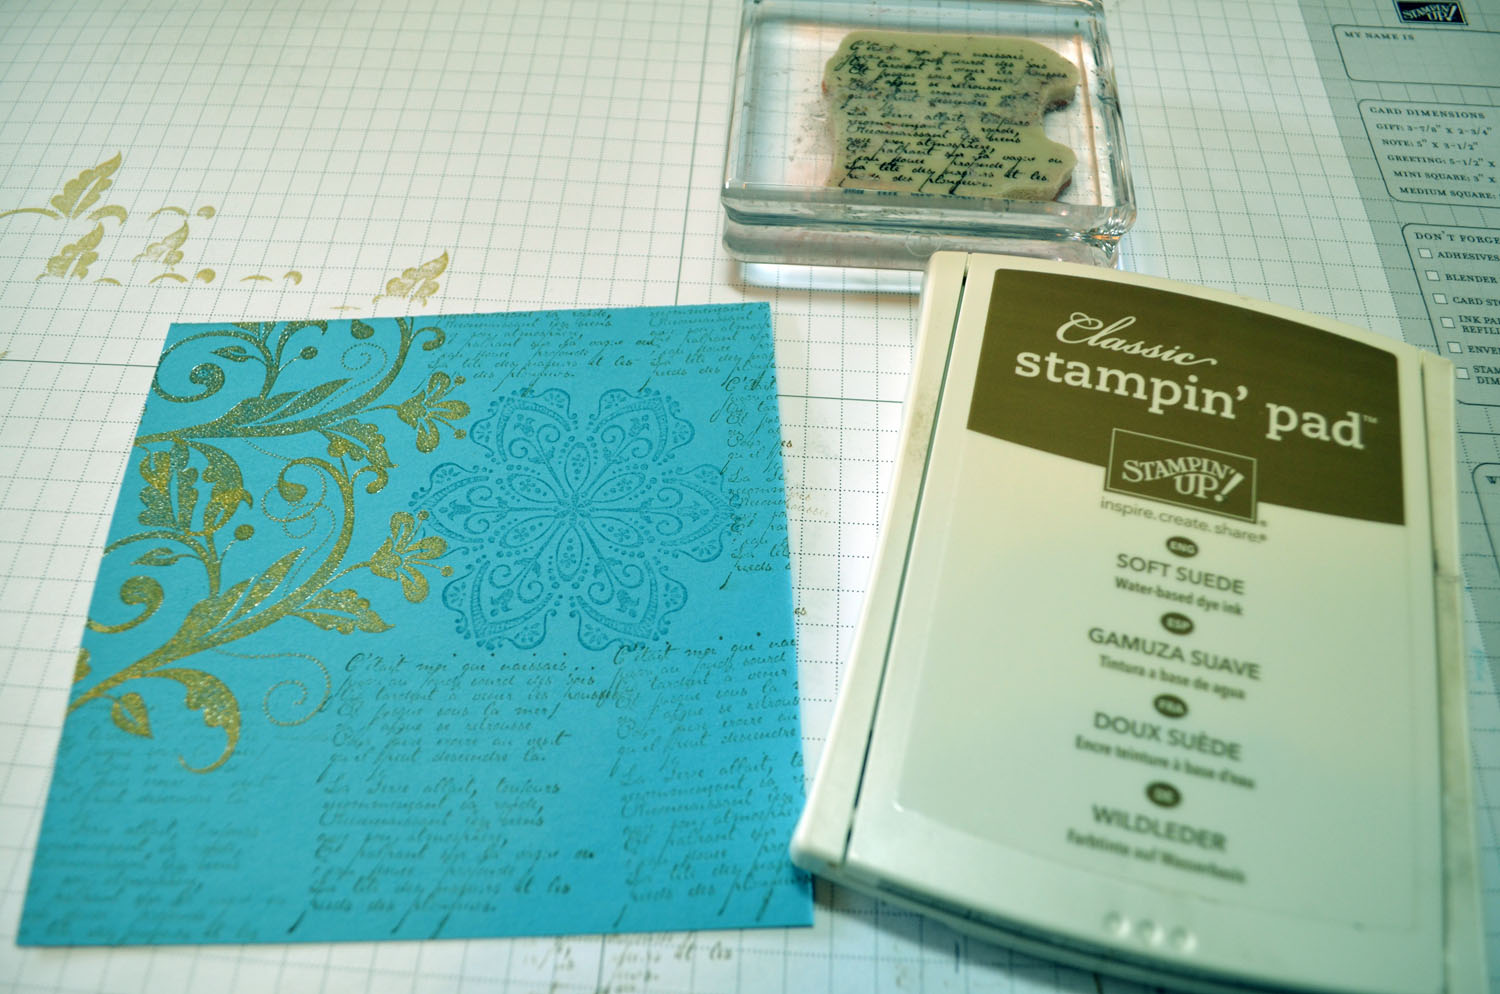
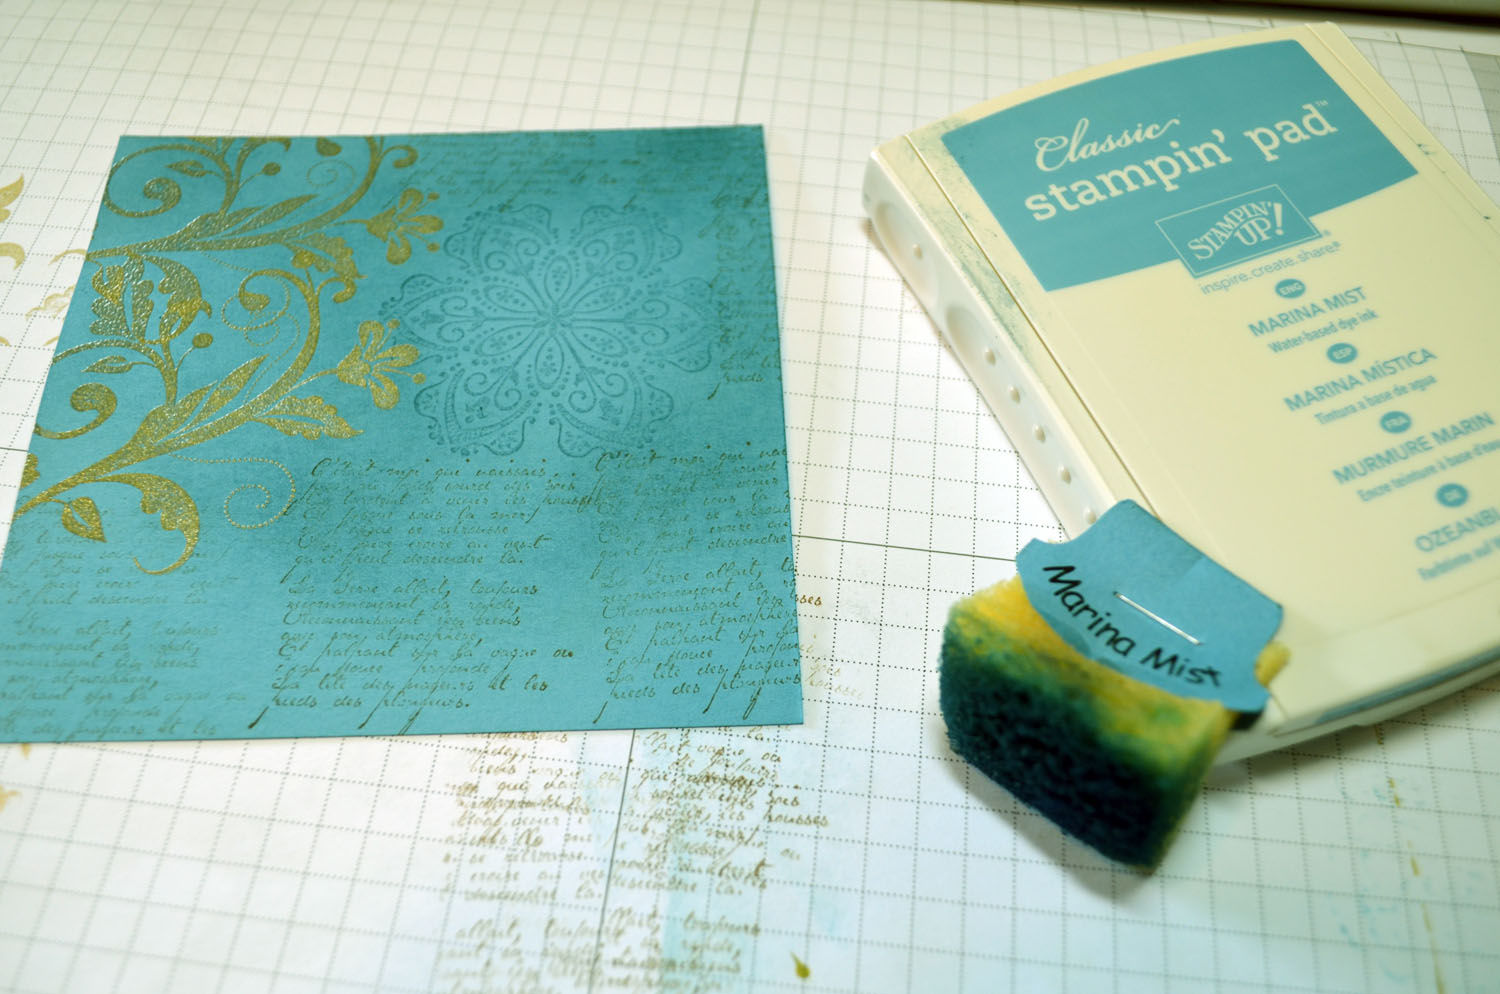
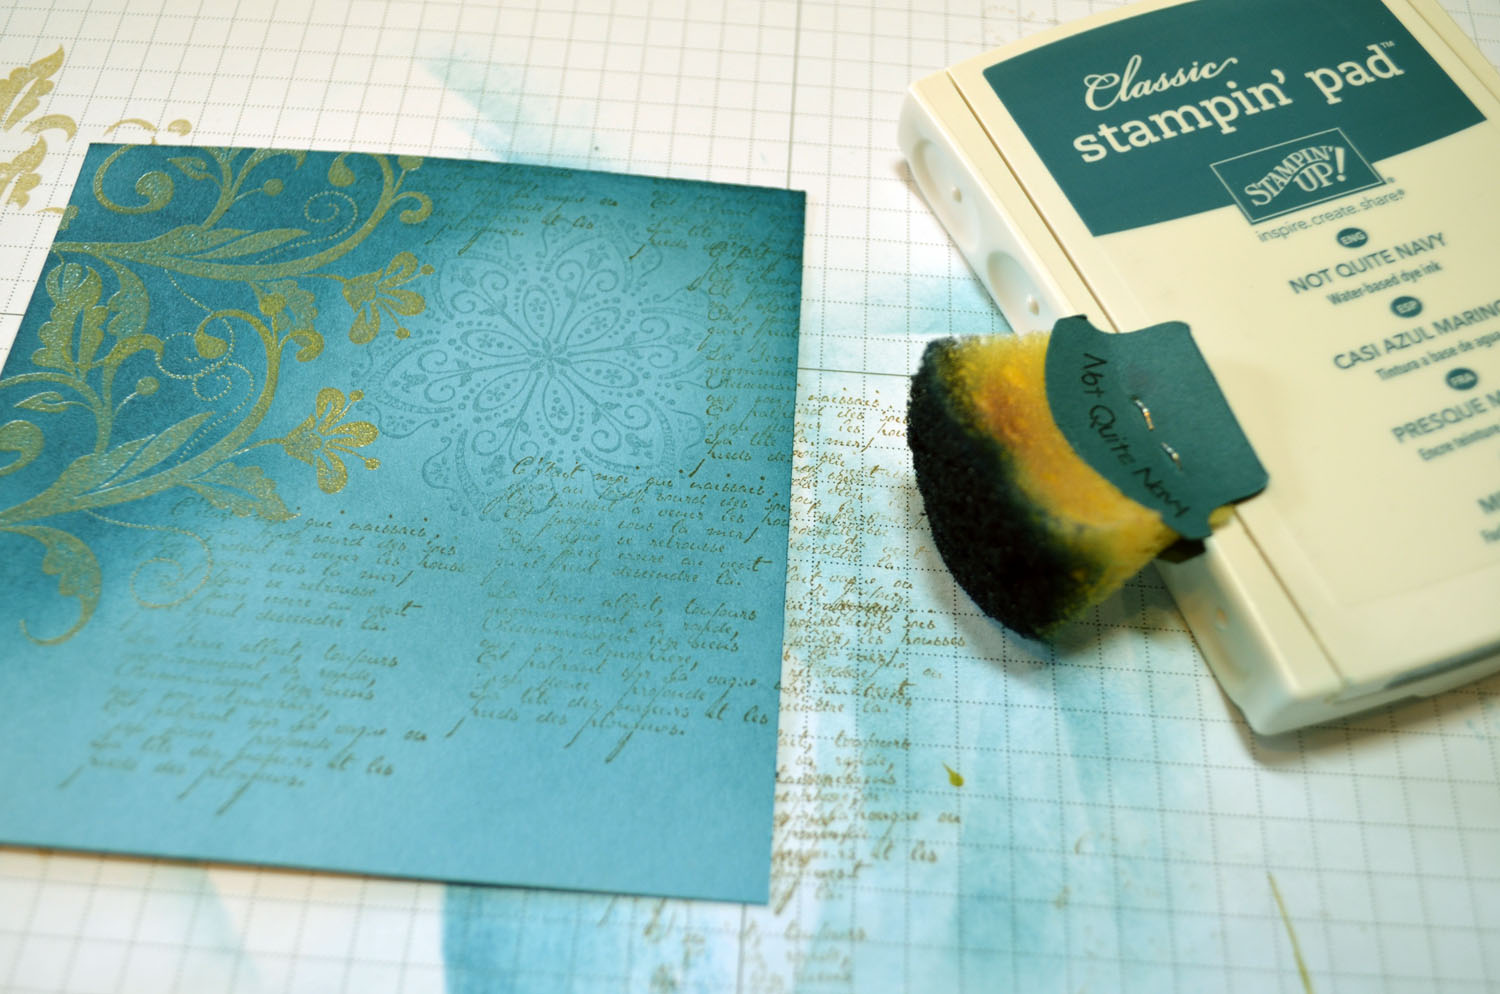
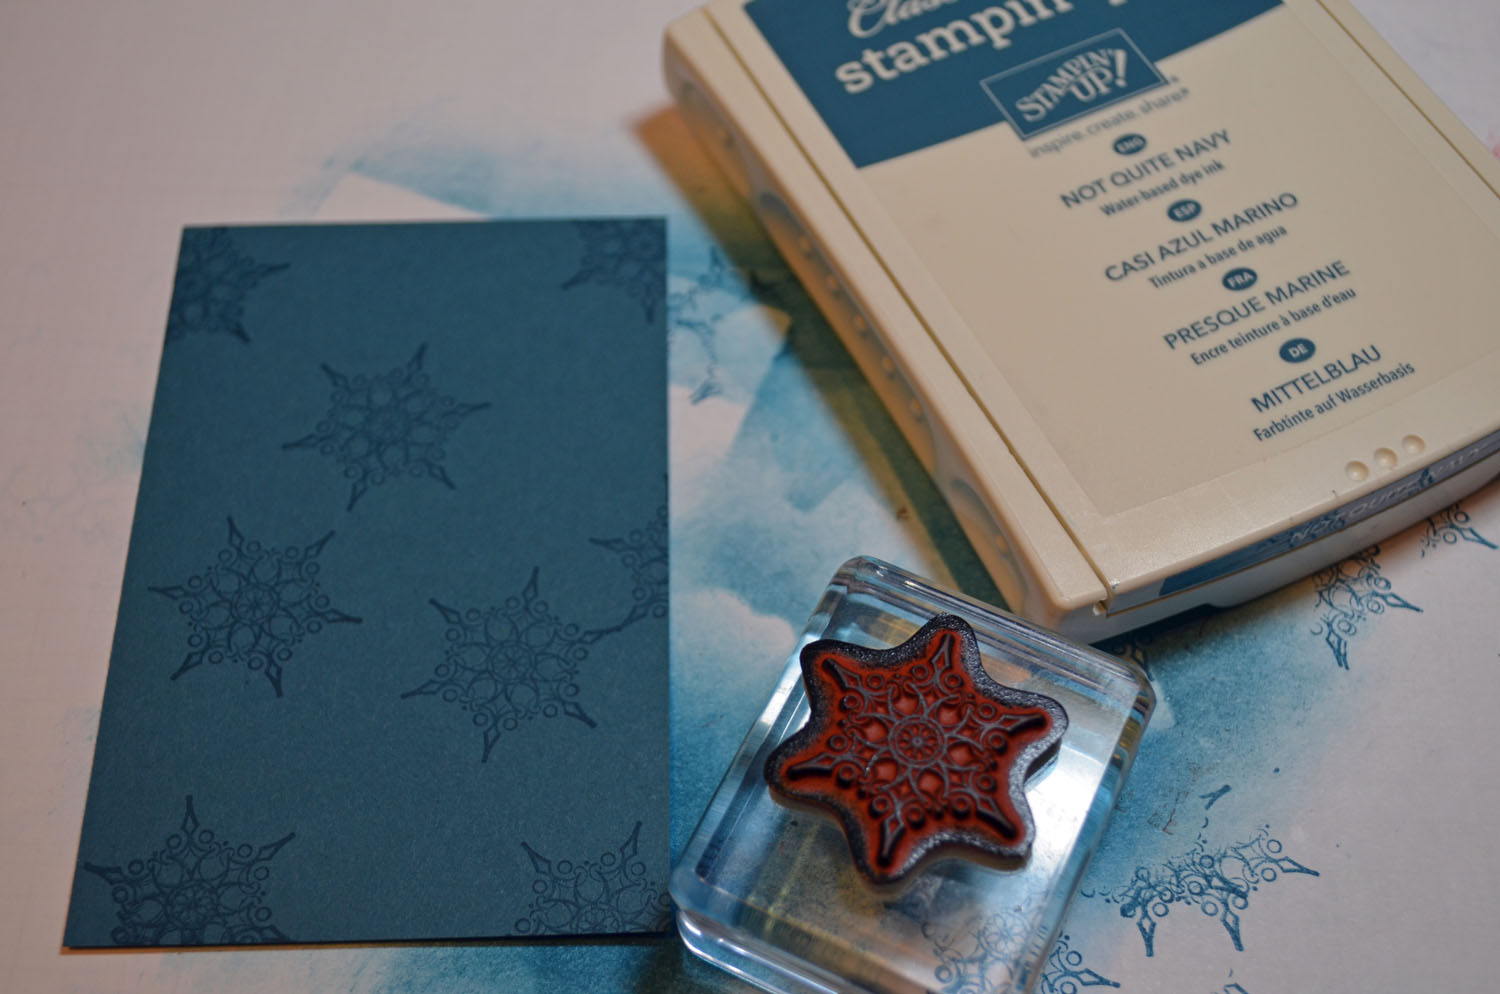
Ink: Stampin’ Up! Marina Mist, Daffodil Delight, Pumpkin Pie and Stazon Jet Black
Accessories: Stampin’ Up! Ovals Collection Framelits (item #129381), Bird punch, Flower Punch, Stampin’ Dimensionals, Brads, Brayer, White Gel pen, 3/4″ circle punch, Markers (Baja Breeze, Marina Mist, Daffodil Delight, Cajun Craze and Pumpkin Pie), Big Shot Machine

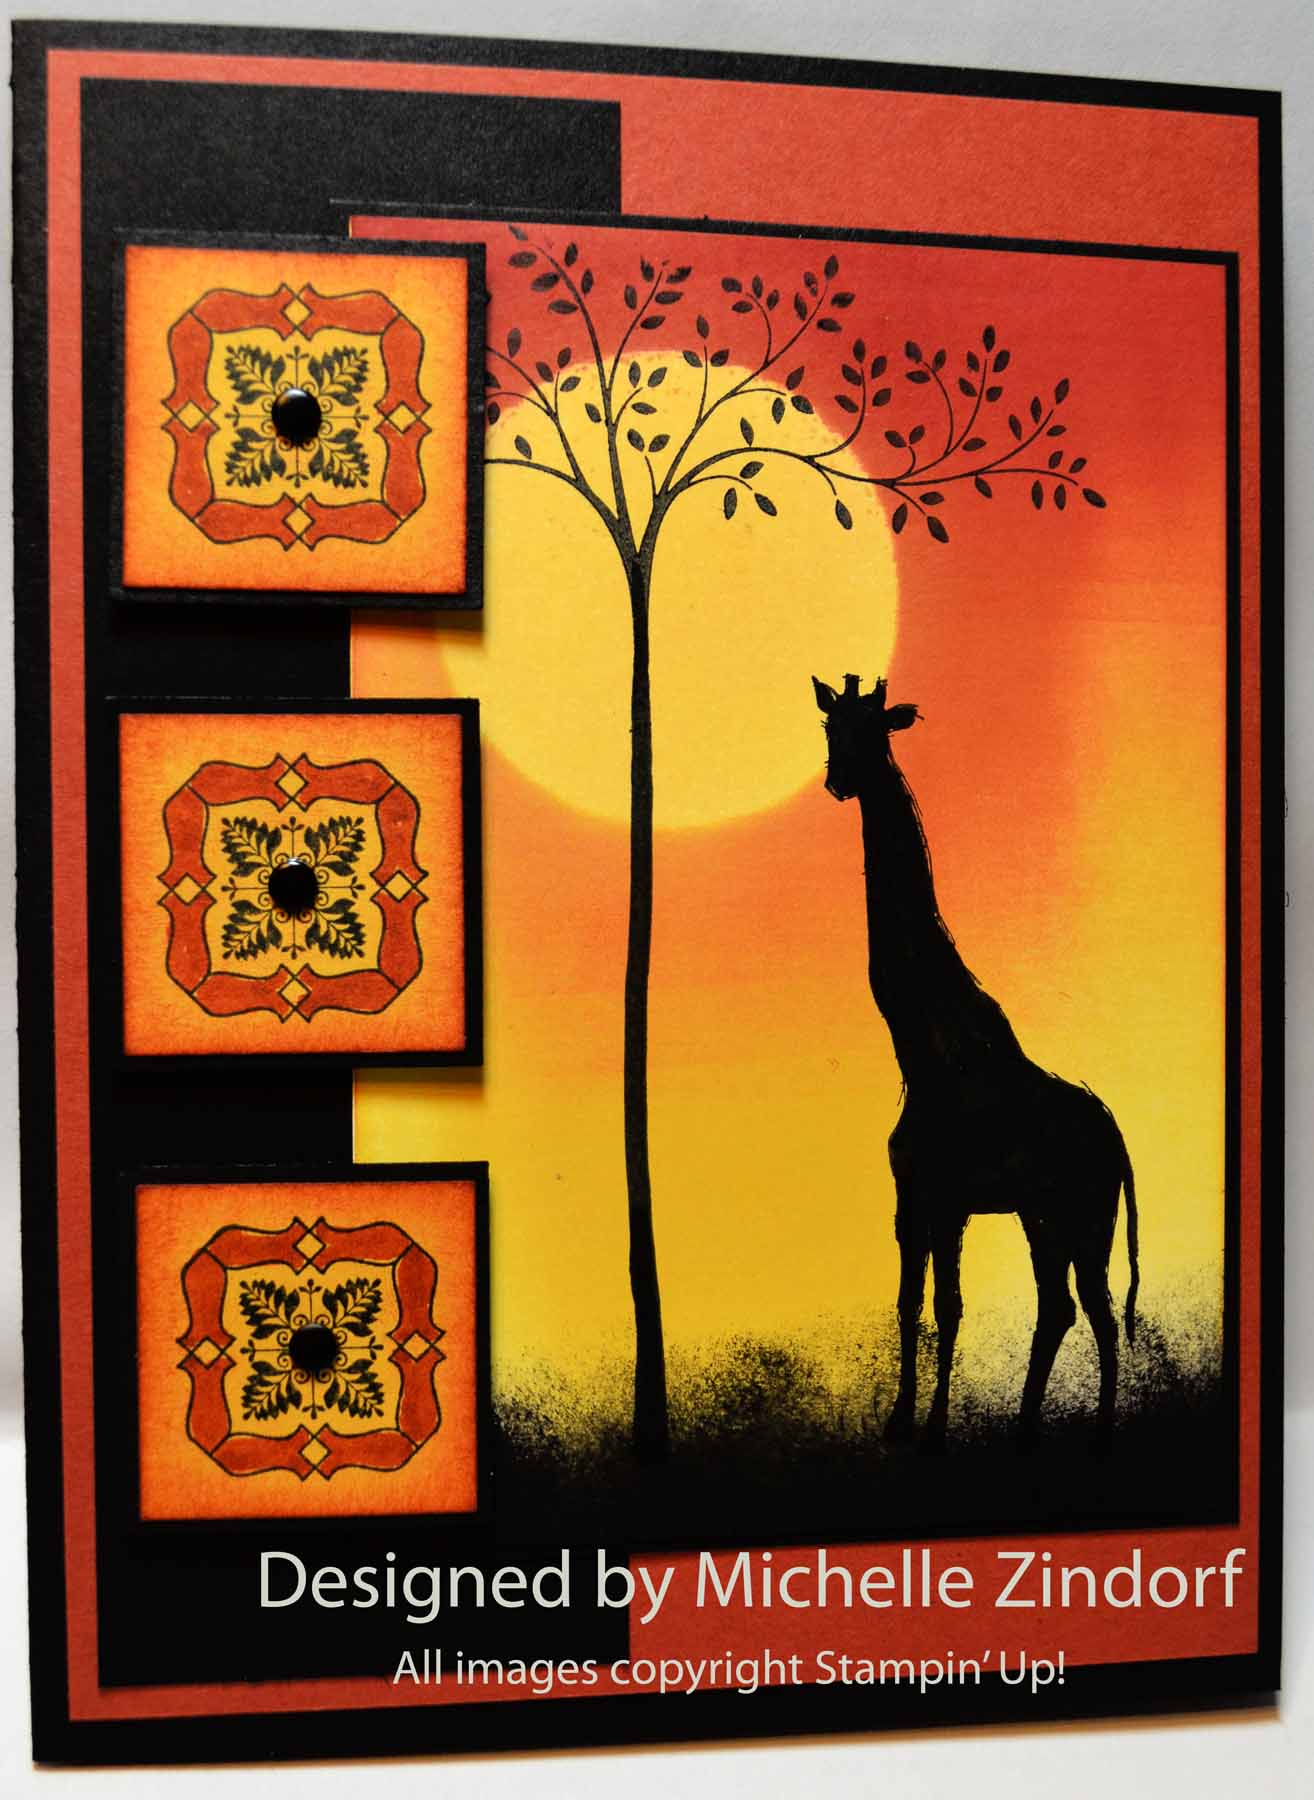
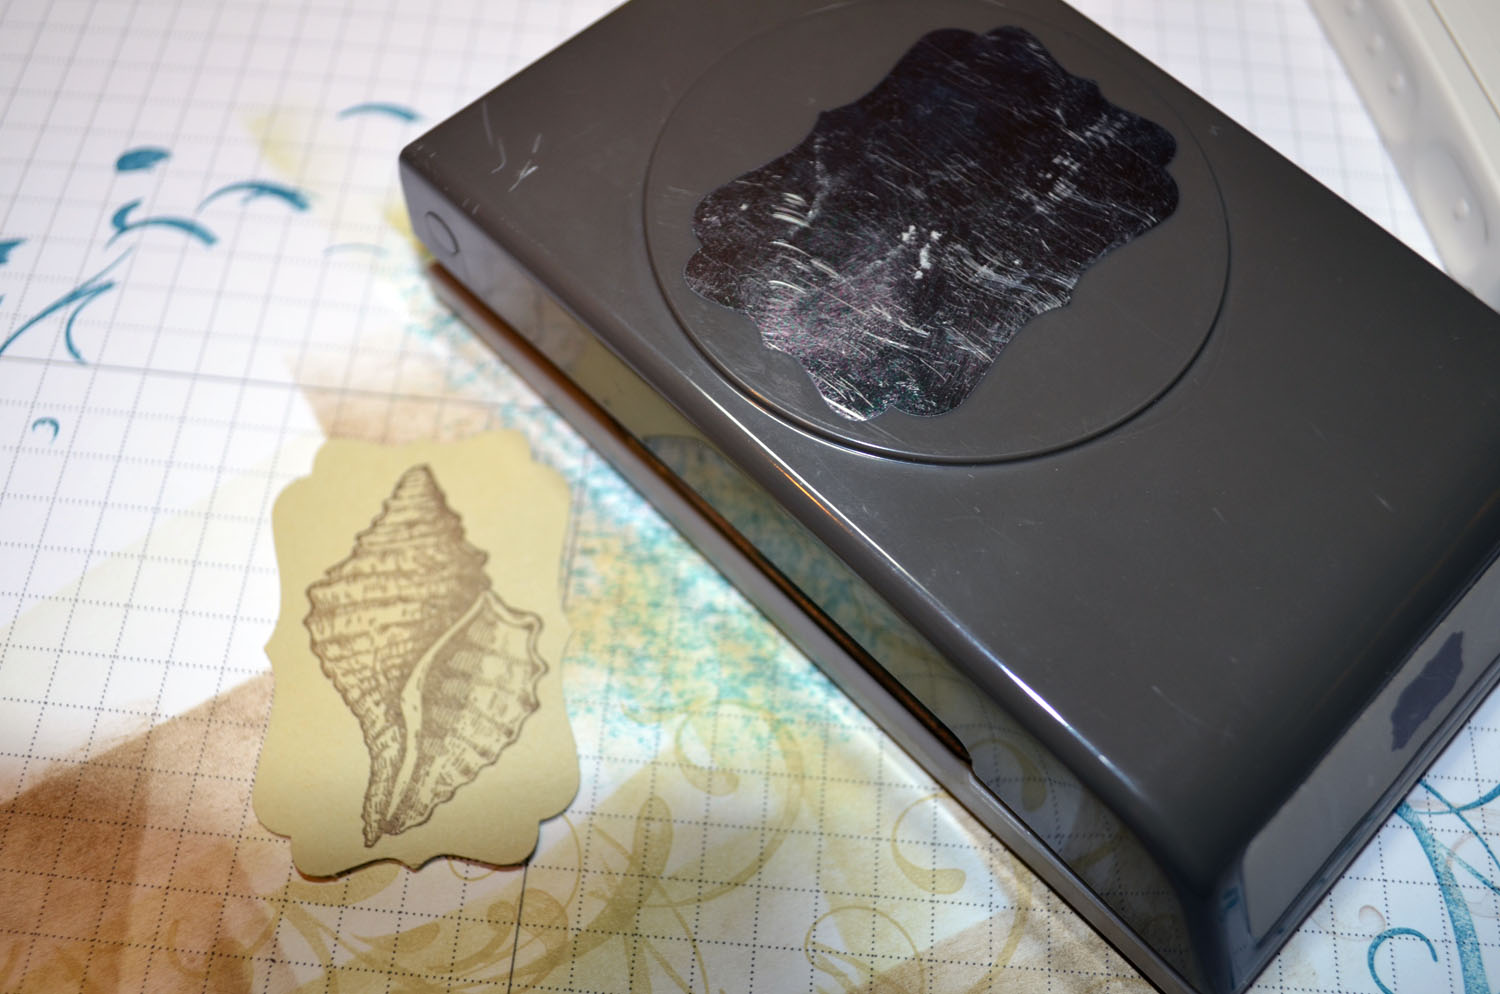
Using the Big Shot Machine and the Oval Collection Framelits, cut 3rd to the largest and 2nd to the largest Ovals out of Whisper White and Basic Black card stock.

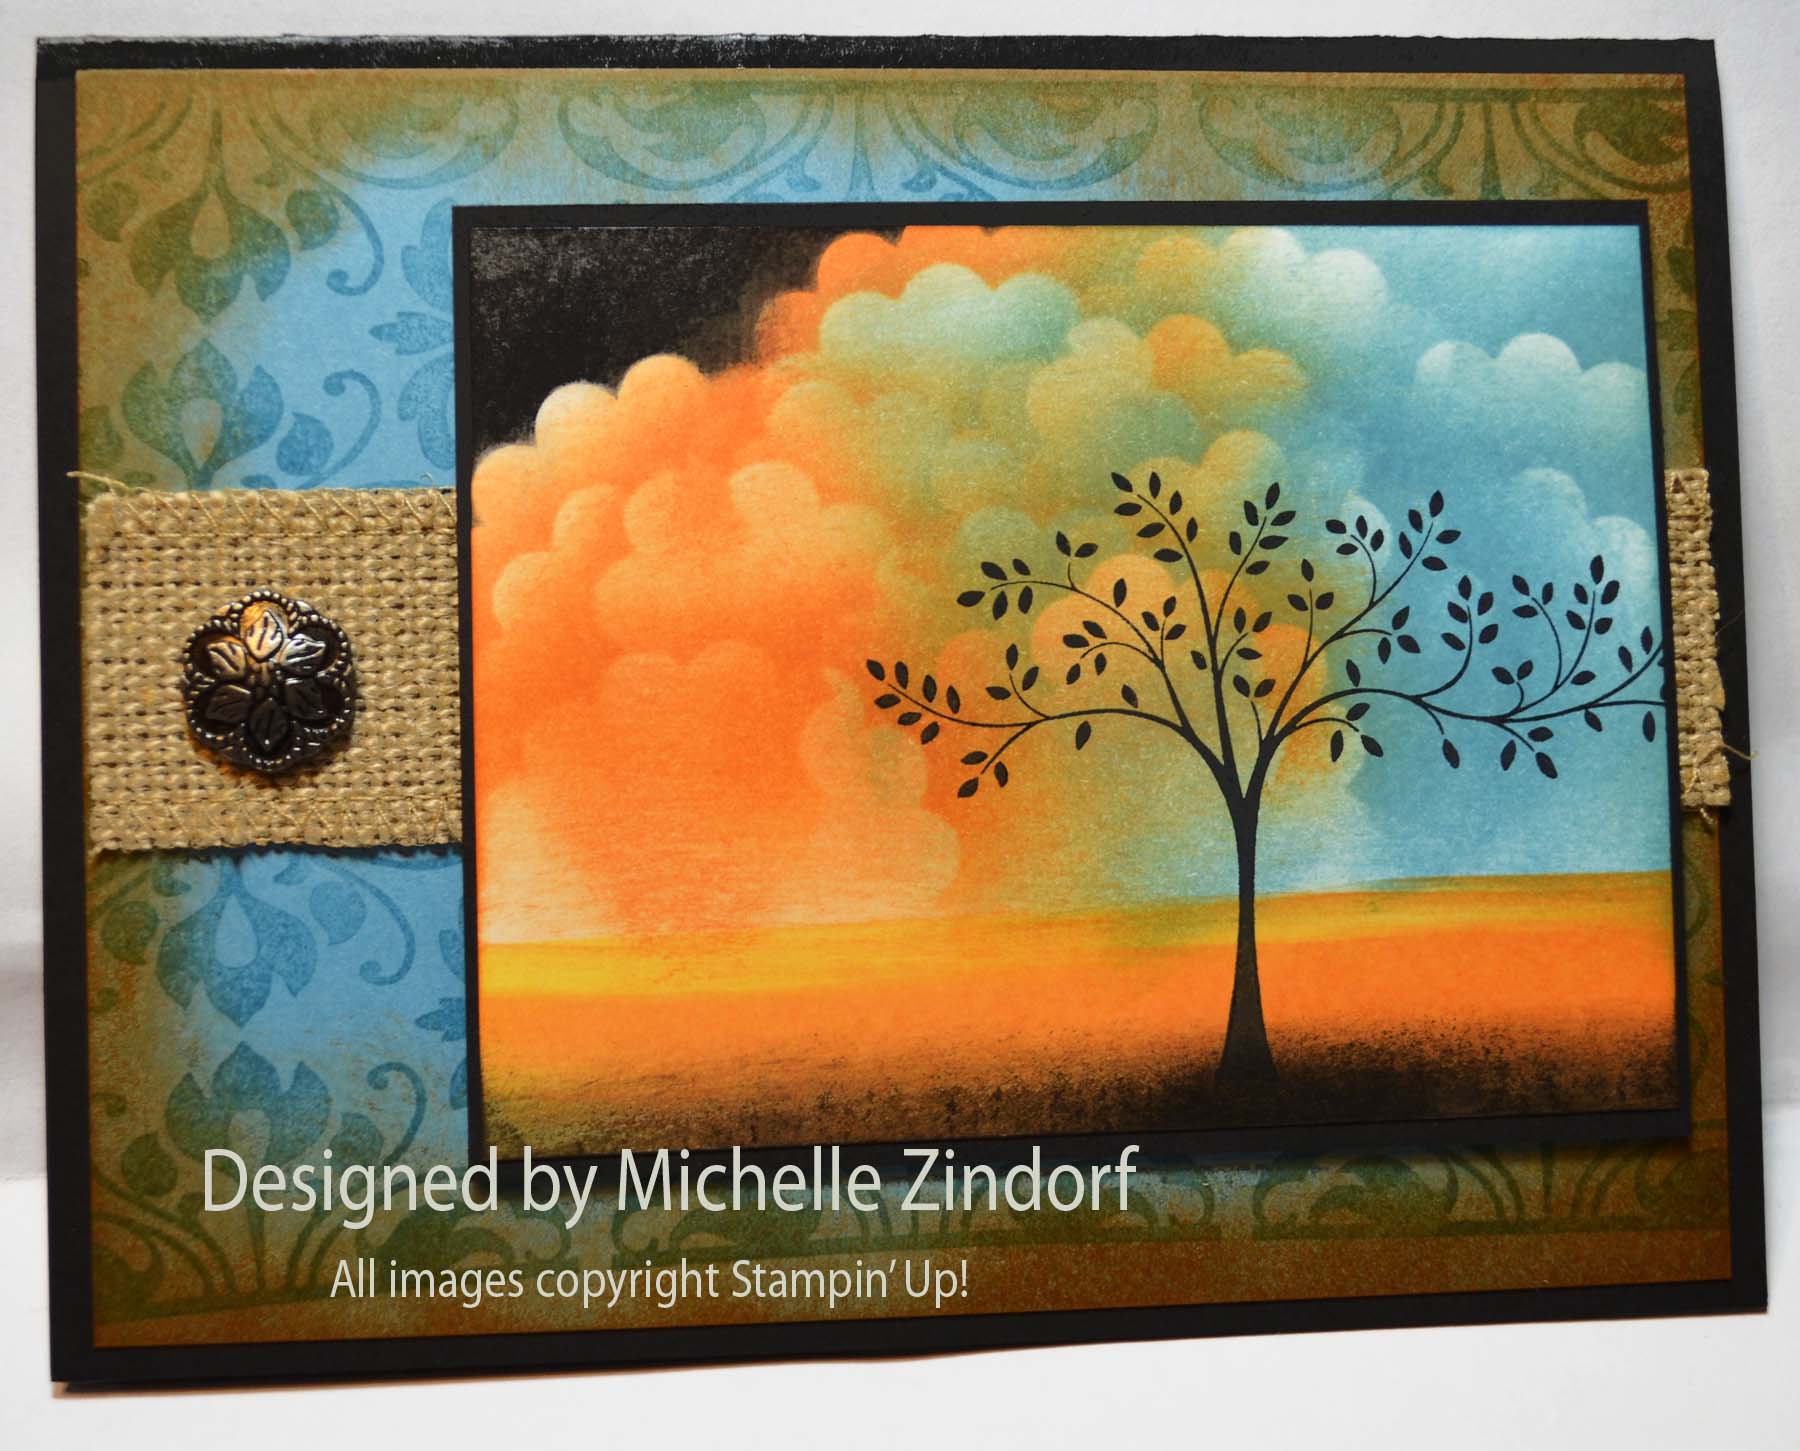
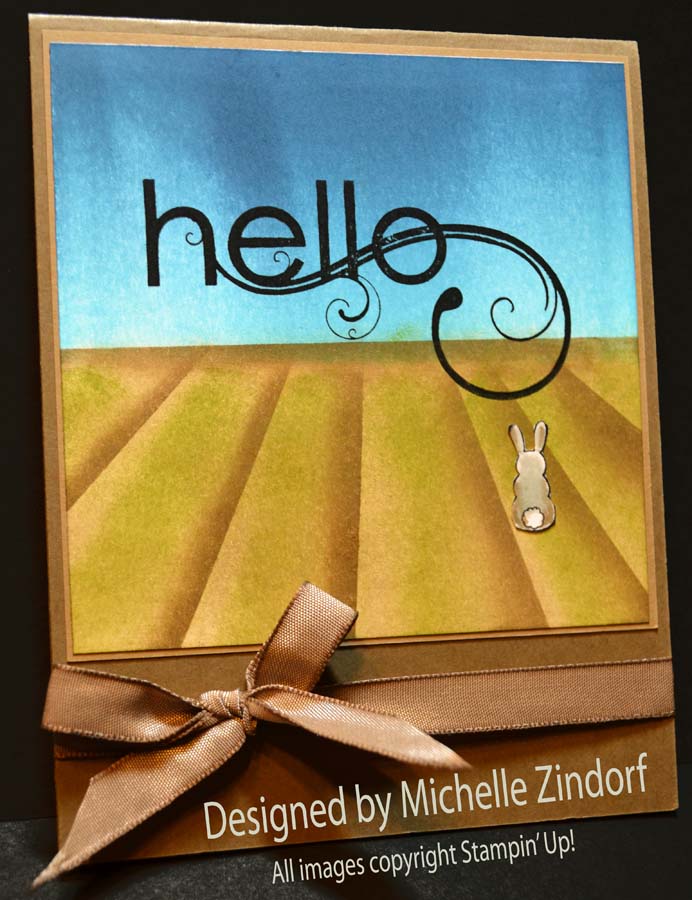
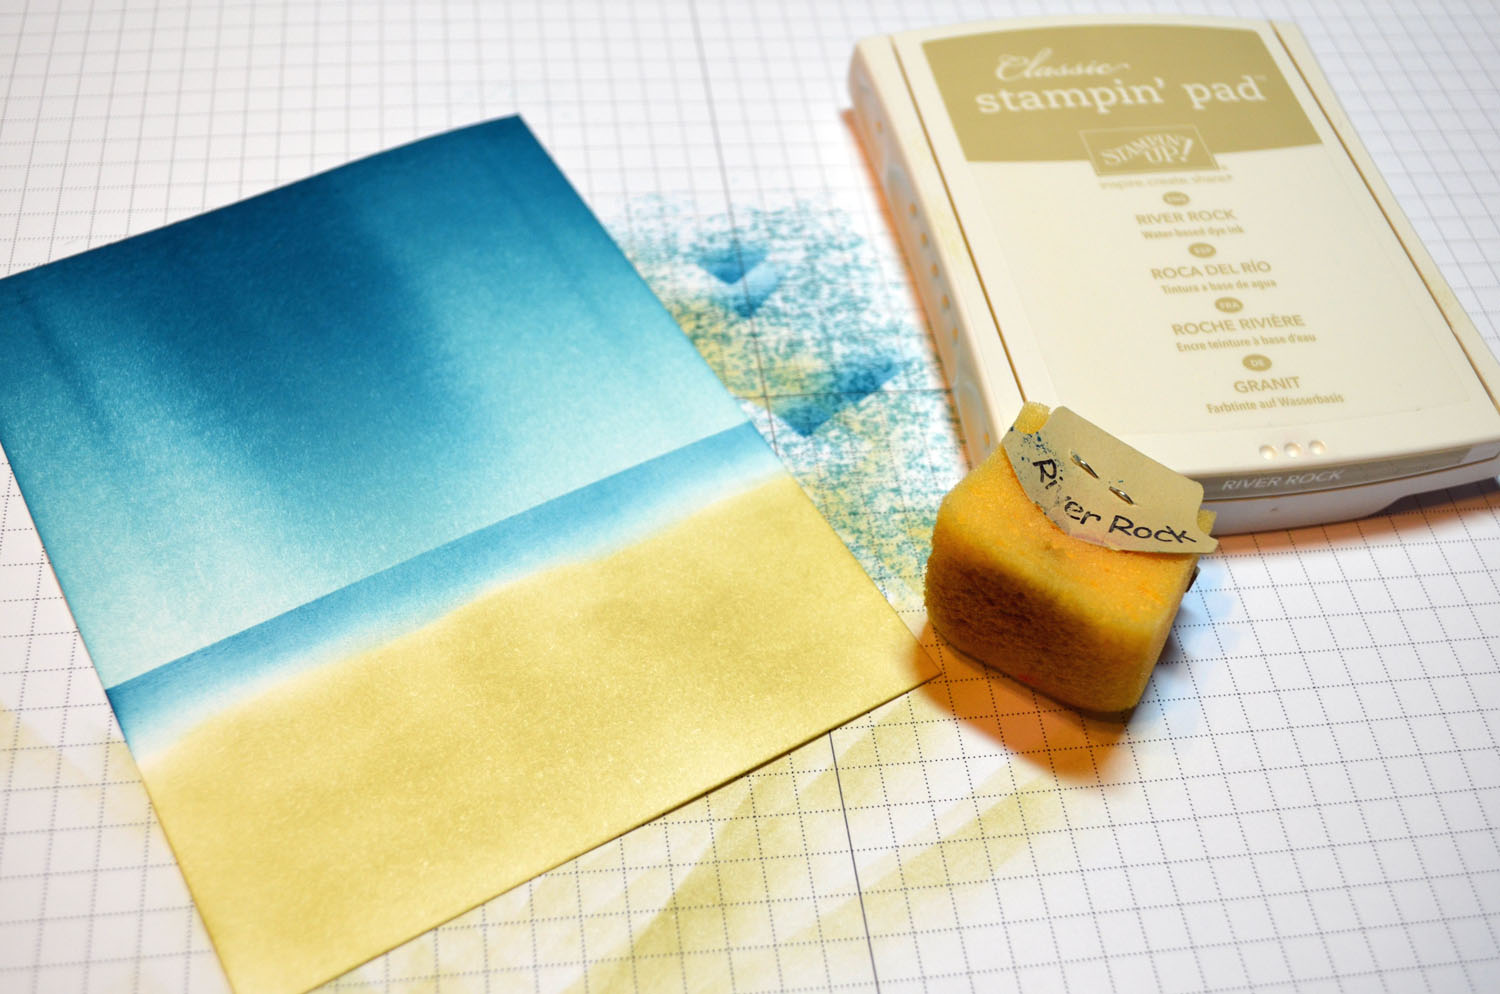
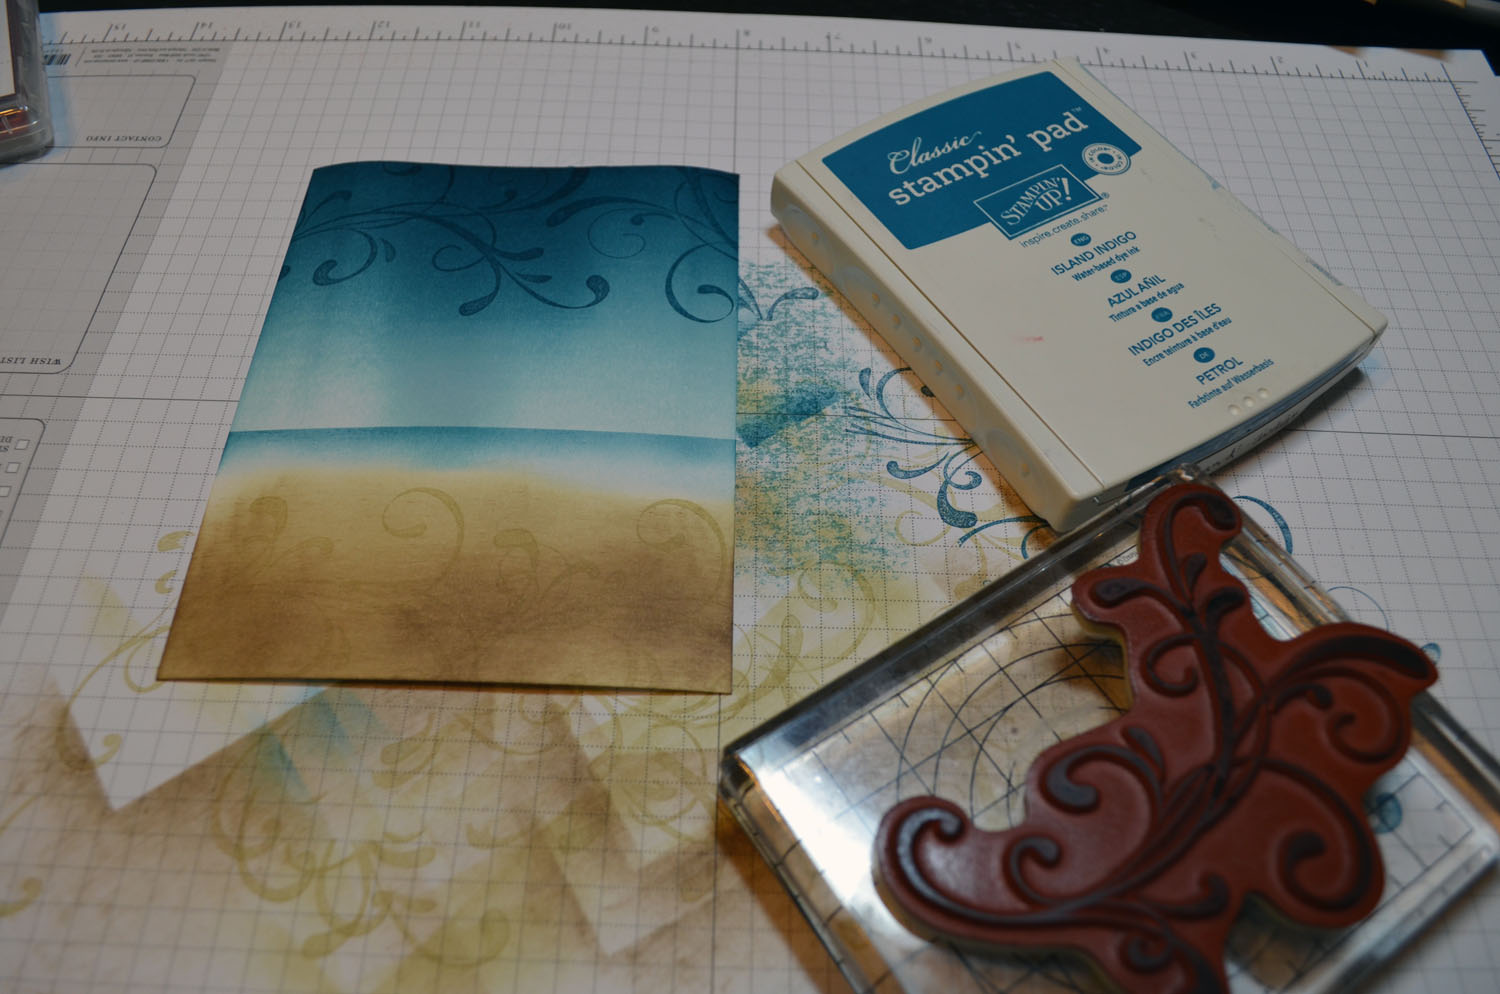
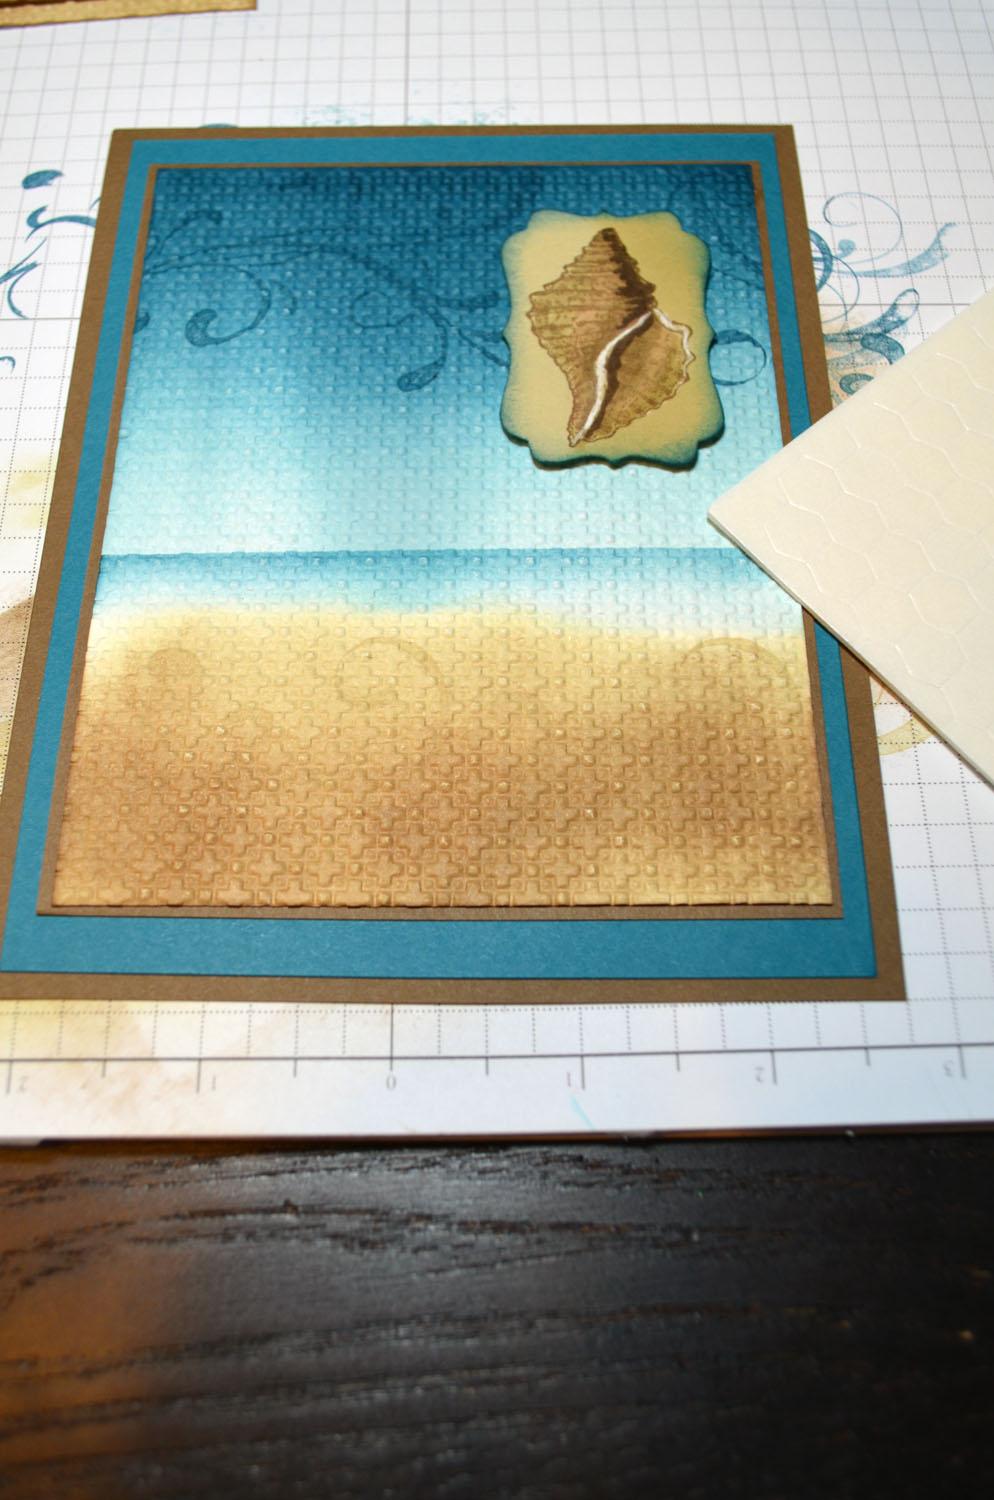
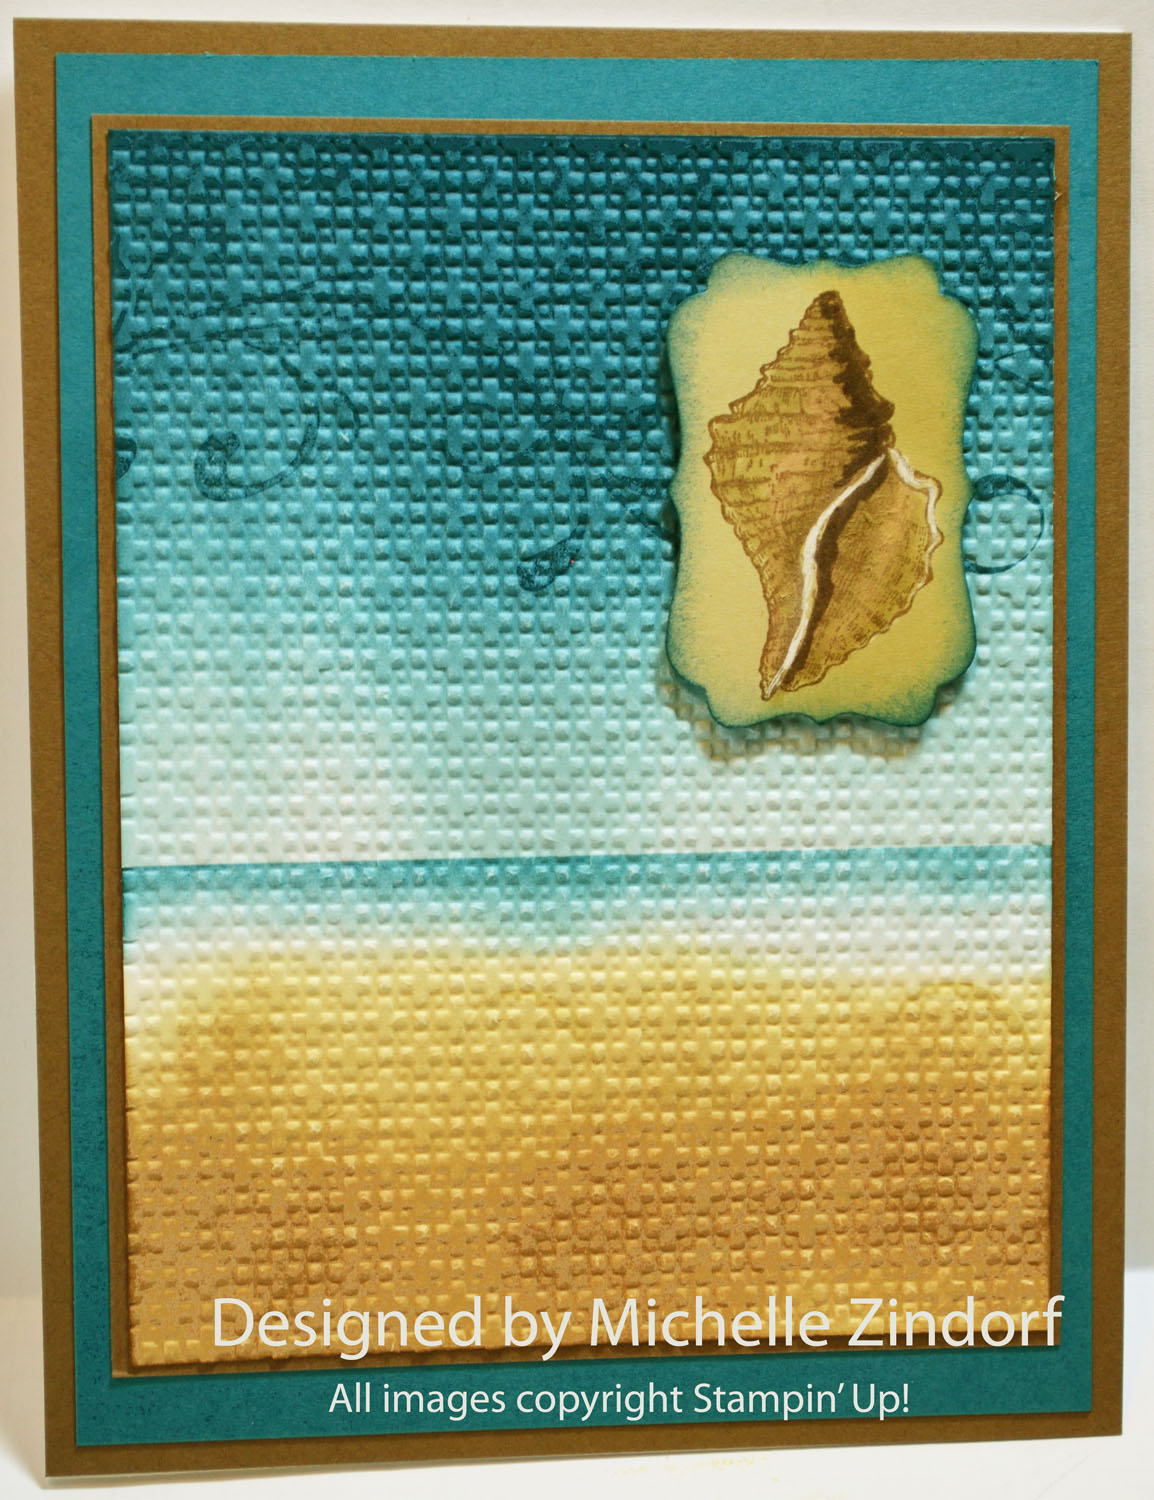
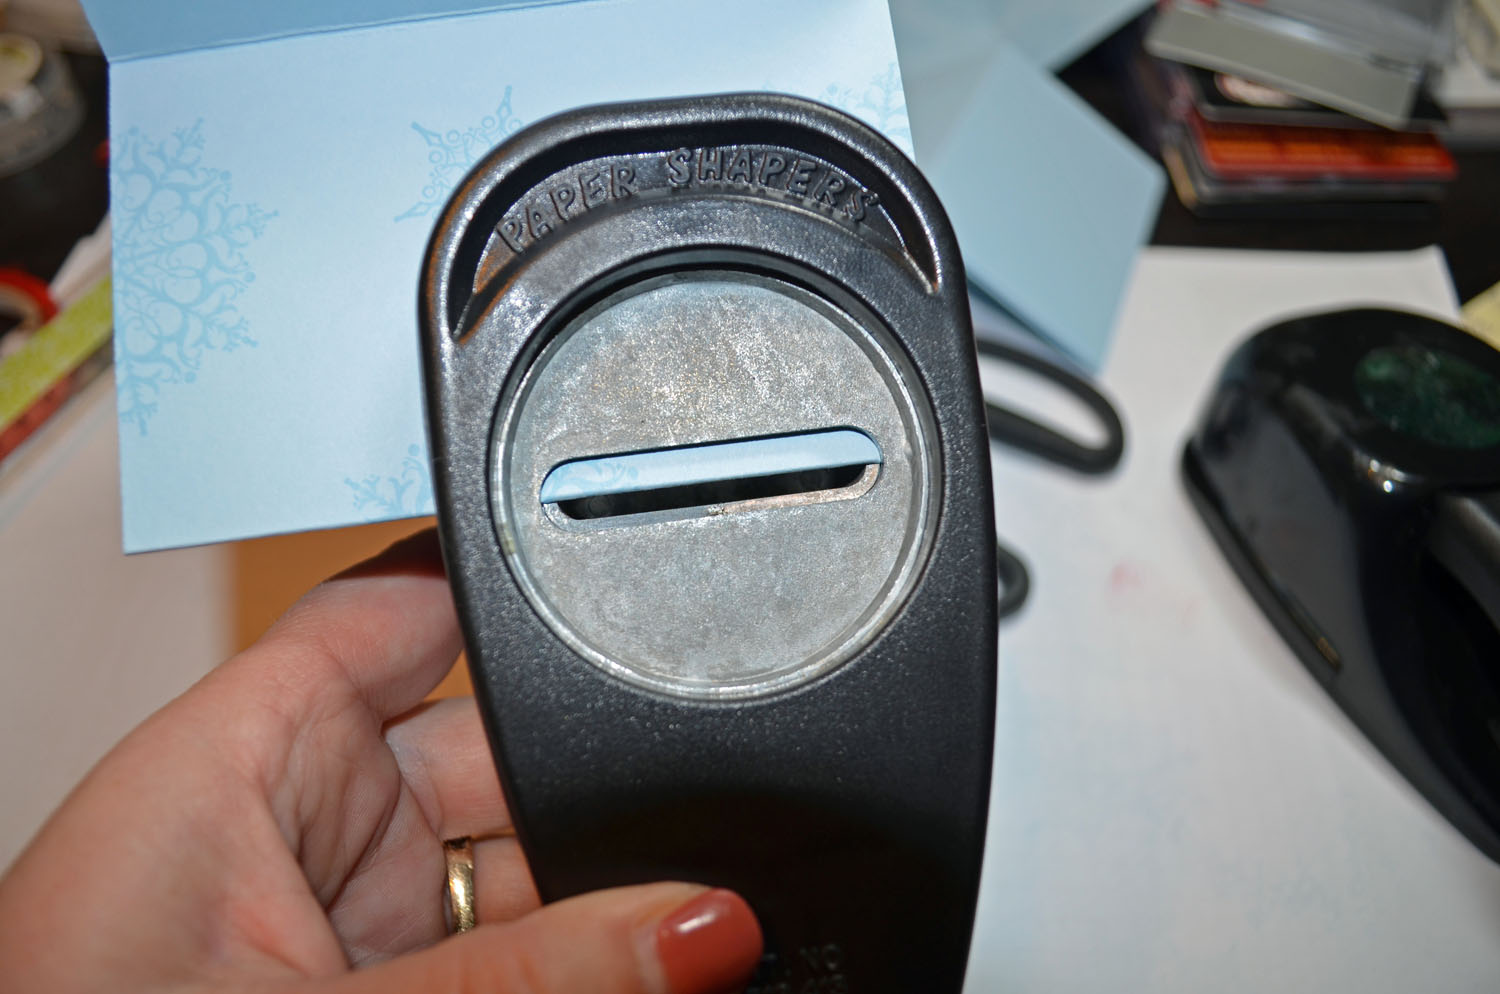
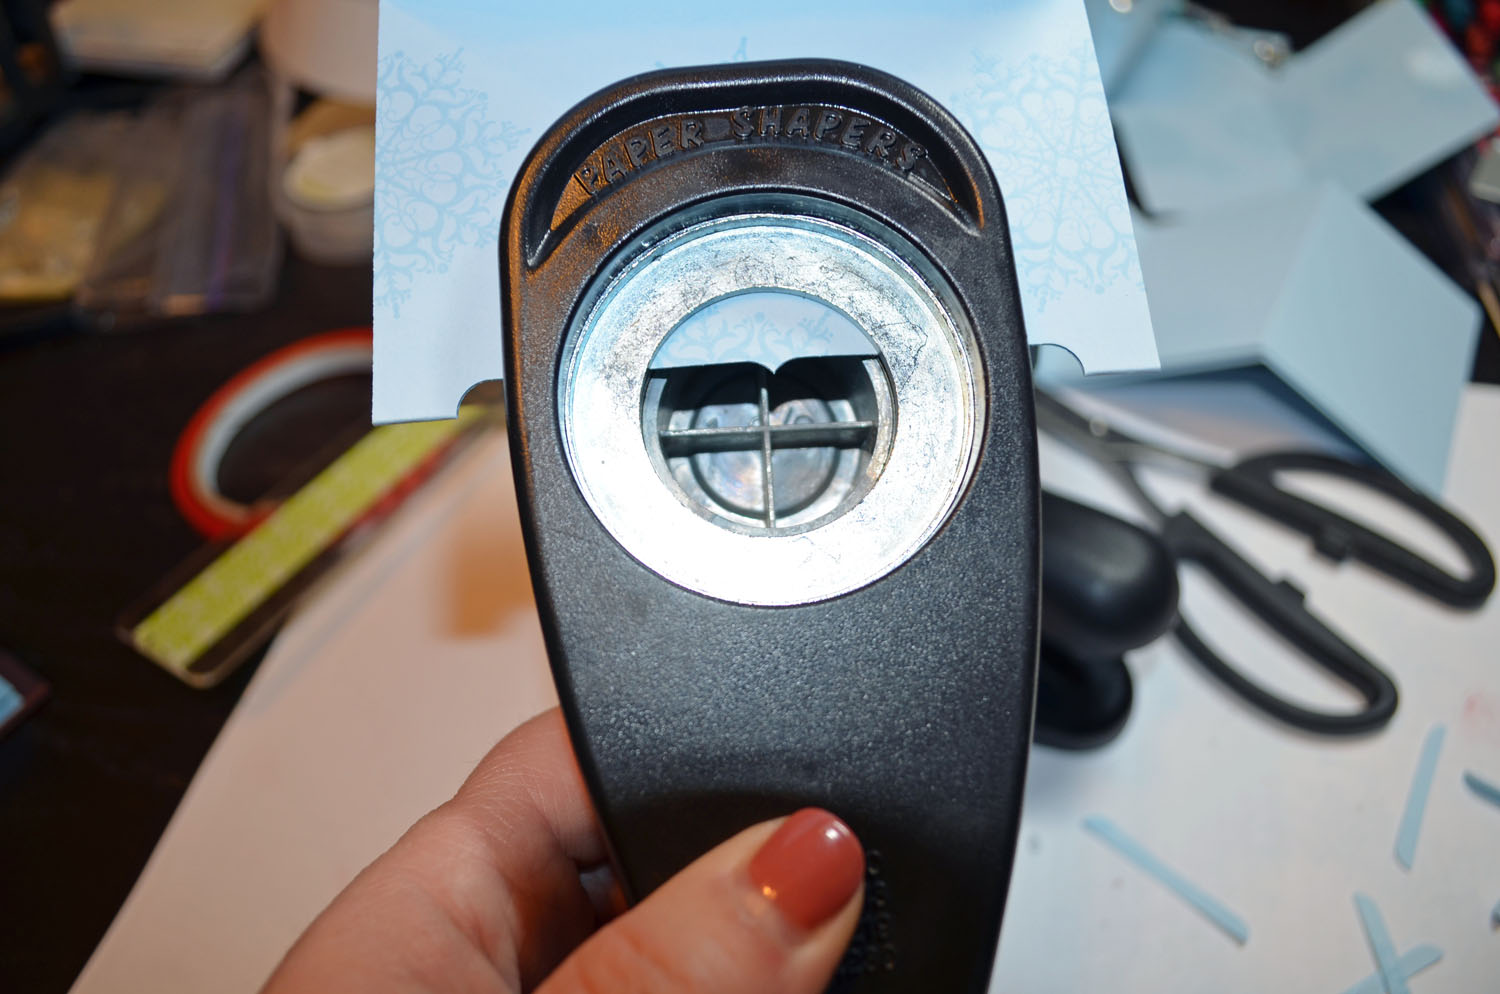
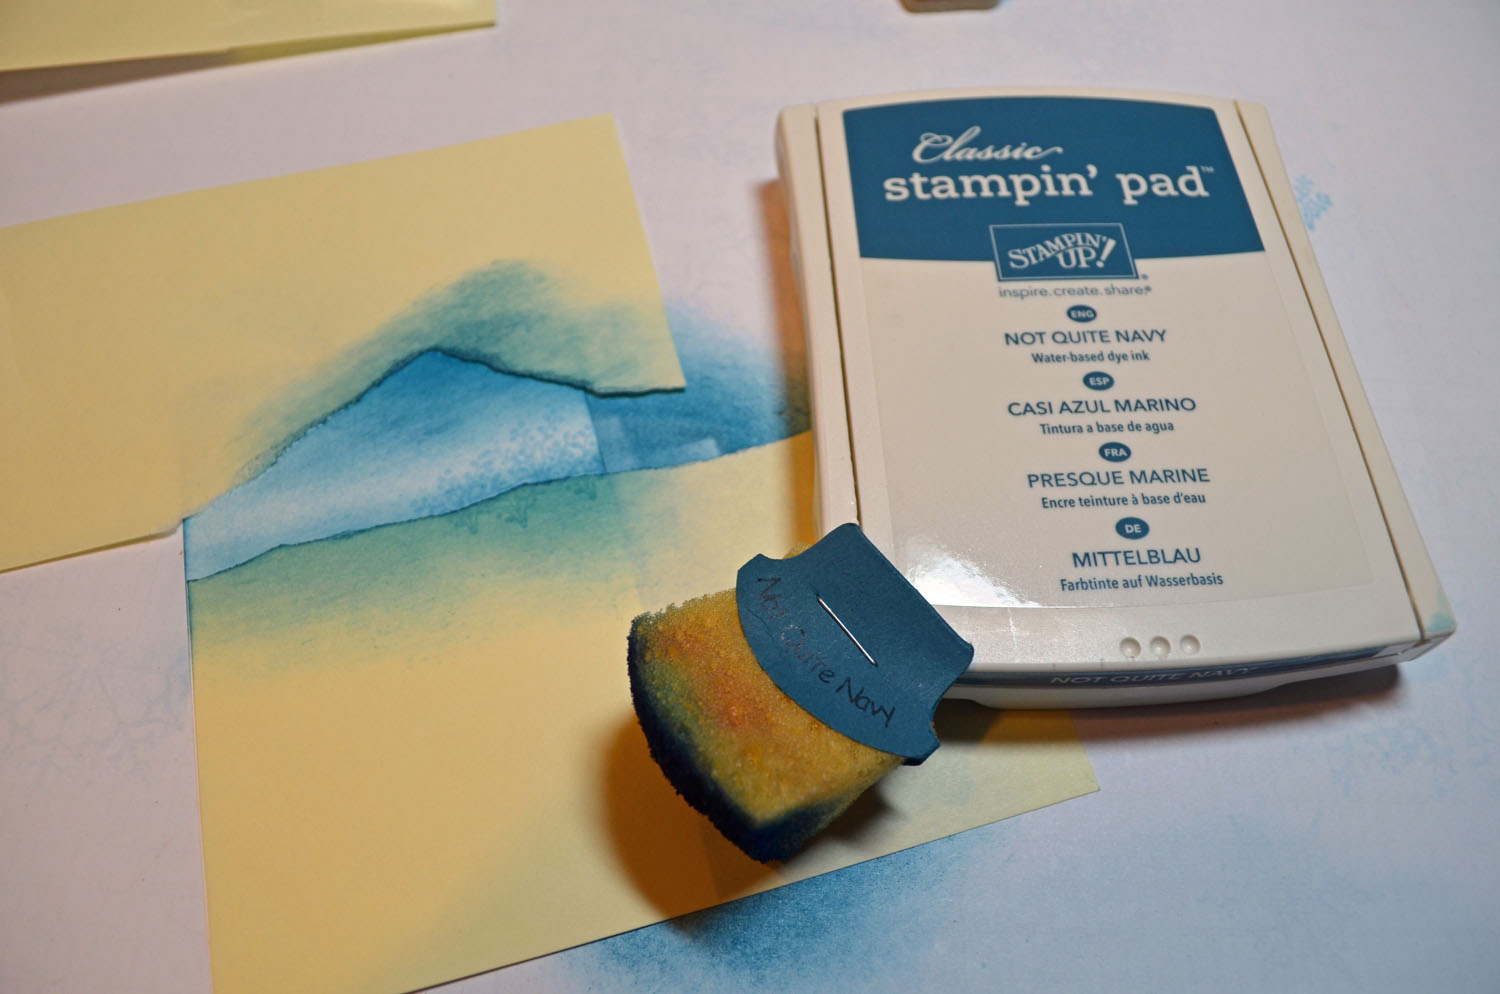
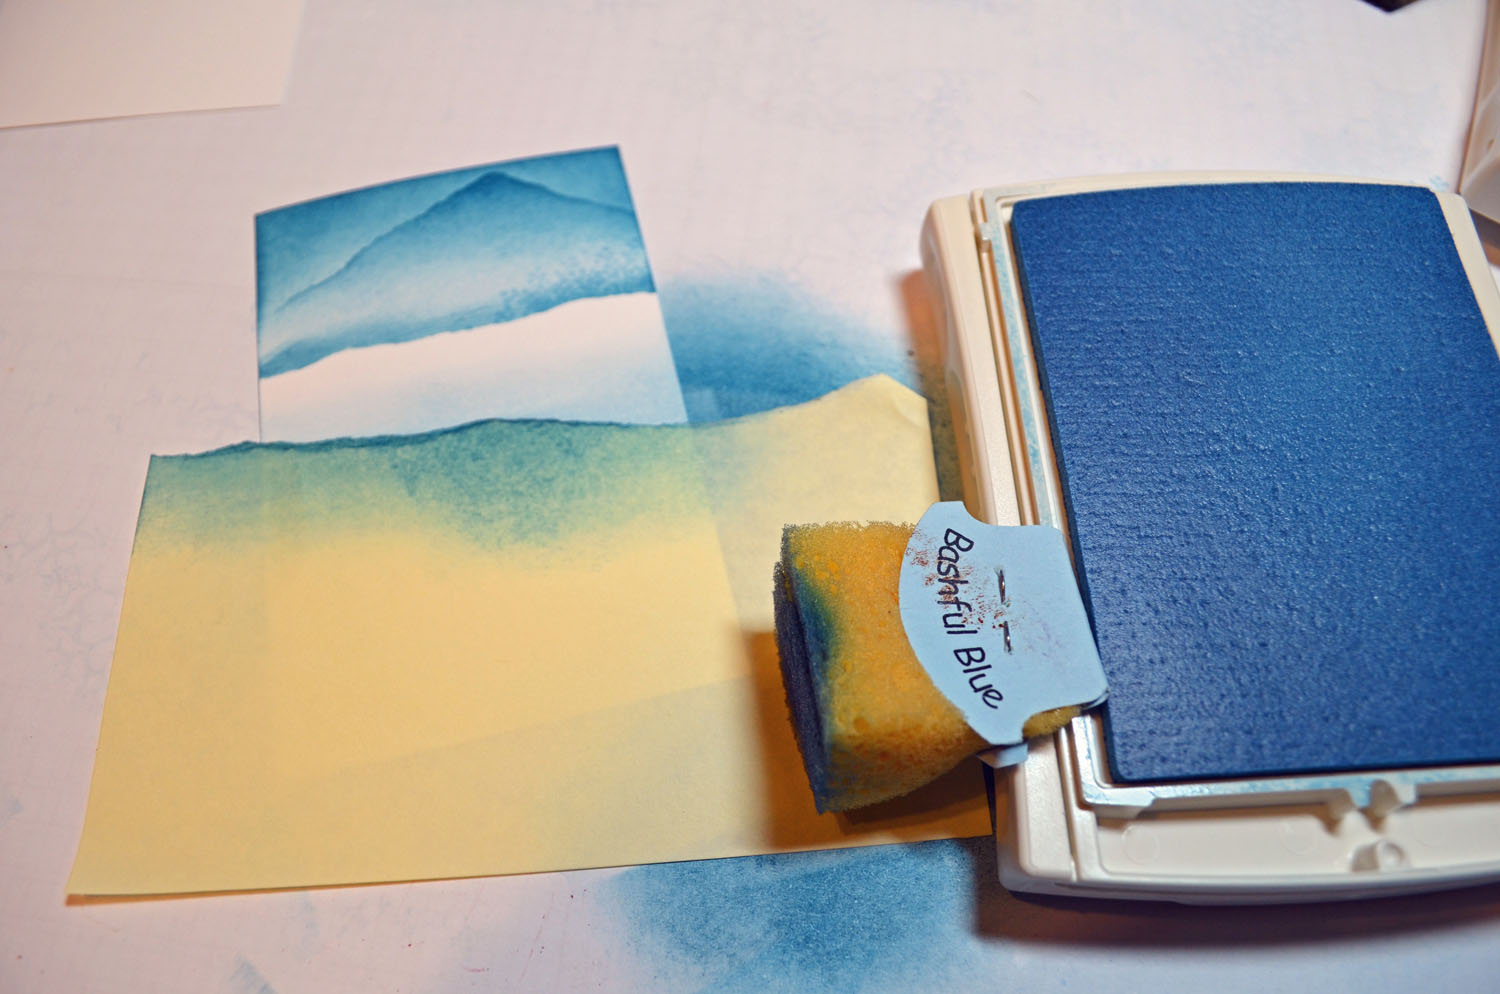
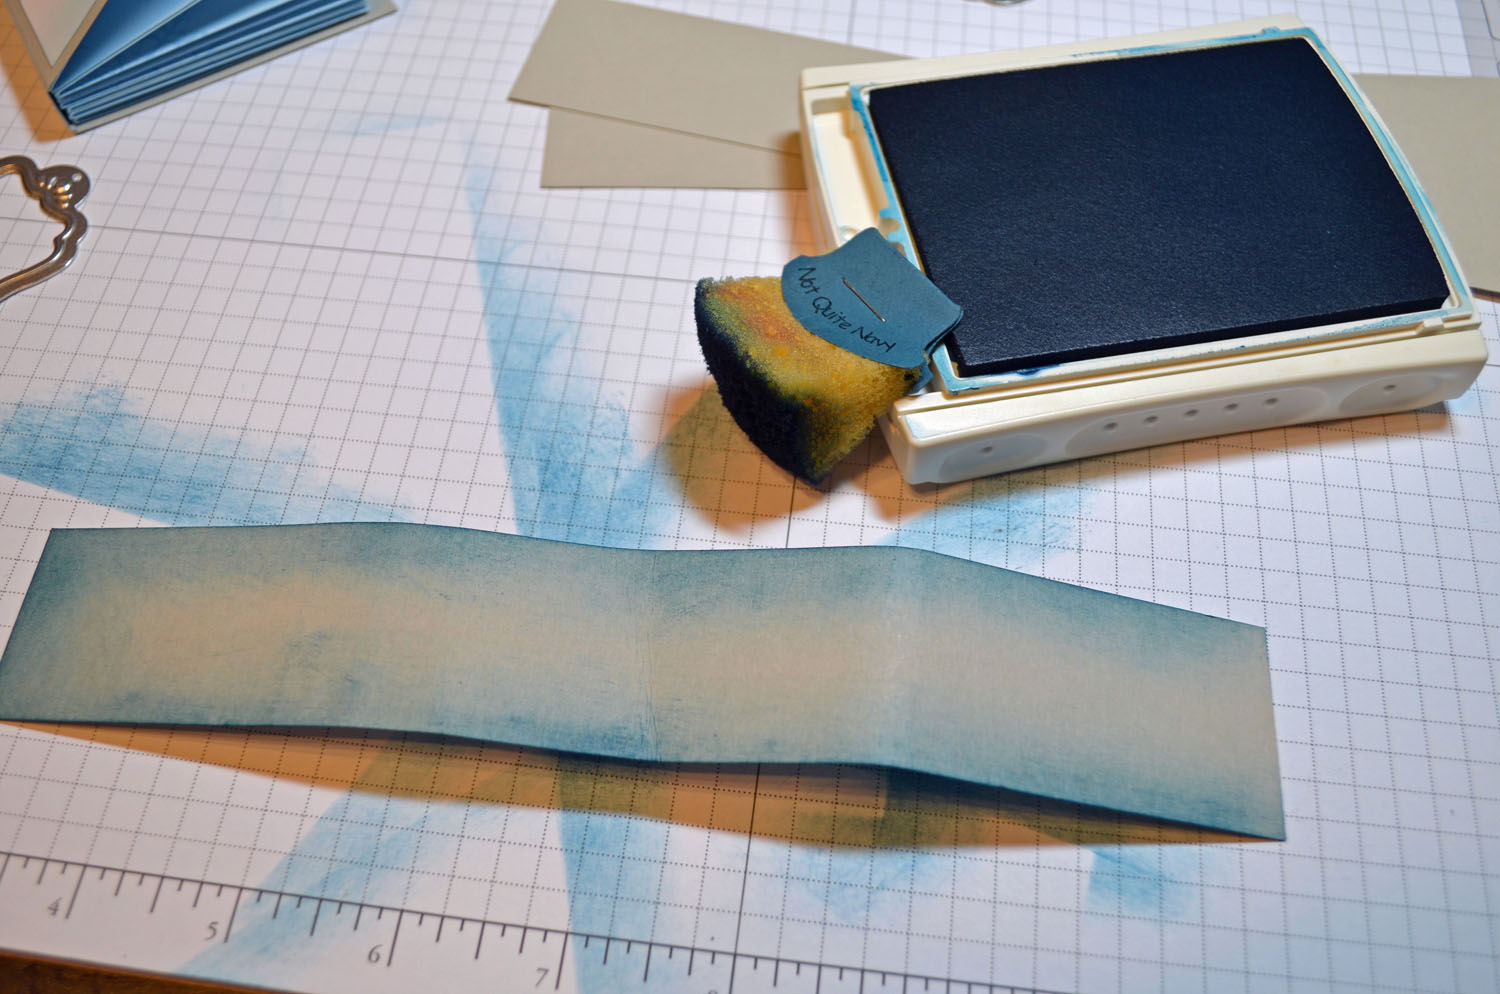
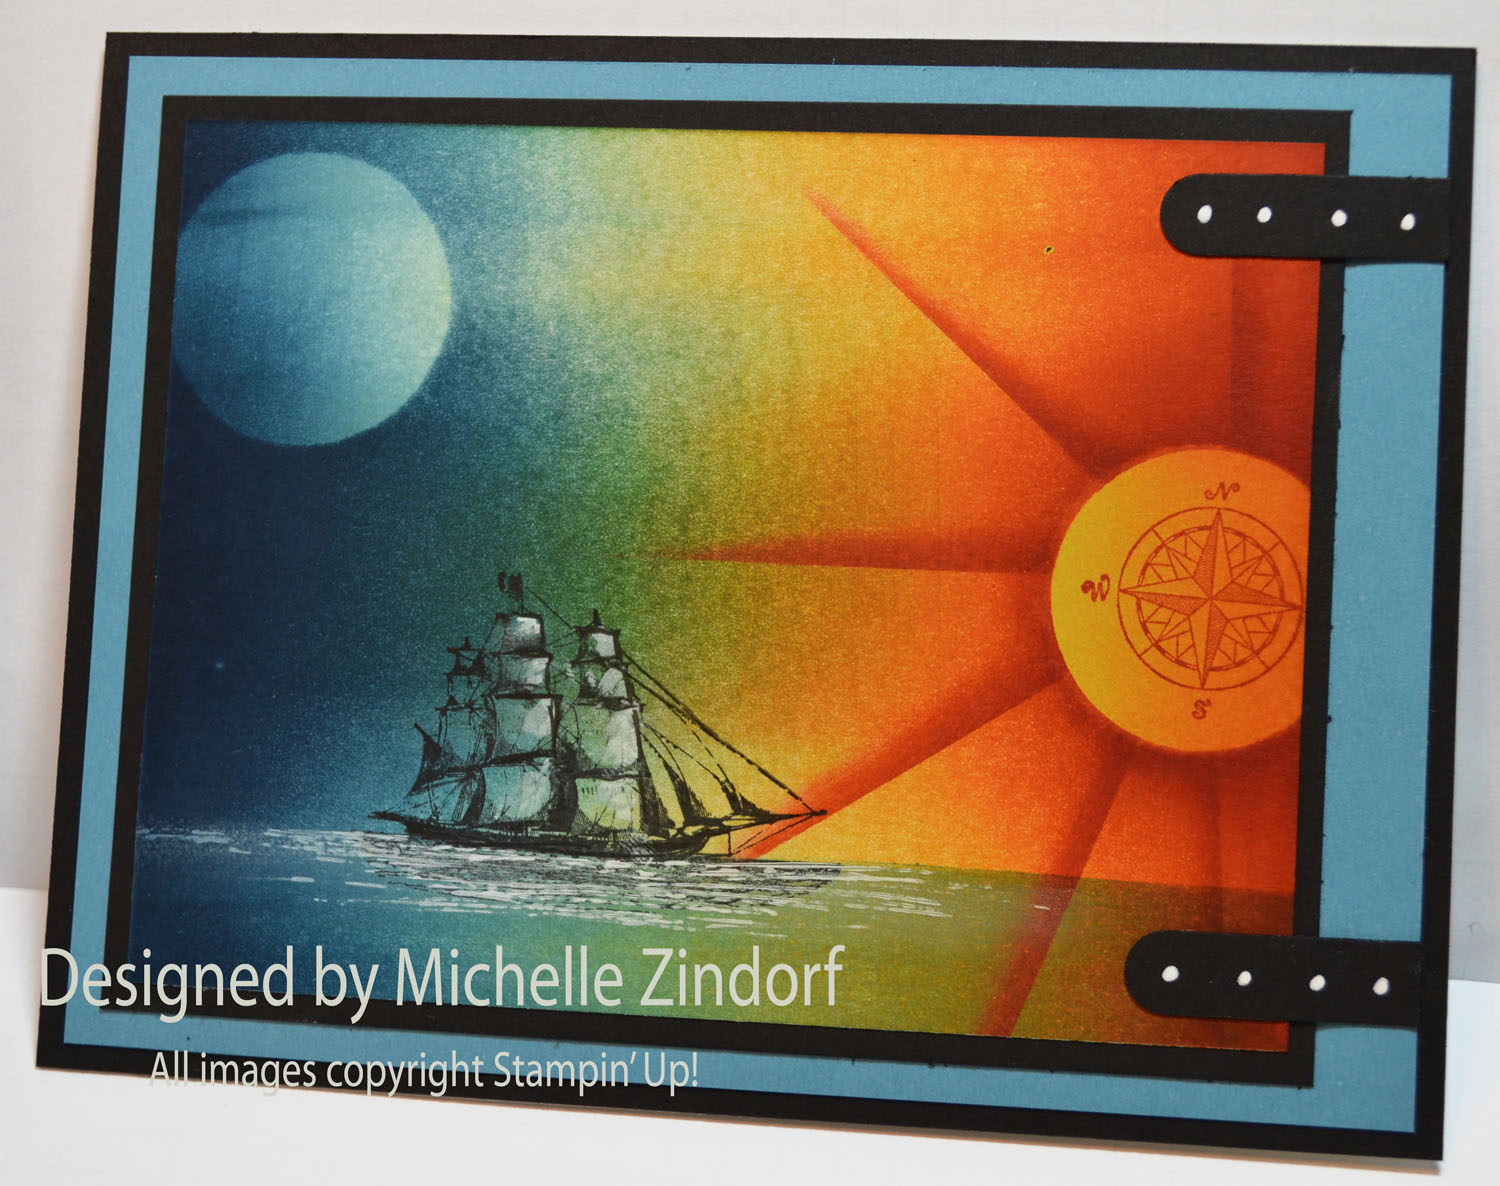
Punched a 3/4″ circle punch from the sticky part of a post it note and used it as a mask for the sun.

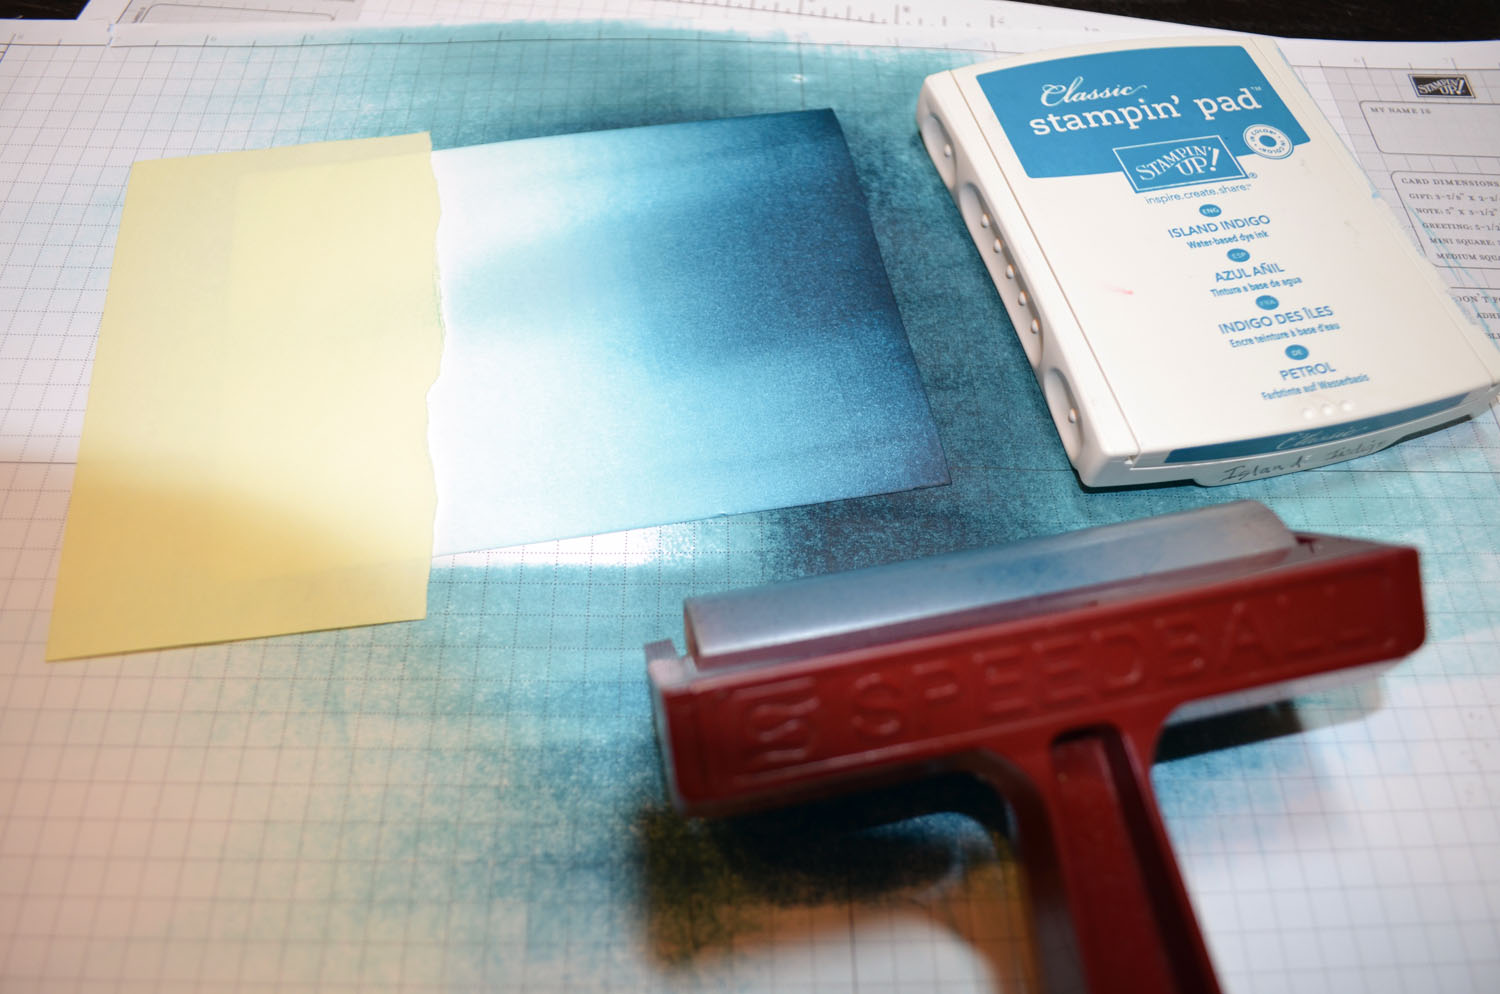
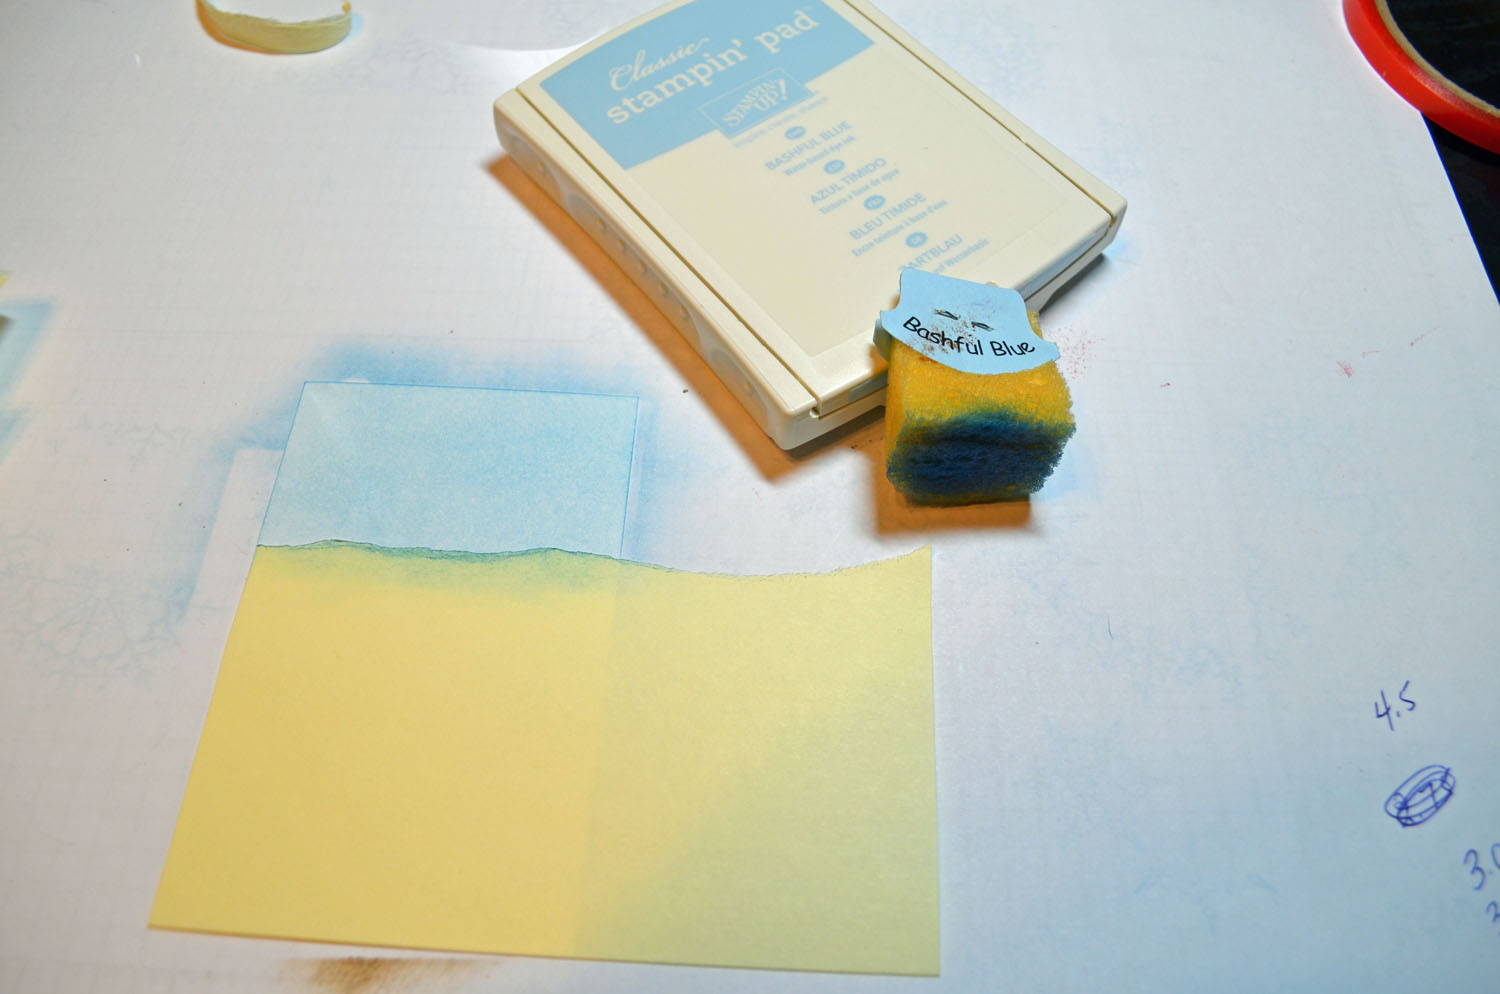
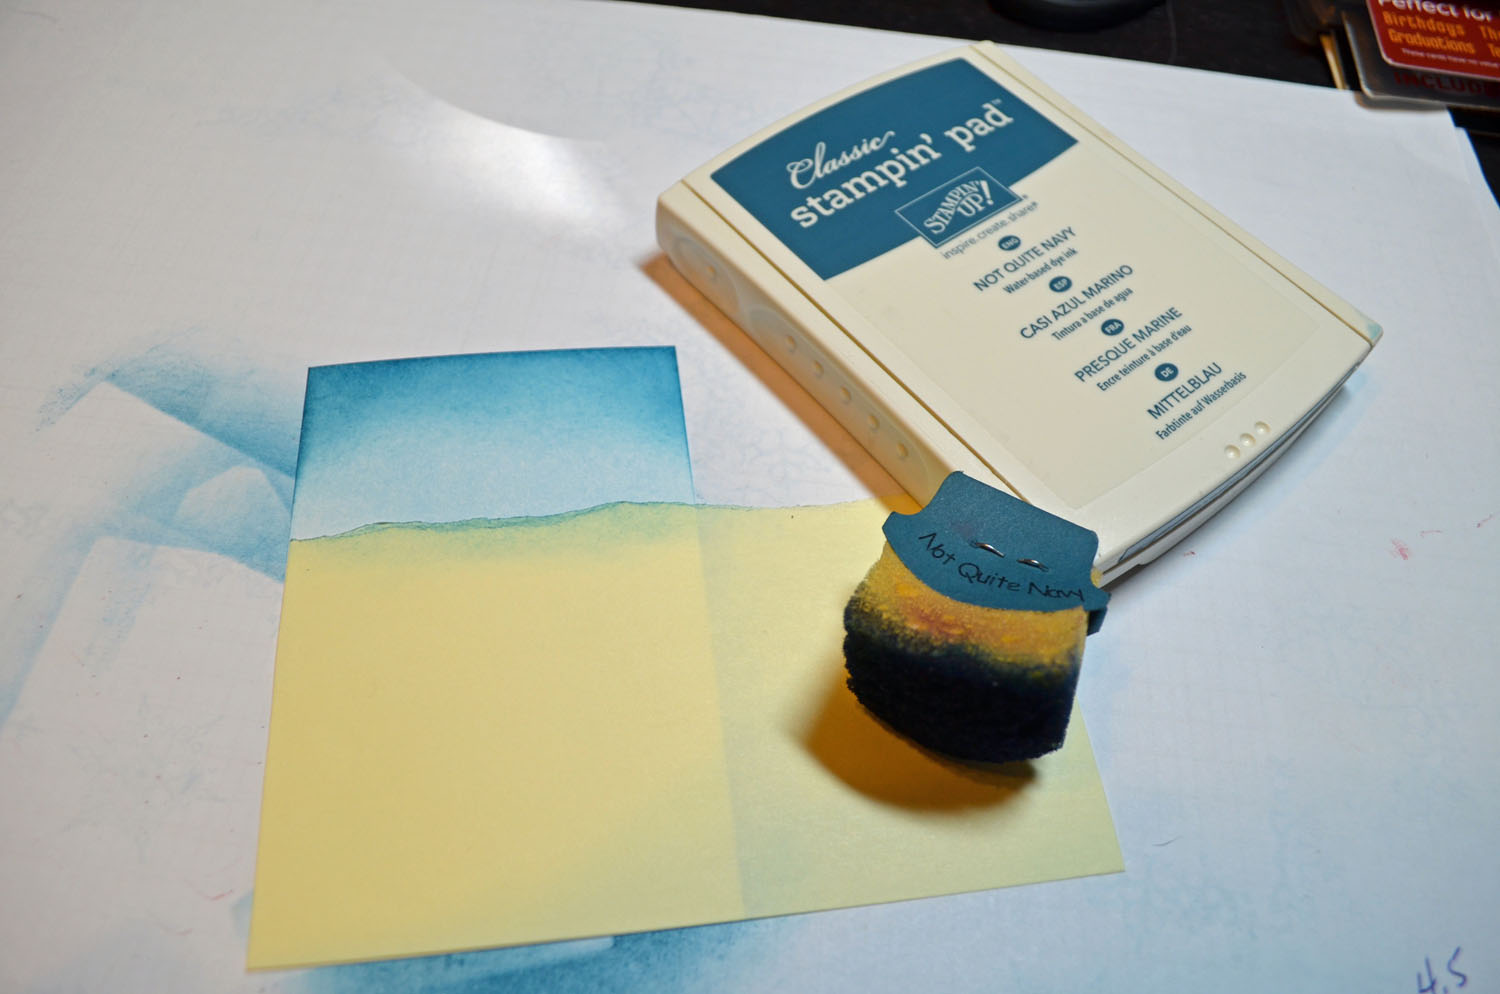
Brayered Daffodil Delight ink and then Pumpkin Pie ink at an angle.


Removed the sun mask and sponged in Daffodil Delight ink in the sun.

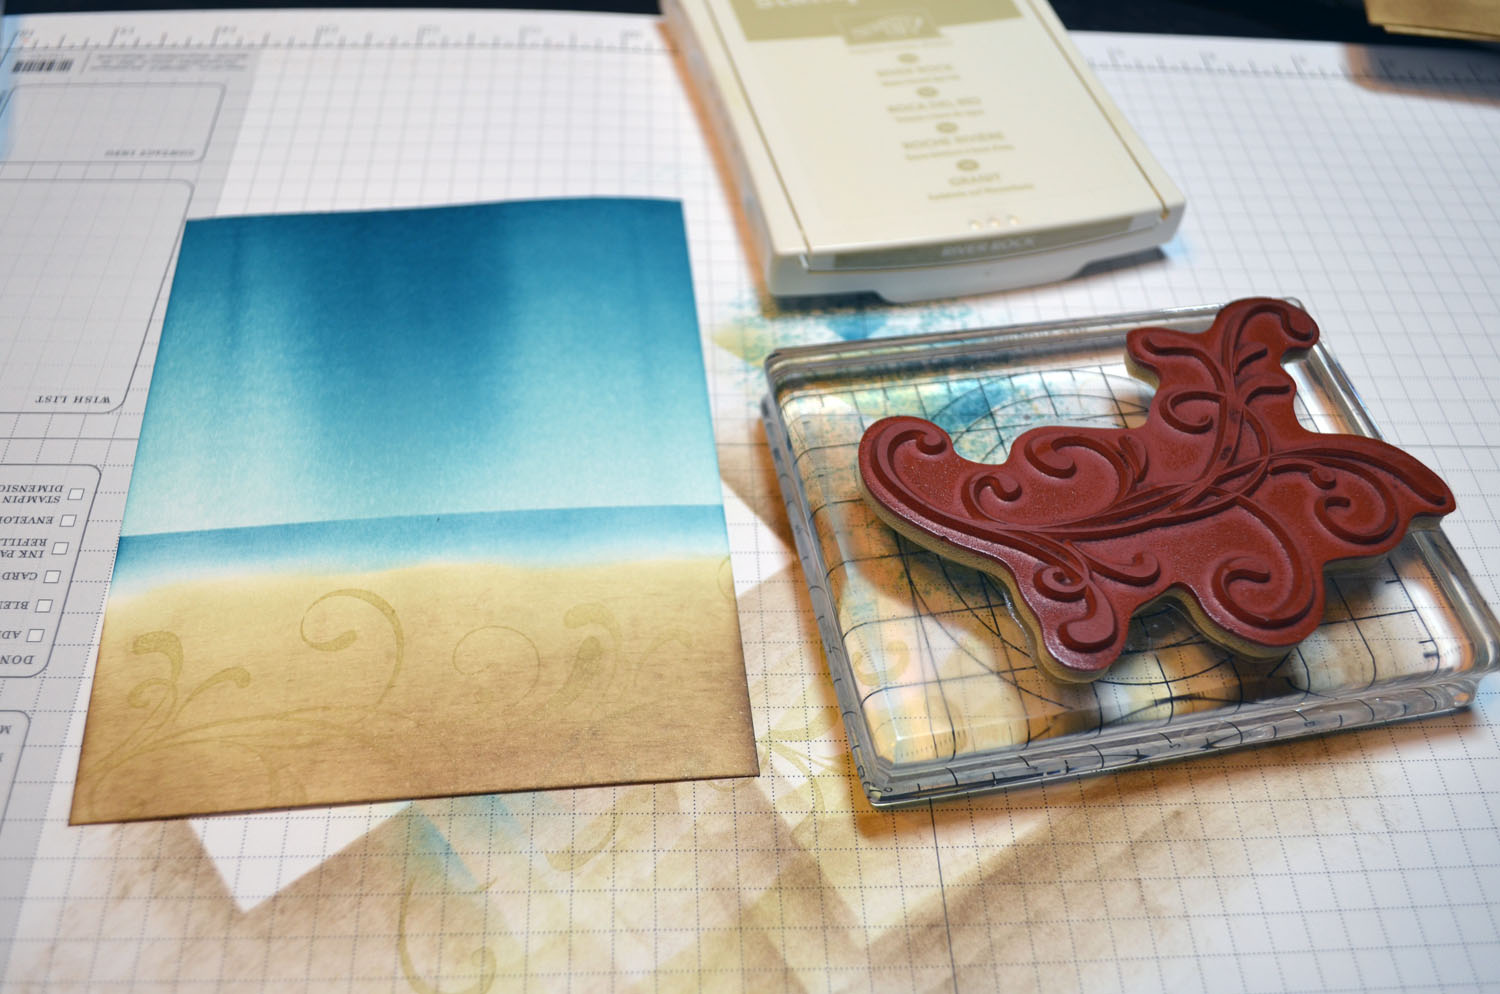
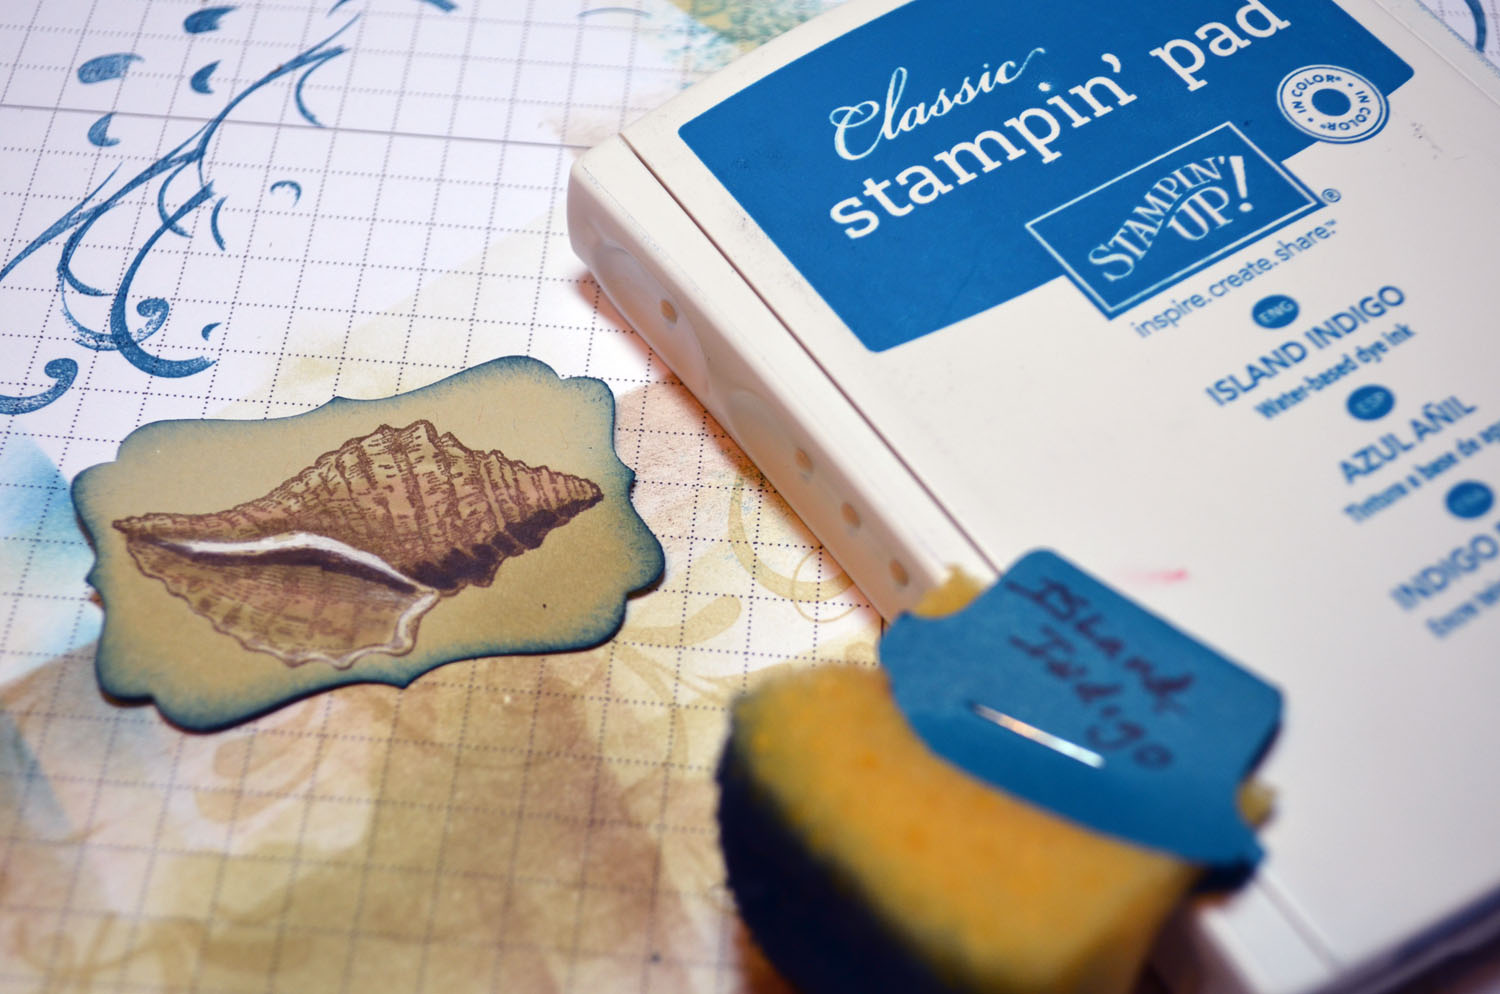
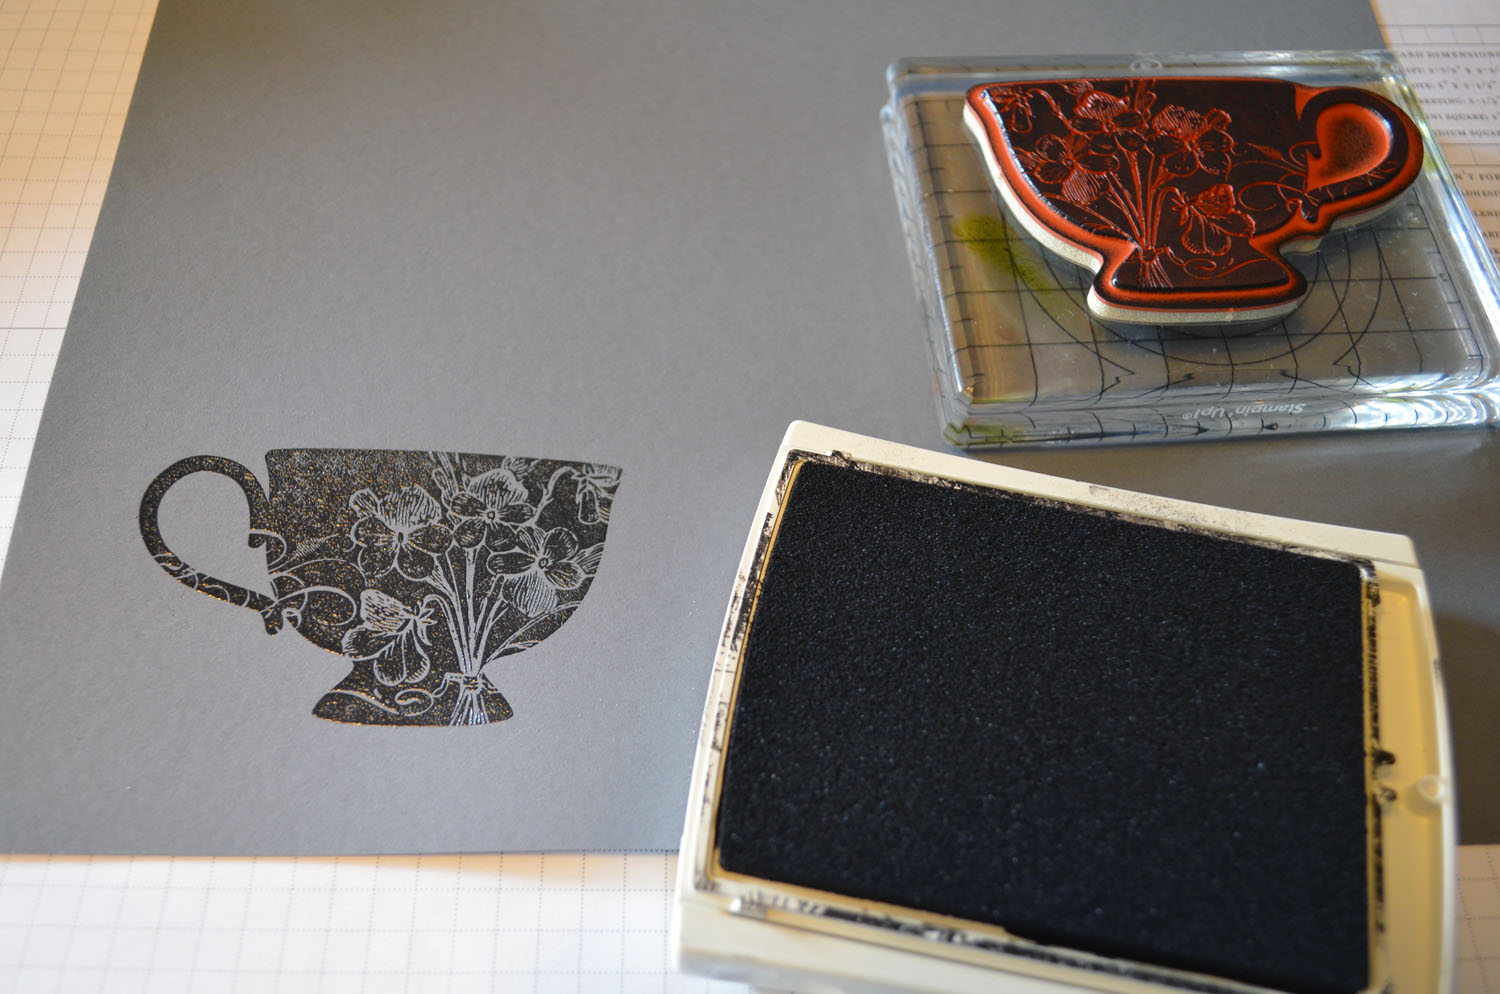
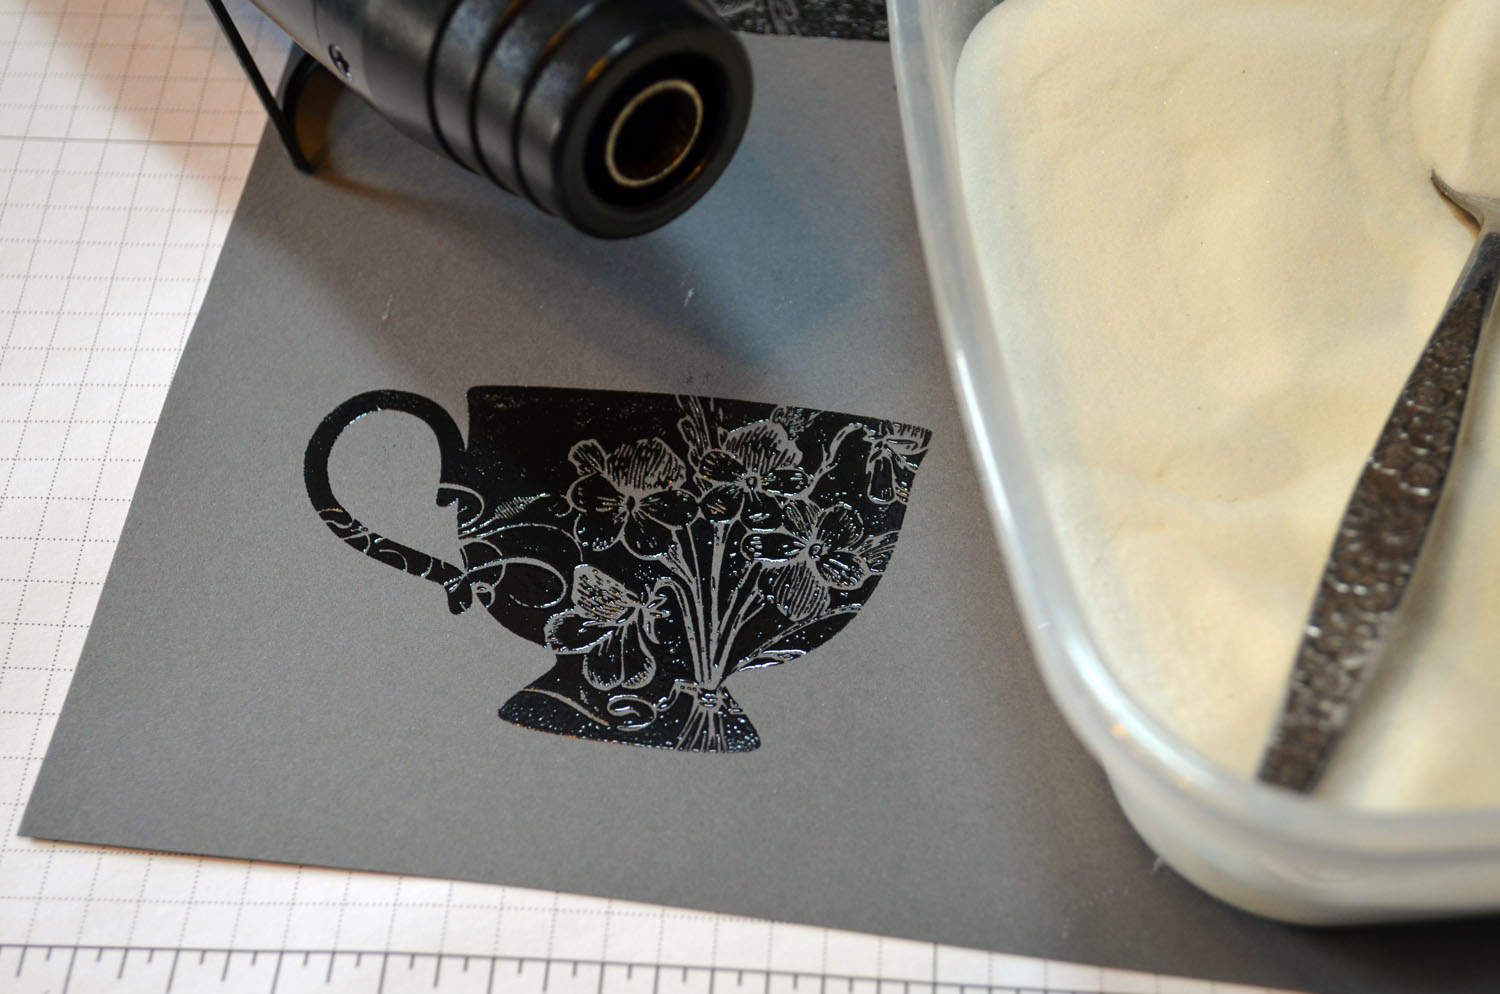
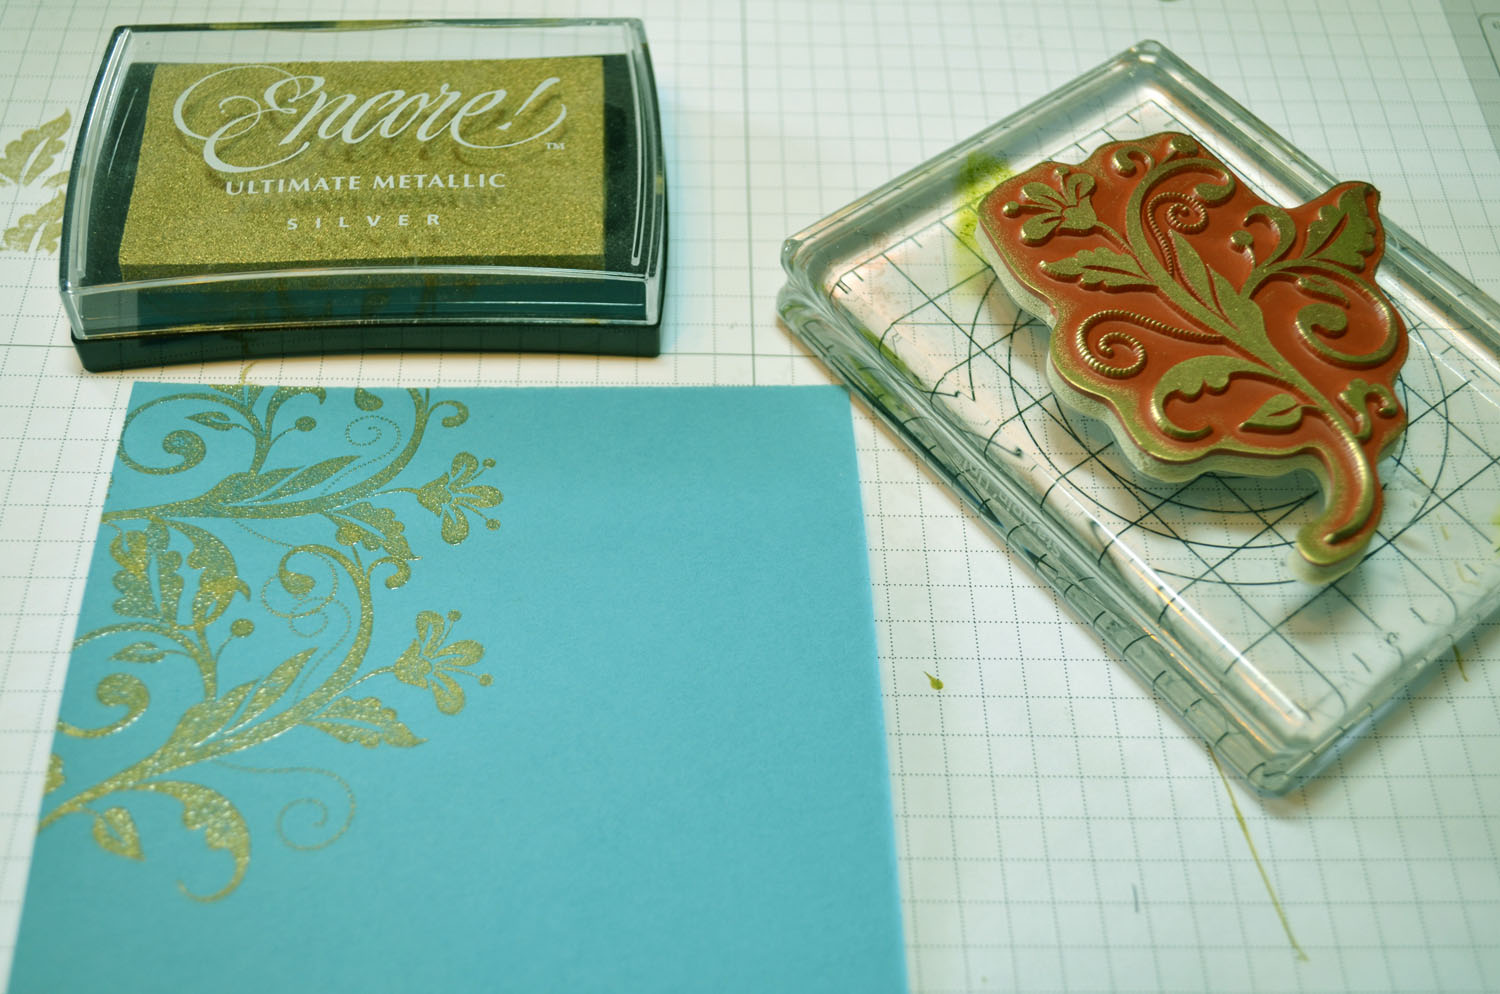
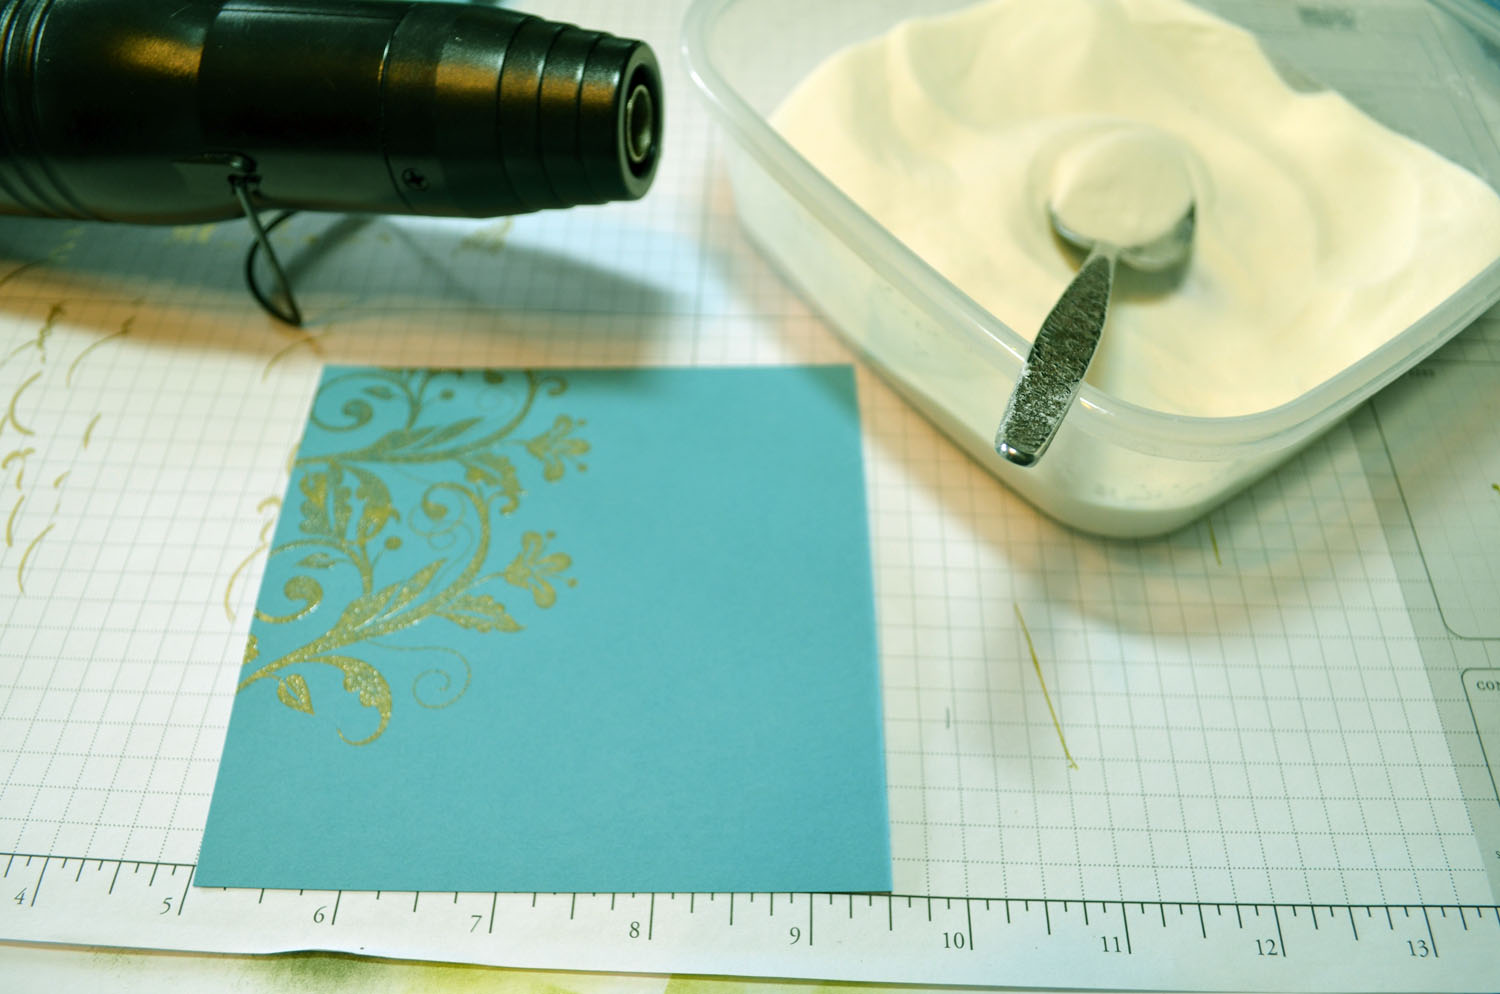
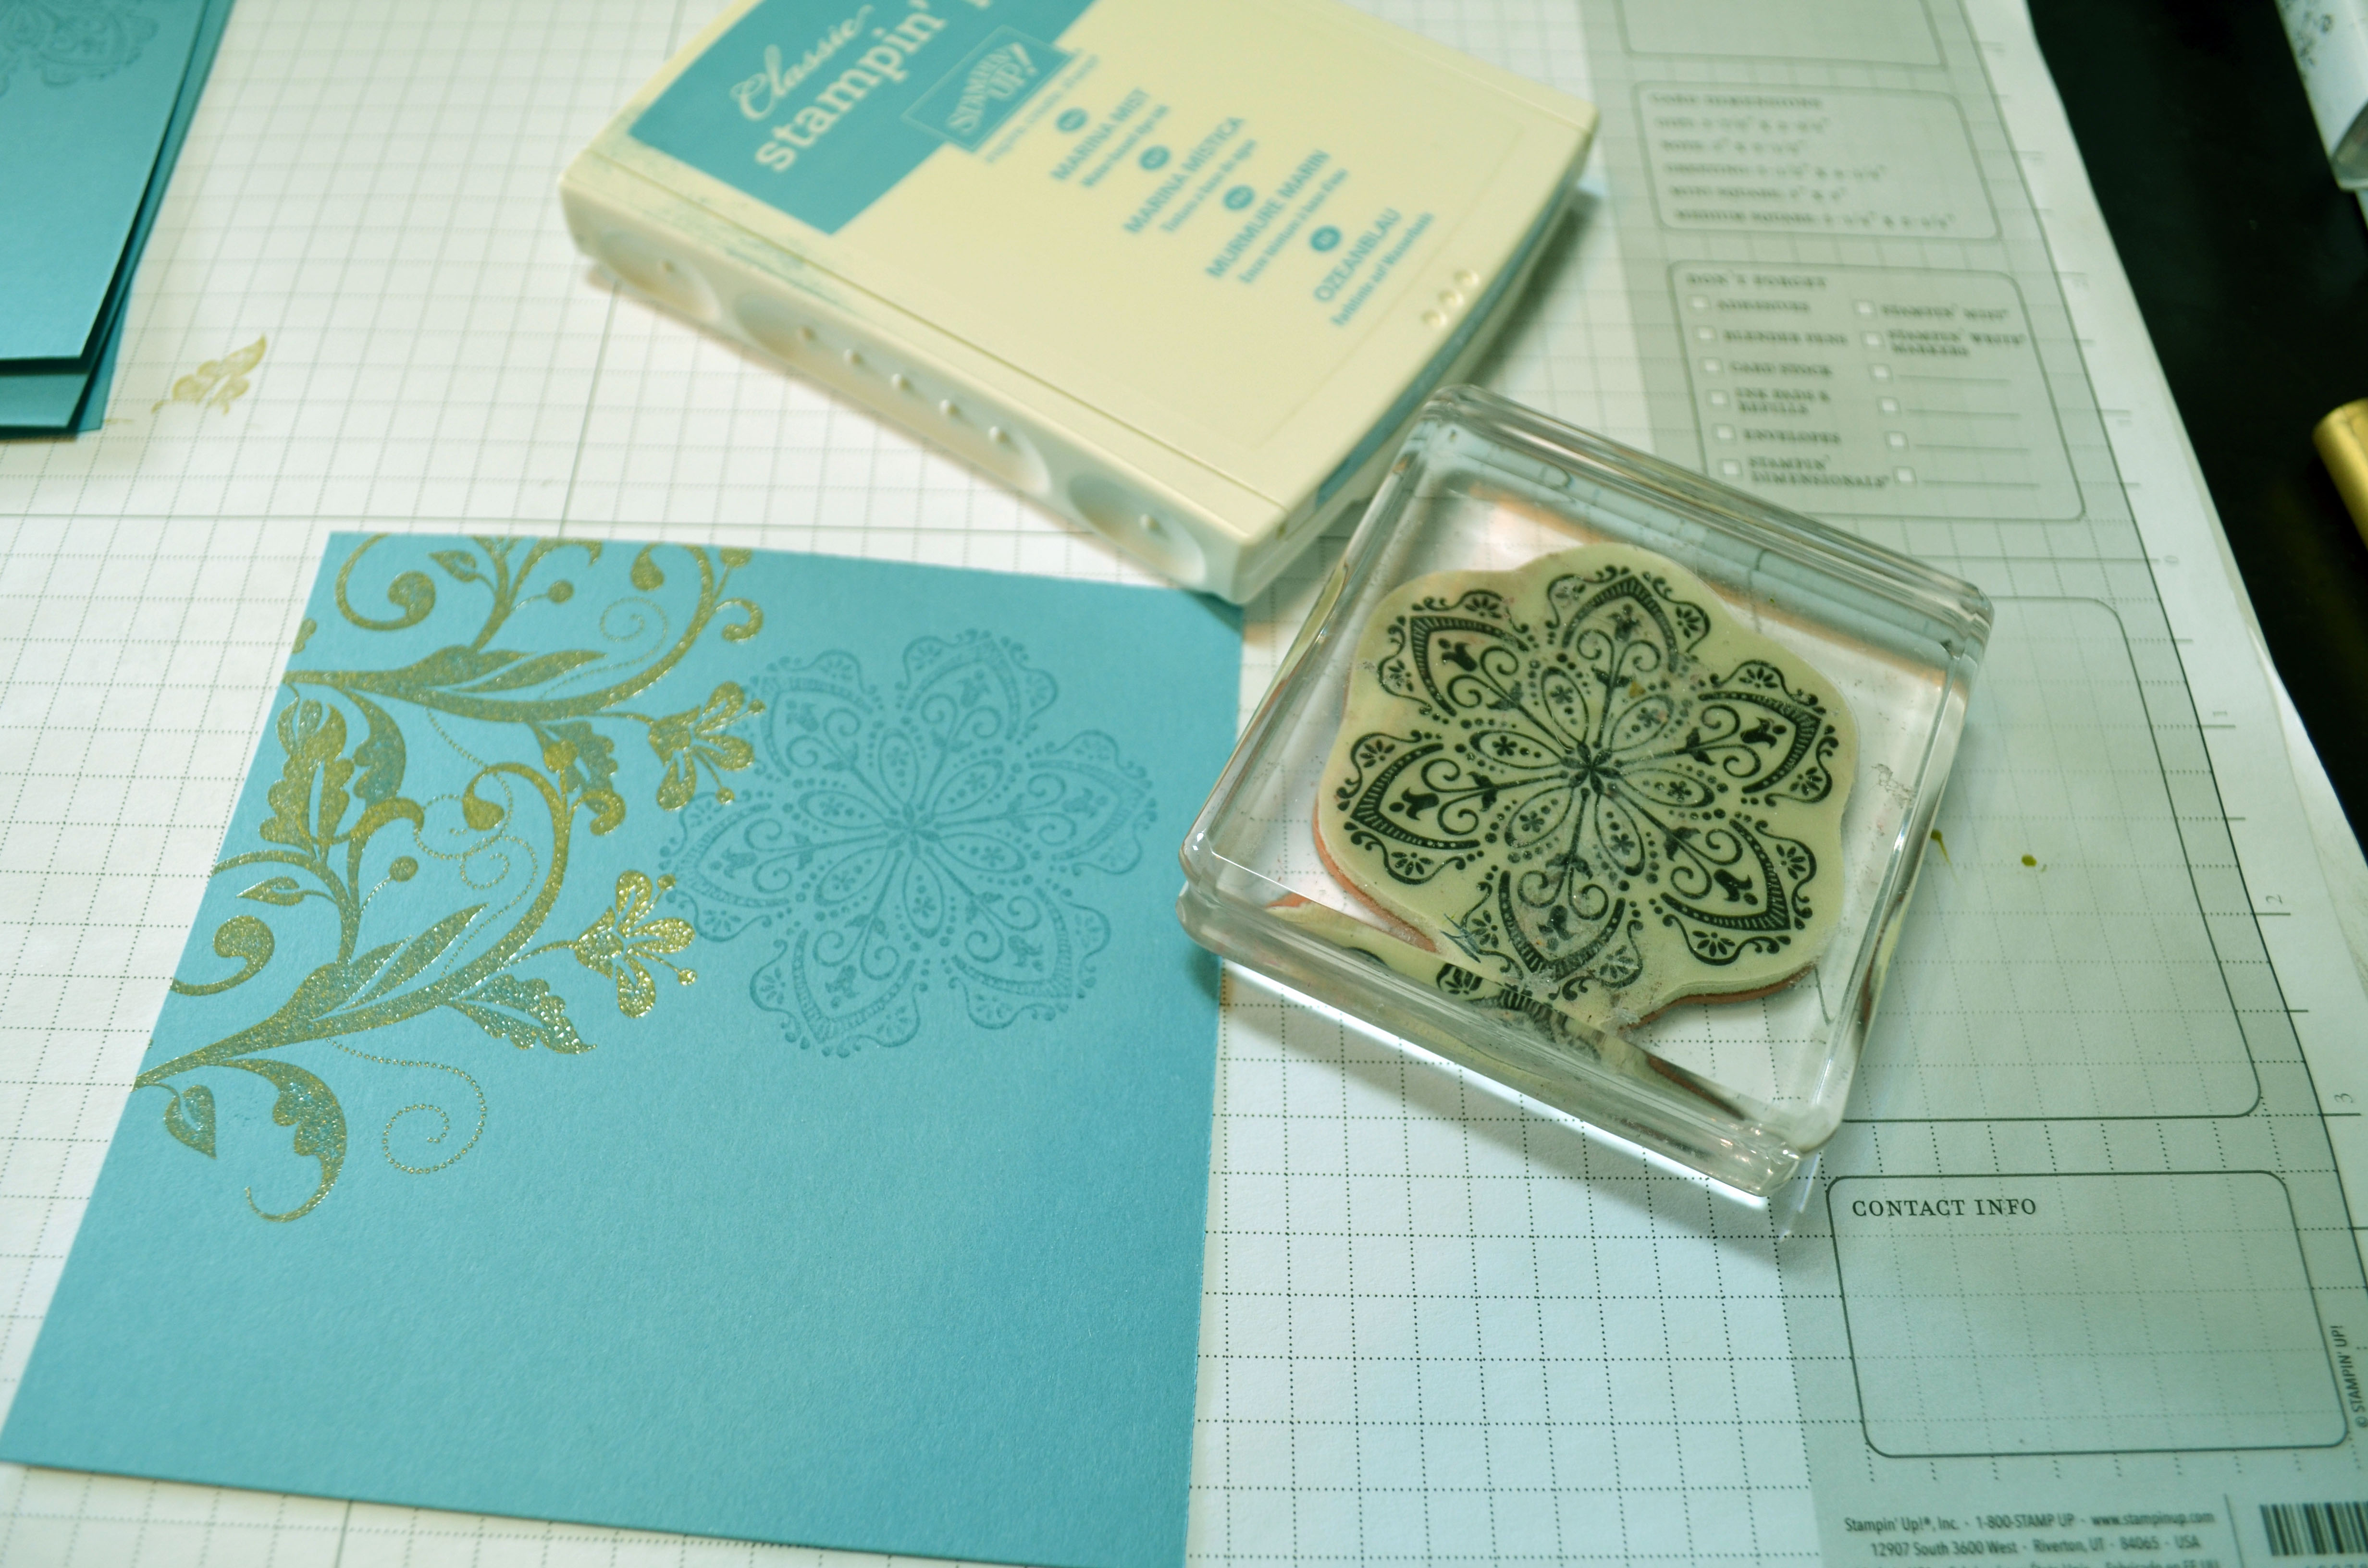
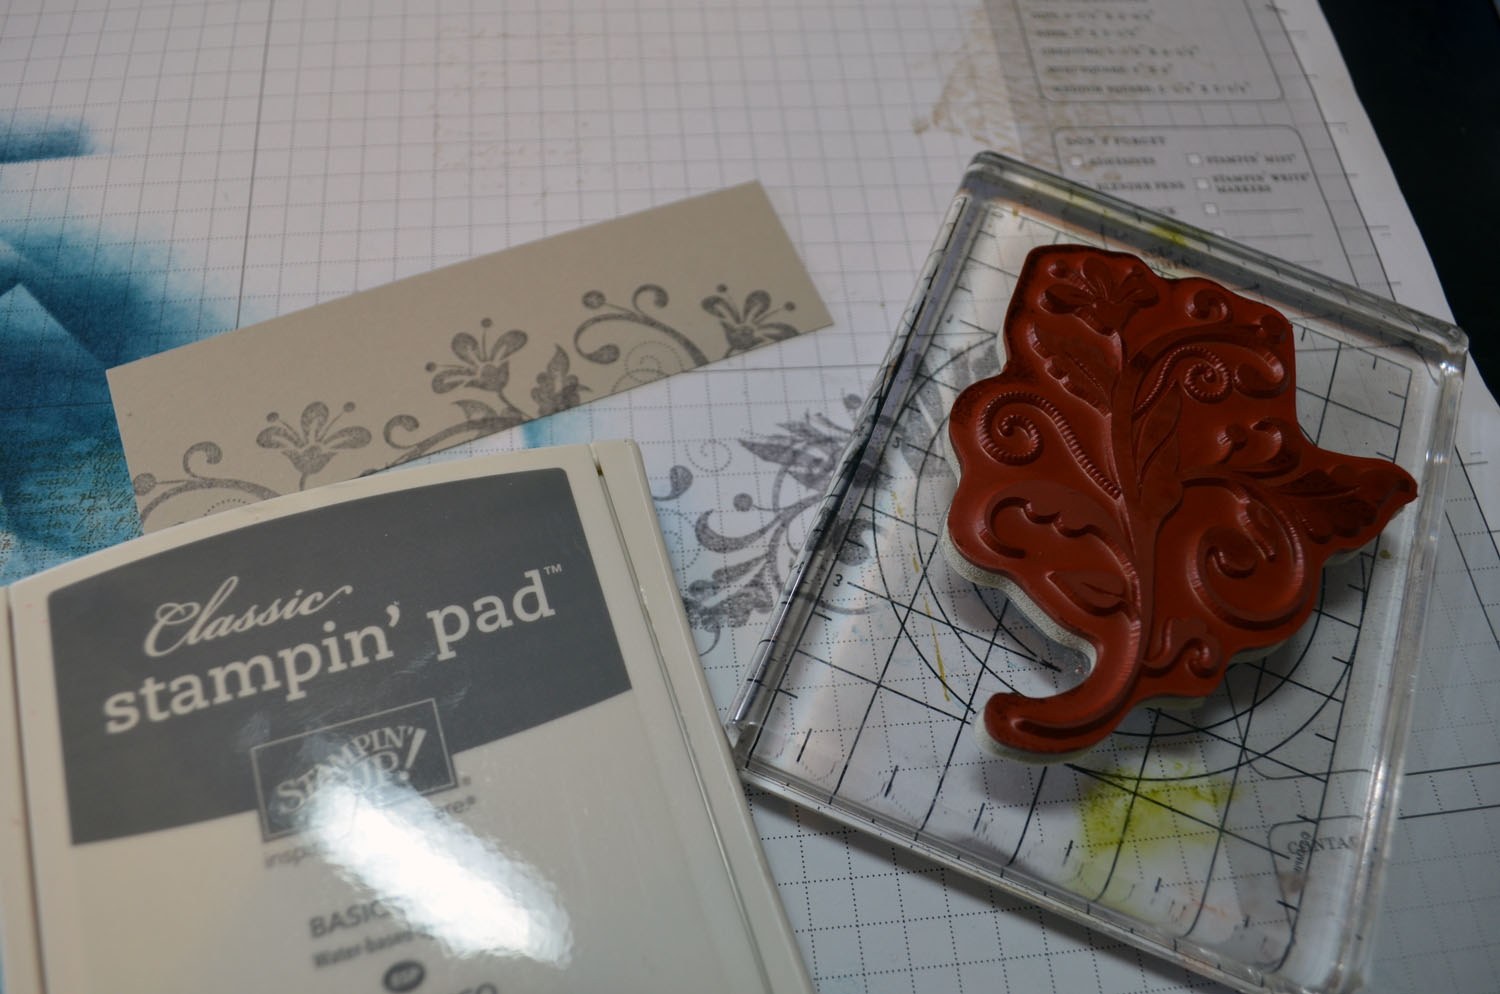
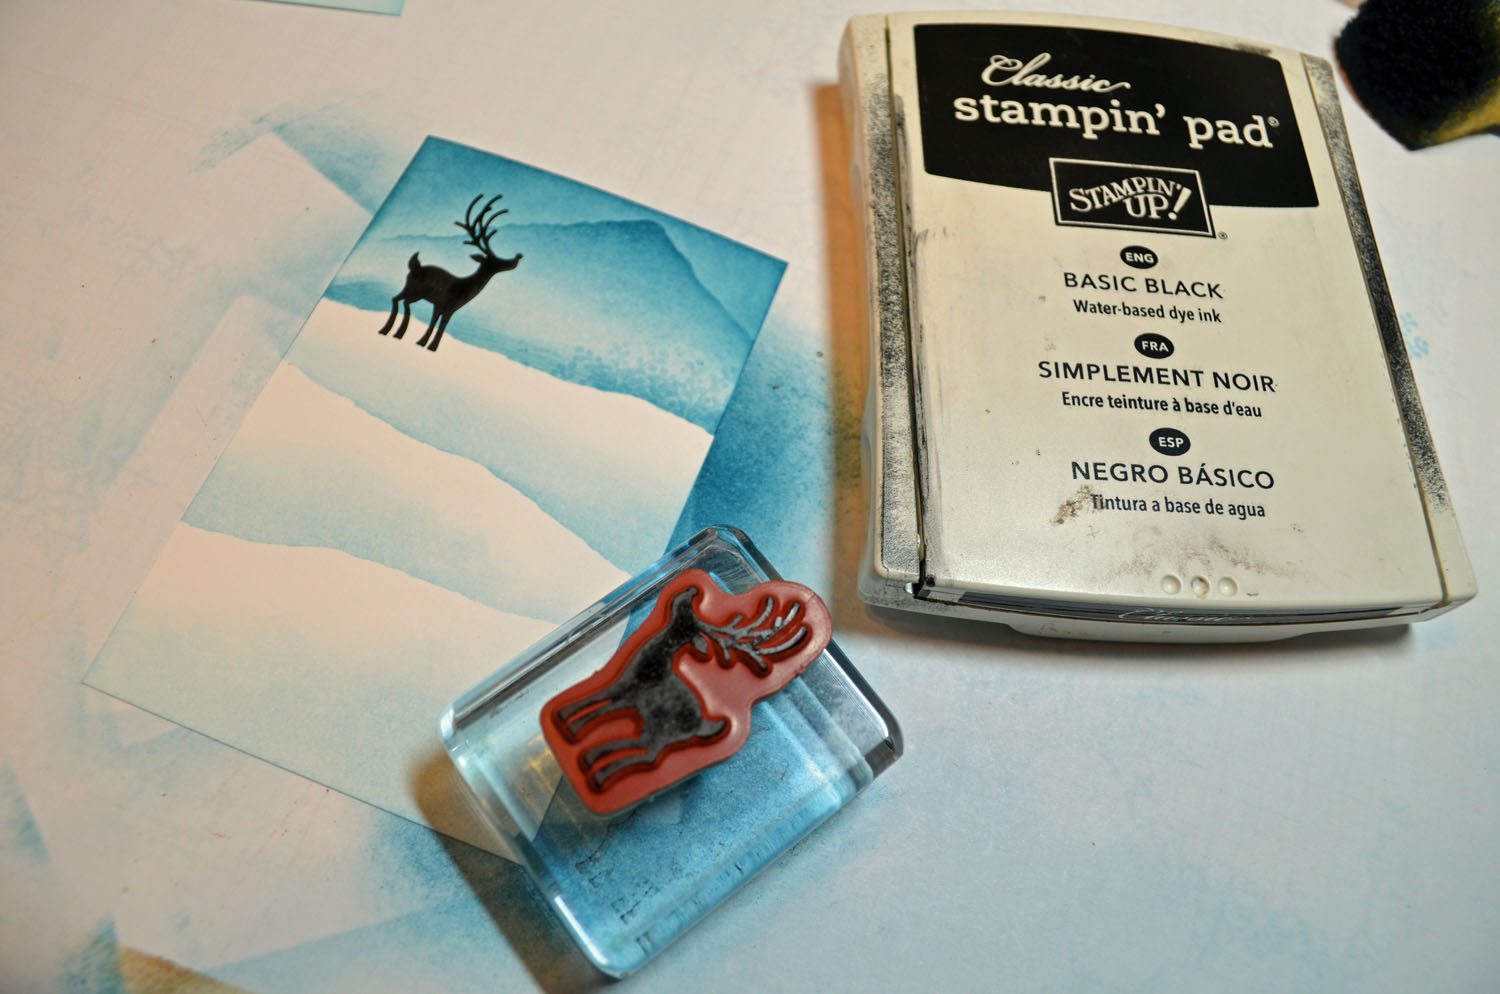
Stamped the flourish from the Everything Eleanor set using Stazon Jet Black ink.

Stamped the Butterflies on a scrap piece of Whisper White card stock using Stazon Jet Black ink.

Colored the butterflies in with a Baja Breeze marker. Added Marina Mist marker on the inside of the wings and then colored the body in using a Basic Black marker.

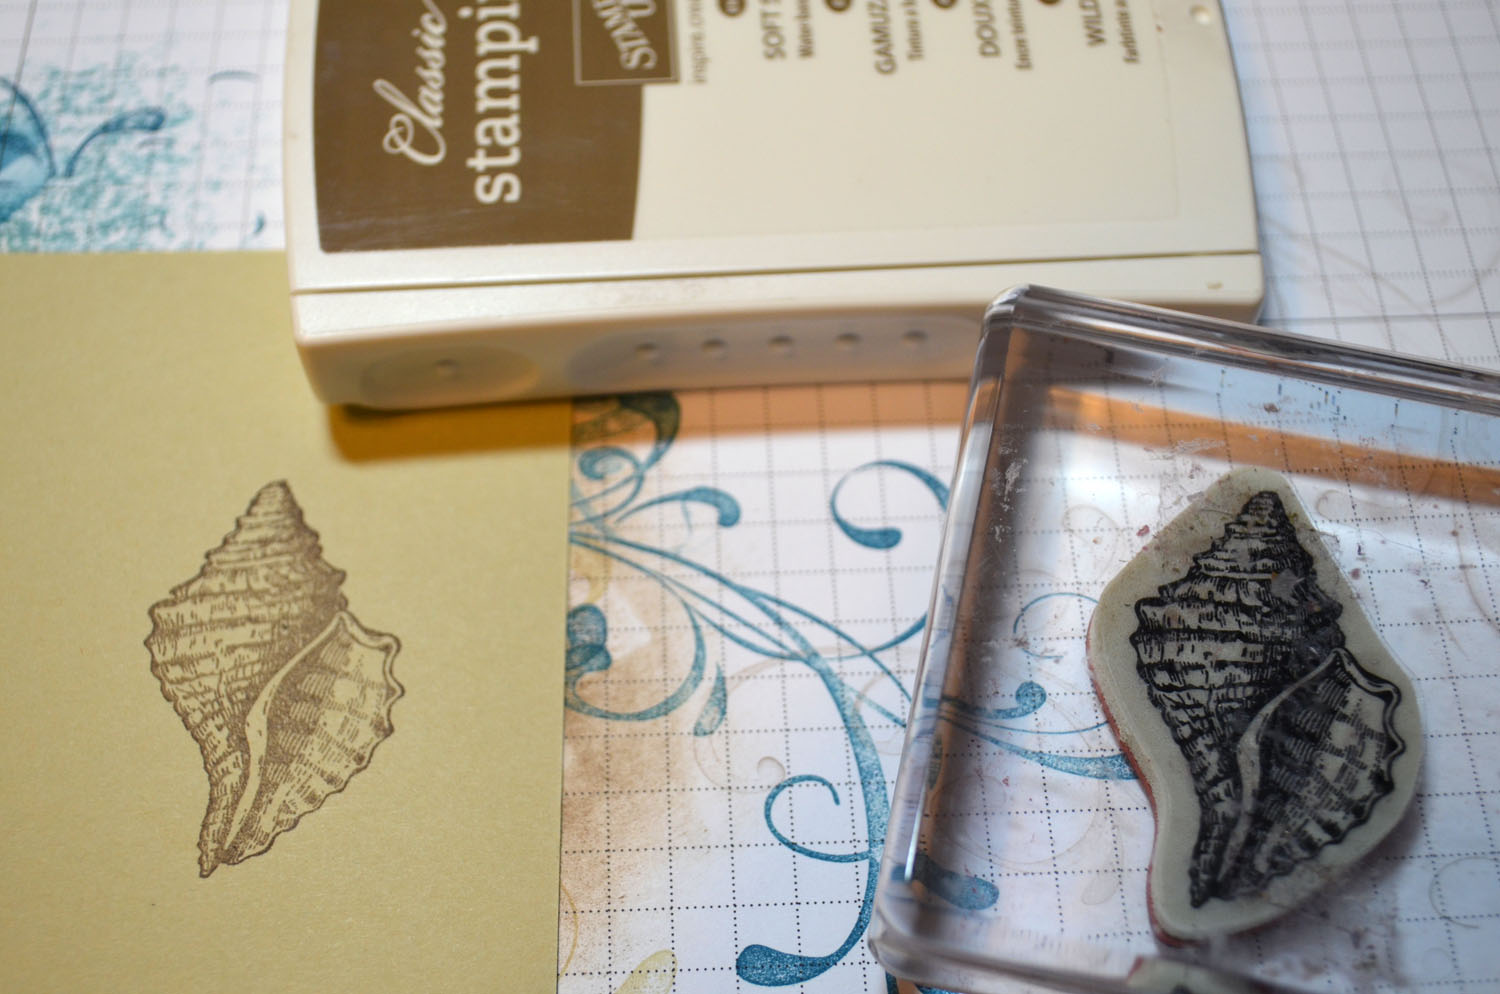
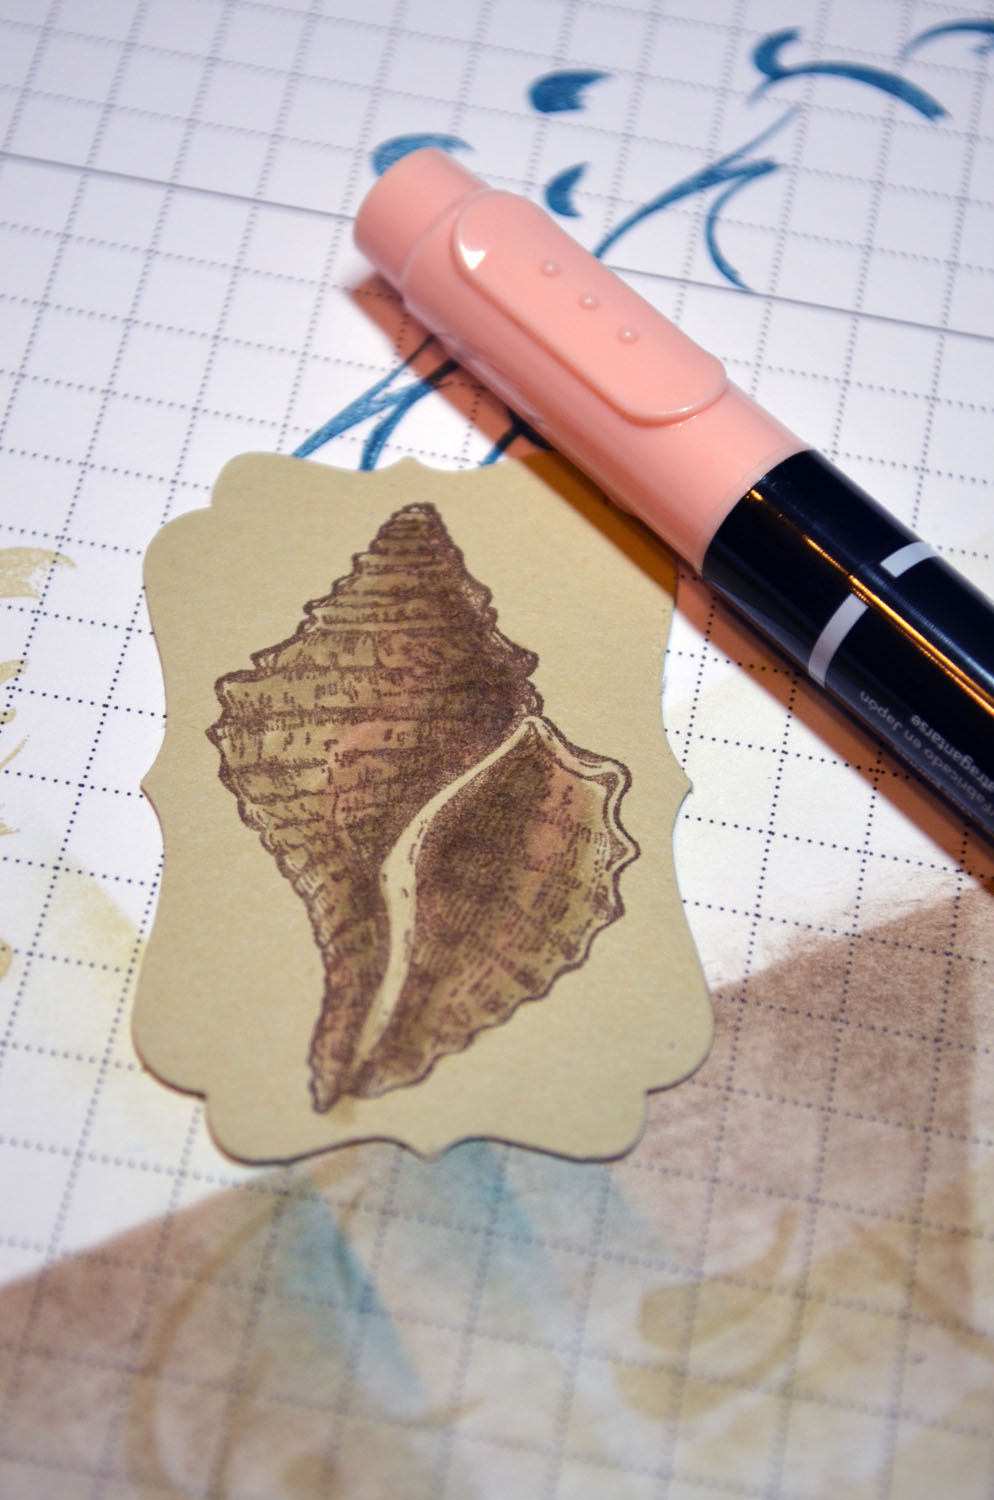
Stamped the flower from the Everything Eleanor set on Whisper White card stock using Stazon Jet Black ink.

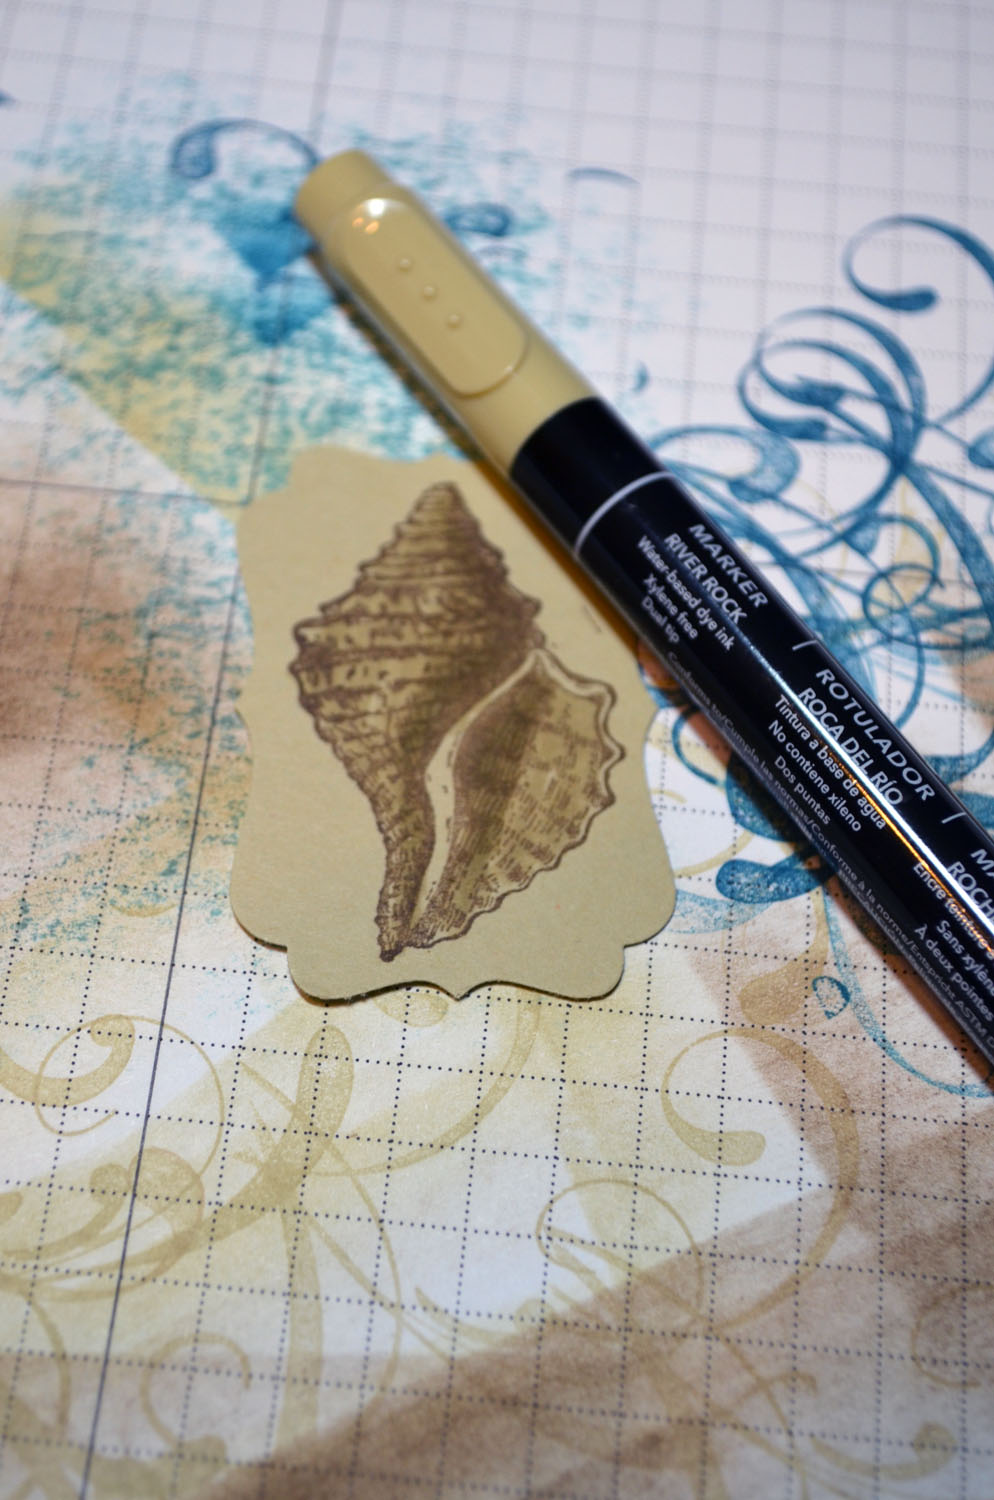
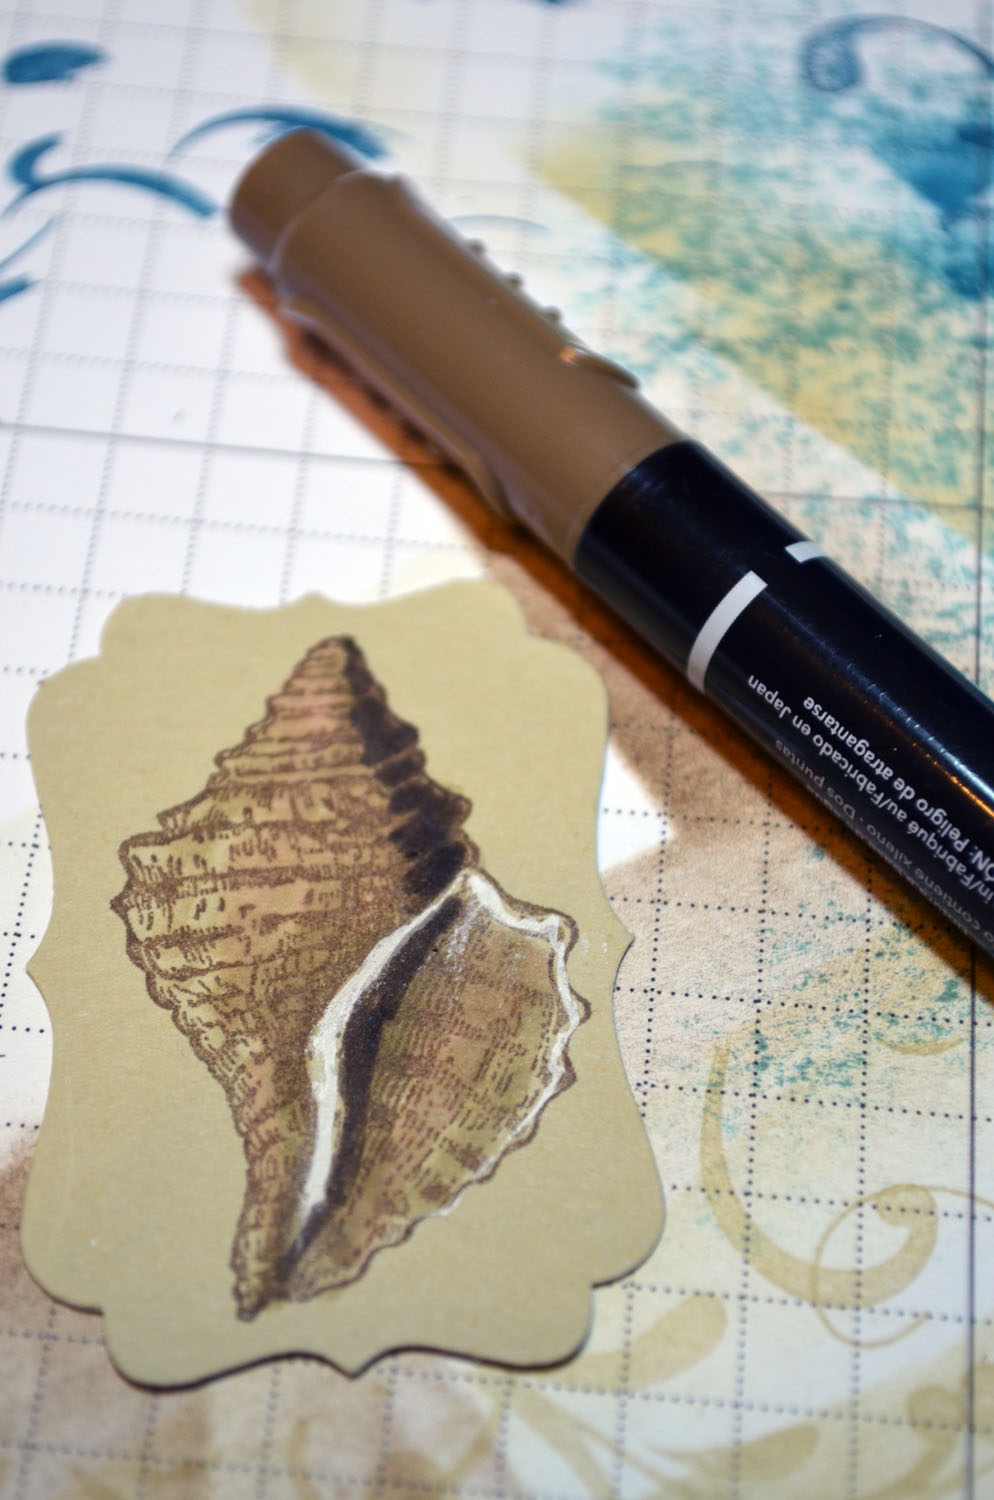
Colored the flower in using a Daffodil Delight marker.

Added Pumpkin Pie marker.

Added Cajun Craze marker on the inside of the flower.

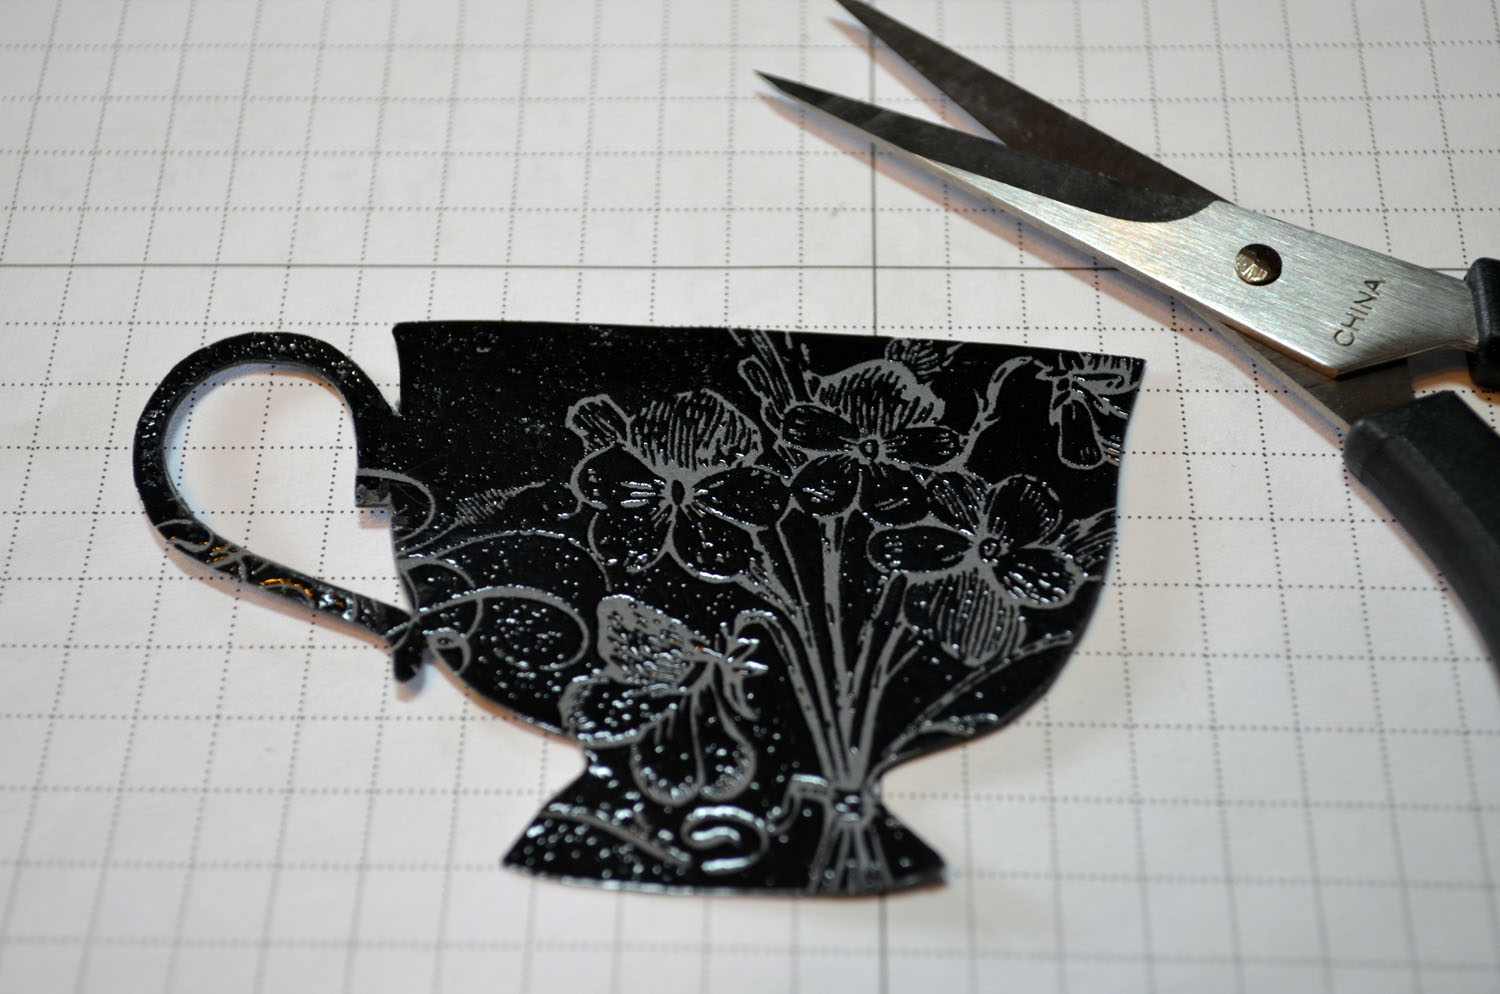
Cut out the butterflies and large flower.
Punched a small flower out of Cajun Craze card stock and sniped in between the petals of the flower using paper snips. Added a brad to the center and then added it to the center of the larger flower. (note: I did this as an after thought, but it would be easier to do this at this point.


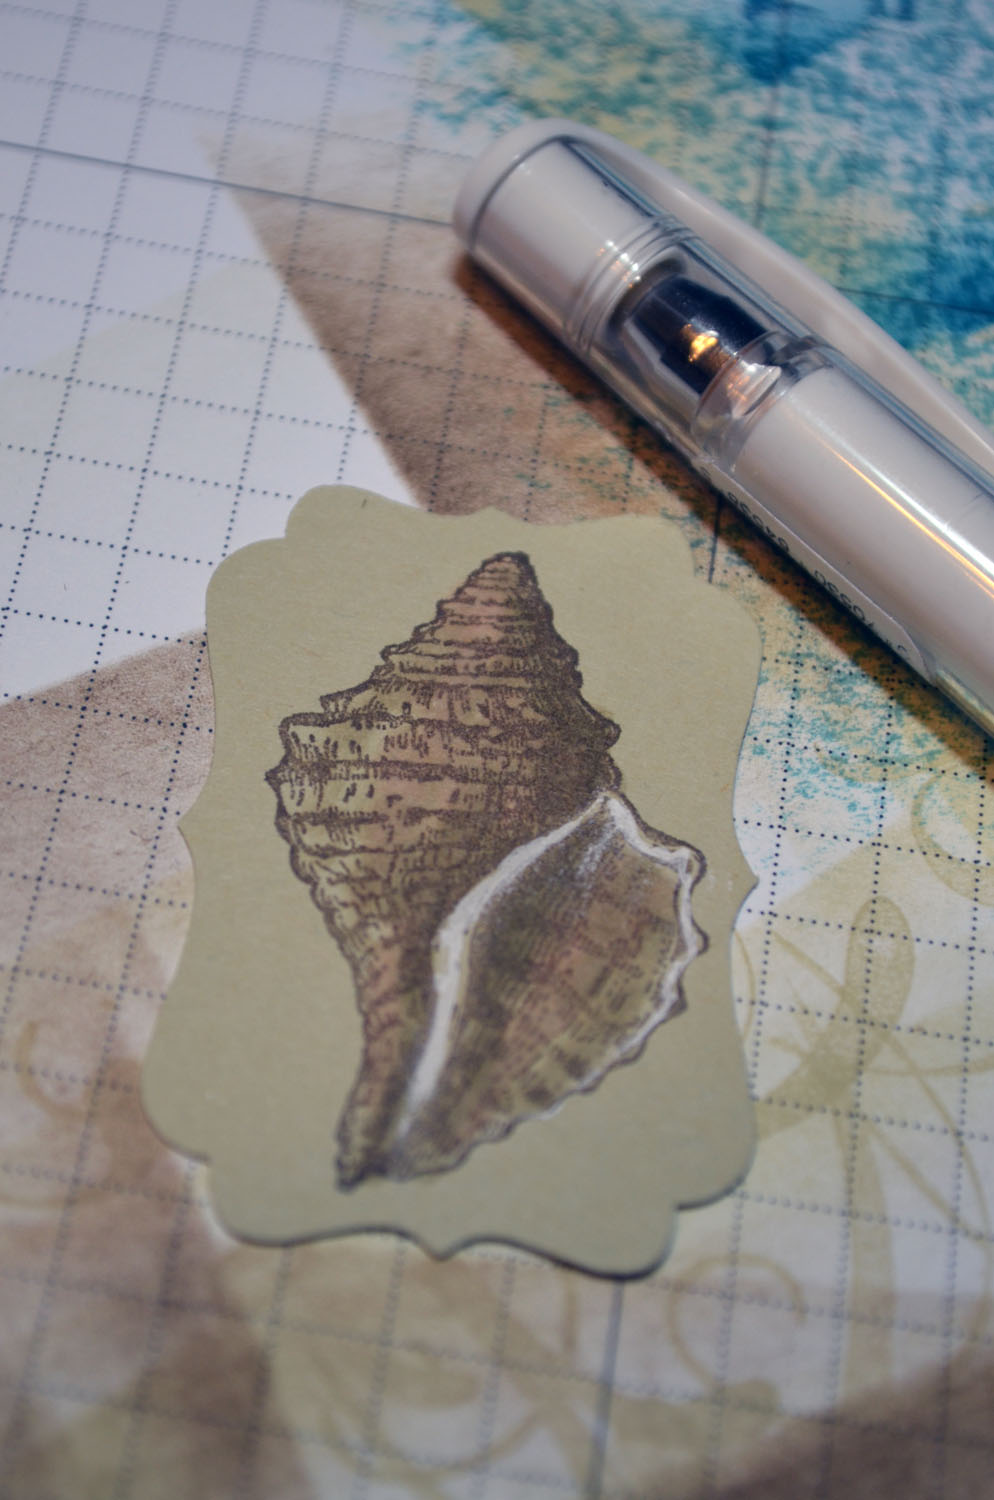
Added White Gel pen to the florish, flower and Butterflies.

Cut a 3.75″ x 5″ piece of Marina Mist card stock. Inked up one side of the Argyle Embossing Folder with Marina Mist ink and then ran the card stock through the Big Shot Machine using the Emboss Folder. This really makes the embossing stand out. (note: you want to ink up the side of the embossing folder that the design is indented).


Added 2 Basic Black Panels and a Marina Mist panel. Very Vanilla Seam Binding and then pop up the oval Basic Black panel with Stampin Dimensionals. Also popped up the butterflies and flower.

Cut 2 pieces of Very Vanilla Ribbon and slide them under the adhered ribbon. Tied them in a bow and then separted the loops so the bow is fuller.


Punched 2 of the leaves from the bird punch out of Basic Black card stock. Cut some of the stem off of them and added them under the flower.

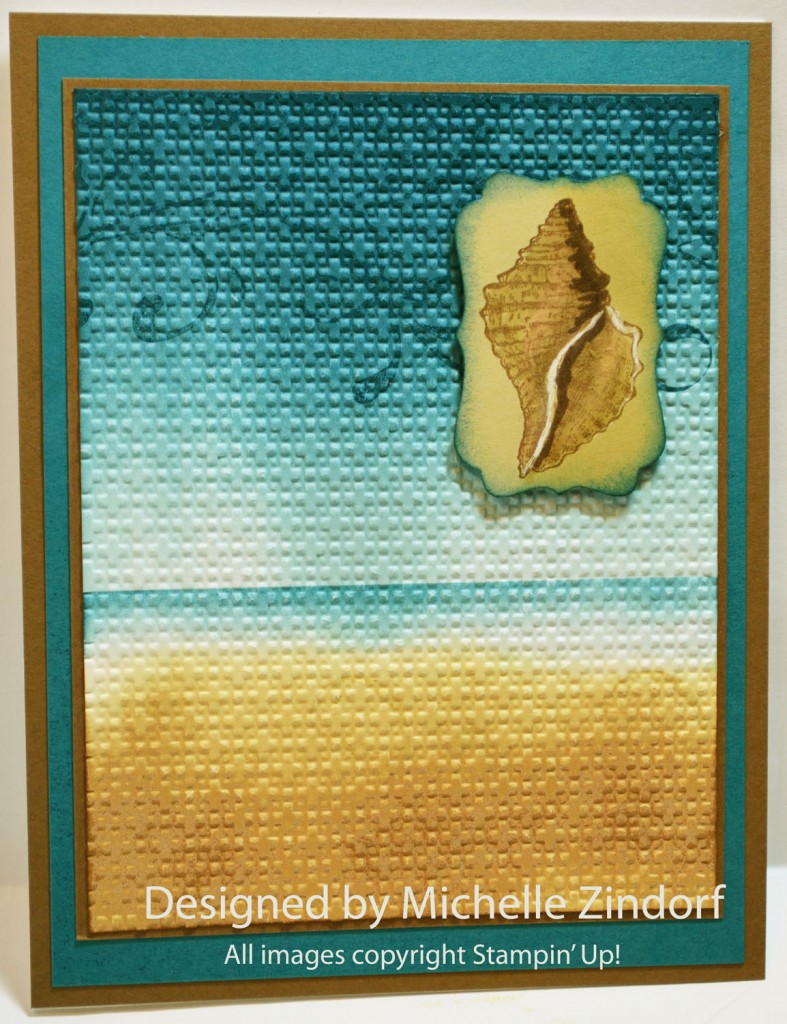
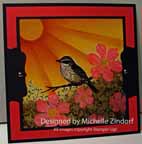
Here is the finished card measuring 5″ x 6.5″.

May your day be delightful!
Until my next post. . . . . .
Hugs,

Weight loss in 2013: 20.4 lbs
**********************
 Customers placing a $50 merchandise order, using me as their demonstrator, from today April 12, 2013 through April 30, 2013 will receive the advanced brayer picture tutorial for this card free of charged via e-mailed. This is in addition to my customer token program. 🙂 See token program details at the bottom of this post.
If you wish to purchase the advanced brayer picture tutorial for this card you can find it HERE ON MY SALES PAGE.
Here is a link to my online shopping page that you can shop at 24/7 (from the comfort of your home, even in your pj’s) and the products will be shipped directly to your door step from Stampin’ Up. CLICK HERE TO SHOP.
***************************************************************************

**************************************************************************
New Wood-Mount Cases
Introducing our new wood-mount stamp set packaging! These new cases are similar to our clear-mount boxes and fit perfectly on the shelf right next to them. They also have the images and stamp set name on the spine to make your search for the right set even easier.
Starting May 31 all wood-mount sets will come in this new packaging (sneak peek sets will also be in the new boxes during the preorder). And empty cases will be available with the launch of the new catalog. That means you can transfer all your old sets to these new boxes! There will even be a template for you to create your own label for your old stamp sets (available May 31). A pack of four half-size cases (3-3/4″ x 5-1/2″) will sell for $4.95 and a pack of four full-size cases (7-1/2″ x 5-1/2″) will be $6.95.
Get ready for all the exciting new products in the catalog–especially the new wood-mount boxes!
***************************************************************************
Stampin’ Up’s Color Refresh! I love color and I know that you do too. Color is fundamental to who Stampin’ Up! is and what they offer. It’s important for us to stay up-to-date with color trends so I am thrilled to share Stampin’ Up’s updated line of colors, and hope you will be as excited as I am by the new possibilities!
Why now? In 2010 Stampin’ Up! did a big color renovation and shared their plans for smaller color refreshes every three to five years to keep their colors on trend. Well it has been three years and I am excited to announce that the upcoming 2013-2014 annual catalog will include 10 new colors (most of which are returning In Colors from previous years)! Stampin’ Up! is welcoming back some of your favorites, moving some colors around, and introducing one brand-new color, so take a look!

Beginning on April 4, 2013, all retiring/discontinued color products (i.e. ink, paper, ribbon, accessories, etc.) will be available only while supplies last. This means that some products will not be available through the retired list period. Stampin’ Up! did anticipate increased demand and based their forecasts for these retiring colors on historical sales information from previous color transitions. However, even with the most careful planning, the response to a transition of this nature can surprise everyone–including your own personal purchases. We encourage you to get your favorites and look forward to the exciting colors coming in the 2013-2014 annual catalog.
********************************

| Item |
Description |
Price |
| 131268 |
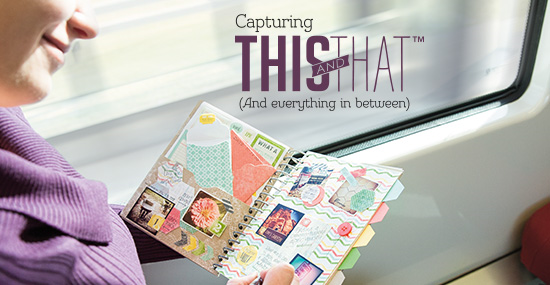
Epic Day This and That Journal |
$10.95 |
| 130814 |
Epic Day This and That Designer Series Paper |
$10.95 |
| 130133 |
Remember This and That Rotary Stamp |
$5.95 |
| 131271 |
Epic Day This and That Designer Stickers |
$4.95 |
| 131269 |
Epic Day This and That Designer Washi Tape |
$4.95 |
| 133350 |
Epic Day This and That Bundle
Includes the five This and That products listed above. Only available in a bundle until April 30. |
$32.08
15% Off Retail Value! |
Read On . . .
- We’re introducing the line with these five products, but we’ll be adding more This and That stuff as time goes on.
- Bundle Dates: March 23-April 30 (remember the items that come in the bundle will be available in May and in the new catalog, but we’re only offering the discounted bundled until April 30).
- You get as many This and That products or bundles as you want.
- You can buy the This and That products separately. But why would you do that when you can get all five together and save 15 percent?
- Bundle ordering deadlines:
- Tuesday, April 30, 2013; 11:50 PM (MT)
********************************
********************************

Download the monthly flyers
Download the Collector’s Card

********************************

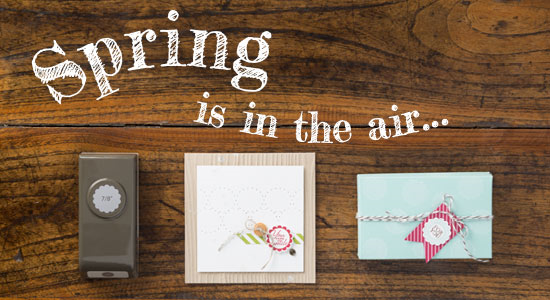
| Spring is definitely in the air, and we can’t wait to show you all the new product in the 2013-2014 annual catalog. Here’s your pre-sneak peek look at A Round Array! |
|

We’ve bundled it with the coordinating 7/8″ Scallop Circle Punch (introduced in the 2013 spring catalog) just in time for Sale-A-Bration for 15% off!
Dates: March 15 – May 30, 2013
| Price |
Description |
Item # |
| $23.95 |
Spring Surprise Bundle* (English; clear) |
133899 |
|
|
|
|
What if you already have the punch? Don’t fret! Just buy the set!
| Price |
Description |
Item # |
| $14.95 |
A Round Array Stamp Set* (English; clear) |
129090 |
|
|
|
|
*Only offered in clear-mount. Wood-mount option will be available in the 2013-2014 annual catalog.
Spring Surprise Order Deadlines:
Phone: Tuesday, May 30, 2013; 6:50 PM (MT)
OEX and Online: Tuesday, May 30, 2013; 11:50 PM (MT)
********************************

Stampin’ Up’s fabulous Spring Catalog Get your supplies to rock those Spring projects.
*************************************************

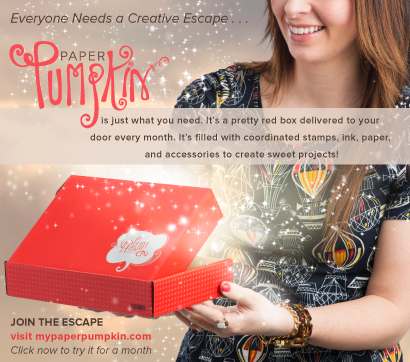
It’s a Magical Paper Escape Every Month!
Check this out, you can now get a monthly kit called Paper Pumpkin from Stampin’ Up! that includes exclusive stamps and everything you will need for a great project. You can get more info on this great product at www.mypaperpumpkin.com They even have a try me kit! You won’t want to miss out on even one of these kits. . . . . . . Please select me as your demonstrator when placing your order.
********************************************

Have you checked out the great clearance rack at Stampin’ Up! CLICK HERE
***********************************************************
Michelle’s Free Stamp Program
Don’t miss out on my Customer’s free stamp set program. Check it out! For your order of $50 in product using me as your demonstrator you will receive one virtual token. Order $100 in product receive two virtual tokens, etc. After you have collected 10 virtual tokens you will receive a free current stamp set of your choosing, a value of $30 or less.
Here is a link to my online shopping page that you can shop at 24/7 (from the comfort of your home, even in your pj’s) and the products will be shipped directly to your door step from Stampin’ Up. CLICK HERE TO SHOP. My free stamp set program will be an on going program. 
Note: if you have actual tokens from my old program they are still good.
**************************************************
 Also, check out my new Zindorf Naturals Soap Page. This stuff is oh so good for your skin. CLICK HERE TO CHECK IT OUT.


.jpg)


